Automatically generate PowerPoint PPTX presentations using Power Automate or Zapier
If you need to deliver PowerPoint presentations on a monthly basis, this article will guide you on automating this task using PPTX templates with the help of Processes, a Plumsail Documents tool designed for easy document generation. We’ll automatically create company reports that include tables and charts, using Power Automate and Zapier.
Template |
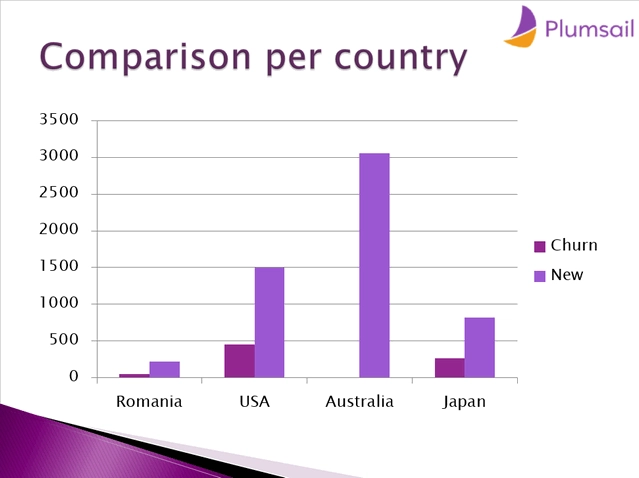
Result |
|---|---|


Configure Process
First, login or create your Plumsail account.
Create Process
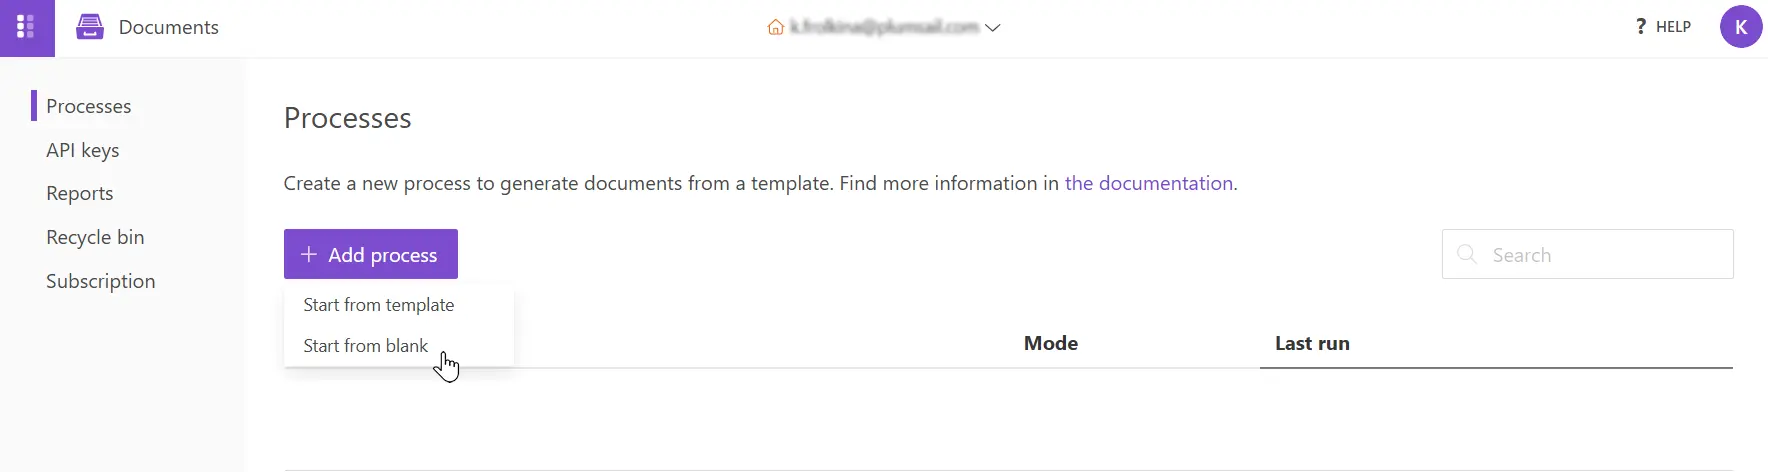
Click Add Process button and choose either to start from a template or from blank. We’ll start from blank.
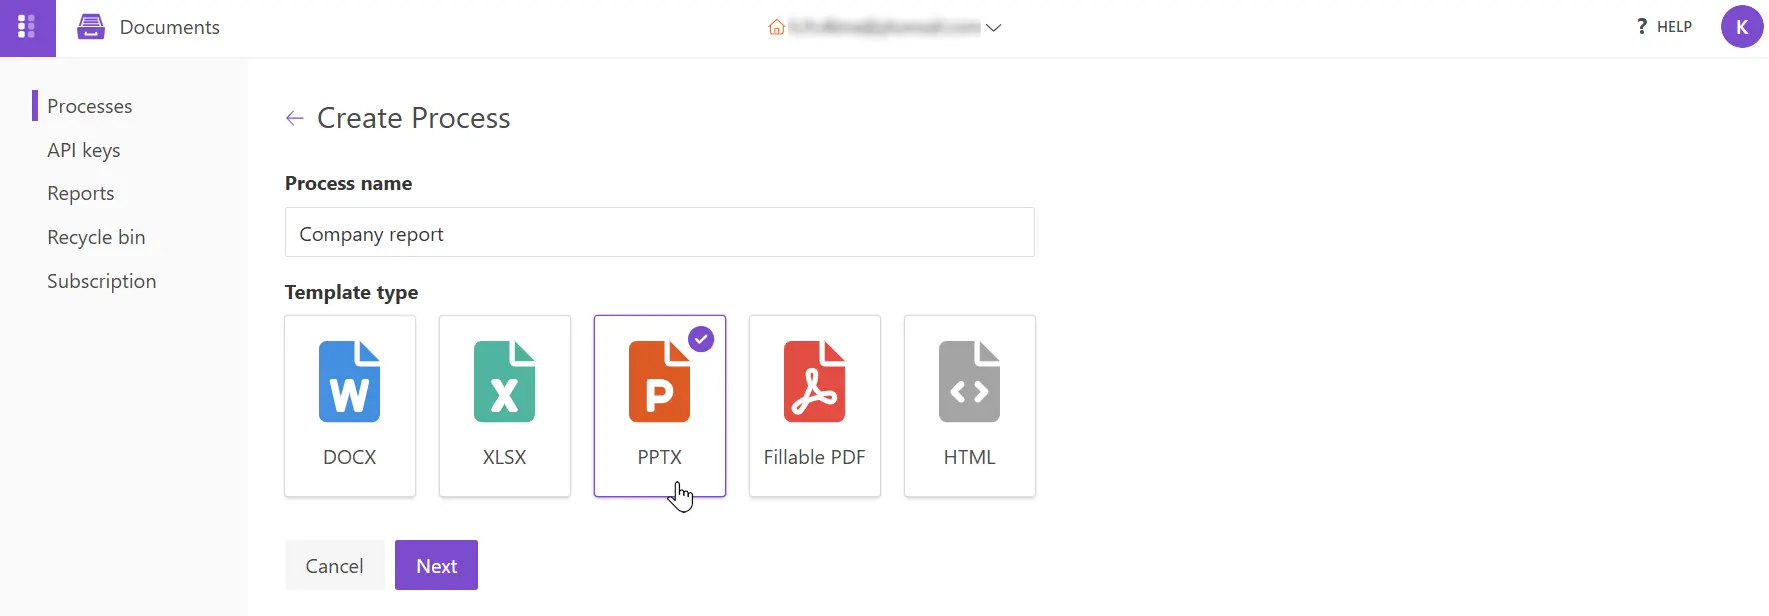
Next, give your process a name and select PPTX for the template type.
Configure template
Once you’re done with the first step Create Process, proceed to the next step - Configure Template.
This step includes two sections:
Editor;
Settings.
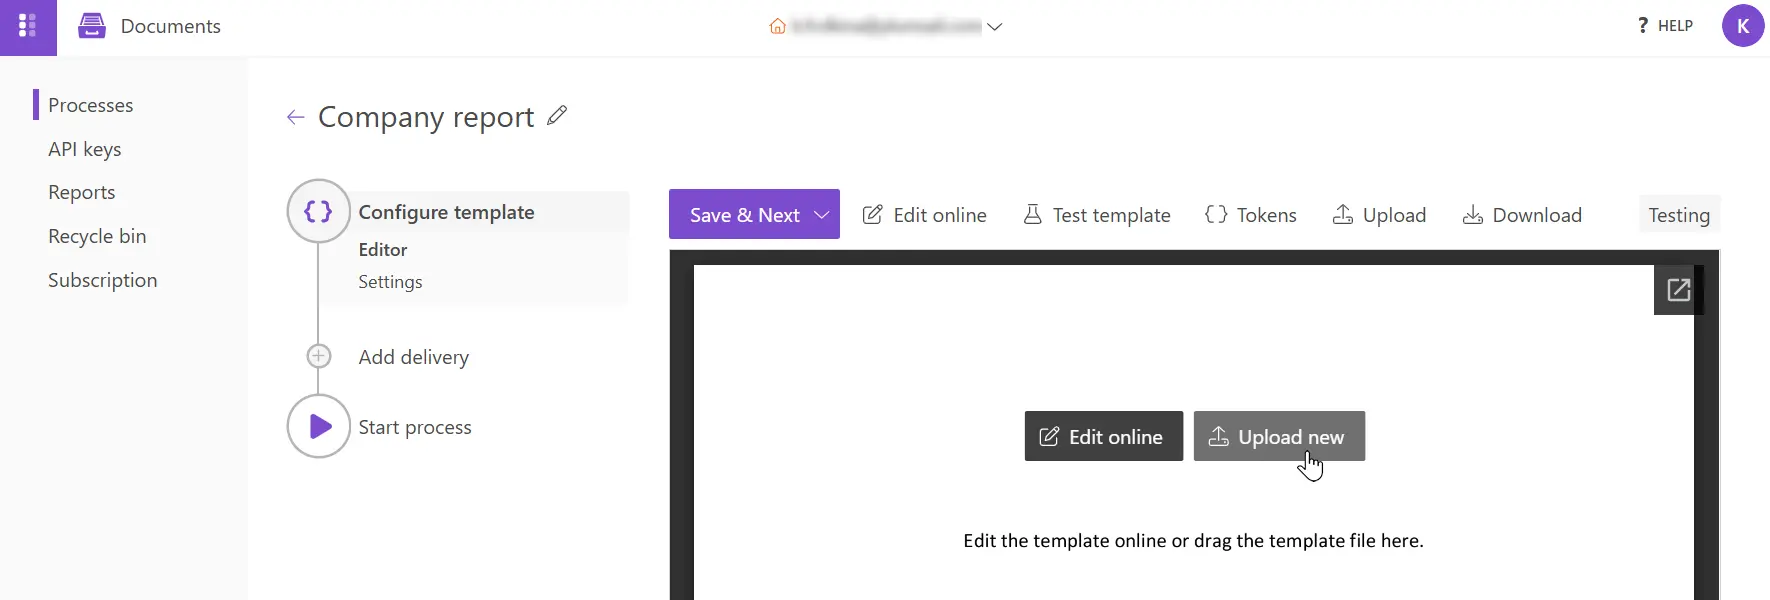
In Editor, you can either create a template from scratch or upload a pre-built one. You can download the company report template used in this example. Additionally, it is possible to modify the uploaded template directly in the Editor step.
Then upload it to the process.
Templating syntax
When designing your own template from scratch, start by reviewing the templating language used in Plumsail Documents. Plumsail PowerPoint PPTX templates use a different approach compared to other templating solutions, utilizing minimal syntax to get the job done.
To learn more about the templating engine, you can read this the documentation article.
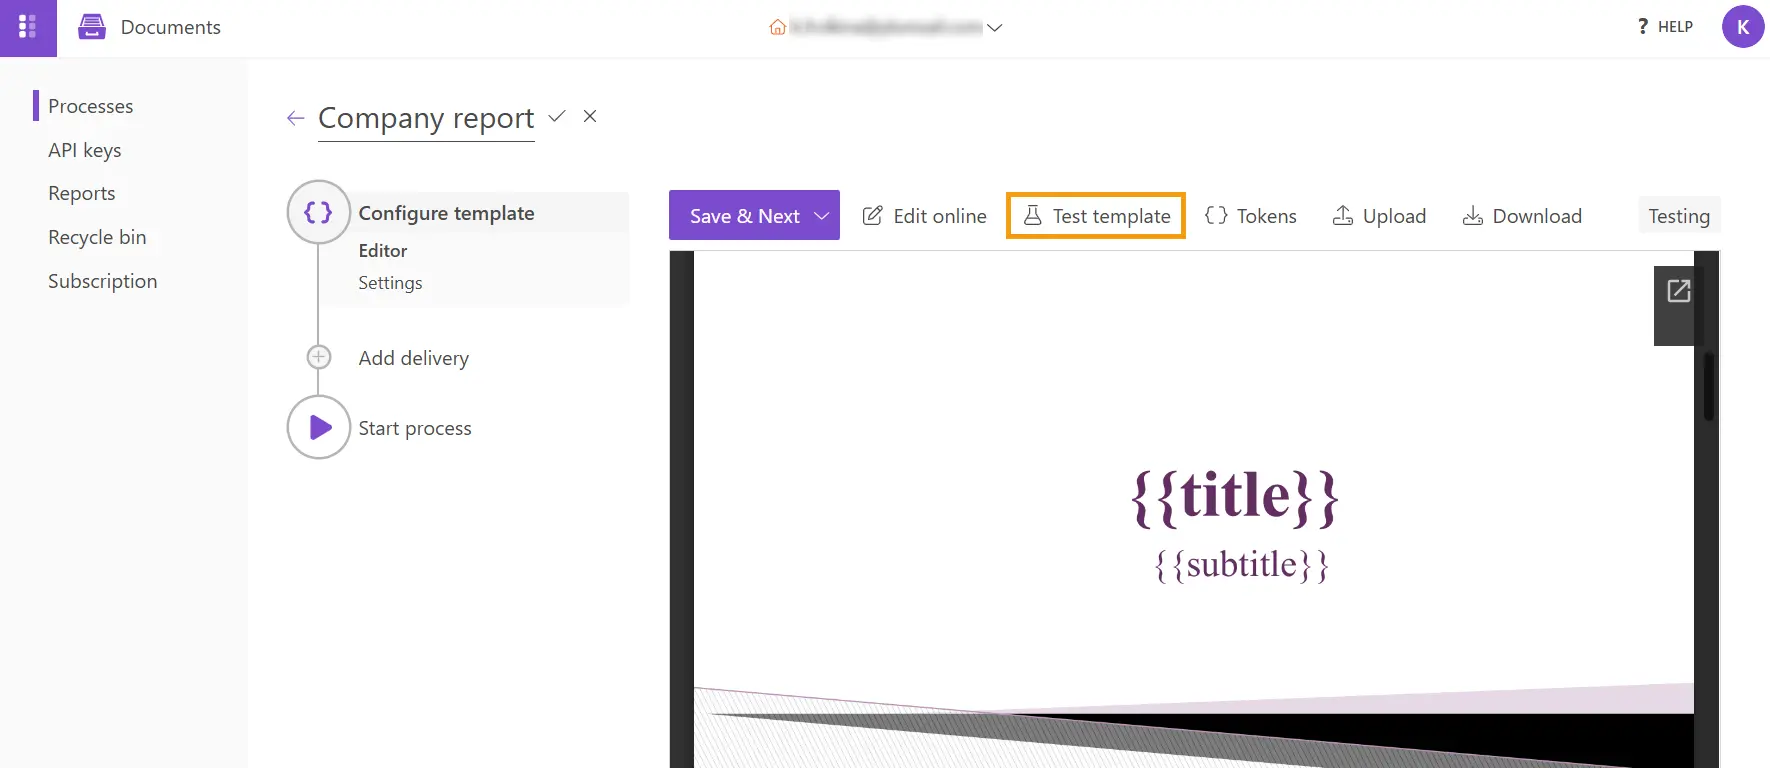
Essentially, the templating engine interprets everything between the curly {{ }} brackets as a variable, dynamically applying your specified data. In our case, the simplest tokens would be {{title}} and {{subtitle}}. They let the engine know that we want to render the report title and its subtitle.
We’ve also incorporated more complex visual elements, such as tables and charts, into our template. However, there’s nothing too challenging about this process. For guidance on handling tables and charts in PPTX templates, please refer to articles for tables and charts in PPTX templates.
Test template
To check how the final document will look, click on the Test template button. A dialog window will pop up where you can fill in the auto-generated testing form. Form fields are created based on the tokens from your document template. You can adjust the look of the testing form by changing token types.
Once the template is ready and you’re satisfied with the results, click Save & Next to proceed to the Settings step.
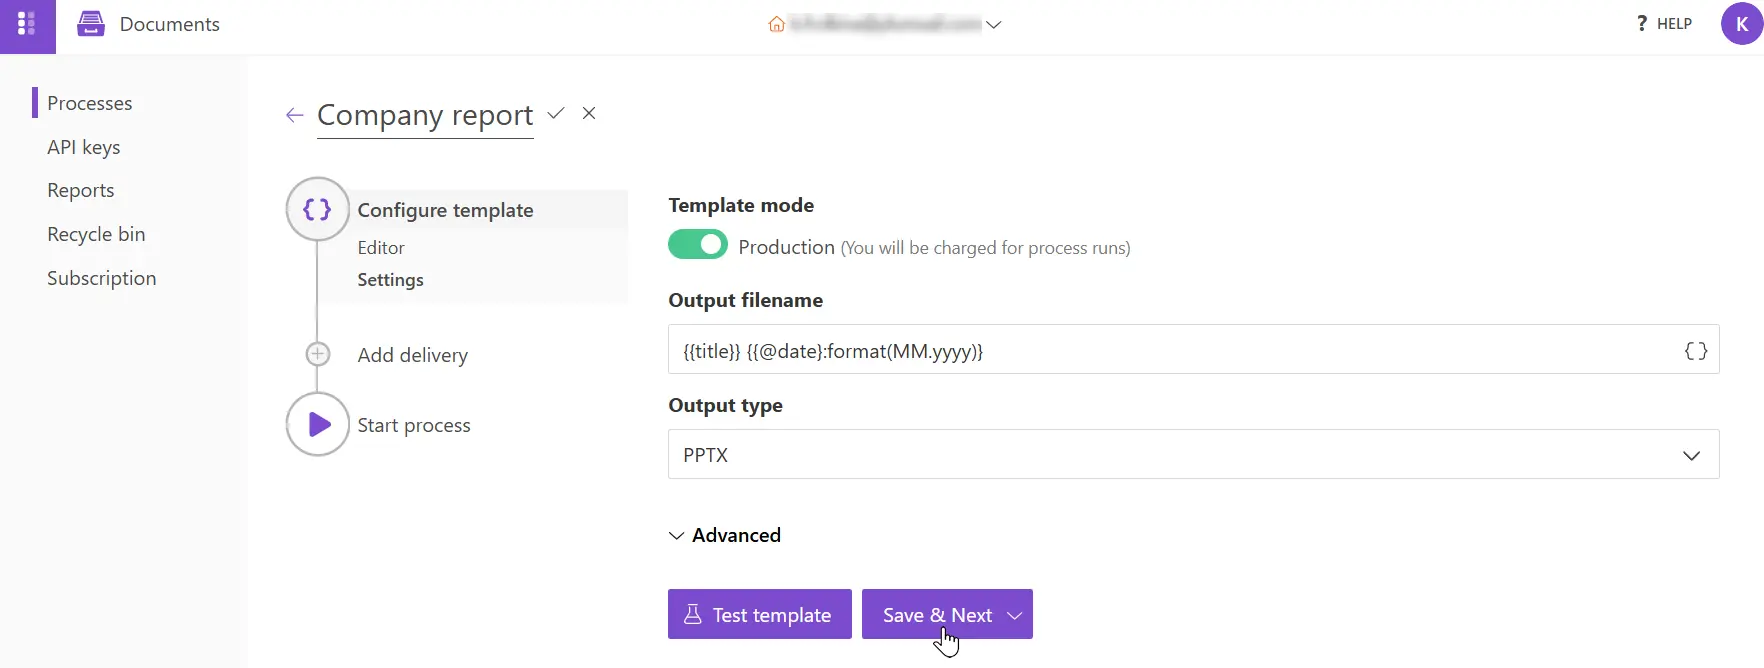
In this step, you can set the Template mode to testing or production, customize the Output file name with tokens from the template and select the Output type.
Template mode
It is set to Testing by default. This means you won’t be charged for process runs, but the resulting documents will have a Plumsail watermark. Switch to Production to remove the watermark.
Output filename
You can add tokens to personalize the Output filename. They function the same way as they do in the template.
For example, by adding {{title}} and {{@date}}:format(MM.yyyy)} tokens, the generated purchase order will be named - Plumsail Monthly Report 09.2024.
Output type
By default, the file format will match that of your template, which in this example is PPTX. We will keep working with this format in this example. However, if you prefer to receive the final reports as PDF files, you can easily switch to PDF format. Switching to PDF format will also allow you to add a watermark and/or protect the document with a password.
Test template
You can also test the template in the Settings step. The testing process is identical to the one described above.
Add Delivery
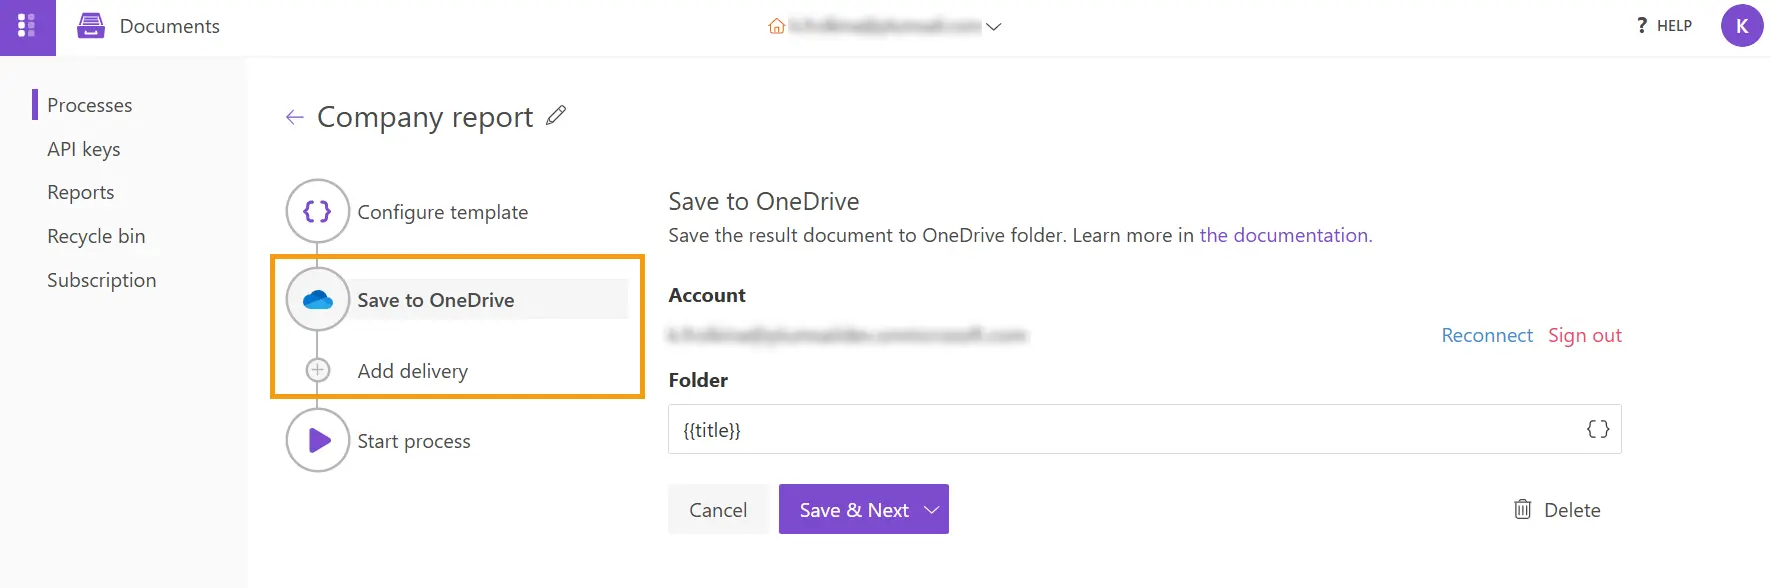
The next step is Delivery. In our example, we’ll store the generated PowerPoint reports in OneDrive, but there are many other options, such as Dropbox, DocuSign, SharePoint, email, and more.
First, you will be prompted to connect your OneDrive account to Plumsail. Then, create a folder where the generated purchase orders will be saved. Tokens can be used here as well.
You can add as many deliveries as needed.
Start Process
Everything is now ready for you to begin generating PowerPoint presentations from a template. In the Start process step you have several options to trigger document generation, which are listed below.
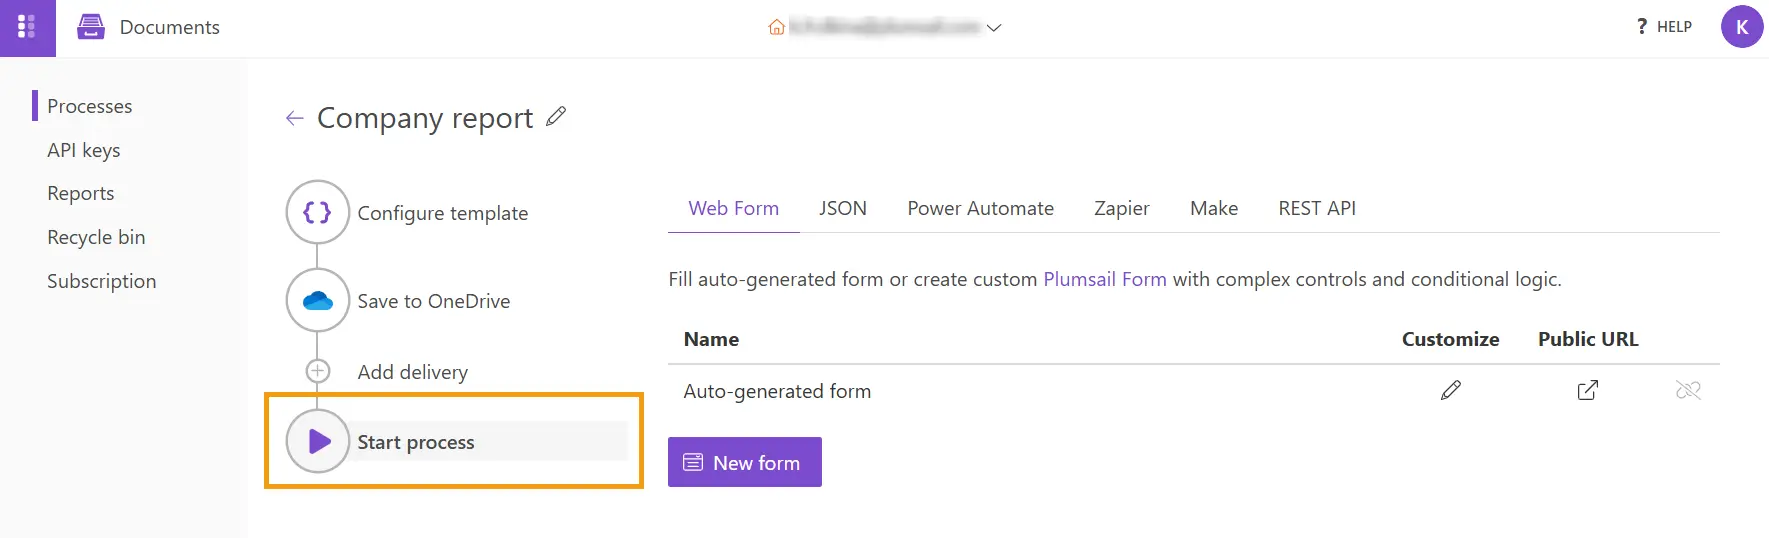
You can start the process:
submitting JSON corresponding to template tokens;
Start Process in Power Automate
We’ll demonstrate a scenario where an item is created in a SharePoint list, triggering a Power Automate flow that generates a PowerPoint presentation using the data from the new item.
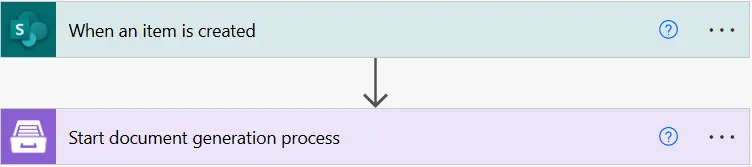
To begin generating documents in Power Automate, we need to create a simple flow as outlined below:
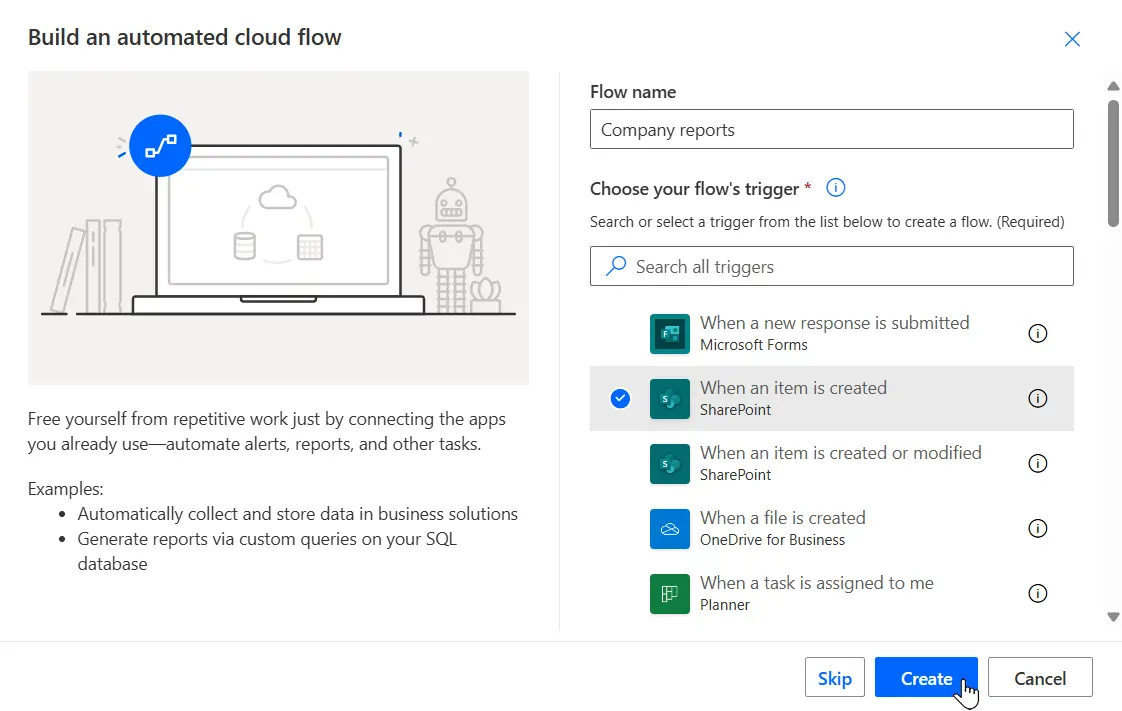
Select trigger
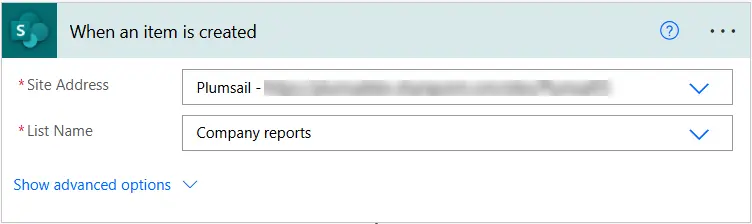
First, create a new automated cloud flow in Power Automate. Start by giving it a name and selecting a trigger. For this example, choose the When an item is created trigger from SharePoint. However, you can select any of the available triggers based on your needs.
Next, select the SharePoint site and list from which you want to pull data.
Start document generation process
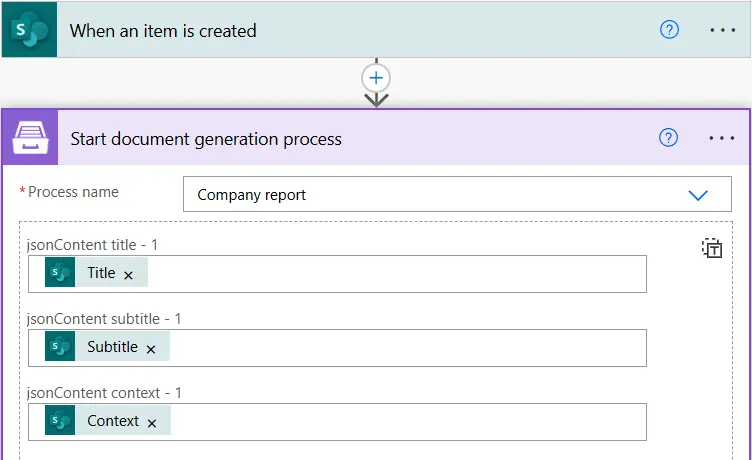
In the next step, we need to add the Start document generation process action from Plumsail Documents.
If this is your first time using the Plumsail Documents connector, Power Automate will ask you for a Connection Name and API Key. To generate these, go to your Plumsail account and navigate to API Keys. Create a Connection Name and Key, copy them, and then return to Power Automate to paste both the name and the key. You’re all set!
After that, select the Company report process and match the fields from your SharePoint list with the corresponding tokens in the PPTX template.
Our Power Automate flow setup is now complete. It consists of two main steps: first, collecting and passing data from the SharePoint list to the PPTX template; and second, processing that data to generate the document. You can further customize your flow as needed and use various connectors available in Power Automate.
Note
There is a separate action in the Plumsail Documents connector for Microsoft Power Automate - Create PPTX document from template. Use it if you don’t need all power of processes and just want to generate a document from a template.
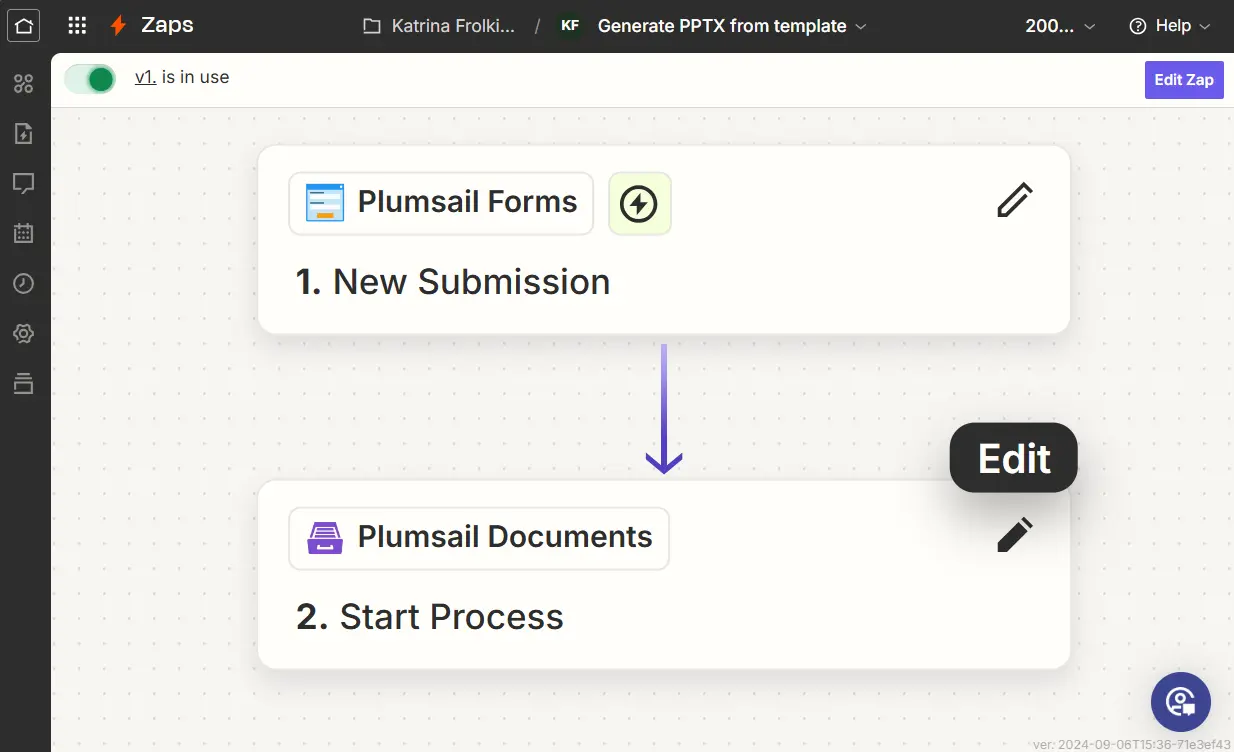
Start Process in Zapier
To start the process in Zapier, we need to create a new Zap with two steps. Here’s what it will look like in the end:
Select trigger
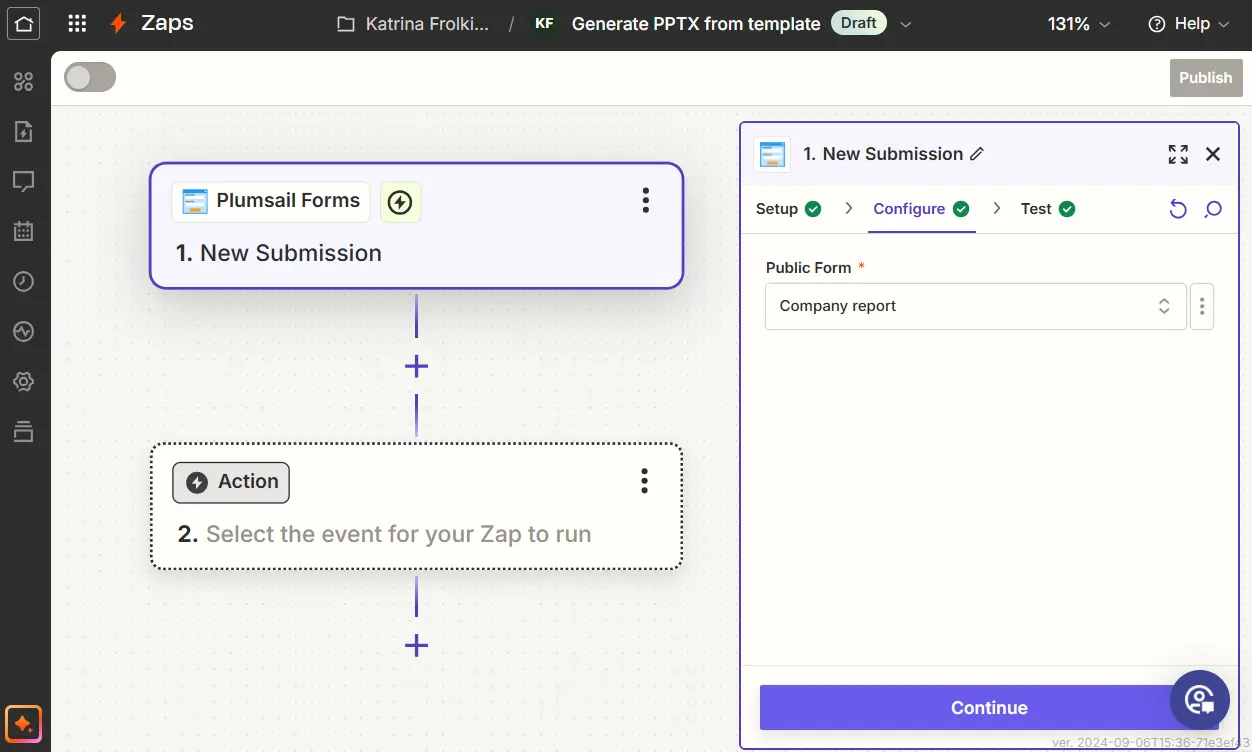
First, we need to set up the trigger. We’ll choose Plumsail Forms as an example, but you can go with a different trigger if you prefer.
App & event
After selecting Plumsail Forms from the app list and choose New submission as an event.
Account
Connect your Plumsail account to Zapier.
Trigger
Select the Company report from your list of Plumsail Forms.
Test
Run the test.
Start Process in Plumsail Documents
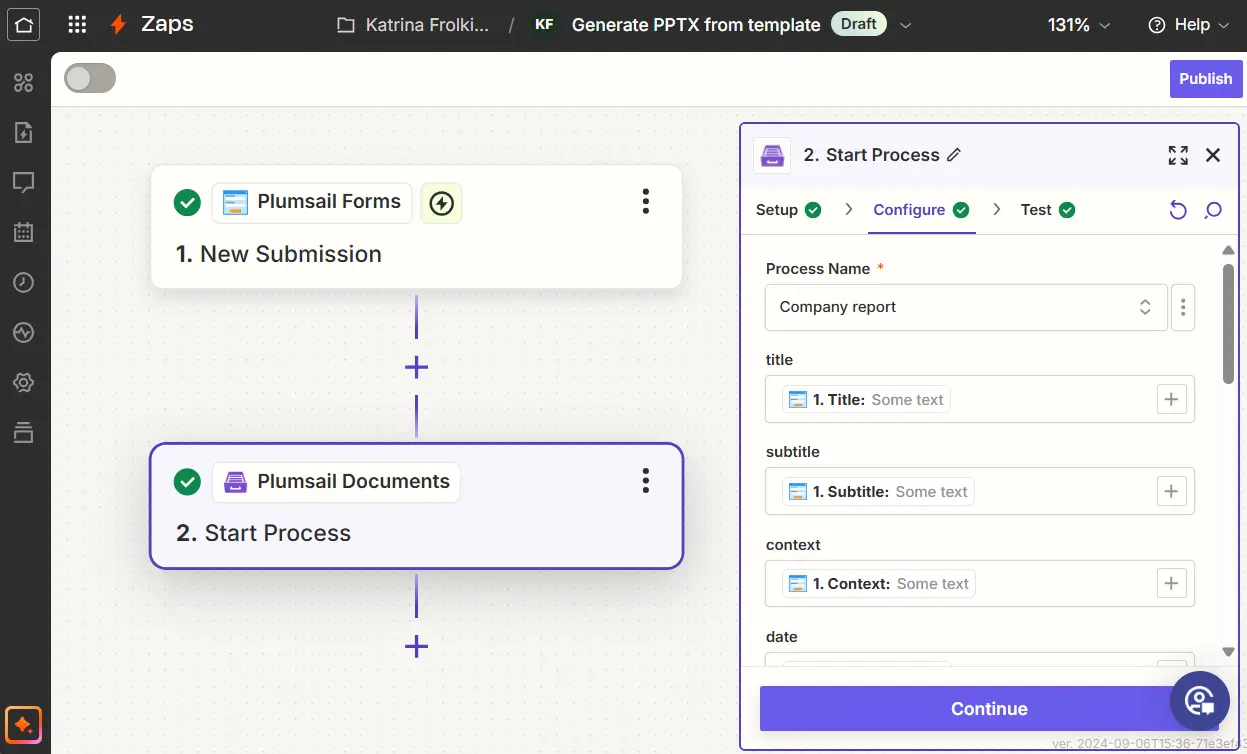
After setting up the trigger, add a Plumsail Documents action.
App & event
Select Plumsail Documents from the app list and click Start Process under Action Event.
Account
Connect Plumsail account to Zapier.
Action
Select the Company report process in Plumsail Documents. After selecting the process, you will see the fields corresponding to the tokens from the document template. Map these fields to the output from the trigger to ensure that data entered into the form will populate the template.
Test
Run the test.
The Zap is complete! Now, every time the form is submitted, it will automatically trigger the document generation process using the PowerPoint template.
These are just two straightforward examples of how you can use Power Automate or Zapier to transfer data from custom applications to PowerPoint templates, triggering the document generation process. Additionally, you can use Make, Airtable, REST API, Plumsail Web Forms, or submit JSON to efficiently generate PowerPoint documents.