Start process
After you configured the document template and deliveries you can start generating your documents.
There are several places where you can start a process. Let’s take a closer look at each one.
How to start process
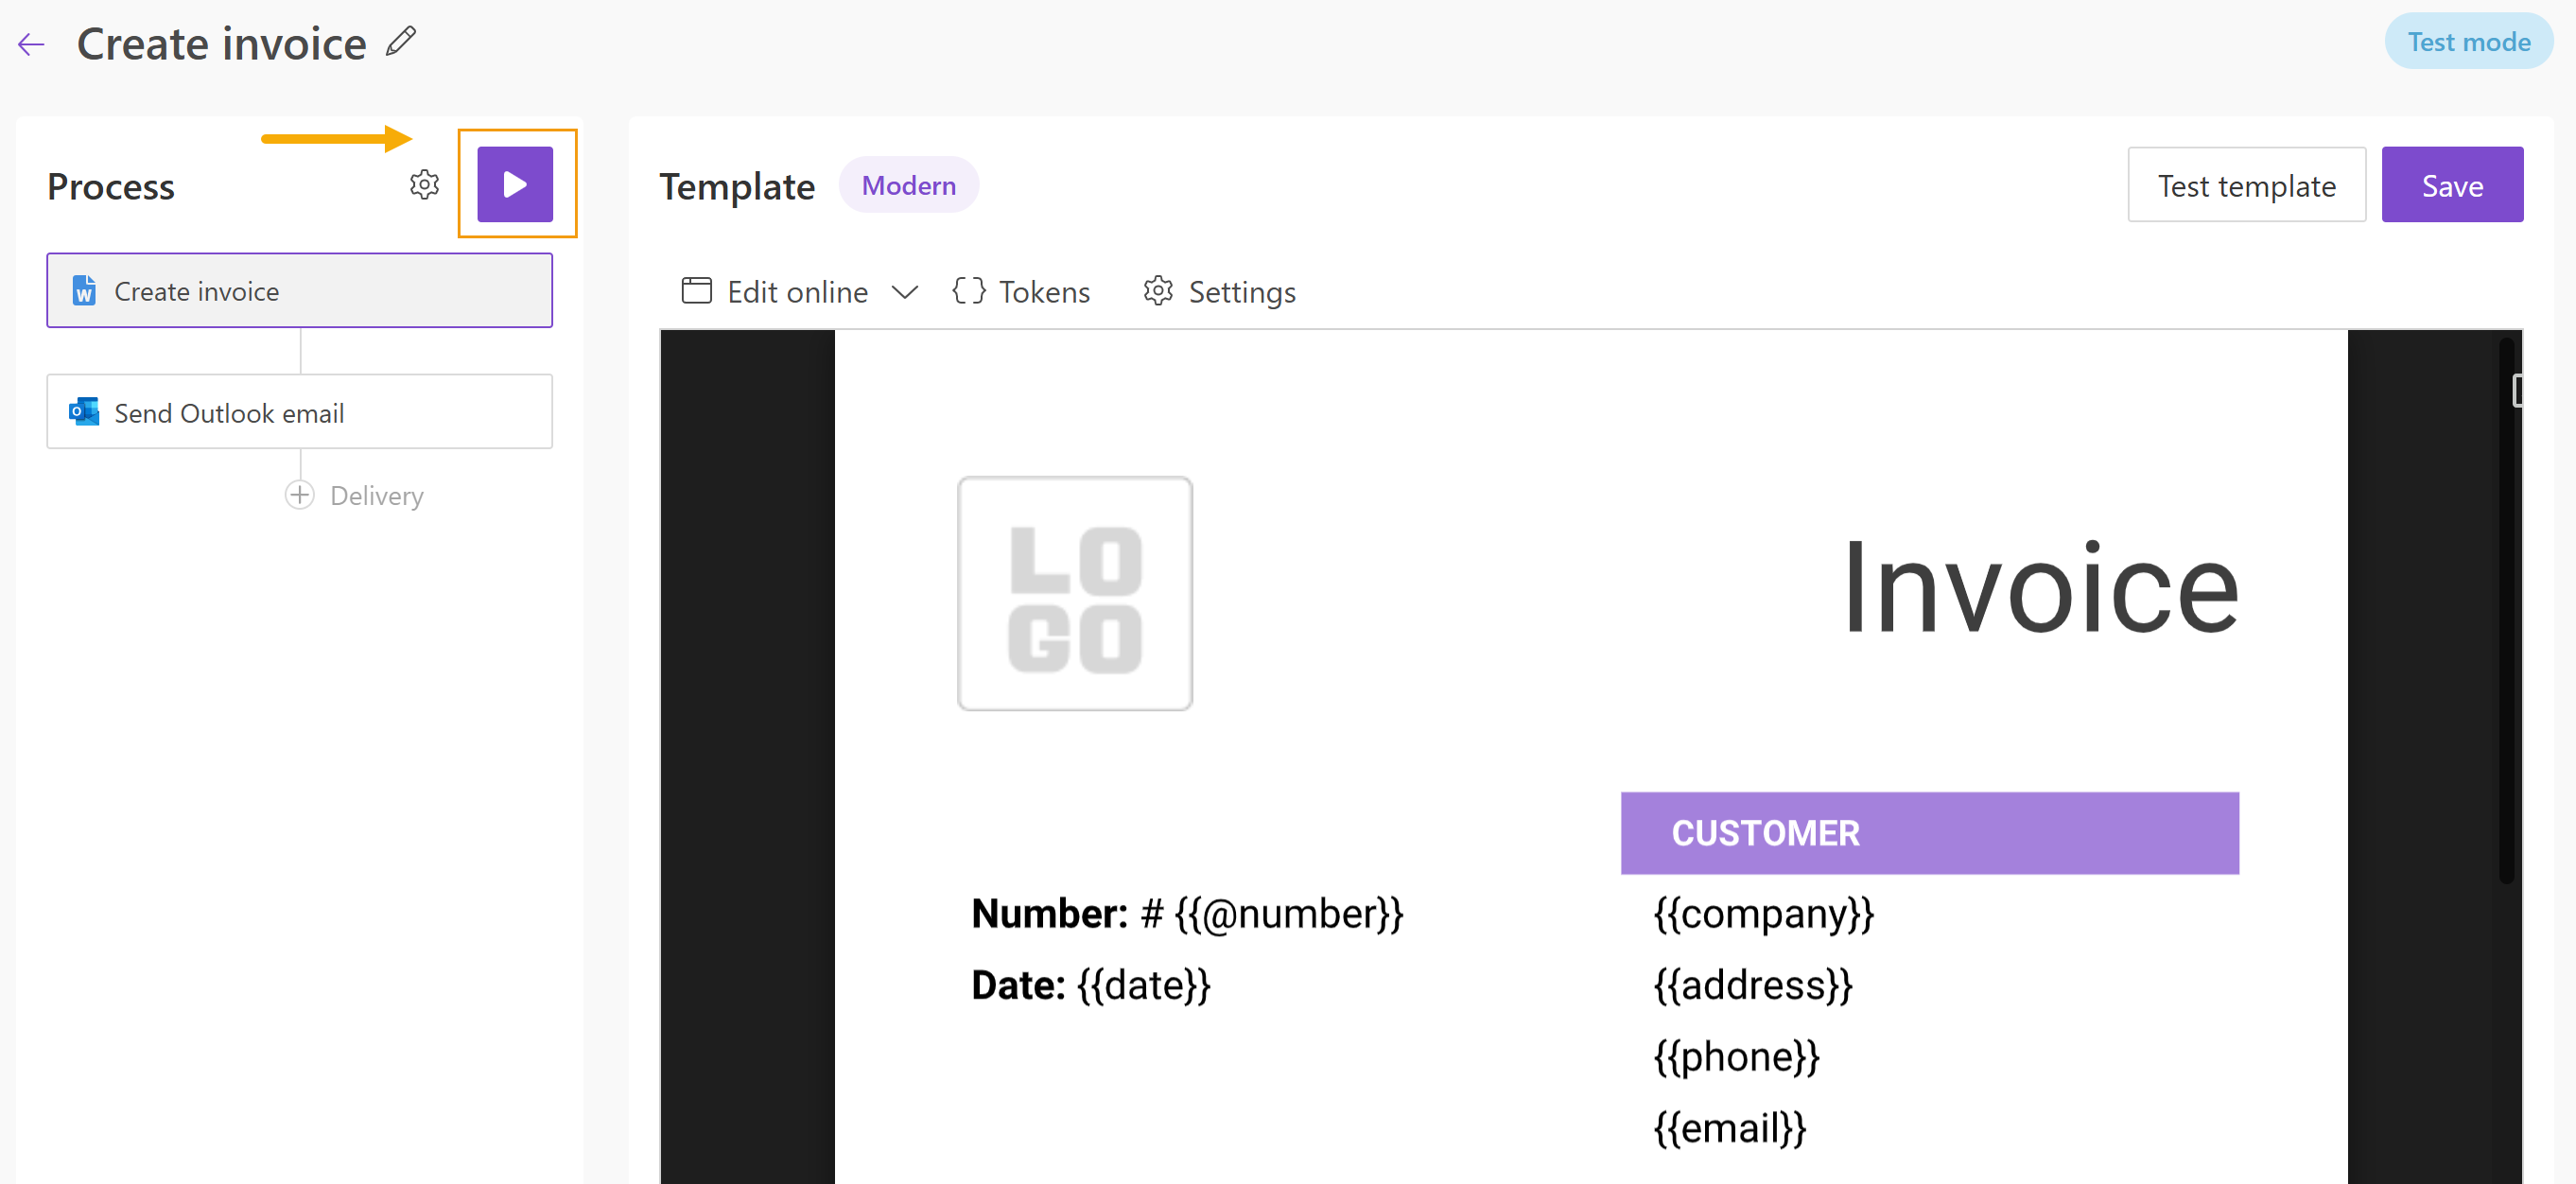
Click the Start button in the Process panel to start generating documents.
Choose trigger to run process
After you click Start, the Choose trigger dialog appears. It includes several ways to run the process manually or trigger it from other apps.
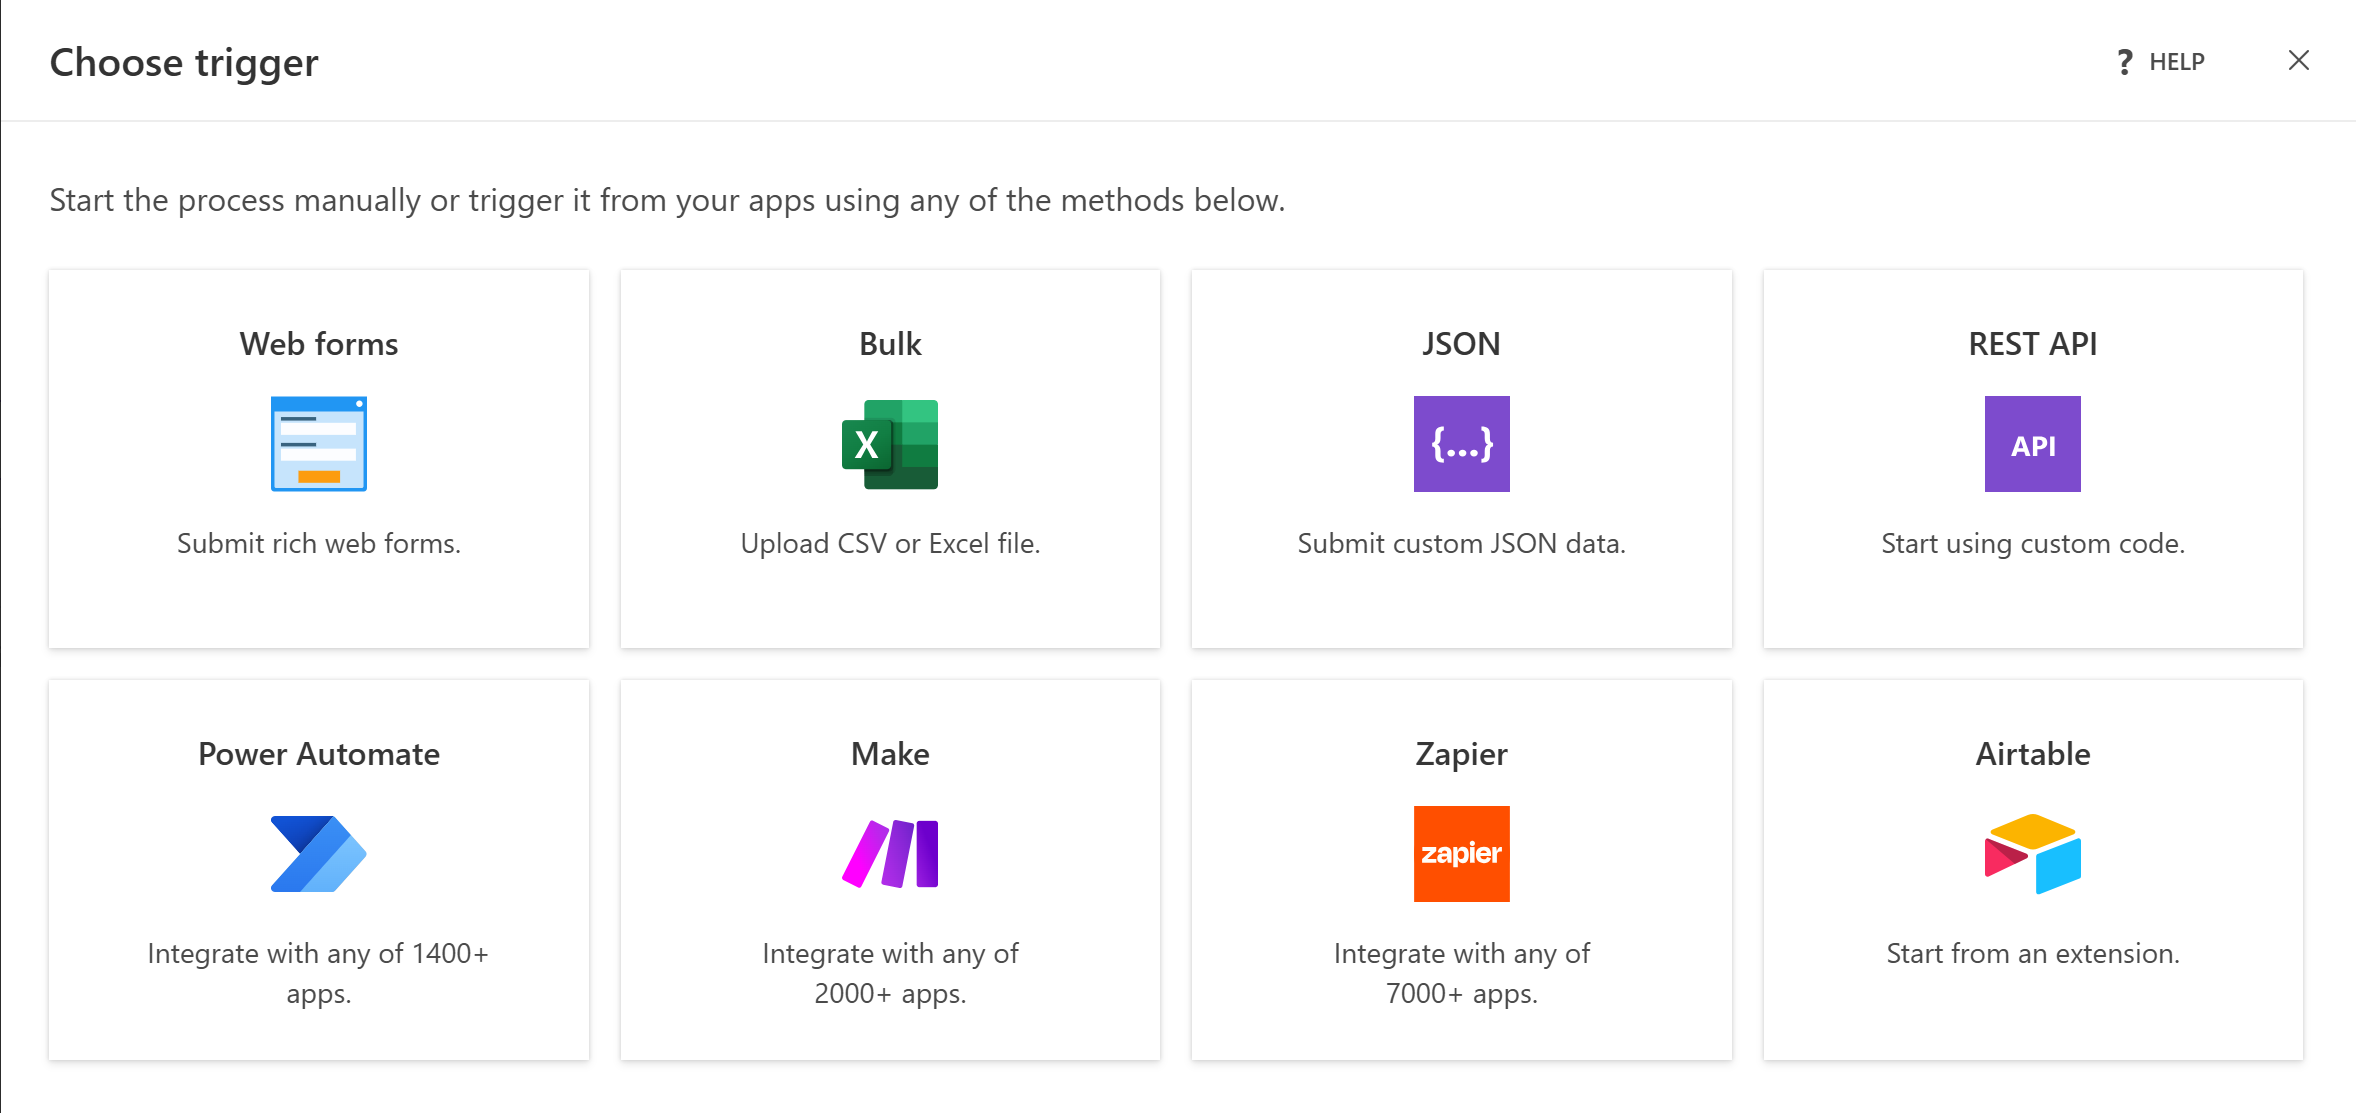
Learn how to use each of them:
Note
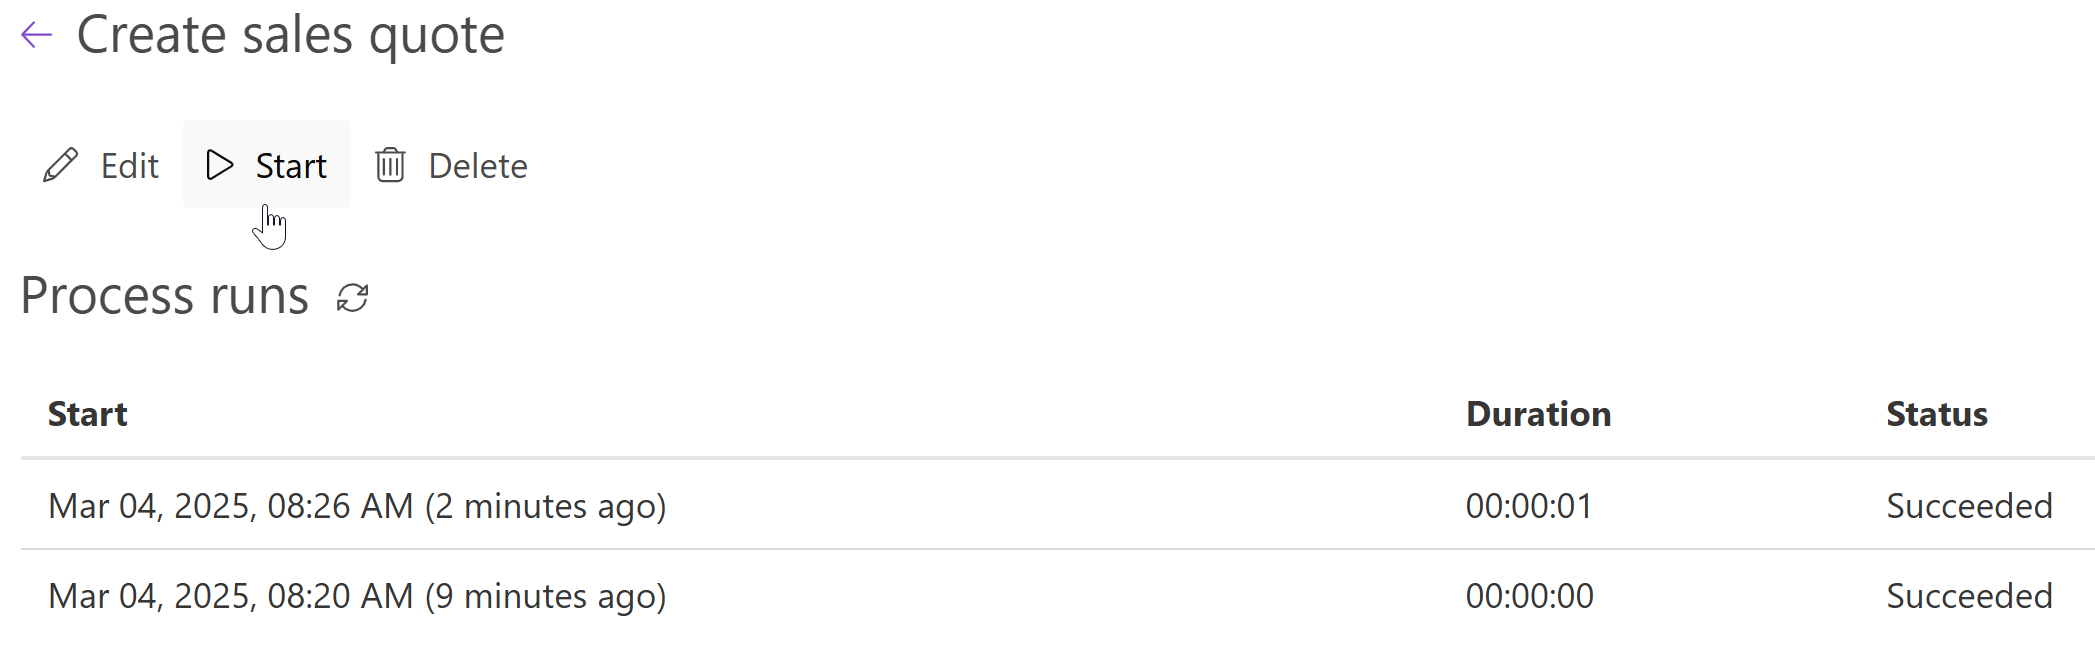
After you have started the process, you can check its runs history.
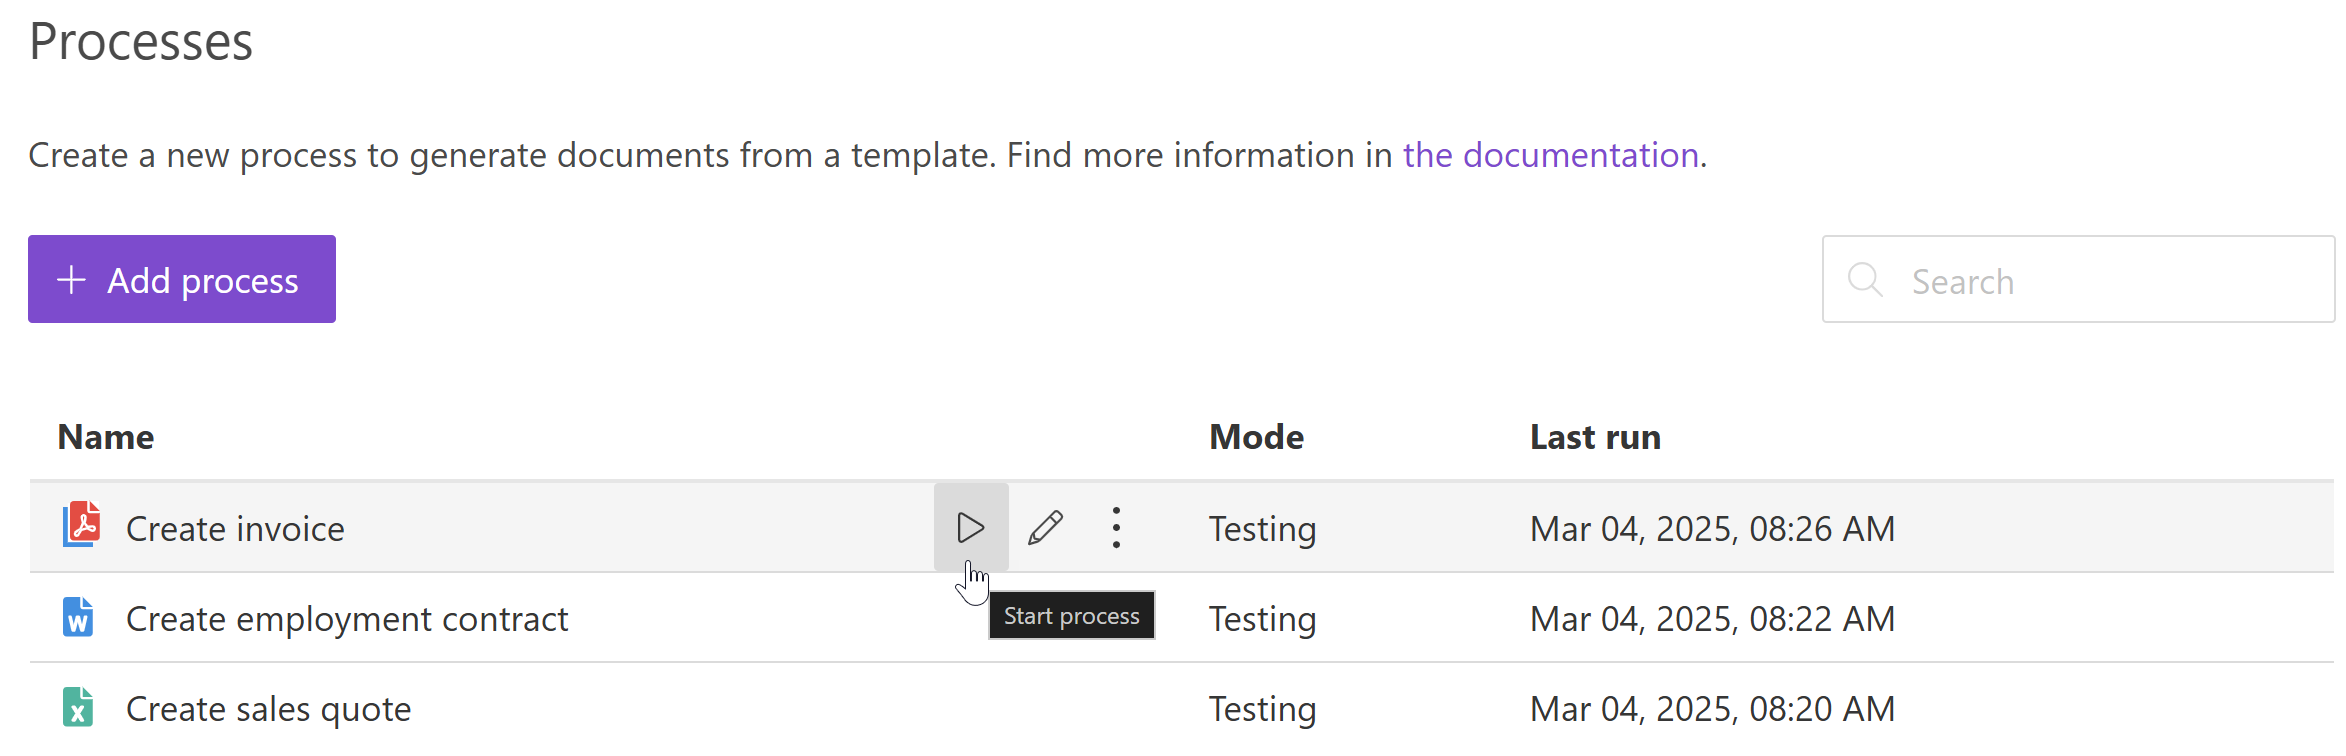
There are also two other places where you can start the process after configuring it.
In the processes list:
In the process history:
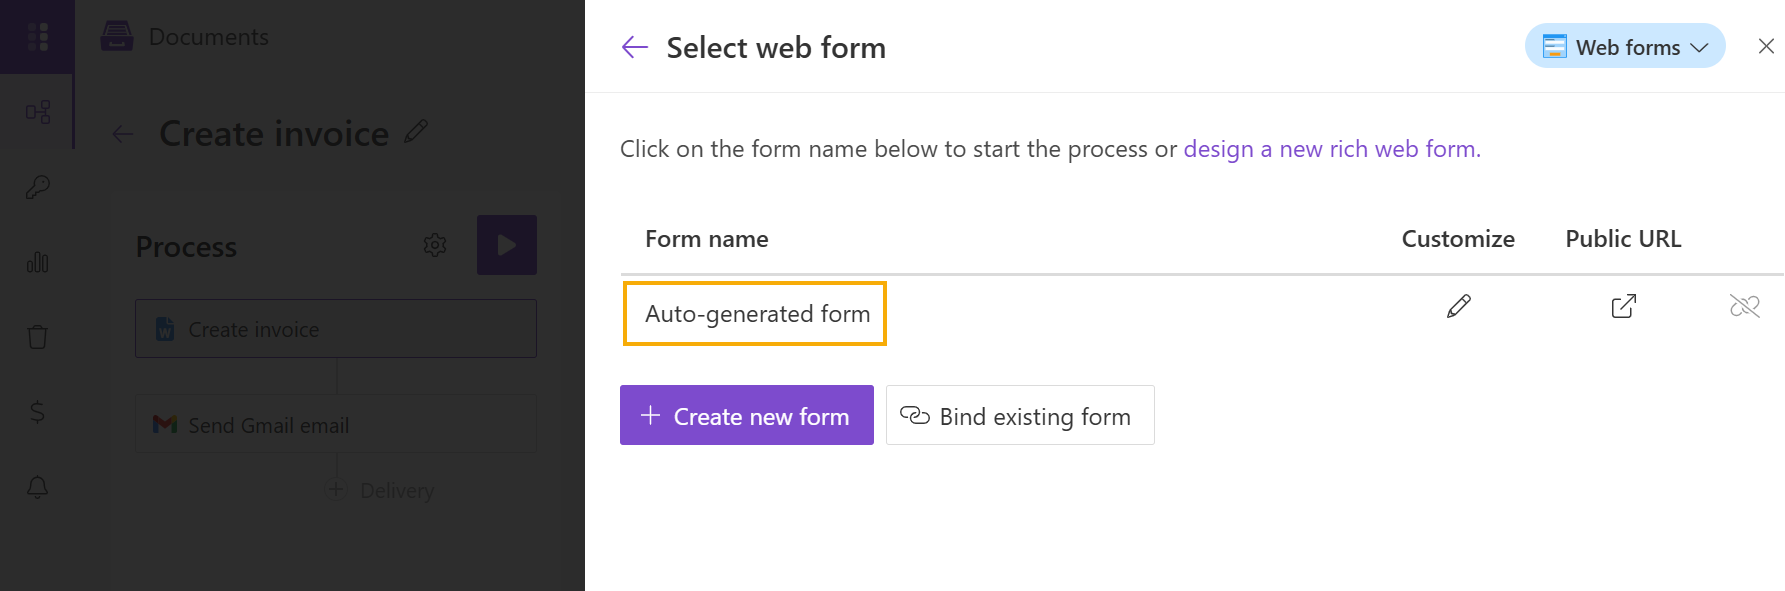
Start from web forms
If you select Web forms, the start panel opens with a list of forms connected to the process.
The process also generates an Auto-generated form based on template tokens.
Start process panel
After you select a form (for example, Auto-generated form), the start panel shows the form fields. From here, you can enter data and start the process.
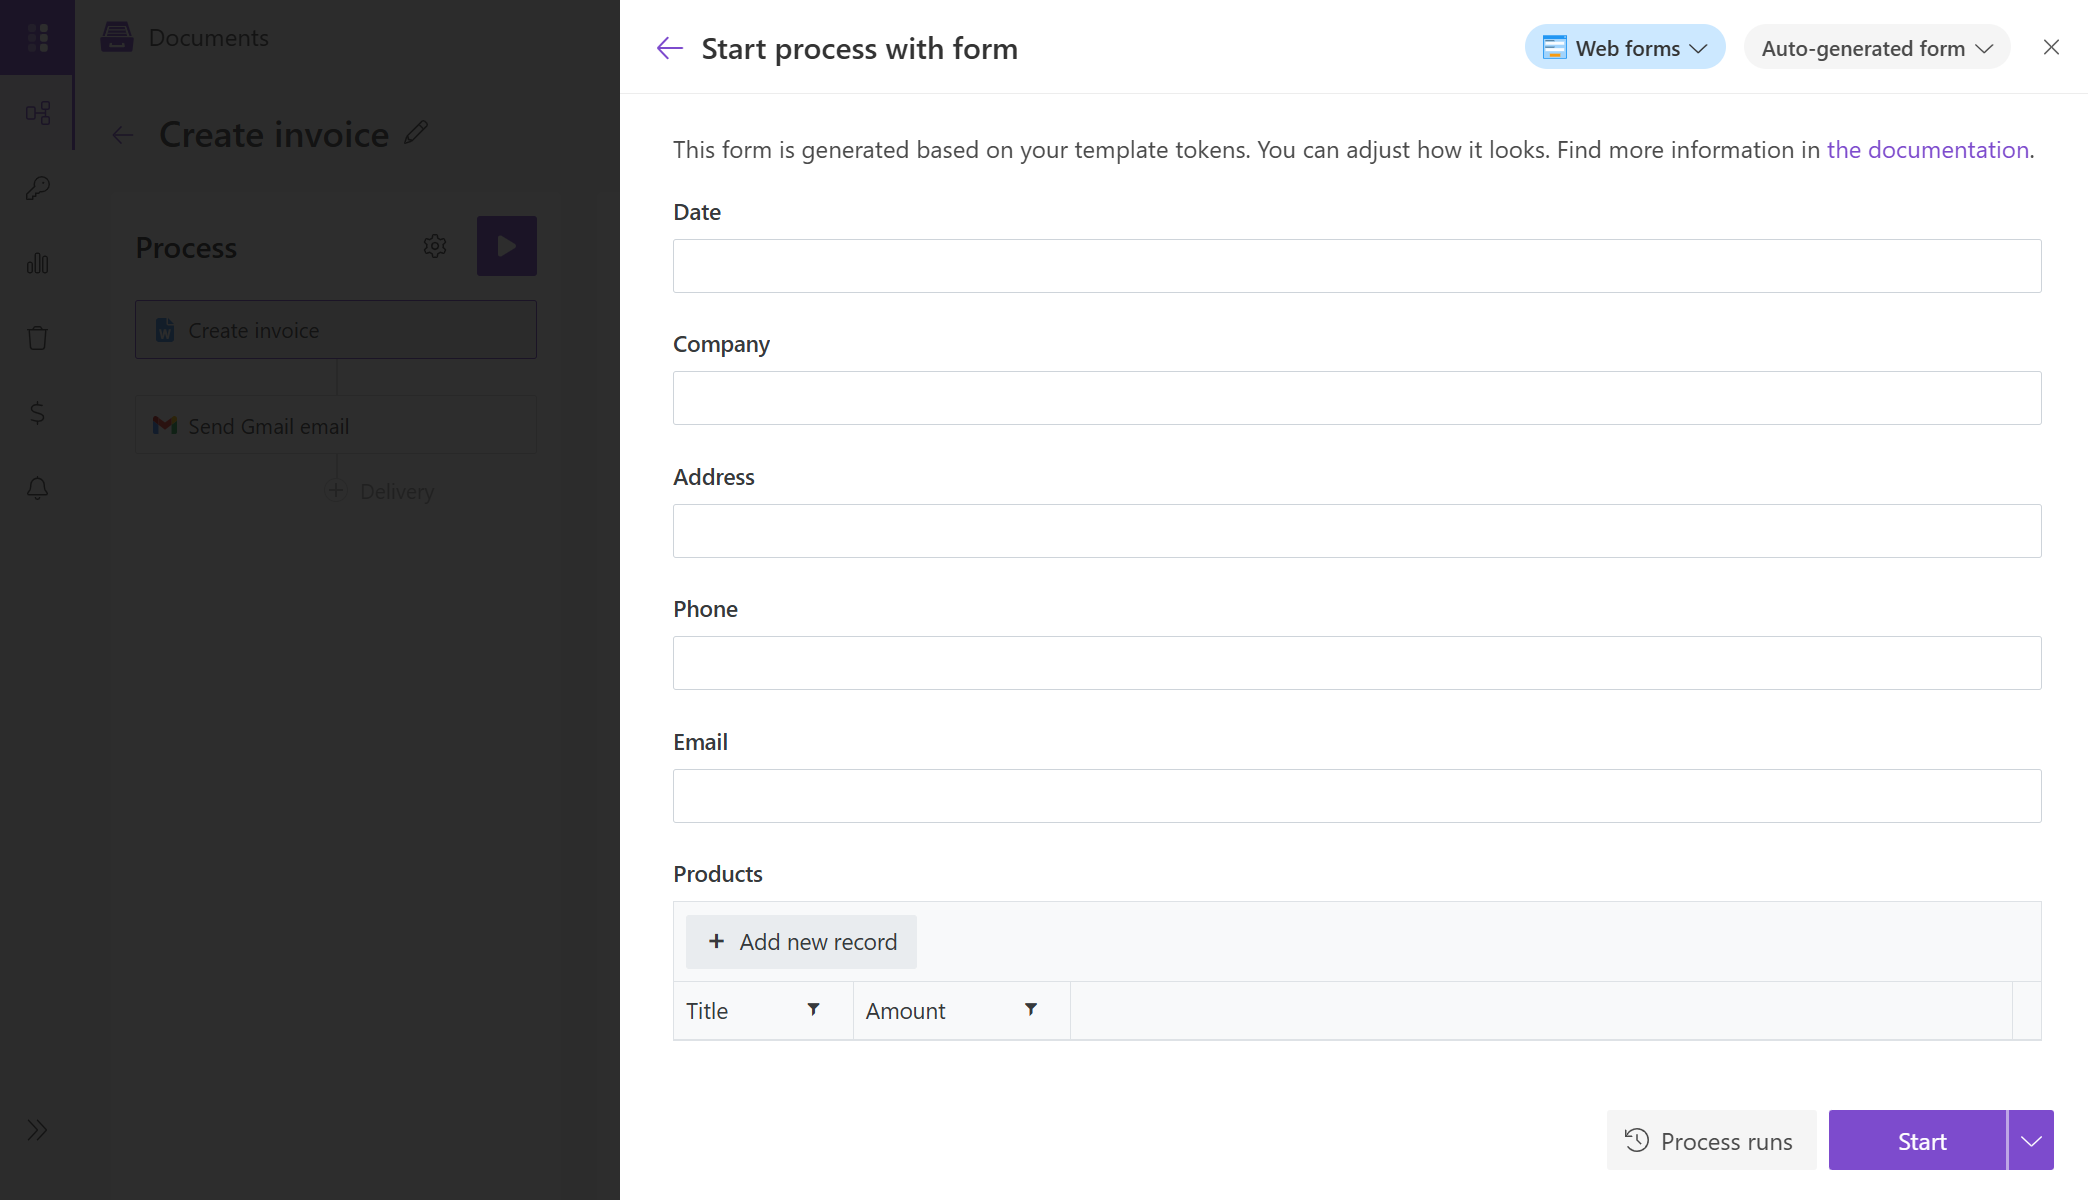
Let’s review the elements of the panel.
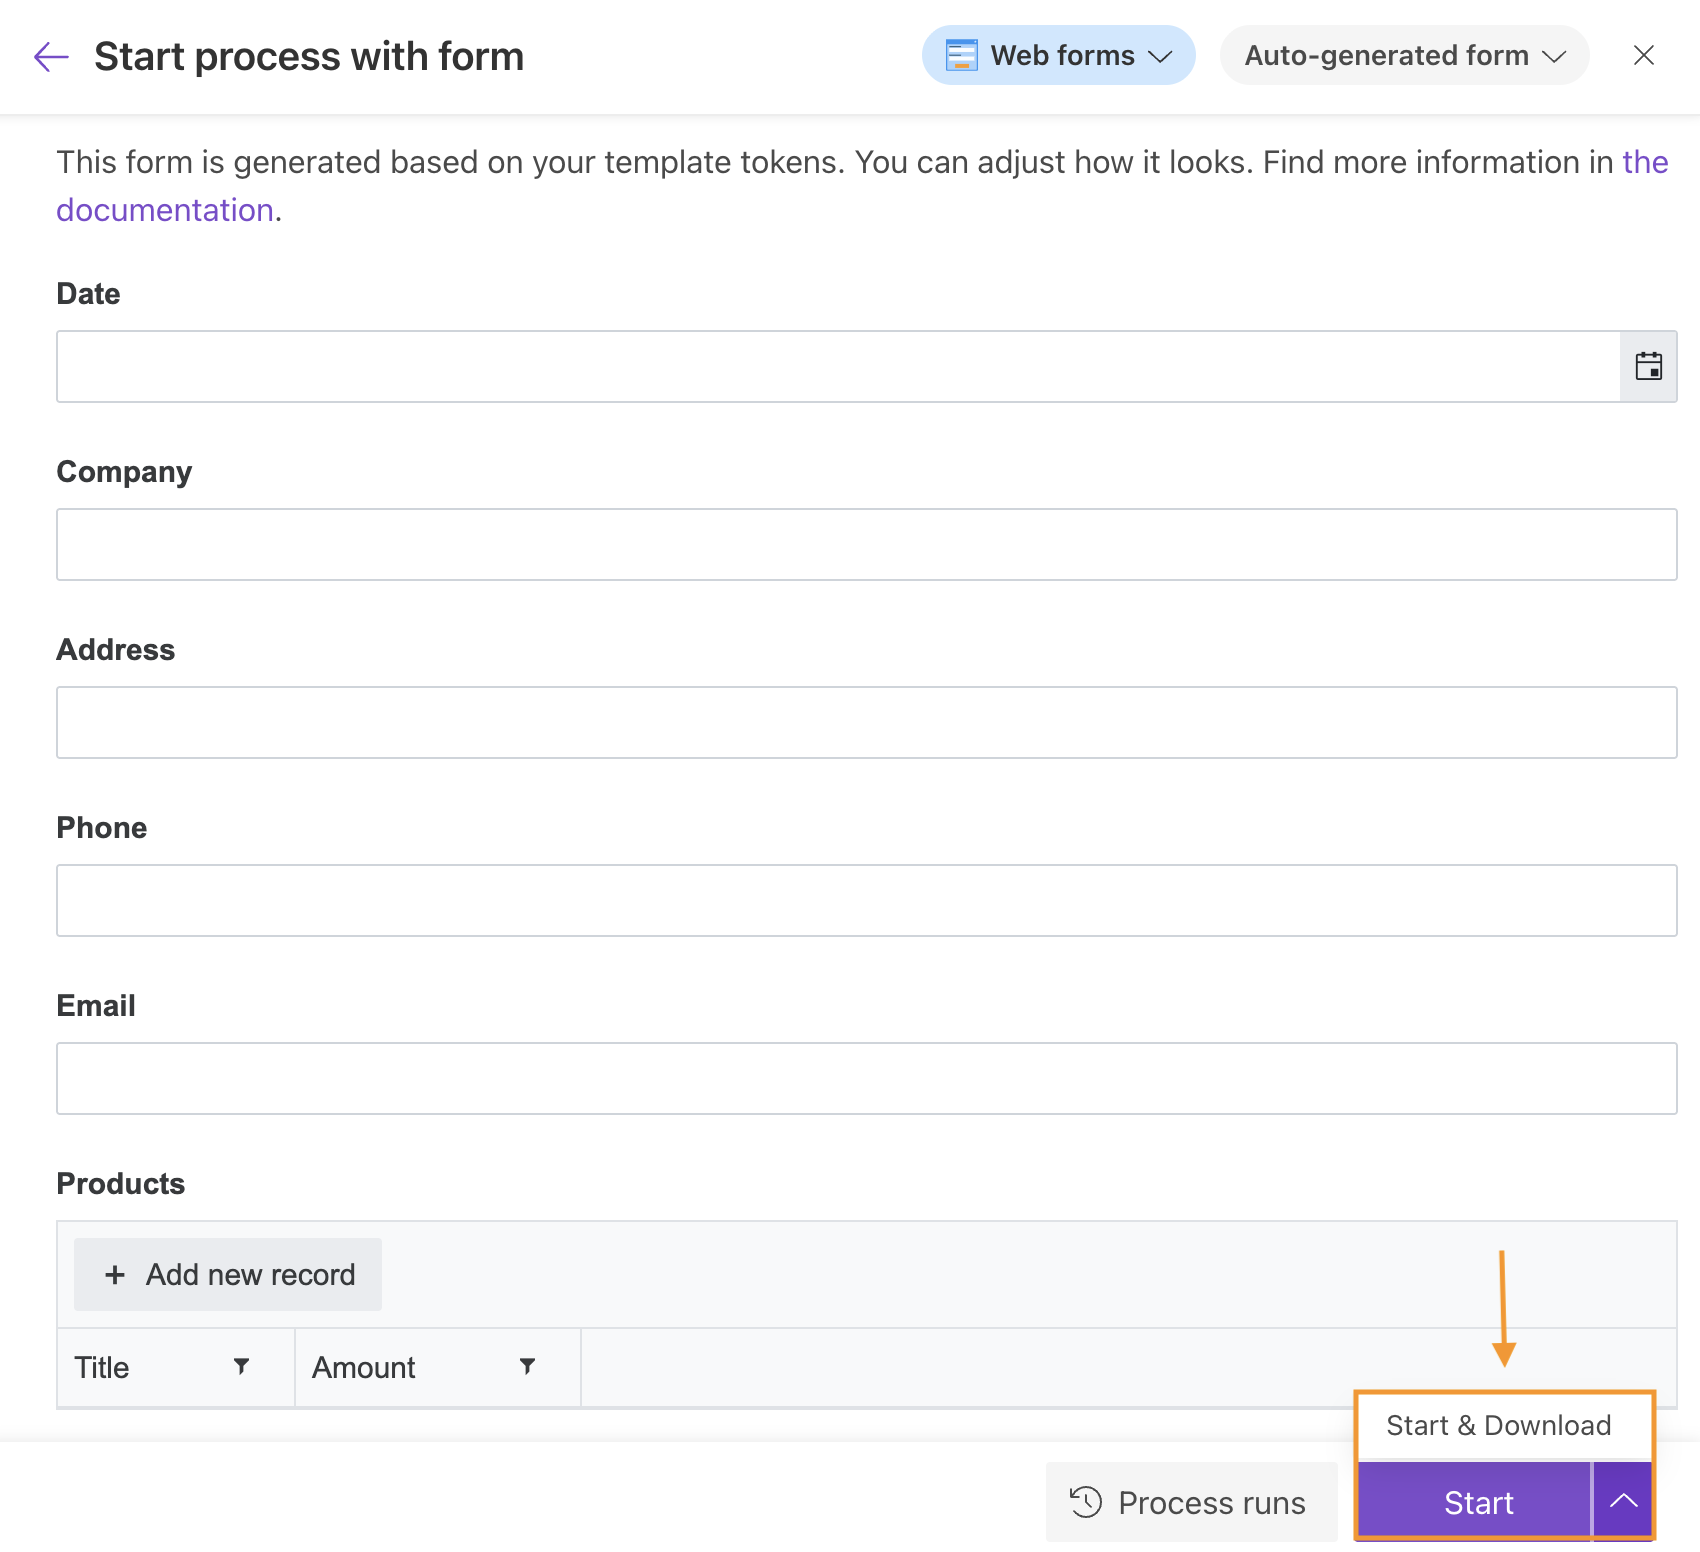
Start button
Use Start to run the process.
Use Start & Download to automatically download the generated document.
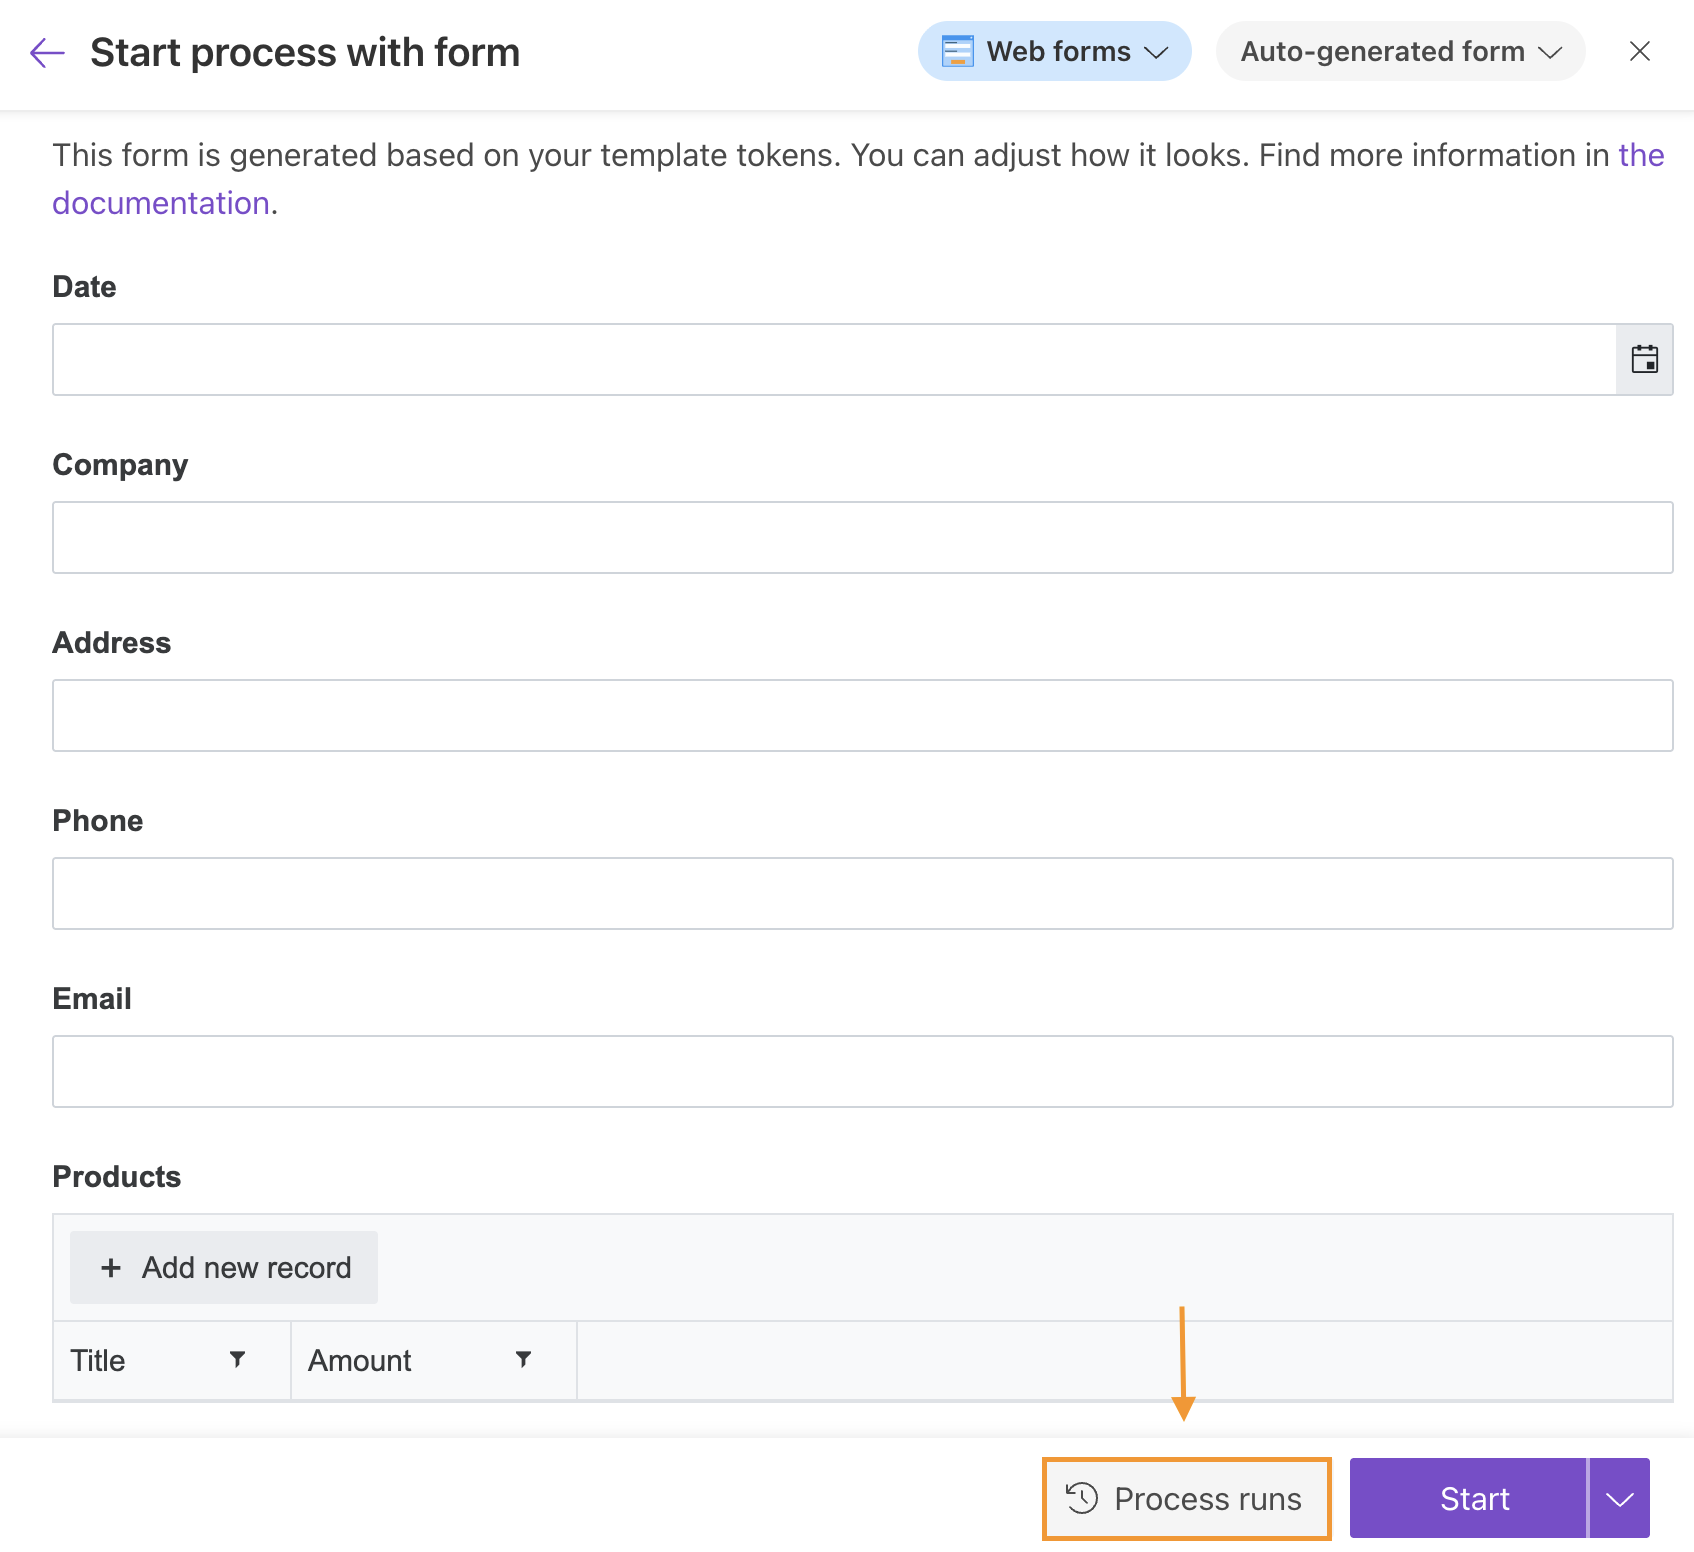
Process runs button
Opens the page with the process runs history.
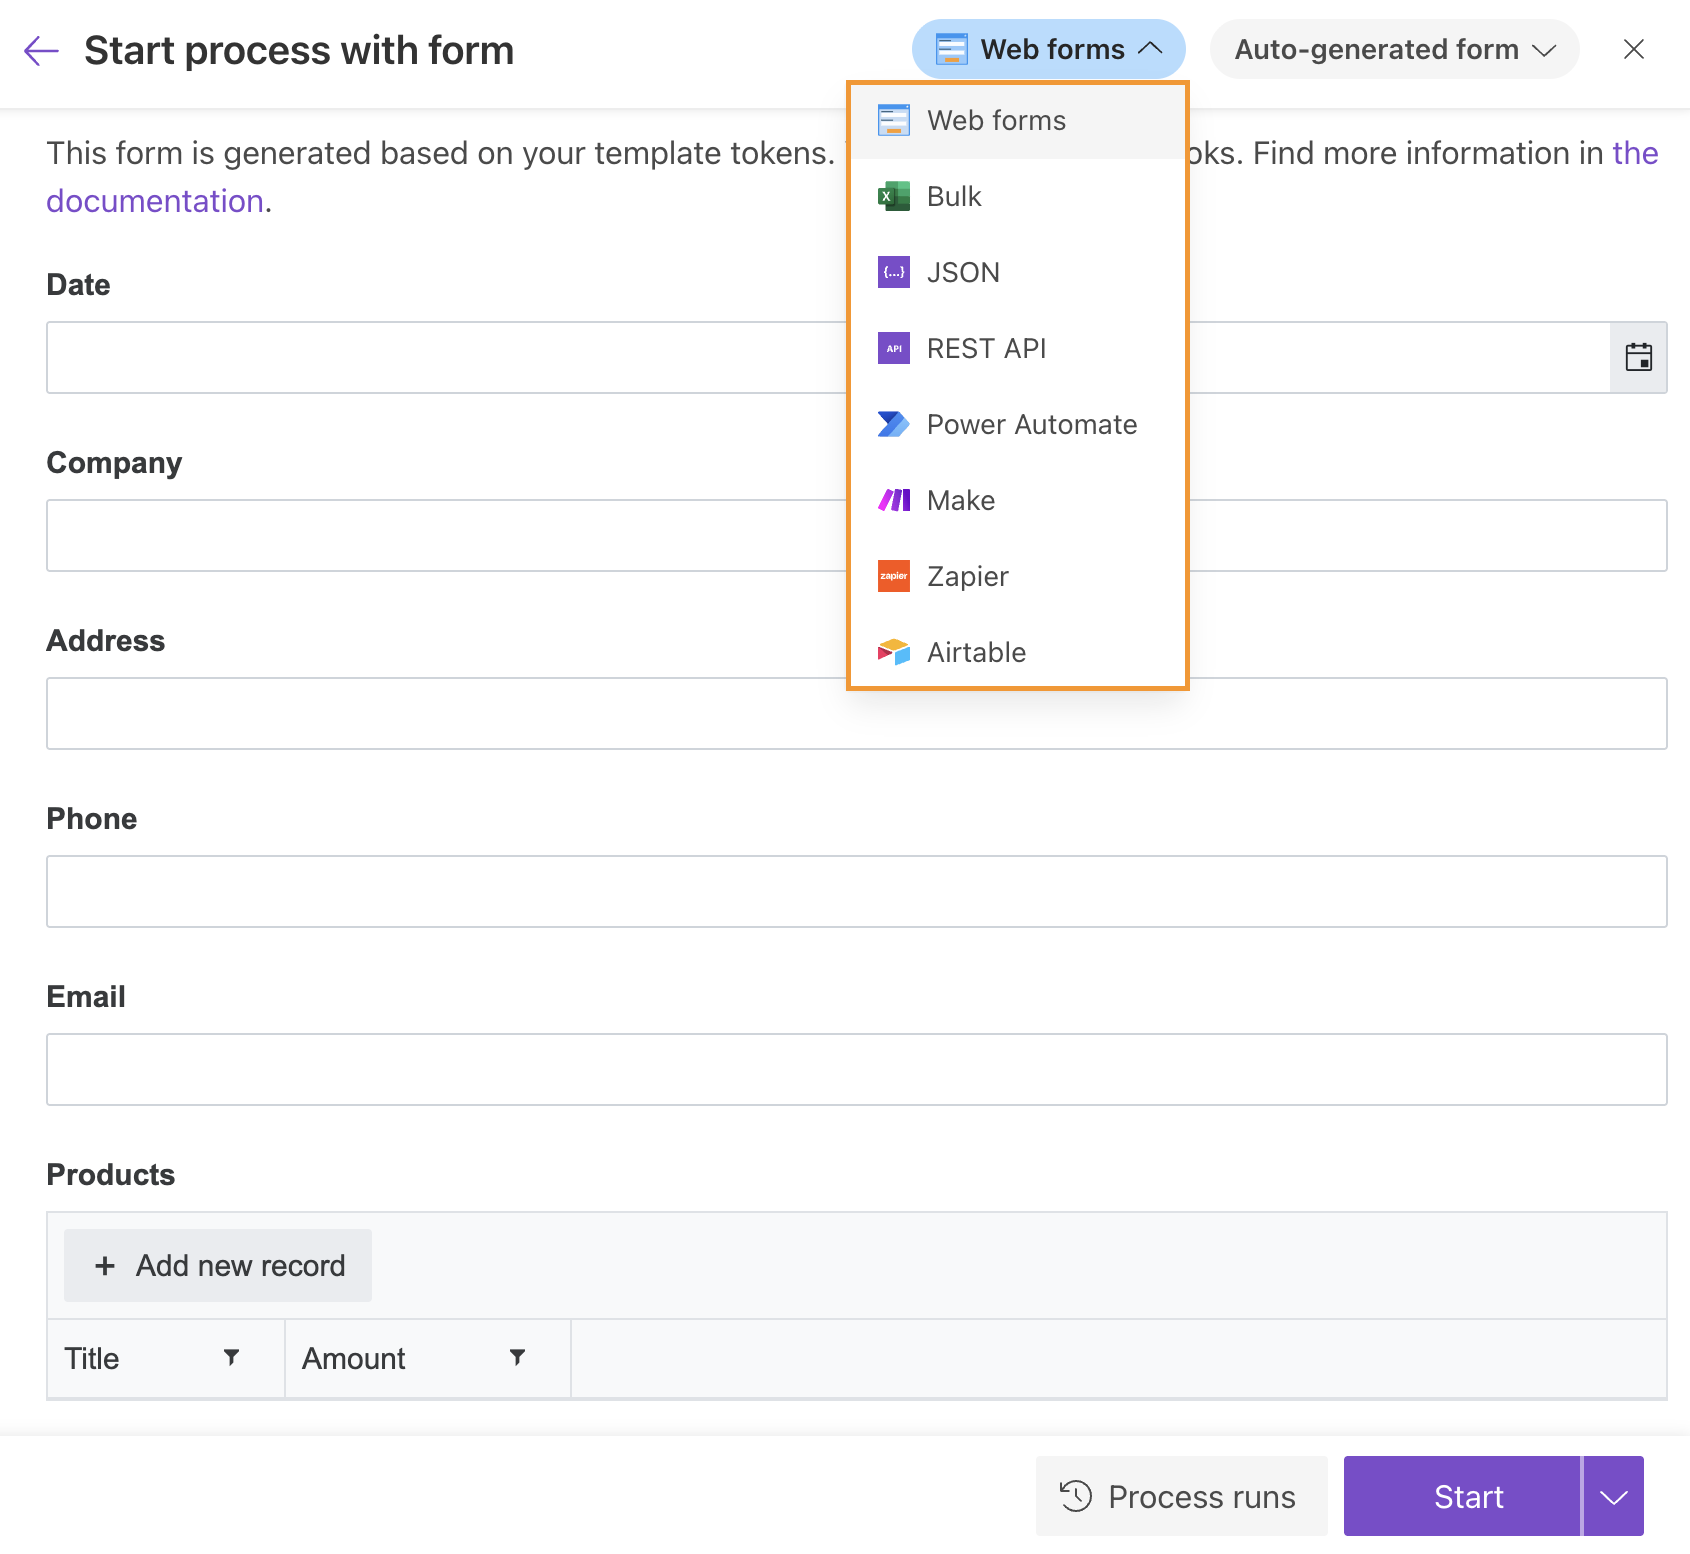
Trigger selector
Use this dropdown to choose how you want to start the process.
You can run the process using Web forms, upload a CSV or Excel file, submit JSON, call the REST API, or trigger it from integrations such as Power Automate, Make, Zapier, or Airtable.
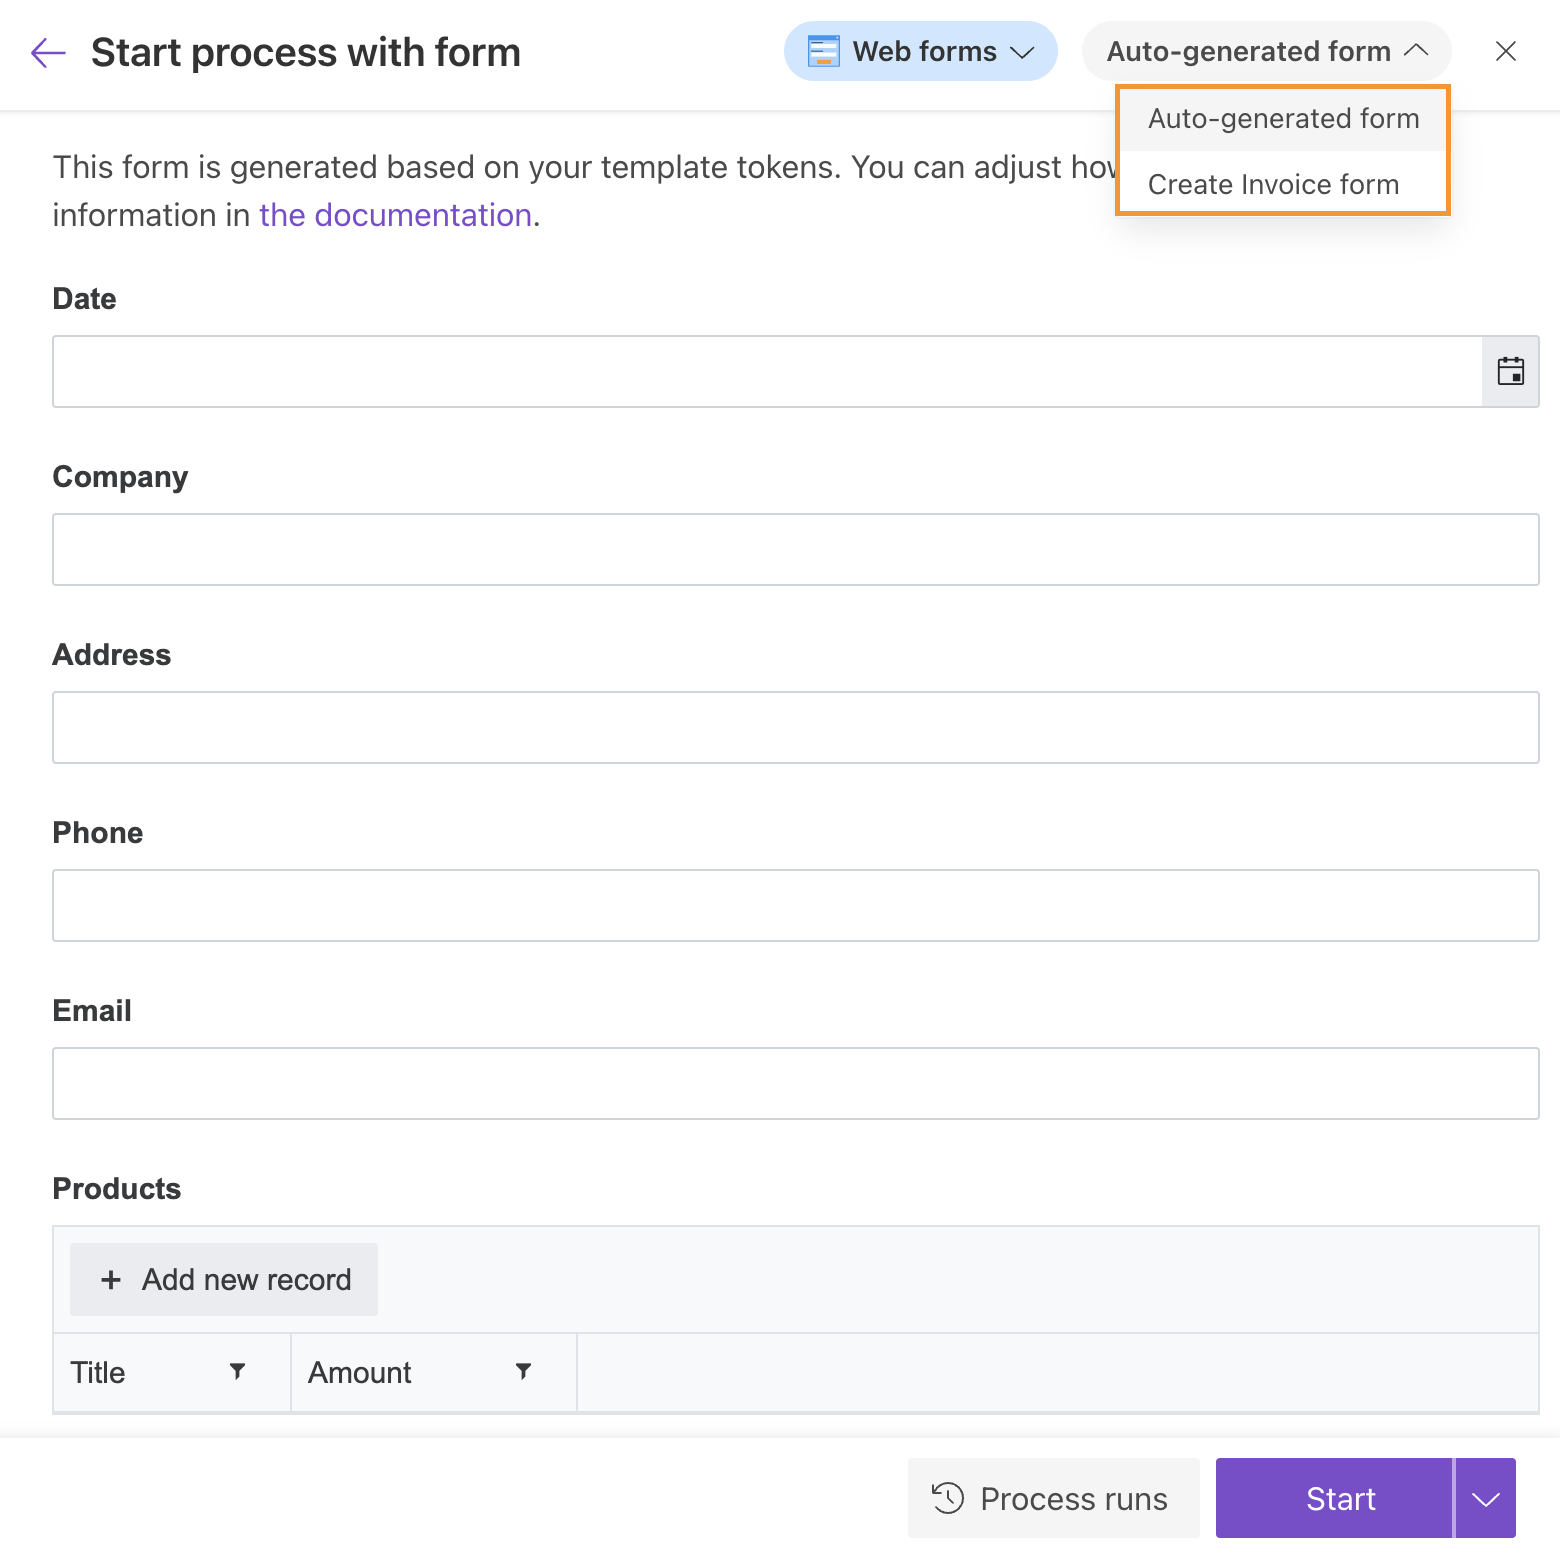
Form selector
If Web forms is selected, the process automatically creates a form based on tokens from the template.
You can use this Auto-generated form or switch to another form if multiple forms are connected to the process.
Learn more about starting the process with forms.
Alternatively, you can start the process by submitting JSON.