Use Airtable
Watch the introductory video or learn the basic and advanced features outlined in the following documentation.
Introduction
It’s quite easy to start using the Plumsail Documents extension for Airtable:
Set up a document generation process.
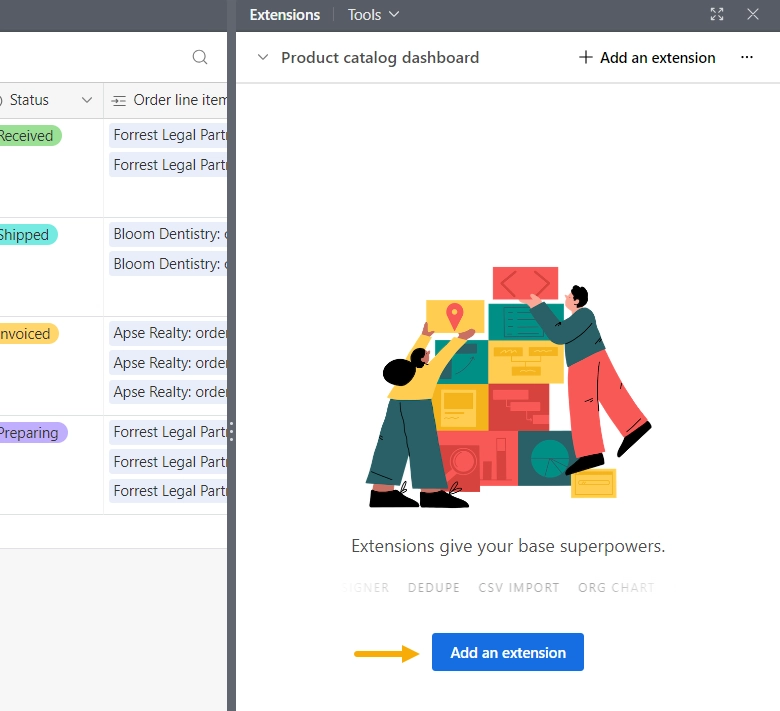
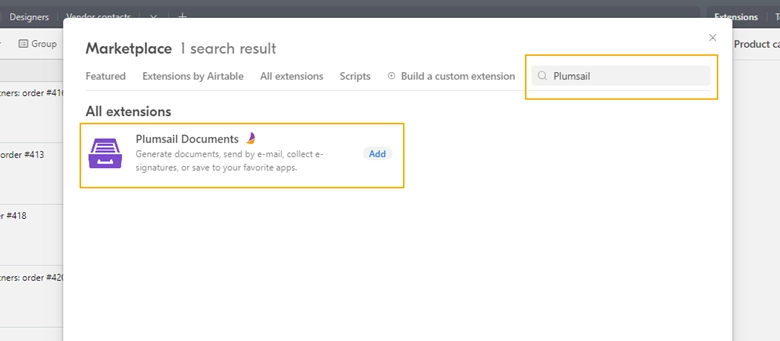
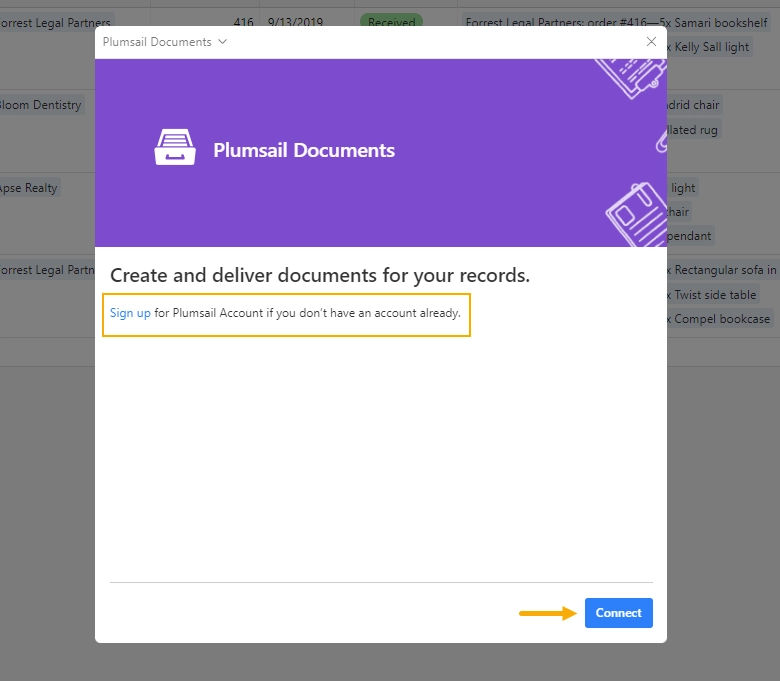
Connect Plumsail Documents to your Airtable workspace.
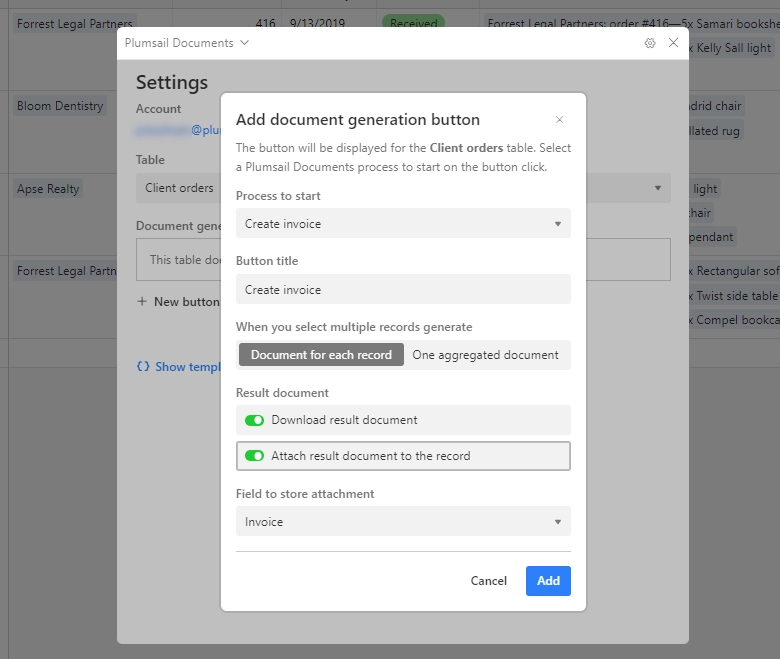
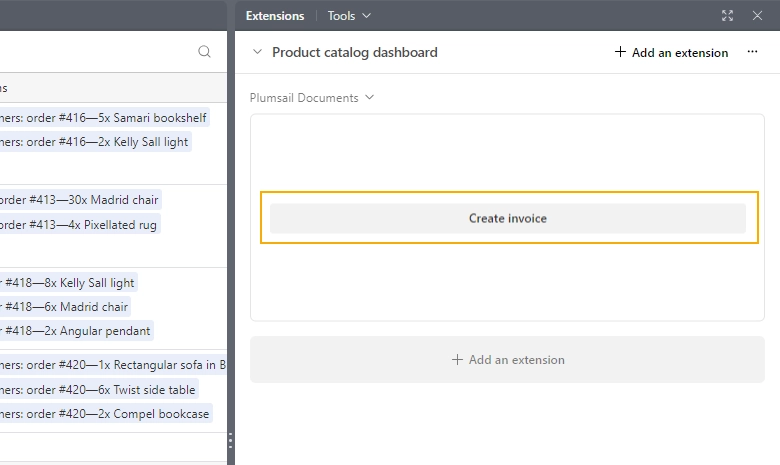
Select records and click your custom button to create documents automatically.
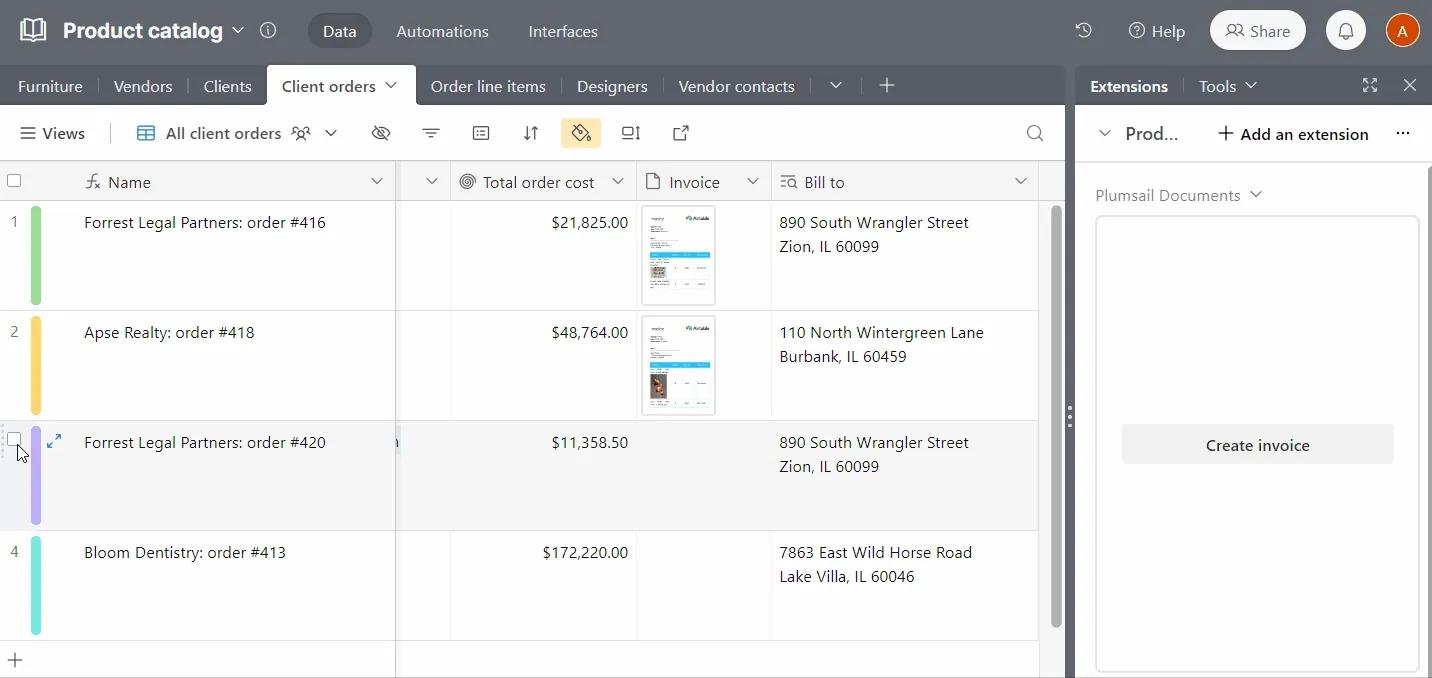
That’s it! We’ll review each of the steps in more detail further in the article.
Set up a document generation process
To illustrate this integration, we are using the Airtable Client orders database available in the Product catalog template.
We have also created an Invoice template that matches this Airtable database structure, and already contains all necessary tokens. For a deeper understanding, you can refer to our guide on how to create a document template for Airtable from scratch.
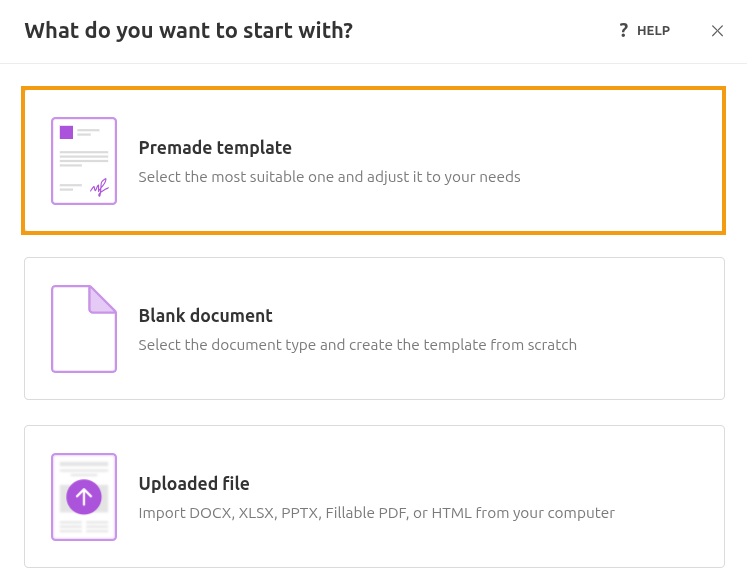
For our example, let’s start by creating a new process and select Premade template:
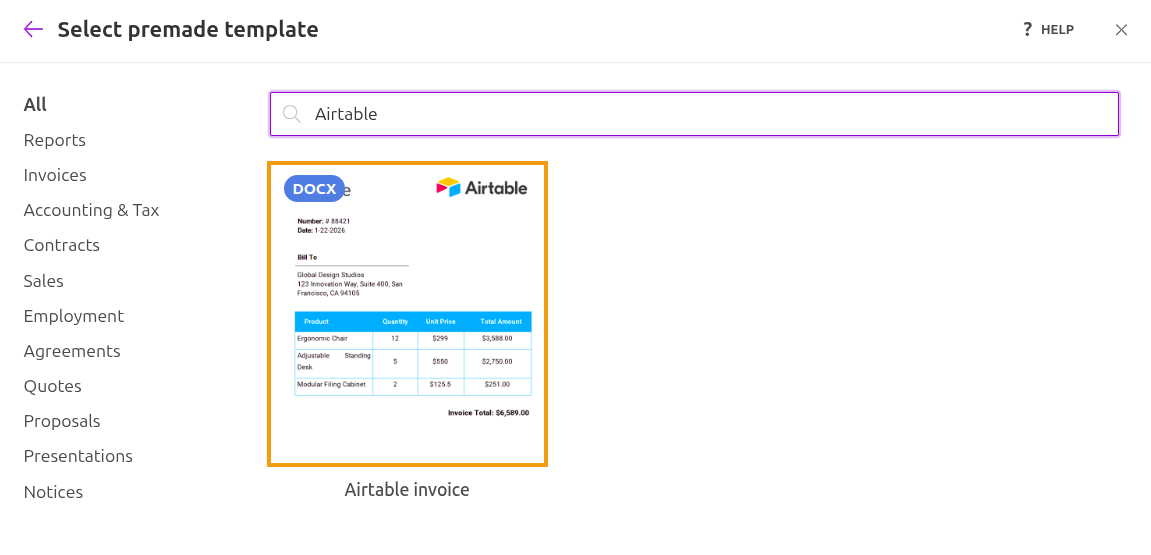
Then, search for and select the Airtable existing template:
Once selected, choose your output file type (e.g., PDF or DOCX) and name your process:
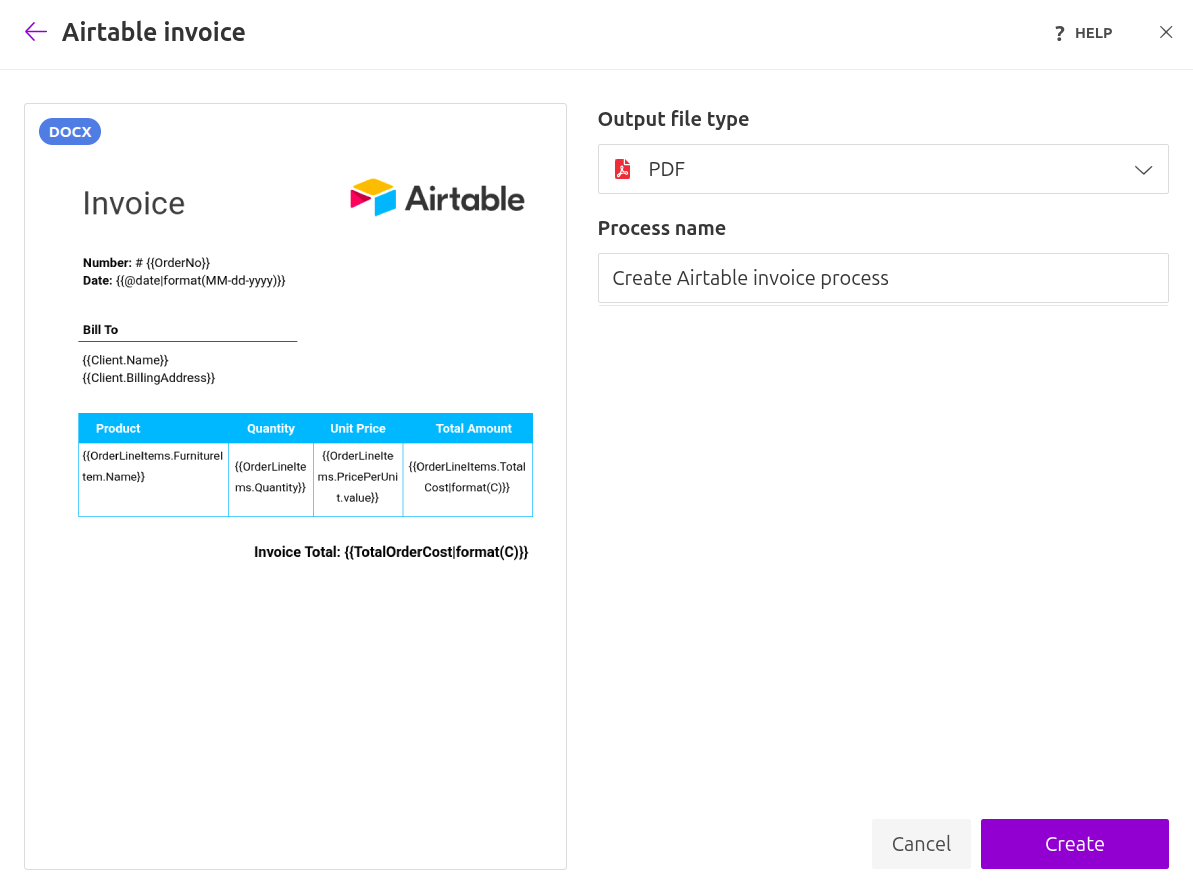
Note
You can update the output file type at any time in the settings panel.
We can now move forward and learn how to use the Airtable extension.
How to copy tokens and add them into the template
Note
For guidance on creating and utilizing your own document template, please refer to our step-by-step guide.
Let’s go back to our document generation process to add the tokens from Airtable to the invoice template.
Earlier, we created a process using the Invoice template based on the Airtable Product catalog template. Feel free to add or remove tokens from the template to align with your database fields, following these steps:
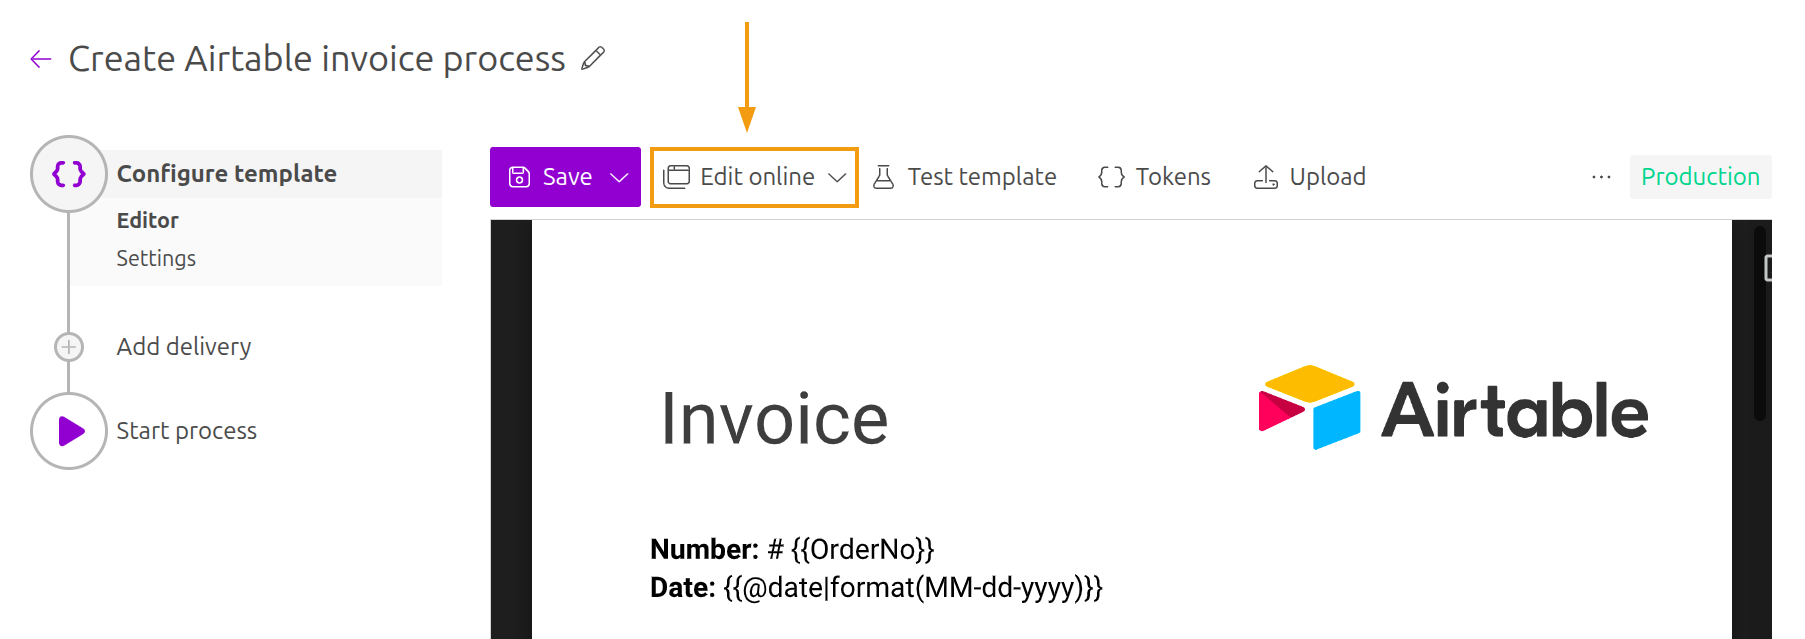
In your Plumsail account, open your process and click Edit online
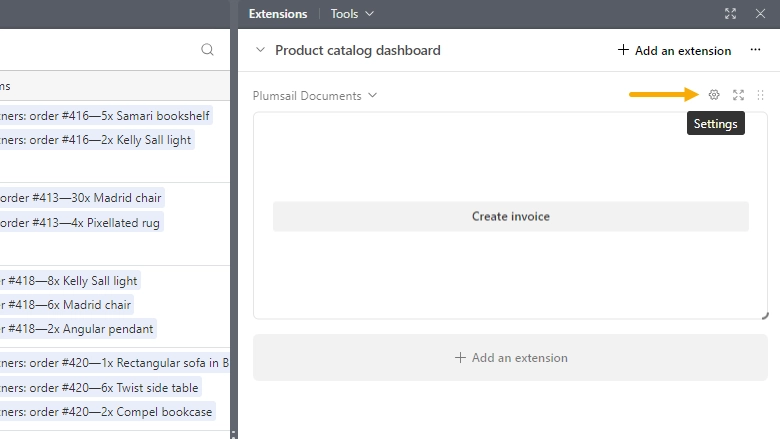
Then go to the Airtable database and click on the gear button to open the extension settings.
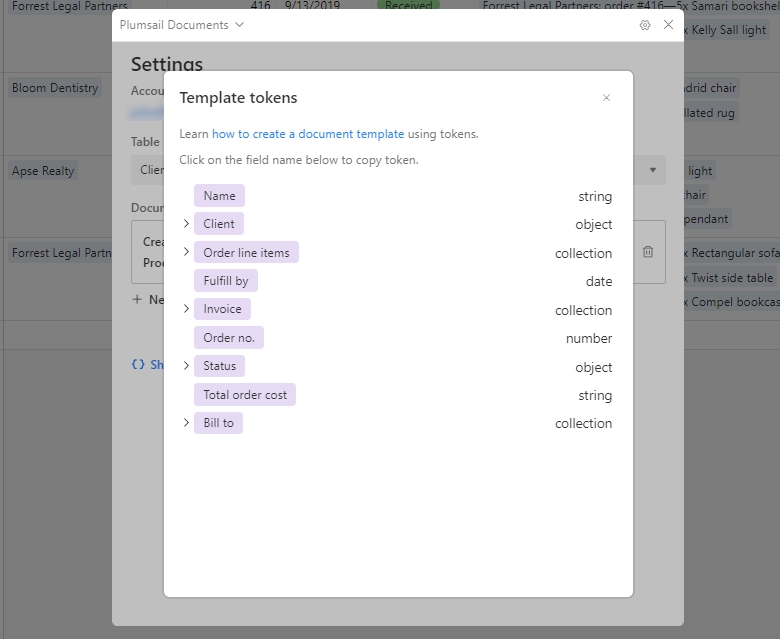
Open the list of the tokens by clicking on the Show template tokens button.
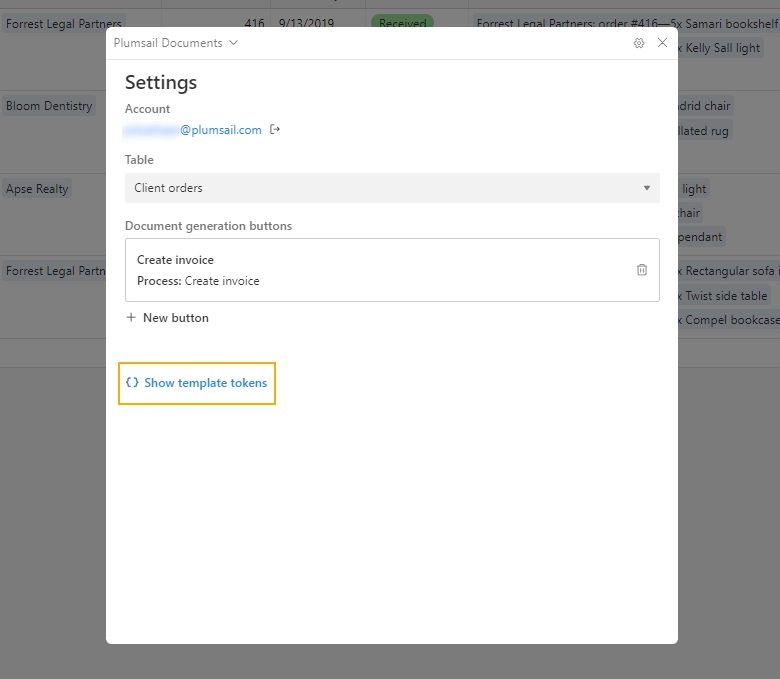
You’ll see all available tokens from the database. Copy the token you want to display in the generated document.
Advanced customization
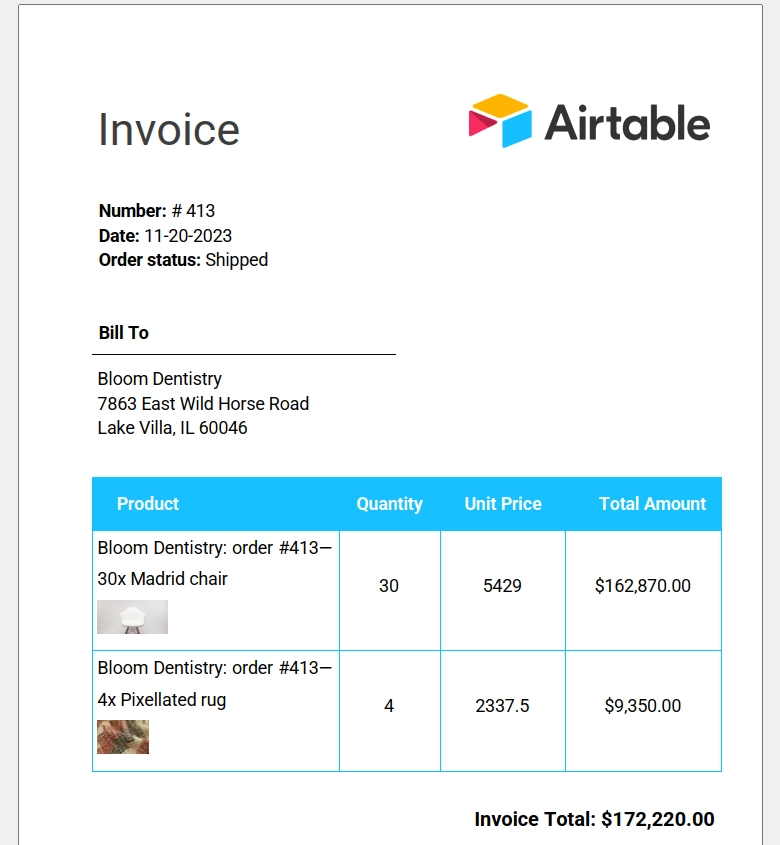
While text is a great start, you can also pull more complex elements, like images, directly from your Airtable fields to create richer documents.
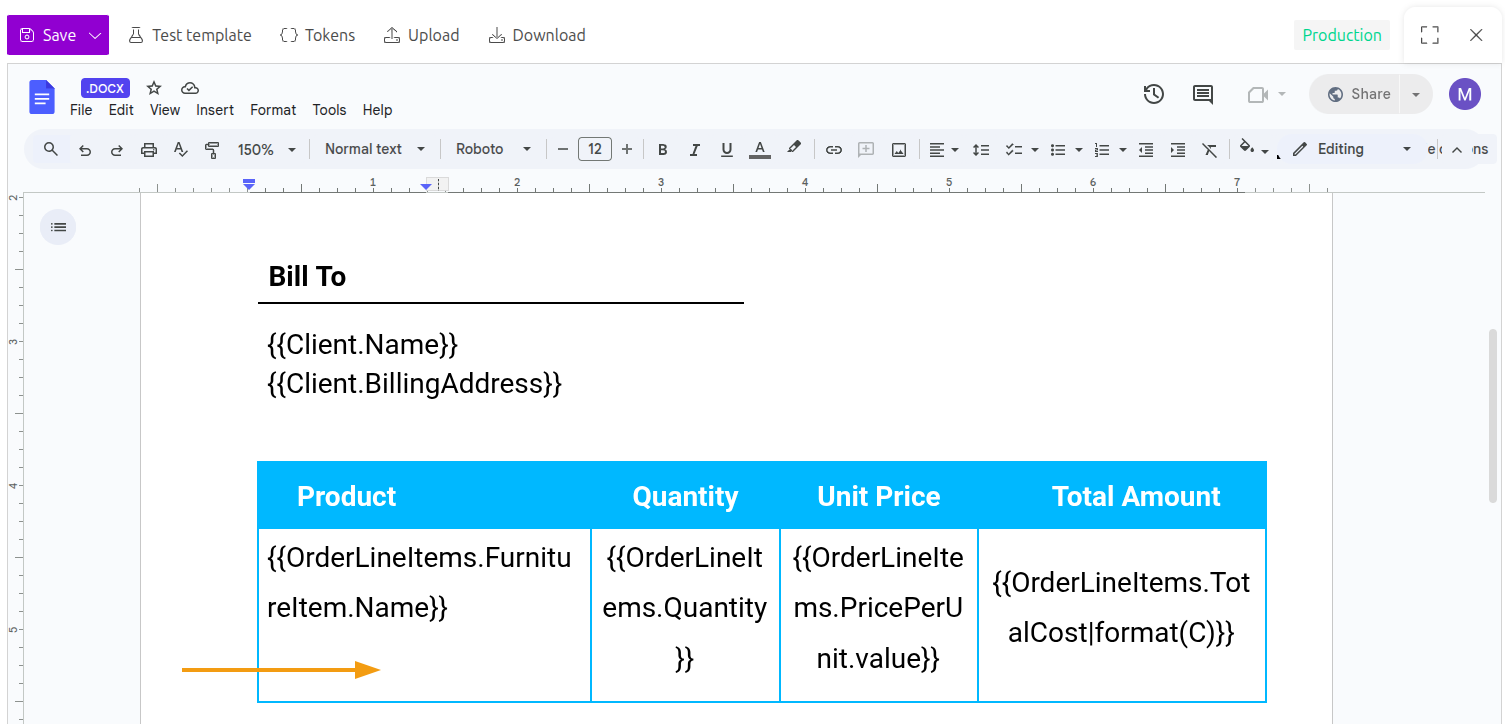
Let’s walk through how to customize your invoice template to pull in images dynamically in the product column cell.
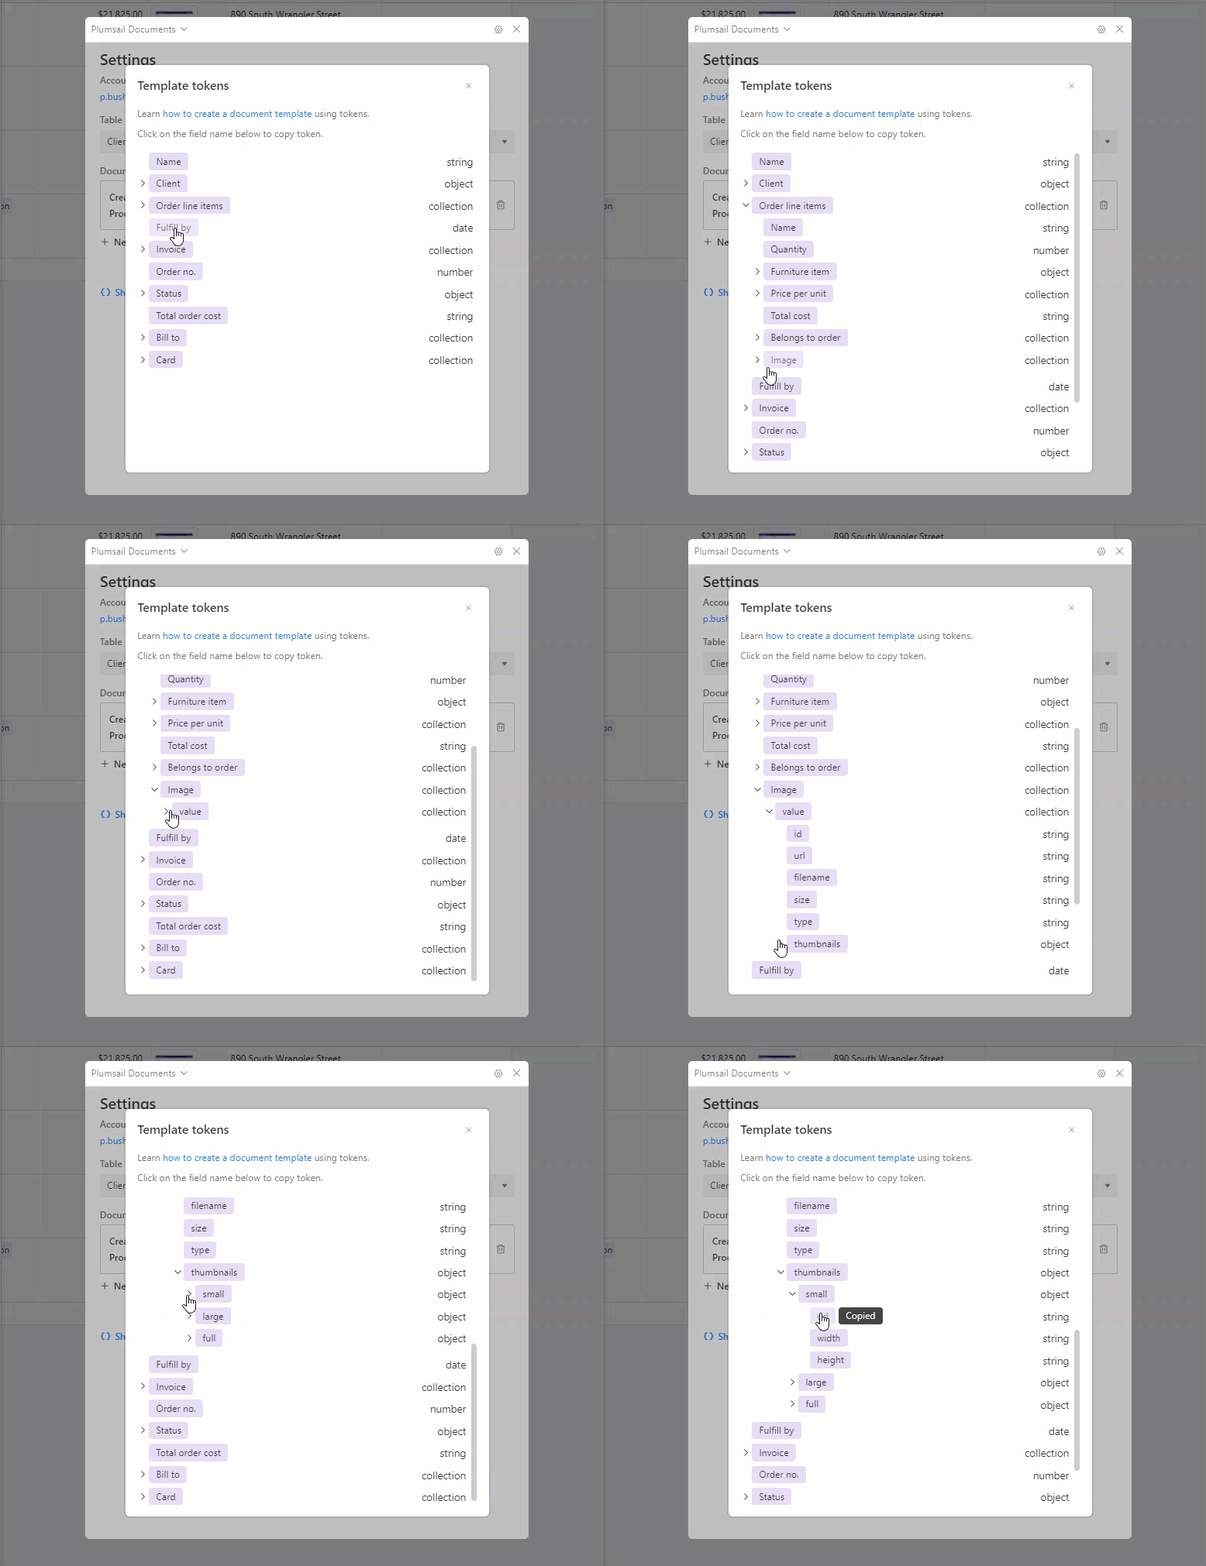
Go to the extension settings, select the database Client orders and click on the Show template tokens button as described above.
Find the image URL token using the path: Order line items -> Image -> Value -> thumbnails -> small -> url.
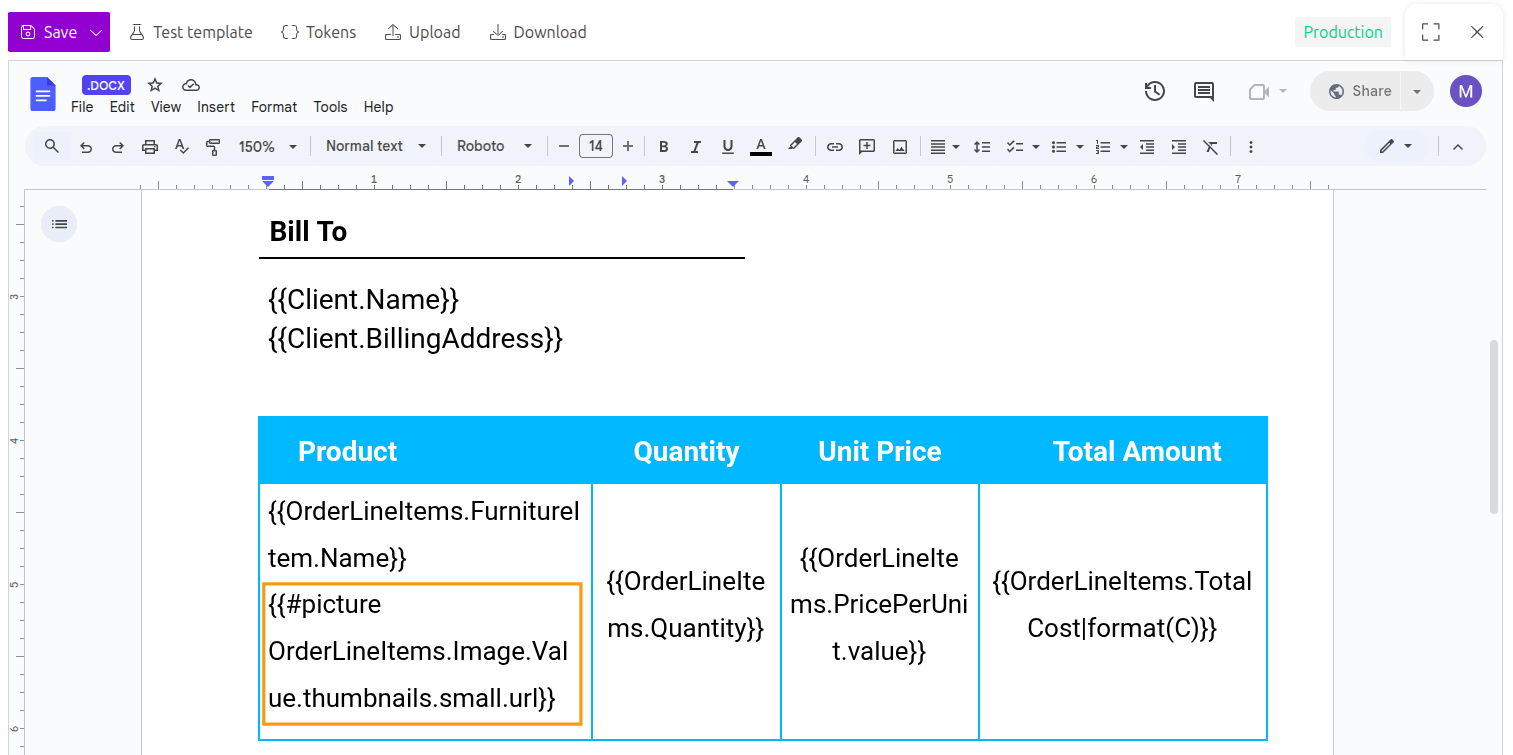
Paste the copied token, and apply the picture object operation to ensure the URL is automatically rendered as an image in your final document.
Save all your changes.
Run process from Airtable extension
Now, we can close the extension settings and generate an invoice.
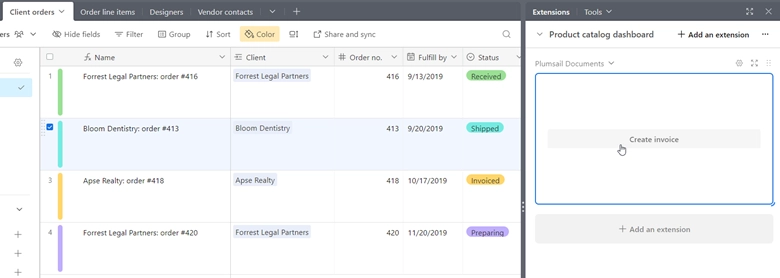
The resulting document is downloaded and attached to the record.
Run process from Airtable Interface
It’s also possible to trigger the same Documents process from an Airtable interface with the help of Airtable automations.
For a full walkthrough, watch the detailed video tutorial that shows how to add a button to an Airtable Interface and connect it to your Documents process:
You can also review the step-by-step article How to create document from template using Interfaces and Automations in Airtable.
Hint
You can use a custom token name to access data in your field, rather than using the autogenerated one. Check out this article to learn how to do it.
Step-by-step guides
You can find all the step-by-step guides for different scenarios on our Airtable integration page.
