Configure process and template settings
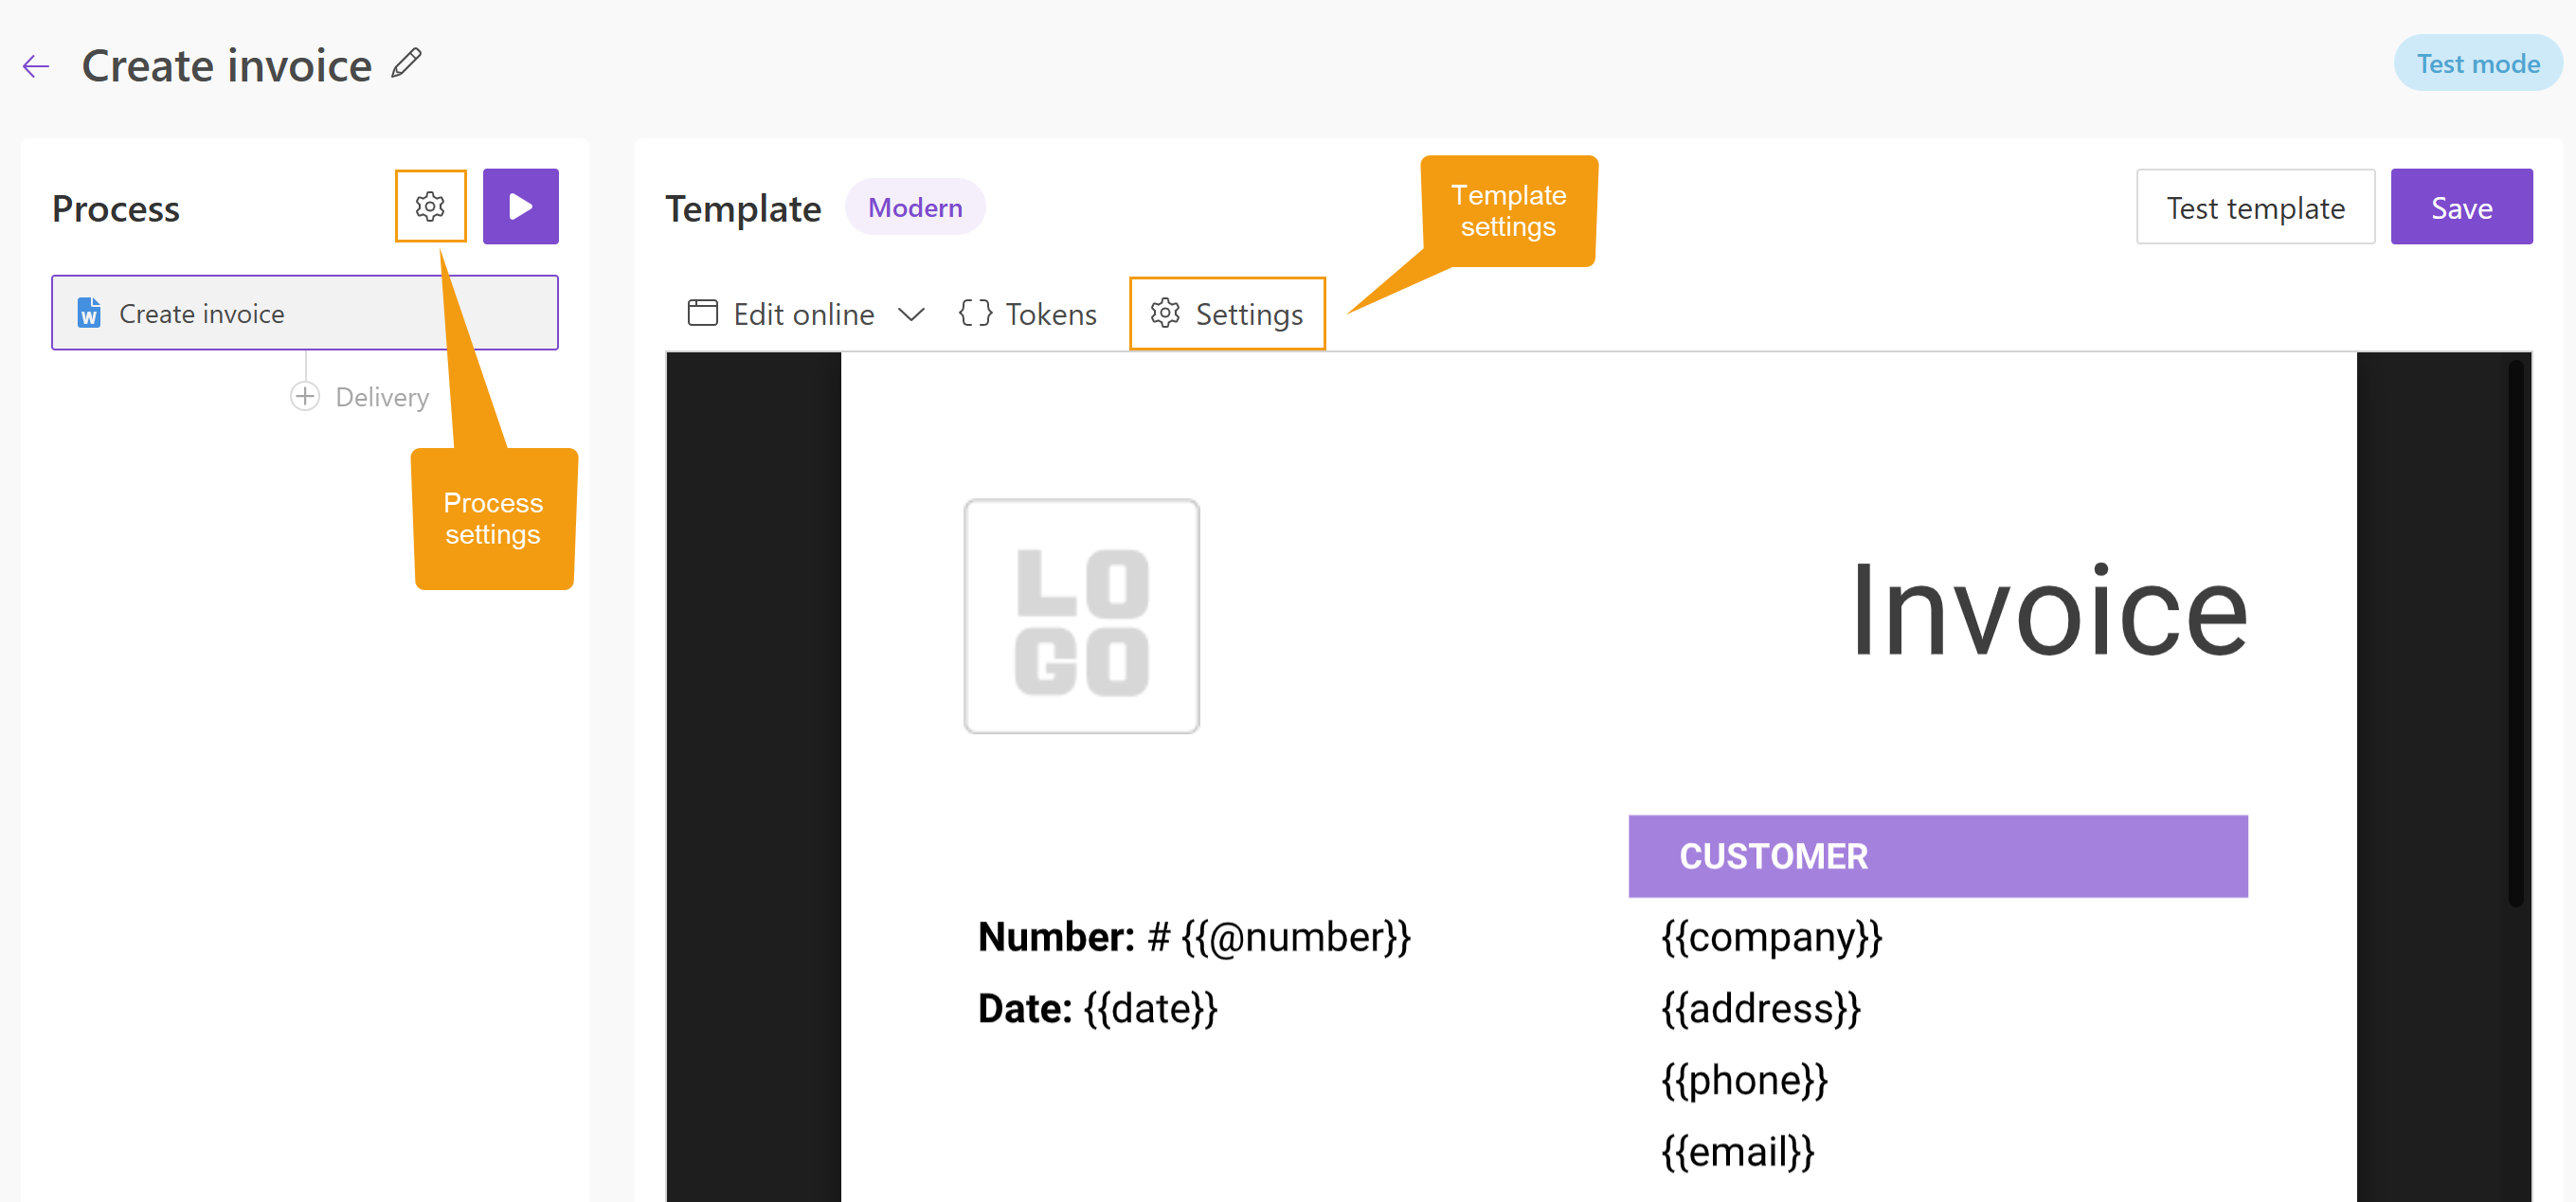
After you create a process and configure a template, you can adjust the process and template settings.
Click the gear icons to open the settings dialogs.
Process settings
Process settings control how the process runs.
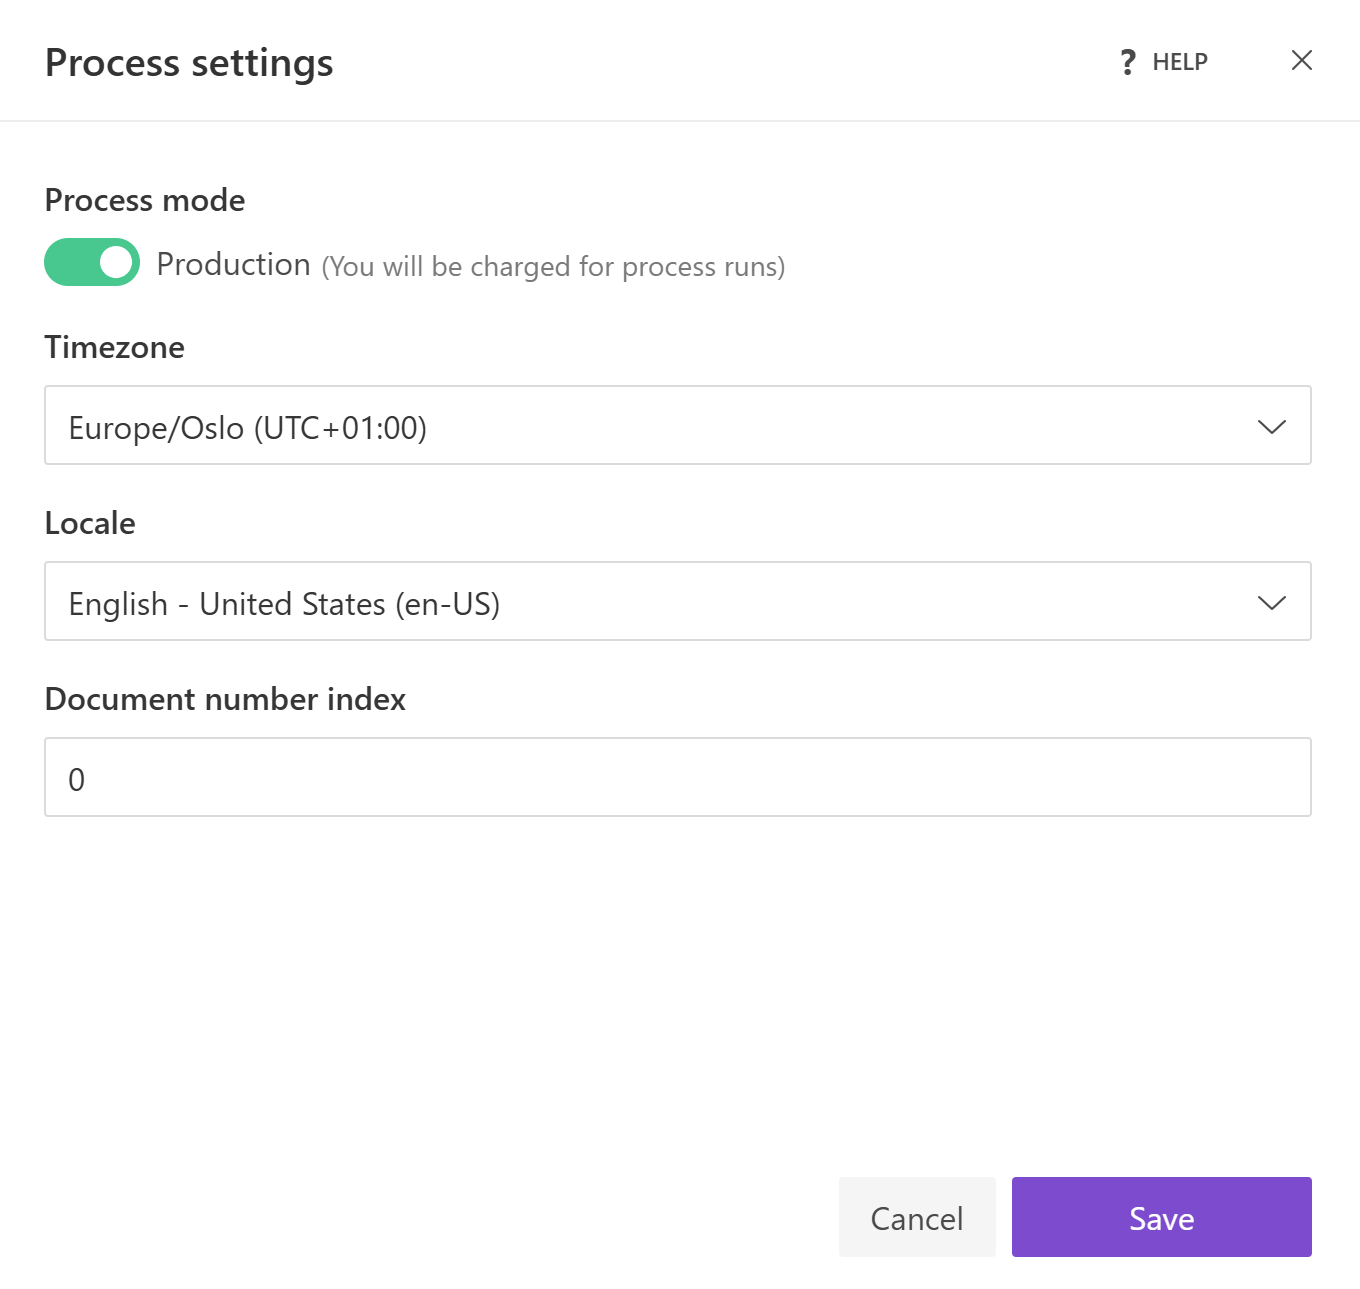
You can configure the following options:
Process mode
Processes are created in Testing mode by default.
This means you won’t be charged for executions, and you can troubleshoot template errors, but all resulting documents will have a Plumsail watermark.
To remove the watermark and generate final documents, switch to Production mode. Executions in this mode will be charged.
Timezone
The Timezone parameter defines the current date and time for the {{@date}} token.
It’s also applied to the format function when its output is a date.
Locale
Defines the default locale used when formatting numbers and dates.
You can then use the format function without specifying locale inside the template.
Document number index
Controls the starting value of the {{@number}} token.
The value increments automatically with each process run.
You can manually set a custom index if needed.
See Automatic numbering for more details about the numbering.
Template settings
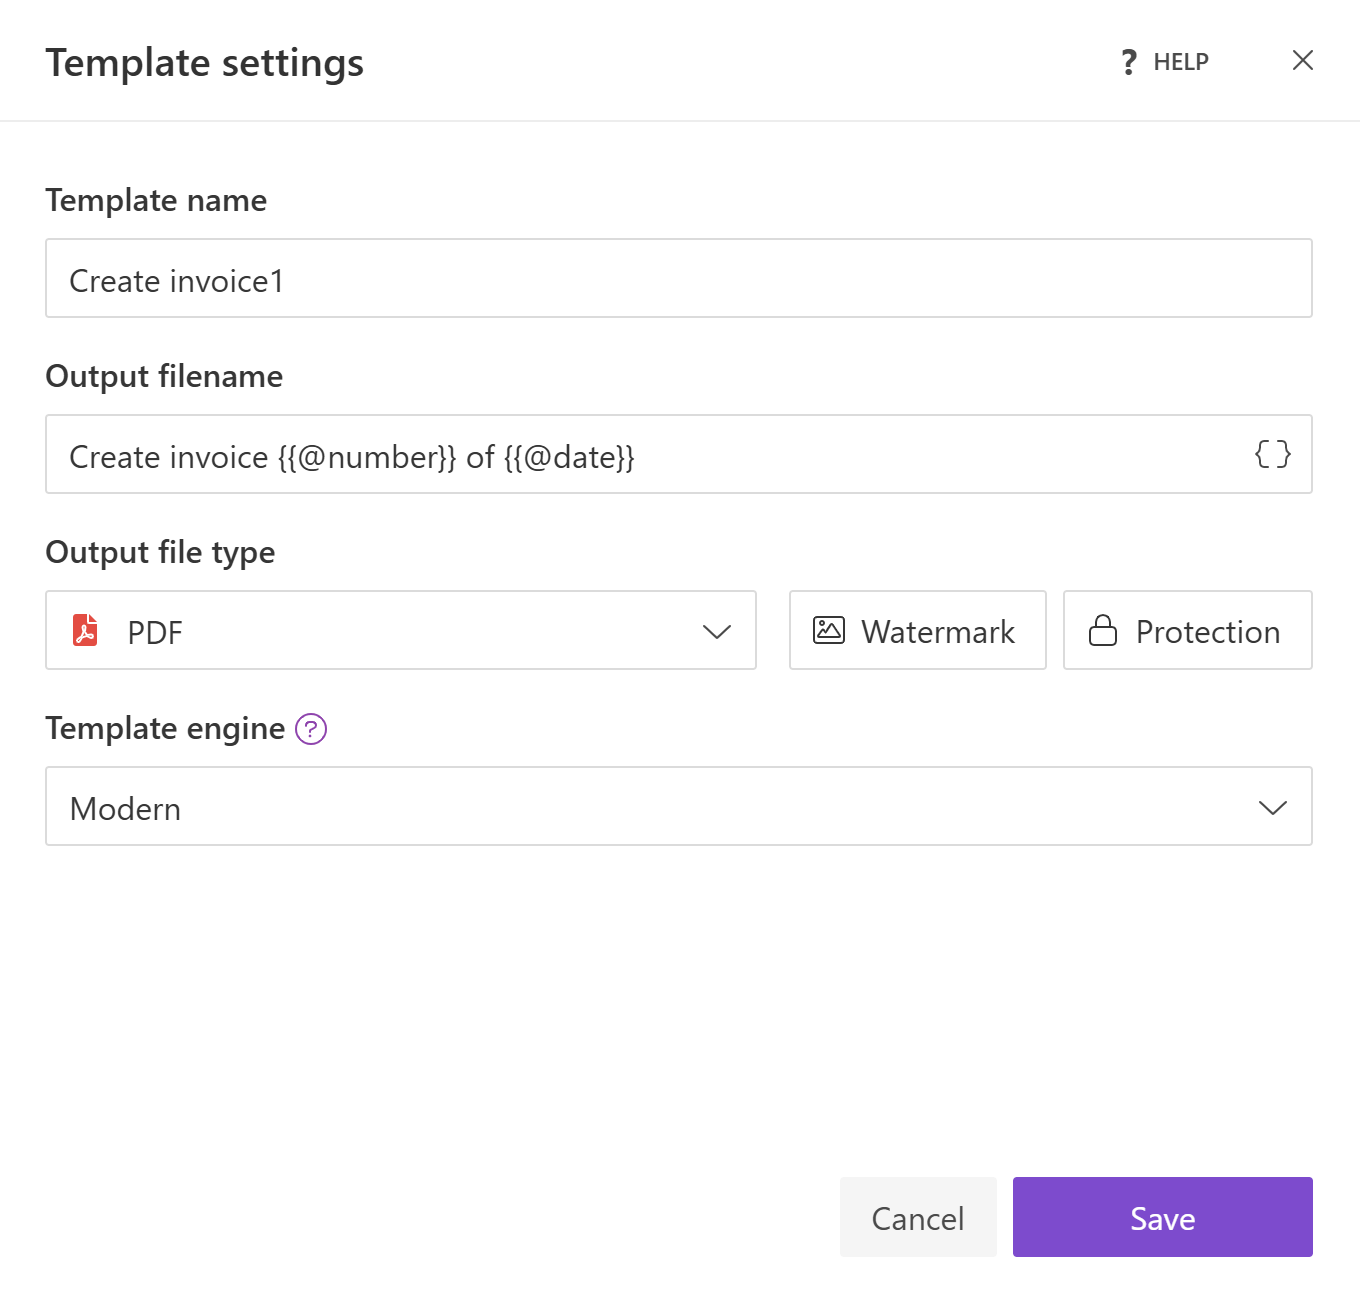
Template settings control how the template is processed and how output files are generated.
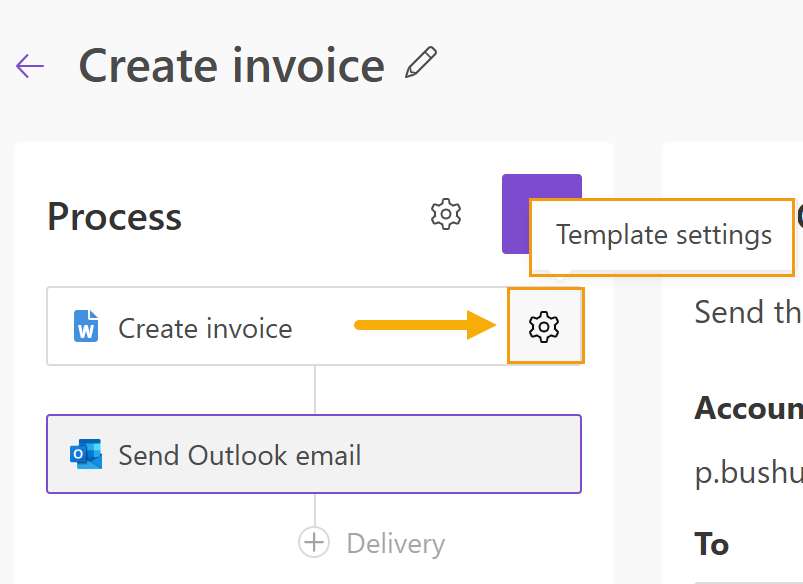
Hint
You can also open template settings from the gear icon next to the template in the Process panel. It may be useful to reopen them later when configuring deliveries without going back to the previous step.
You can configure:
Template name
This name identifies the template inside the process.
It does not affect the generated file name.
Output filename
Defines the name of the generated document.
You can insert values from your data using tokens.
Click { } to open the list of available tokens.
For example, if your data contains a property called address, insert it using the token {{address}}.
Tokens work the same way as in document templates and also support value functions.
You can also use predefined tokens:
{{@date}}- the current date and time{{@number}}- the current document number.
This field supports both Modern and Classic templating syntax.
For example, you can format the date using the format function in Modern syntax or format formatter in Classic syntax, and include it in the file name. To learn about the differences, see Modern vs. Classic engine.
Output file type
Defines the format of the generated document.
By default, the output format matches the template type, but you can convert Office documents (DOCX, XLSX, PPTX) to PDF.
If PDF is selected as the output type, additional options become available:
Note
If your process uses a fillable PDF template, an additional option Lock PDF form fields appears in the template settings.
This option makes all filled form fields read-only after the document is generated.
See Fill PDF form process for details.
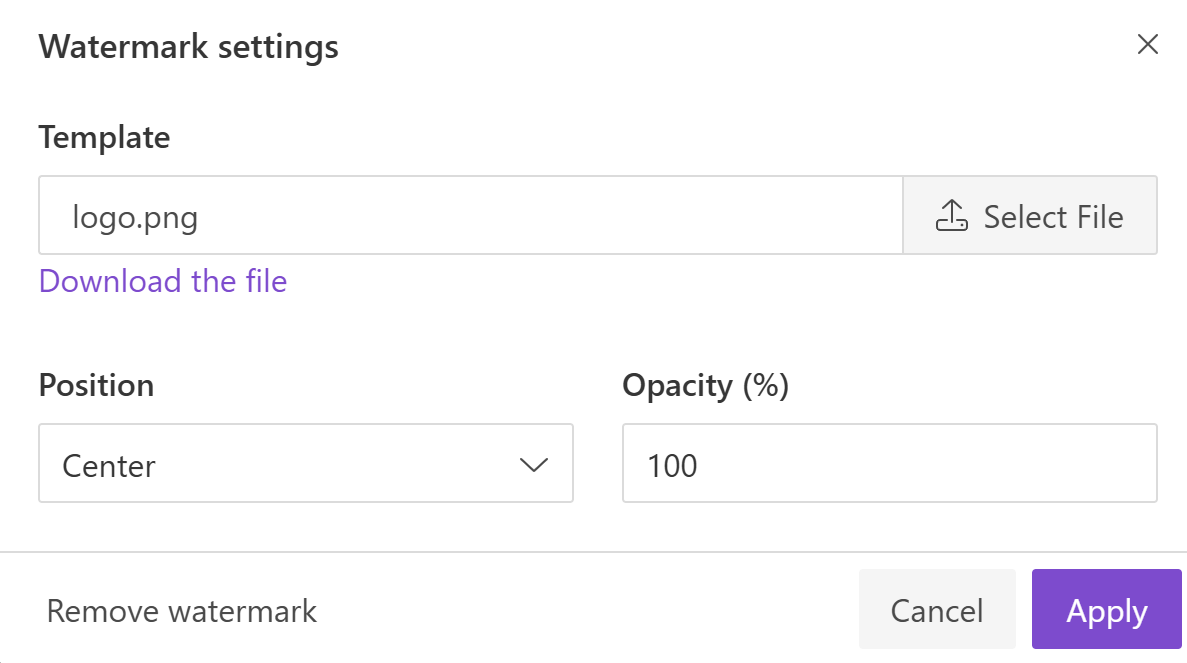
Add watermark
This option is available if you selected PDF as an output type. Upload a PNG image to add a watermark to the generated PDF.
You can configure the watermark position and opacity.
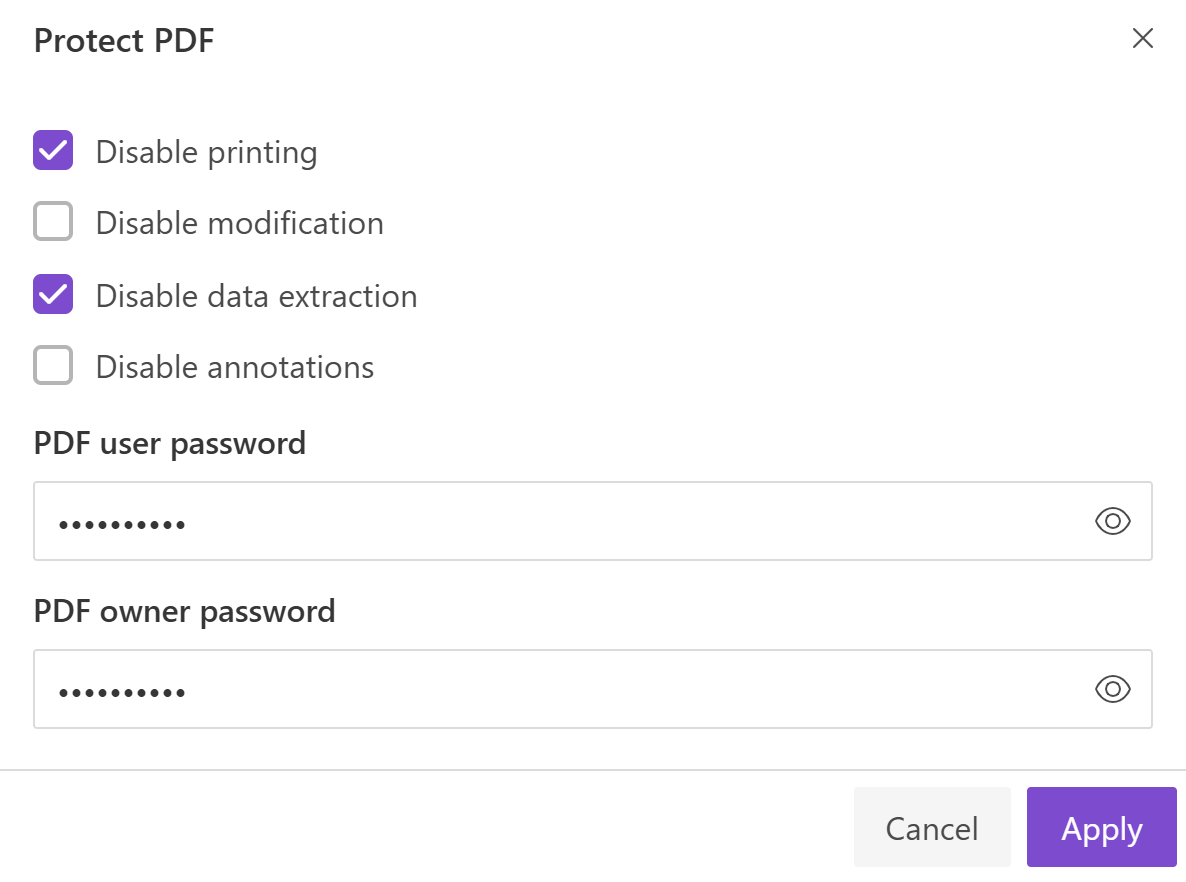
Protect PDF
This option is available if you selected PDF as an output type.
It allows you to protect your PDF by setting a password, disabling printing, etc.
You can also set:
PDF user password. Enter an optional user password here. Users must enter this password when opening the PDF.
PDF owner password. Enter an optional owner password here. This password allows the document restrictions to be changed or removed.
Template engine
This option is available only for processes that use a DOCX template.
By default it’s the Modern engine, but you can switch to the Classic engine if you use a DOCX template with the Classic syntax.
Read about differences here: Modern vs. Classic engine.