PowerPoint menu templates make it easy to create attractive menu presentations in PowerPoint for restaurants and cafes. With Plumsail Documents, you can quickly generate a PDF menu and add a QR code for instant customer access. This guide shows how to automate PowerPoint menu templates to create and share PDF menus with QR codes via Google Drive.
Further in the article:
- Overview of PowerPoint menu template
- Create a PDF menu with PowerPoint template automation
- Create a shareable PDF menu with QR code and embed in portal
- Get started creating and sharing a PDF menu with Plumsail Documents
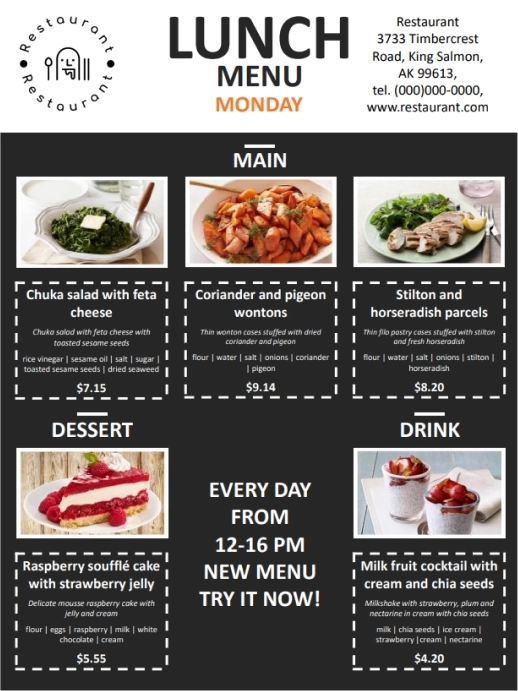
Using PowerPoint templates from Plumsail Documents, we simplify restaurant menu creation, converting menus into PDFs with easy QR code access for customers. This PowerPoint menu template includes both static text, like headings and contact info, and dynamic tokens that fill in menu details automatically.
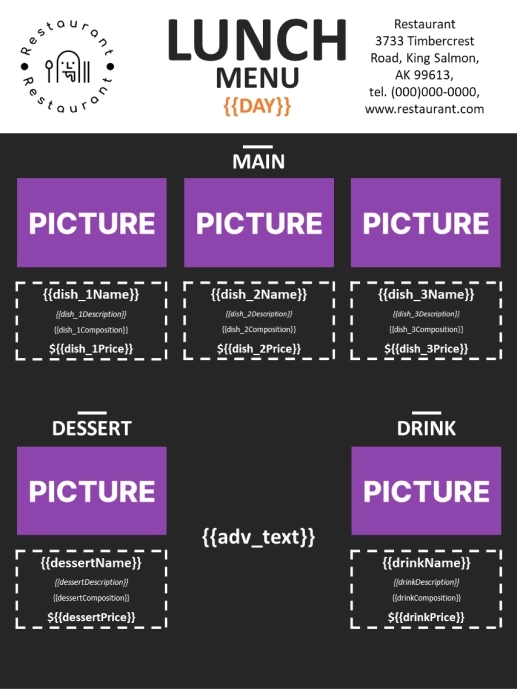
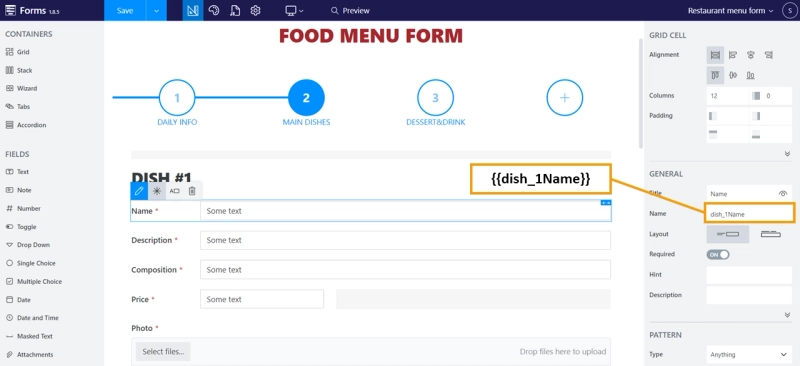
Each token in the template is responsible for the format of the data and the place it will be displayed in the final document. For example, tokens {{dish_1Name}}, {{dish_1Description}}, {{dish_1Composition}}, {{dish_1Price}} based on their names are responsible for the name, description, composition, and price of the first dish.
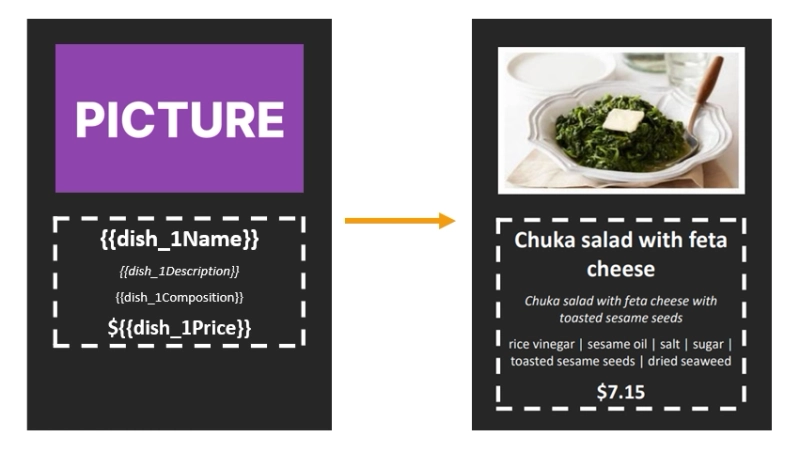
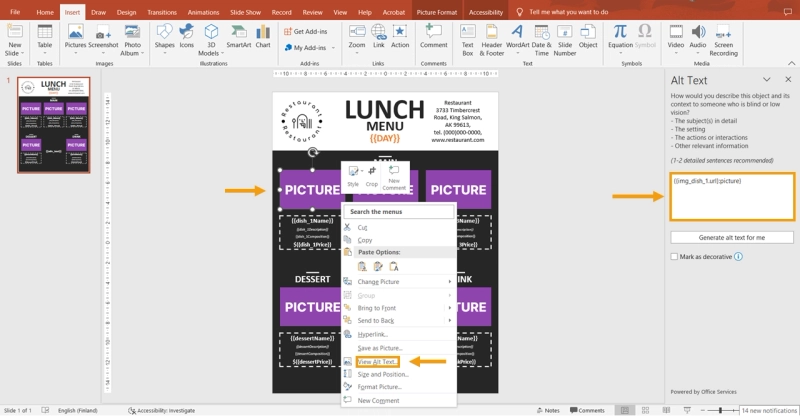
The template also has special dummy pictures for dishes. To insert images in it, we need to use a picture formatter: {{img_dish_1.url}:picture}, {{img_dish_2.url}:picture}, {{img_dish_3.url}:picture},{{img_drink.url}:picture} and {{img_dessert.url}:picture}. A picture formatter lets the templating engine know that incoming data will be a picture and should be processed properly. The photos' urls will come from the web form submission. When the image is applied to the template, it will be the same size as the dummy block in the template.
If you need to change or view the settings of the token used to insert an image into a PowerPoint template, use the hint below.
For a better understanding of how to set up images in a PowerPoint template, we recommend reading the article Pictures in PPTX templates.
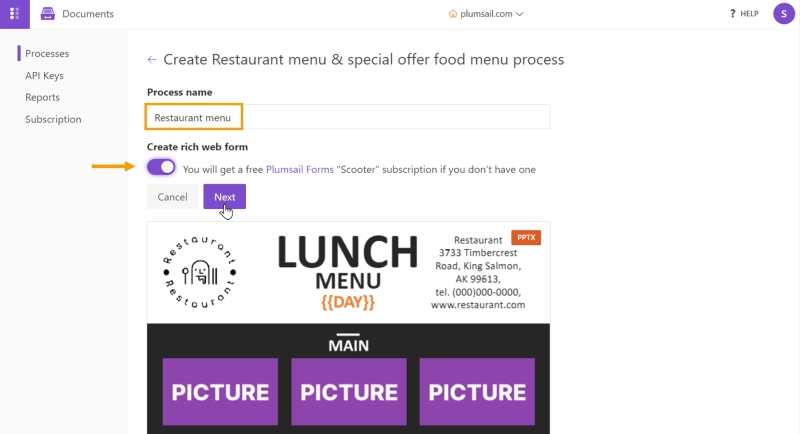
With our PowerPoint menu template structure in place, we can set up the document generation process to automate menu creation. To begin, open Plumsail Documents, click Add Process, and select Start From Template. Choose the Restaurant menu & special offer food menu template from the list. Give the process a name and enable the toggle to generate a web form that will feed data directly into the PowerPoint menu template.
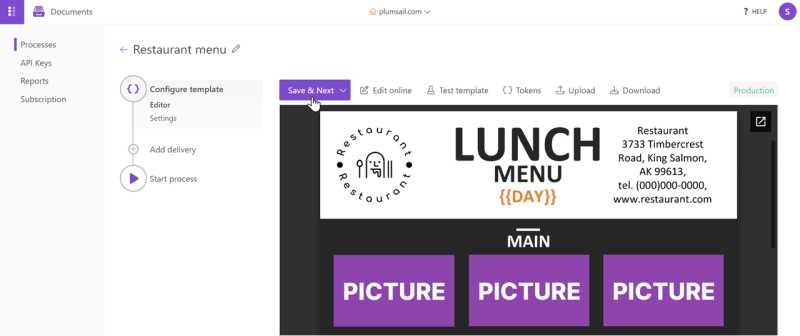
Go to the template, check it, and click the Save & Next button.
Set up the output to receive a PDF menu from the PowerPoint template, ready for easy sharing and printing. The main lines to fill will be Output filename and Output type. Depending on your needs, you can choose one of two formats for the final document: PDF or PowerPoint PPTX. Select PDF format and press the Save & Next button.
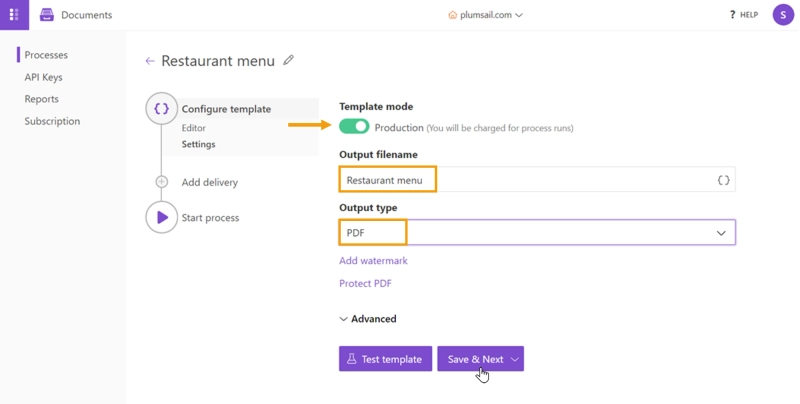
NOTE: Don't forget to remove the watermark from the resulting file. Enable the toggle from test mode to production.
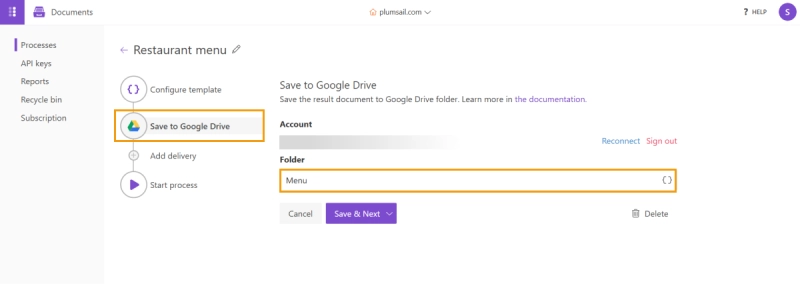
Save your PDF menu from the PowerPoint template directly to Google Drive, making it instantly accessible with a shareable link or QR code. Here, the PDF menu will be saved directly to Google Drive, ready for sharing or embedding. This setup allows the menu to be readily available for internal or public access, depending on your Google Drive sharing settings.
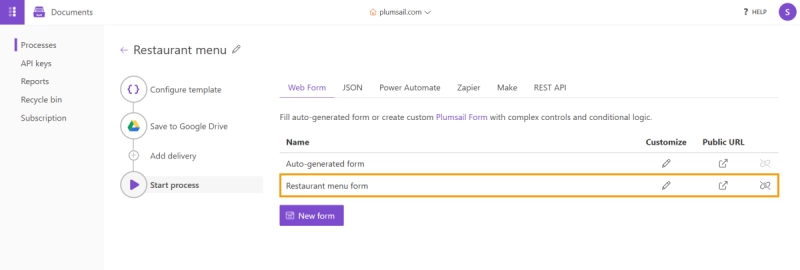
When the template preparation and settings are over, we proceed to launch the process that will populate the template and create the restaurant menu automatically. We'll do it on the form submission using the rich web form that we ticked to create at the very beginning of the process creation.
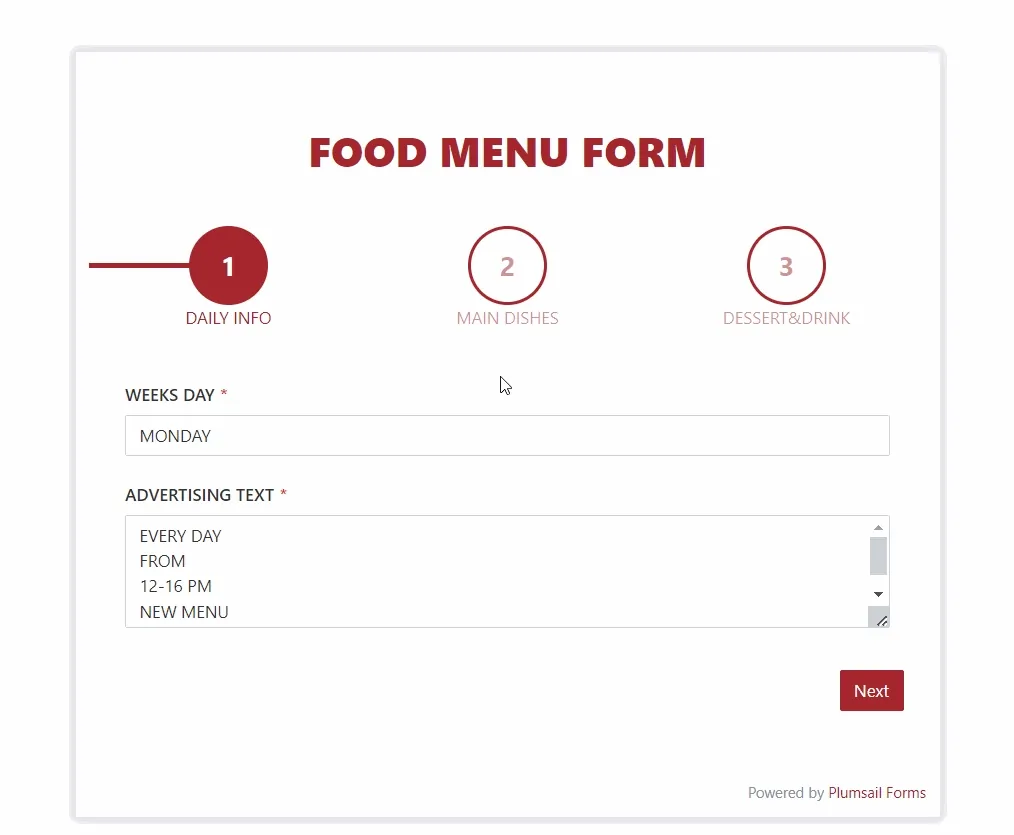
Before filling out the form, let's see what blocks it consists of. Our form has a three-stage filling, where at each stage you need to enter your own data type.
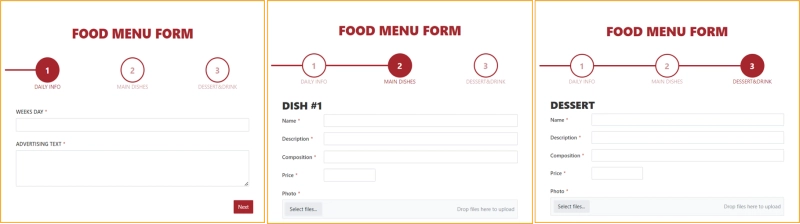
Step 1
- information about the day of the week for which the menu is being made;
- advertising text.
Step 2
- 3 blocks for main dishes with a description: name, description, composition, and price;
- 3 buttons for attaching images.
Step 3
- 2 blocks for describing dessert and drink: name, description, composition, and price;
- 2 buttons for attaching images.
Each field and attachment button in the form corresponds to a specific token in the template. That allows us to transfer the data from the form to the template and generate a ready-to-use document with filled data.
Now we can move on to filling out our form to get a professional-looking menu with the images we saw at the beginning of the article.
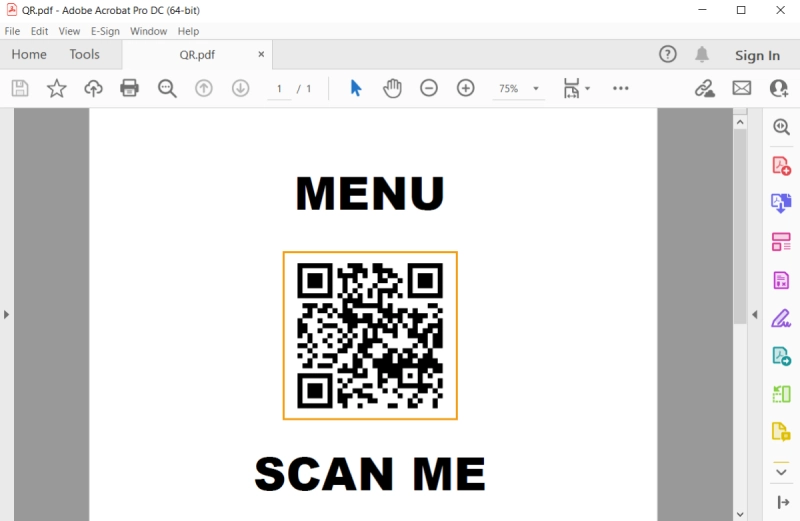
Improve accessibility by creating a shareable PDF menu with an embedded QR code that links directly from Google Drive for instant access. You can print this QR code on restaurant tables, use it in marketing materials, or display it on digital screens, allowing customers to scan and view the menu on their devices. Additionally, you can embed the PDF menu in your company's portal for easy access by employees or customers.
To insert a QR code in the document, use the qrcode(size) formatter, which tells the templating engine to generate and embed it. For more information, check the documentation on formatters.
Automate QR code generation for your PDF menu in PowerPoint templates using Plumsail Documents and tools like Power Automate, Make or Zapier. Follow these steps:
Step 1
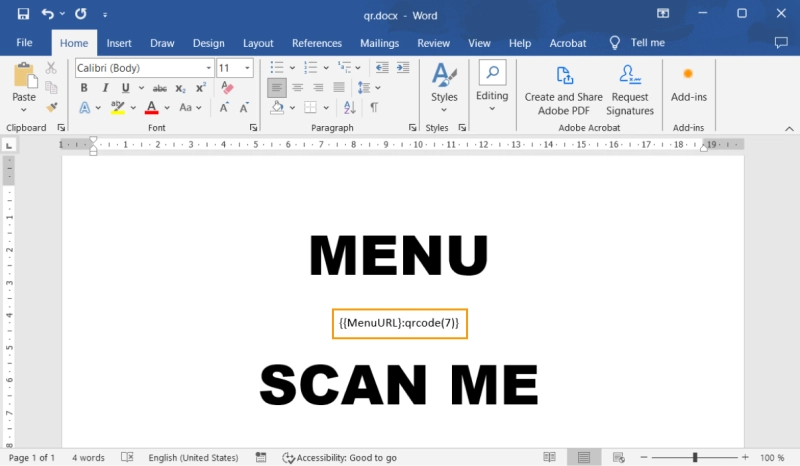
- Create a template that includes a QR code placeholder. For the QR code, use a designated token formatted as
{{MenuURL}:qrcode(7)}. Here, MenuURL is the link to the PDF file on Google Drive, and the QR formatter will automatically generate the QR code with a size of 7.
Step 2
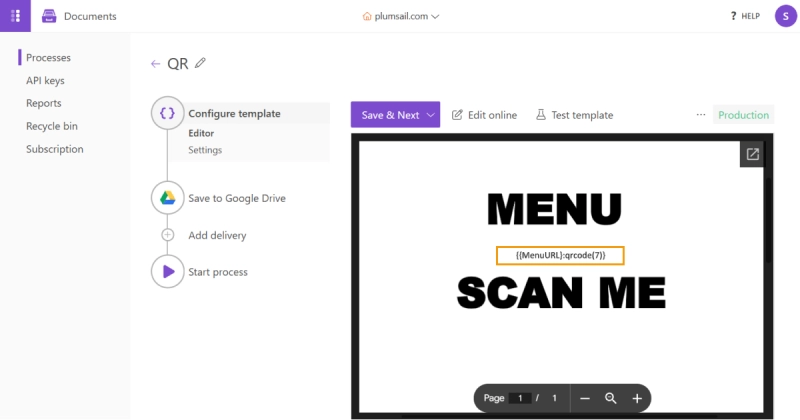
- In Plumsail Documents, add a new process using the template. This will enable the automatic insertion of the QR code, along with the menu content, into your document. Don't forget to select saving the received file to Google Drive in the Delivery section and specify the folder to save it to.
Step 3
- Use Power Automate, Zapier, or Make to trigger the document generation process. Set up a flow that pulls the PDF link from Google Drive and passes it to the
MenuURL token in Plumsail Documents, where the QR code will be created and embedded automatically. We will use the following script for this in Make:
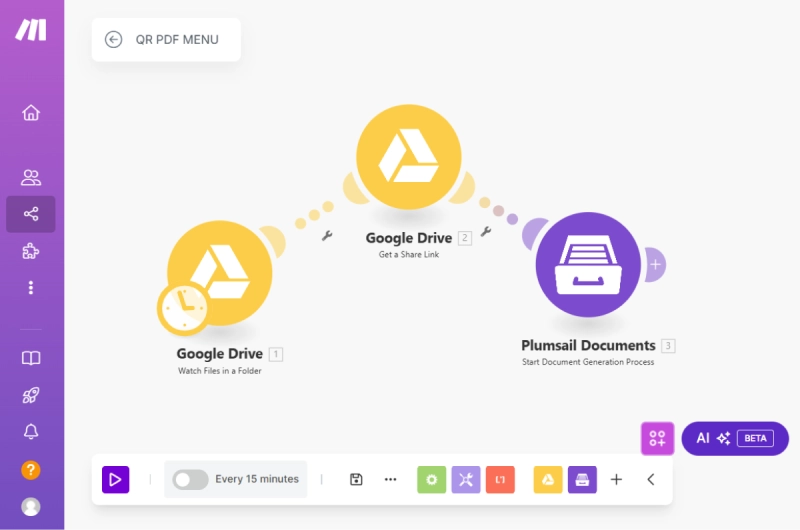
There are 3 modules in this flow:
Module 1: Google Drive - Watch Files in Folder
- Triggers when a new or updated file is detected in a specific Google Drive folder.
Module 2: Google Drive - Get a Share Link
- Creates a shareable link for the detected PDF menu file.
Module 3: Plumsail Documents - Start Document Generation Process
- Passes the Google Drive link to the
MenuURL token, embedding it as a QR code in the document template.
The final PDF with the QR code will be automatically saved to Google Drive, as this step is managed within Plumsail Documents under the Delivery section.
You can configure the flow to run at specified intervals or upon specific events, ensuring the latest version of the PDF menu with the QR code is always accessible on Google Drive.
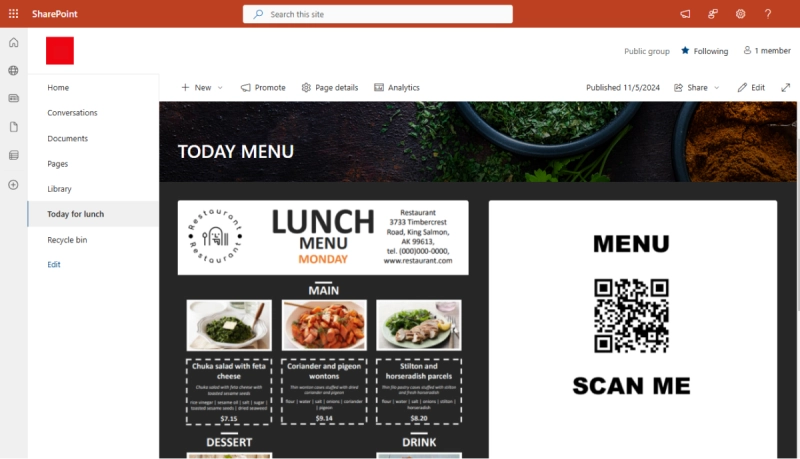
Embedding your PDF menu in the company portal makes it easily accessible to employees and customers. Follow these steps to integrate the menu seamlessly into platforms like SharePoint or Confluence.
Step 1
- Once your PDF menu is saved to Google Drive, generate a link. In Google Drive, right-click on the PDF file, select Get link, and set permissions to anyone with the link or anyone in [your company] for internal use. Copy the shareable link.
Step 2
- In your intranet editor (e.g., SharePoint, Confluence), insert an Embed or Iframe block, using the file link from Google Drive:
<iframe src="YOUR_MODIFIED_LINK" width="100%" height="600px"></iframe>
Step 3
- Adjust settings as needed. Set
width="100%" and modify the height for optimal viewing. Users can open the PDF in a new window if full-screen viewing is needed.
Step 4
- Test access to confirm that the PDF displays correctly and that permissions are set for smooth access.
This approach provides an easy and consistent way to view the menu across devices, compatible with platforms like SharePoint and Confluence.
Register an account and get a free trial for one month.
If you have any questions or comments about the material, feel free to leave them in our community portal.
Start generating documents right now!