Generate purchase agreement from Airtable data
This article shows how to generate a purchase agreement from Airtable data using the Plumsail Documents extension for Airtable.
In this setup, you select a record in Airtable, run a Plumsail Documents process, and generate the agreement as a PDF.
Set up Airtable
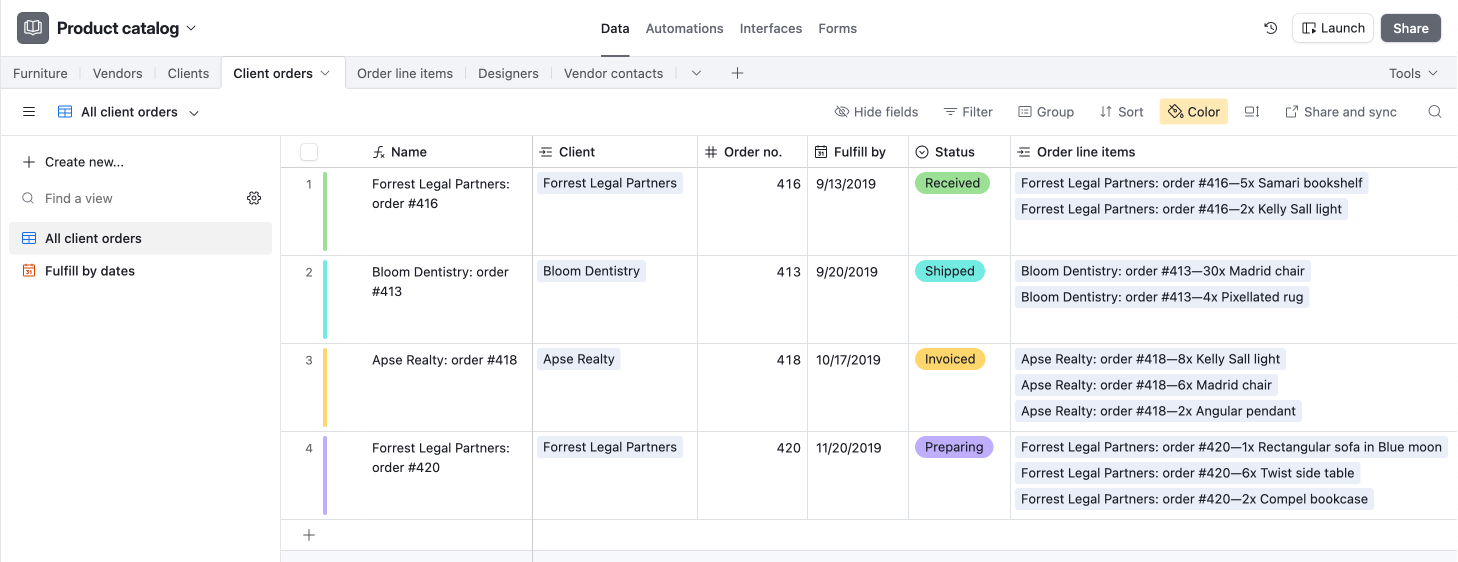
In this article, we use the Client orders table from the Product catalog base in Airtable, which is available in the Product catalog template.
Add Plumsail Documents extension
After creating the Product catalog base, add the Plumsail Documents extension to the Client orders table:
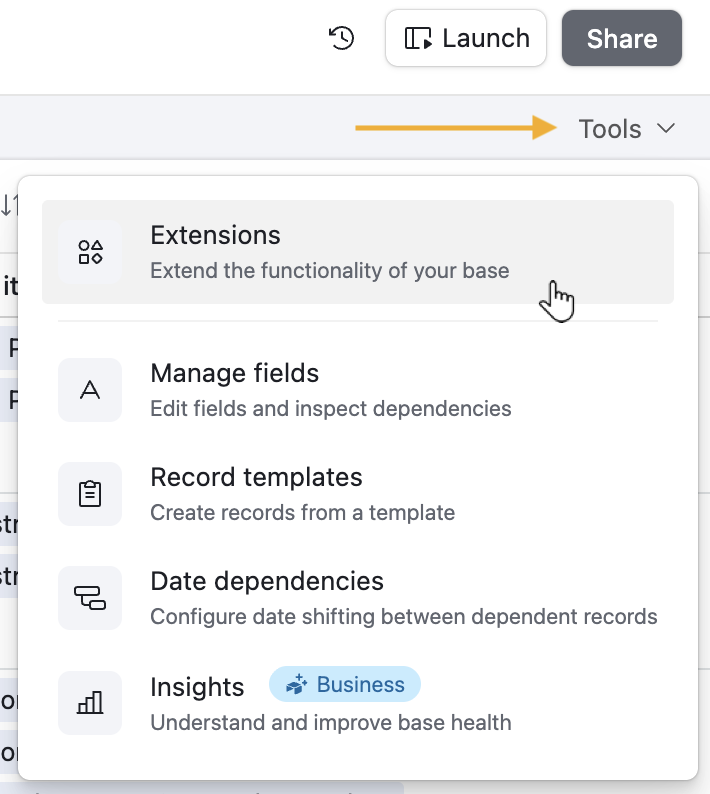
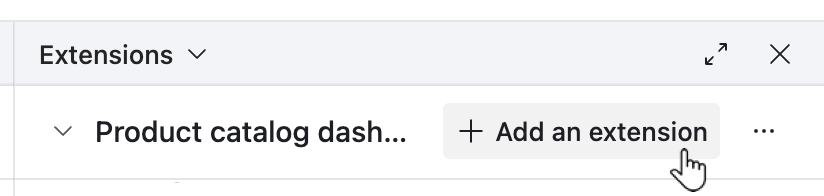
Go to the Extensions tab in the top-right corner of Airtable.
Click Add an extension.
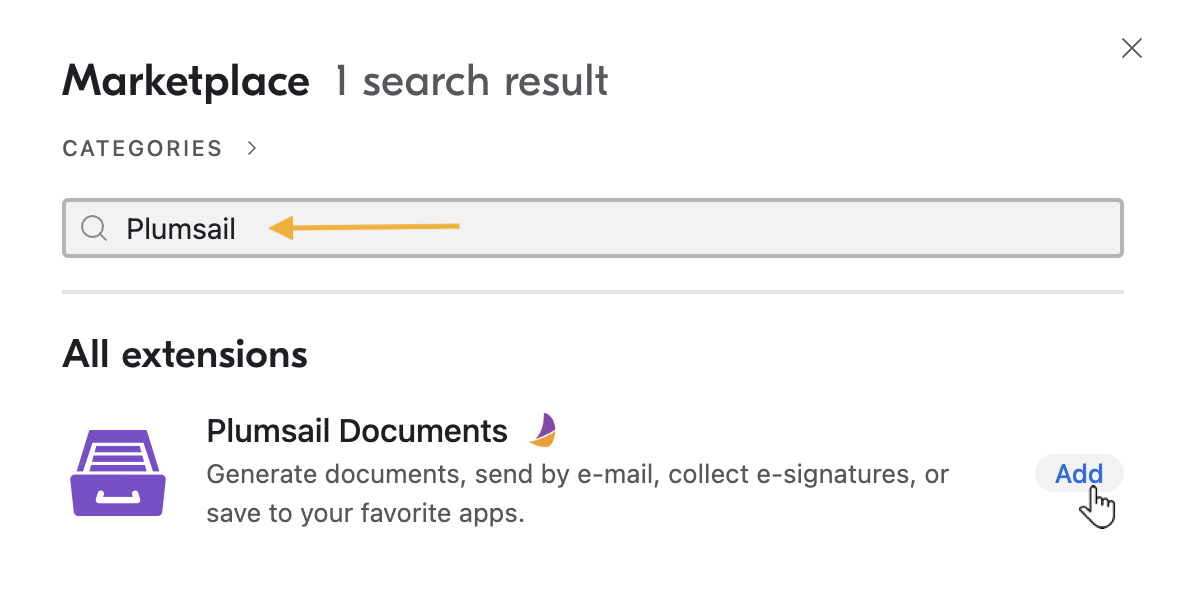
Search for Plumsail Documents, then click Add.
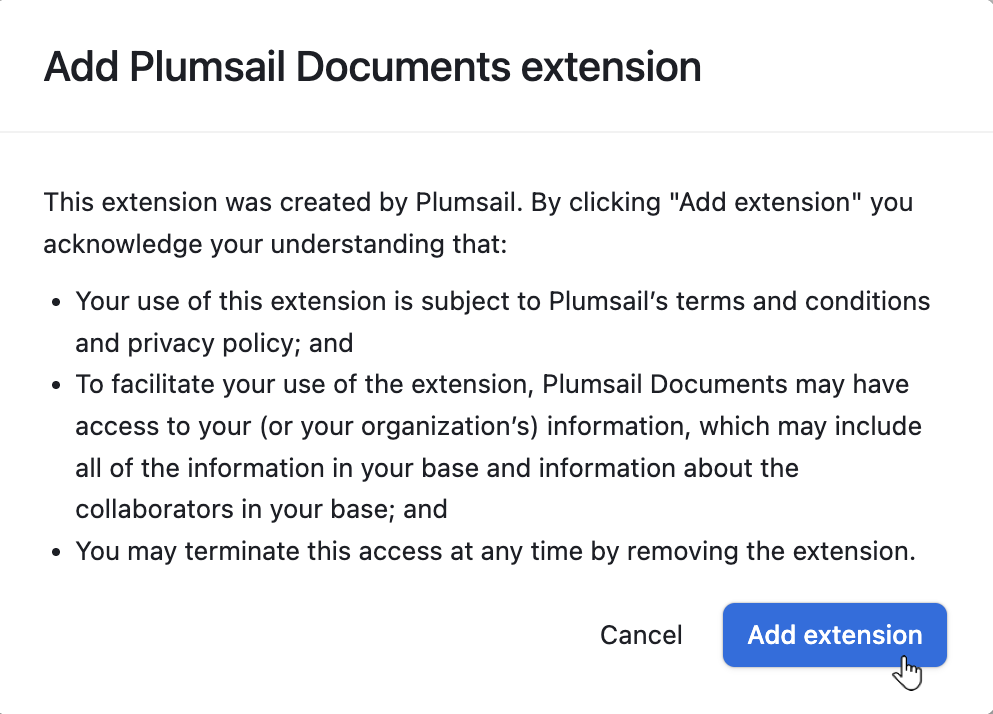
Review the extension details, then click Add extension.
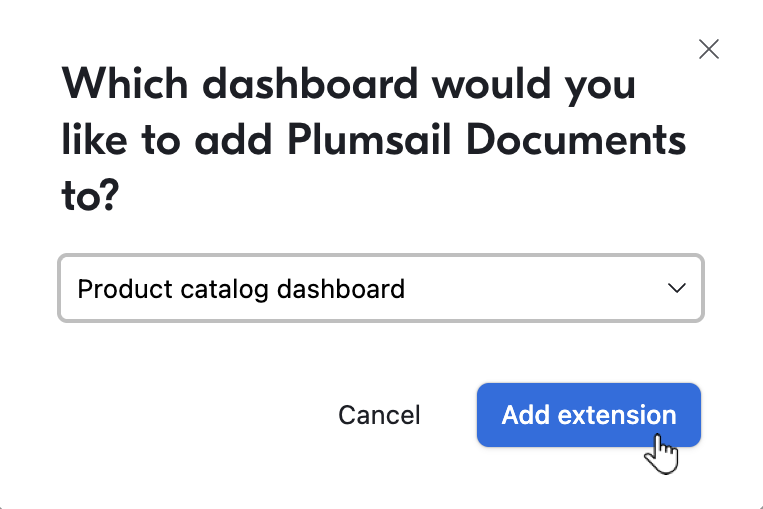
Select where to add the extension. In this example, add it to the Product catalog dashboard, then click Add extension.
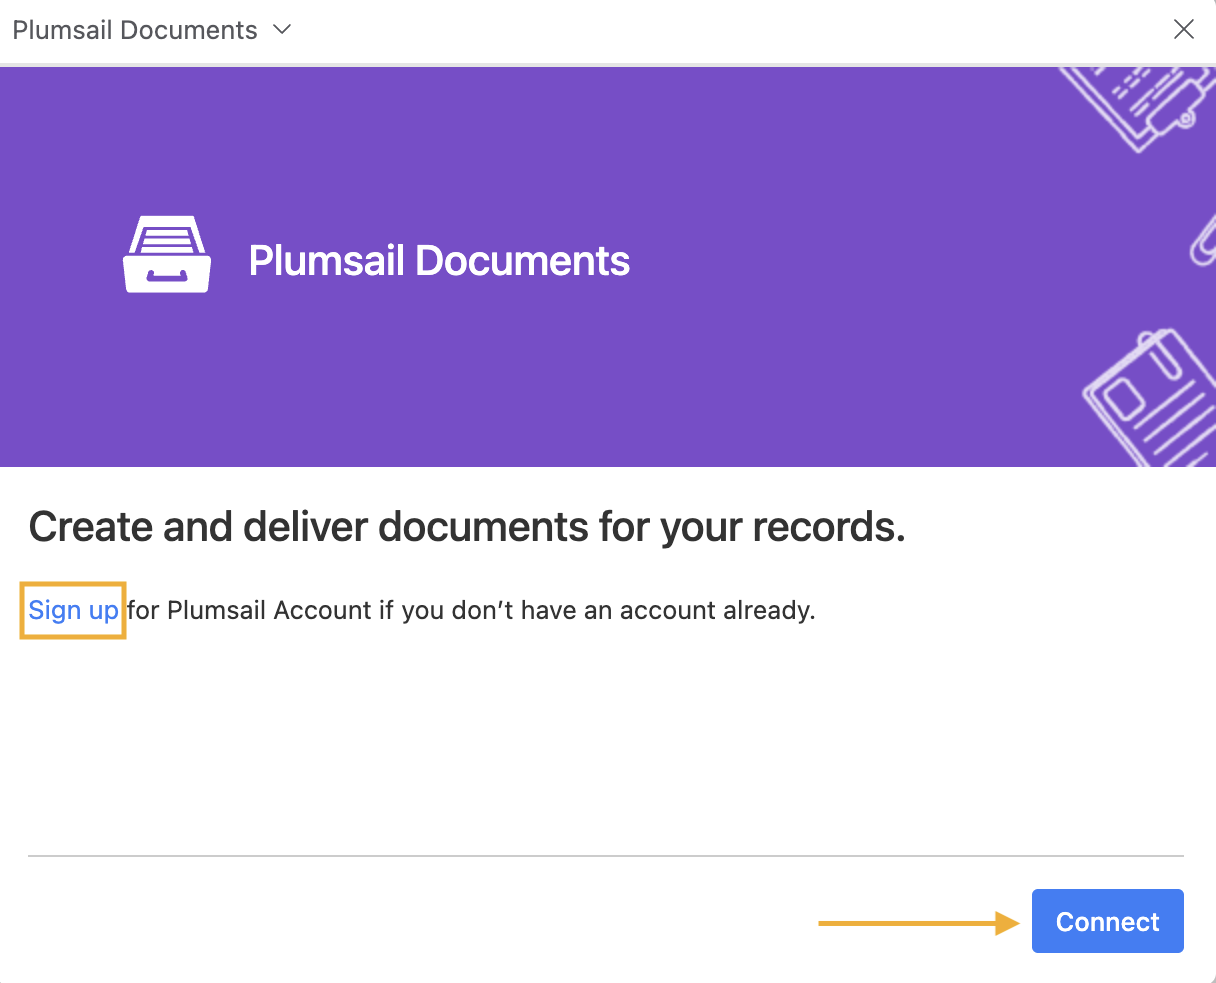
Click Connect to sign in. If you do not have a Plumsail account yet, click Sign up, create an account, and then return to this step.
7. After connecting your account, Airtable will ask you to select a Process to start. Create the process first in Plumsail Documents, then return to this step and select it here.

Set up document generation in Plumsail Documents
Next, create a DOCX template and a Documents process that fills it with Airtable data.
Create document generation process
Sign in to your Plumsail account. If you do not have one yet, create it first.
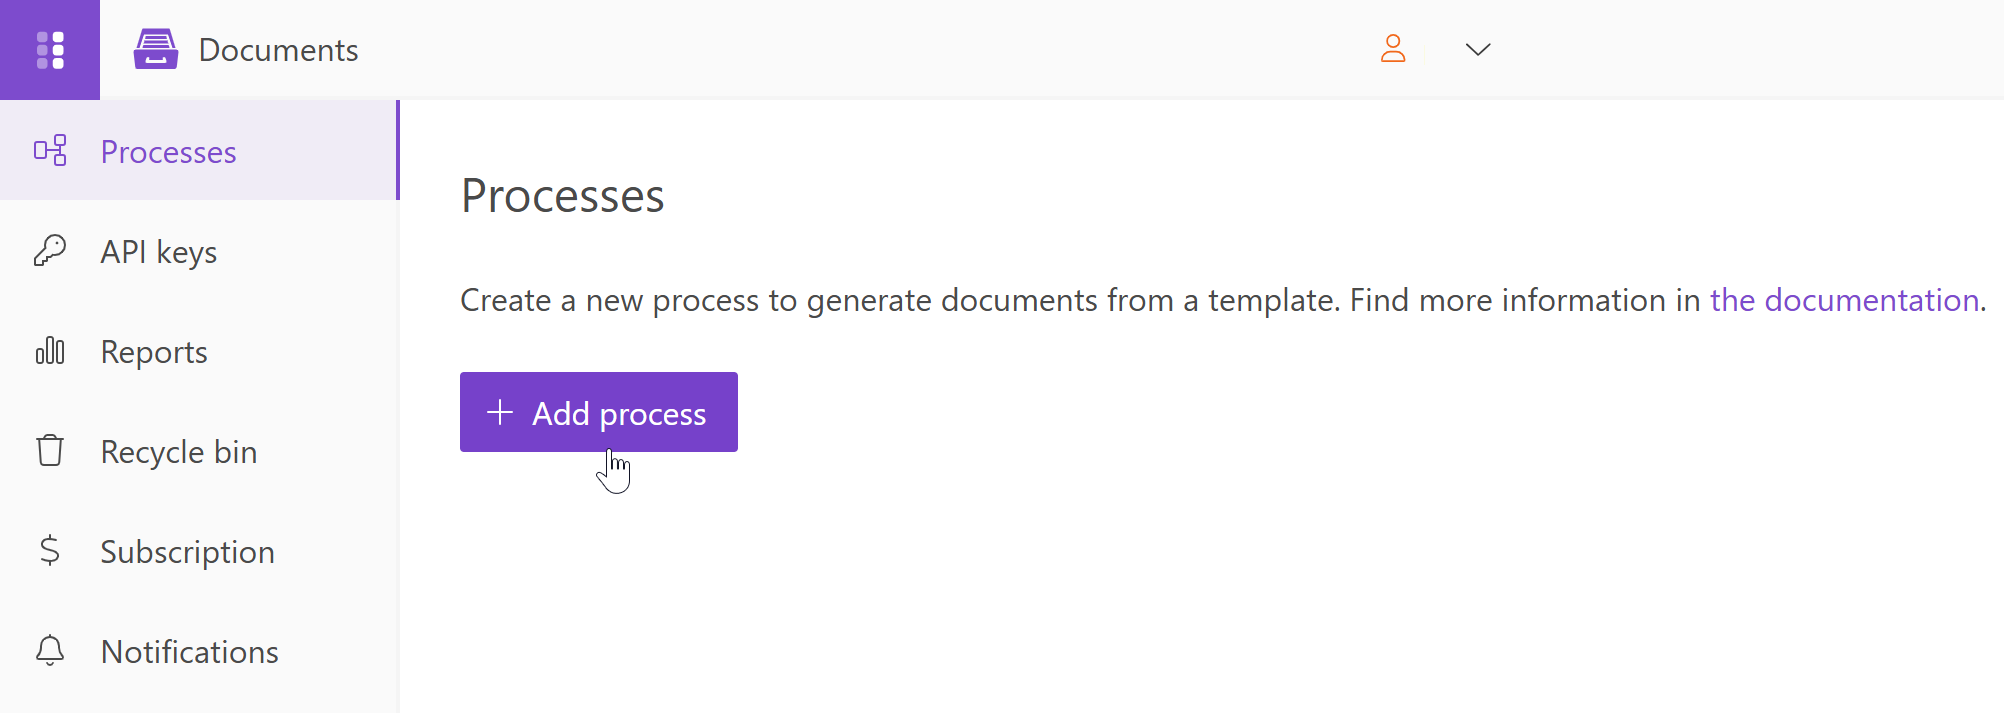
Go to Processes and click Add process:
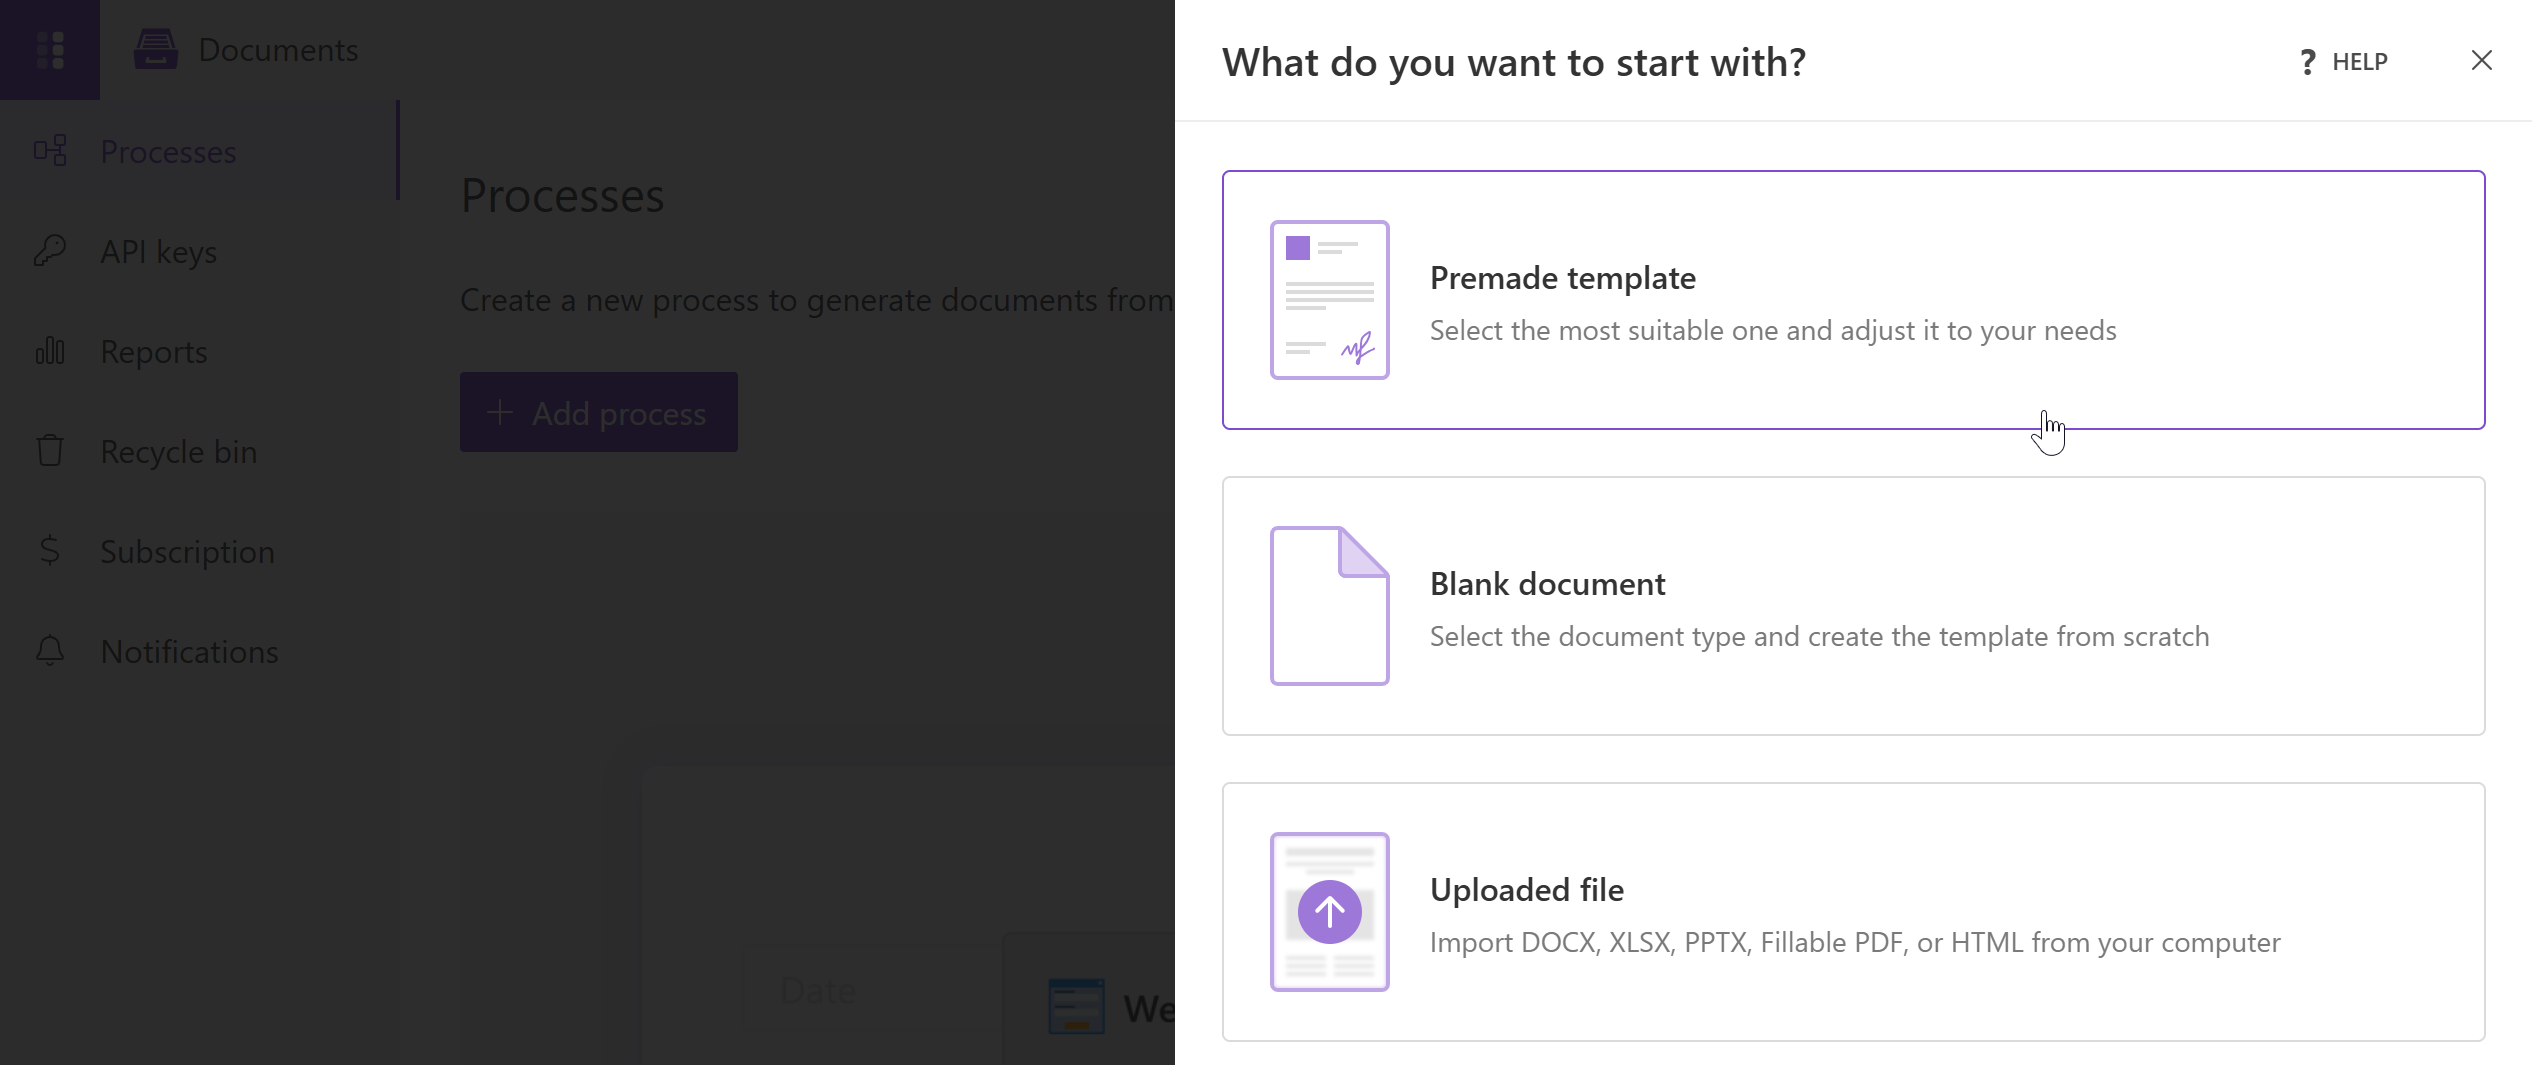
A side panel will open on the right. Here you can choose to create a process from the premade templates:
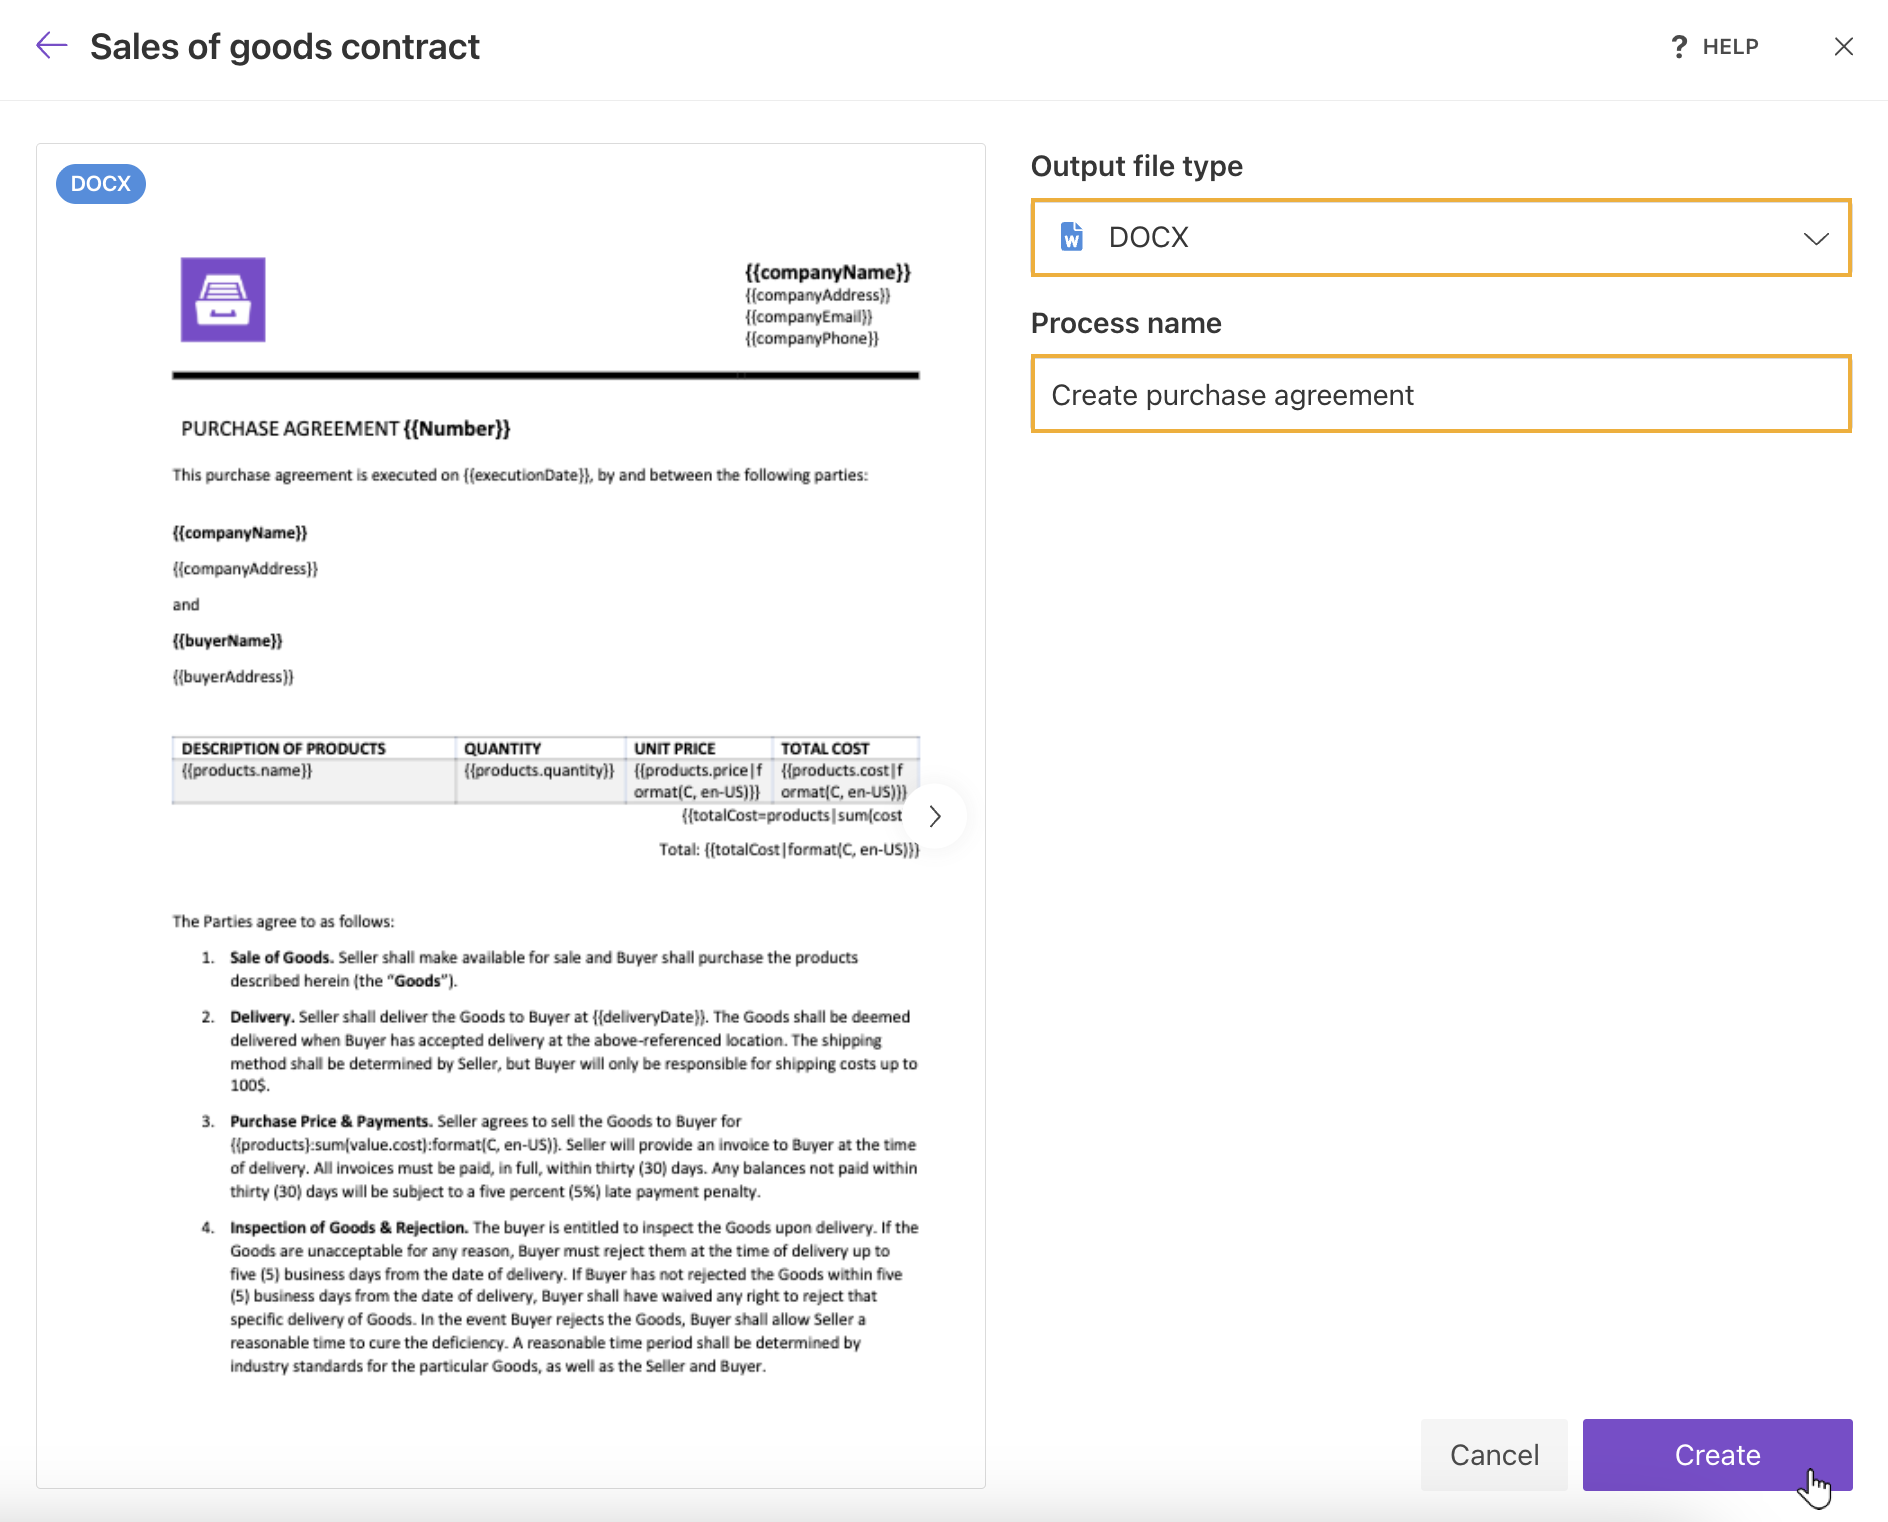
You’ll be redirected to the library of document templates. Select the Sales of goods contract template for this scenario:

Select the output format, enter a process name, and click Create. This opens the Configure template step:
Configure purchase agreement template
In the editor, update the template so its tokens match the Airtable tokens generated by the extension. Text inside curly brackets is replaced with Airtable values during generation.
For more details, see how DOCX templates work.
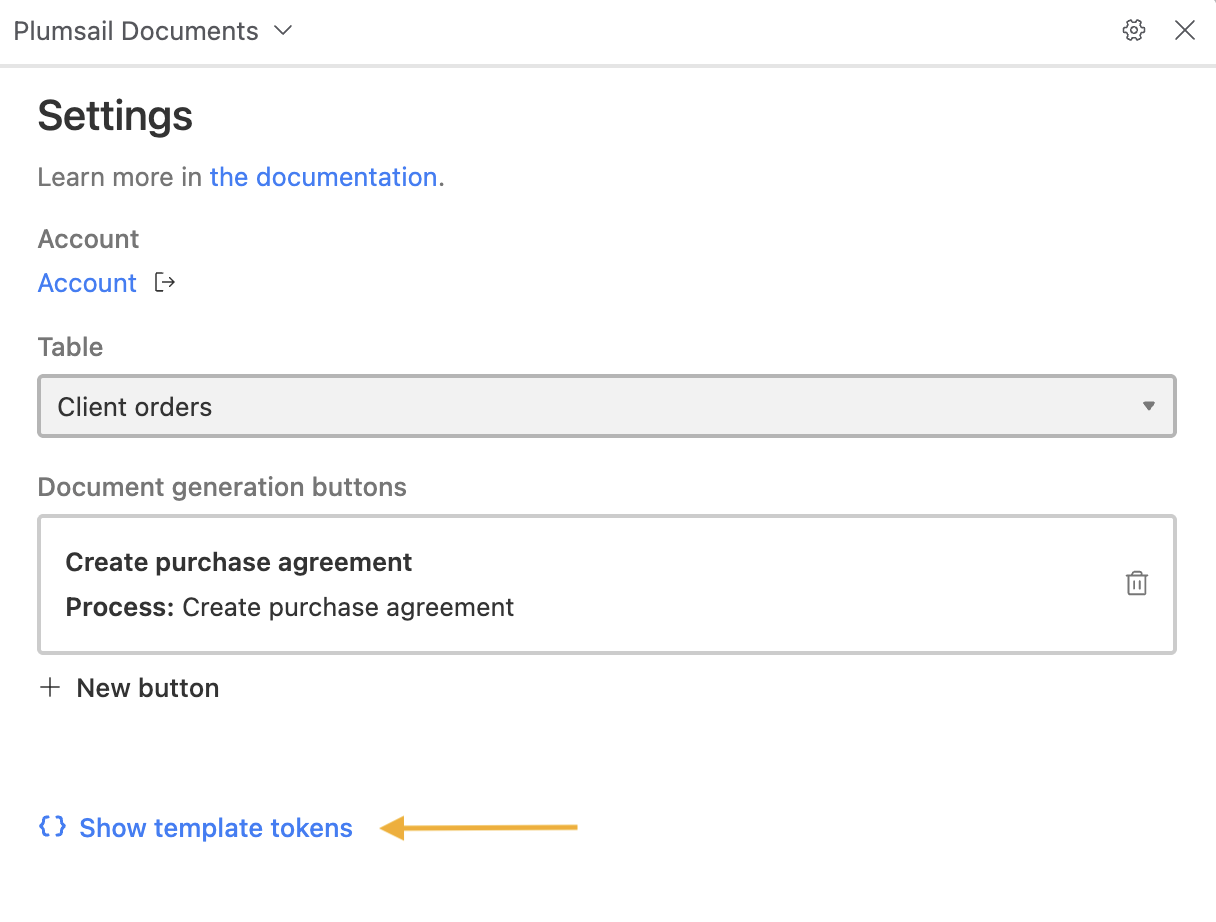
To view the Airtable tokens, go to the Airtable base, open the Documents extension settings, and click the Show template tokens.
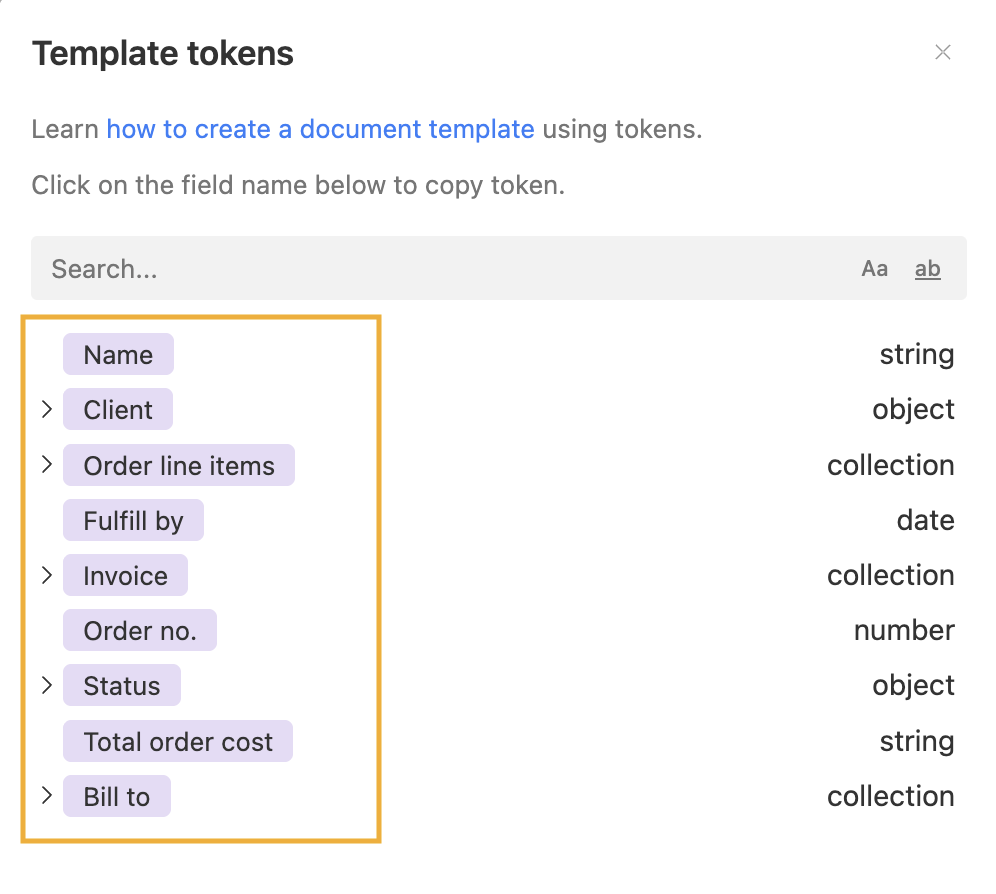
You will see the list of available tokens. Copy the ones you need into the template.
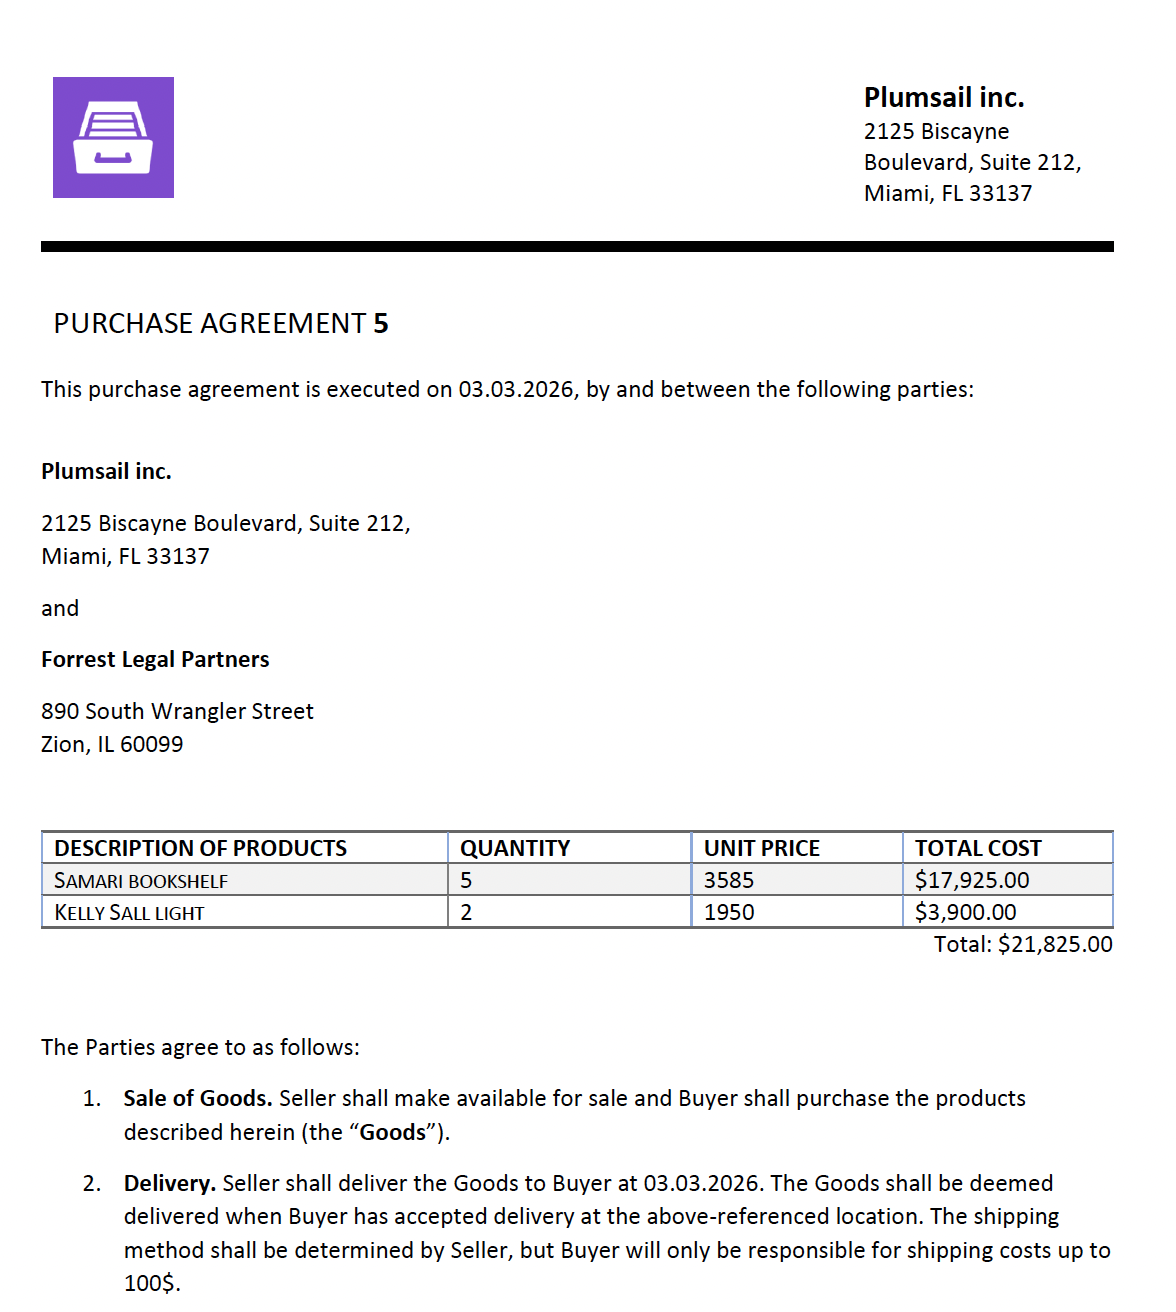
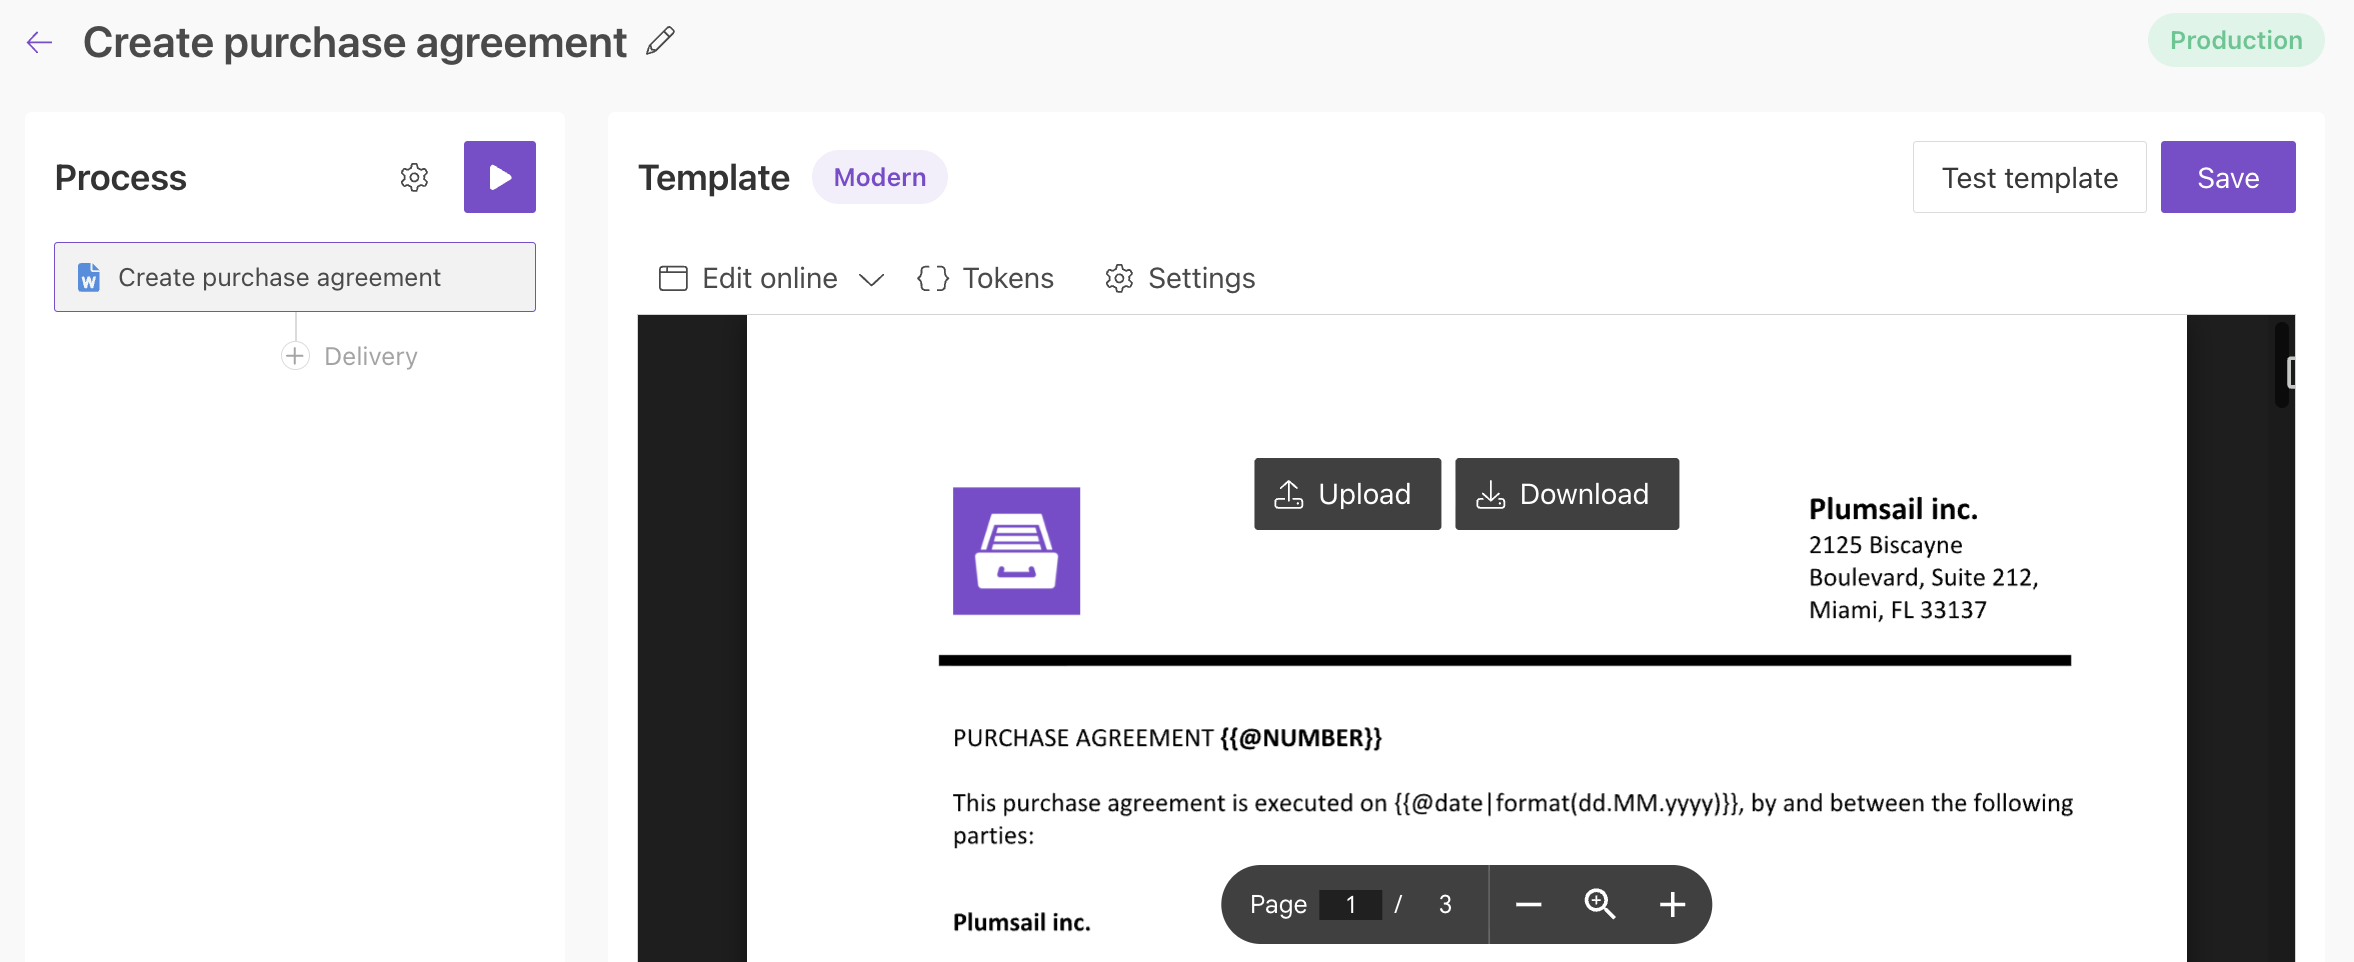
Below is the updated Sales of goods contract template.
You can download it here.
Set up template settings
Click Settings in the top panel of the editor:

The following template settings are available:
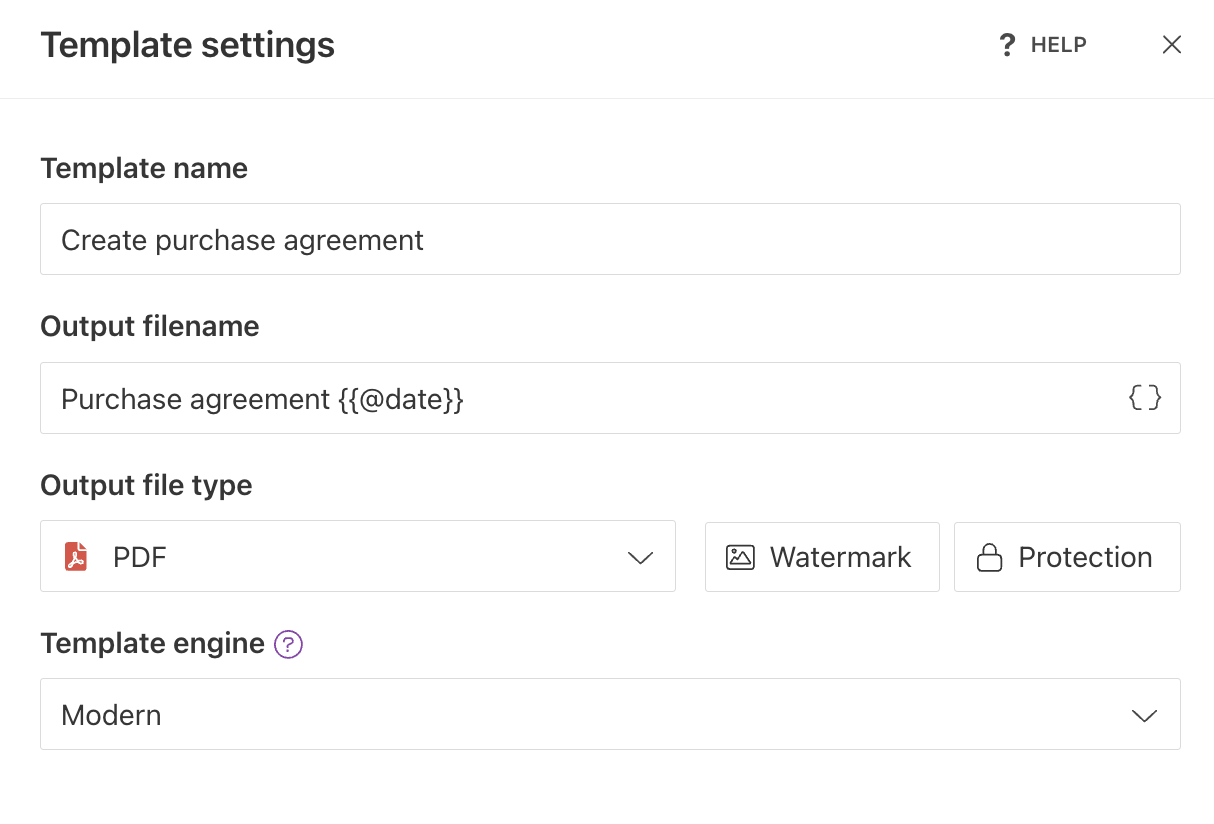
Template name
The name of your template.
Output filename
Use tokens to build a dynamic output filename. Tokens work the same way as in the template.
For example, {{@date}} adds the current date to the generated file name.
Output file type
By default, the output format matches the template format, which is DOCX in this case. Change it to PDF.
Hint
You can protect the final PDF document with a watermark, password, or by disabling certain actions.
Template engine
The engine processes the template and replaces tokens with actual data. In this example, we use the Modern engine, which is more powerful and supports more complex templates. Learn the differences between Modern and Classic engines.
Finally, click Save to apply the settings.
Set up process settings
Open Process settings by clicking the gear icon in the left (Process) panel:

Process mode
By default, it is set to Test mode. In Test mode, runs are free, but generated documents include a Plumsail watermark. Change it to Production to remove the watermark.
Timezone
This parameter defines the current date and time used for the {{@date}} token.
Locale
This parameter defines the default locale for the document, allowing you to use the format function without specifying a locale in the template.
Document number index
Use this field to set the current document number index.
The process increments it with each run and uses the next value for the {{@number}} token.
When you finish configuring these settings, click Save to proceed to deliveries.
Add email delivery
Next, configure a delivery. In this example, we use Gmail delivery, but you can choose another delivery type if needed.
Connect your Gmail account from your Plumsail account. After that, configure To, Subject, Body, and other email settings to send the completed document.
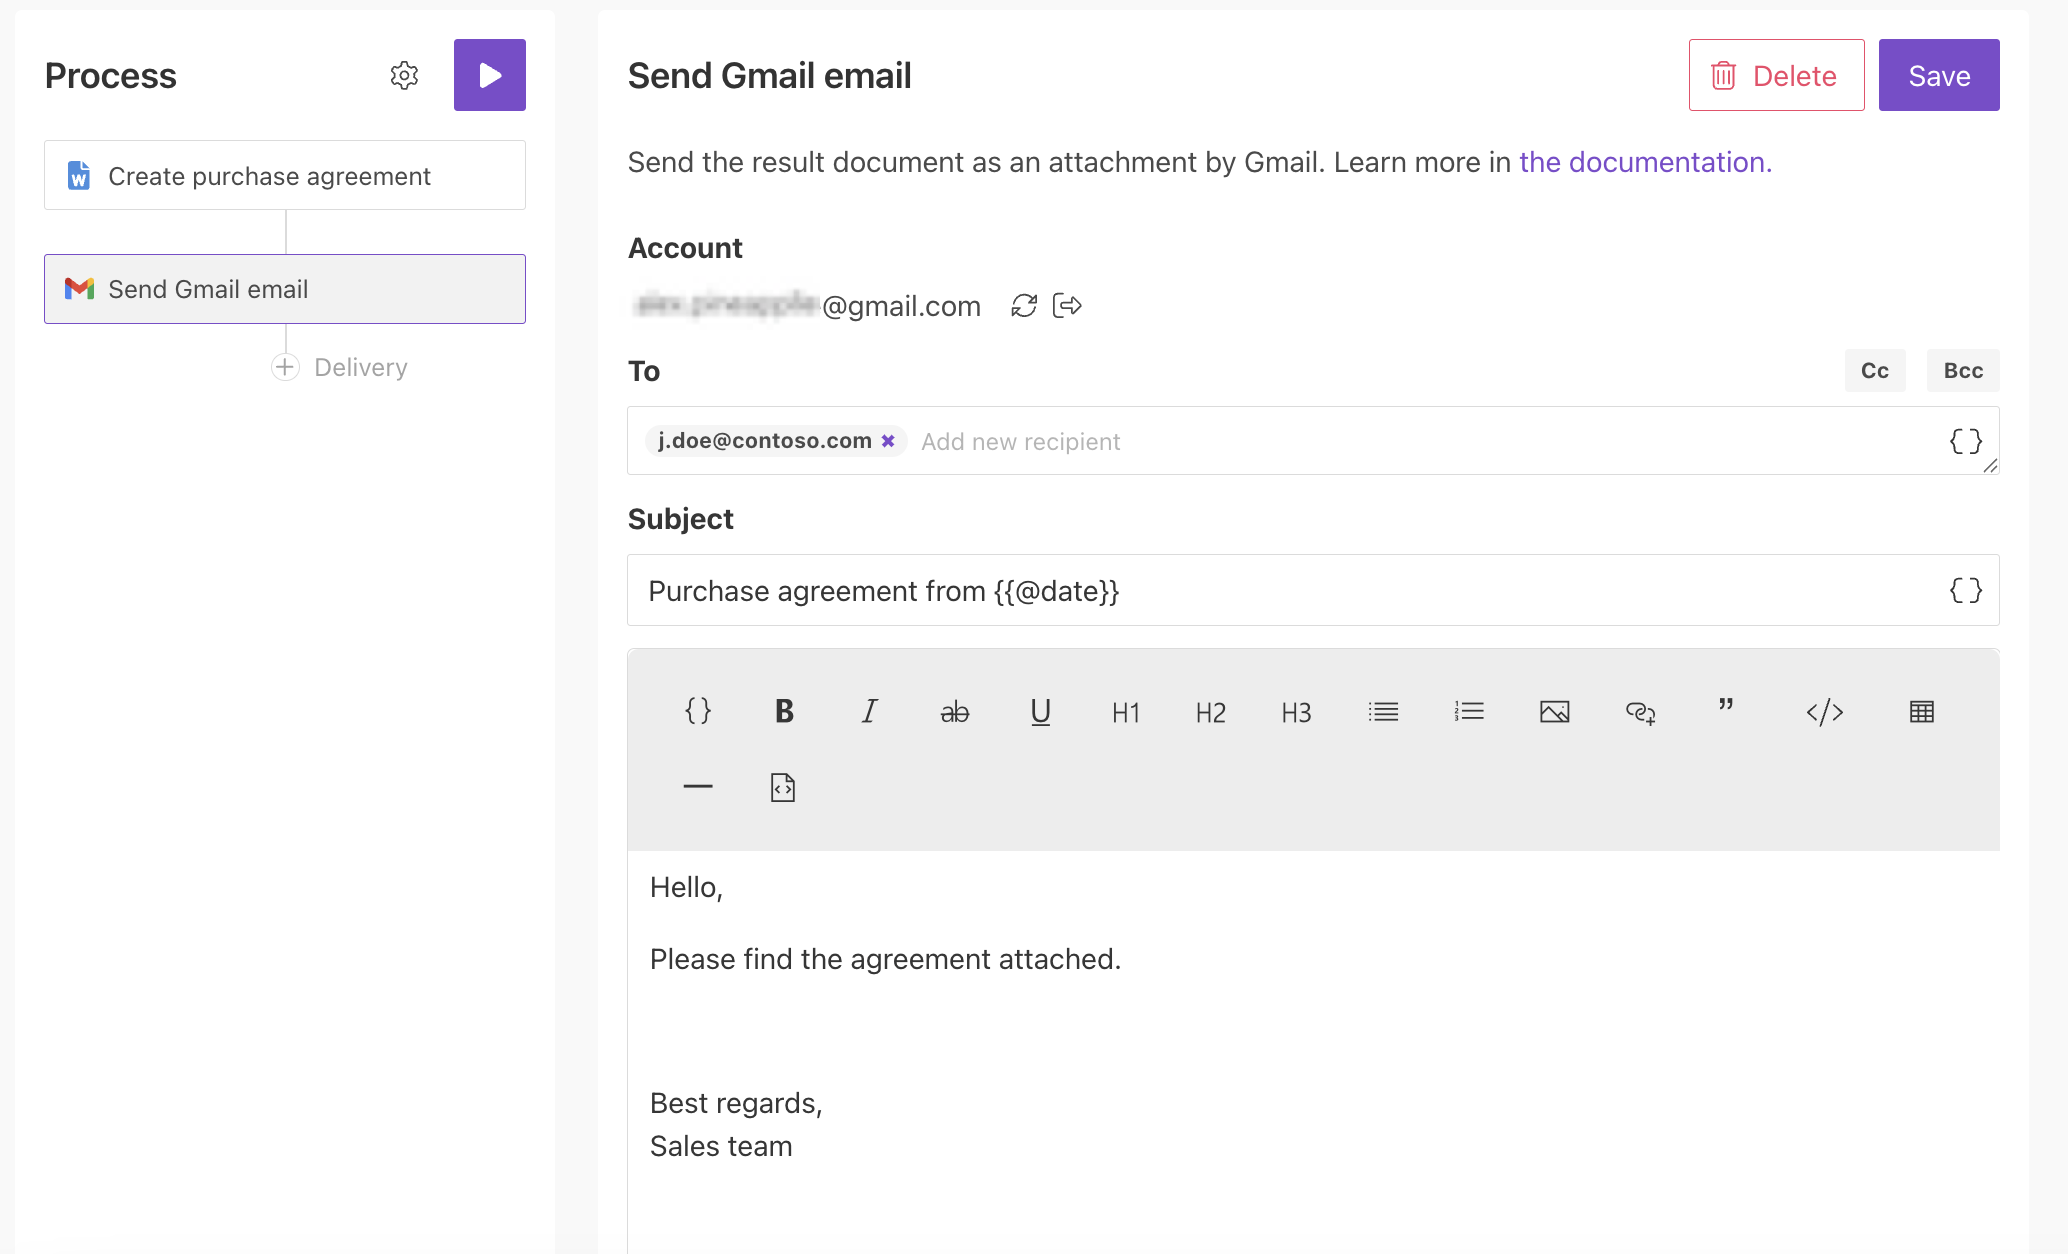
You can add multiple deliveries if needed.
Generate purchase agreement with Airtable data
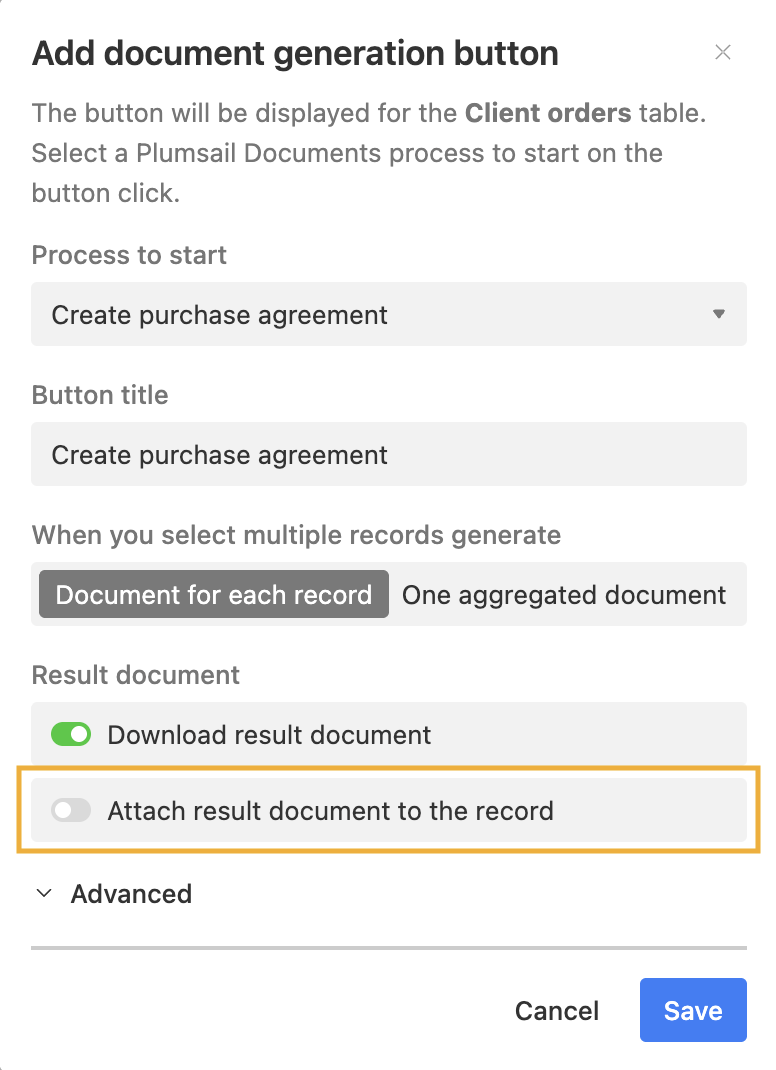
To run the process, go back to Airtable, select one or more records, and click the Plumsail Documents button.
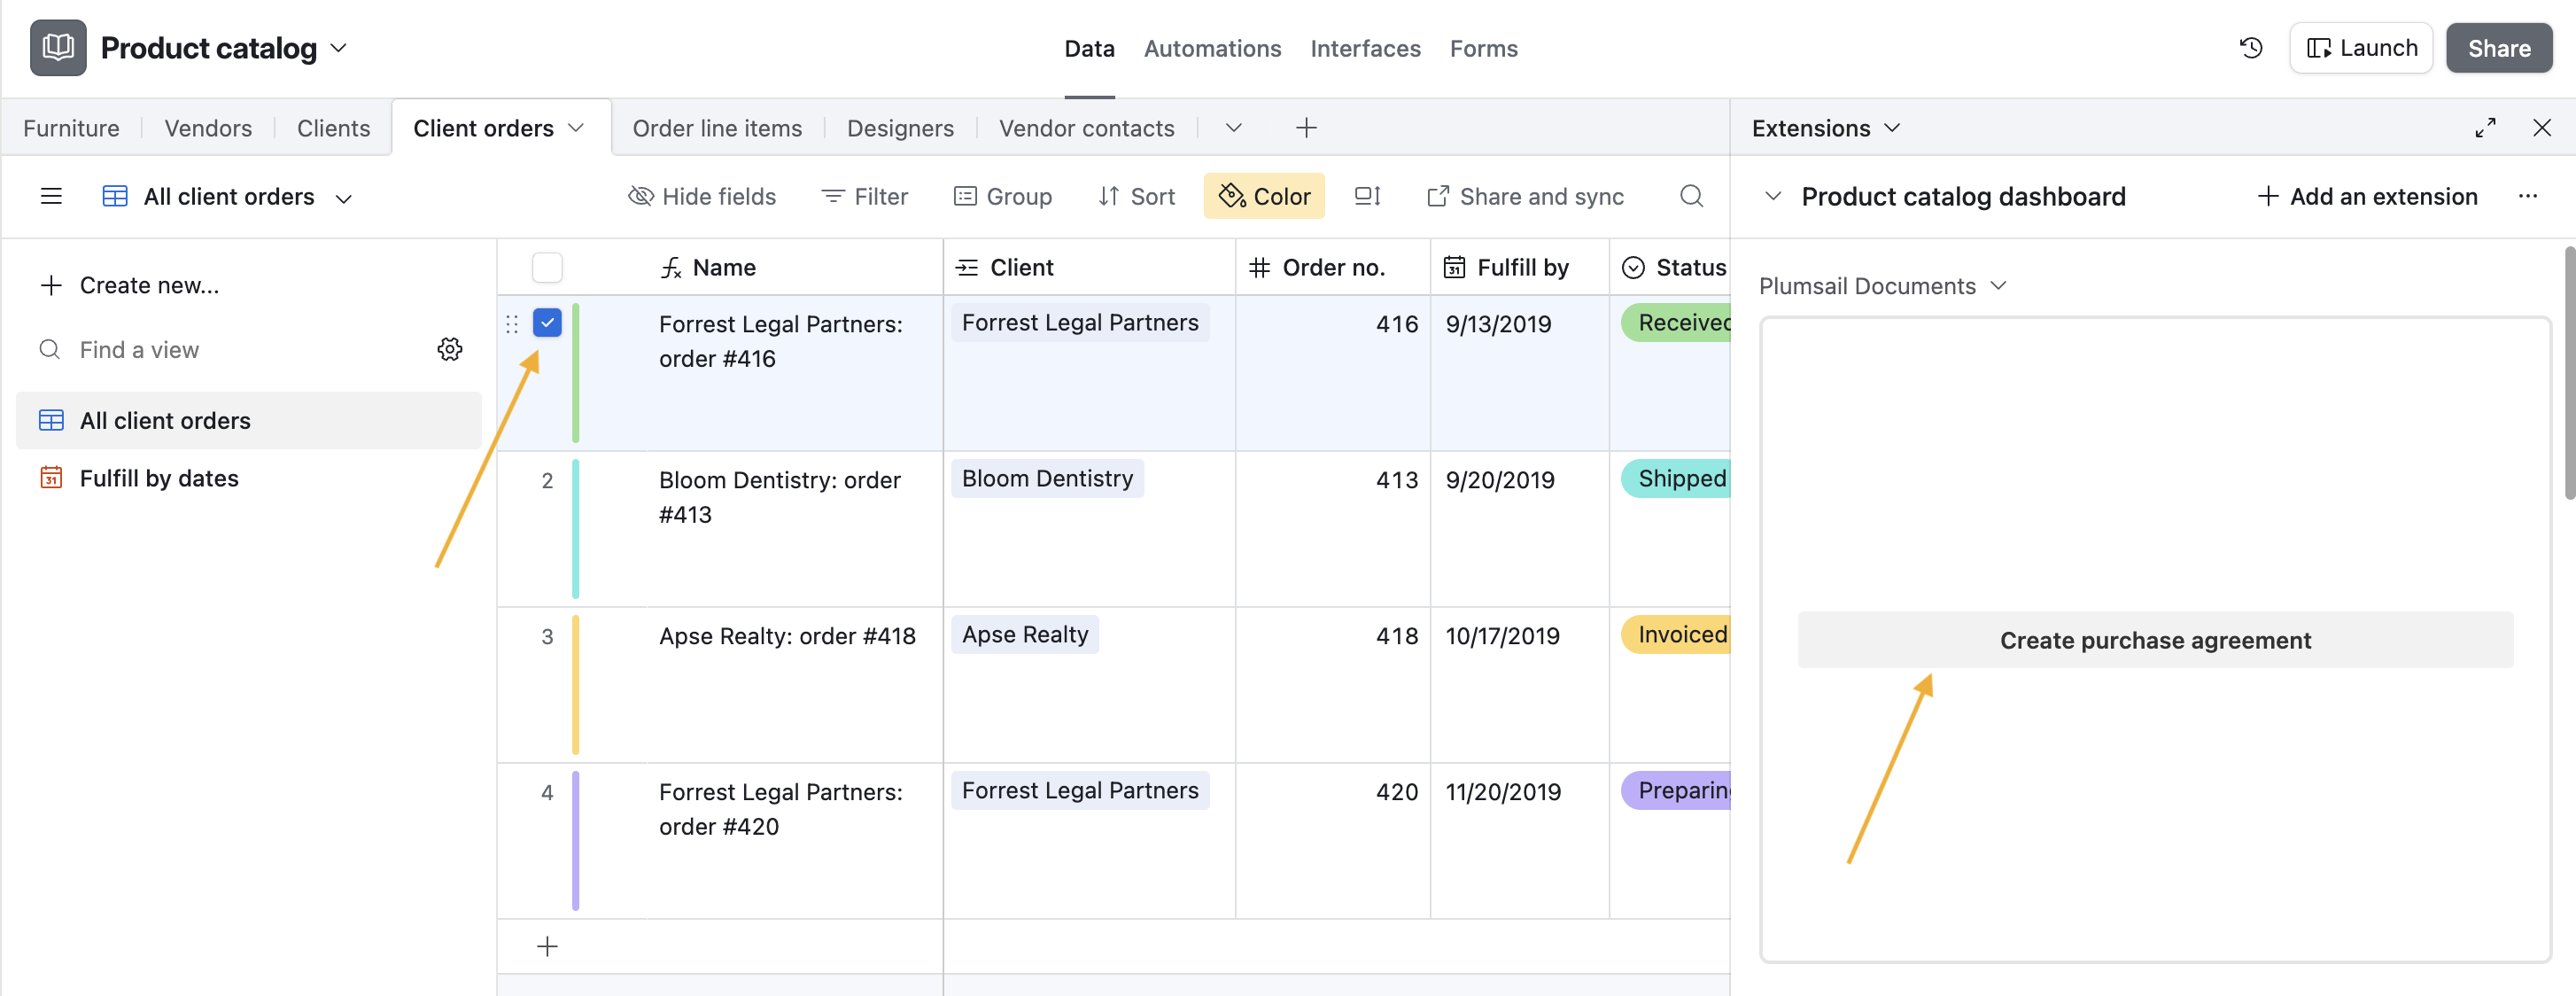
Because email delivery is configured, the generated document is sent automatically.
It is also downloaded automatically, and you can attach it to the Airtable record: