Views
Use views to display employees in an organizational hierarchy or a searchable Employee Directory. Create views for the whole organization, individual departments, or teams, each with its own display and filtering settings.
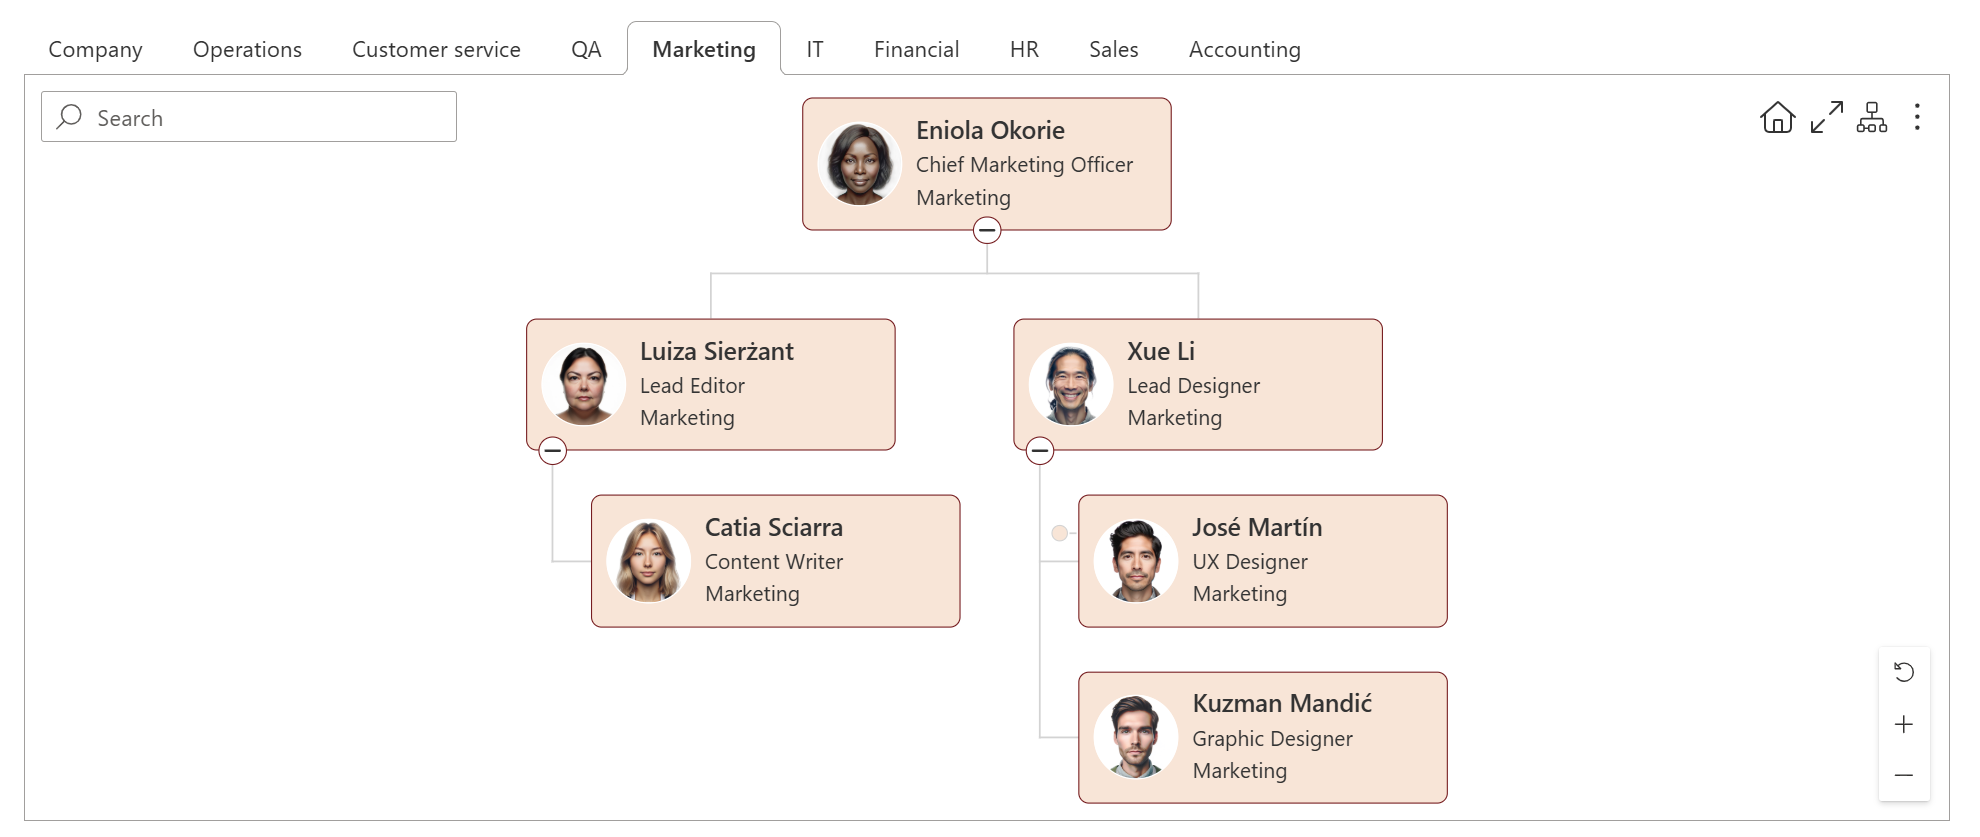
Introduction
Views are the main entry point for controlling what and how your employee data is displayed. From each view, you can filter, group, and sort your employee data to create the structure that best fits your needs.
Note
Learn more about layouts.
Depending on how you want to organize and visualize your employee data, you can choose from the following view types:
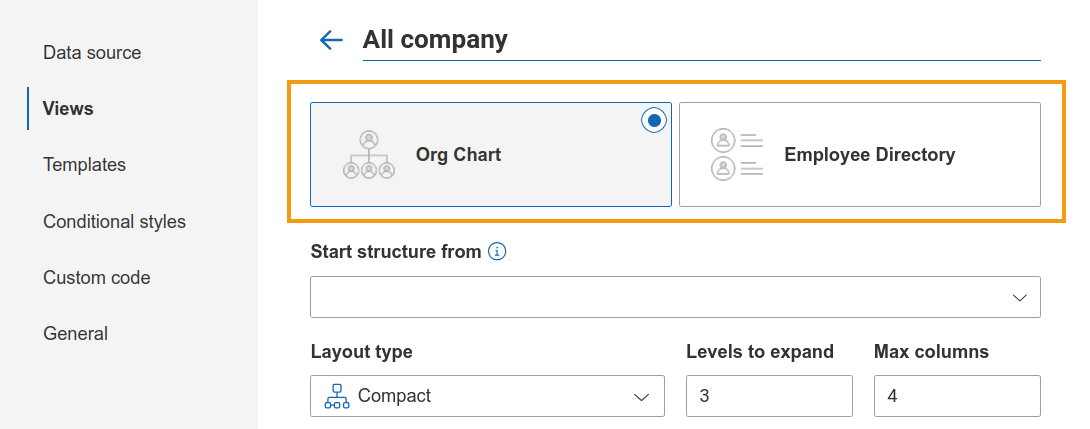
Org Chart: Ideal for displaying the full organizational hierarchy and clearly showing reporting and subordination relationships across all levels.
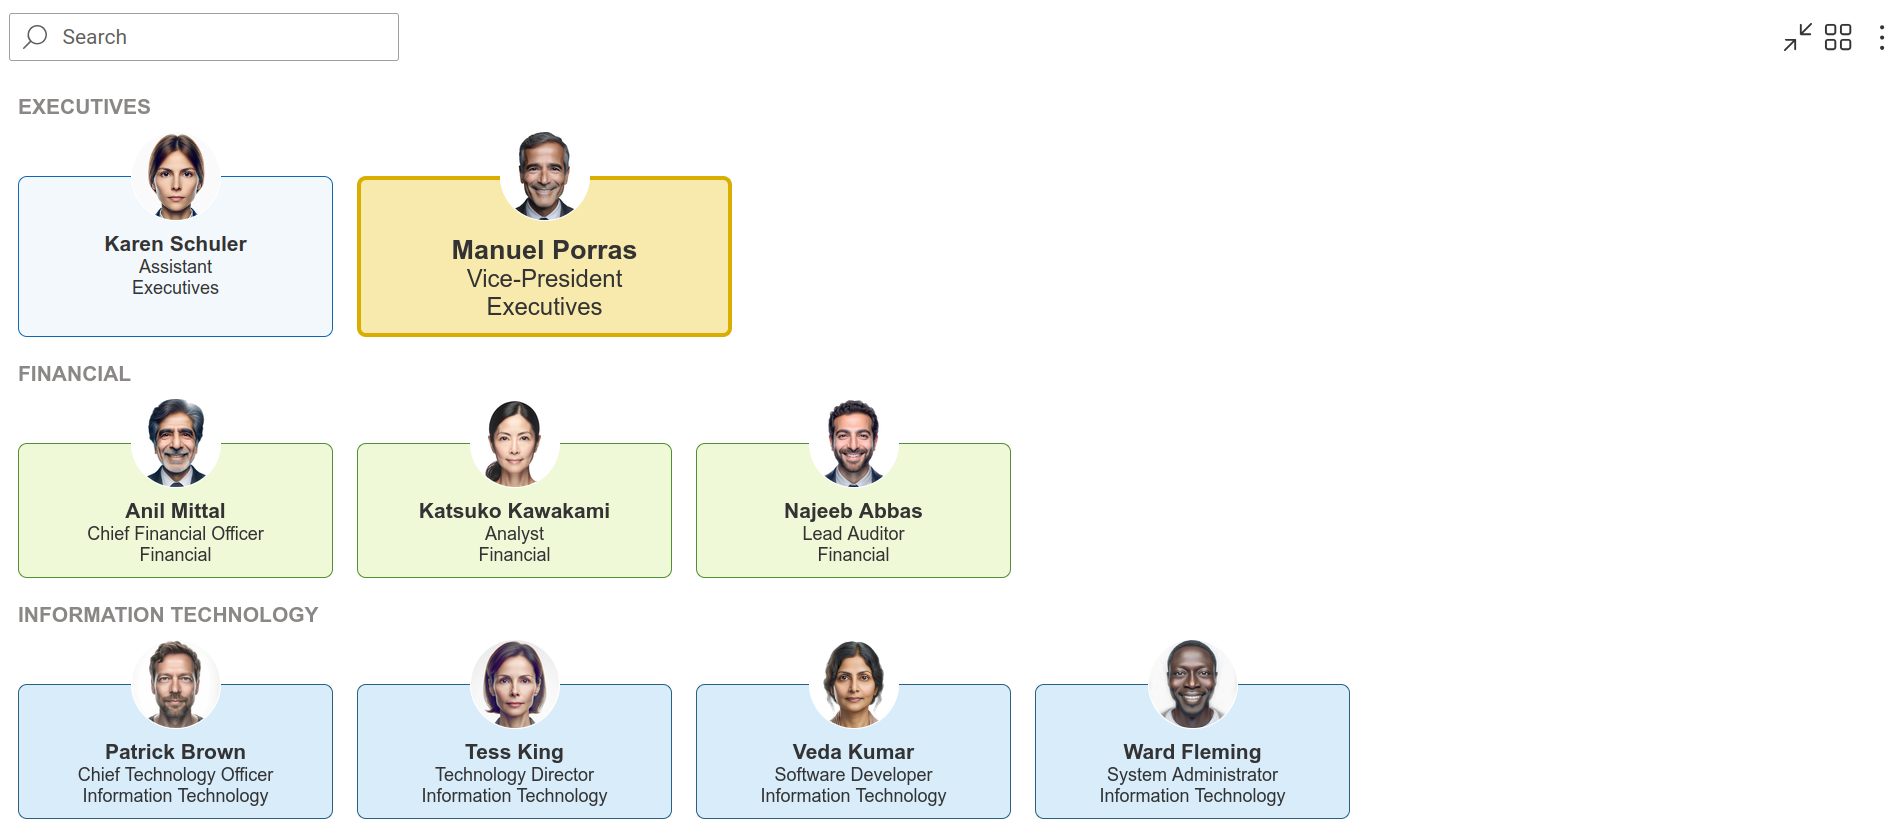
Employee Directory: Ideal for displaying employees in searchable cards or tables, making it easy to browse and find specific people.
Note
Employee Directory views are not supported when using User Profiles as data source.
Add views
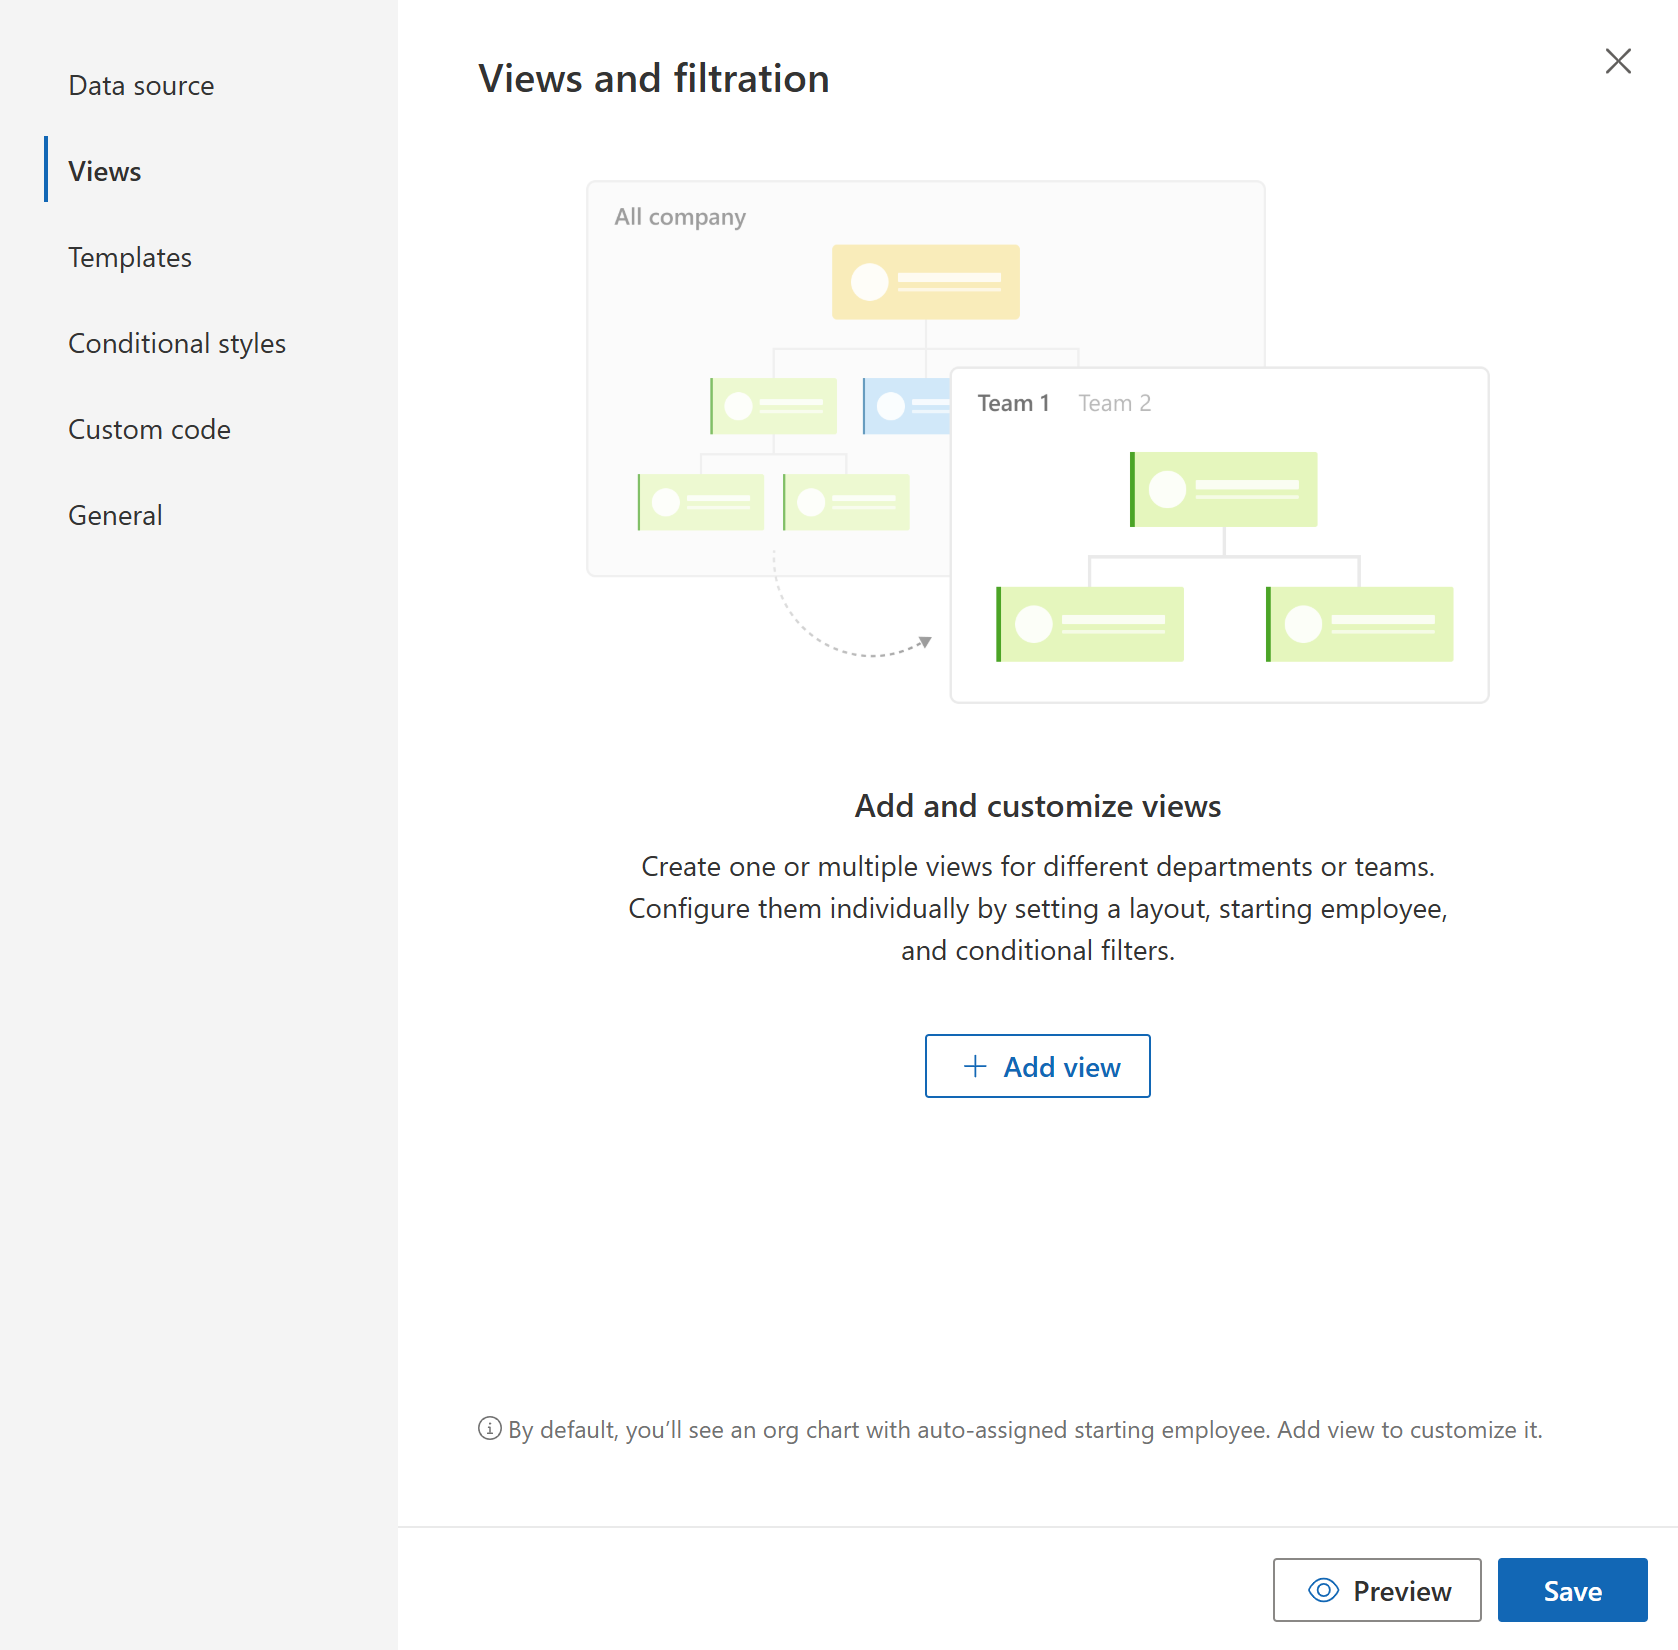
By default, you’ll see an org chart with auto-assigned starting employee.
You can create additional views for departments or teams by clicking the + Add view button in the Views tab of the configuration wizard.
Manage views
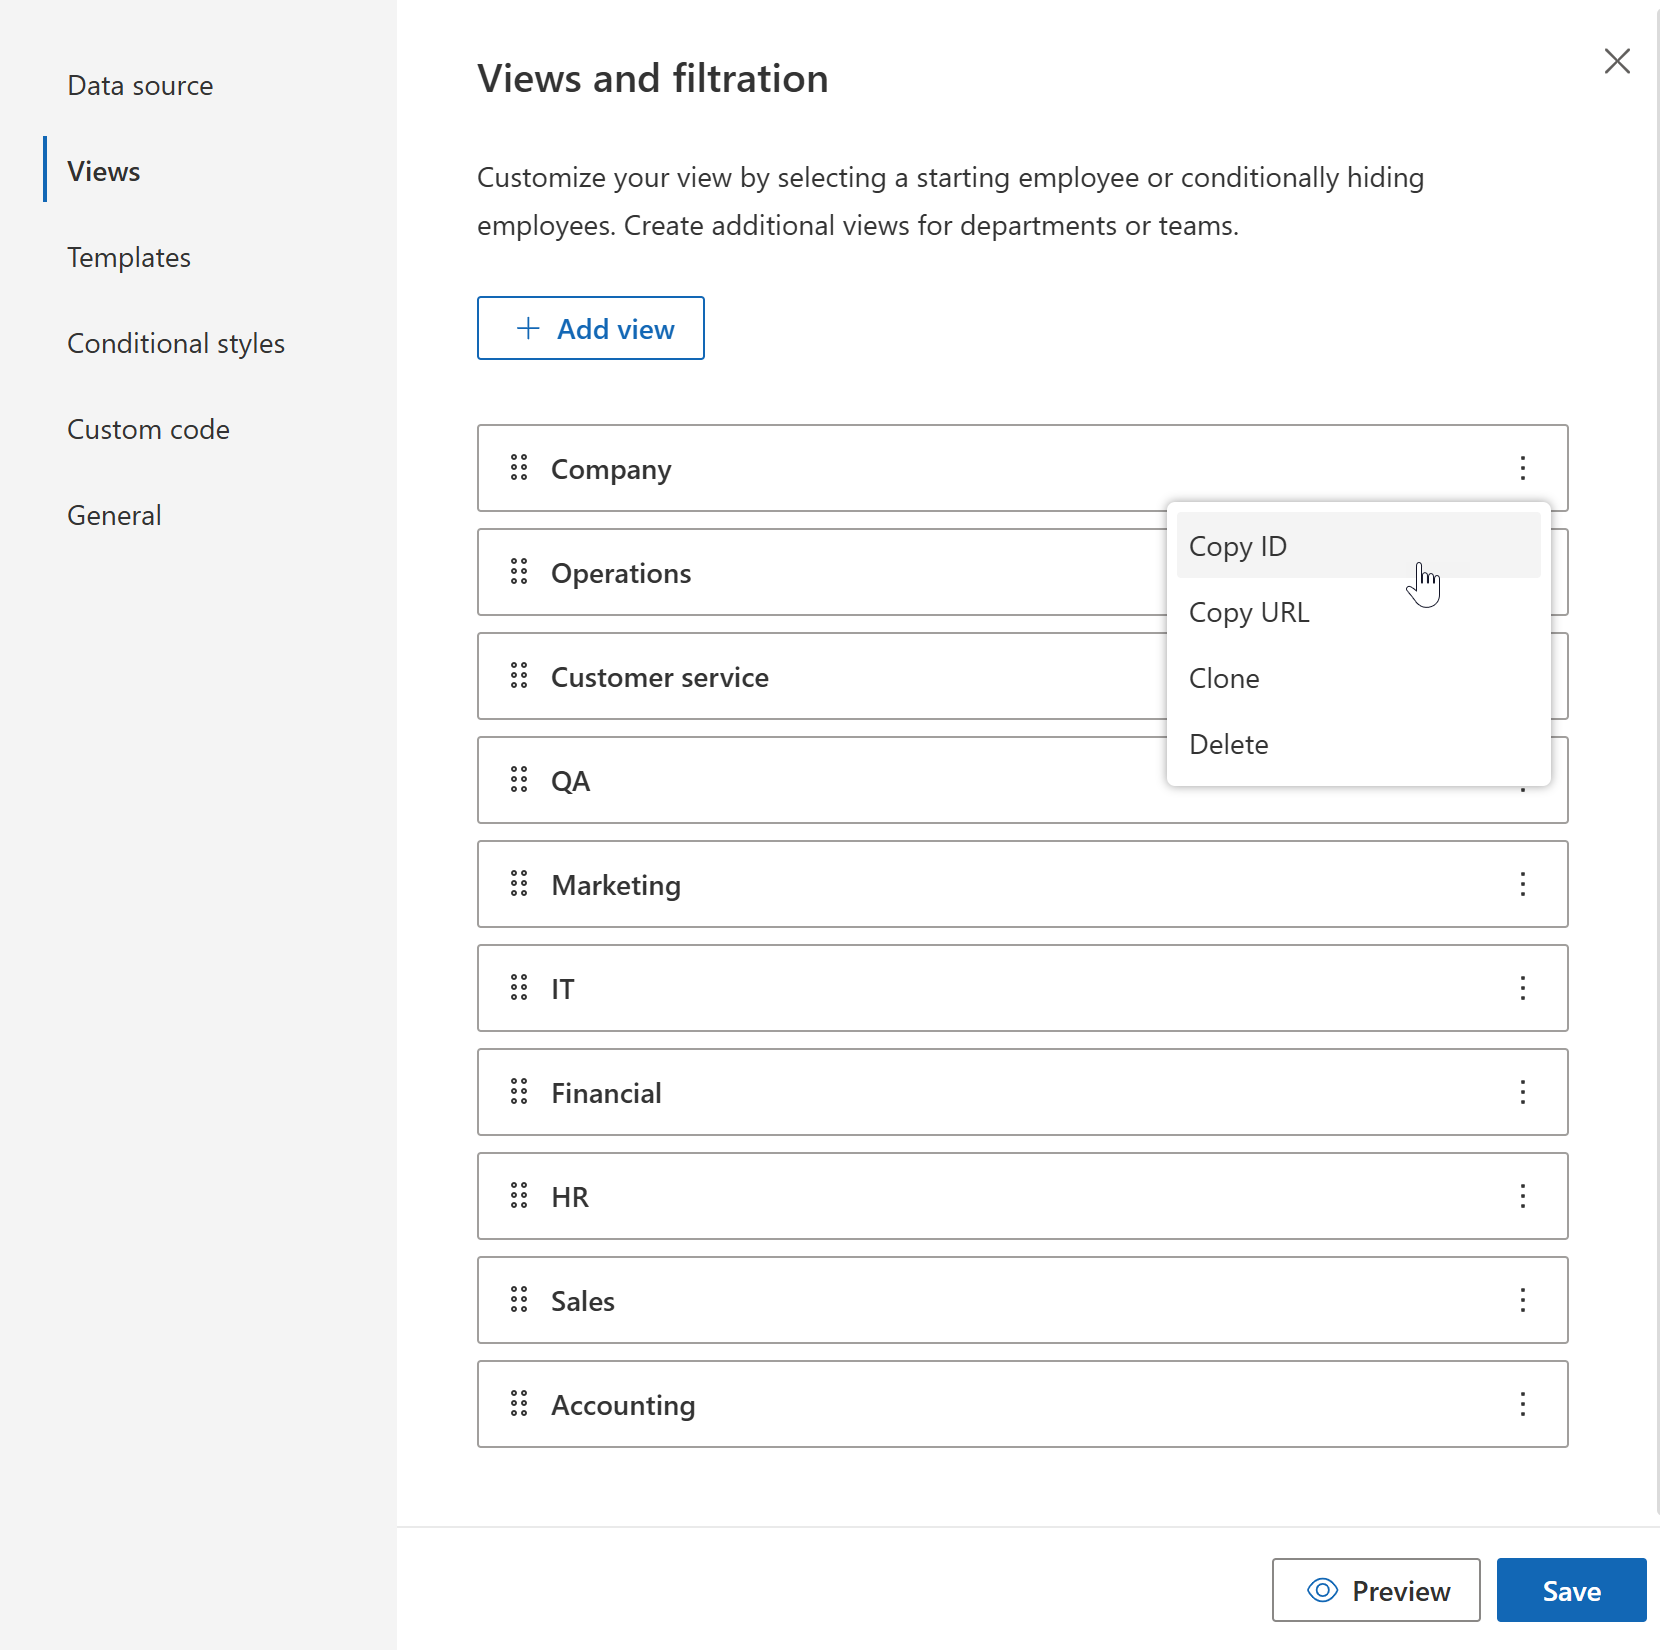
Each view includes a drop-down menu with the following actions.
Action |
Description |
|---|---|
Copy ID |
Copy and share an ID of the current view. You can use the view ID to filter the Org Chart using Javascript. |
Copy URL |
Copy and share a direct URL to the specific view. |
Clone |
Duplicate the current view with all its settings. |
Delete |
Remove the current view. |
Note
It’s also possible to copy the view ID and view URL directly from the browser’s address bar after selecting a certain view in the Org Chart.
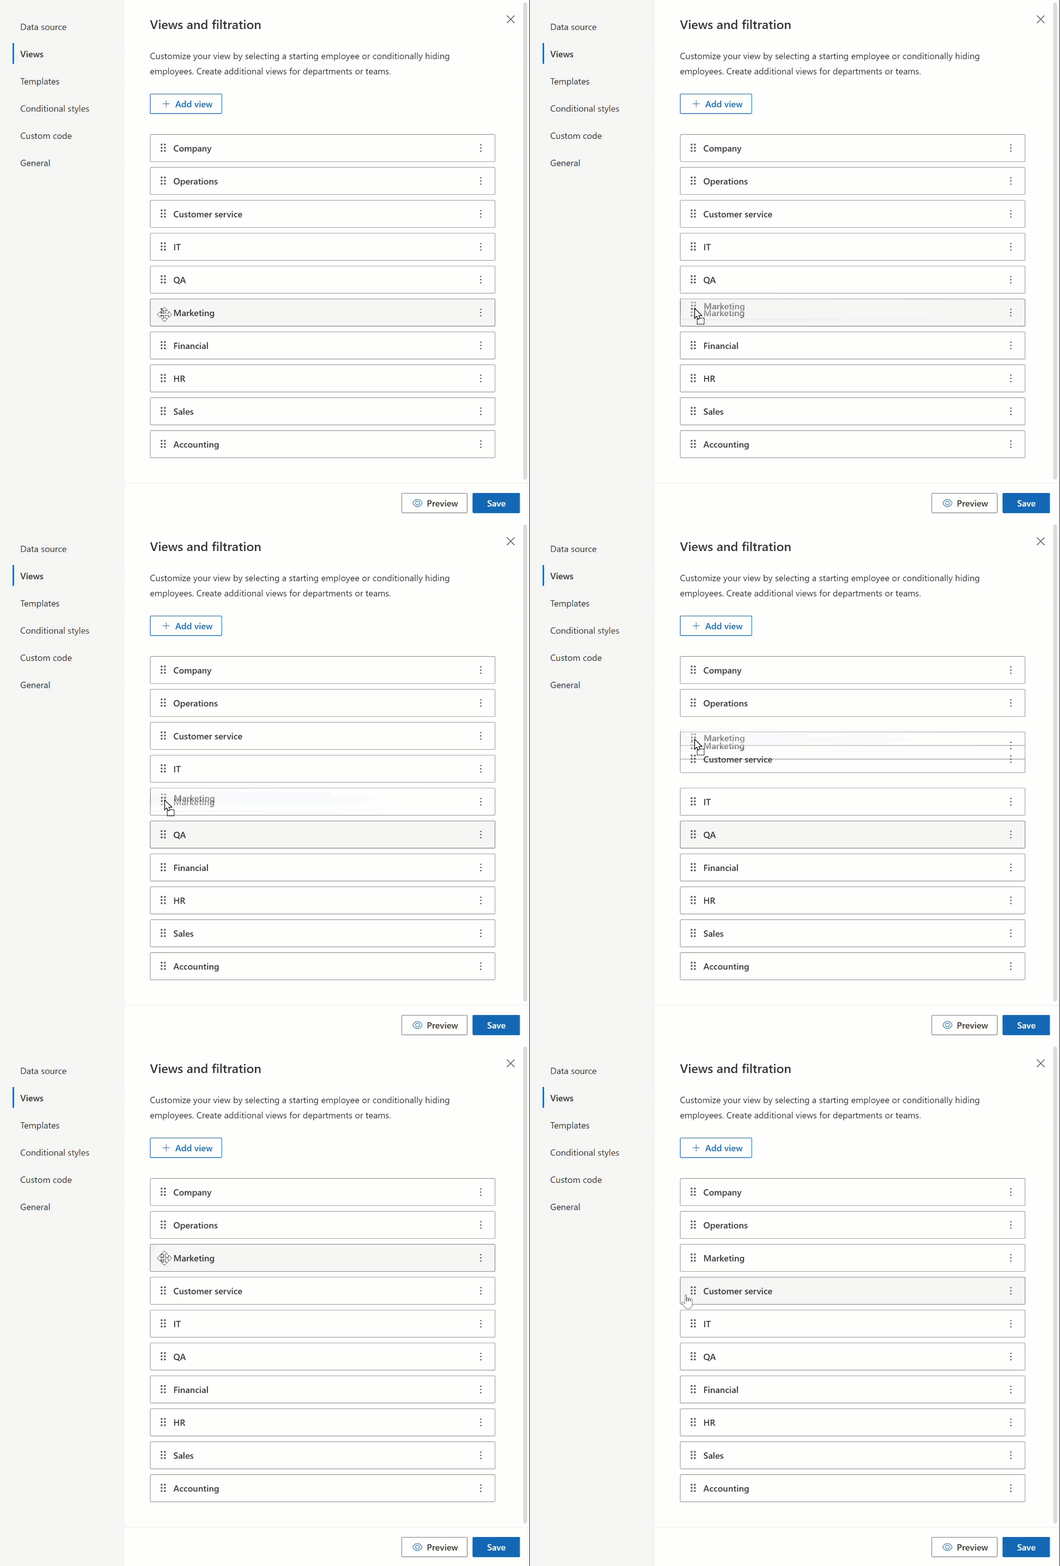
To change the order of views, simply drag and drop them into the desired sequence:
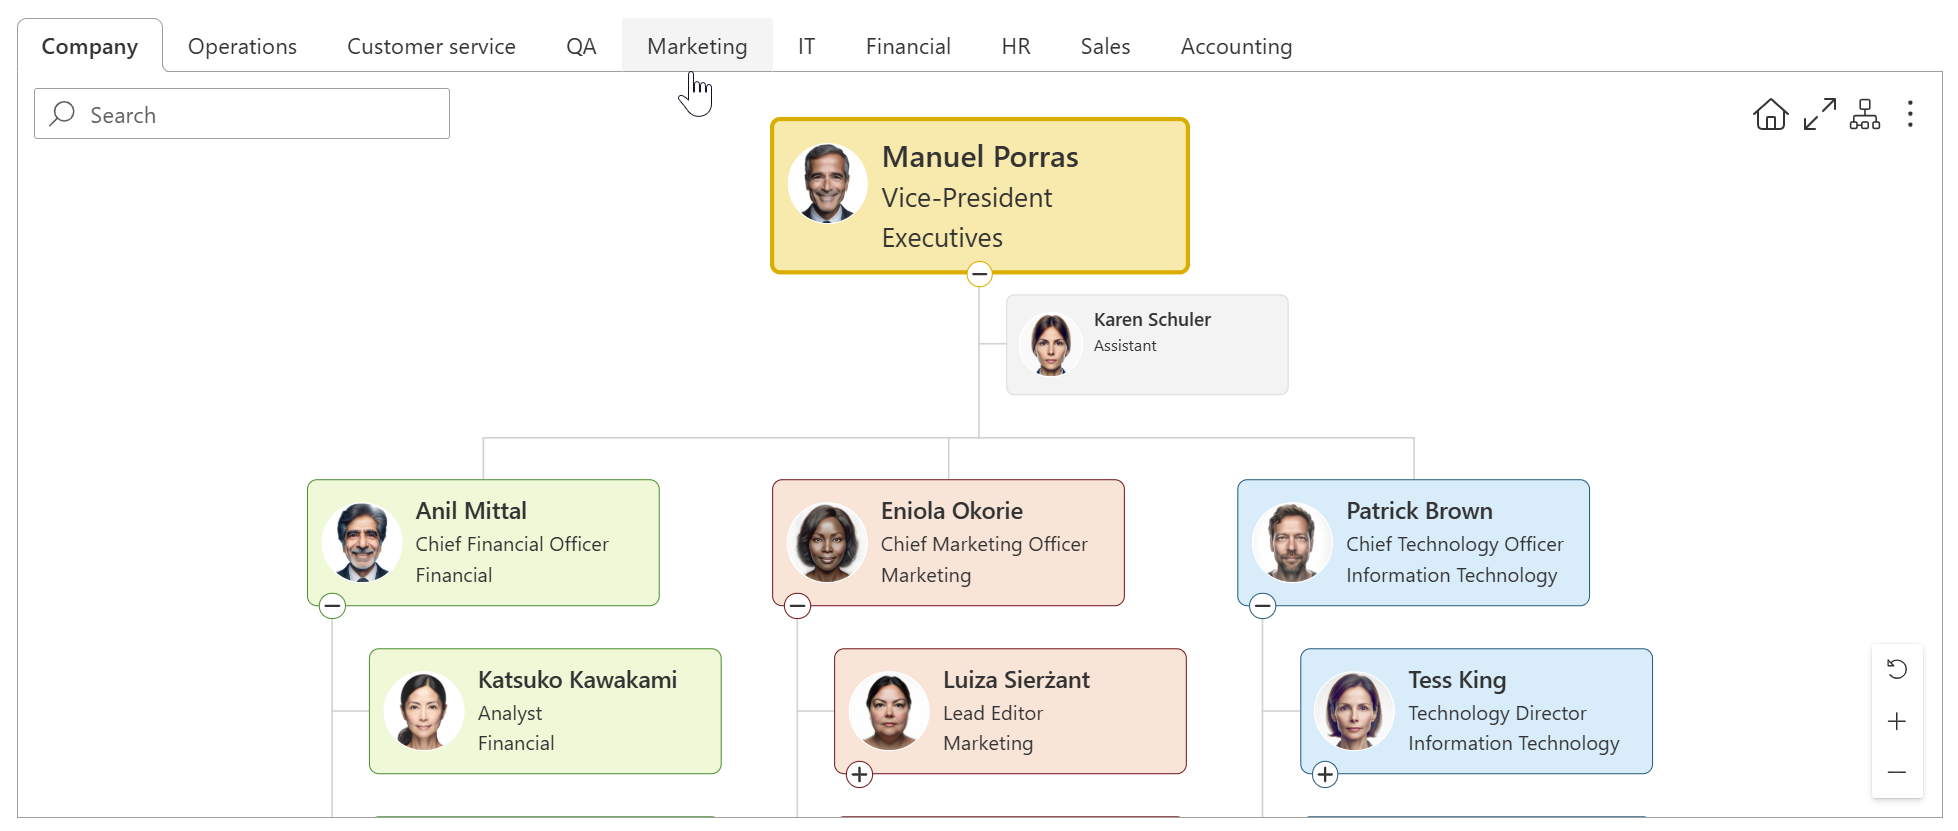
Once multiple views are added, you can switch between them directly in the Org Chart interface:
Note
Please find examples of how to use the Views feature in the blog post.
Org Chart settings
For each Org Chart view, the following settings are available:
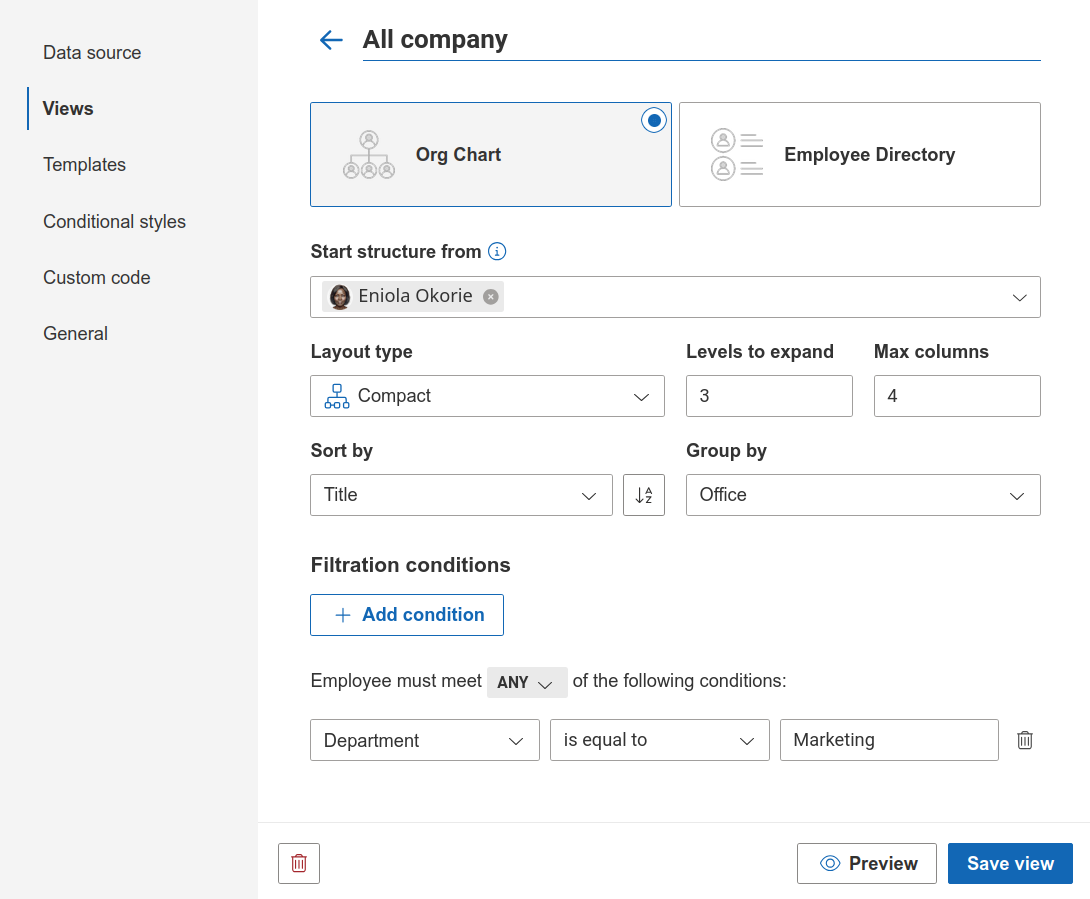
Setting |
Description |
|---|---|
Start structure from |
Select up to 3 employees from whom the chart hierarchy should start. Leave this field empty to let Org Chart determine the starting employee automatically. |
Layout type |
Choose how employee boxes are arranged in this view. |
Levels to expand |
Specify how many hierarchy levels are expanded when the view is opened. |
Max columns |
Limit the number of columns displayed in the chart layout. Available only in the Compact layout. |
Sort by |
Choose the field used to sort employees within the view. Use the sort direction button next to the field to switch between ascending and descending order. |
Group by |
Group employees by a selected field from the data source. Available only in the Compact layout. Learn more about it in our documentation. |
Filtration conditions |
Define conditions to show or hide employees in this view. If you add filtration rules, you must also select a starting employee. See the section Specify filtration conditions below for more information. |
Select starting employees
In Org Chart views, the start structure defines the root of the organizational chart. You can either manually select starting employees or let Org Chart determine them automatically.
Manual
Select up to 3 employees as starting points. As you type a name, Org Chart will suggest matching results.
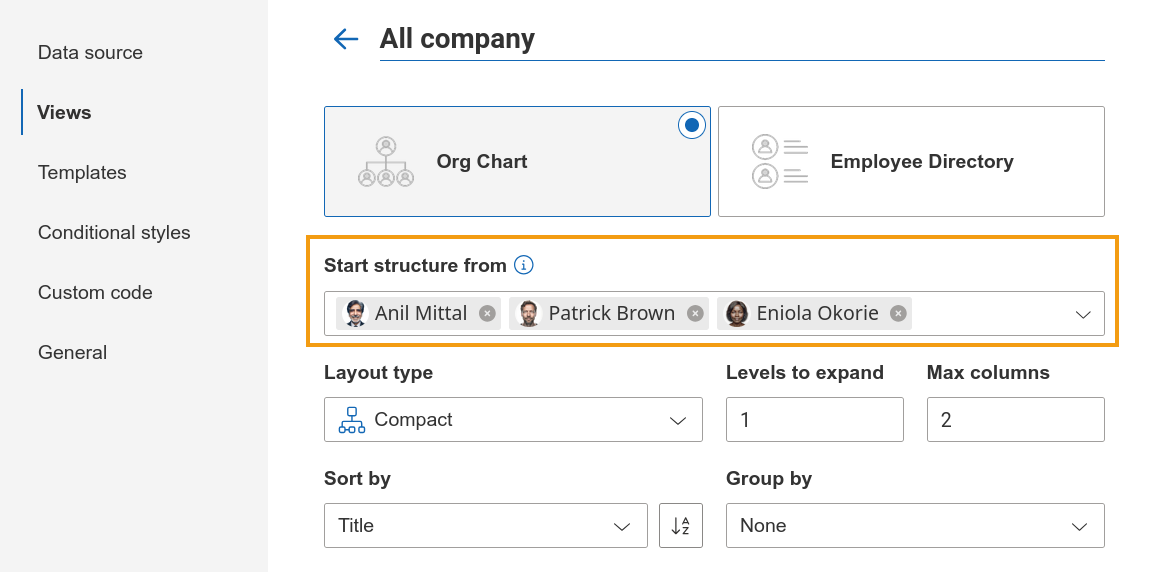
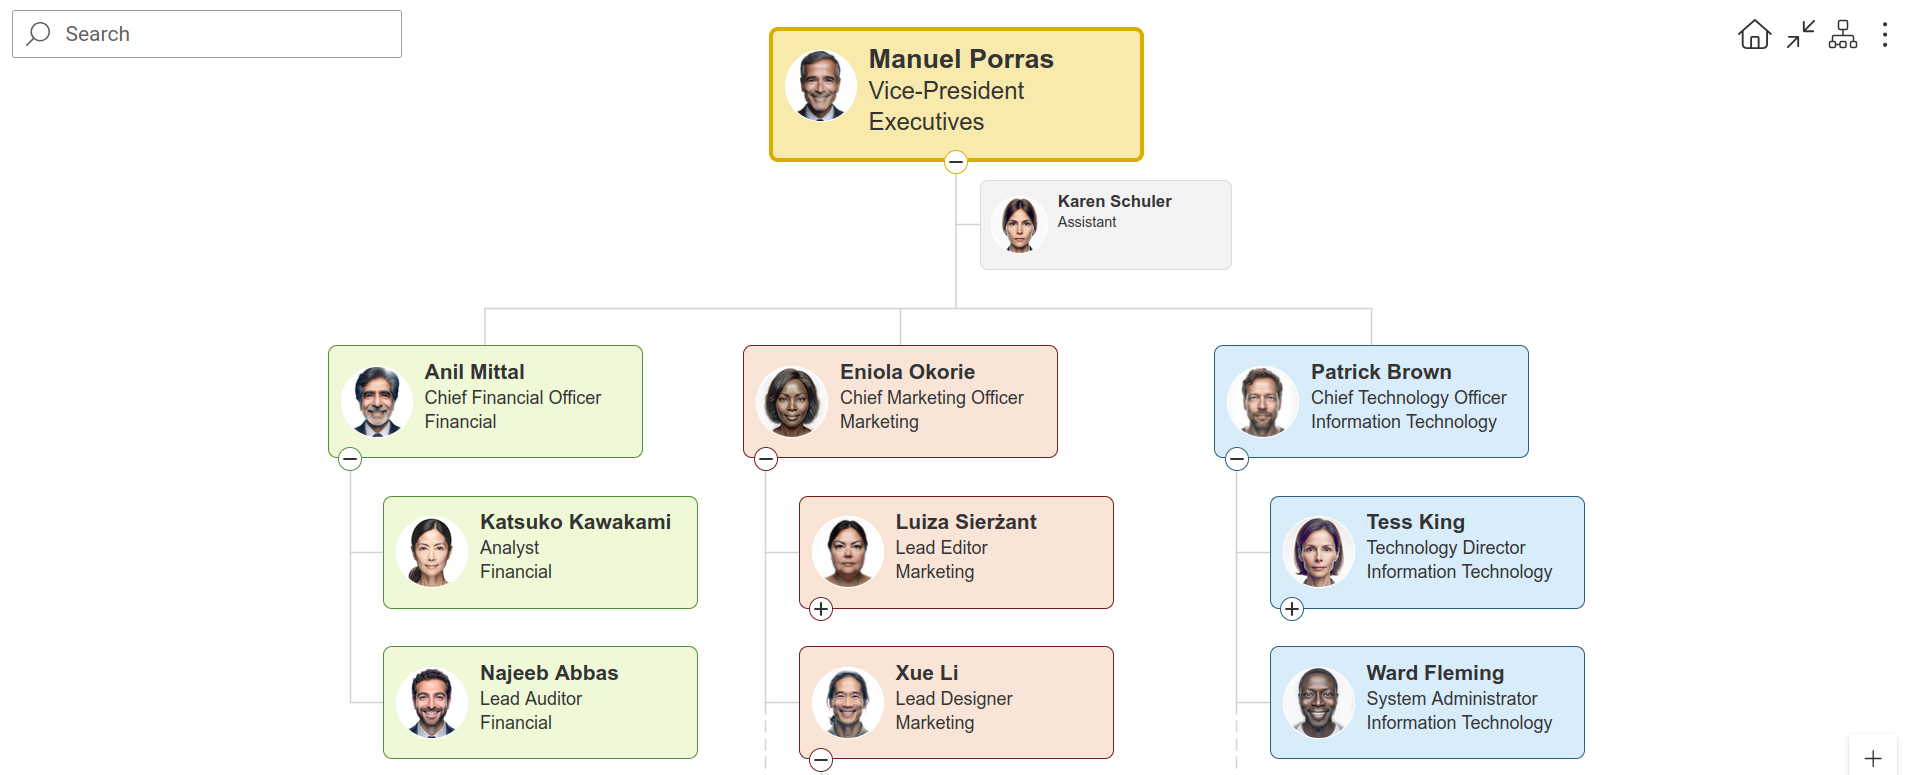
If you choose more than one root employee, the chart will look like the following:
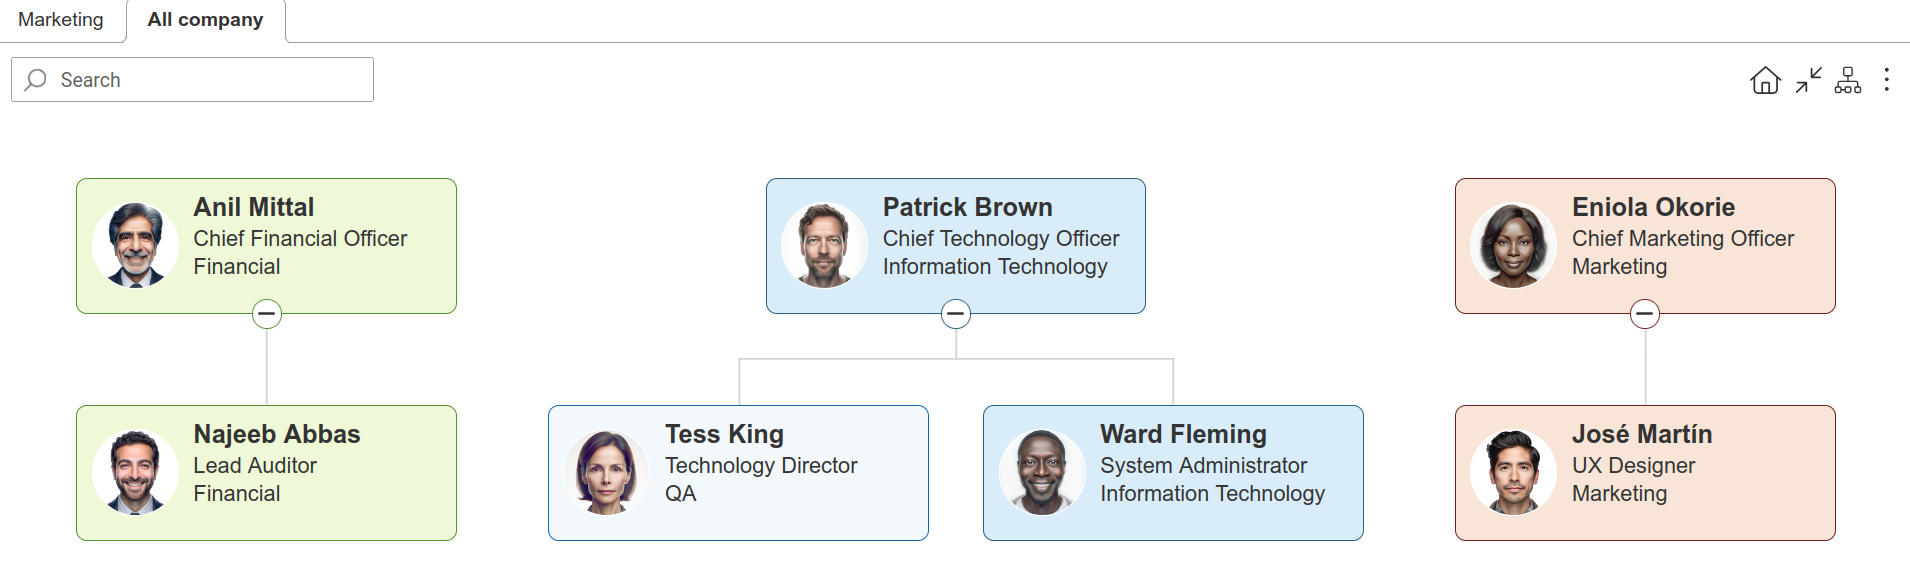
Automatic
Leave the start structure field empty, and Org Chart will select the root employee based on the data source used:
If you use User Profiles or EntraID data sources, the starting employee will be found based on current user relations. Org Chart will find the current user. Then it will traverse up by manager relation until it finds an employee without a manager. This person will be a starting employee.
If you use a SharePoint list or Excel data sources, the first employee without a manager will be a starting employee.
Employee Directory settings
For each Employee Directory view, the following settings are available:
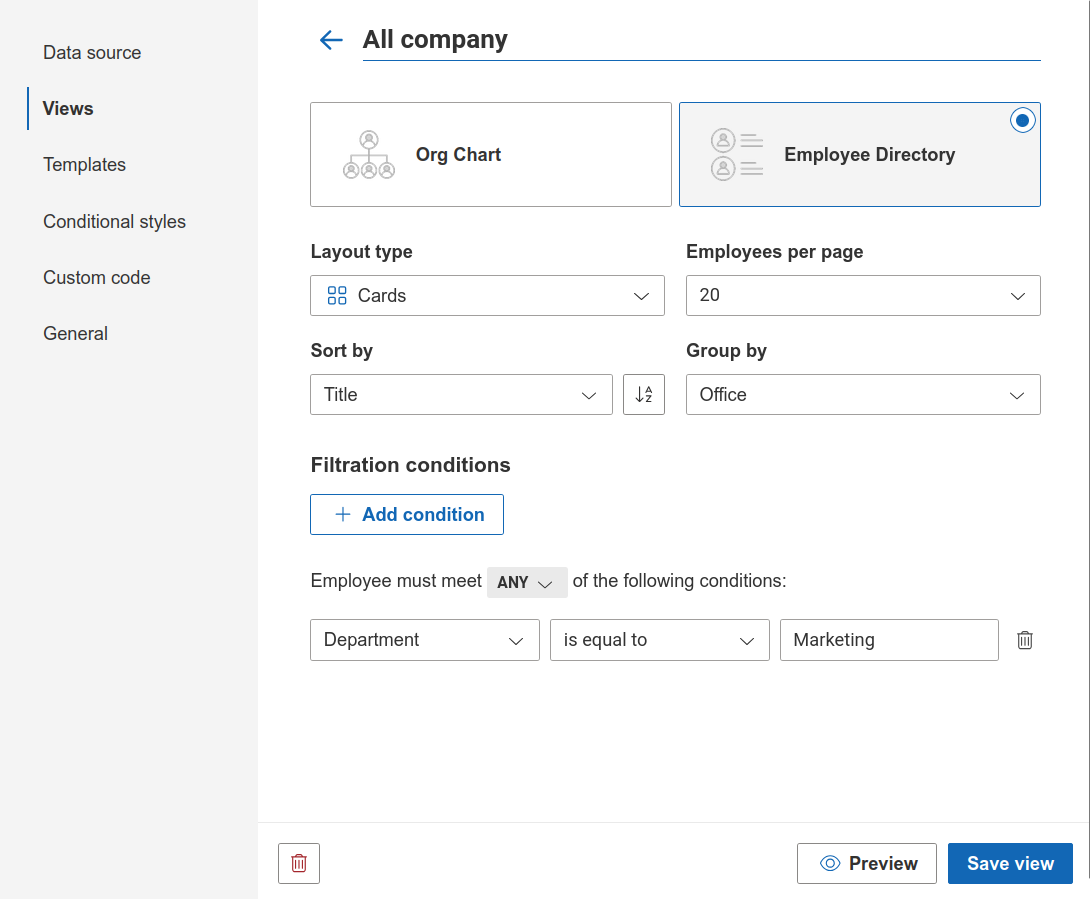
Setting |
Description |
|---|---|
Layout type |
Choose Cards or List to display employees in this view. See Employee Directory layouts for descriptions and examples. |
Employees per page |
Specify how many employees are displayed on each page of the directory. |
Sort by |
Choose the field used to sort employees within the view. Use the sort direction button next to the field to switch between ascending and descending order. |
Group by |
Group employees by a selected field from the data source. Learn more about it in our documentation. |
Filtration conditions |
Define conditions to show or hide employees in this view. See the section Specify filtration conditions below for more information. |
Specify filtration conditions
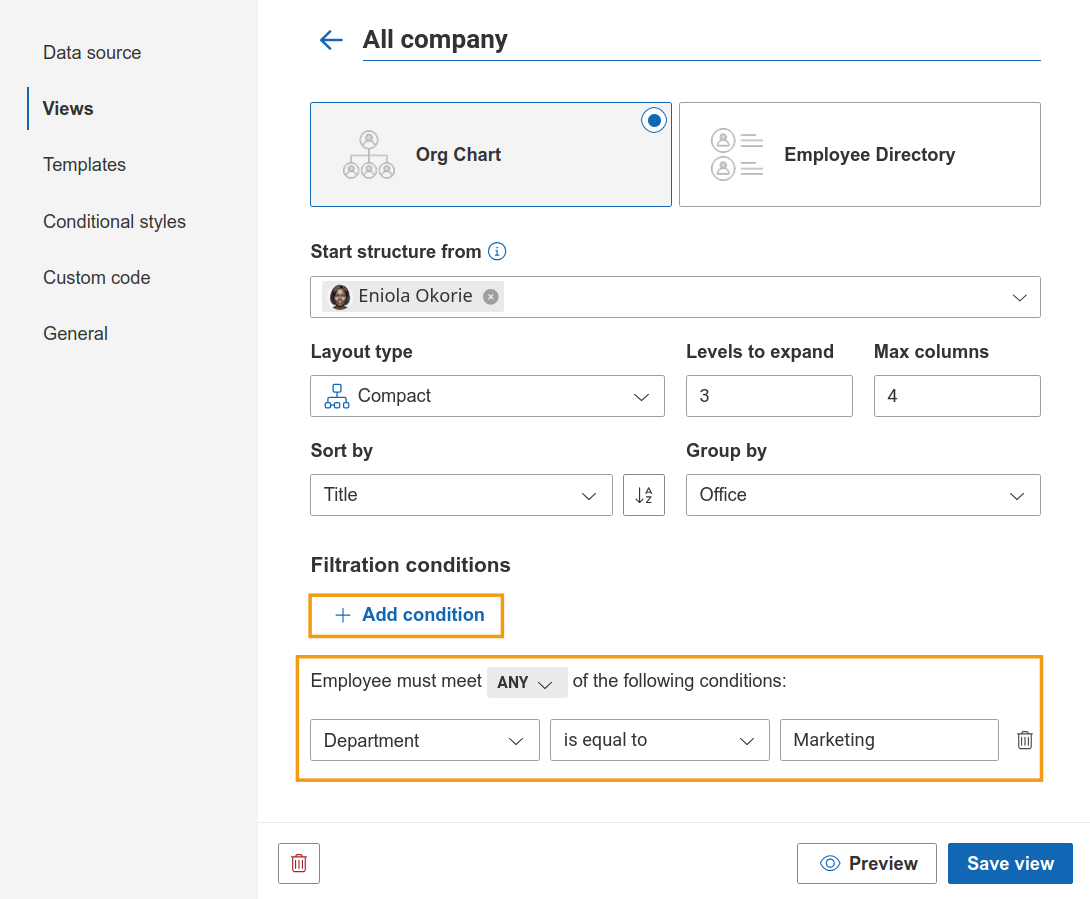
Use filtration conditions to exclude or limit the employees included from any type of view. You can filter by department, name, or any other field from your data source.
Note
Filtration conditions are case sensitive.
The Contains condition is unavailable in Employee Directory views due to Microsoft Graph API restrictions.
This editor contains a set of conditions that are evaluated as true or false.
Click + Add condition to add a condition.
An employee box is displayed if it meets All or Any of the conditions.
Each condition includes:
a drop-down list to select a field from the data source,
a comparison operator,
a value field (use is empty or is not empty to check whether the field has a value).
The operator drop-down includes Matches, which lets you check whether the value matches a regular expression.
Also, see how to filter the Org Chart using Javascript.
Note
Go to the next step of the configuration wizard – Templates.