SharePoint list
Configure data source
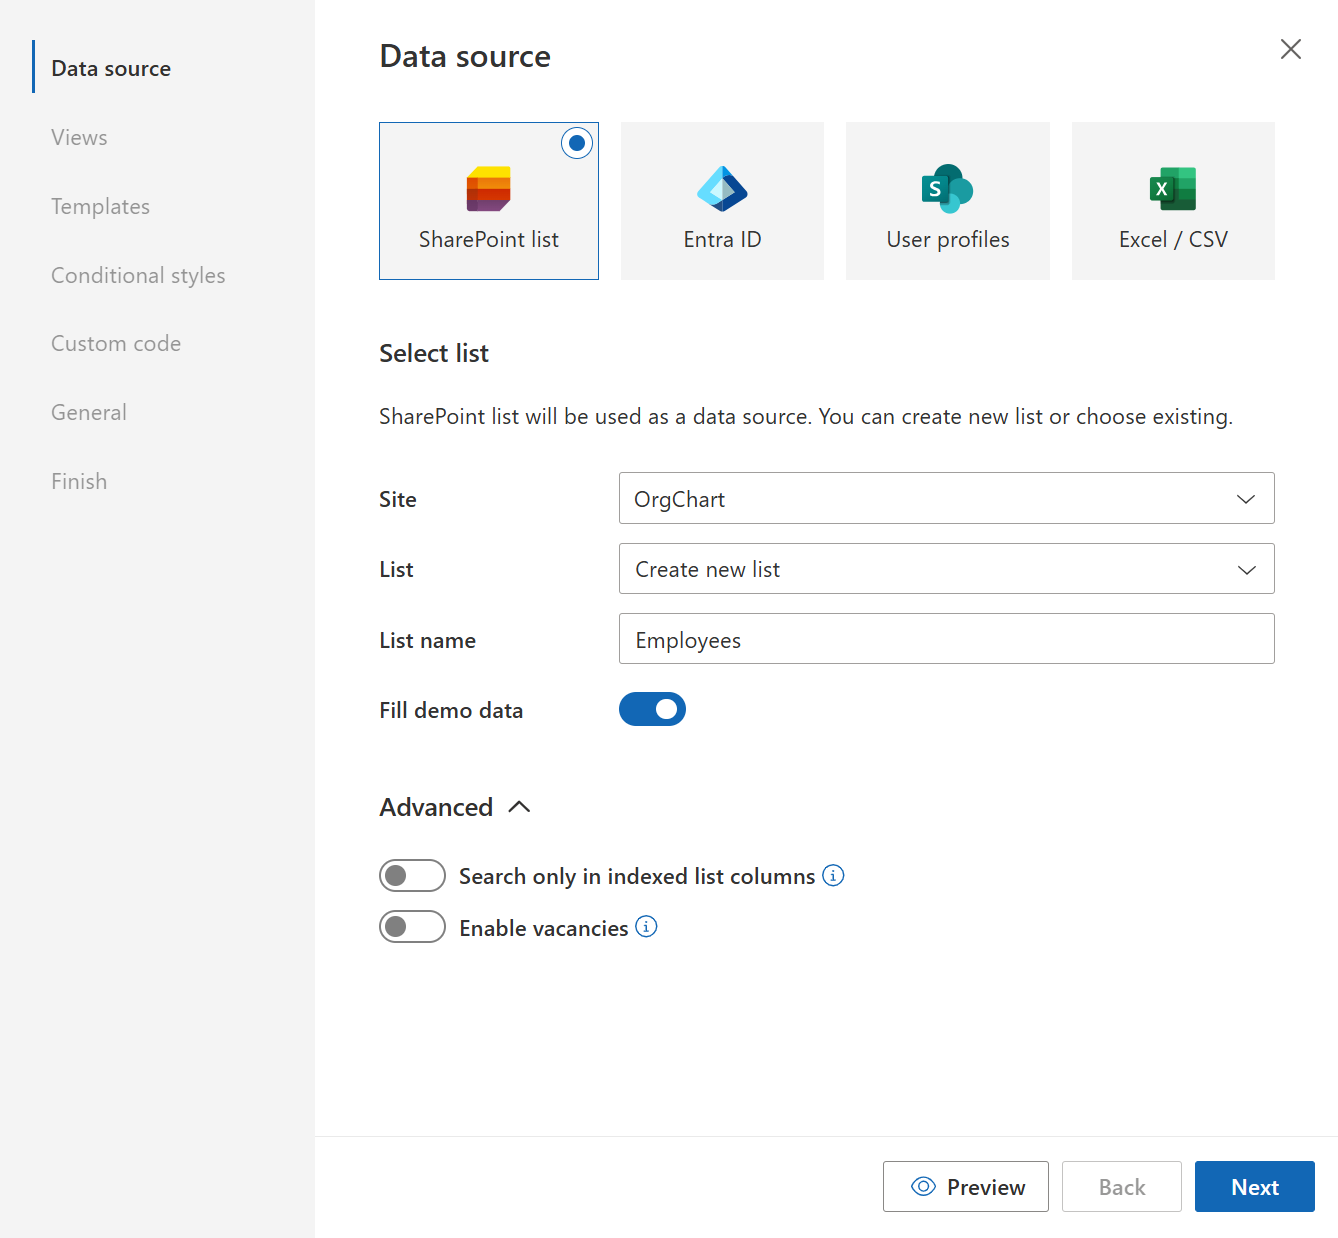
If you choose SharePoint list as a data source, it will be configured to create a new list with demo data by default. You only need to fill the List name.
If you want to use an existing SharePoint list, you can choose it from combo box. Then you will have to specify mapping for list fields required for building correct hierarchy. The interface for mapping looks like this.
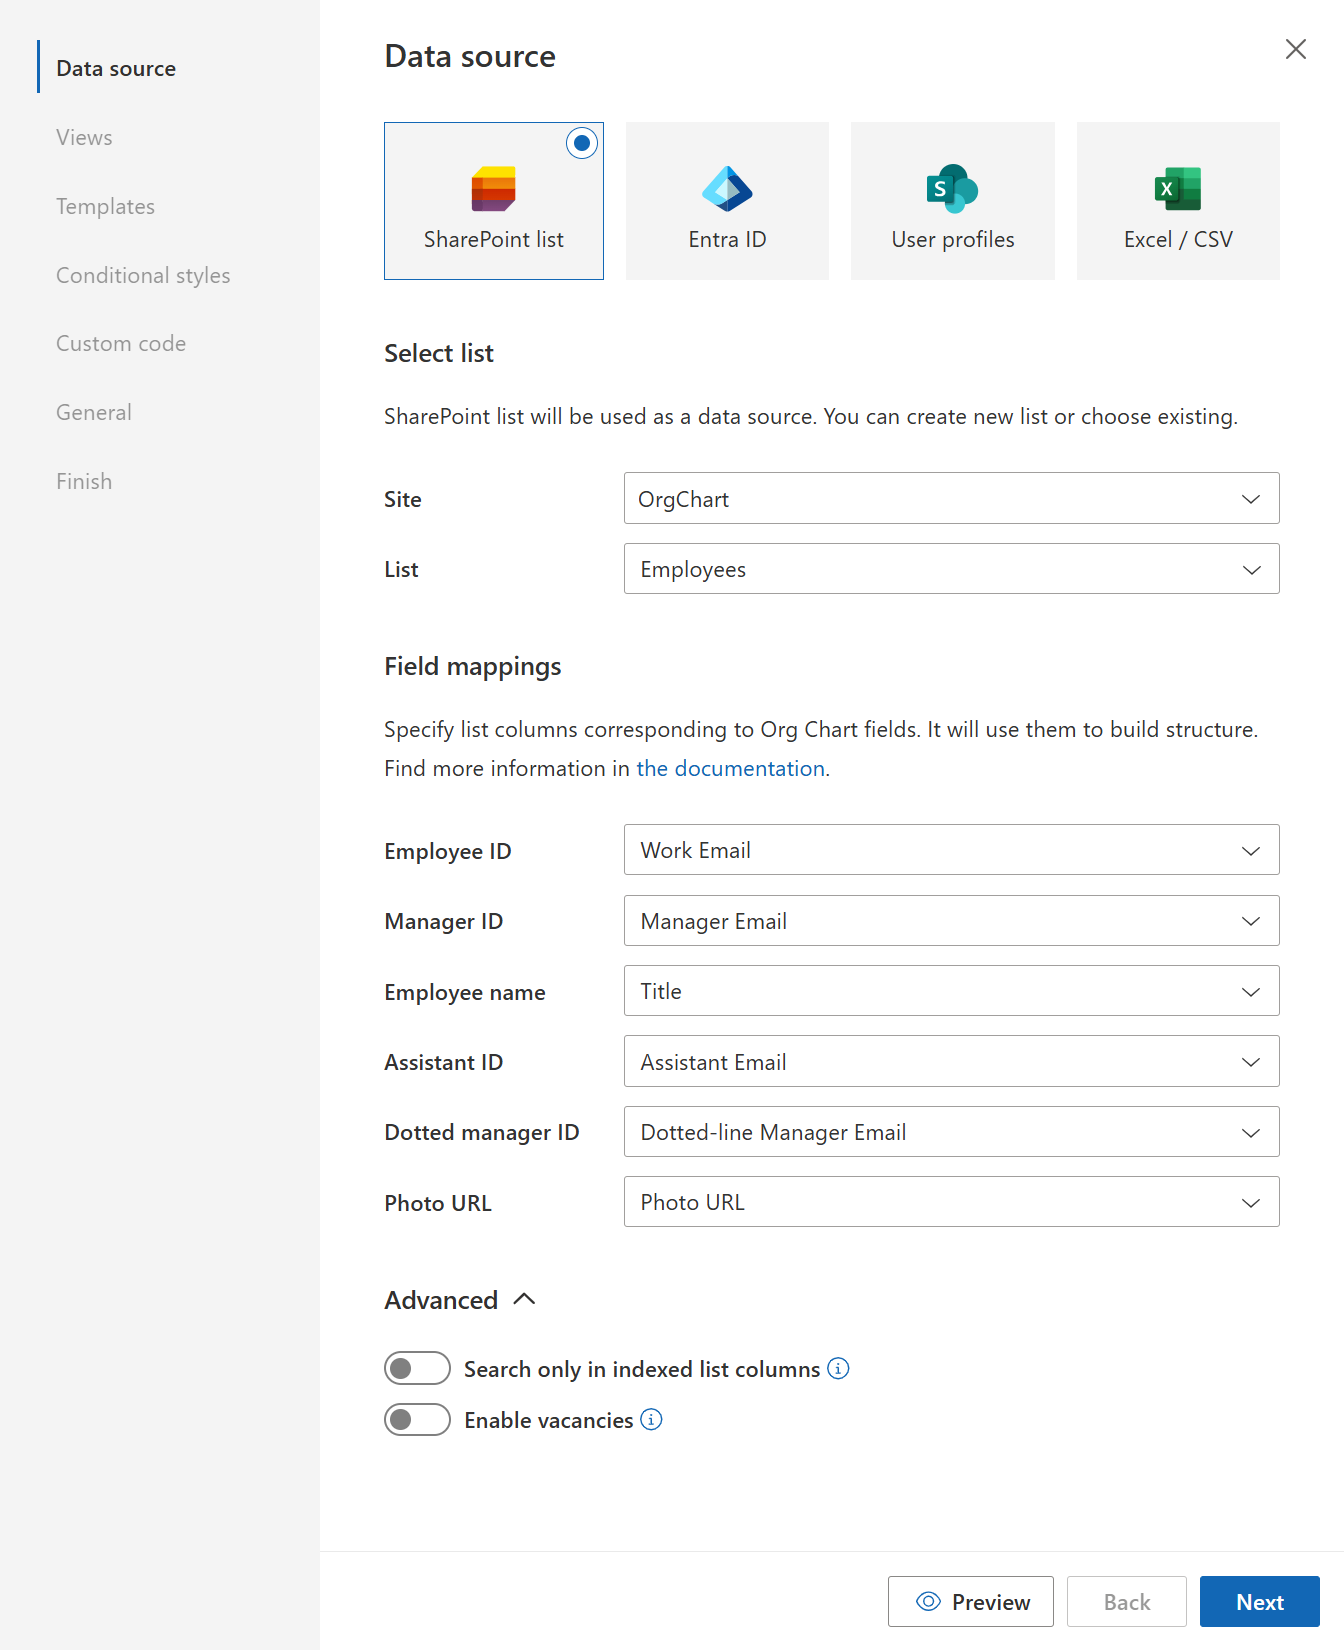
Mapping defines the connection between Org Chart field and List field. Data from the corresponding list field will be used by the Org Chart, for example you can specify mapping between Employee ID and list item ID.
Employee ID, Manager ID and Employee name mappings are required, you can leave other mappings empty. Once you configured it, you can go through the wizard and click the finish button.
Employee ID and Manager ID are used to build hierarchy. Employee name is used as display text for entities in the Org Chart. For example you will see “Employee name” in the breadcrumb.
Description of mappings
Name |
Description |
|---|---|
Employee ID |
This is unique ID of an employee. It can be list item ID, user login or any other unique identifier of the person. |
Manager ID |
This is unique ID of an employee manager. For example it could be ID of manager or login of manager. We need it to build a well-structured tree. |
Employee name |
The name is displayed in the breadcrumbs of the Org Chart. |
Assistant ID |
This mapping defines where information about assistant is stored for current item. This is optional mapping. Please read this instruction to learn how to configure assistants. |
Dotted manager ID |
This is unique ID of dotted-line manager. For example, it could be ID of manager or login of manager. Type of this field should be the same as type of Manager ID. Please read this instruction to learn how to configure dotted-line managers. |
Photo URL |
This property defines which field is used to retrieve photo URLs for the boxes. These photos will be displayed on the left side of the boxes. You can leave this property empty if you don’t have photos. |
Search only in indexed list columns
SharePoint has a standard restriction on SharePoint list item queries in 5000 items. To be able to use search in such list you need to index the columns on the list level and also enable option Search only in indexed list columns in the Advanced data source settings. You can find more information about it here.

Enable vacancies
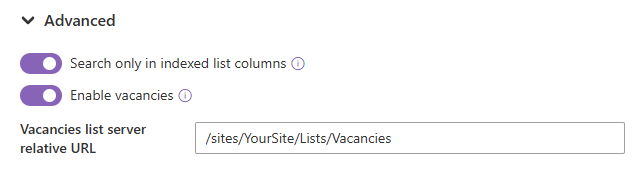
In the Advanced data source settings, you can enable displaying vacancies. They are stored in a separate SharePoint list. The list will be created automatically at specified Vacancies list URL.
Note
Go to the next available data source – Entra ID.