Filtration (SharePoint Server 2019/SE)
Here is what the filtration step of the configuration wizard looks like:
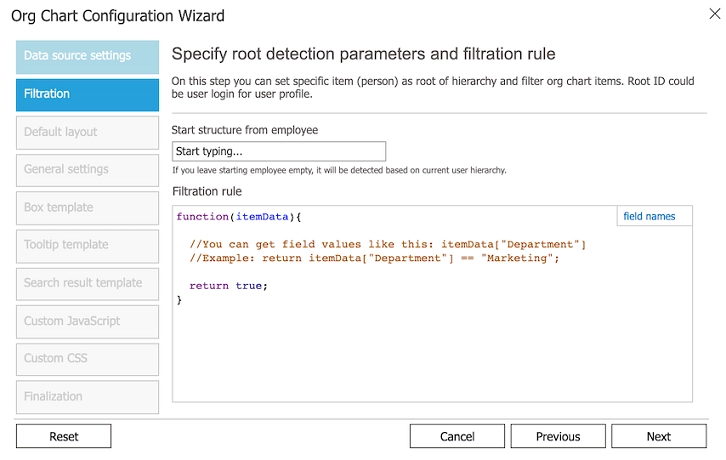
Start structure from employee
You can start the hierarchy from a specific employee. Just start typing the employee name. Org Chart will suggest some matching names.
You can leave the starting employee field empty. In this case:
If you use User profiles, the starting employee will be found based on current user relations. Org CHart will find the current user. Then it will traverse up by manager relation until it finds an employee without a manager. This person will be a starting employee.
If you use a SharePoint list, the first employee without a manager will be a starting employee.
Filter employees
You may filter by department, name, or by any other field from your data source
SharePoint Org Chart allows filtering boxes using JavaScript function. This function evaluates data for the org chart box and returns a boolean value. If “true”, then a box with such data will be displayed.
You can use itemData input parameter to access data for the current box and verify it. Use internal names of properties to access their values like this: itemData["Department"].
Use typical JavaScript conditions, comparison operators, and functions like indexOf to verify data. For example, you may need to include in the org chart only employees from the specific department. In this case, the function to display employees from the Marketing department looks like this:
function(itemData){

   return itemData["Department"] == "Marketing";

 }
And with this filter, you can exclude all employees whose name contains Smith:
return !itemData["PreferredName"].contains("Smith");
Note
Go to the next step of the configuration wizard – Layout.
Filter by department
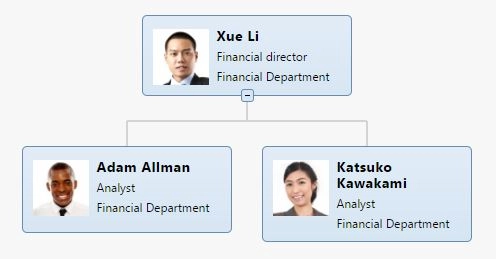
Our charts can be filtered to show only subordinates under someone, like this:
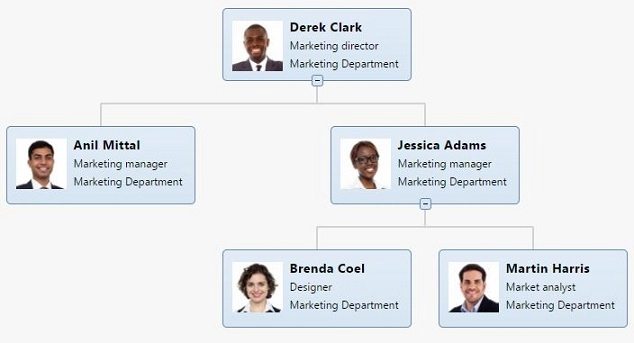
Or even filtered to show only employees in a specific department, like this:
First, let’s filter items so the structure will be shown starting from the head of department. You should use the root employee field, inside the Filtration tab in Org Chart settings. After installing and setting up Org Chart properly, go to the page with OrgChart, edit the page and go to OrgChart settings.
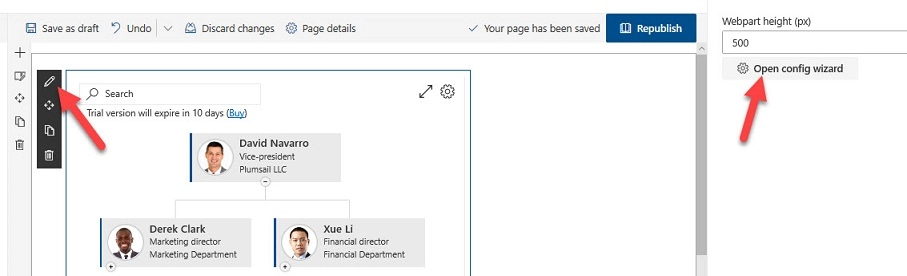
Type the name of the root employee and OrgChart automatically find the person.
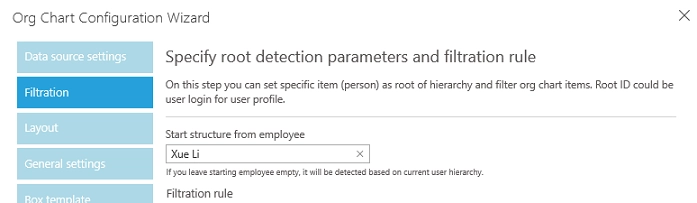
In this case, “Xue Li” will be the root employee of this tree so his account name will be in the root employee field. Here’s the result:
Similarly, you can set up Org Chart to show only employees in the “Marketing Department” of our company.
Inside of Org Chart settings, go to the Filtration tab. There you’ll find a couple fields you’ll have to fill if you want to filter your chart to specific results.
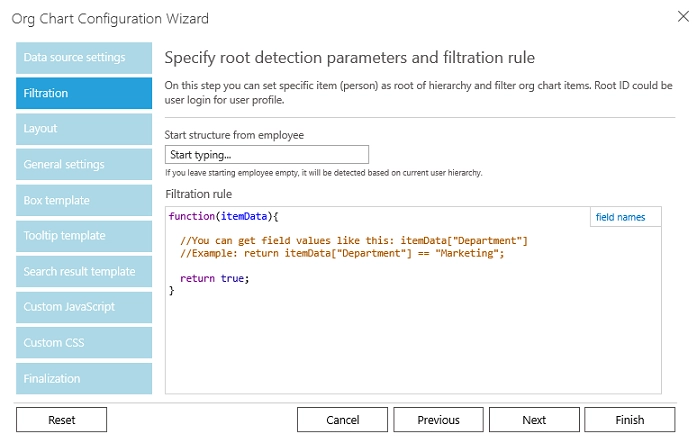
Org Chart uses a simple JavaScript function that will return whether or not an item should be shown. This function is inside of the Filtration rule field as seen above. It will use the object itemData to access and deal with data stored in each item. In fact, each item will have a property that you can find inside of field names popup, just like below.
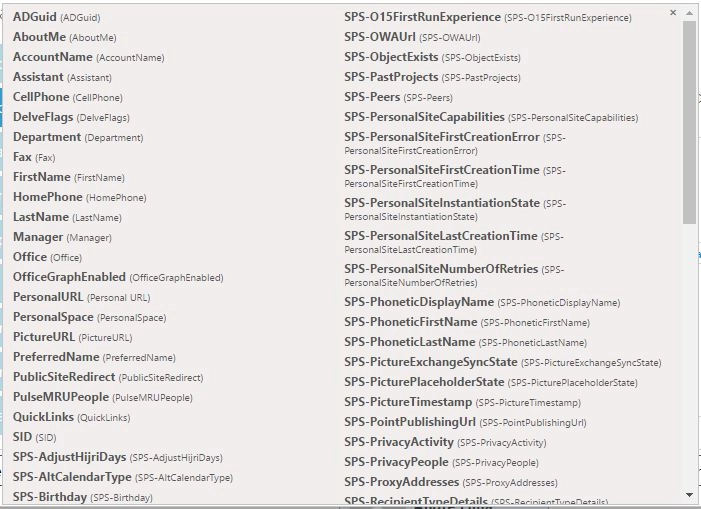
So, you can use all these properties to filter items accordingly. In this article items will be filtered using the Department property of itemData object to filter and show only employees in the “Marketing Department”.
Then, it is needed to write a code that will make the function return only items that have “Marketing Department” inside of their Department property. The relational operator == will be used to compare the property with the value written after it. So the code will look like this:
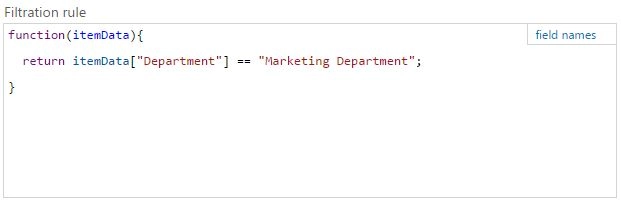
Then if you click finish and refresh your page, your Org Chart should like something like this:
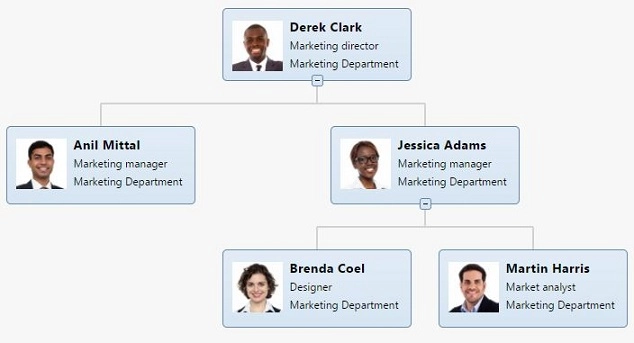
As stated before, you can use other properties and values to filter the items to be shown according to your needs and requirements.
You can also combine conditions using || and && operators. For example:
function(itemData){
  return !(itemData["AccountName"].contains("gmail") || itemData["Department"].contains("Marketing"));
}
That’s it. You’re now able to filter Org Chart according to your needs. This is really useful to maintain a clean chart to everyone which will be easier to visualize the structure and find employees quickly in the tree.