Generate PDF documents from DOCX template on Plumsail Forms submission
In this article, you’ll learn how to automate document generation in your company. For example, applications, orders, invoices, cards and others. We’ll show you a simple way how to create PDF documents from a DOCX template on Plumsail Forms submission by its integration with Processes.
Processes are a Plumsail Documents feature with an intuitive interface for creating documents from templates.
With Plumsail Forms, you can design elegant, responsive, and highly customizable forms for SharePoint Modern UI or any web page. In our example, we will collect data from a Web Form, apply it to our template and generate a new PDF document with the help of Processes.
Configure the Process
First of all, we need to create and configure the Process.
Create a new process
To create a new process, which will generate PDF documents from a DOCX template, go to the Processes section in your Plumsail account.
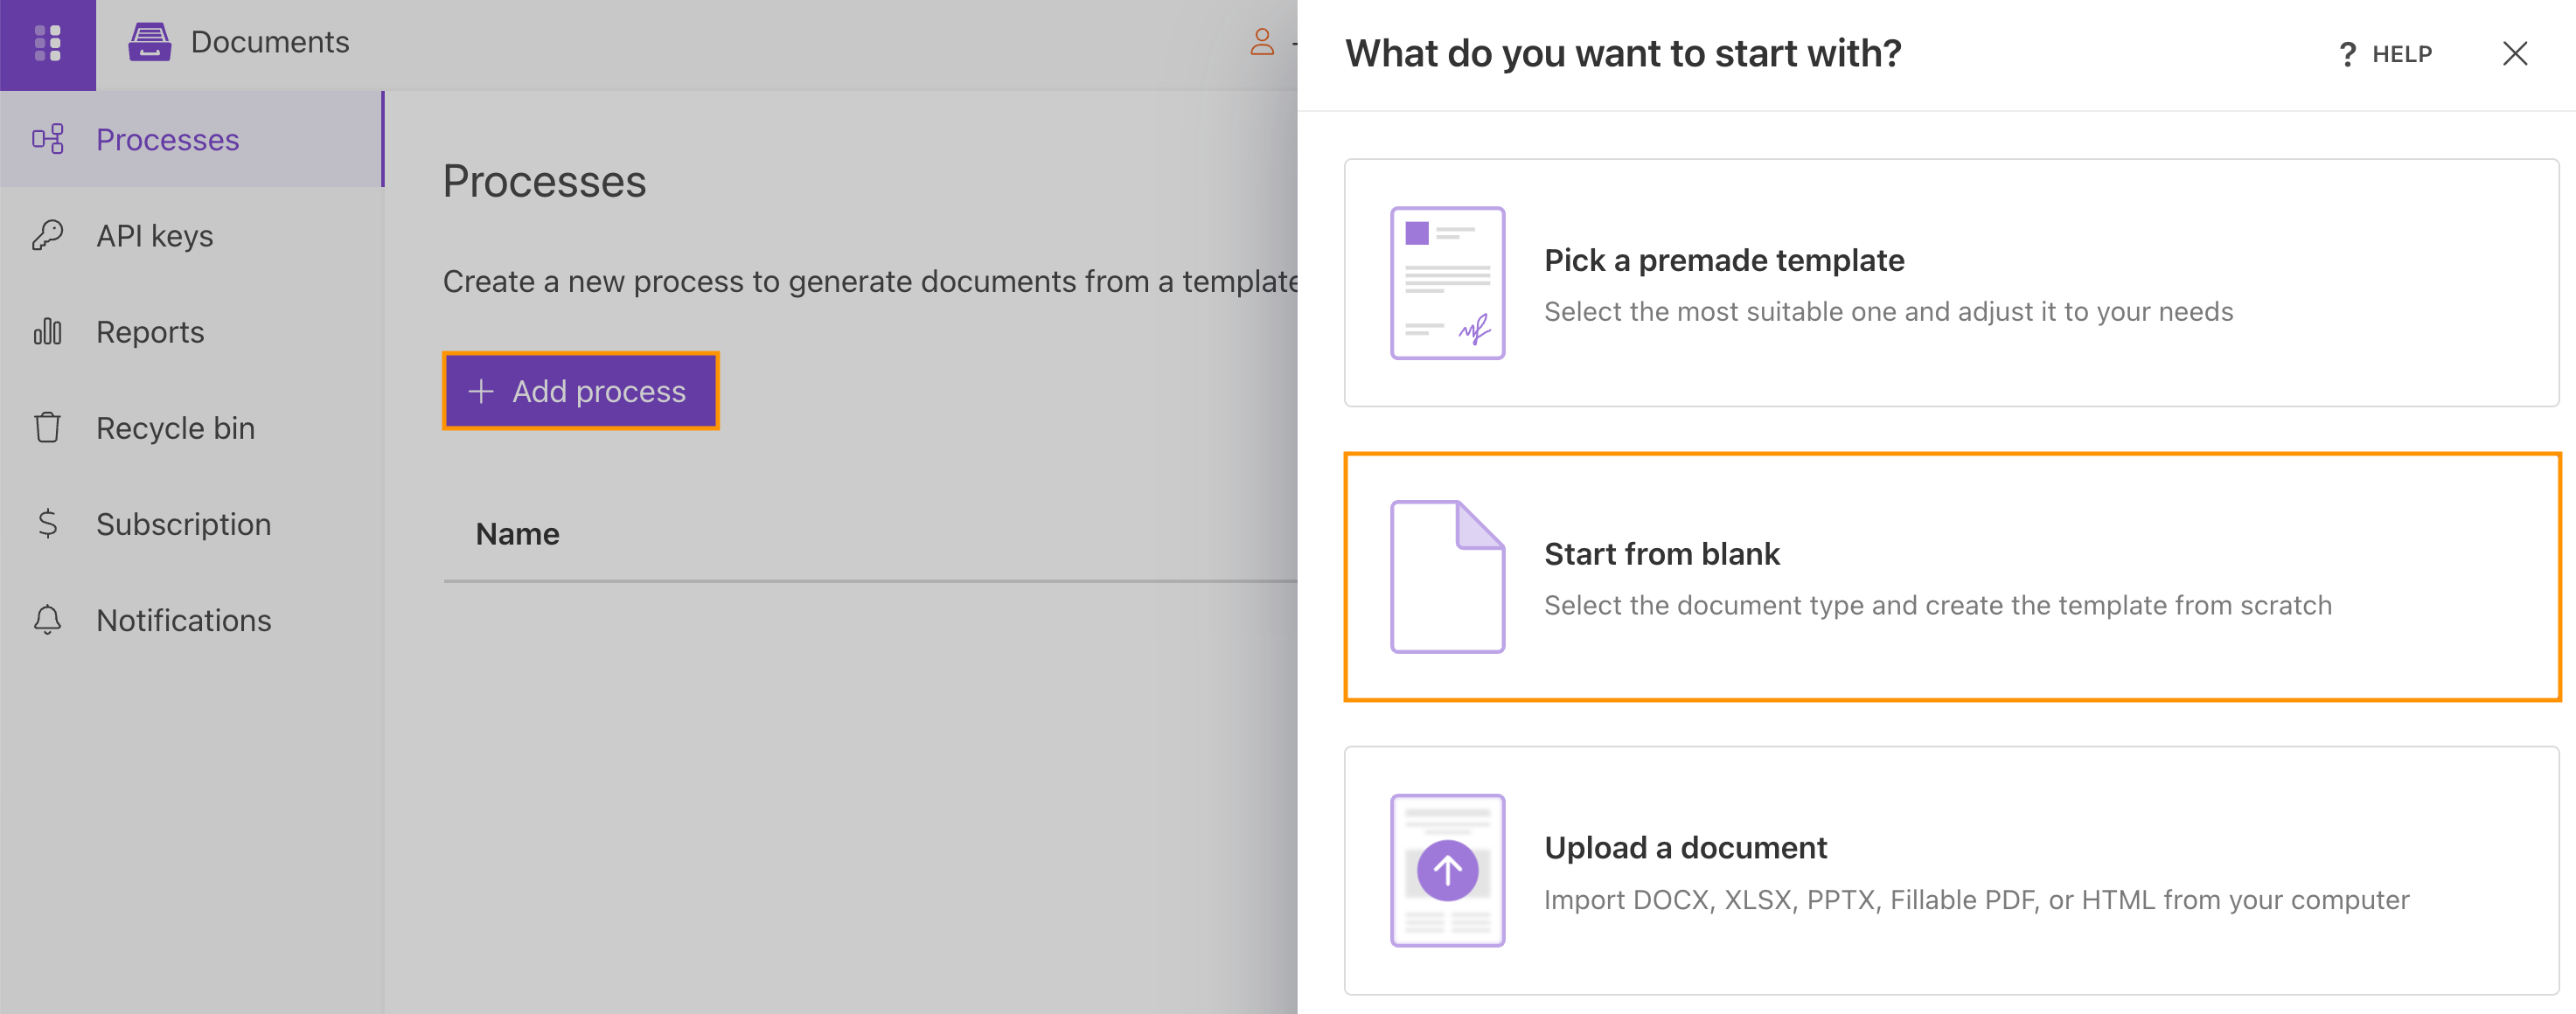
Click Add process and choose Start from blank.
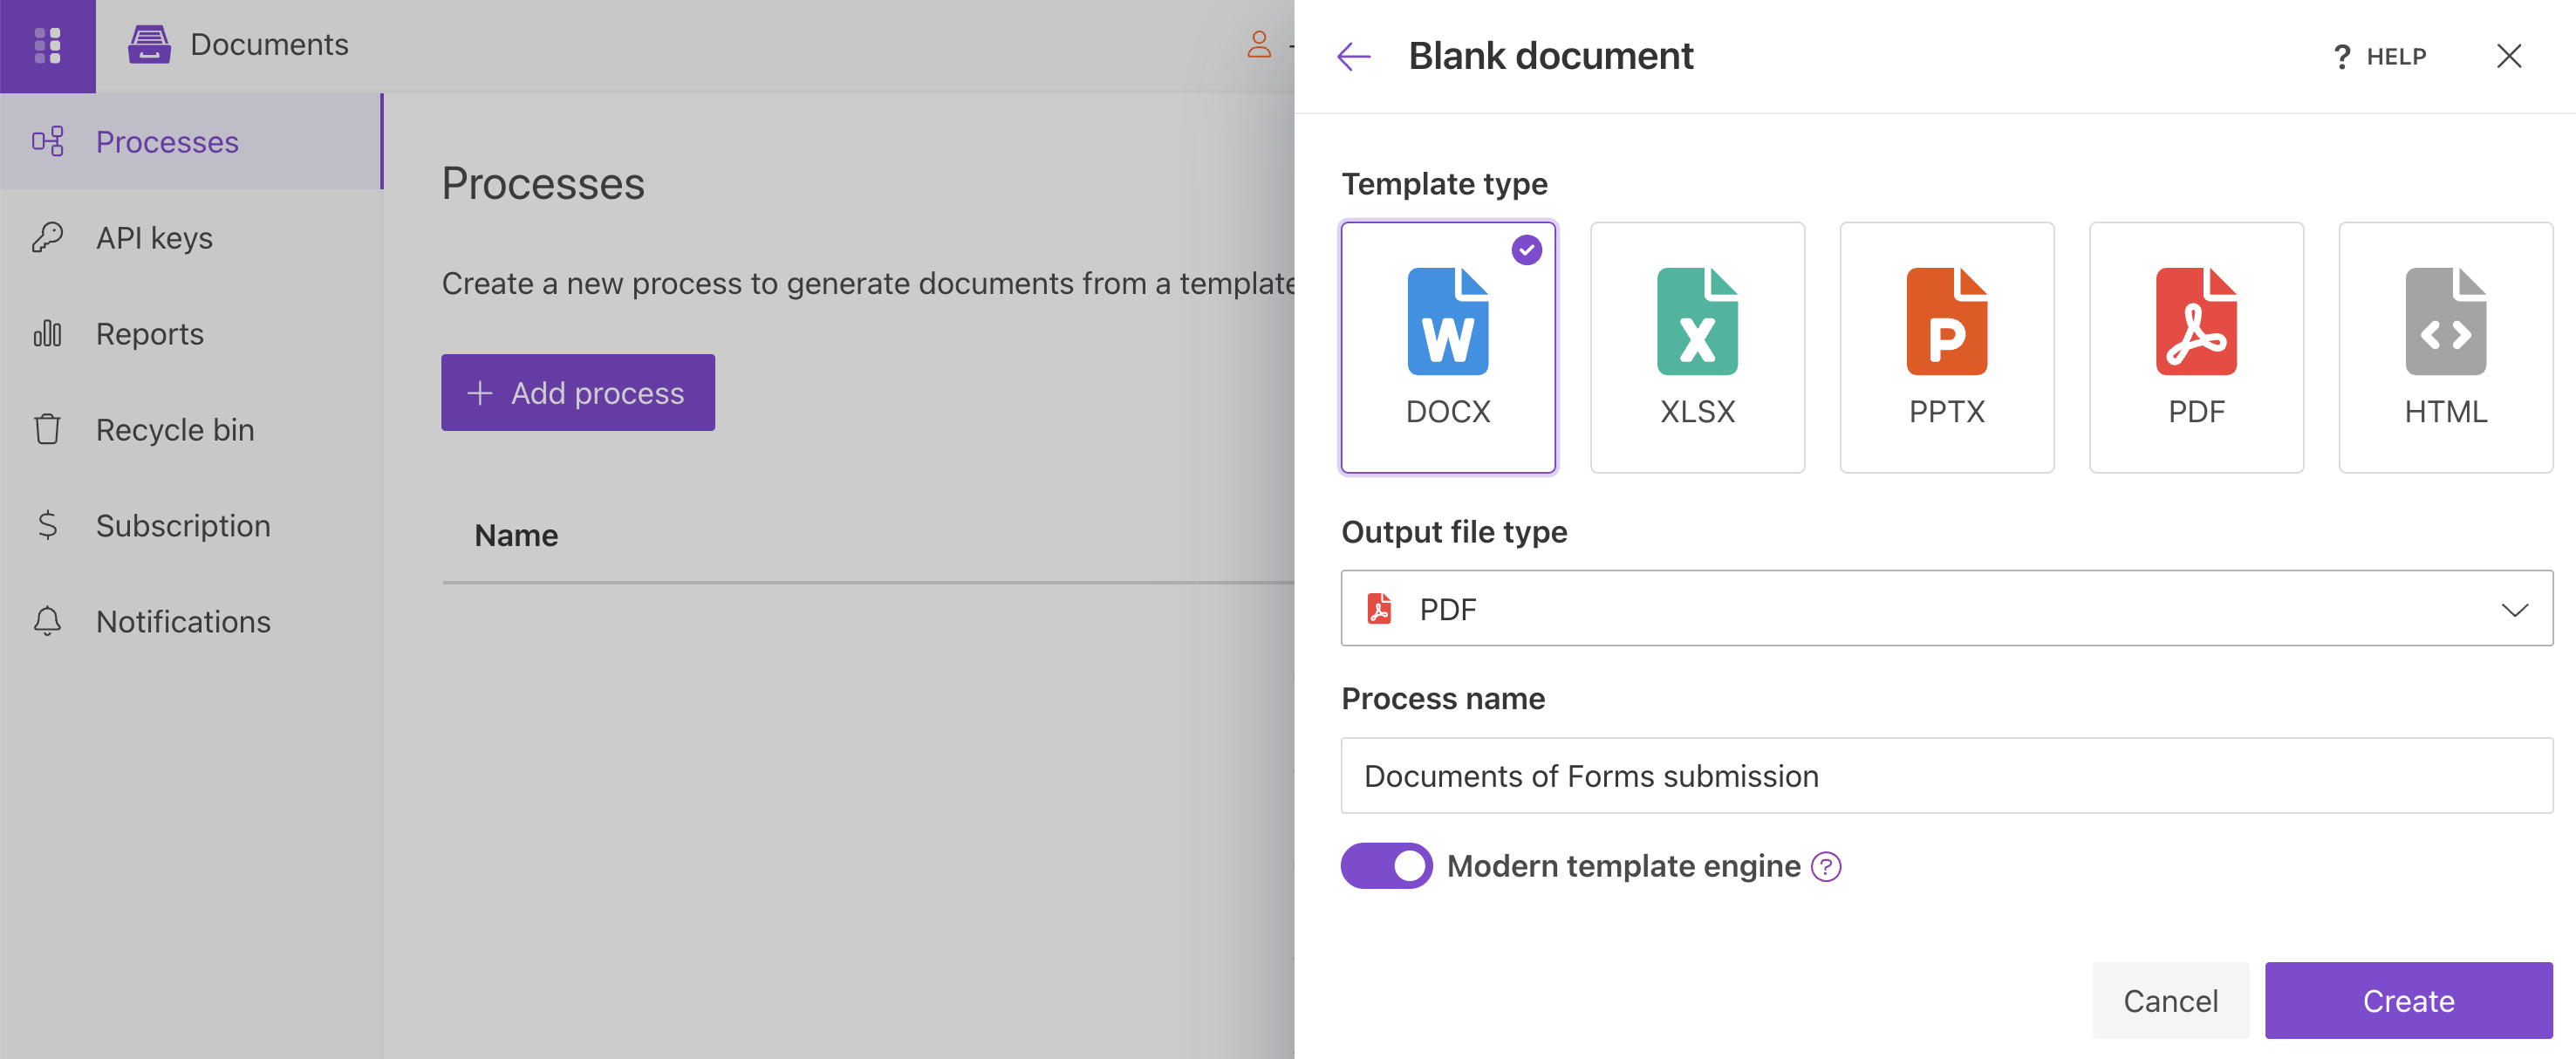
Set the Process name and select DOCX for a template type.
Configure a template
Once you’ve created the process, proceed to Configure Template.
Template configuration includes two sections:
Editor;
Settings.
In Editor, you can compose the template from scratch or upload a pre-made one. It’s also possible to modify the uploaded template online.
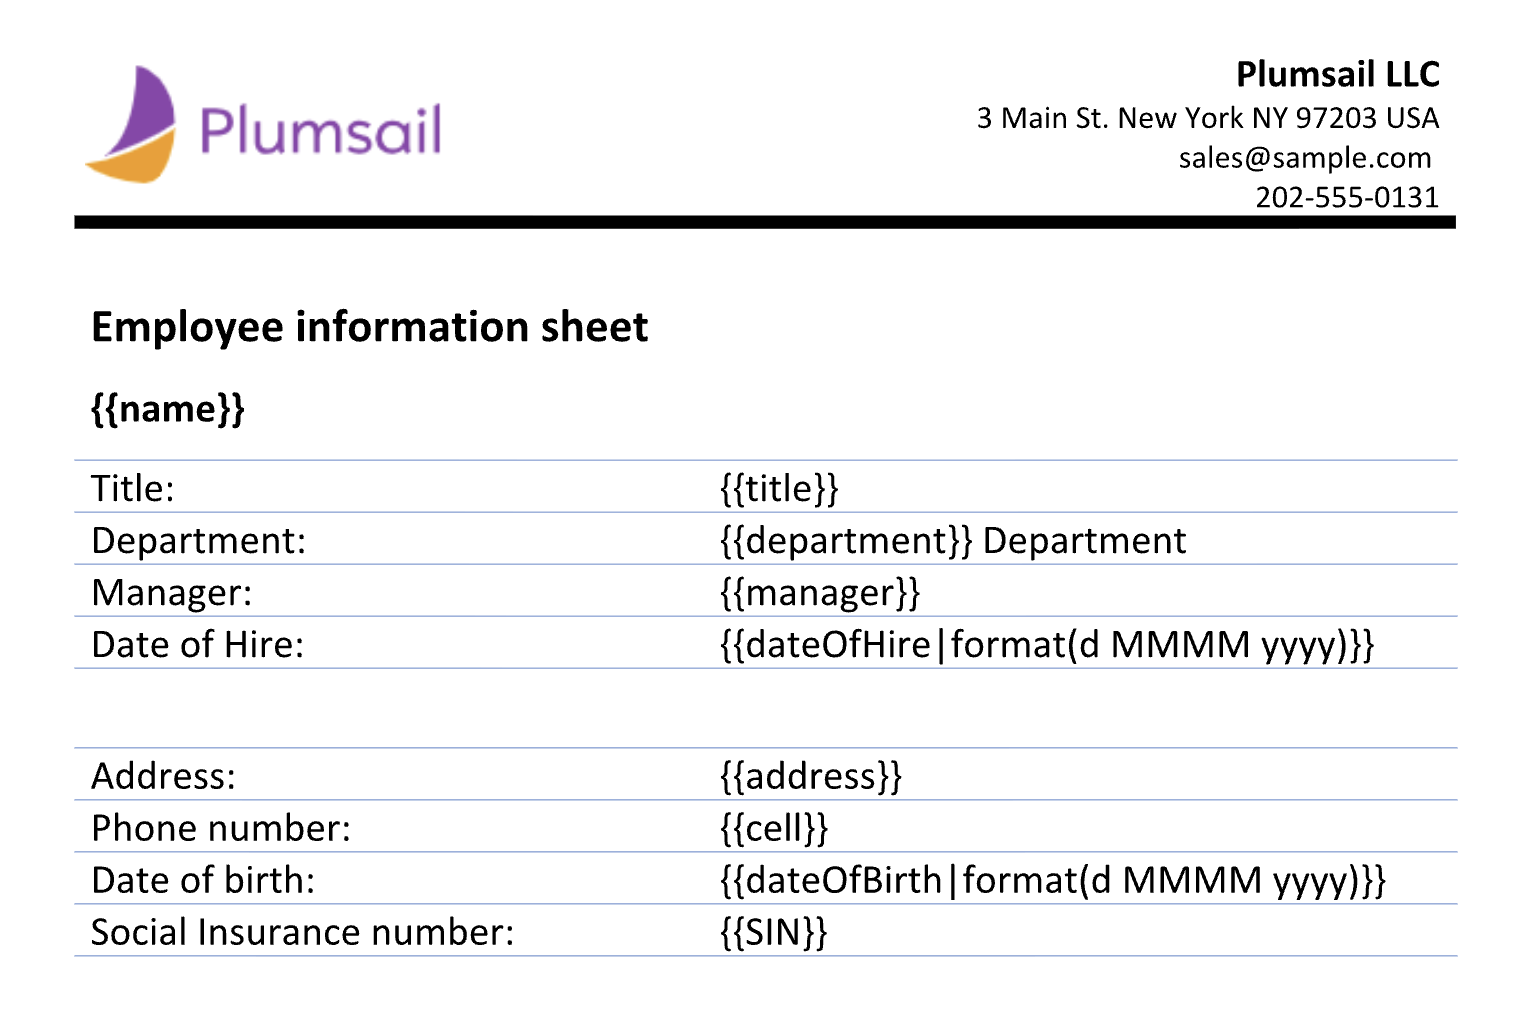
Feel free to download a DOCX template we have prepared beforehand. It’s a short employee information sheet:
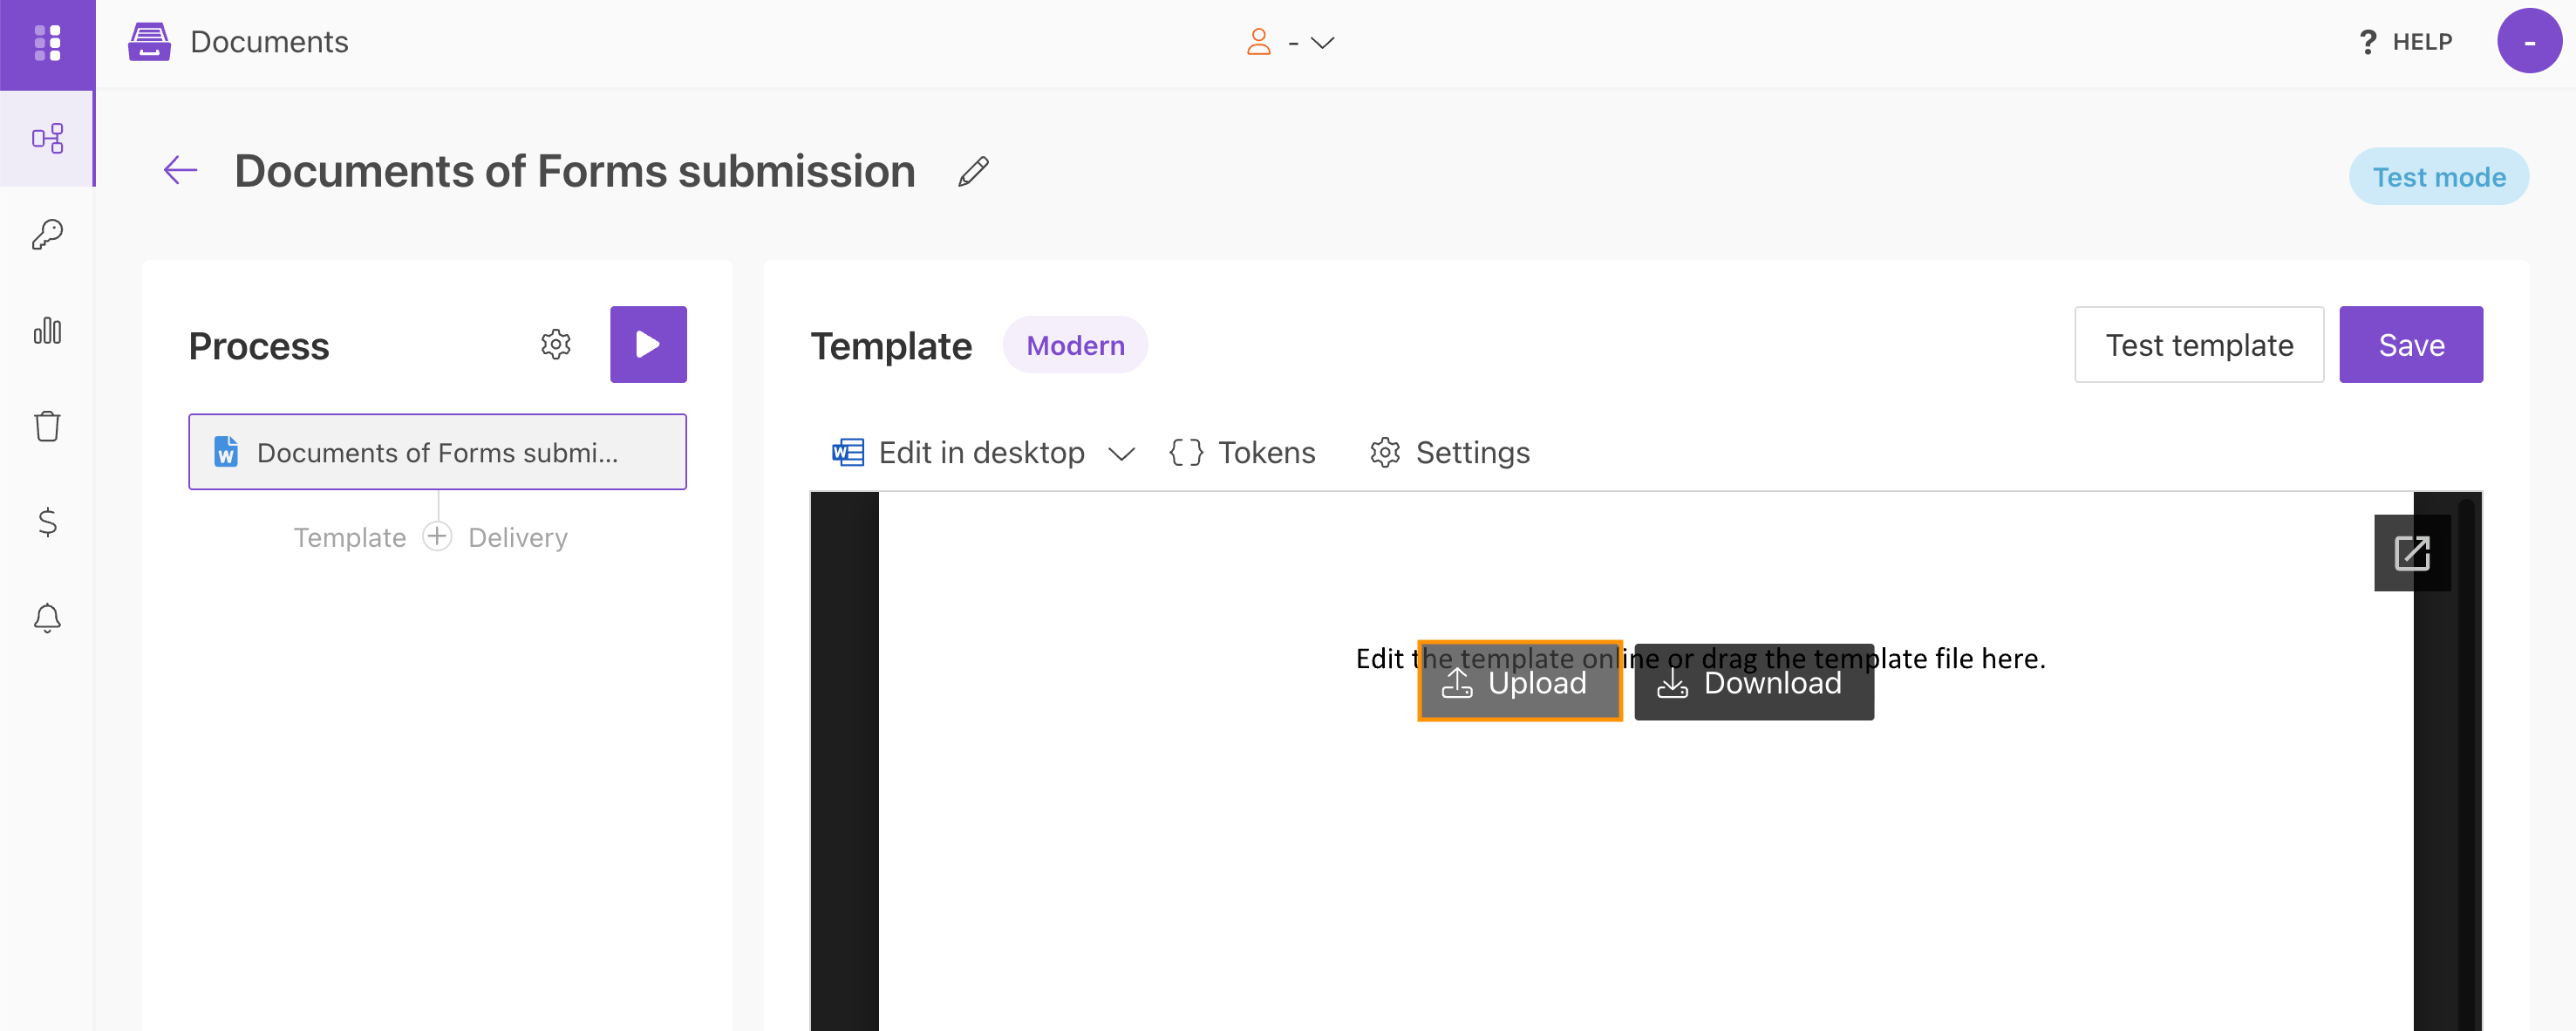
Then upload it to the process.
Templating syntax
When creating your own templates, mind the templating language. Plumsail Word DOCX templates use a different approach than most other templating solutions. It uses a minimal amount of syntax to make your work done.
In short, the templating engine thinks that everything between curly {{ }} brackets is variables where it will apply your specified data.
Read the article to get familiar with the templating engine.
Test template
You can test a template as well, to see how it will look at the end.
After clicking on the Test template button, you’ll need to fill in the auto-generated testing form.
Fields of this form are created based on tokens from your document template. You can adjust the look of the testing form by changing token types.
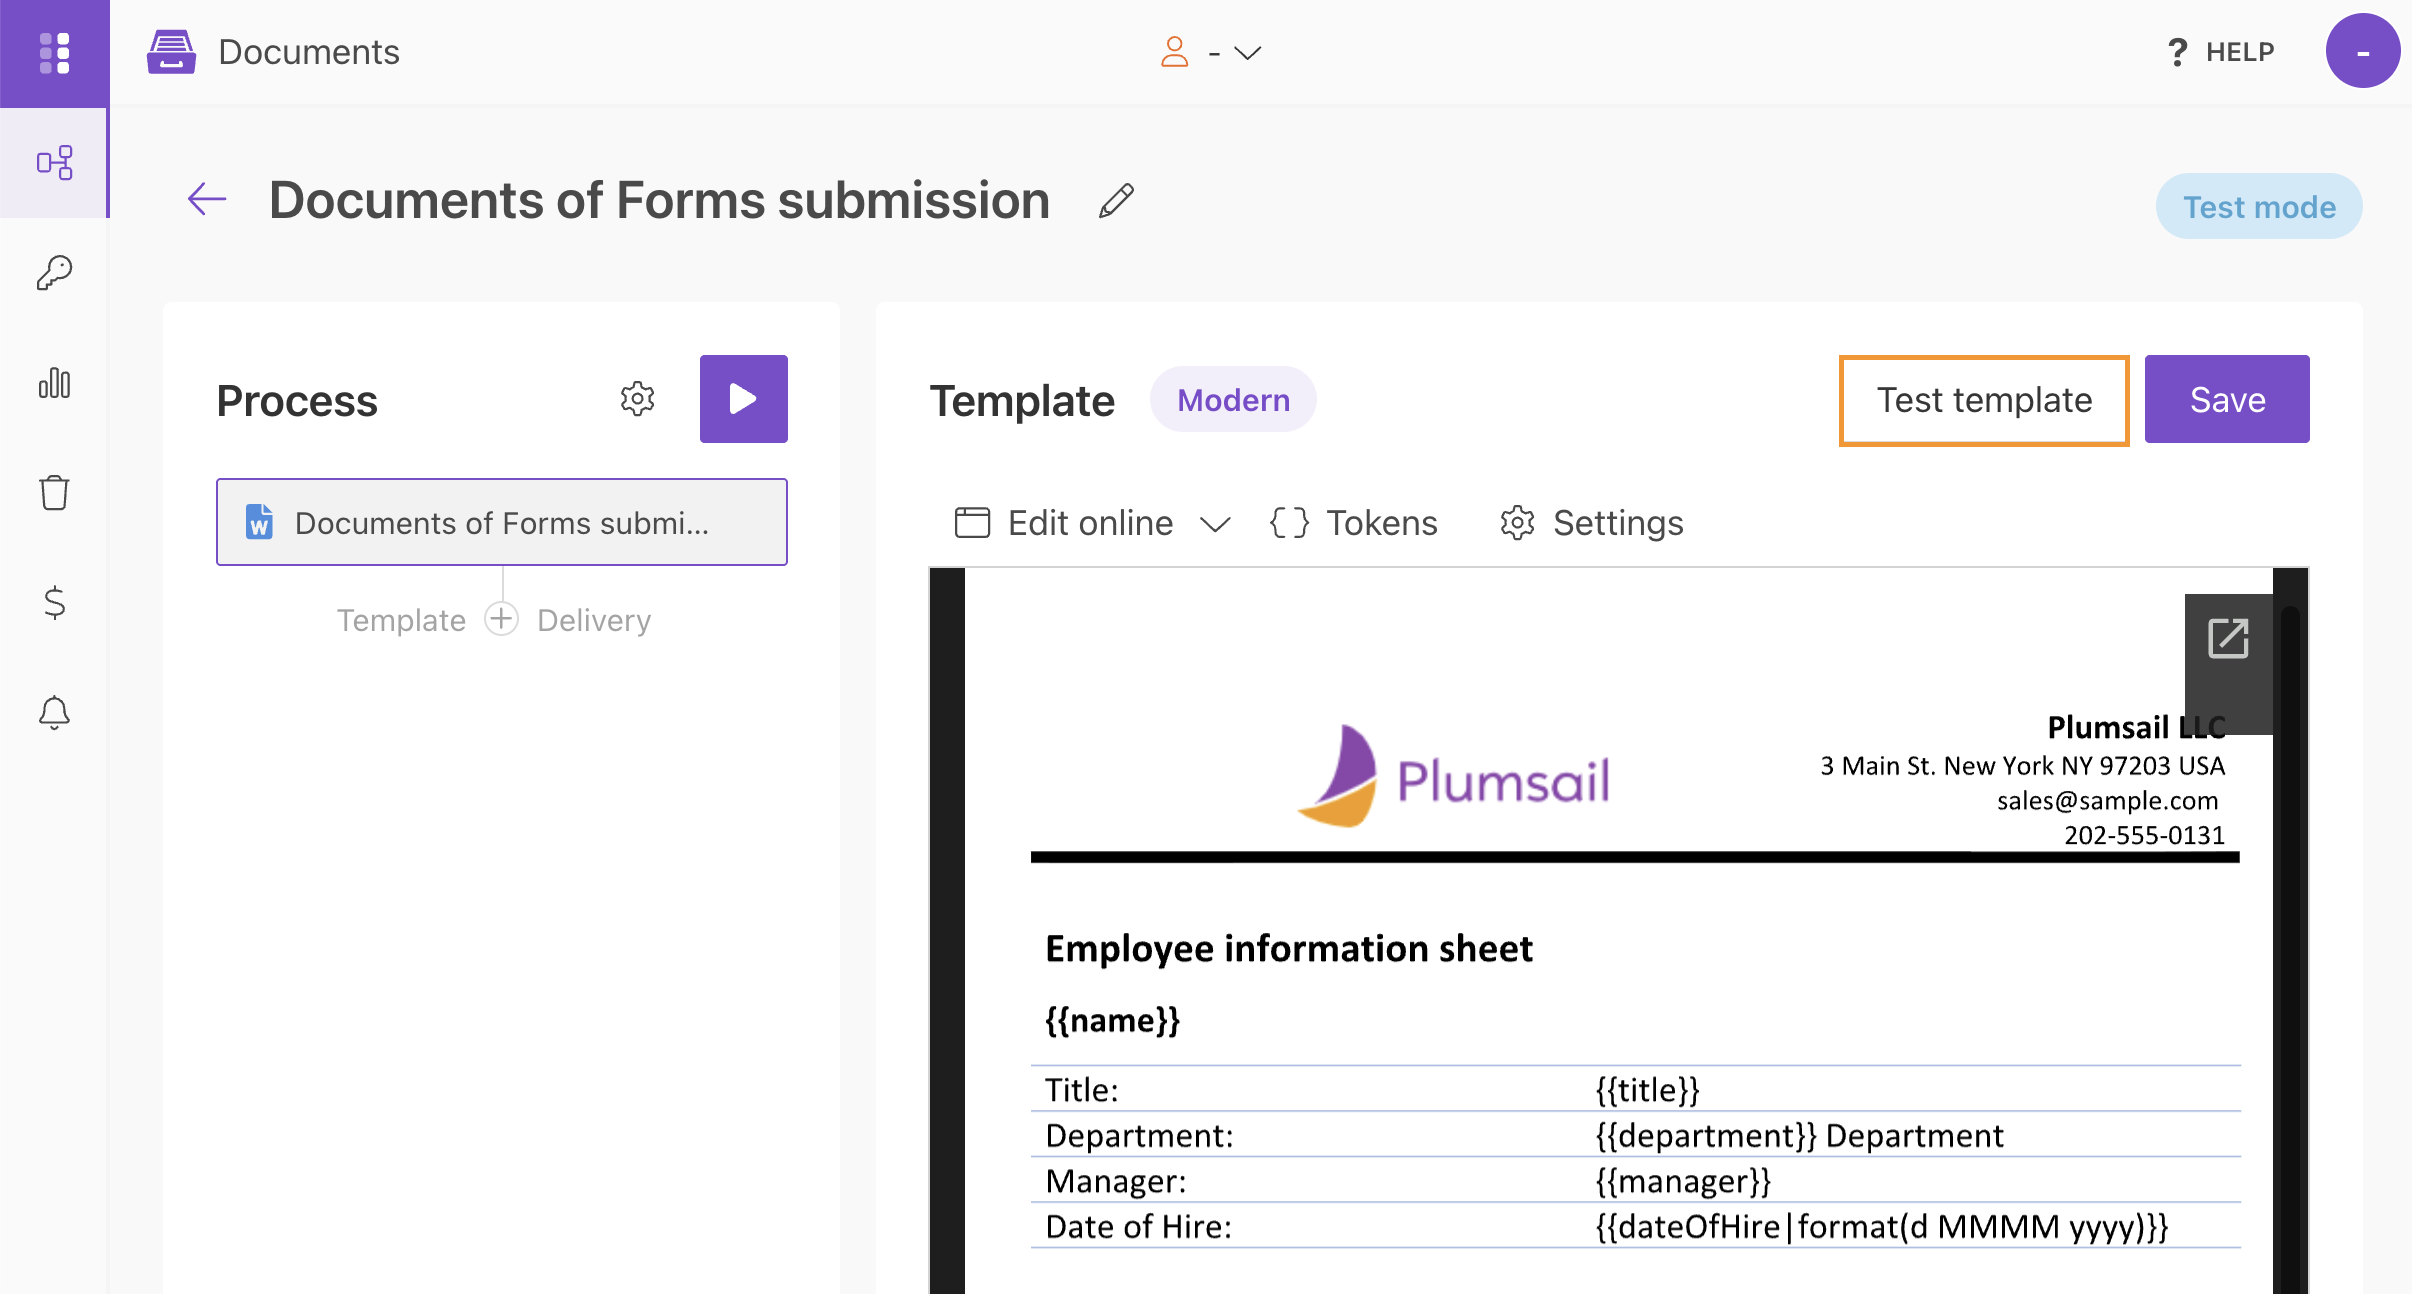
During testing, the form data will be applied to the template.
Once you’ve tested the template, press Save.
Switch the process to Production mode to remove Plumsail watermarks from resulting documents.
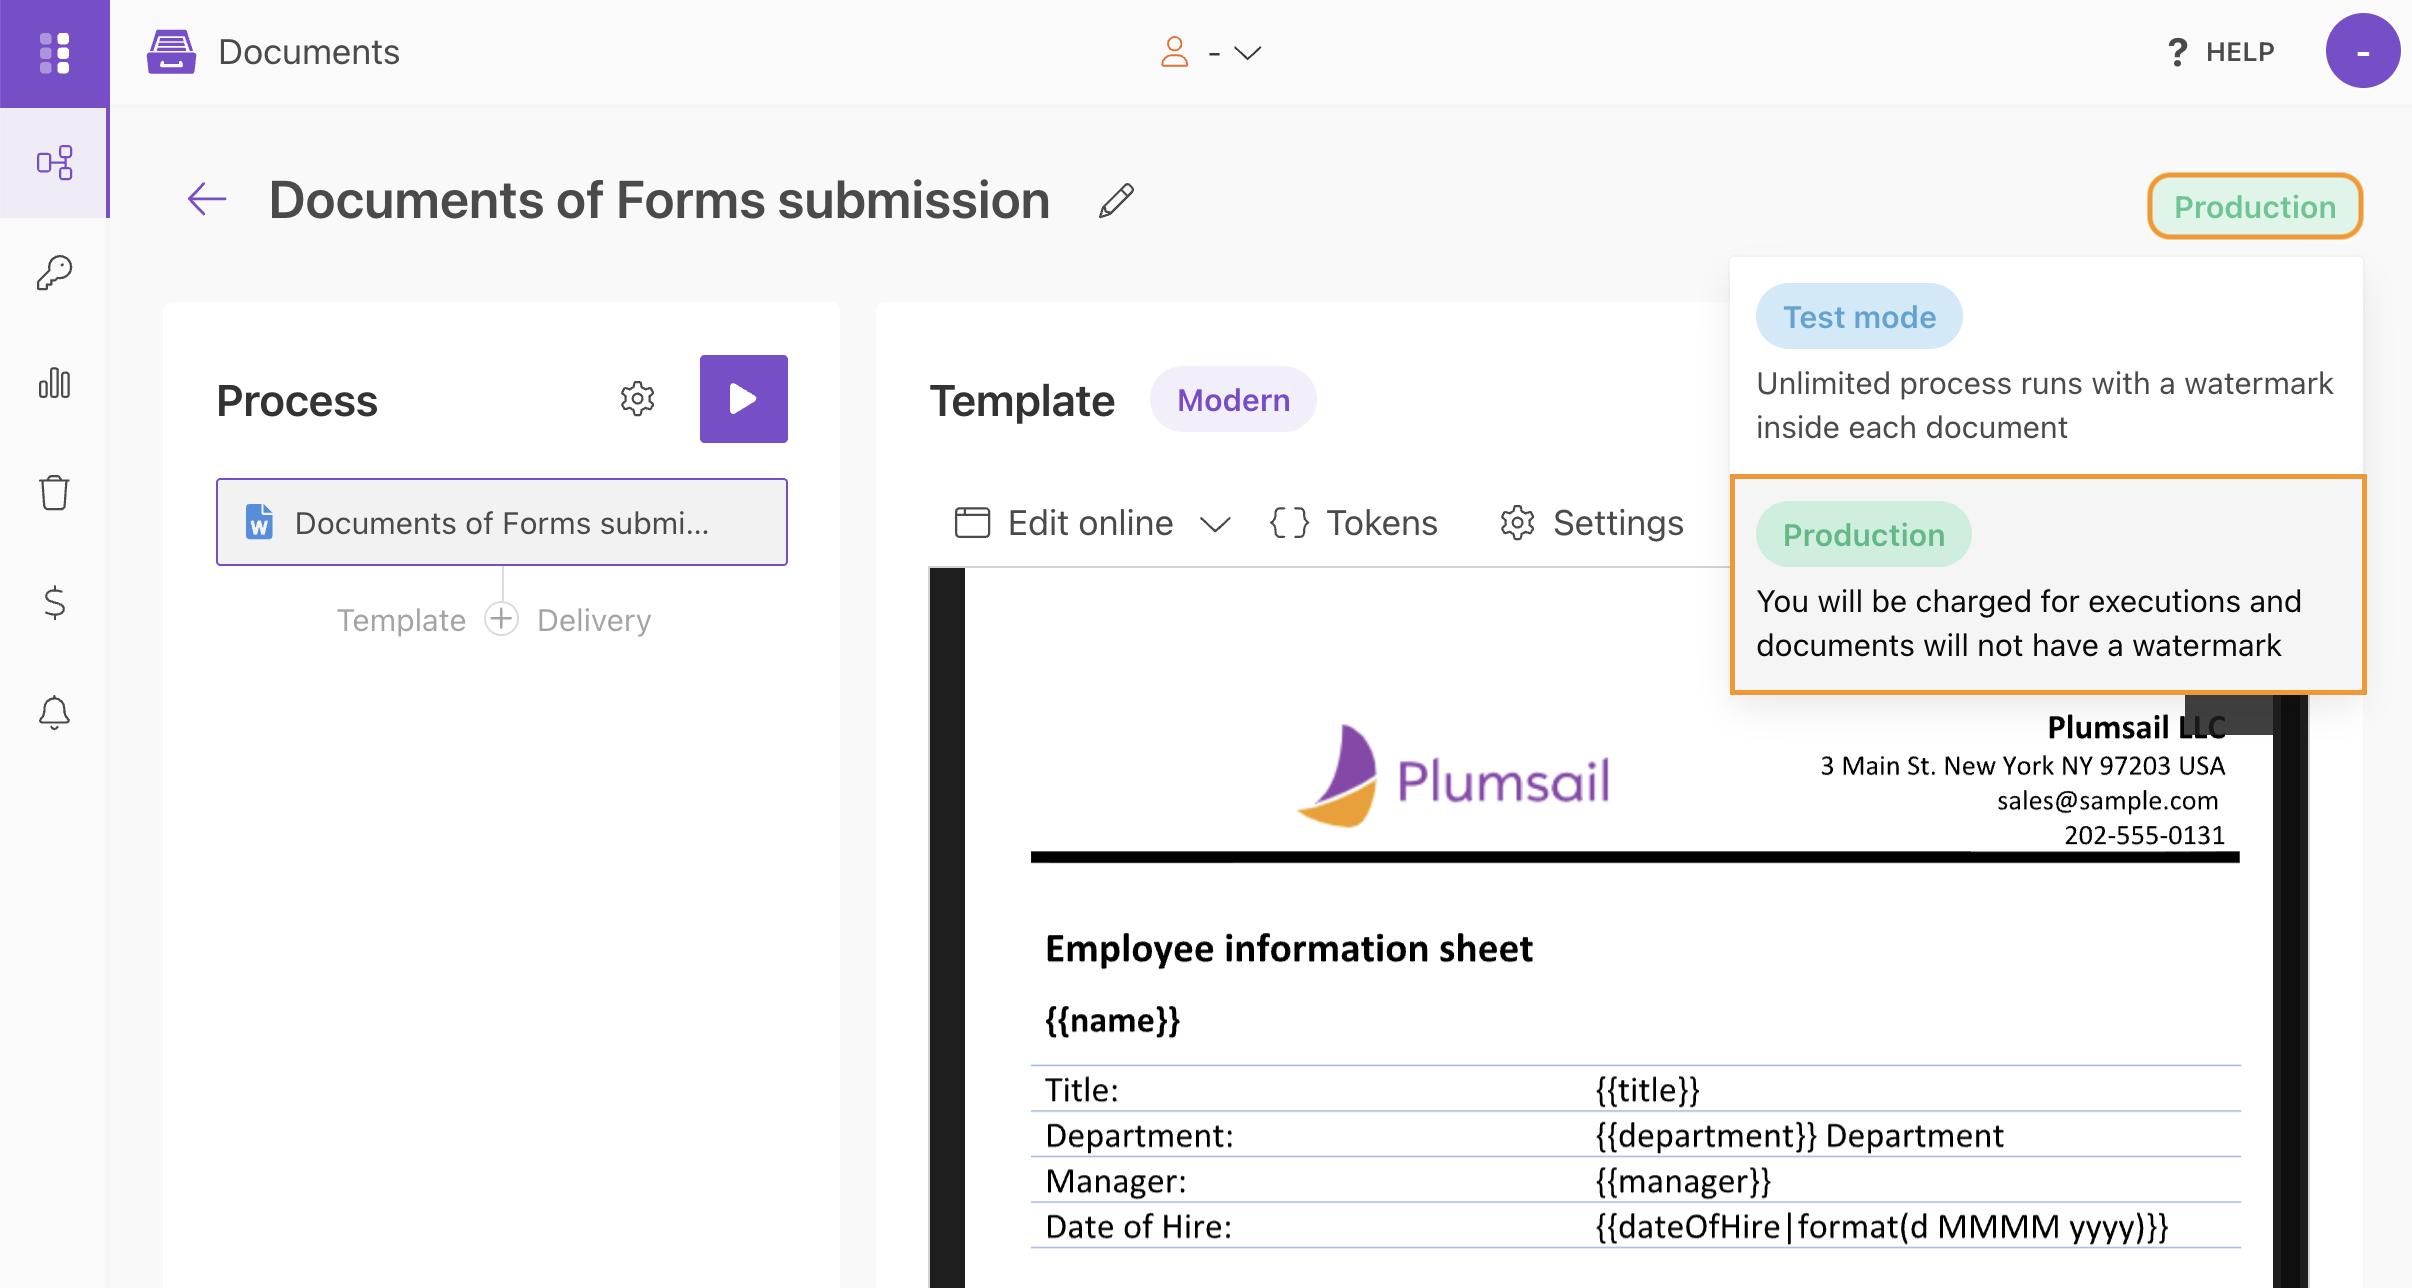
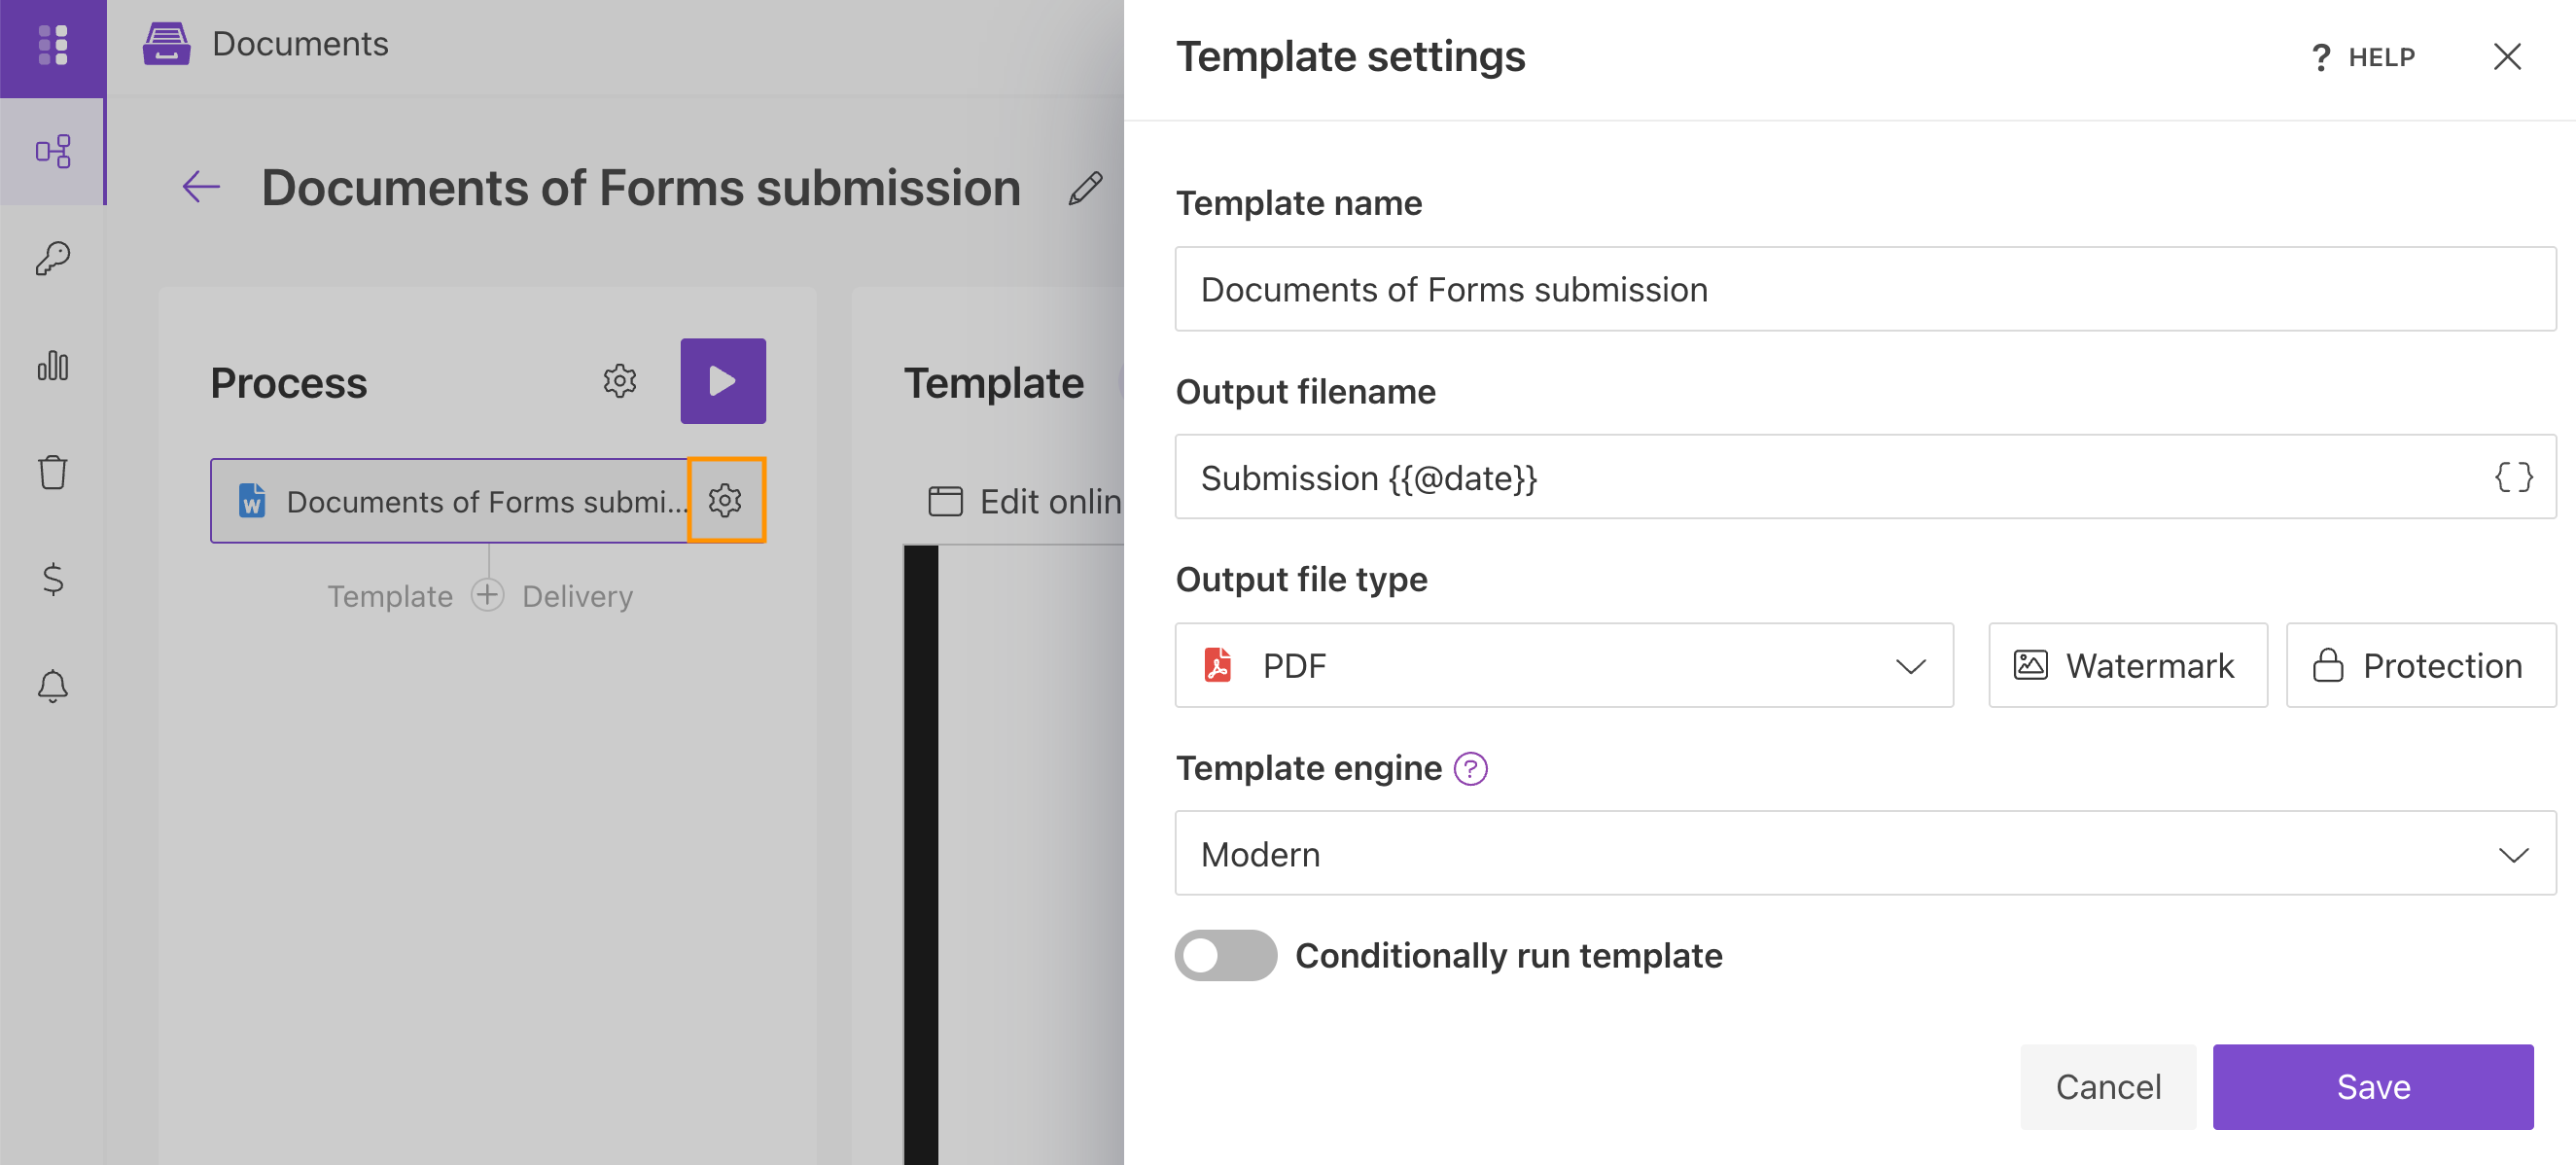
Go to the Template settings:
Fill in the name of the result file
Select PDF as the output file format
Protect the result PDF if you wish
Configure delivery
For demonstration purposes, we’ll store the result file in OneDrive. You can also choose from other delivery options.
Set the folder’s name where the ready document will be saved.
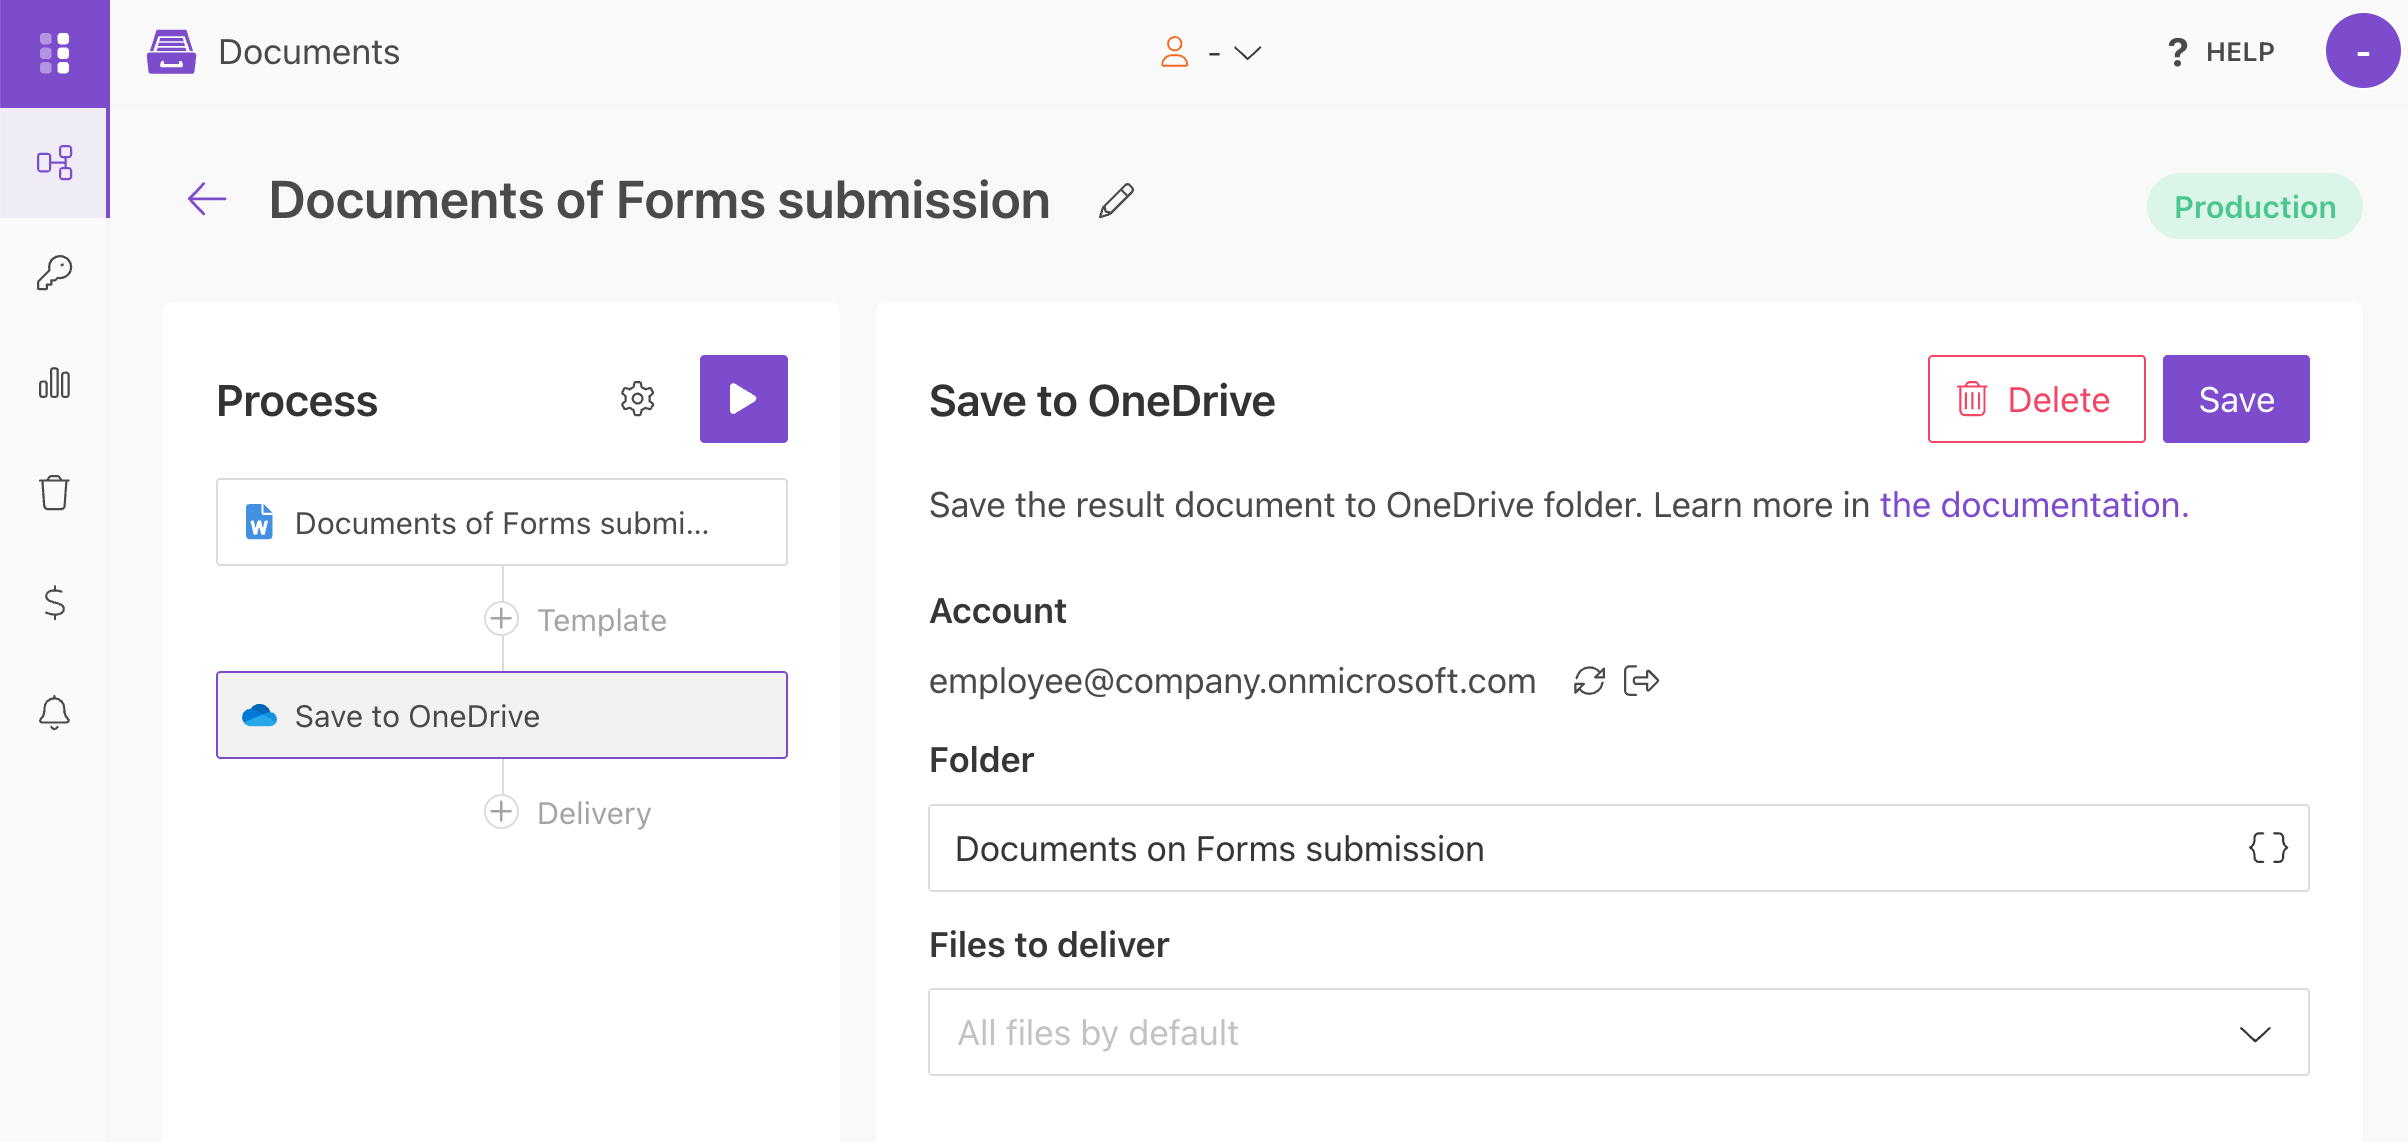
You can configure as many deliveries as you need.
Start process on form submission
We will start our Process by submitting Plumsail Web Form.
Prepare a web form
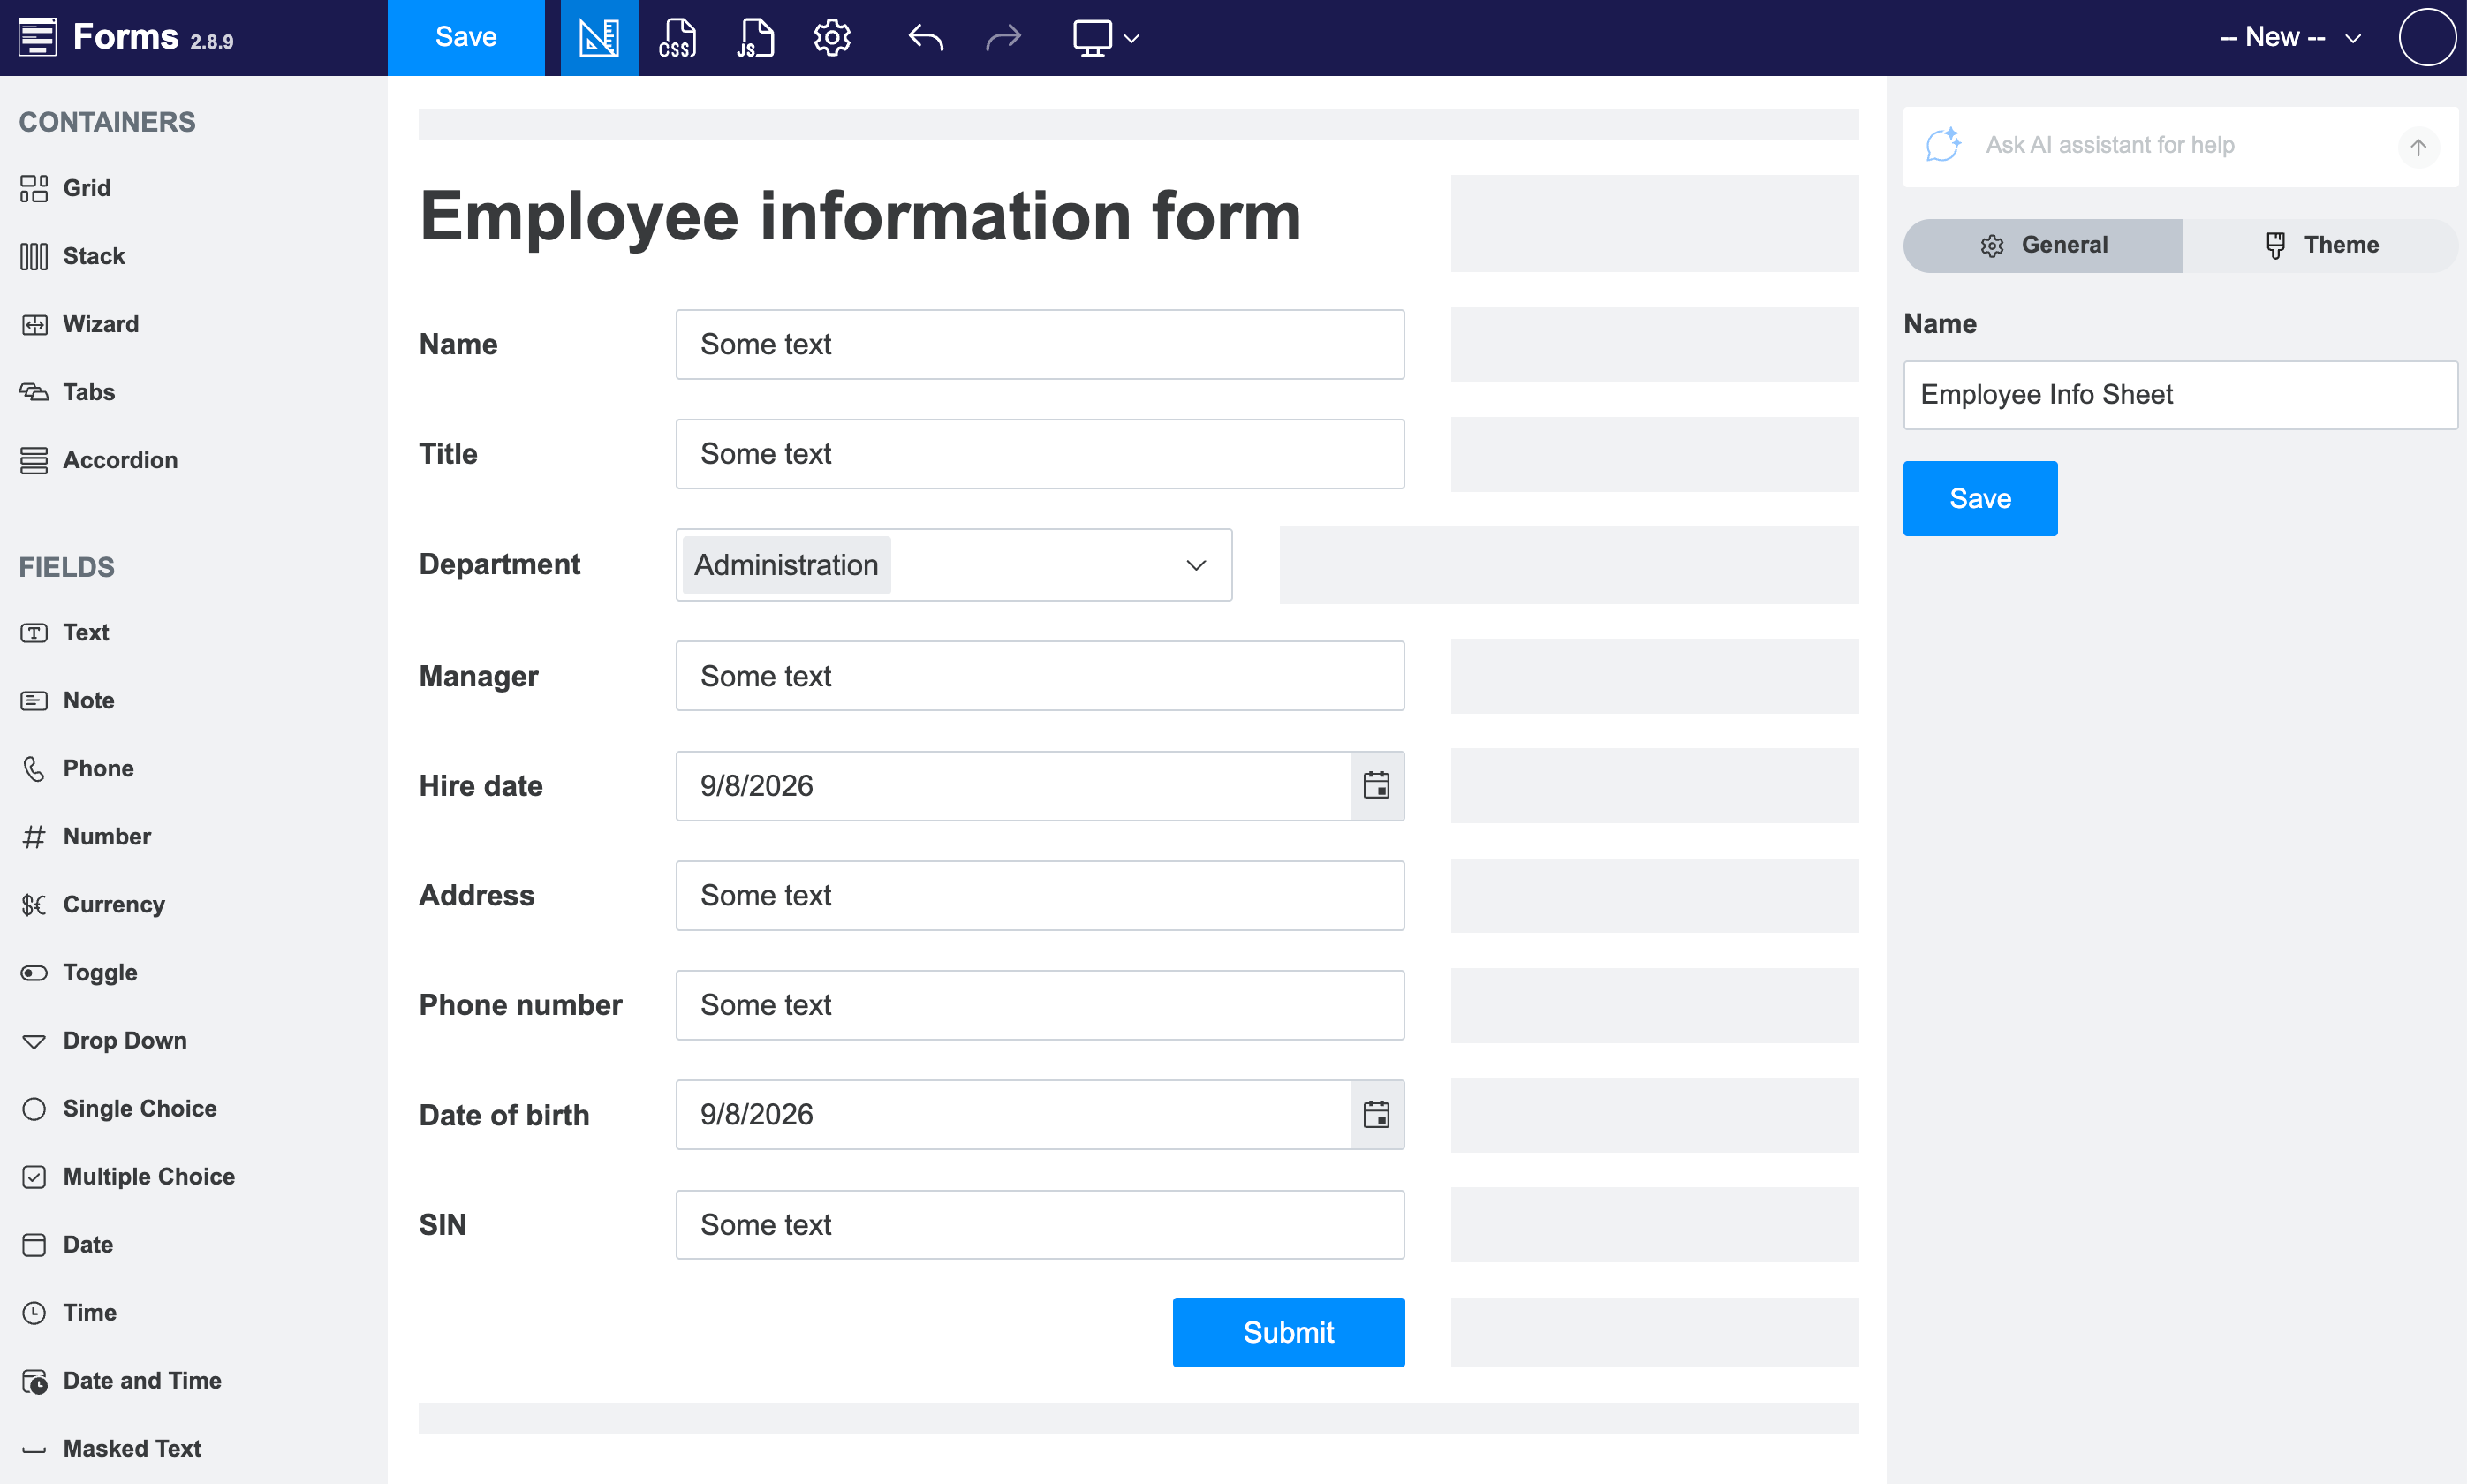
We’ve already prepared a Plumsail form and will use data from its submission. To learn how to create and publish Plumsail forms, read the documentation article.
Below is a screenshot of our form:
To use it you need:
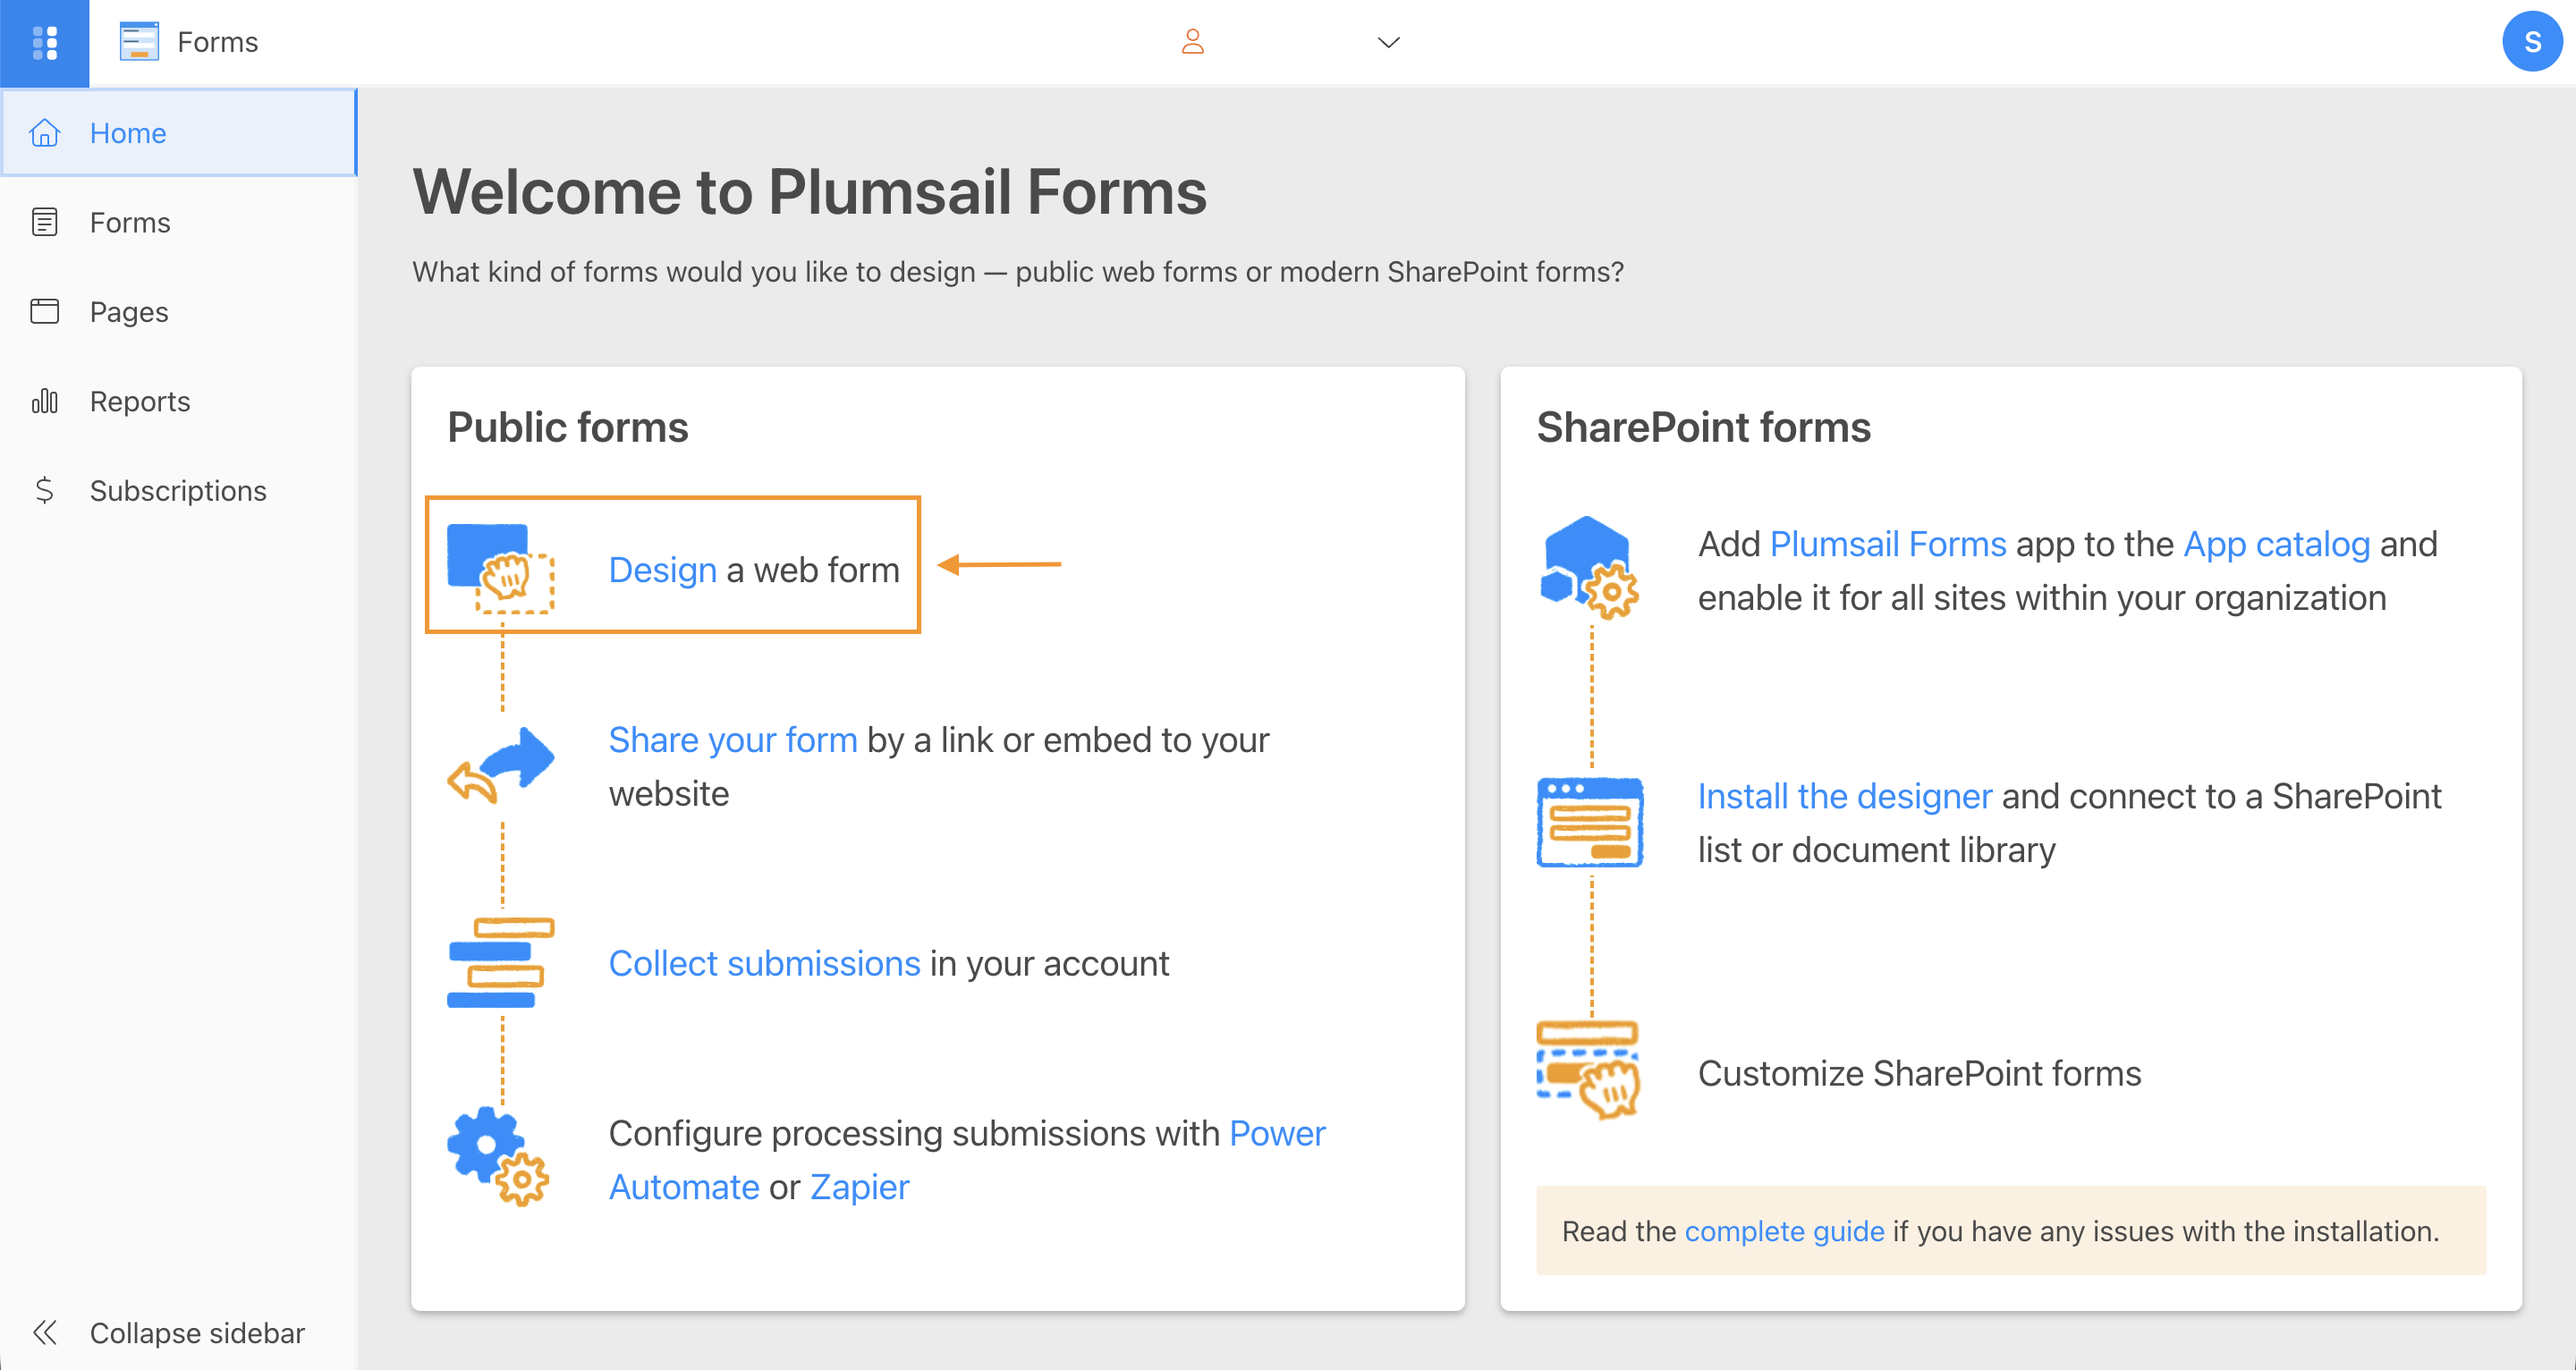
Open Forms and select Public Forms - Design a web form.
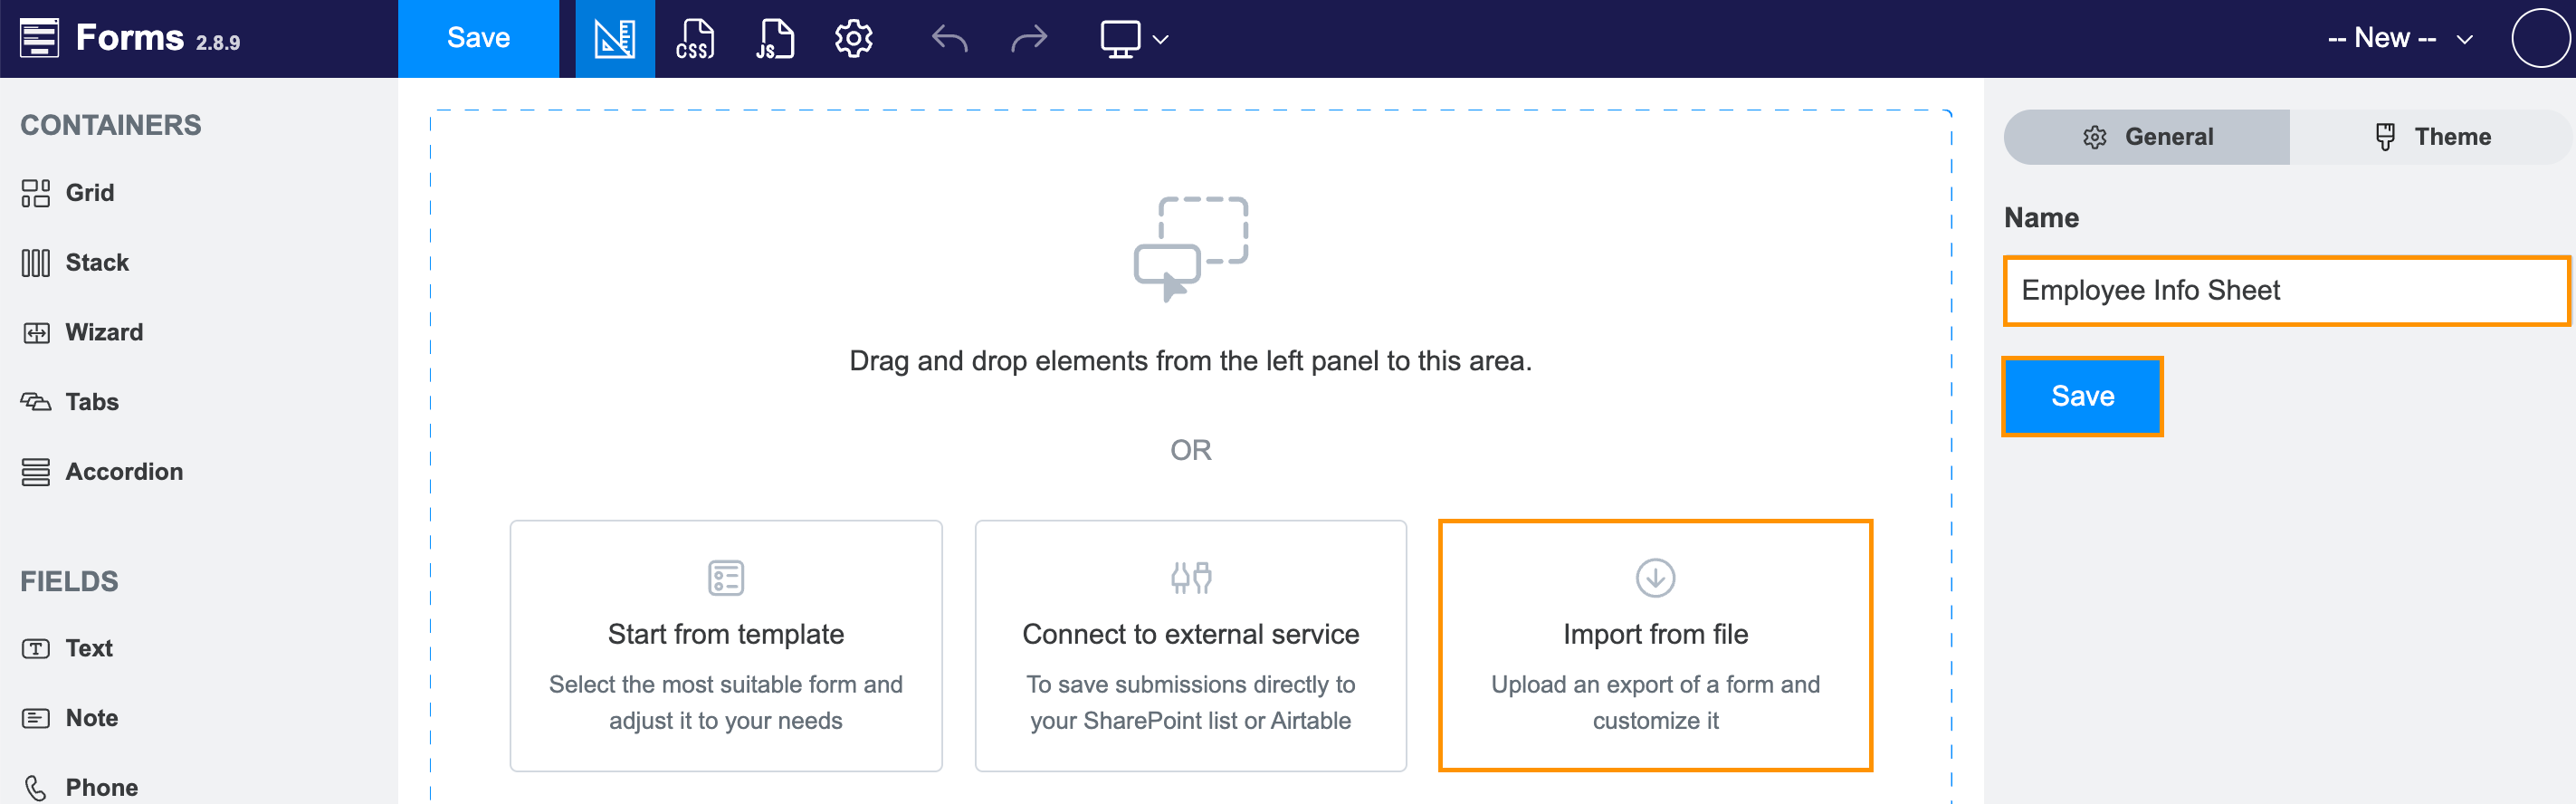
Import the downloaded JSON file and save the form.
Configure form field internal names
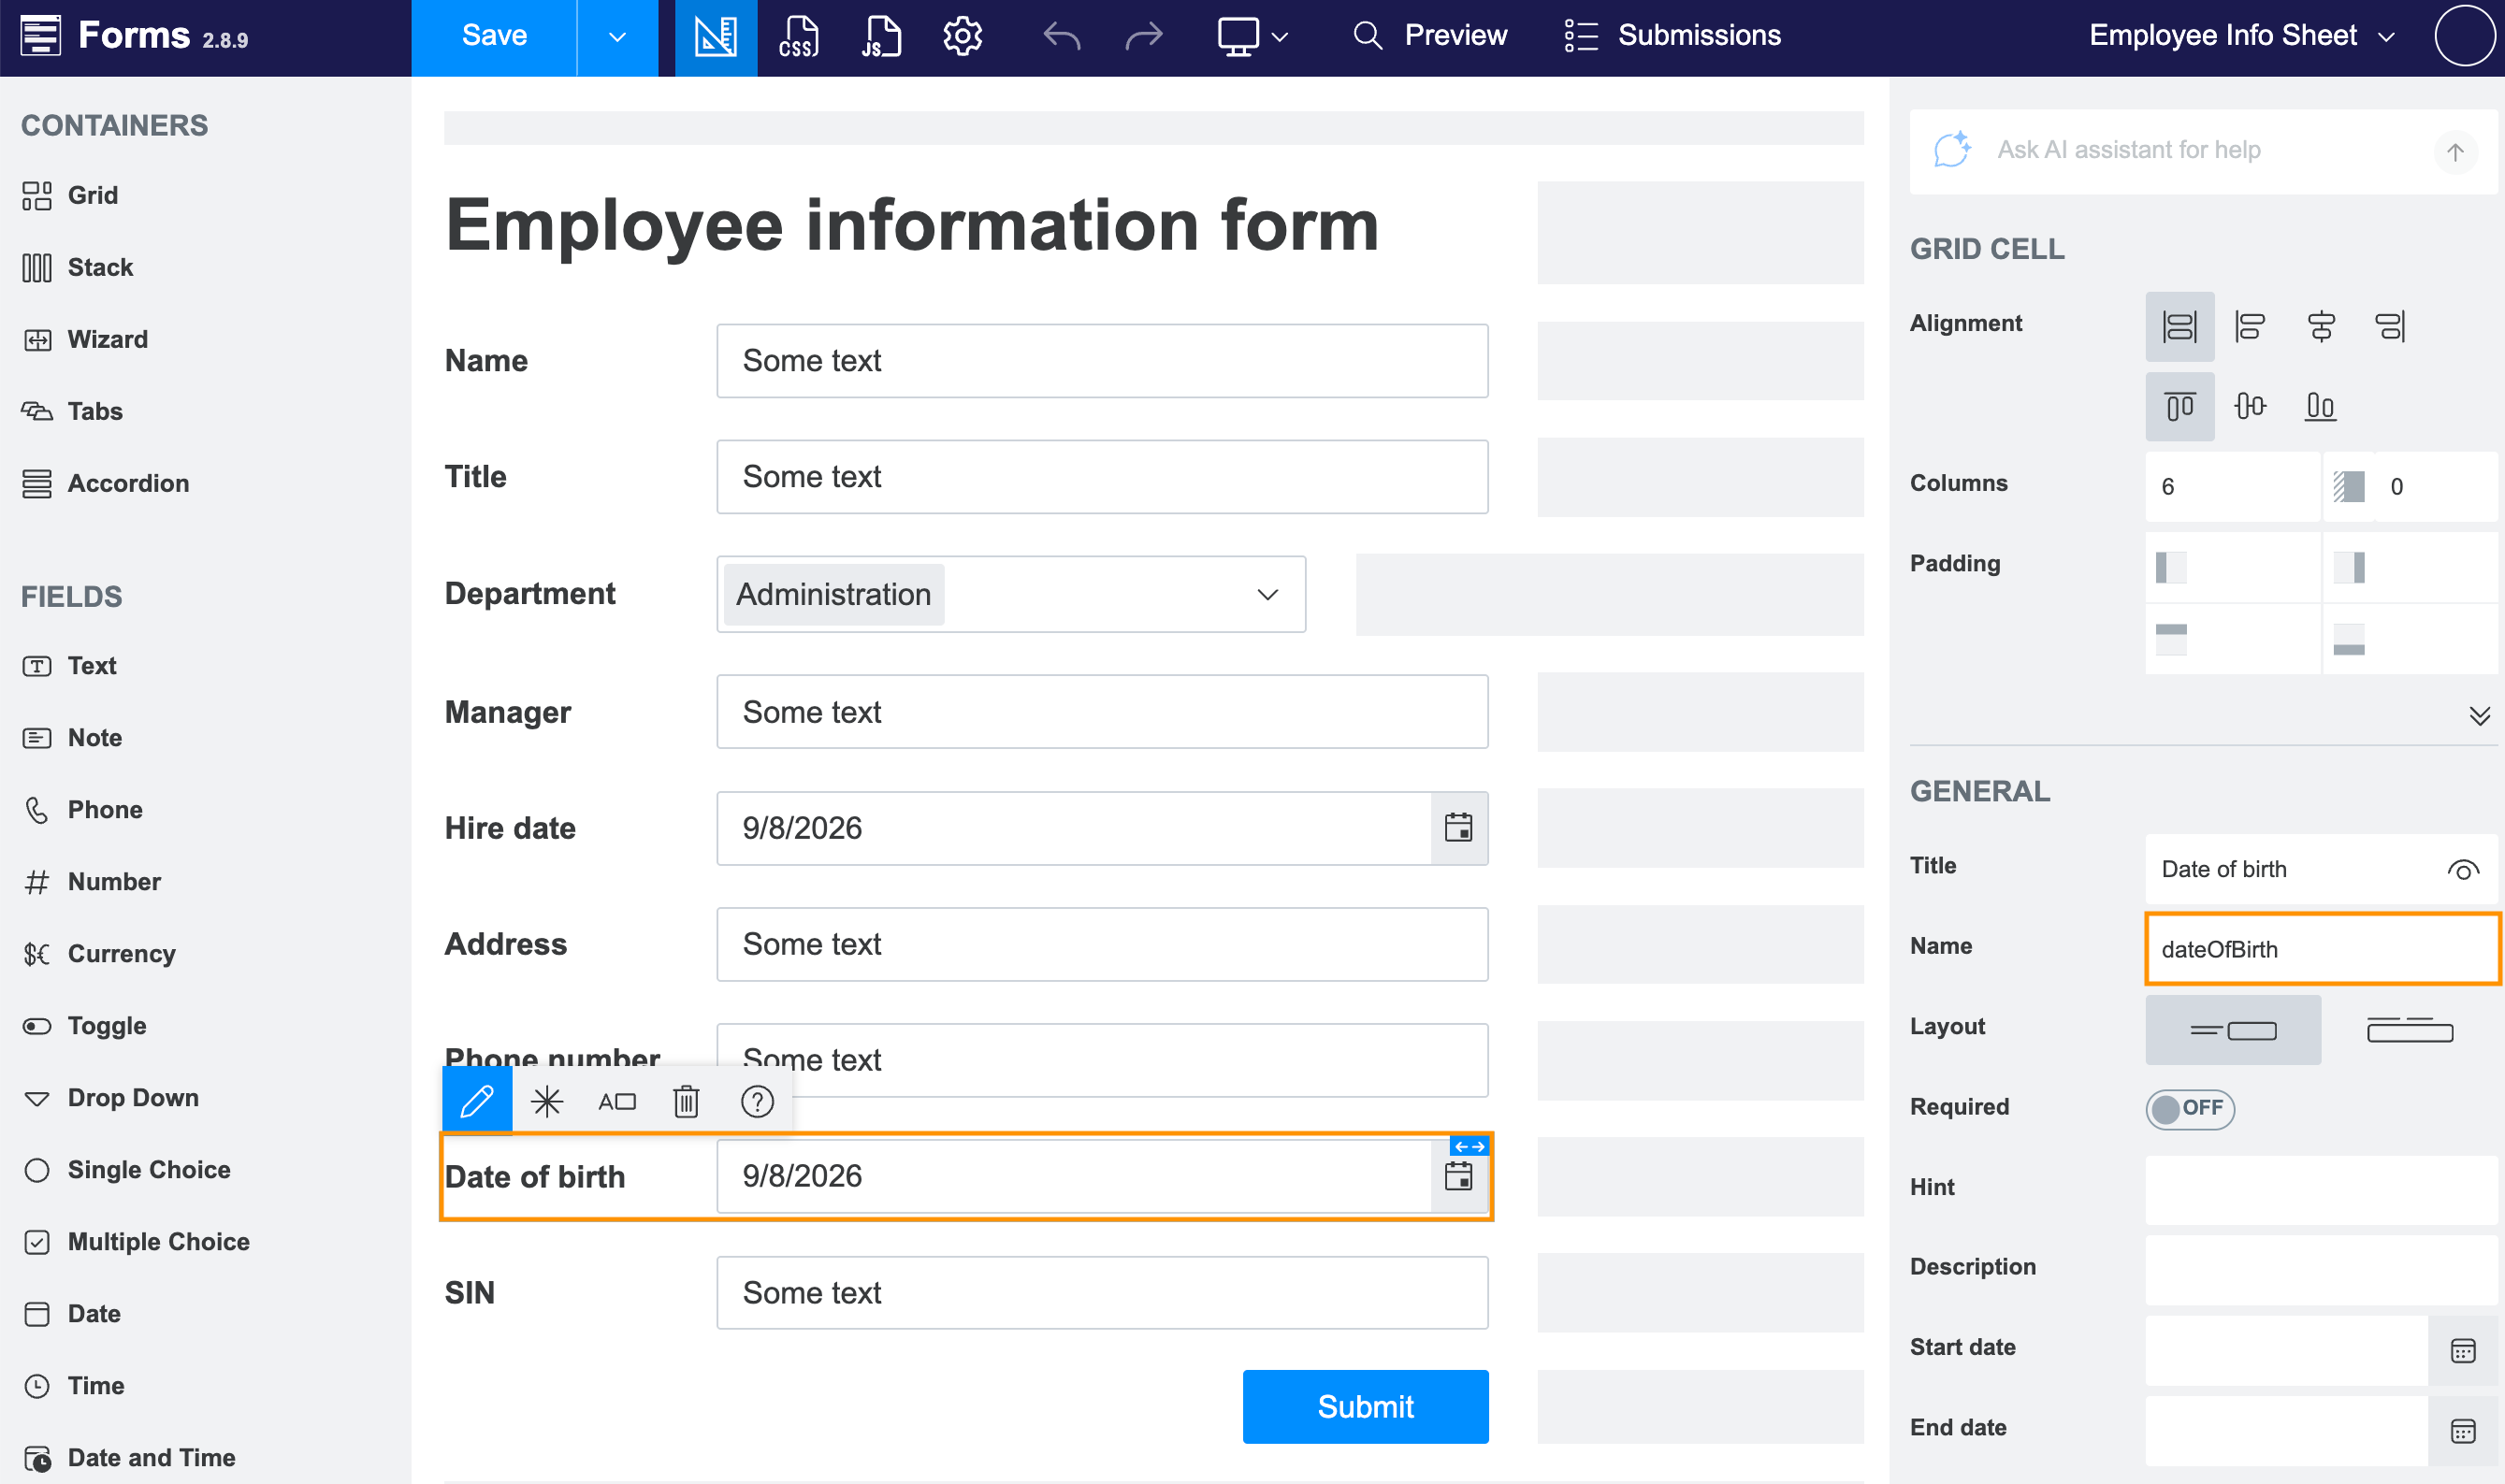
The templating engine needs to identify what will be inserted into the brackets. Please, check that the Internal Names of form’s fields correspond to tokens in the template.
You can set Internal Names for Form’s fields in its general properties:
Bind the Form
To start the process when a Plumsail Form is submitted, go to Run process and select Web forms. Click the Bind existing form, select the form from the list, and click Bind.
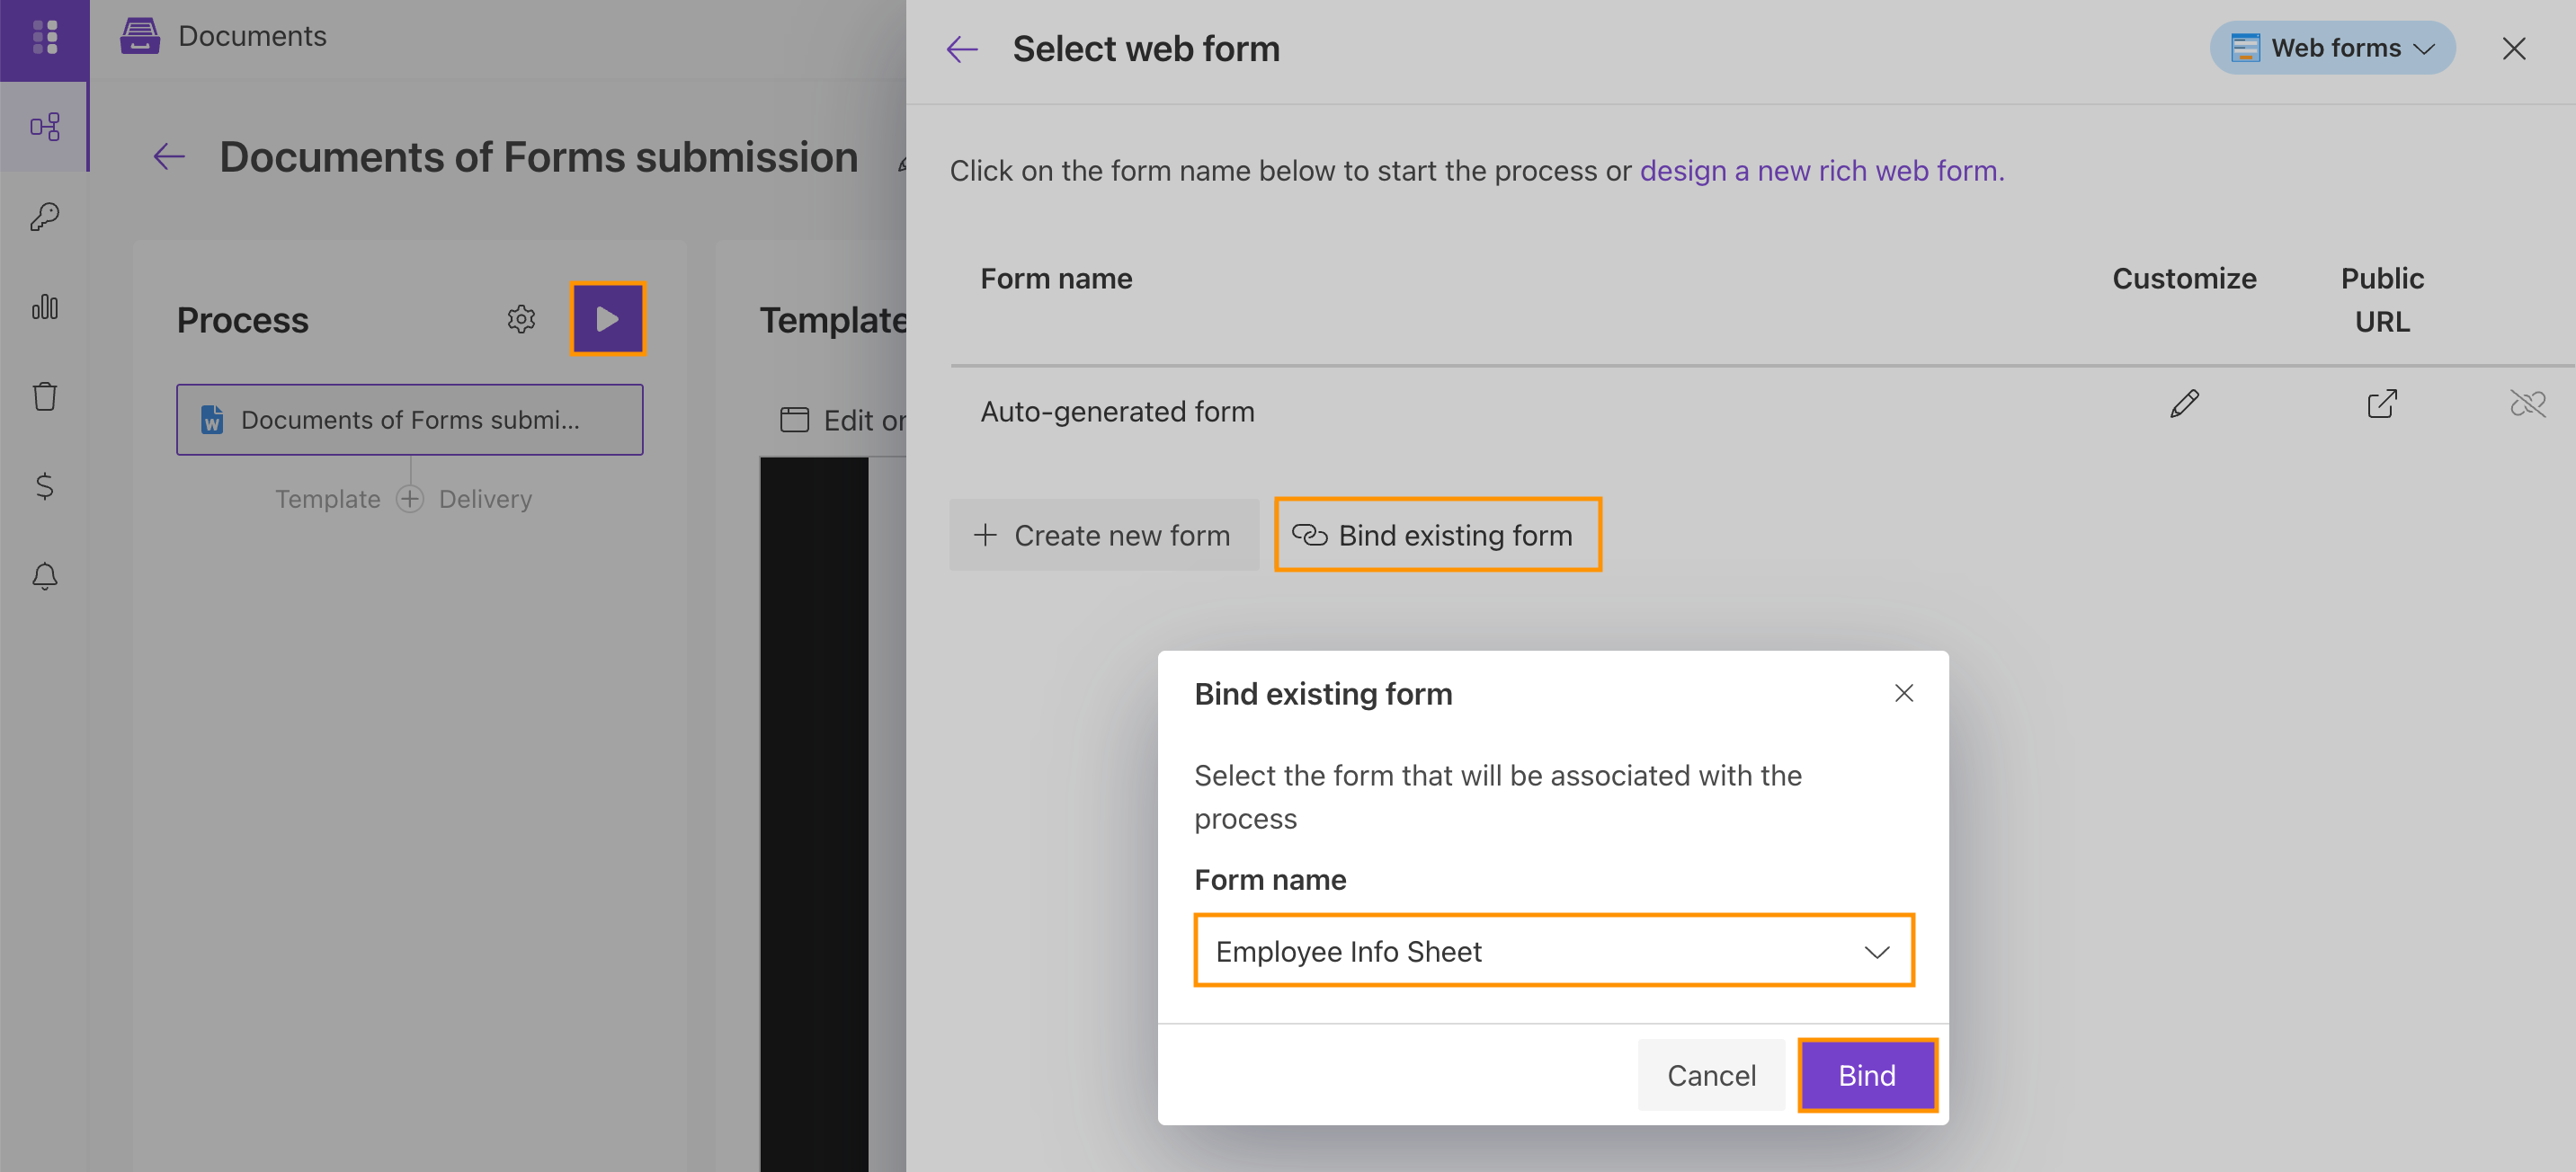
Once we’ve done it, the Form will appear in the list of Plumsail Forms bound to this Process.
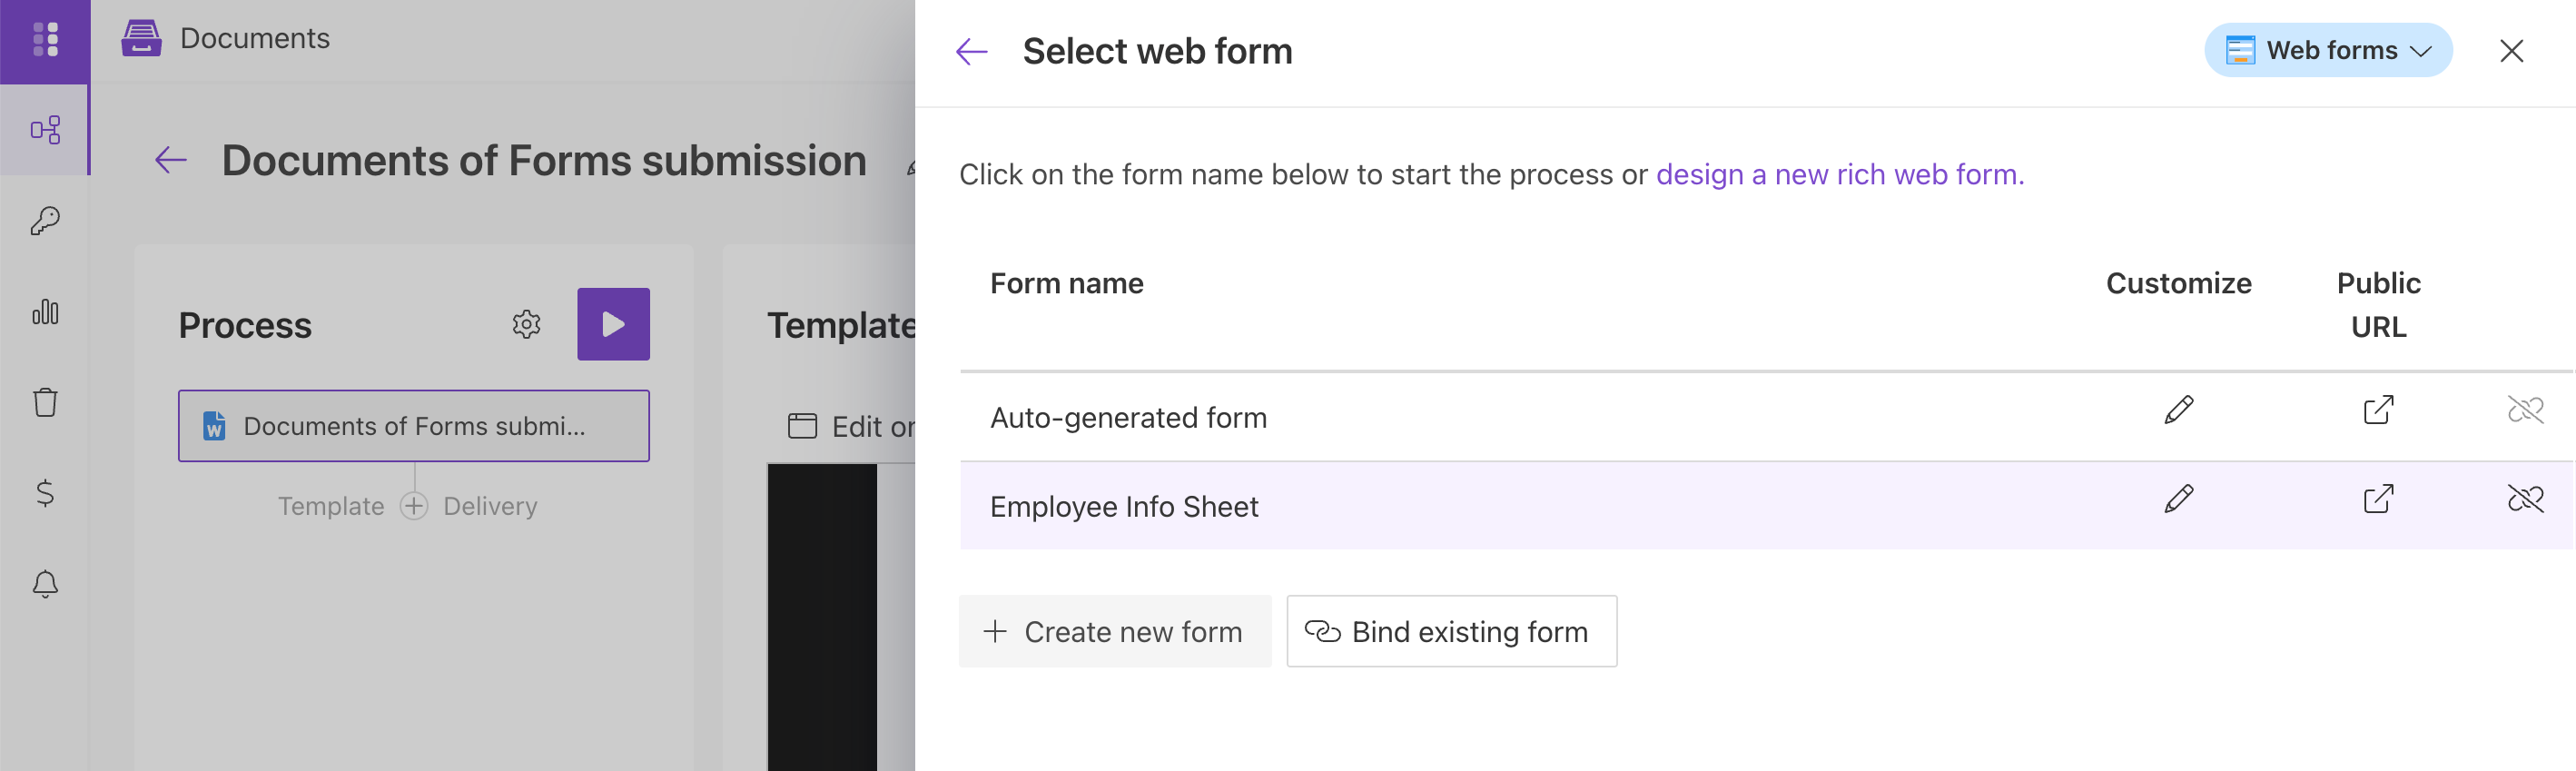
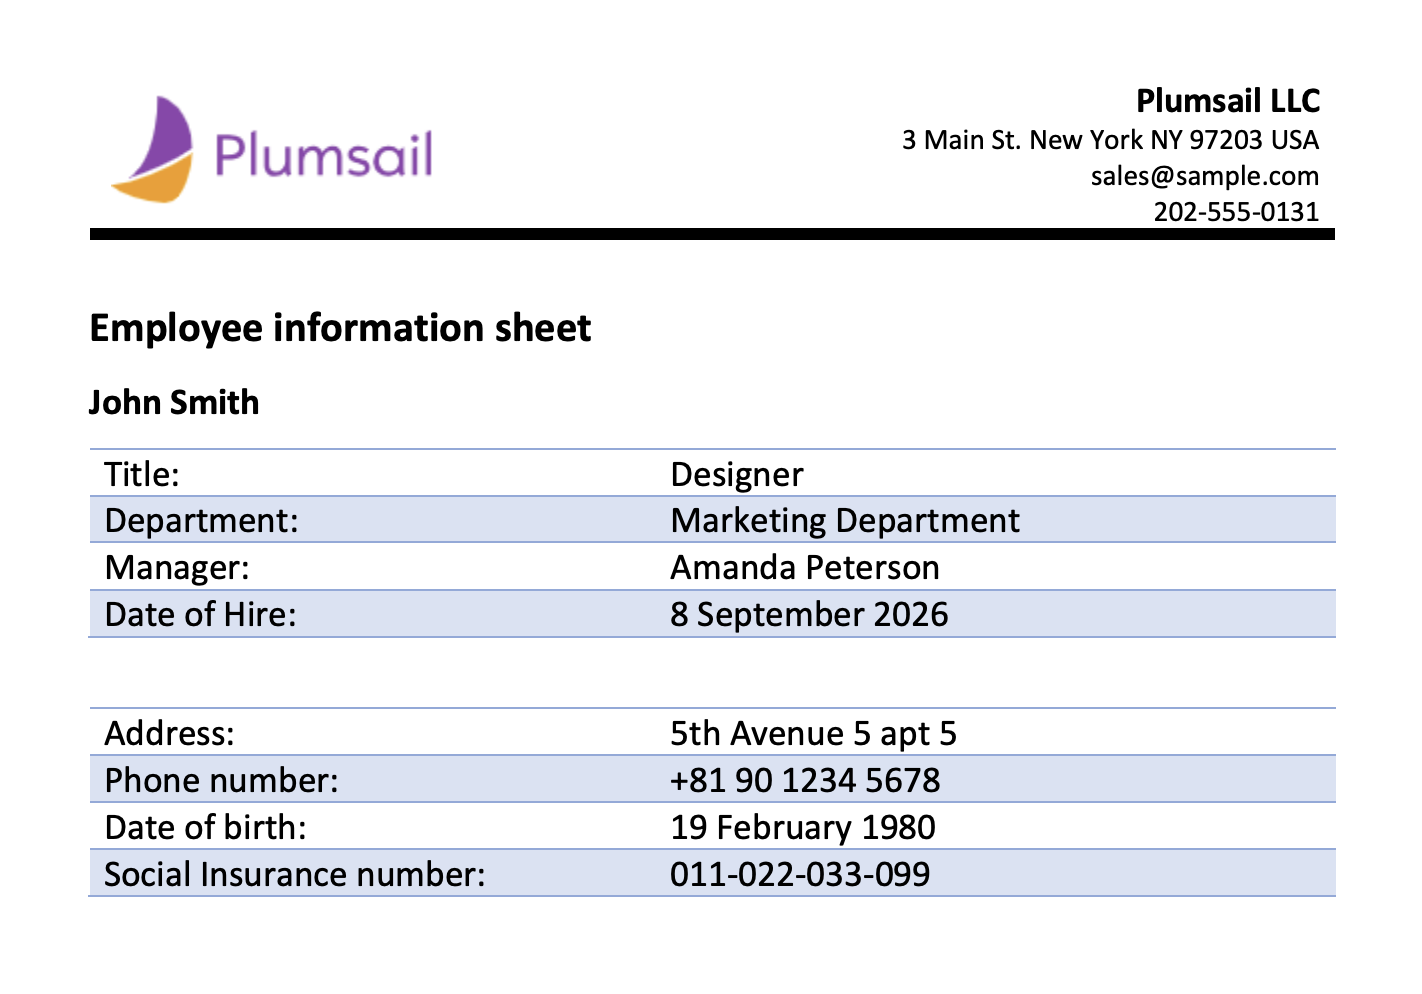
Every time somebody submits the form, the Process of generating PDF documents from a DOCX template will start. It will apply the Form submission data to the template and deliver the result document to OneDrive.
See how the result file looks:
Sign up for Plumsail Documents
As you can see, it’s simple to automate document generation on Plumsail Forms submission. If you’re new to Plumsail Documents, register an account and follow the steps described in the article to set the process for automatic creation of PDFs from Plumsail Forms. A 30-day trial is free.