Auto-populate fillable PDF on Plumsail Forms submission
In this article, you will learn how to automate the generation of documents in your company. For example, applications, orders, invoices, cards and others. We’ll show you how to automatically populate fillable PDF on Plumsail Forms submission by its integration with Processes.
Processes are a Plumsail Documents feature with an intuitive interface for creating documents from templates.
By means of Plumsail Forms, you can design elegant, responsive, and highly customizable forms for SharePoint Modern UI or any web page. In our example, we will collect data from a Web Form, apply it to a fillable PDF with the help of Processes.
Create a fillable PDF
Follow this instruction to create a fillable PDF. Download the template file for this article.
Create a Form
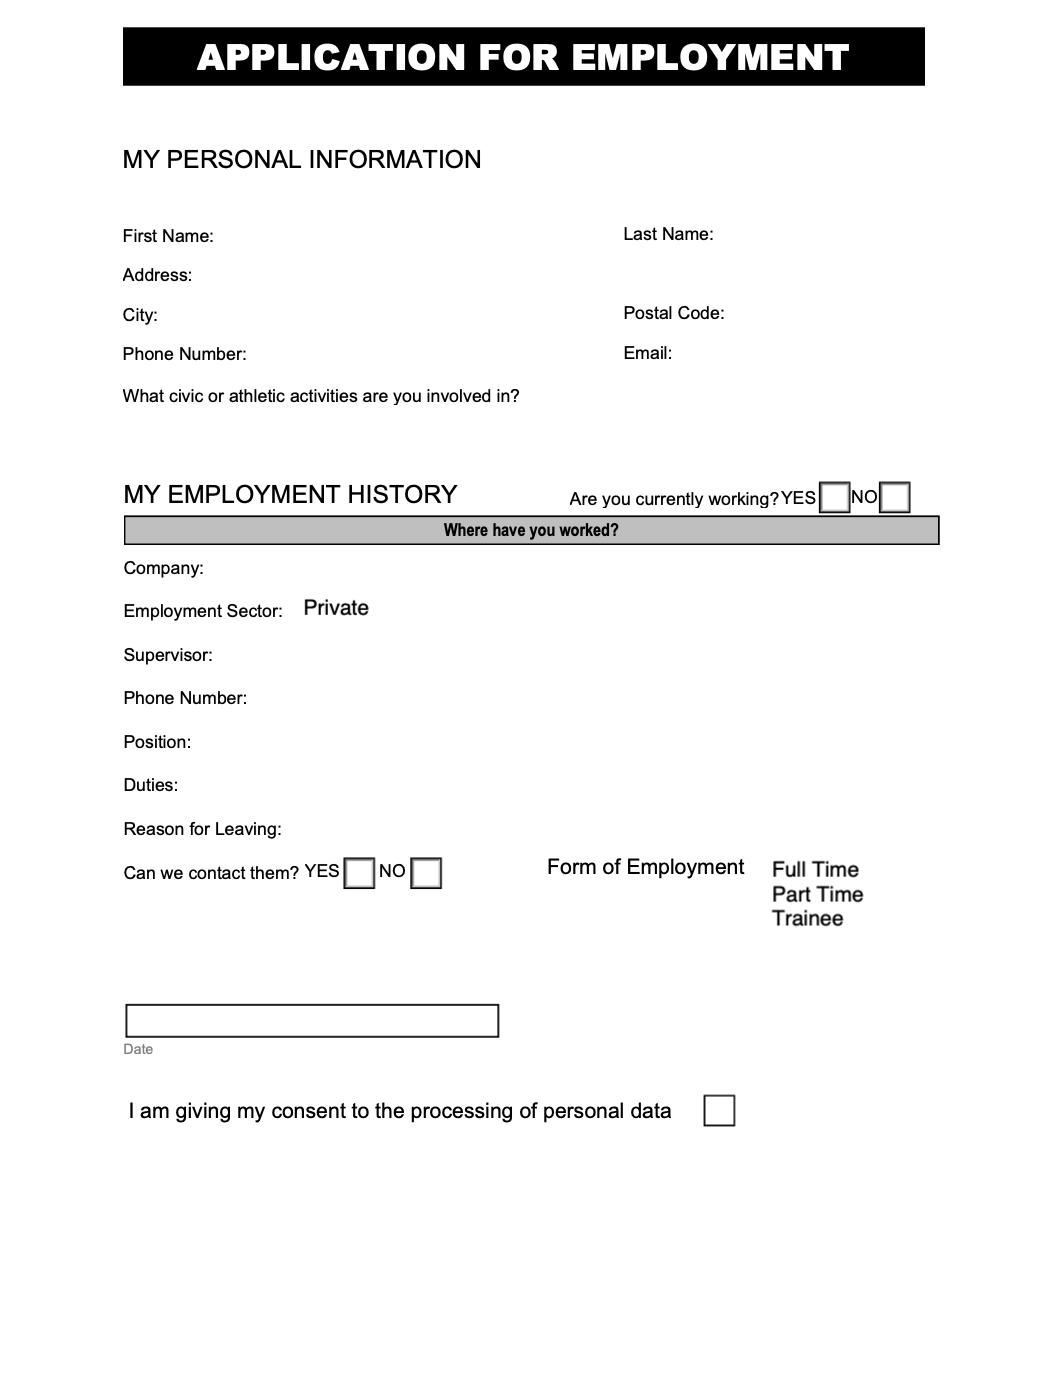
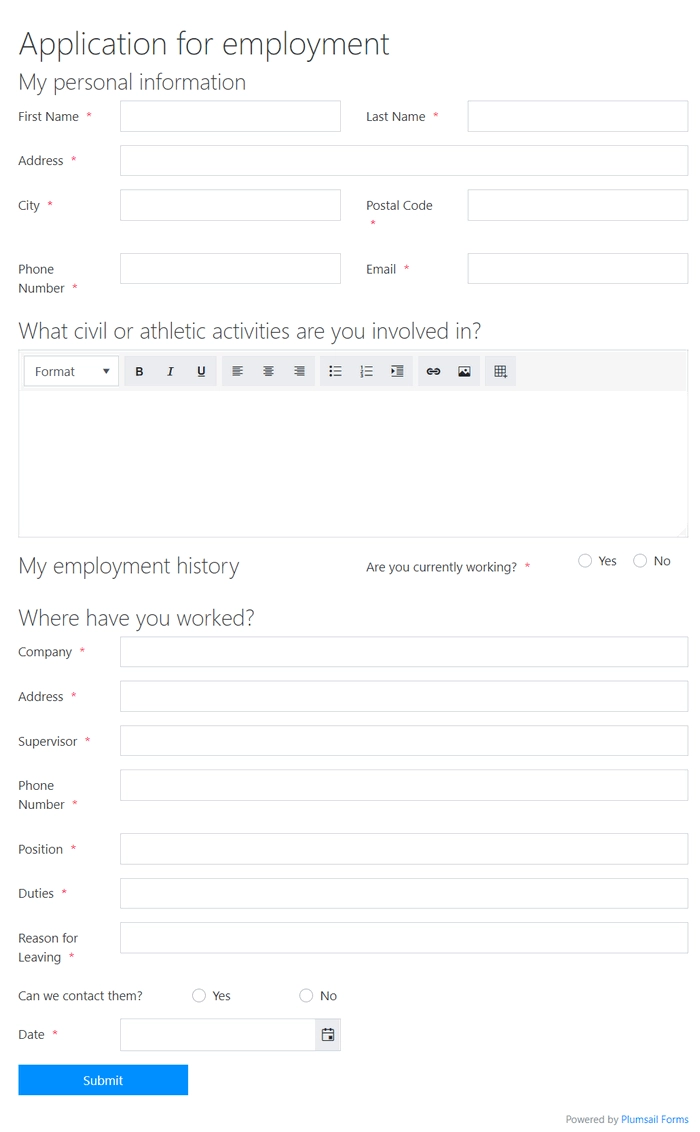
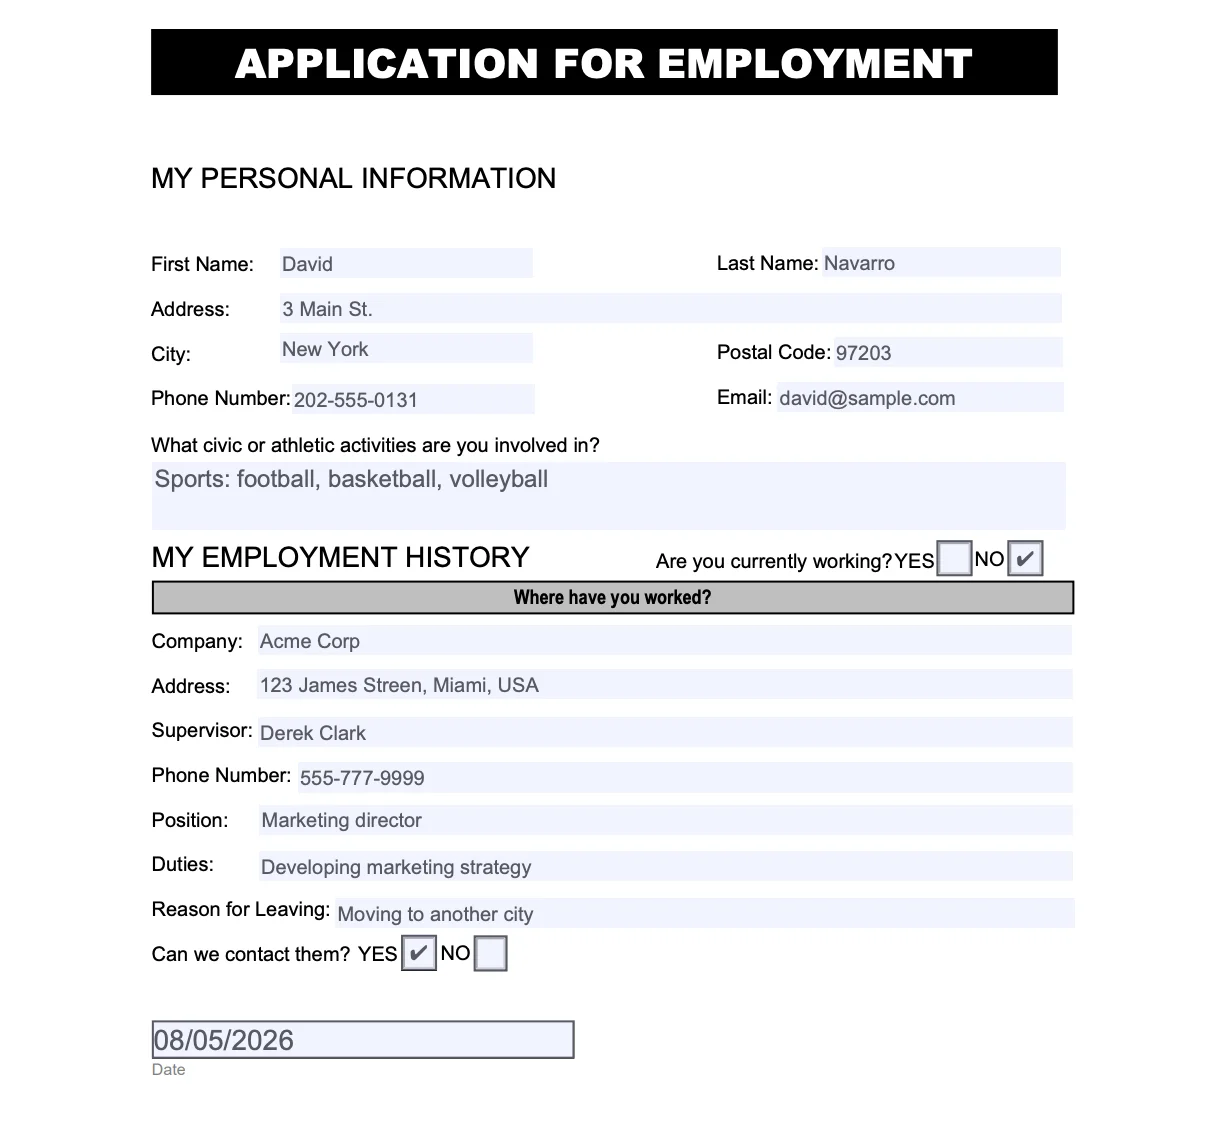
We have already designed an application for employment form. Here it is:
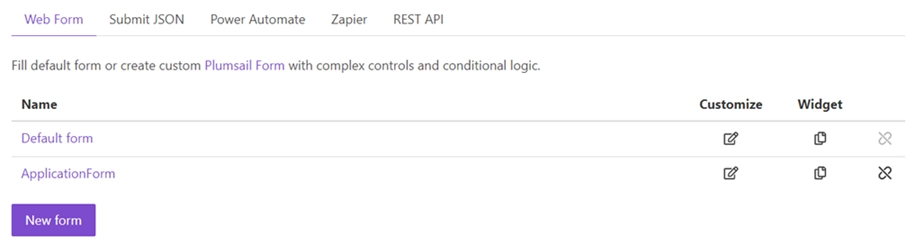
To use the form you need:
Firstly, register an account on plumsail.com.
Open Forms and select Public Forms - Design a form directly in your browser.
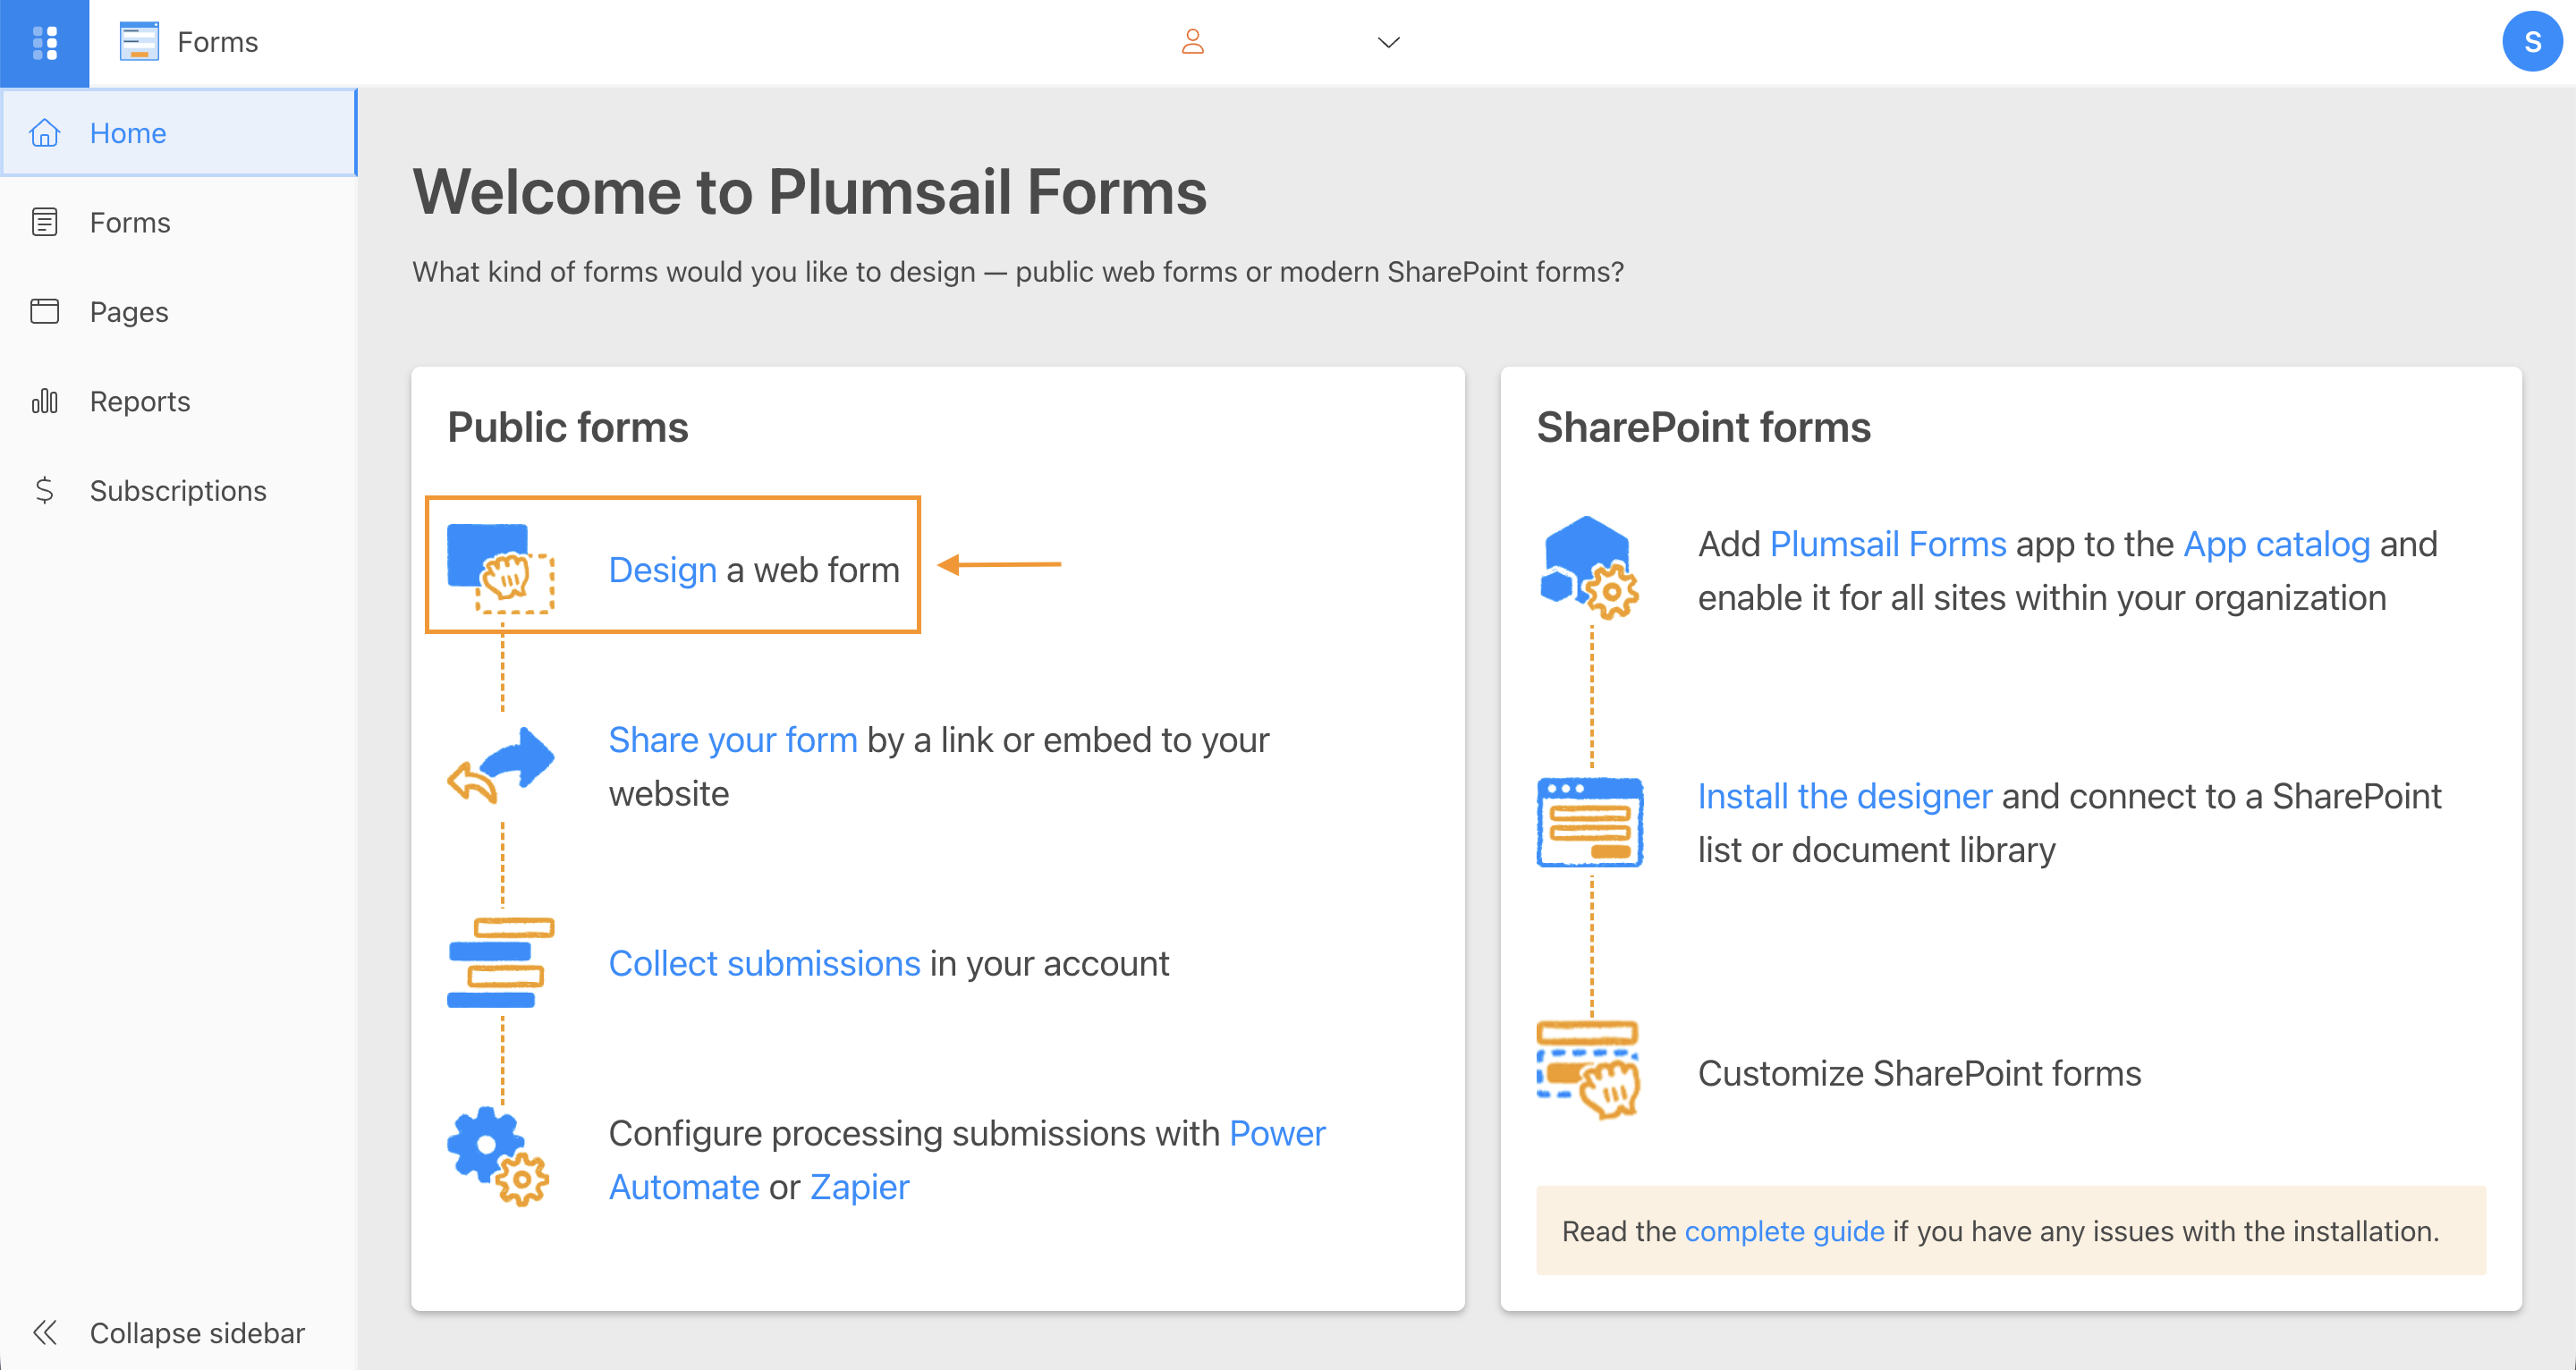
Import the downloaded JSON file and save the form.
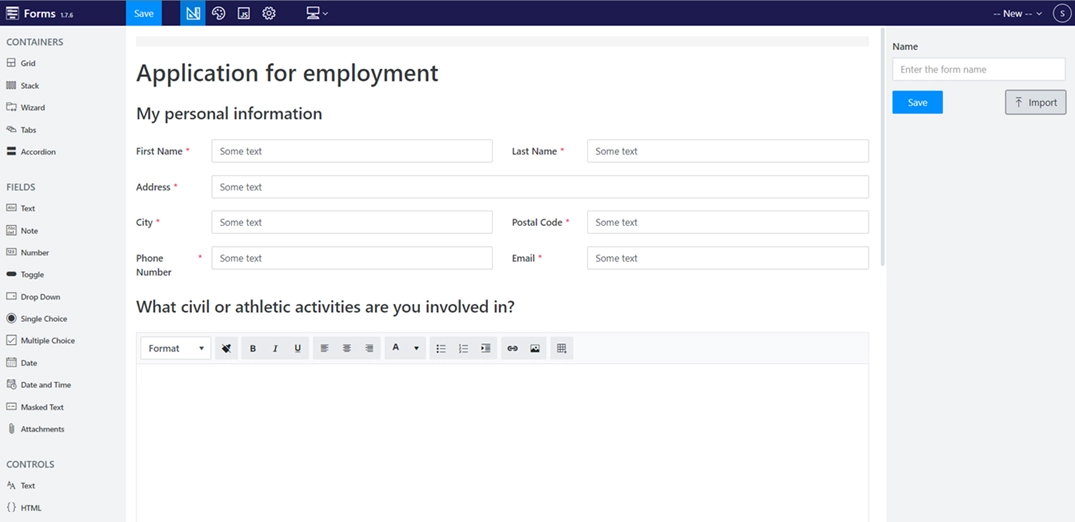
To create your own form, follow this link to learn more about how to design Plumsail Web Forms.
Understanding Internal Names of Form’s fields
It’s crucial to understand the internal names of Form’s fields. They must correspond to fields’ names in a fillable PDF. You can set internal names for Form’s fields in its general properties:
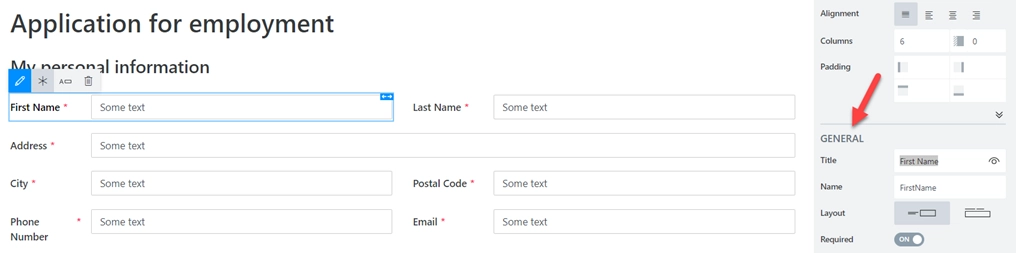
Data from this field will fill in the corresponding field in our fillable PDF. Its name is FirstName as well.

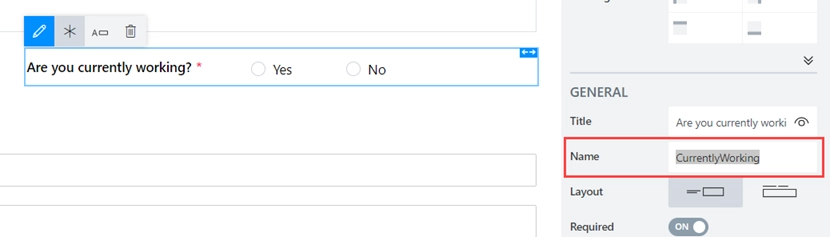
SingleChoice fields in our Plumsail Form correspond to radio buttons in the fillable PDF. So, they should have not only the same general name but the same options.
Example: We have a SingleChoice in the Plumsail form with Yes and No options. Its internal name is CurrentlyWorking.
In fillable PDF we create two radio buttons. The general name is the same for two of them – CurrentlyWorking.
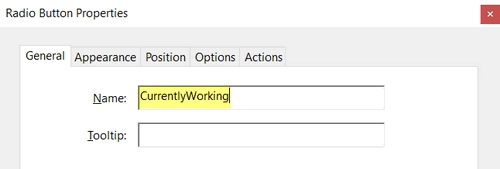
In properties options, we set a radio button choice – Yes for one and No for another radio button.

Configure the Process
When our fillable PDF and Plumsail Form are ready, we proceed to configure the Process. It will apply data from the form submission to the fillable PDF.
Create a new process
To create a new process, go to the Processes section in your Plumsail account.
Click on the Add process button.
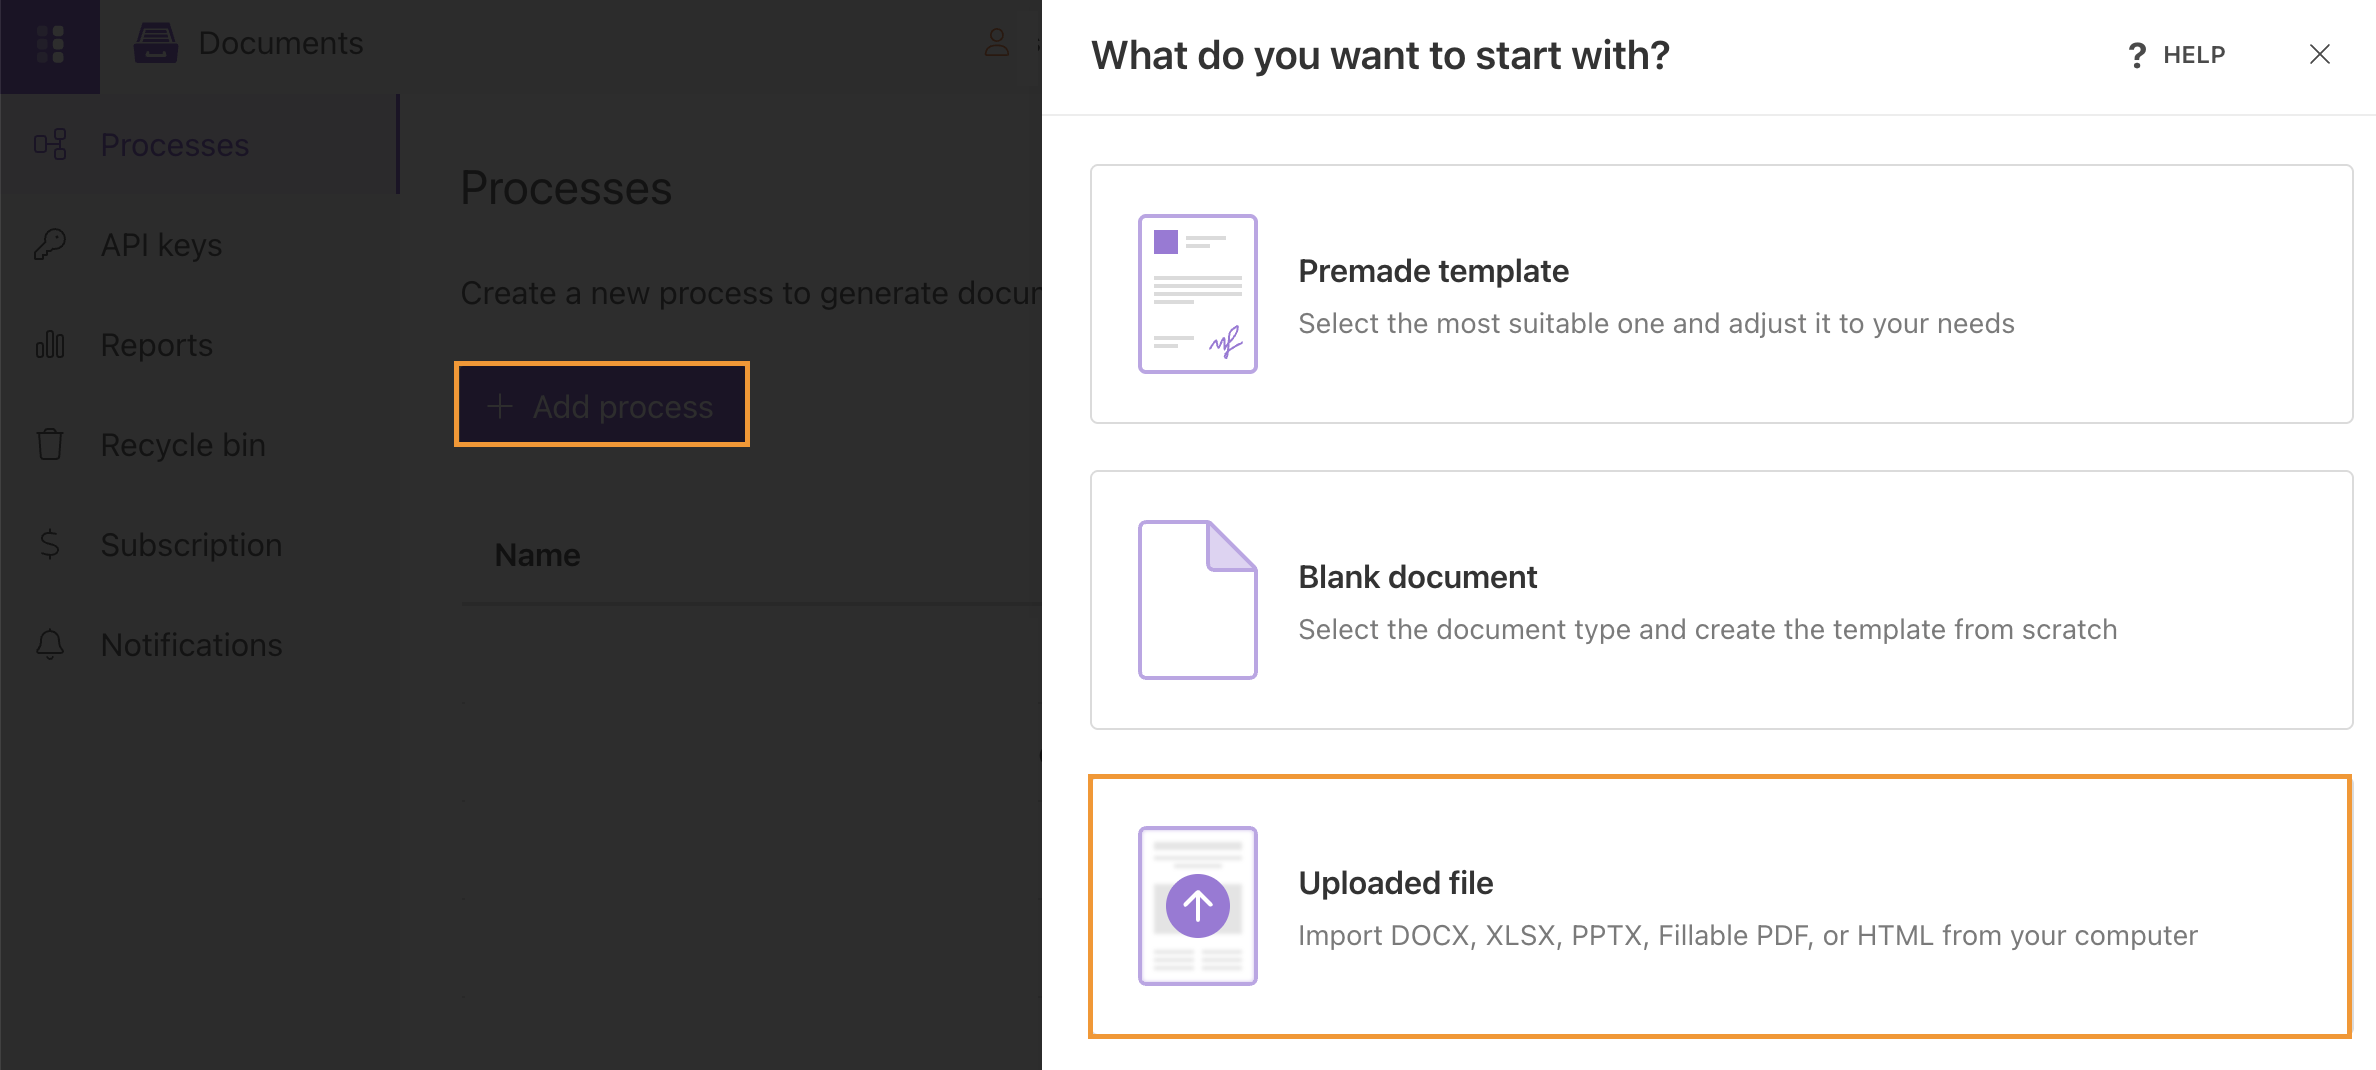
Set the Process name. Select a Fillable PDF for a template type.
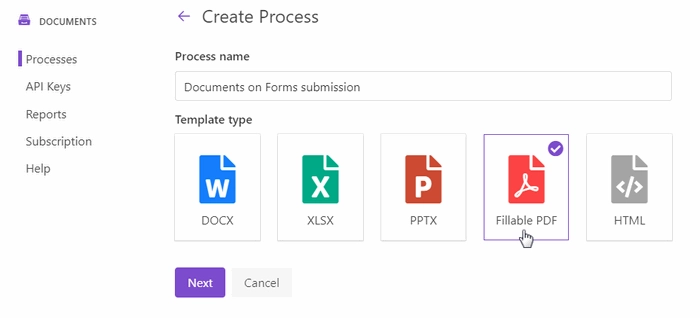
Click the Next button. You’ll be offered to upload a fillable PDF template.

Configure a template
After you’ve provided the template file, you’ll jump to the next step - Configure template.
It includes two substeps:
Editor;
Settings.
In Editor, it’s possible to upload a new fillable PDF template. And download it to your PC.
Another feature here is testing the template. It helps you to get a sight of the resulting document and decide if you’re satisfied with it.
Just click the Test template. You’ll see a form. It is generated based on your template tokens. You can adjust how it looks. Find more information in the documentation.
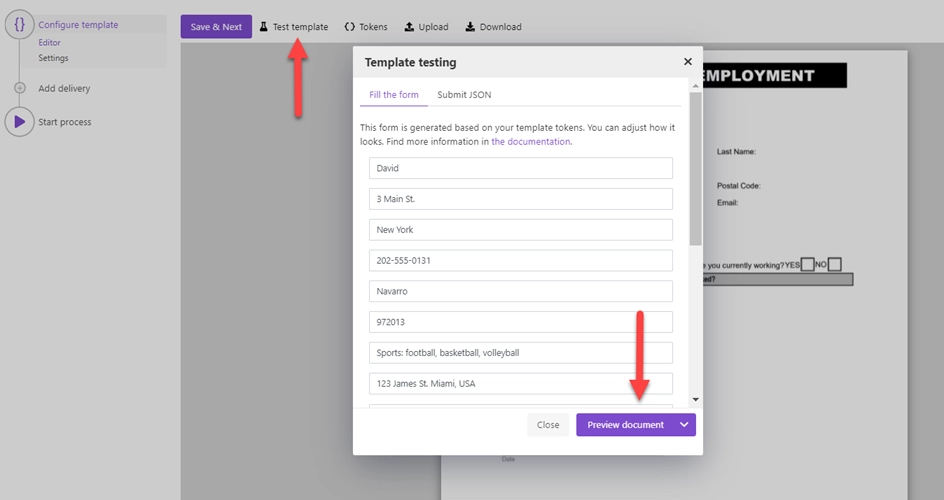
To test the PDF form template from this example, fill the fields with some data.
Note
It’s testing, we’ll pass data from Plumsail web forms to the process. See the Start process section.
In the Settings substep, you customize the following settings:
Template mode
It is Testing by default. It means you won’t be charged for this process runs, but result documents will have a Plumsail watermark. Change it to Active to remove the watermark.
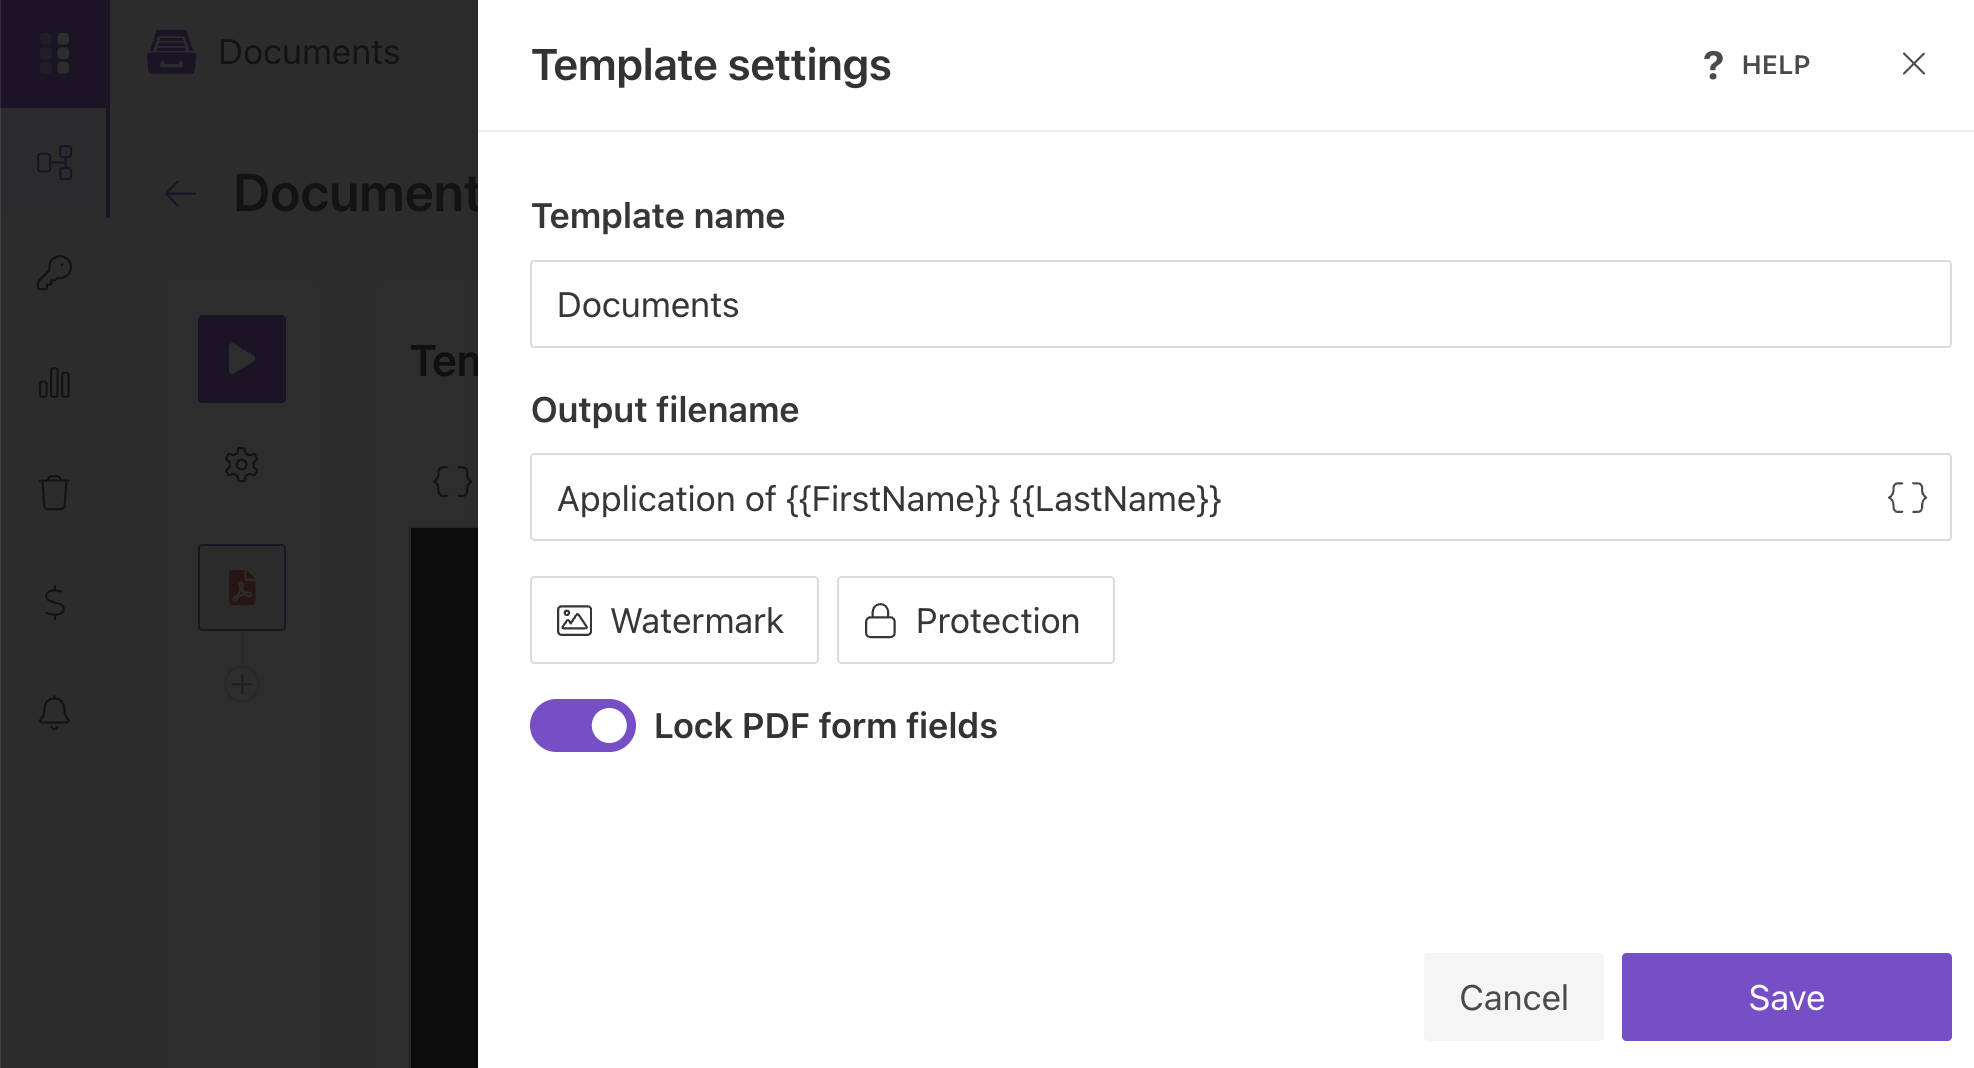
Output filename
Use tokens to make it personalized. They work the same way as in the template.
Hint
You can protect your final PDF document with a watermark, by setting a password, or disabling some actions.
Test template
You can test the template from the Settings as well - to check how the customized settings will appear in the resulting document. The procedure is the same as we’ve already described above.
Note
Lock form fields option is activated by default. If you want to edit fields in the result PDF file - disable the option.
Delivery
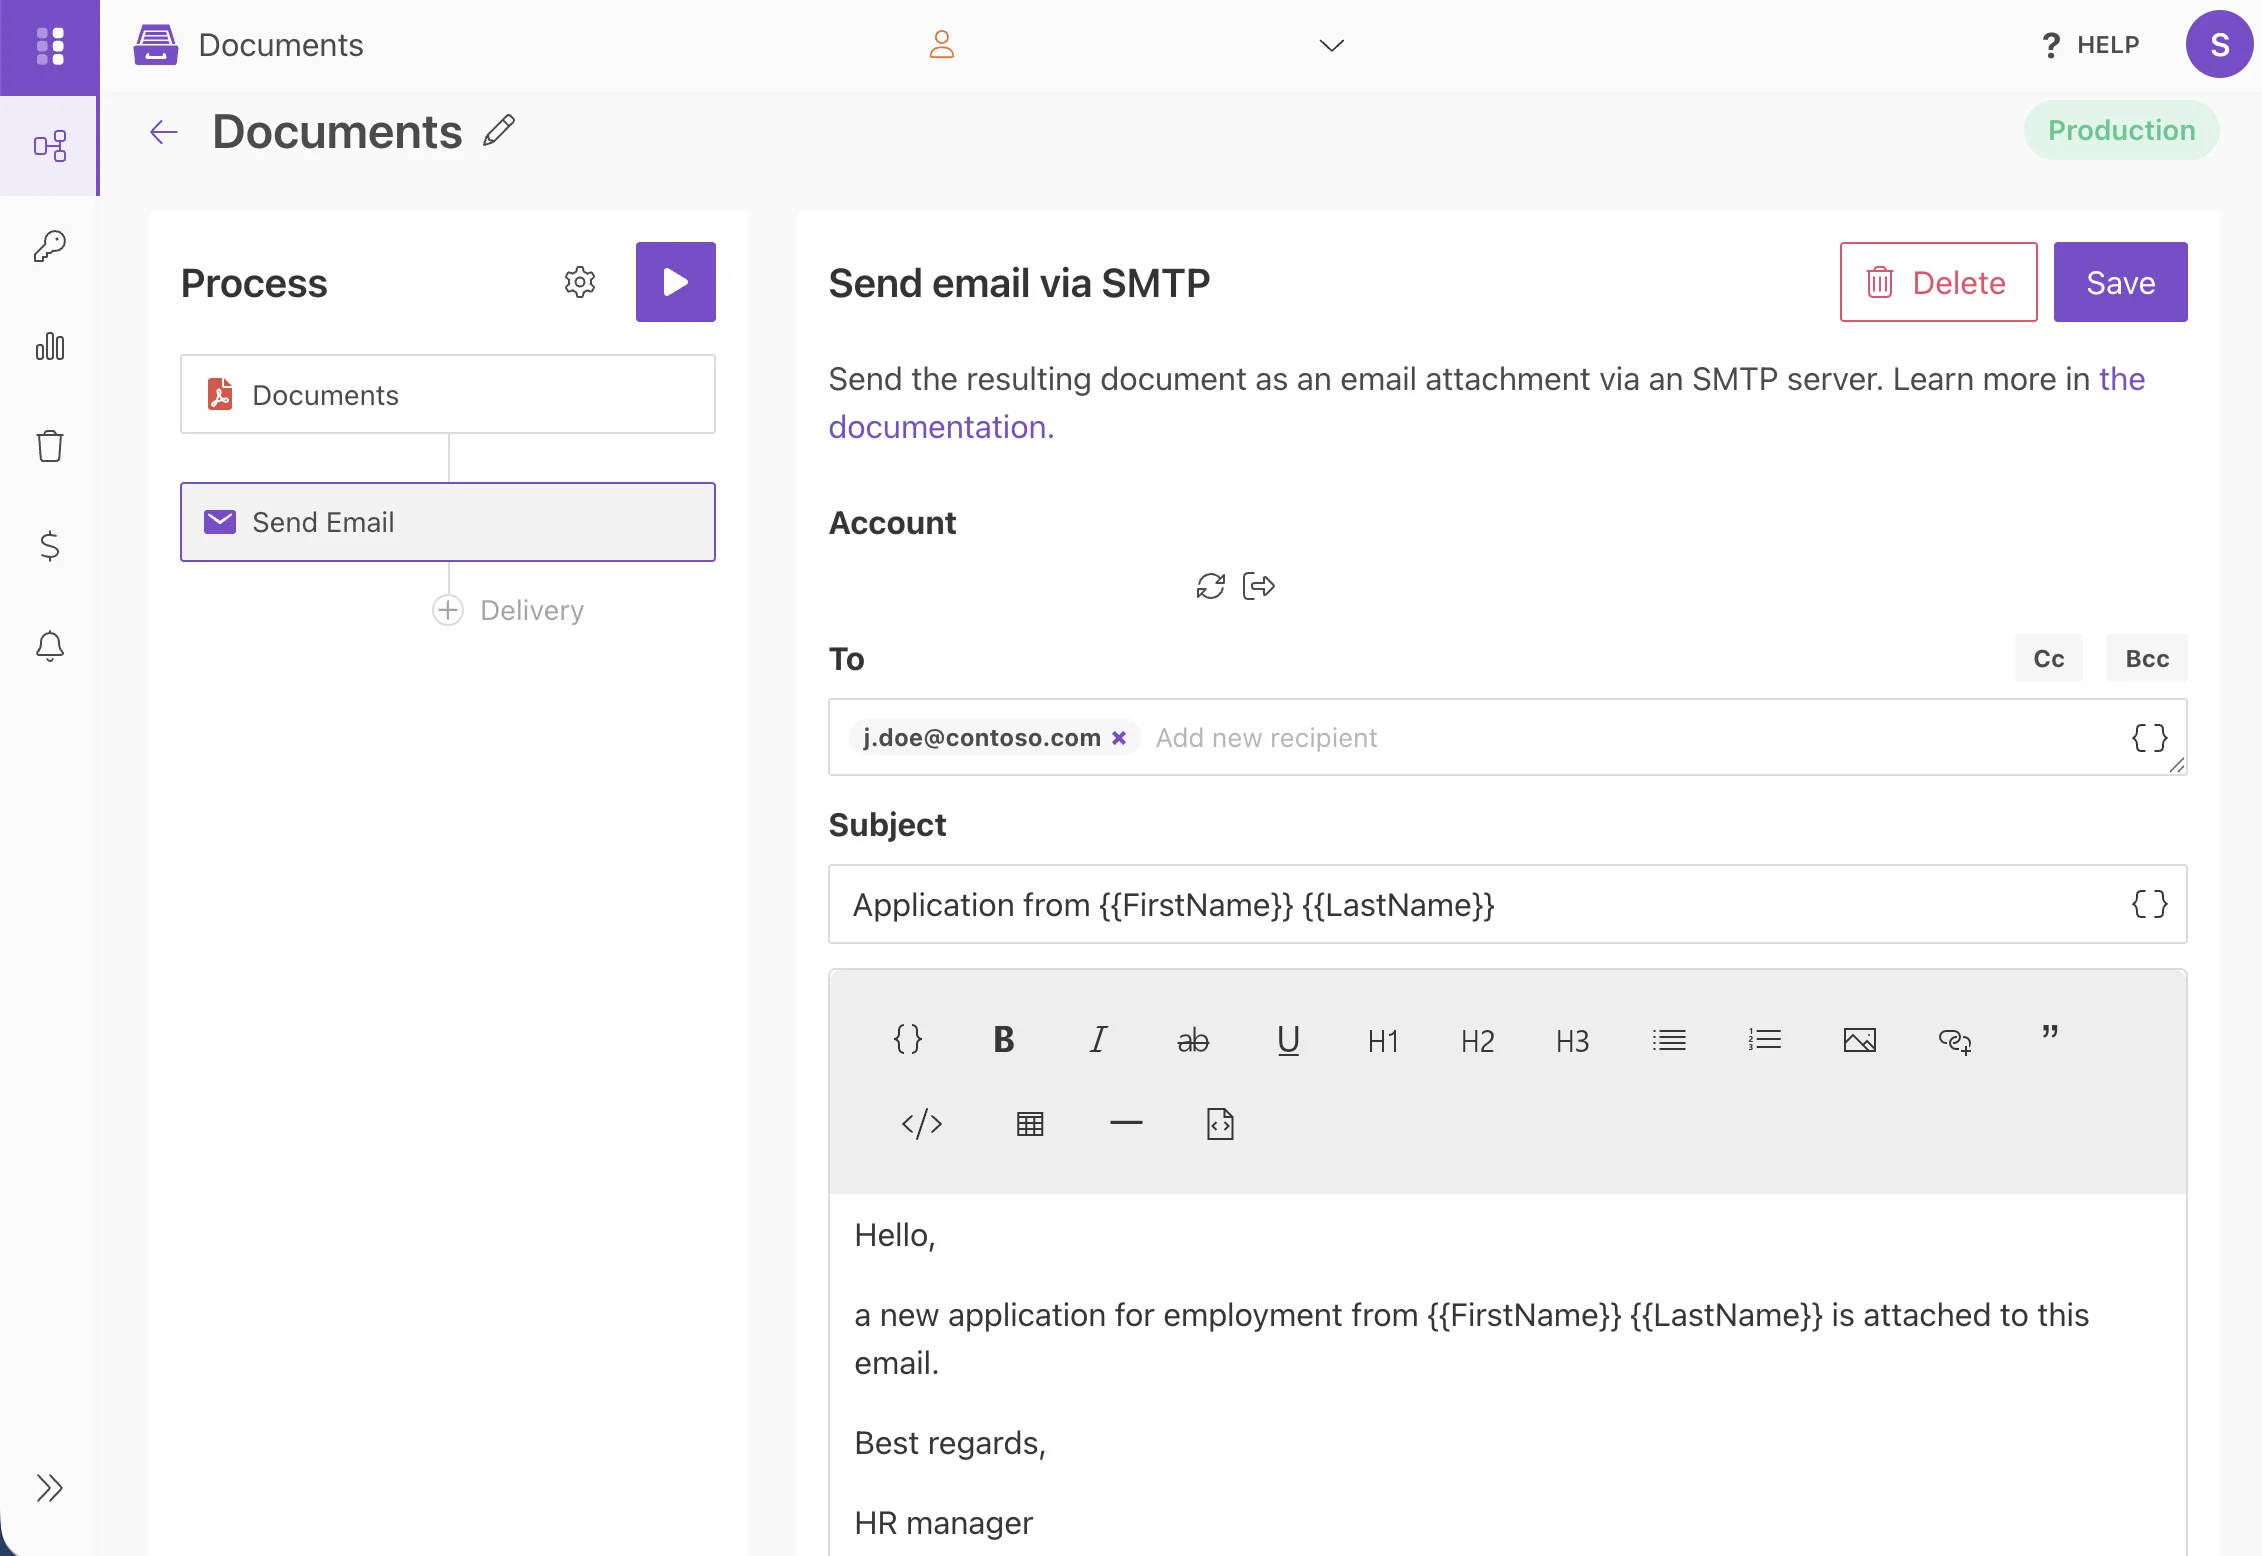
The next step is delivery. For demonstrating purposes, let us set an email delivery.
Fill-in a recipient email. Add recipients for a copy or blind copy if you need. Define the subject of the letter. And write an email body.
You can use tokens from your template to specify details in the email subject as we did, or in the body. The submitted data will be applied to them as well. Find out more about using tokens.
You can configure as many deliveries as you need. Check all the available options and how to handle them here.
Start the Process on Plumsail Forms submission
We will start our Process by submitting the Plumsail Web Form.
For that, we will bind it. Press the Bind button and select the form from the dropdown.
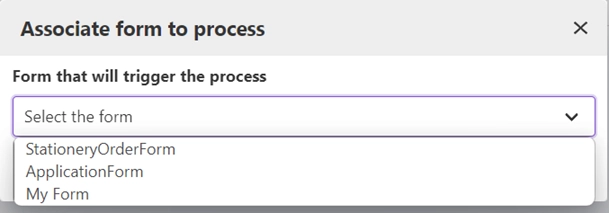
Once we’ve done it, the Form will appear in the list of Plumsail Forms bound to this Process.
Every time somebody submits the form, the Process of population fillable PDF documents will start. It will apply the Form submission data to the fillable PDF and send the result document by email.
See how the result file looks:
Sign up for Plumsail Documents
To fully automize the generation and flow of your documents, register a Plumsail account. It’s easy to get started and save time with the help of Plumsail Documents.