Automatically generate invoices from ClickUp tasks based on time tracking
ClickUp is a tool that saves your time in the everyday routine. Let’s say you have several tasks in ClickUp and you use the time-tracking function. For the tasks finished in the last month, you would like to automatically generate invoices for a client. In addition, you want to calculate costs depending on the time tracked in the tasks and invoice the client on a recurrent basis.
To do this automatically, all the data from ClickUp will be transferred to Plumsail Documents via Zapier. The Zap will create a ClickUp task monthly.
Note
The suggested Zap configuration is multistep and requires a premium subscription to Zapier. But if you do not need the recurrent generation of the multitask invoices you can simplify the automation: generate the invoice for just one task when you change, for example, its status. Then, no Zapier subscription or complex Webhook actions are required. Instead, configure a two-step Zap: the default ClickUp trigger When task changes and the Plumsail Documents action to generate the document.
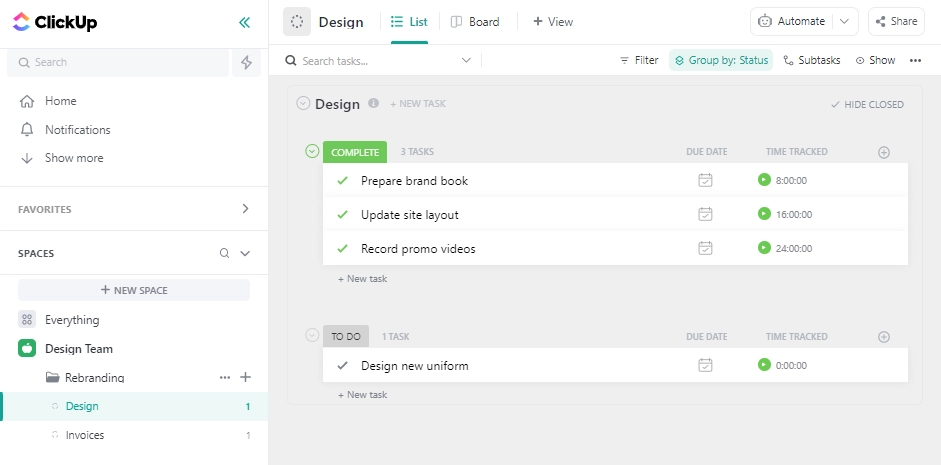
The task will contain the required document generated by Plumsail Documents (the screenshot below). You can review and process it further. And the Plumsail Documents deliveries extend the possibilities in sending the document to other services and recipients. So we begin with creating a process in Plumsail Documents.
Set up the invoice generation in Plumsail Documents
We need to create and configure the Plumsail Documents process that will generate invoices in the PDF format. The result document will be based on the data from ClickUp tasks.
Create a new process
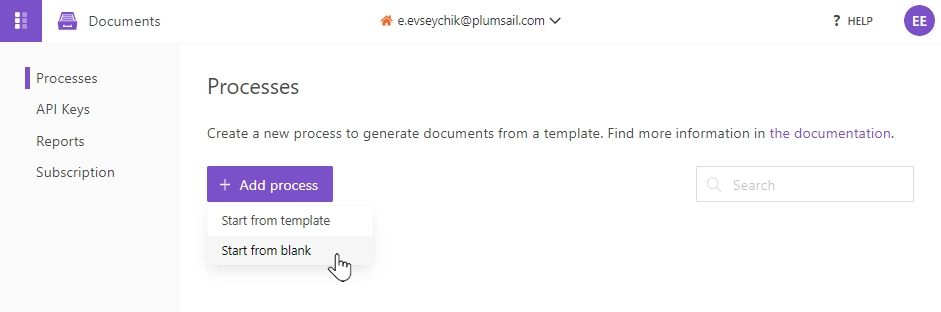
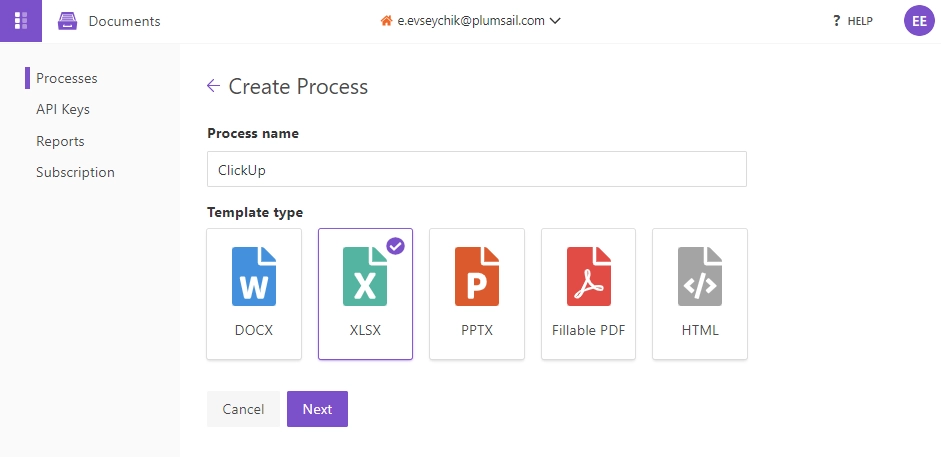
Go to Processes in your Plumsail account and add a new one. Start from blank.
Name the process and select the XLSX format of the template. This will allow making some calculations in it. Click the Next button.
Configure a template
The template configuration includes two substeps:
Editor,
Settings.
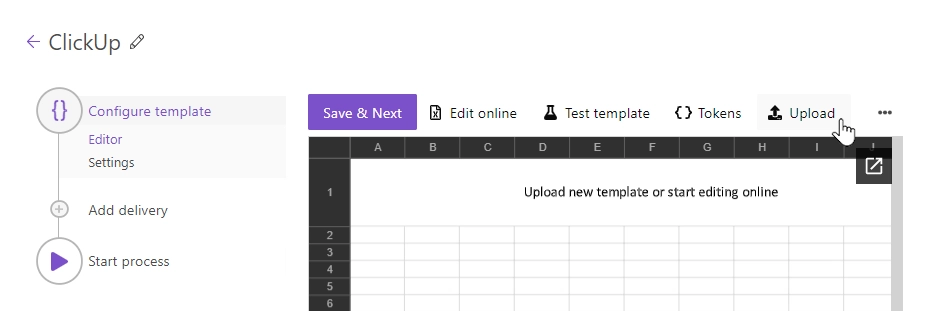
In the Editor substep, you can compose the template from scratch or upload a pre-made one. It’s also possible to modify the uploaded template online. Feel free to download an invoice template that we have already prepared.
Then upload it to the process.
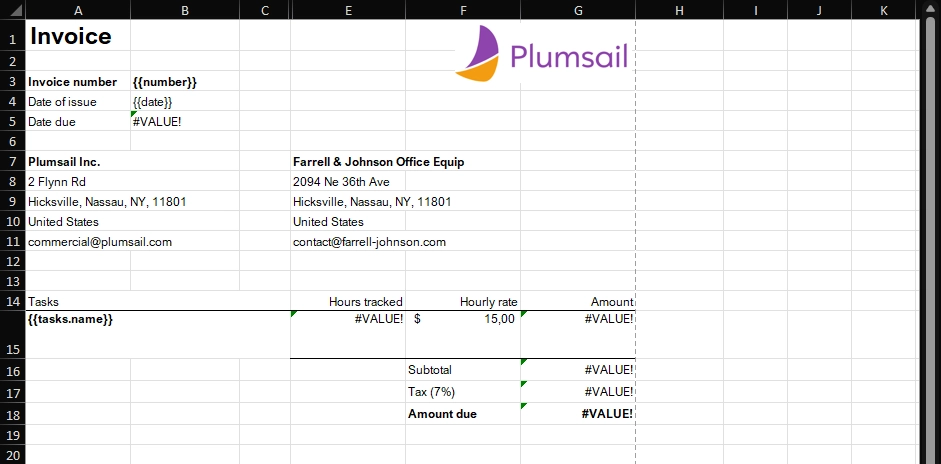
As you can see in the screenshot below, our document has special {{placeholders}} marked with double curly brackets.
Inserting the placeholders, also known as tokens, into documents allows us to turn the document into a template.
In the result document, they will be replaced with custom data.
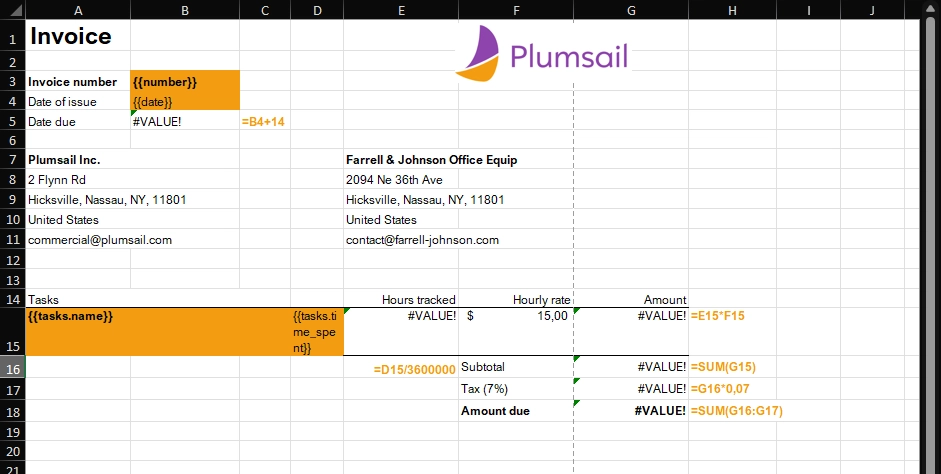
Also, there are formulae for calculating other values based on the latter.
Pay attention to cell D15, it will contain the time spent on the tasks measured in milliseconds.
We do not need it to be seen so calculate the spent hours in cell E15 and hide column D.
Templating syntax
When creating own templates, keep in mind the templating language. Plumsail Excel templates use a different approach than most other templating solutions. It uses a minimal amount of syntax to make your work done.
In short, the templating engine thinks that everything between curly {{ }} brackets is variable where it will apply the provided data.
Read this article to get familiar with the templating engine.
Test template
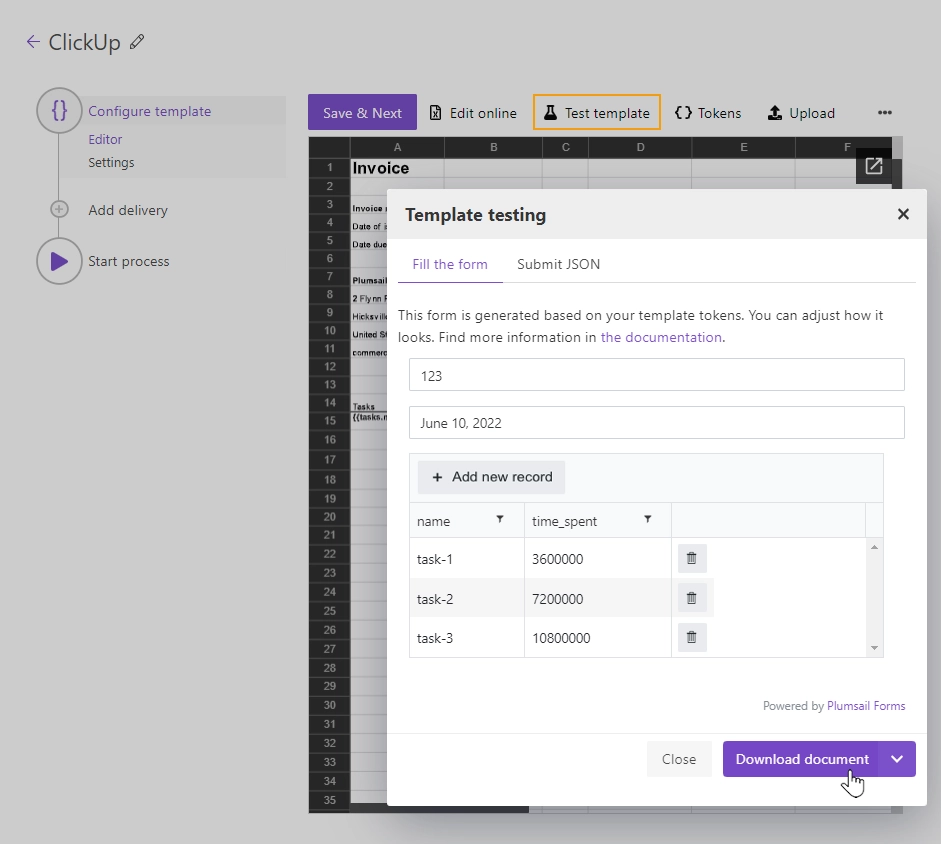
To check how the document will look at the end, click the Test template button. You will see the dialog where you can fill in the auto-generated testing form. Its fields are based on tokens from your document template. You can adjust the look of the testing form by changing token types.
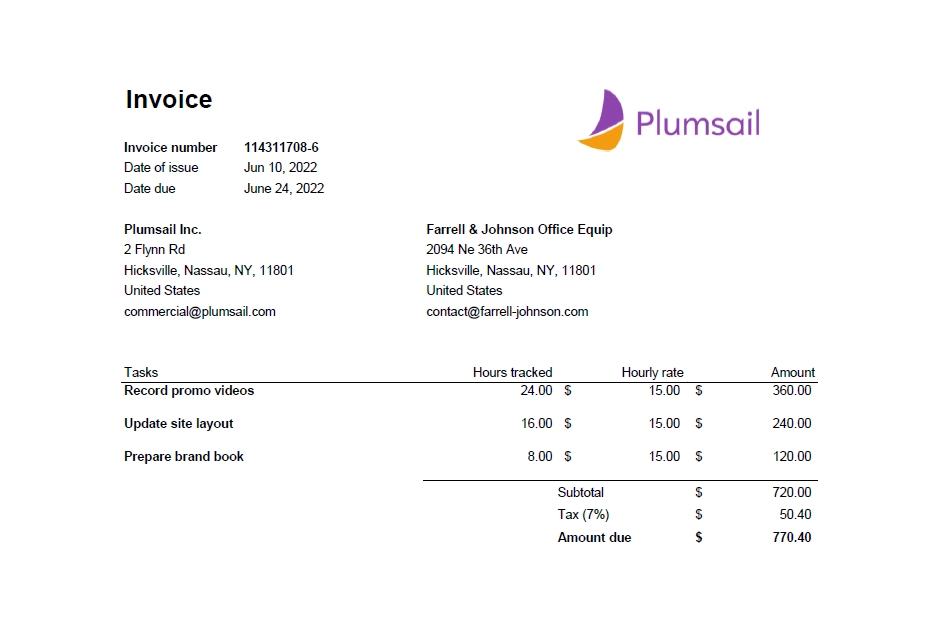
In the screenshot below, we apply the data from the web form to the template and check how the result looks. The ClickUp API measures the spent time in milliseconds so the template is configured to accept the accordant value.
Once you’ve tested the template, press Save & Next to proceed further - to the Settings substep.
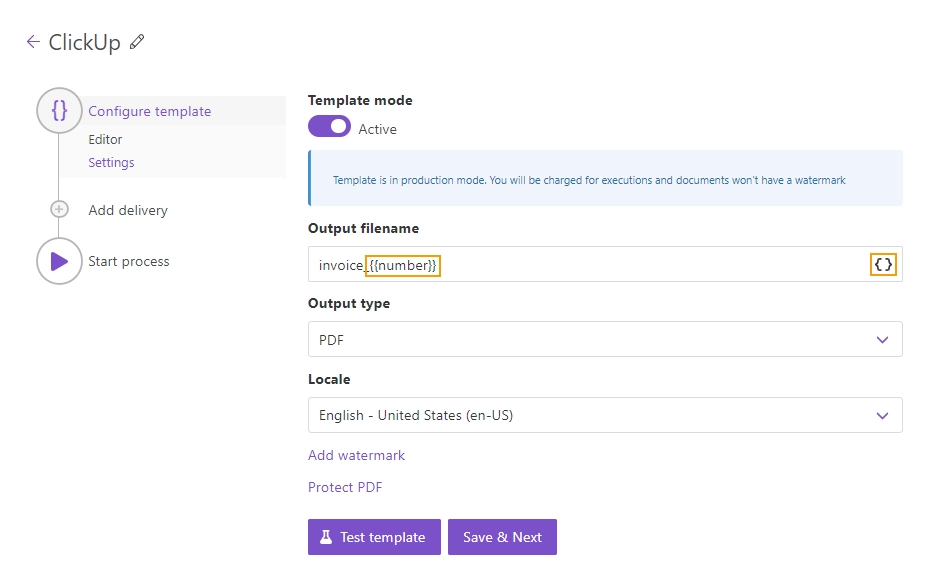
Here, please:
switch to an active mode to remove Plumsail watermarks from resulting documents,
fill in the name of the result file,
select the PDF format for the output file,
protect the result PDF if you wish.
Once you’ve customized all the settings, you can test the template to see the result as we did it before. When everything is done here, click Save & Next to set up deliveries.
Documents delivery and store settings
We’ll use the Gmail delivery to send an email with the result file but there are other options. You can configure as many deliveries as you need.

Configure a Zap
Go to Zapier and create an account if you don’t have one. Then, create a Zap. In the first step, you have to find the right trigger for you. For our example, we will use the schedule trigger because we want to generate invoices once a month on a recurrent basis. In your case, the trigger can be from the ClickUp set - “Task changed” or something like that.
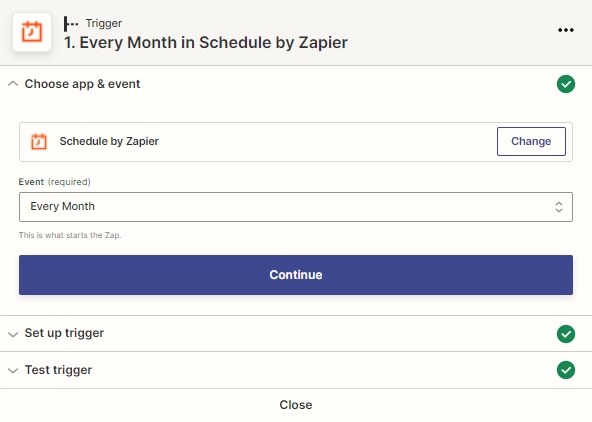
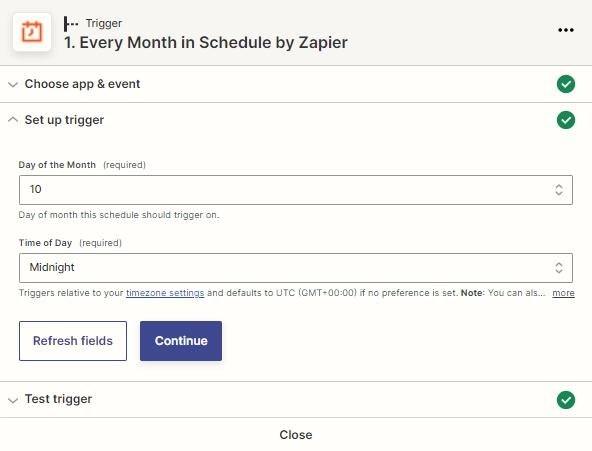
Schedule start
Create a new Zap and set the Schedule trigger. I set up it to run the Zap each month on the 10th at midnight.
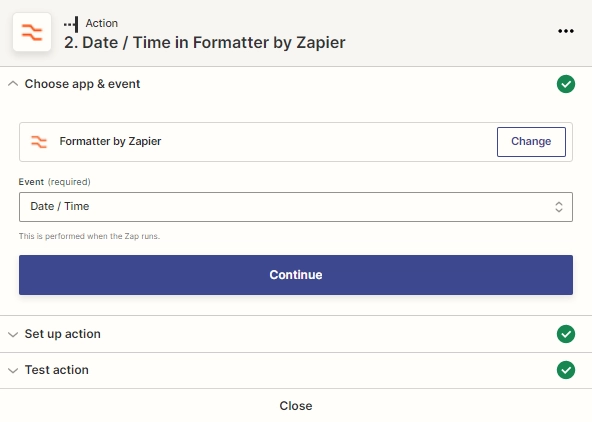
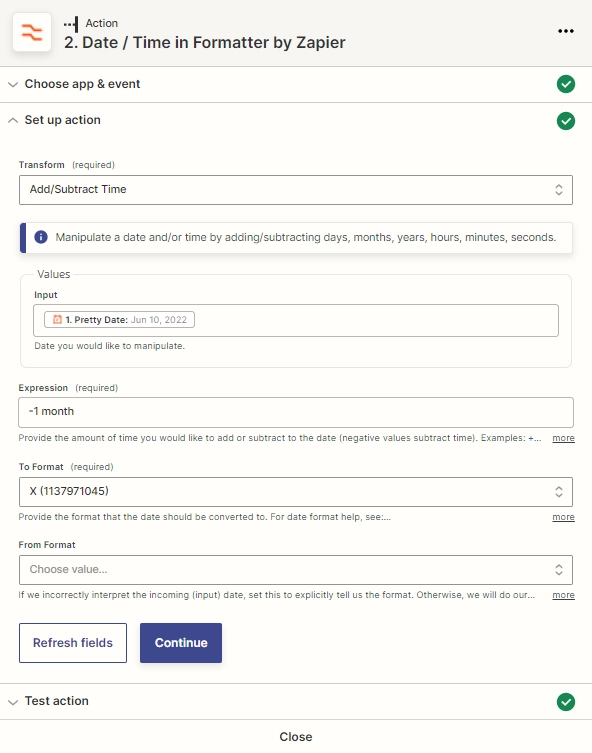
Get a cut off date
The next step is Formatter: I subtract one month from the current date returned by the trigger and use it to retrieve the tasks for the last month. Also, the result date should be formatted as Unix time - the format that ClickUp uses in their API.
Retrieve tasks
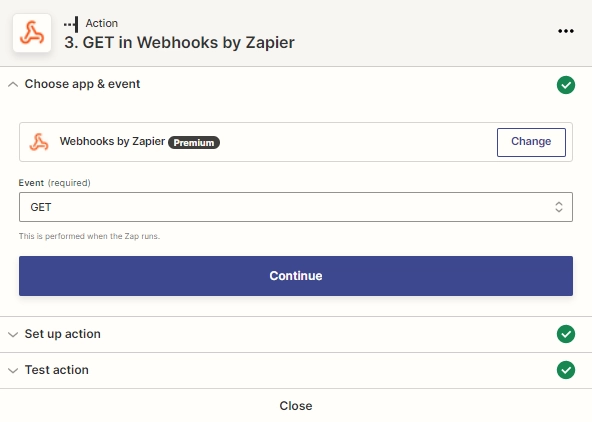
The set of ClickUp actions in Zapier is rather restricted so to get the certain tasks, it is necessary to send an API request to the service. Add a Webhooks action and choose to send a GET request.
Get the ClickUp tasks to include into the invoice.
I set up the request parameters to get the closed tasks for the last month.
The property date_updated_gt contains the output date from the Formatter step.
Repeat the other Query String Params and Headers as in the screenshot below.
For the Authorization header, generate a personal API key according to this instruction.
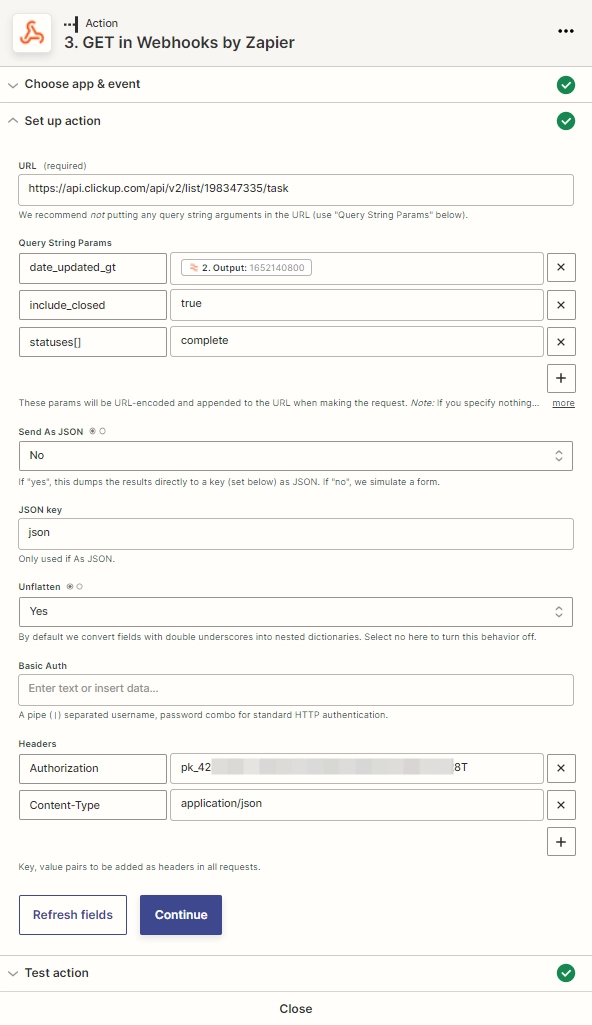
The request URL must contain the ID of the tasks’ list.
You can find it as the last element of the list’s URL, for example 198347335 from the link below.
https://app.clickup.com/24529668/v/li/198347335
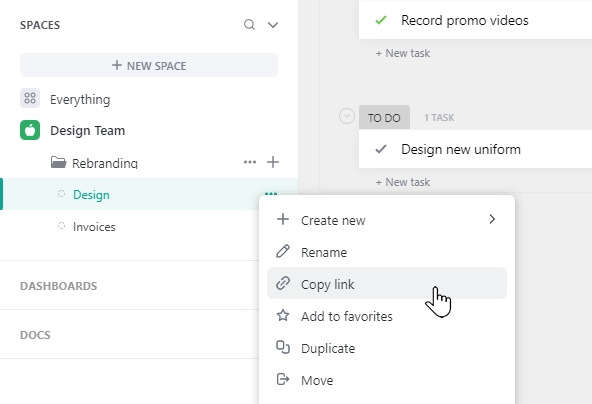
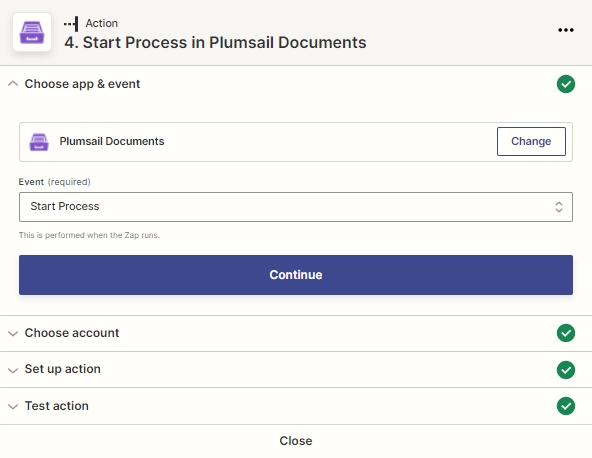
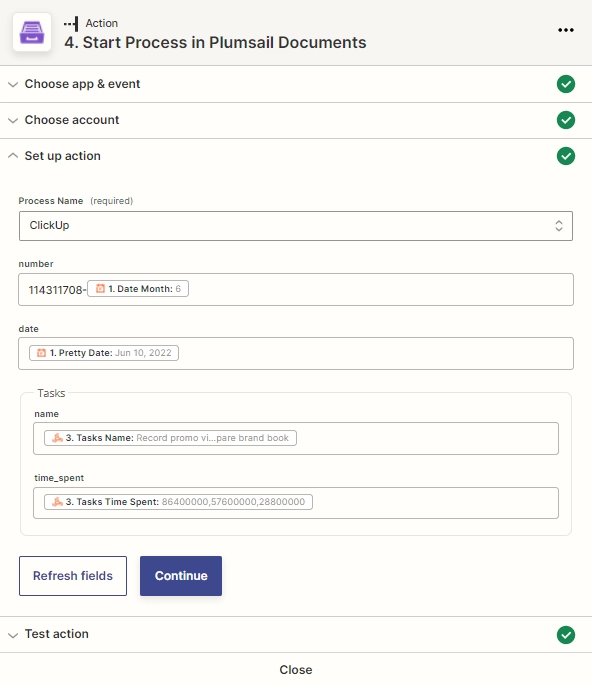
Start the Plumsail Documents process
Use a Plumsail Documents action to start the process created in the beginning. For invoice numbering, I used a project ID and month affix from the trigger. The date is also from it. Also, I put the data from the API request into the invoice table as in the screenshot below.
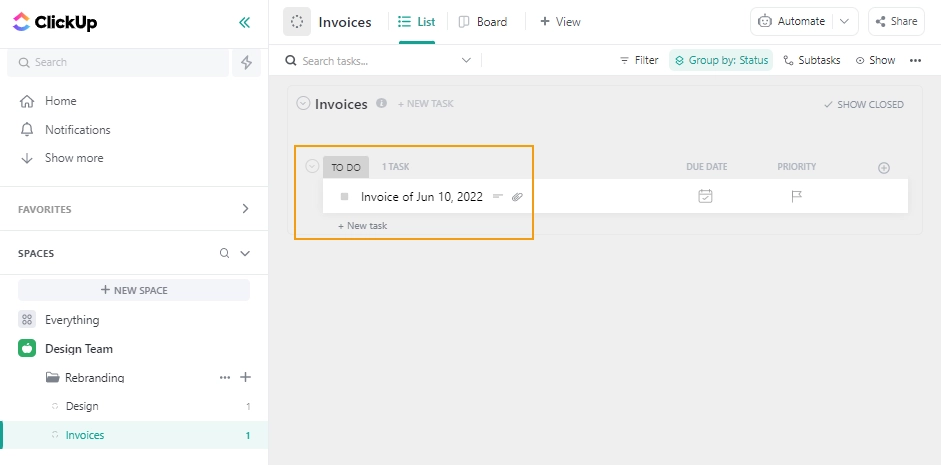
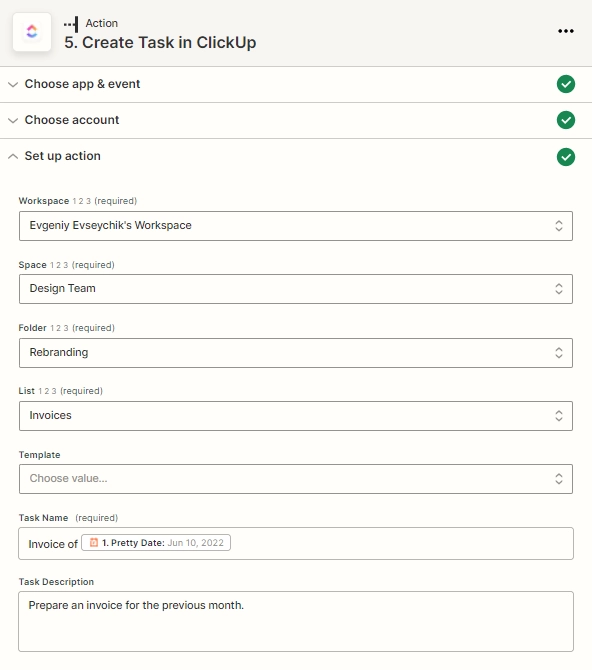
Save the invoice in ClickUp
Add a ClickUp action Create Task - we will use it to track and save the generated invoices in ClickUp.

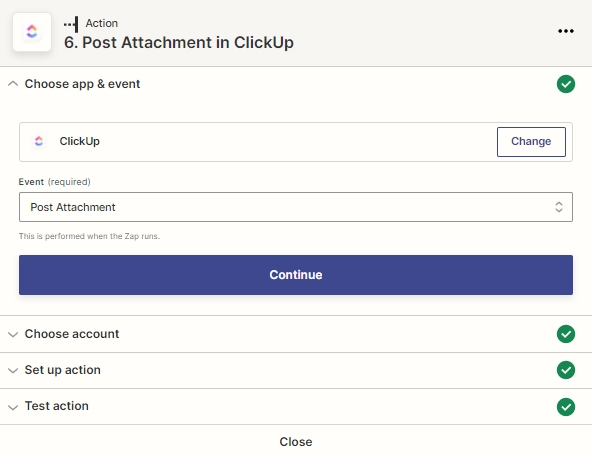
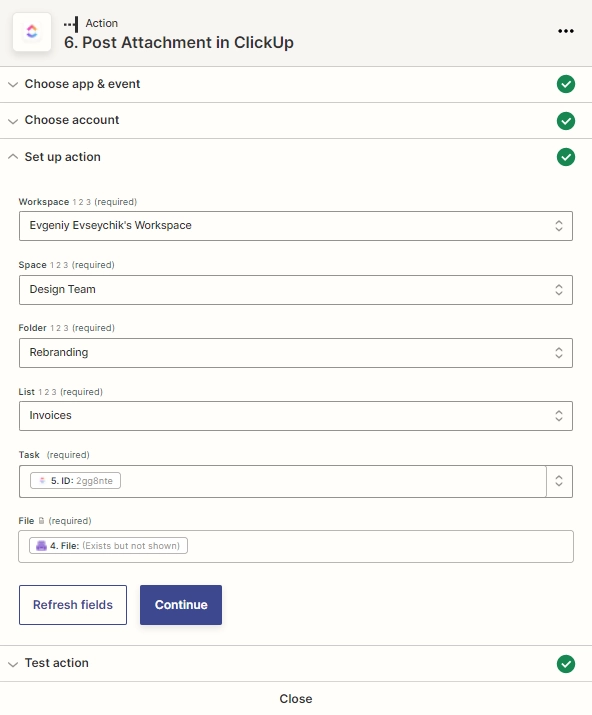
And finally, Post Attachment in ClickUp using the ID of the newly created task and the file content from the Plumsail Documents output.
Conclusion
The lack of the ClickUp functionality can be compensated with integration of different services, for example, on the Zapier basis. The described solution involves Plumsail Documents to generate and deliver the invoice. Register a Plumsail account and have a free 30-day trial for testing it.