How to automatically generate invoices from Shopify orders
Some of you may encounter situations when you need to automatically generate invoices for orders in Shopify. In this article, we will show you how to automate the process of invoicing without using apps from the Shopify store.
With our method you will be able to:
choose events when your invoices will be sent: either when orders are created, paid, or fulfilled;
send invoices anywhere to anybody via email, CRMs, chats, and other software;
use your invoice template or fully customize one of our templates to match your branding, logos, colors, everything. Shipping rates and taxes are also adjustable.
Systems involved:
Below we propose to consider a step-by-step process:
Starting from Shopify
Let us say you have orders in your store on Shopify. To show you an example, we did a test order from our sample shop. Here is what we get for example:
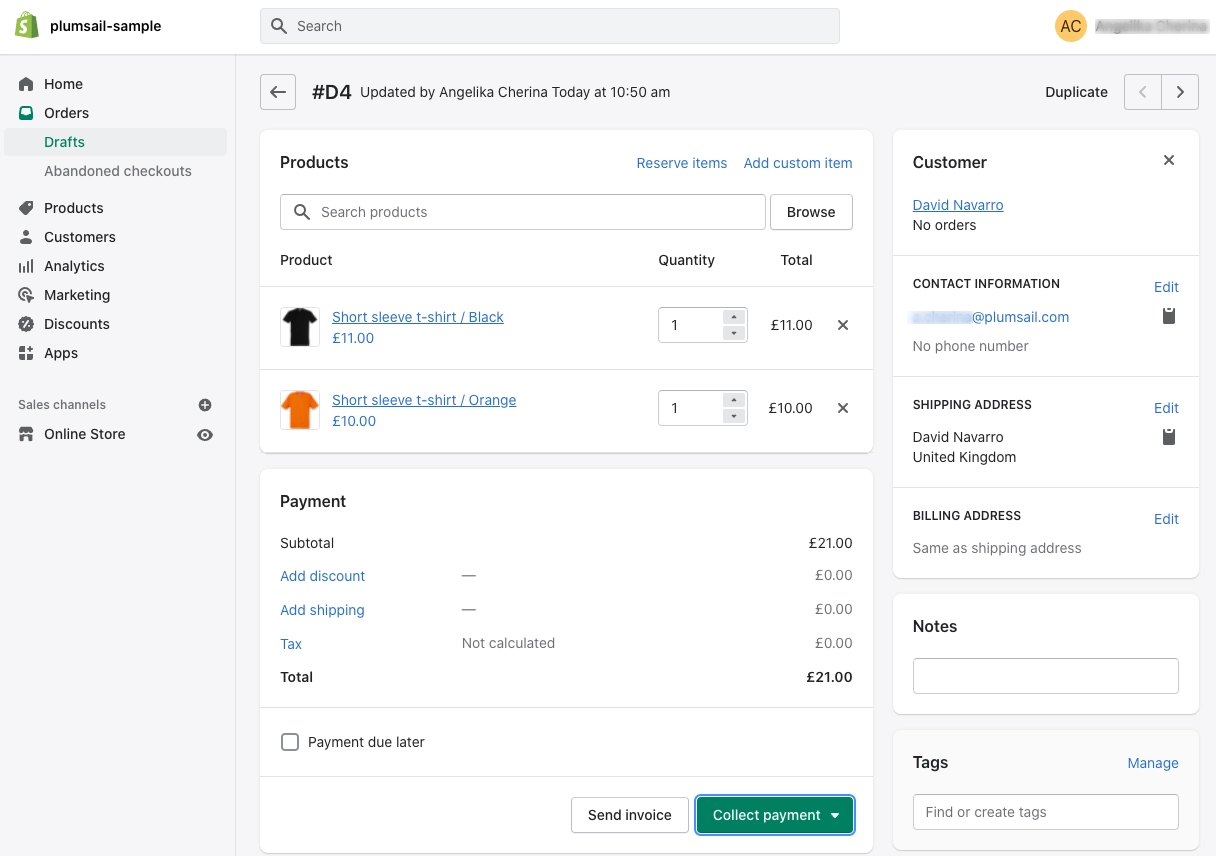
Your orders might look slightly different, but the main point is to have some orders to set up the process. The next step is to set up the invoice template generation process in Plumsail Documents.
Set up the invoice generation in Plumsail Documents
In this step, we need to create the process in Plumsail Documents. Go to Processes in your Plumsail account (sign up if you don’t have one) and add a new process.
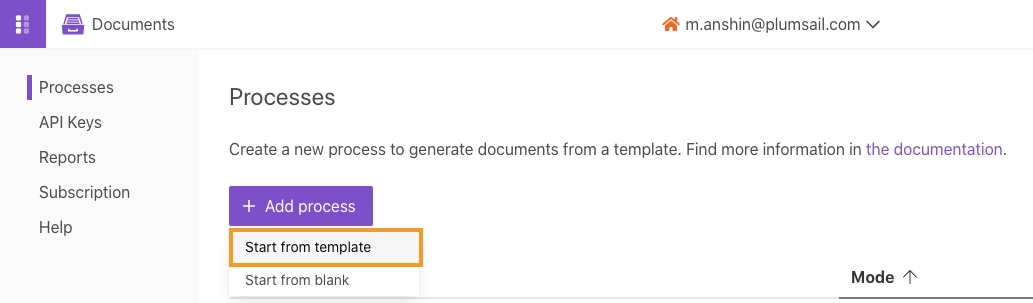
Then, select “Start from template” and give the process a name. You can choose one of our invoice templates if you don’t have your invoice template. For our example, we will use the Plumsail invoice template. To adjust your invoice template click on the “Edit online” function. Using this, you can design your template online.
Tip: If you have your invoice design, select “Start from blank” when you create a process. It allows you to use your invoice design and turn it into a template. It’s a good practice to unify the document while using different software.
Then click on the “Next” button.
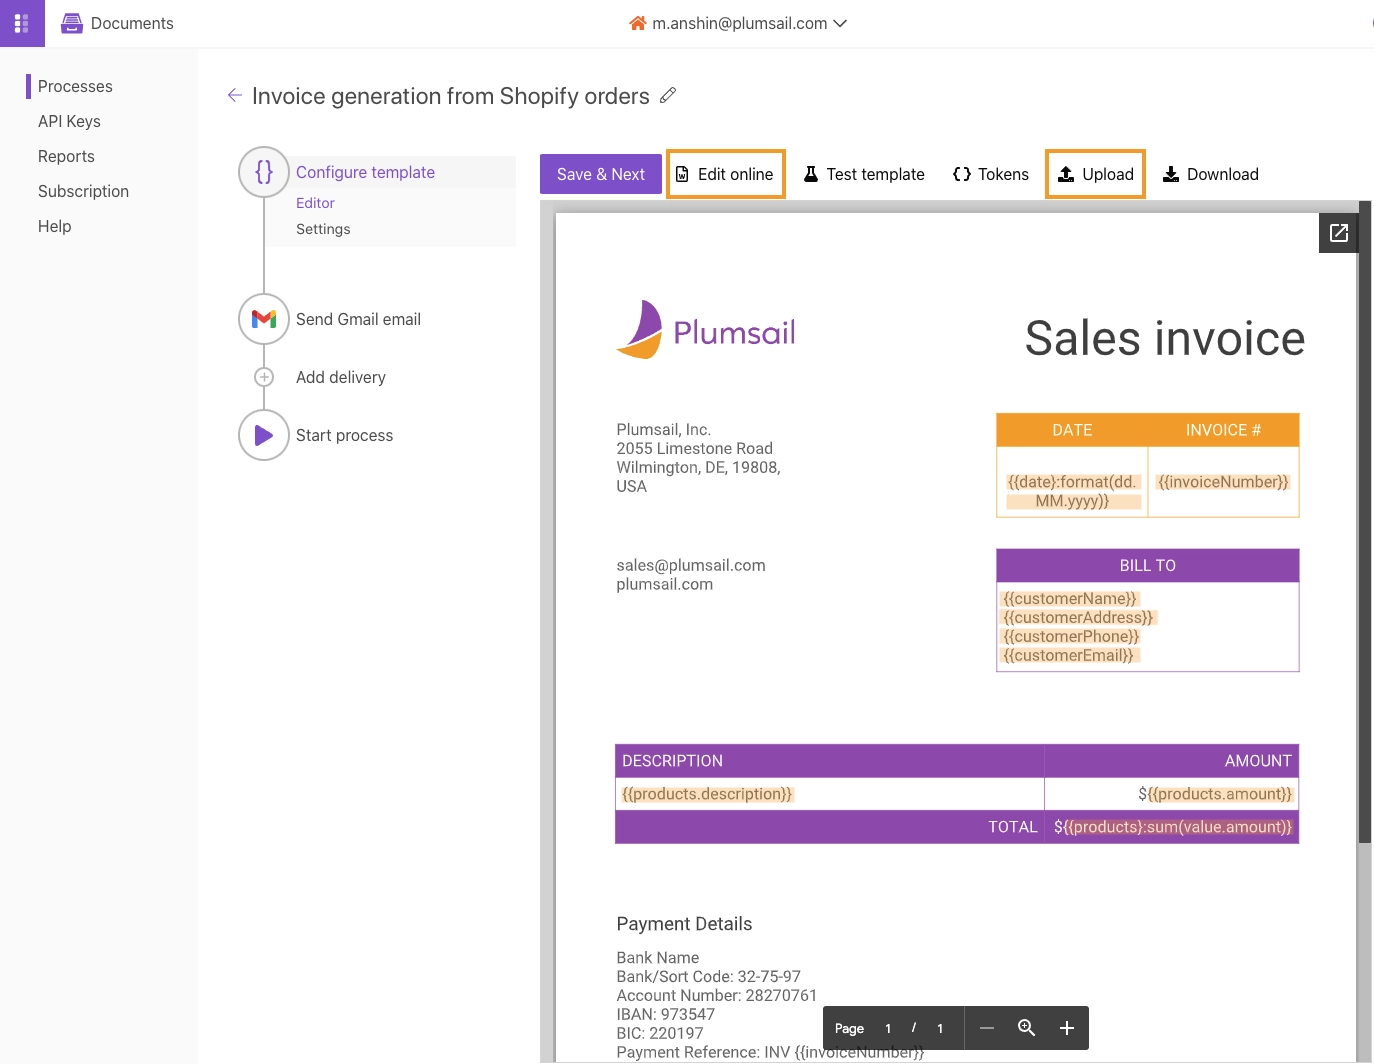
We highlighted particular {{placeholders}} marked with double curly brackets in the screenshot above. By including placeholders, also known as tokens, in documents, we can turn them into templates. In short, the templating engine considers everything between curly {{ }} brackets to be a placeholder for the data we specify. Read the article to learn more about the templating syntax.
After we have set tokens, we are going to configure the settings of the output file.
Invoice template output settings
In this step, we adjust the settings for the output file. You can use {{tokens}} to make it dynamic; set the format - PDF, choose a locale, and additionally, you can protect PDF by watermark and other restrictions.

After you have finished, click on the “Save & Next” button and you will go to delivery settings.
Delivery settings
In this phase, we’ll adjust delivery settings, which allow us to send or store the document. There you can see CRMs, chats, and other software from the list of available deliveries. You can add as many deliveries as you want. For demonstration purposes, we implemented only email delivery via Gmail to send the document to a client and a manager.

As in the previous step, you can use {{tokens}} in the recipient fields, subject, and body of the letter. If you are using Gmail for delivery, be sure that you get full access to Plumsail Documents while connecting your Gmail account.
Next, press the button “Save & Next” and go to set up Zapier connection.
Set up Zapier connection
Go to Zapier and create an account if you don’t have one. Next, create a Zap. Find Shopify trigger after you get started to create a Zap.
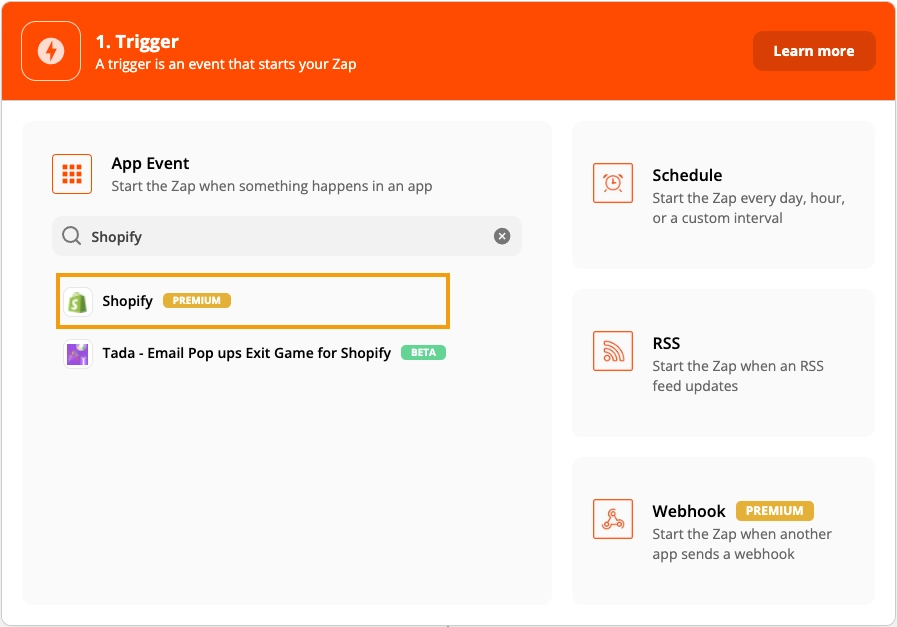
Then, choose the “New Order (Any Status)” Trigger Event. It means that whenever your customer placed an order (with any status) this trigger will fire and start the invoice generation process.

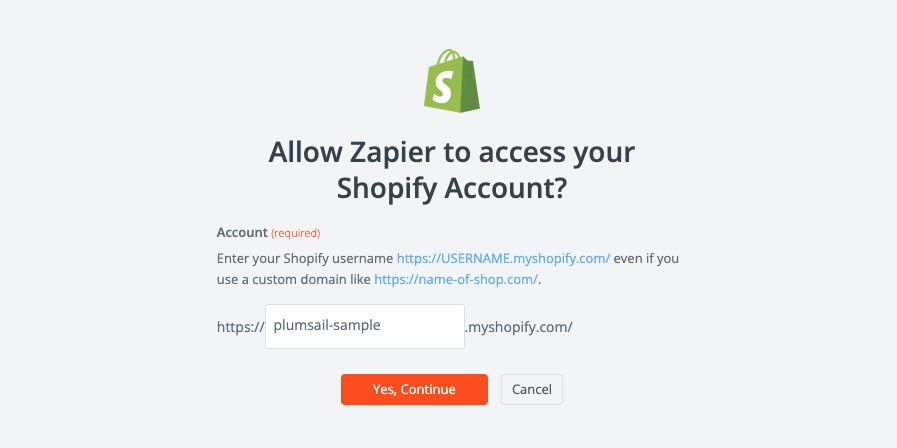
In the next step, we have to connect our Shopify account to Zapier. It’s easy, you need to follow instructions and your connection will be done in a couple of clicks. Here is our example:
Then, test your trigger to make sure that you will get the data you need to invoice. Then, click the “Continue” button.
Next, we will set up the action for Plumsail Documents in this Zap. To do this, we add action “Plumsail Documents” and action event “Start Process”.
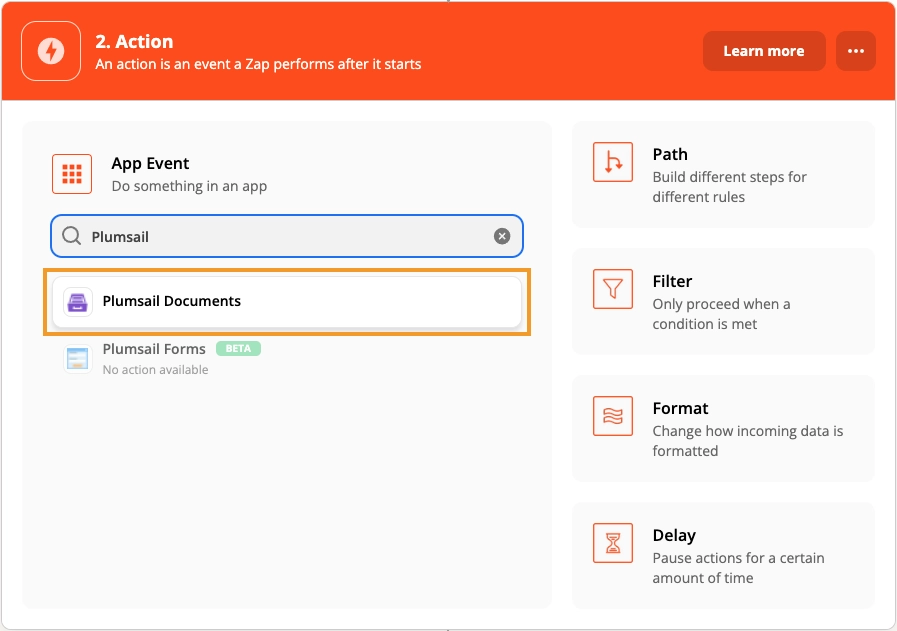
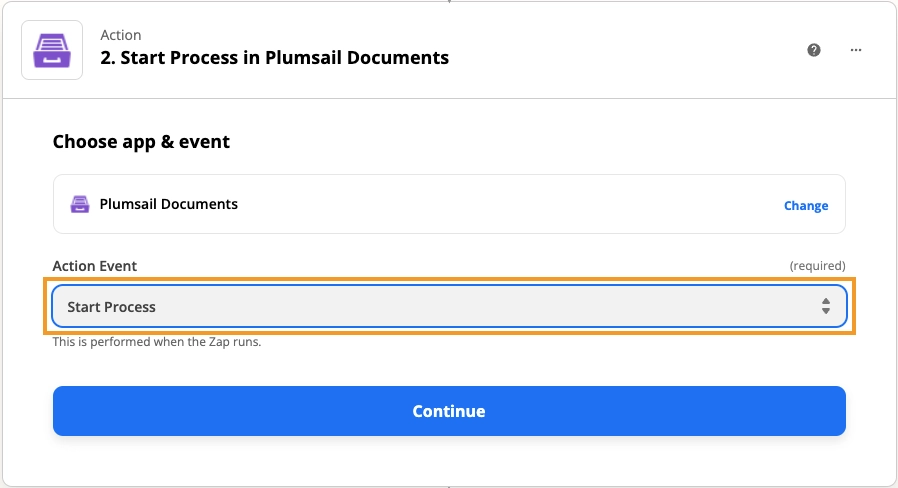
After that, press the “Continue” button.
Then, we must connect our Plumsail account. It’s easy and takes a couple of clicks, just follow instructions. After we connected our Plumsail account to Zapier, we set up the action. In this step, we choose the process that we created before and match the outputs data to our tokens in the invoice template. In our example, we have this.
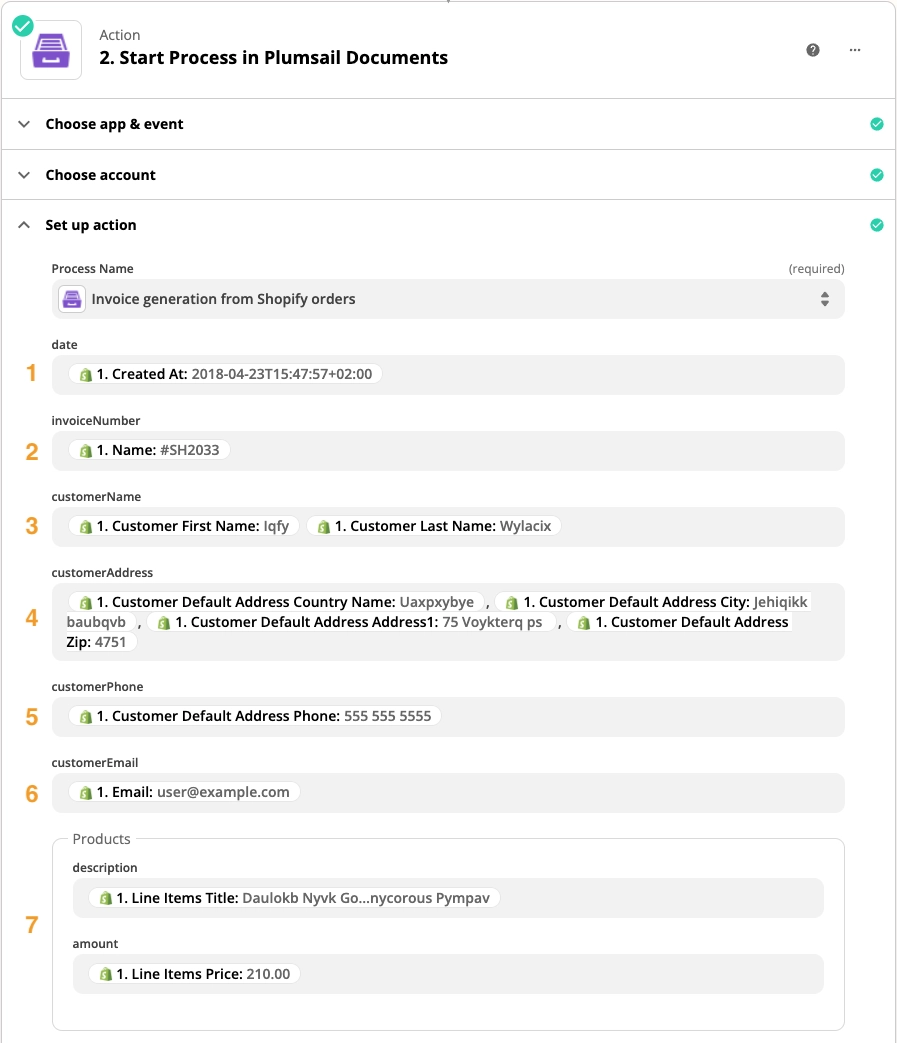
On the screenshot above you can see how we matched test order output data from Shopify with our tokens from the invoice template in Plumsail Documents. To explain this we describe matches in format {{token}} : (output data):
{{date}}: (Created At);{{invoiceNumber}}: (Name);{{customerName}}: (Customer First Name) (Customer Last Name);{{customerAddress}}: (Customer Default Address Country Name), (Customer Default Address City), (Customer Default Address Address), (Customer Default Address ZIP);{{customerPhone}}: (Customer Default Address Phone);{{customerEmail}}: (Email);Products :
{{amount}}: (Line Items Title) |{{description}}: (Line Items Price)
In your case, the outputs and tokens might be different depending on your needs. As you can see, product data is composed of two Line Items data outputs. It’s because, in our template, we can refer to properties inside simple objects and collections, as well as properties in nested constructions. To select properties of our objects inside of the array we just use a dot operator. The {{products.description}} and the {{products.amount}} tags let the engine know that we want to render the properties of the product. To learn more read the article about tables in templates.
So, we have set up the connection, now it remains to do the final test and make sure that everything works. Here is what we get from the test:
The result is OK. Don’t forget to turn your Zap on!