Create documents with barcodes from template
This article shows how to create packing slips with barcodes using Plumsail Documents processes.
Create document generation process
Sign in to your Plumsail account and navigate to Documents → Processes.
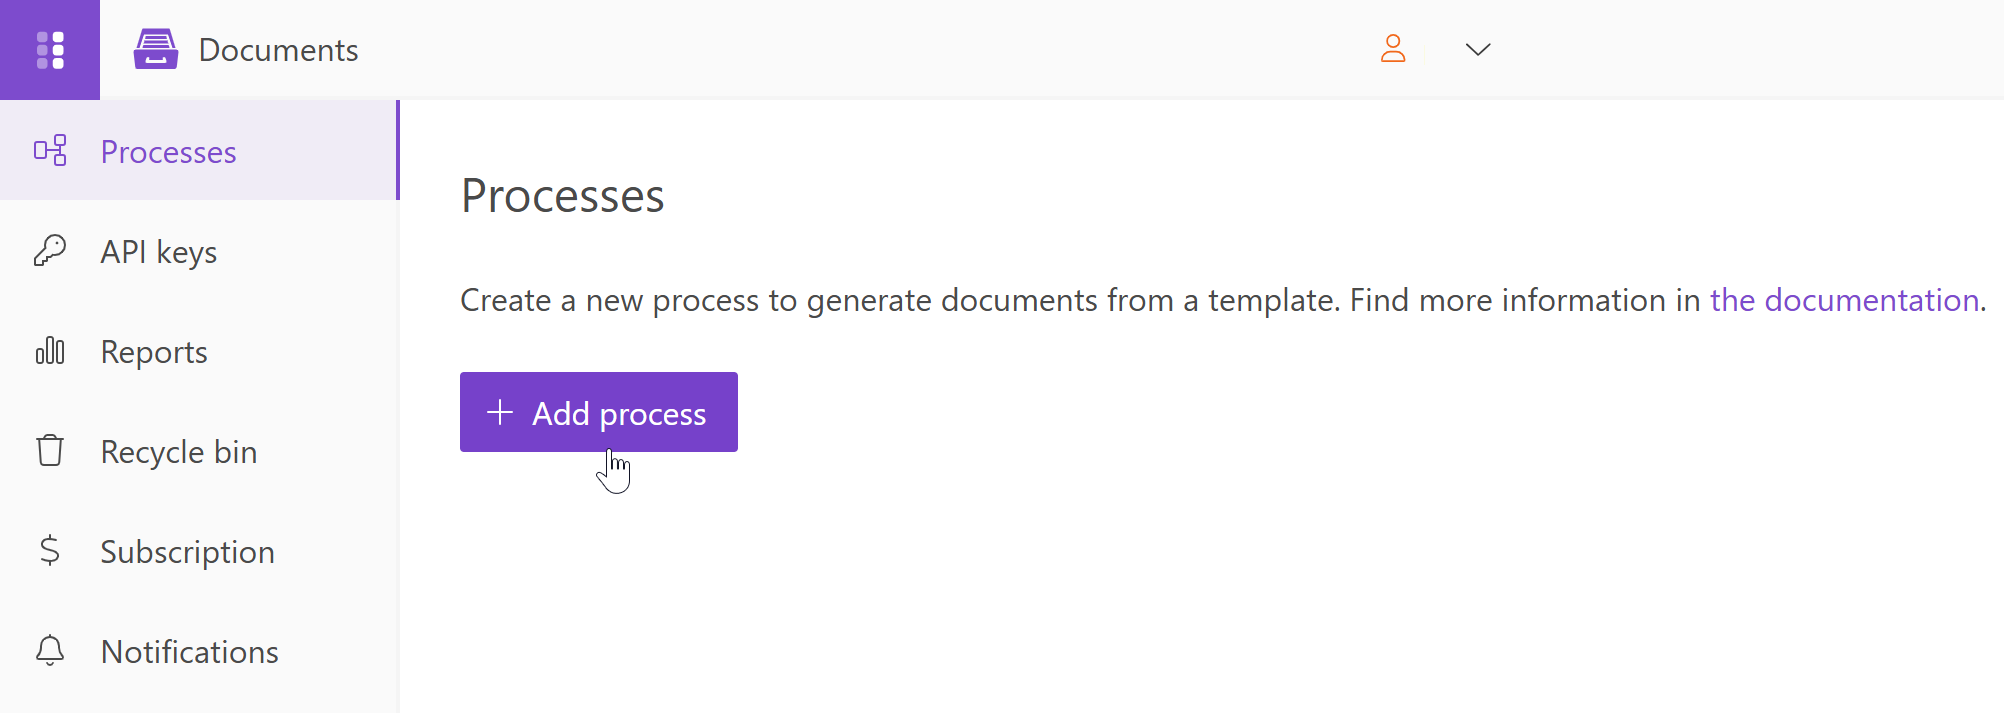
Click Add process. You will see available options on side panel:
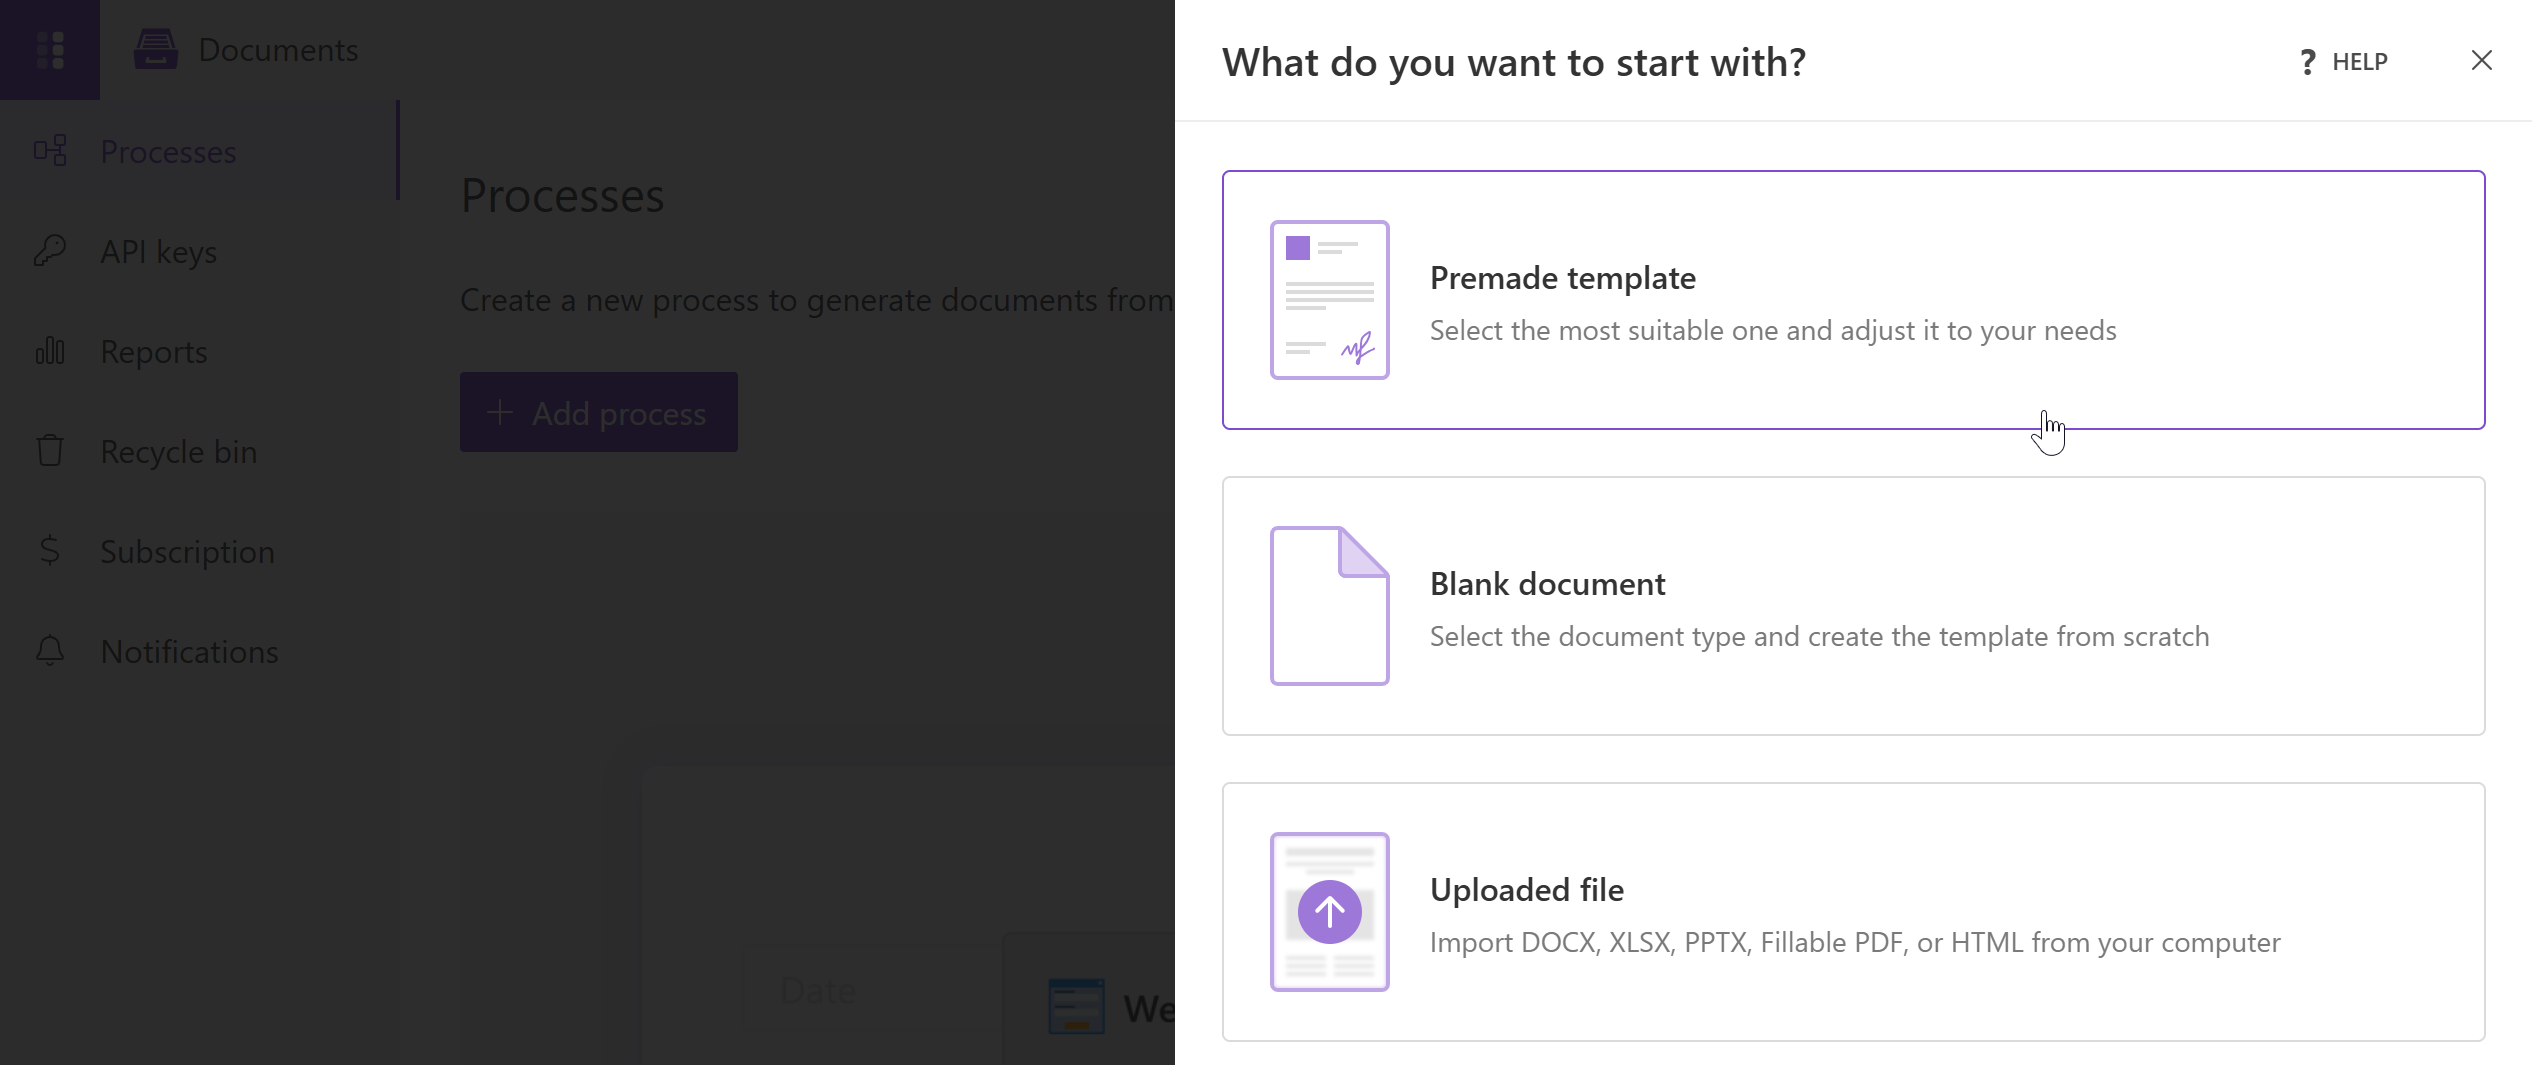
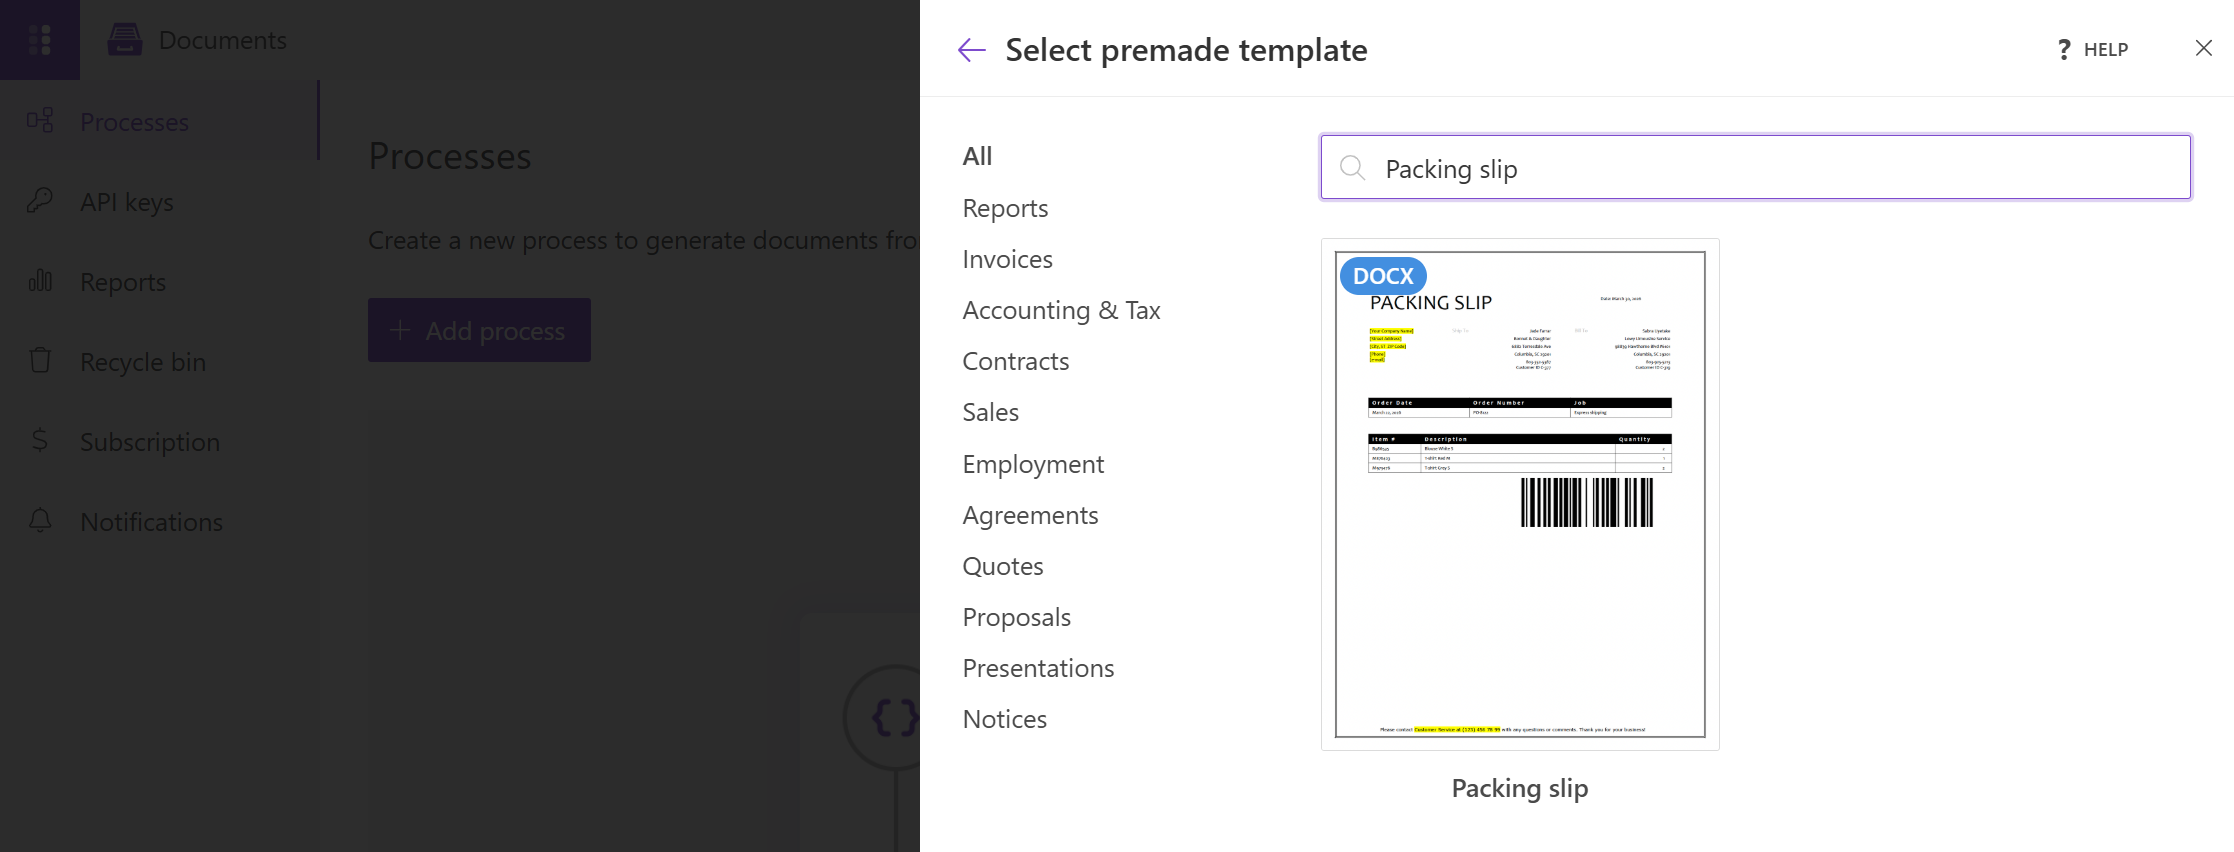
Select Premade templates and choose the Packing slip template.
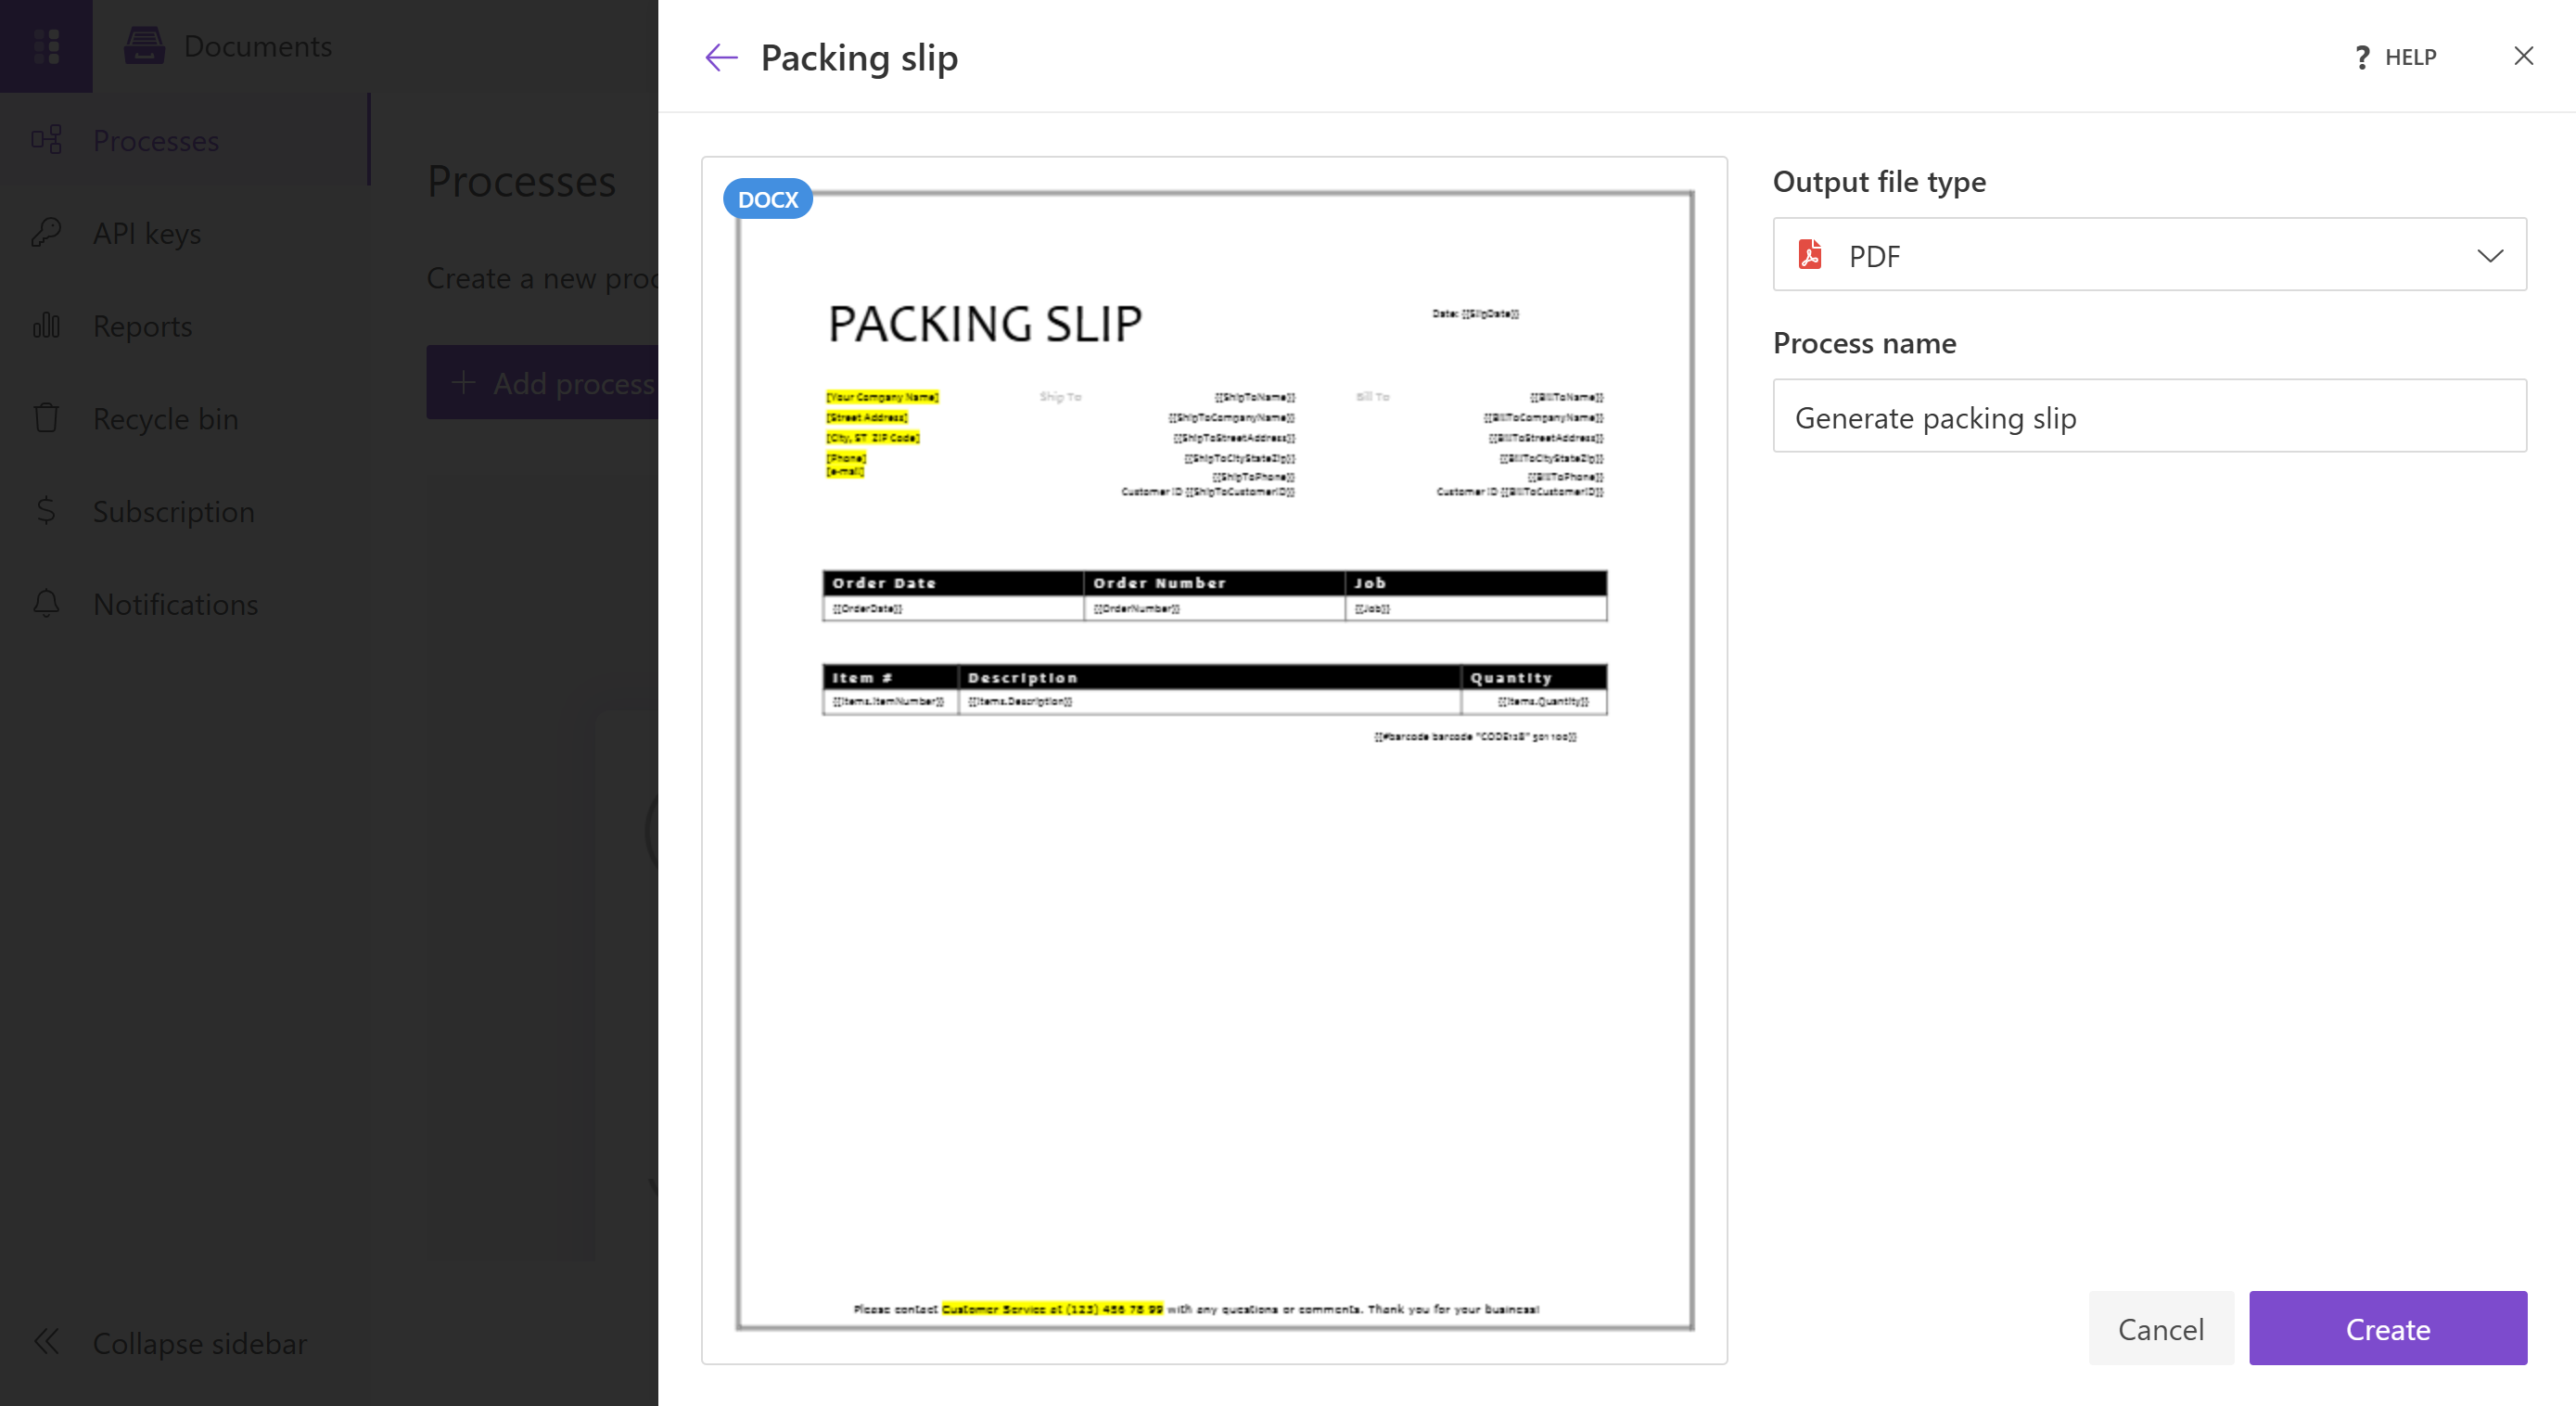
Enter a name for your process, select the output file type, and click Create.
Set up template and barcode
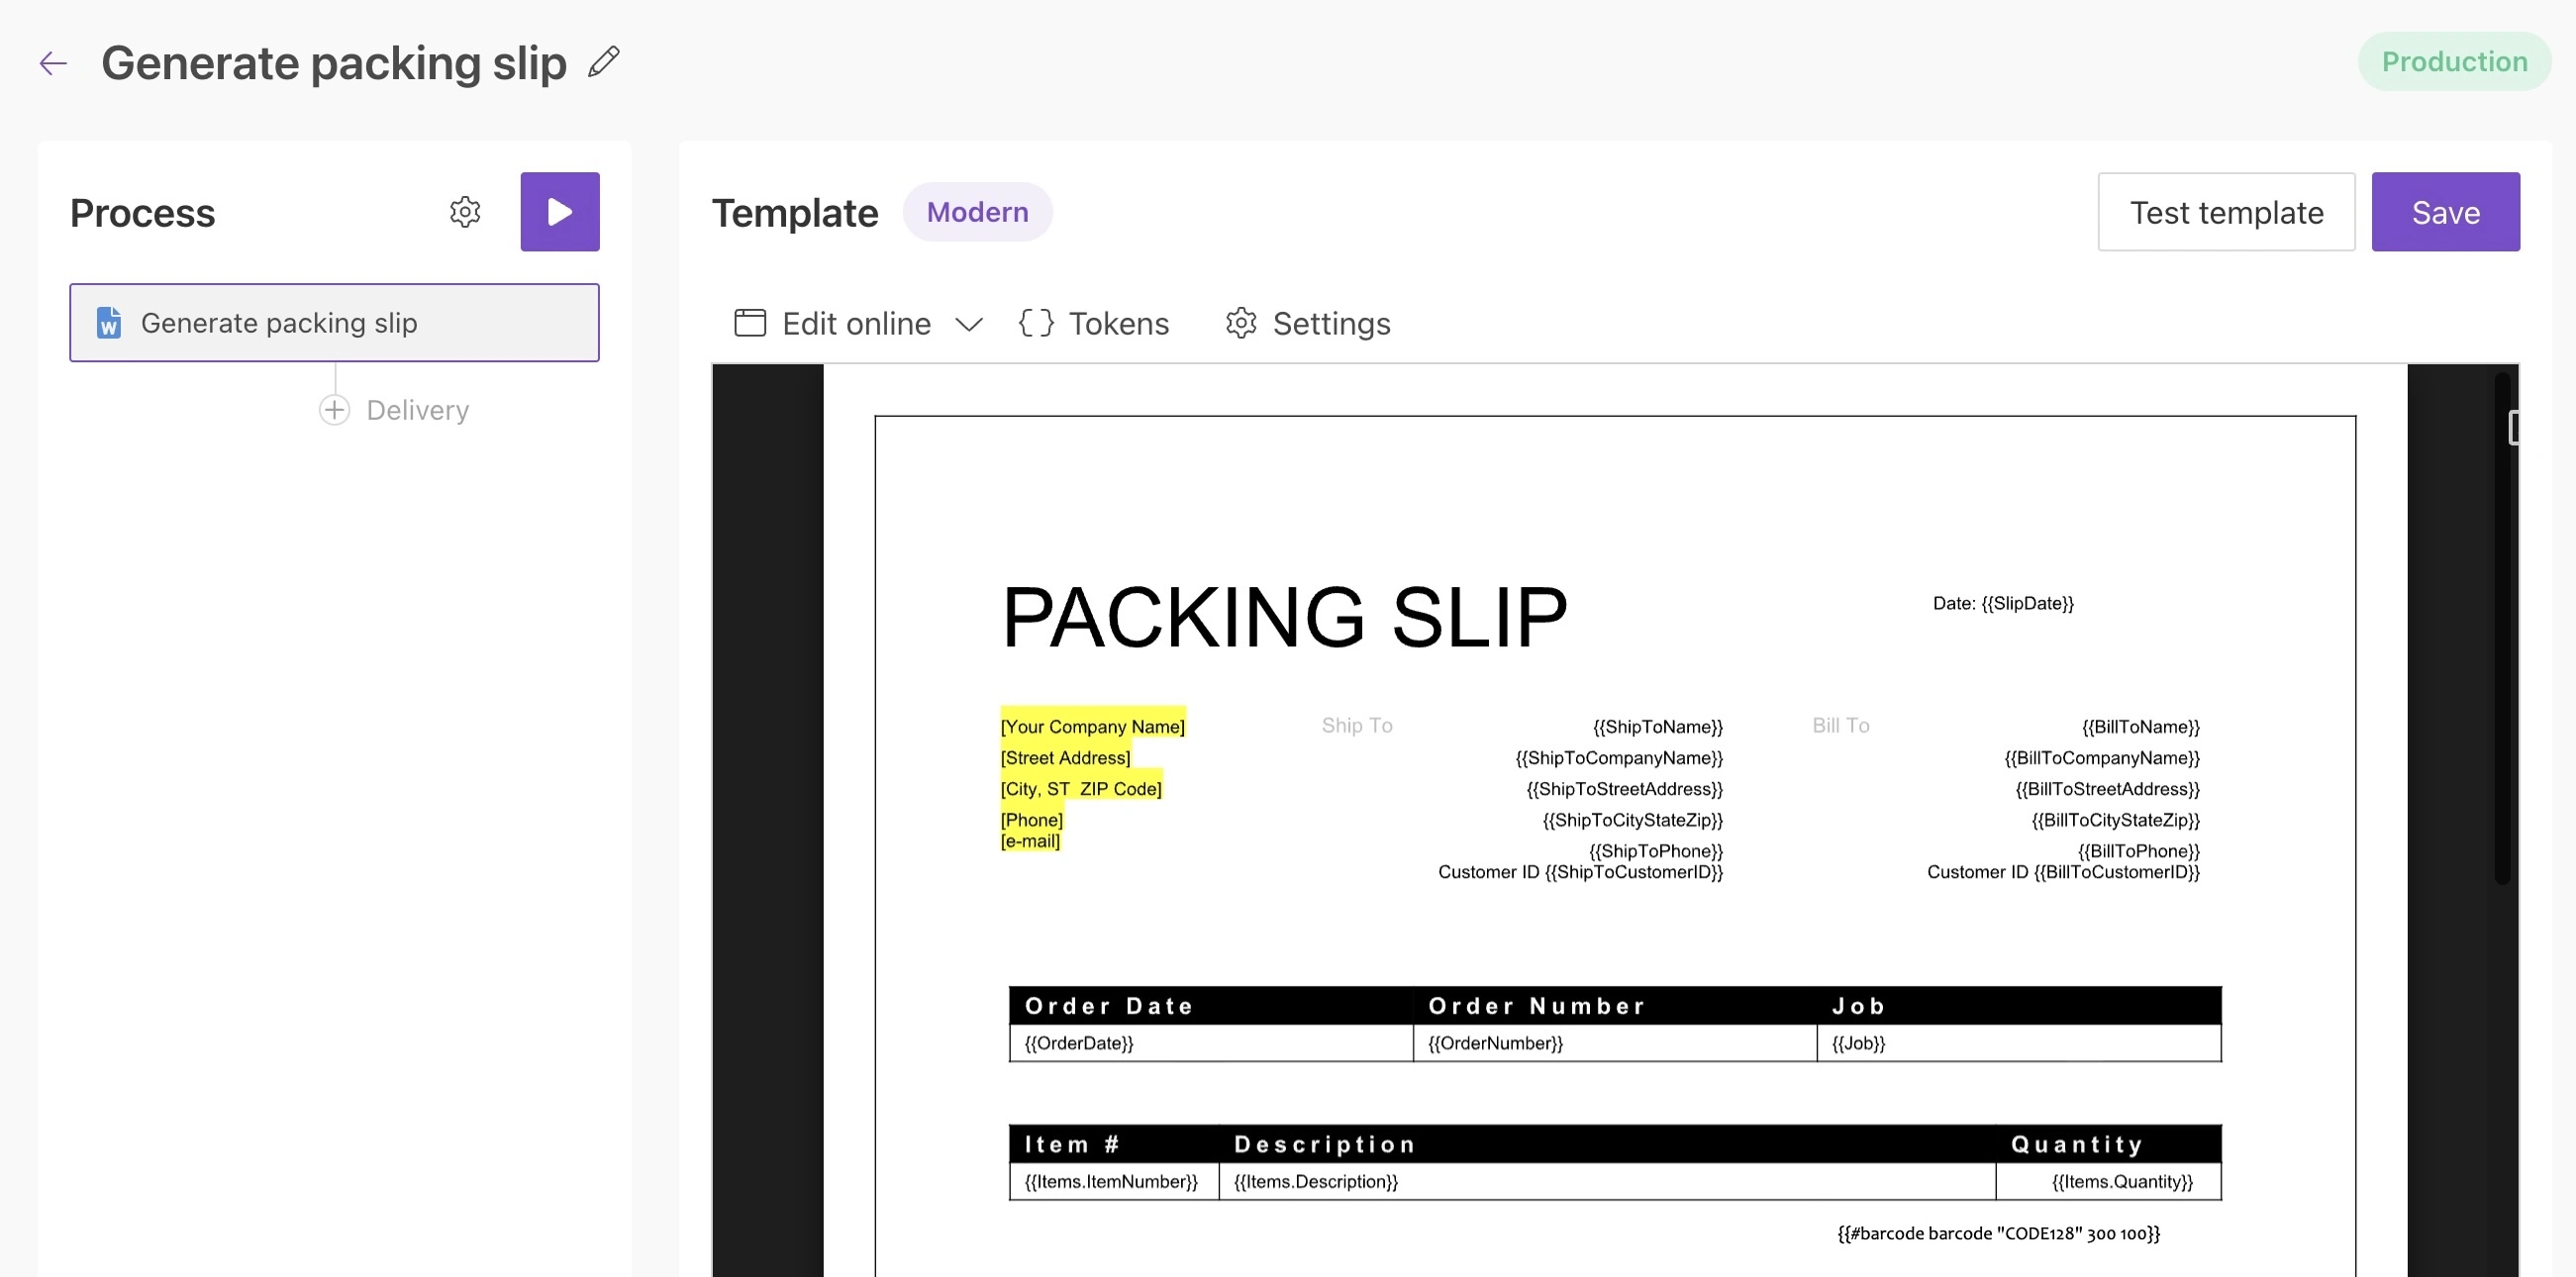
Edit the selected template or upload a new one.
The Packing Slip template includes a CODE128 barcode, but you can change it if needed using the following format:
{{#barcode barcode "CODE128" 300 100}}
For more examples, see barcode documentation.
Click Settings above the editor and enter the output file name.
You can use tokens like {{@date}} in the filename. Other tokens, such as OrderNumber, are also supported.
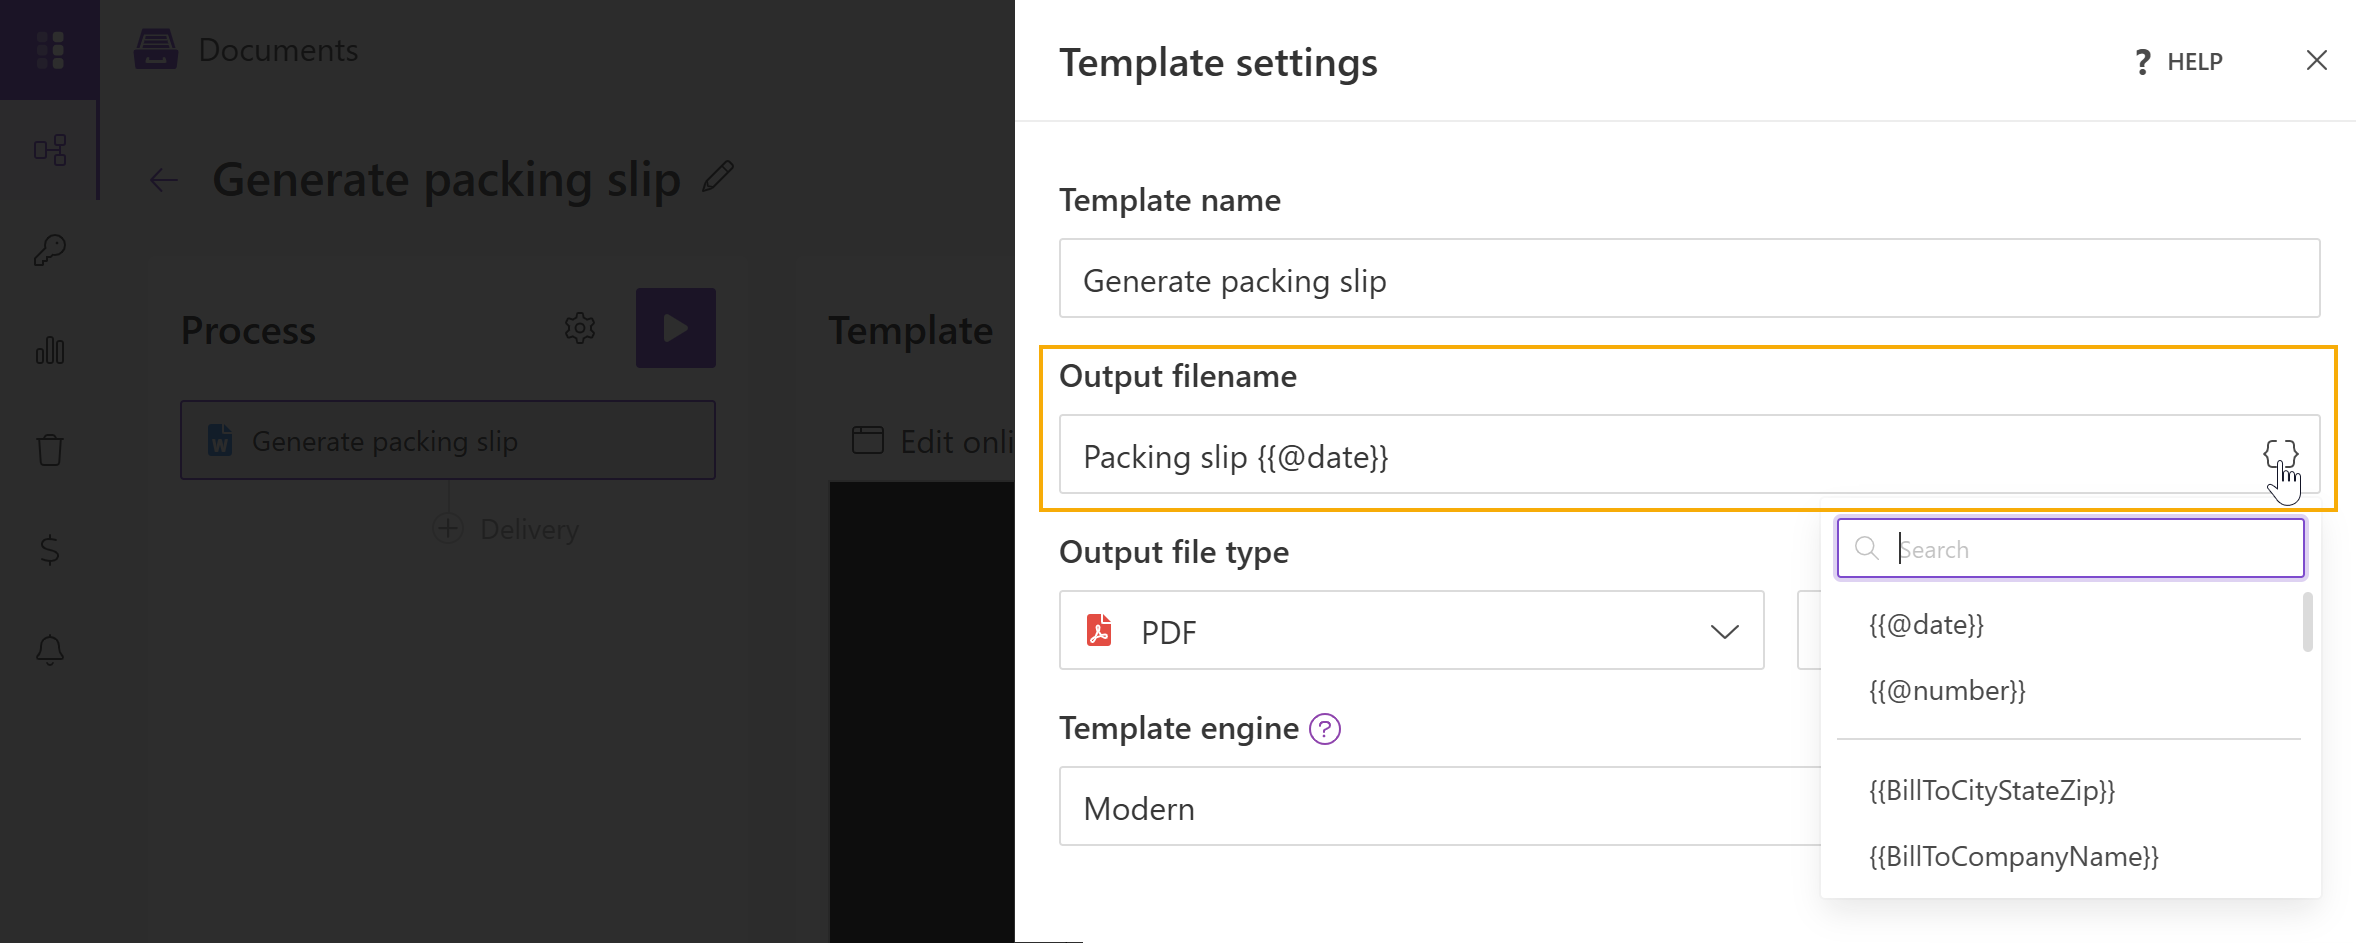
The template name, output file name, and template engine can also be changed.
For details about template engines, see Modern vs. Classic DOCX engine article.
Click Save to save your process settings.
Configure delivery method
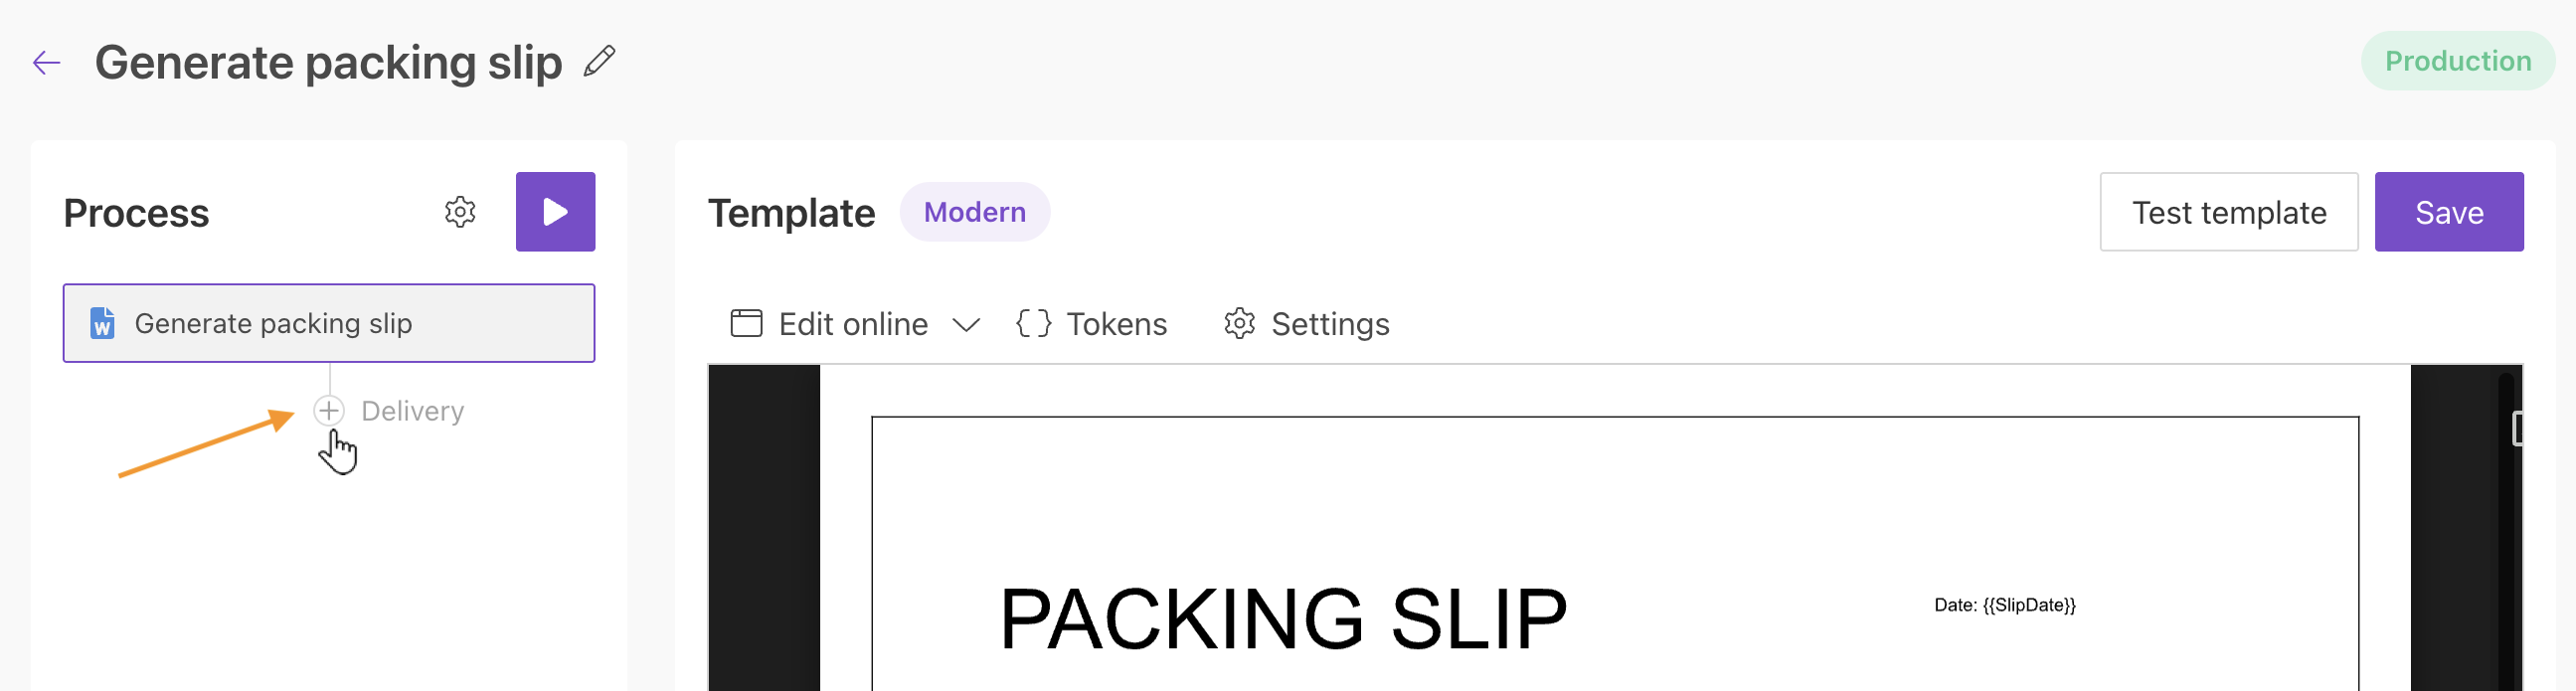
Next, select the delivery method. To add a delivery, click the plus icon next to Delivery in the Process panel.
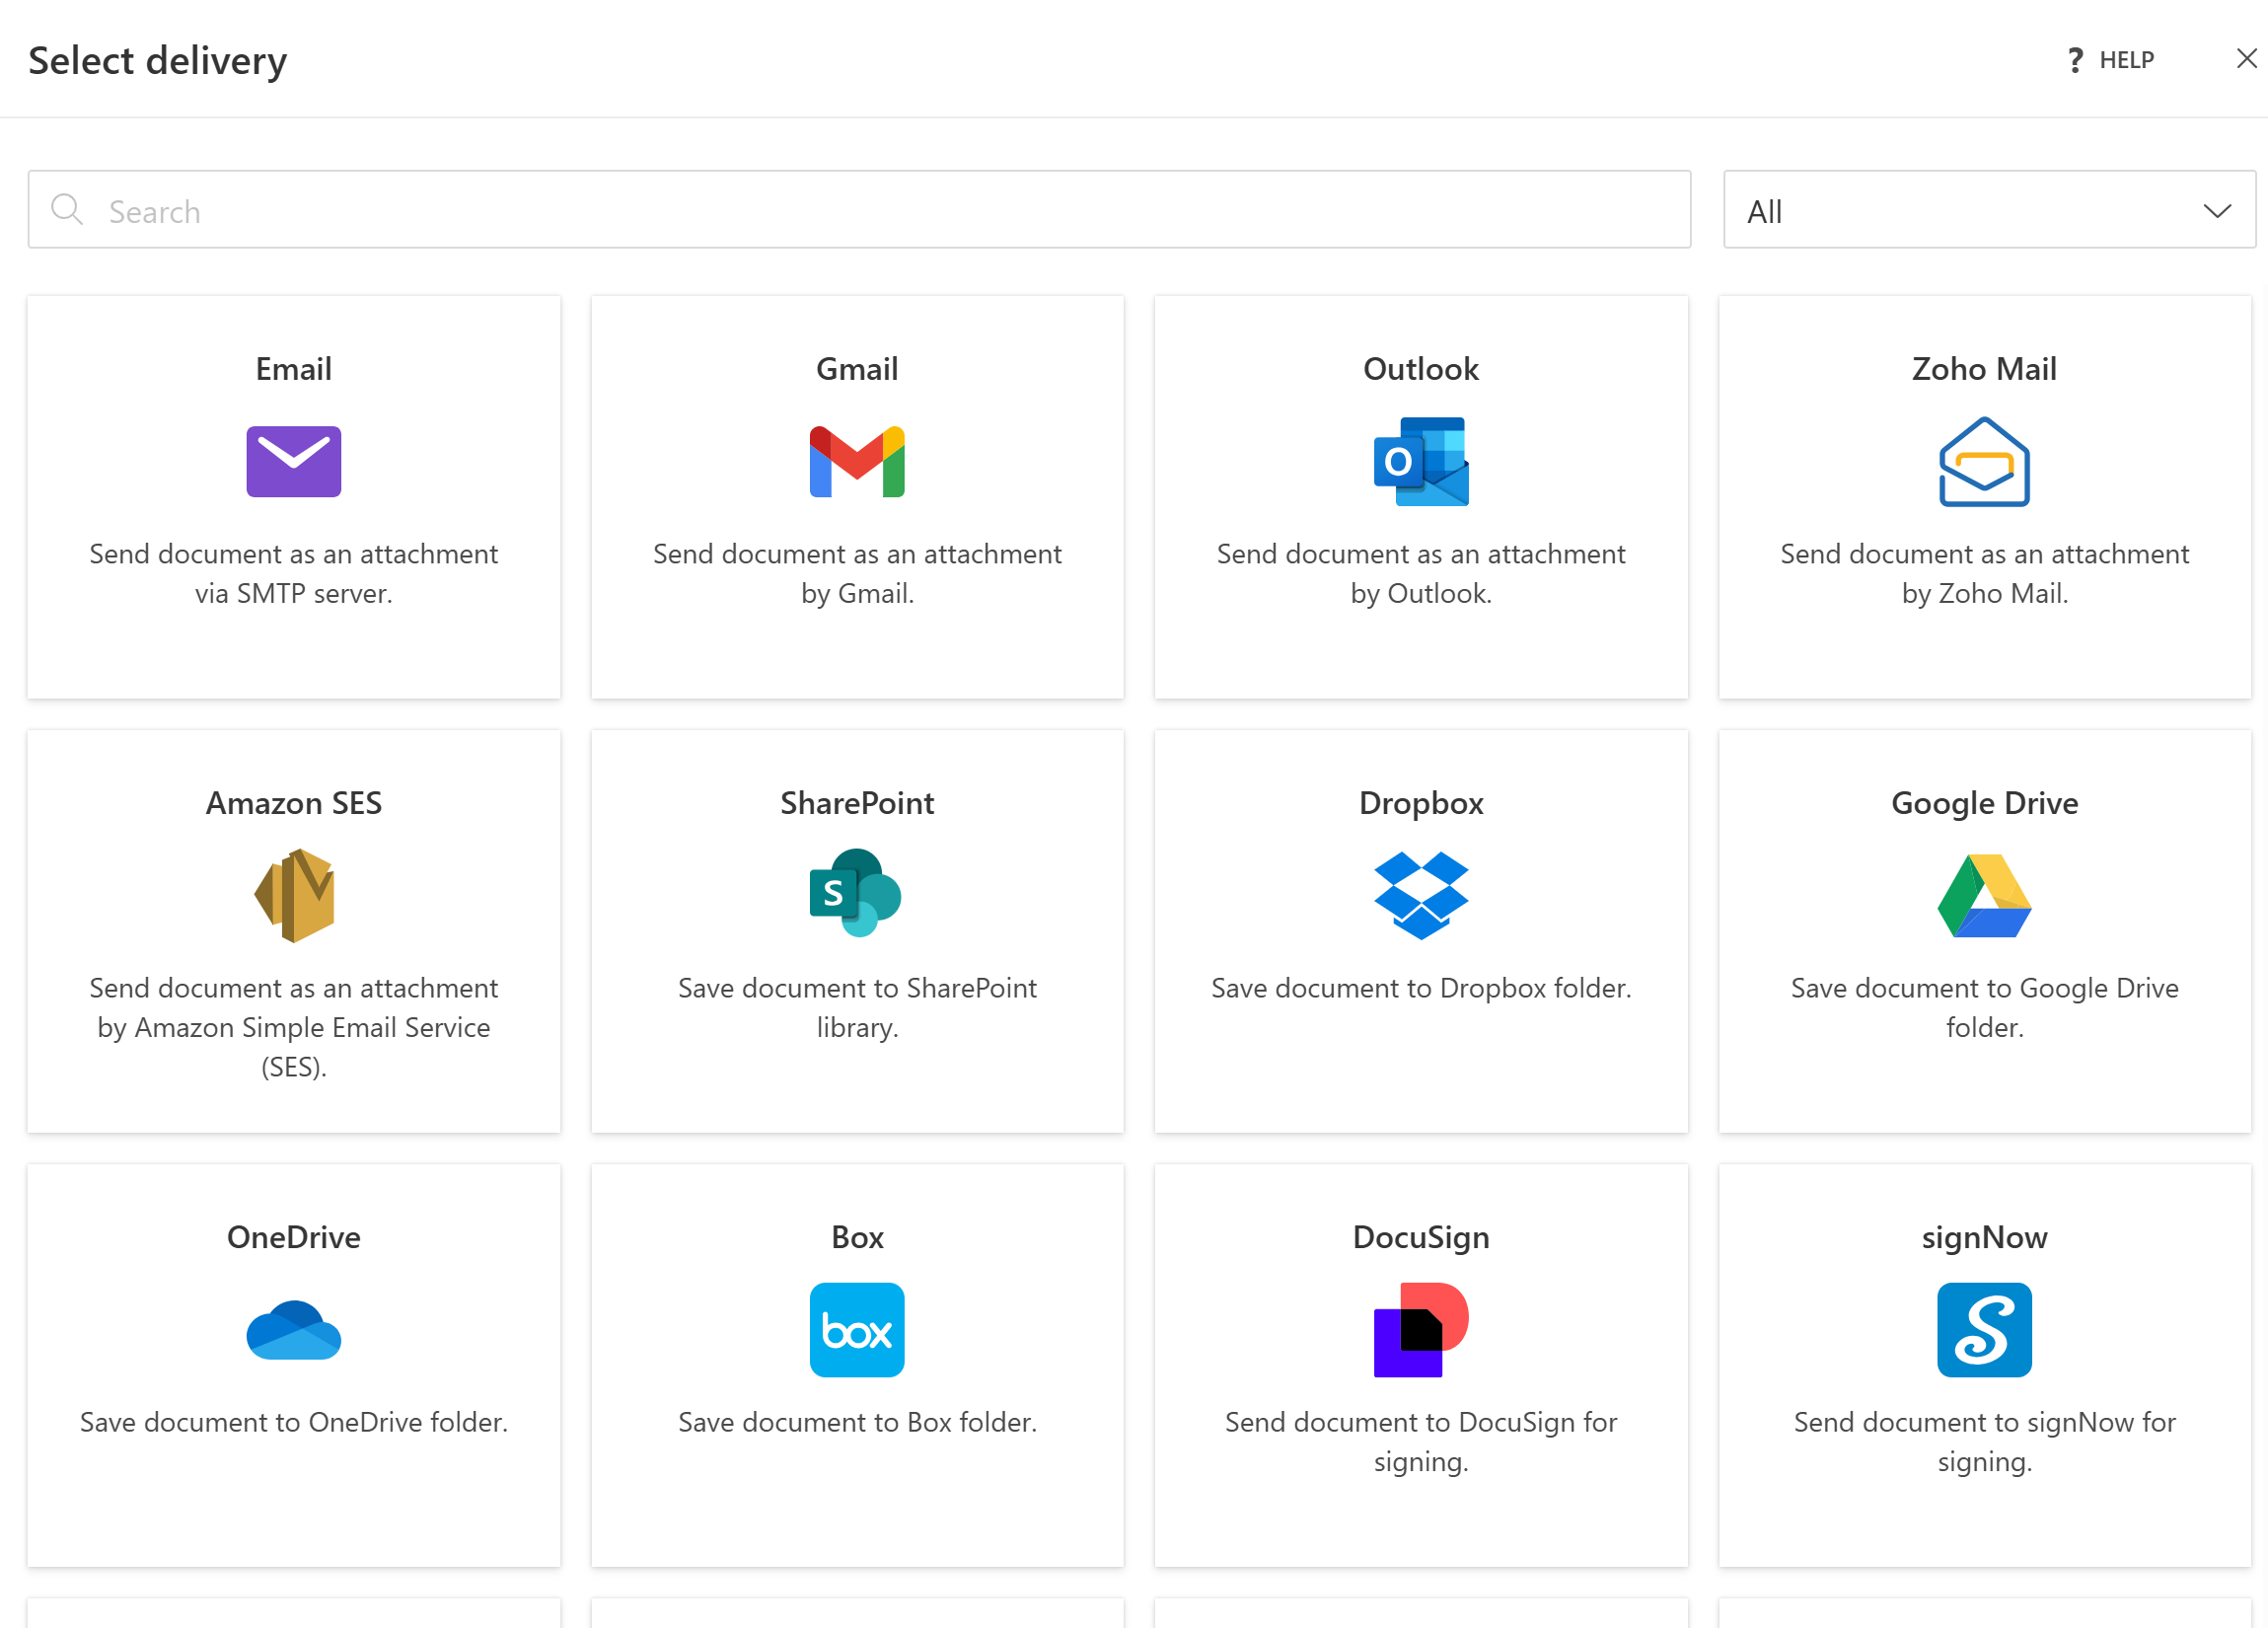
Multiple delivery options are available. For this example, choose the Gmail delivery.
Note
Connect your Gmail account and configure the delivery as shown below.
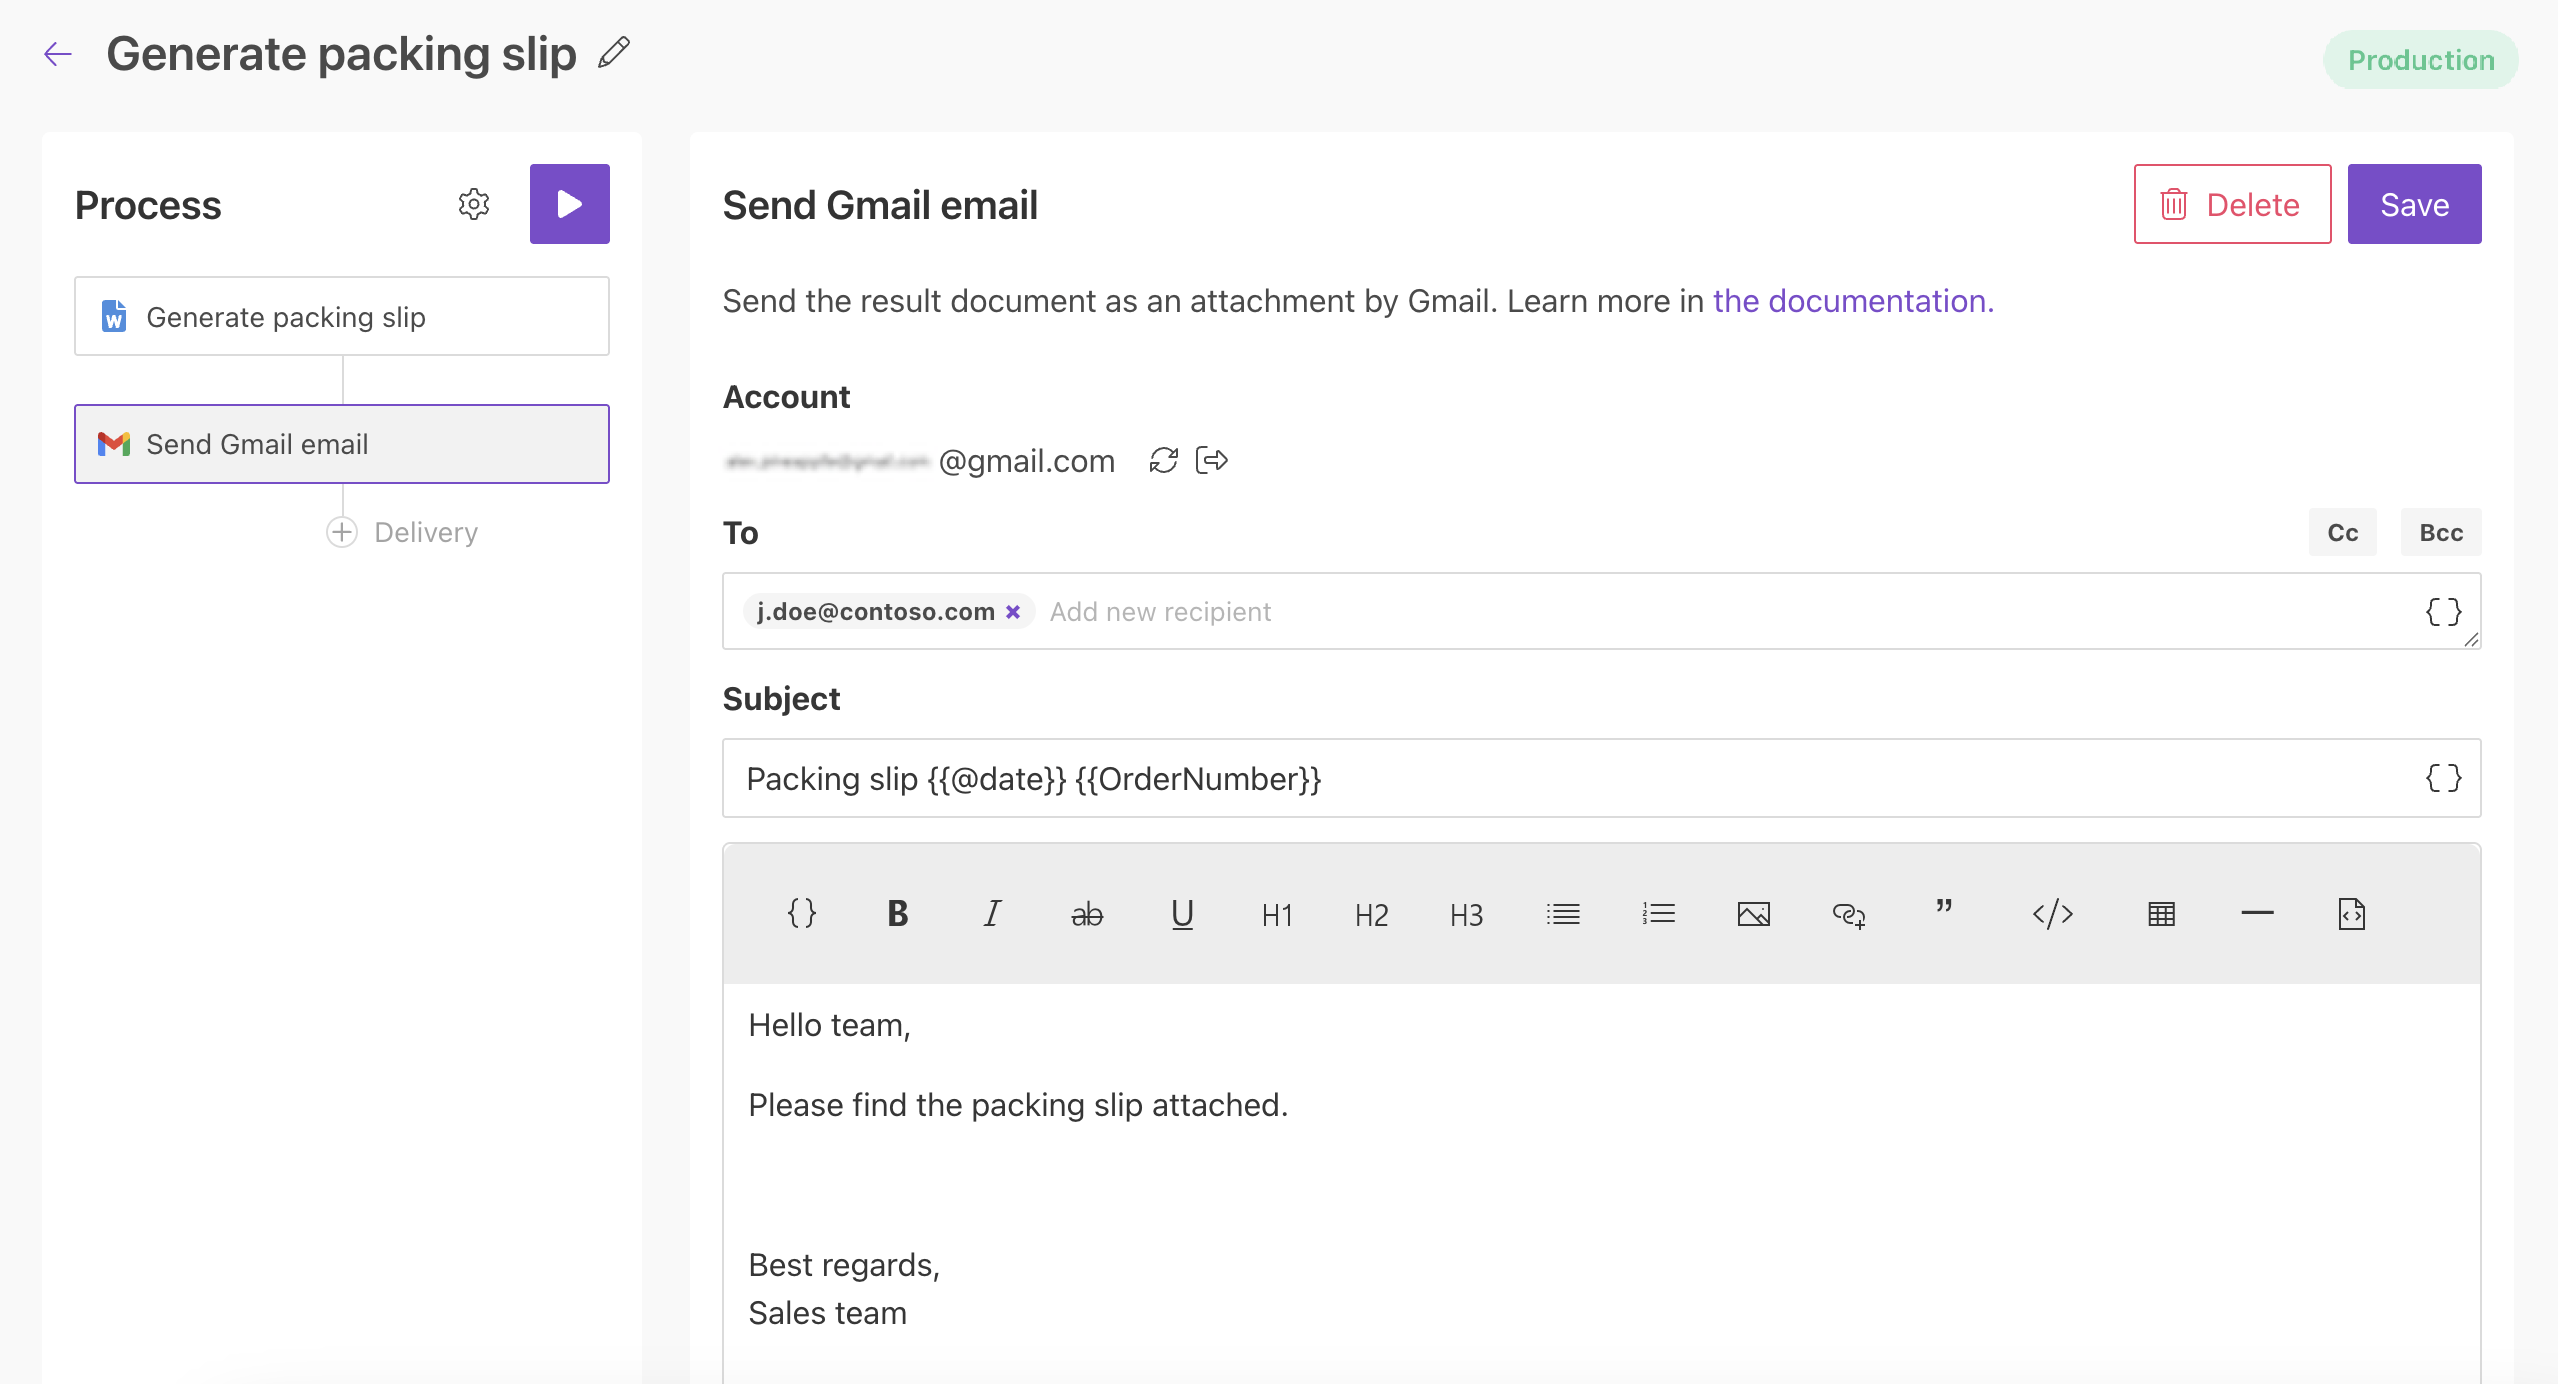
Click Save to apply the settings.
Run and test process
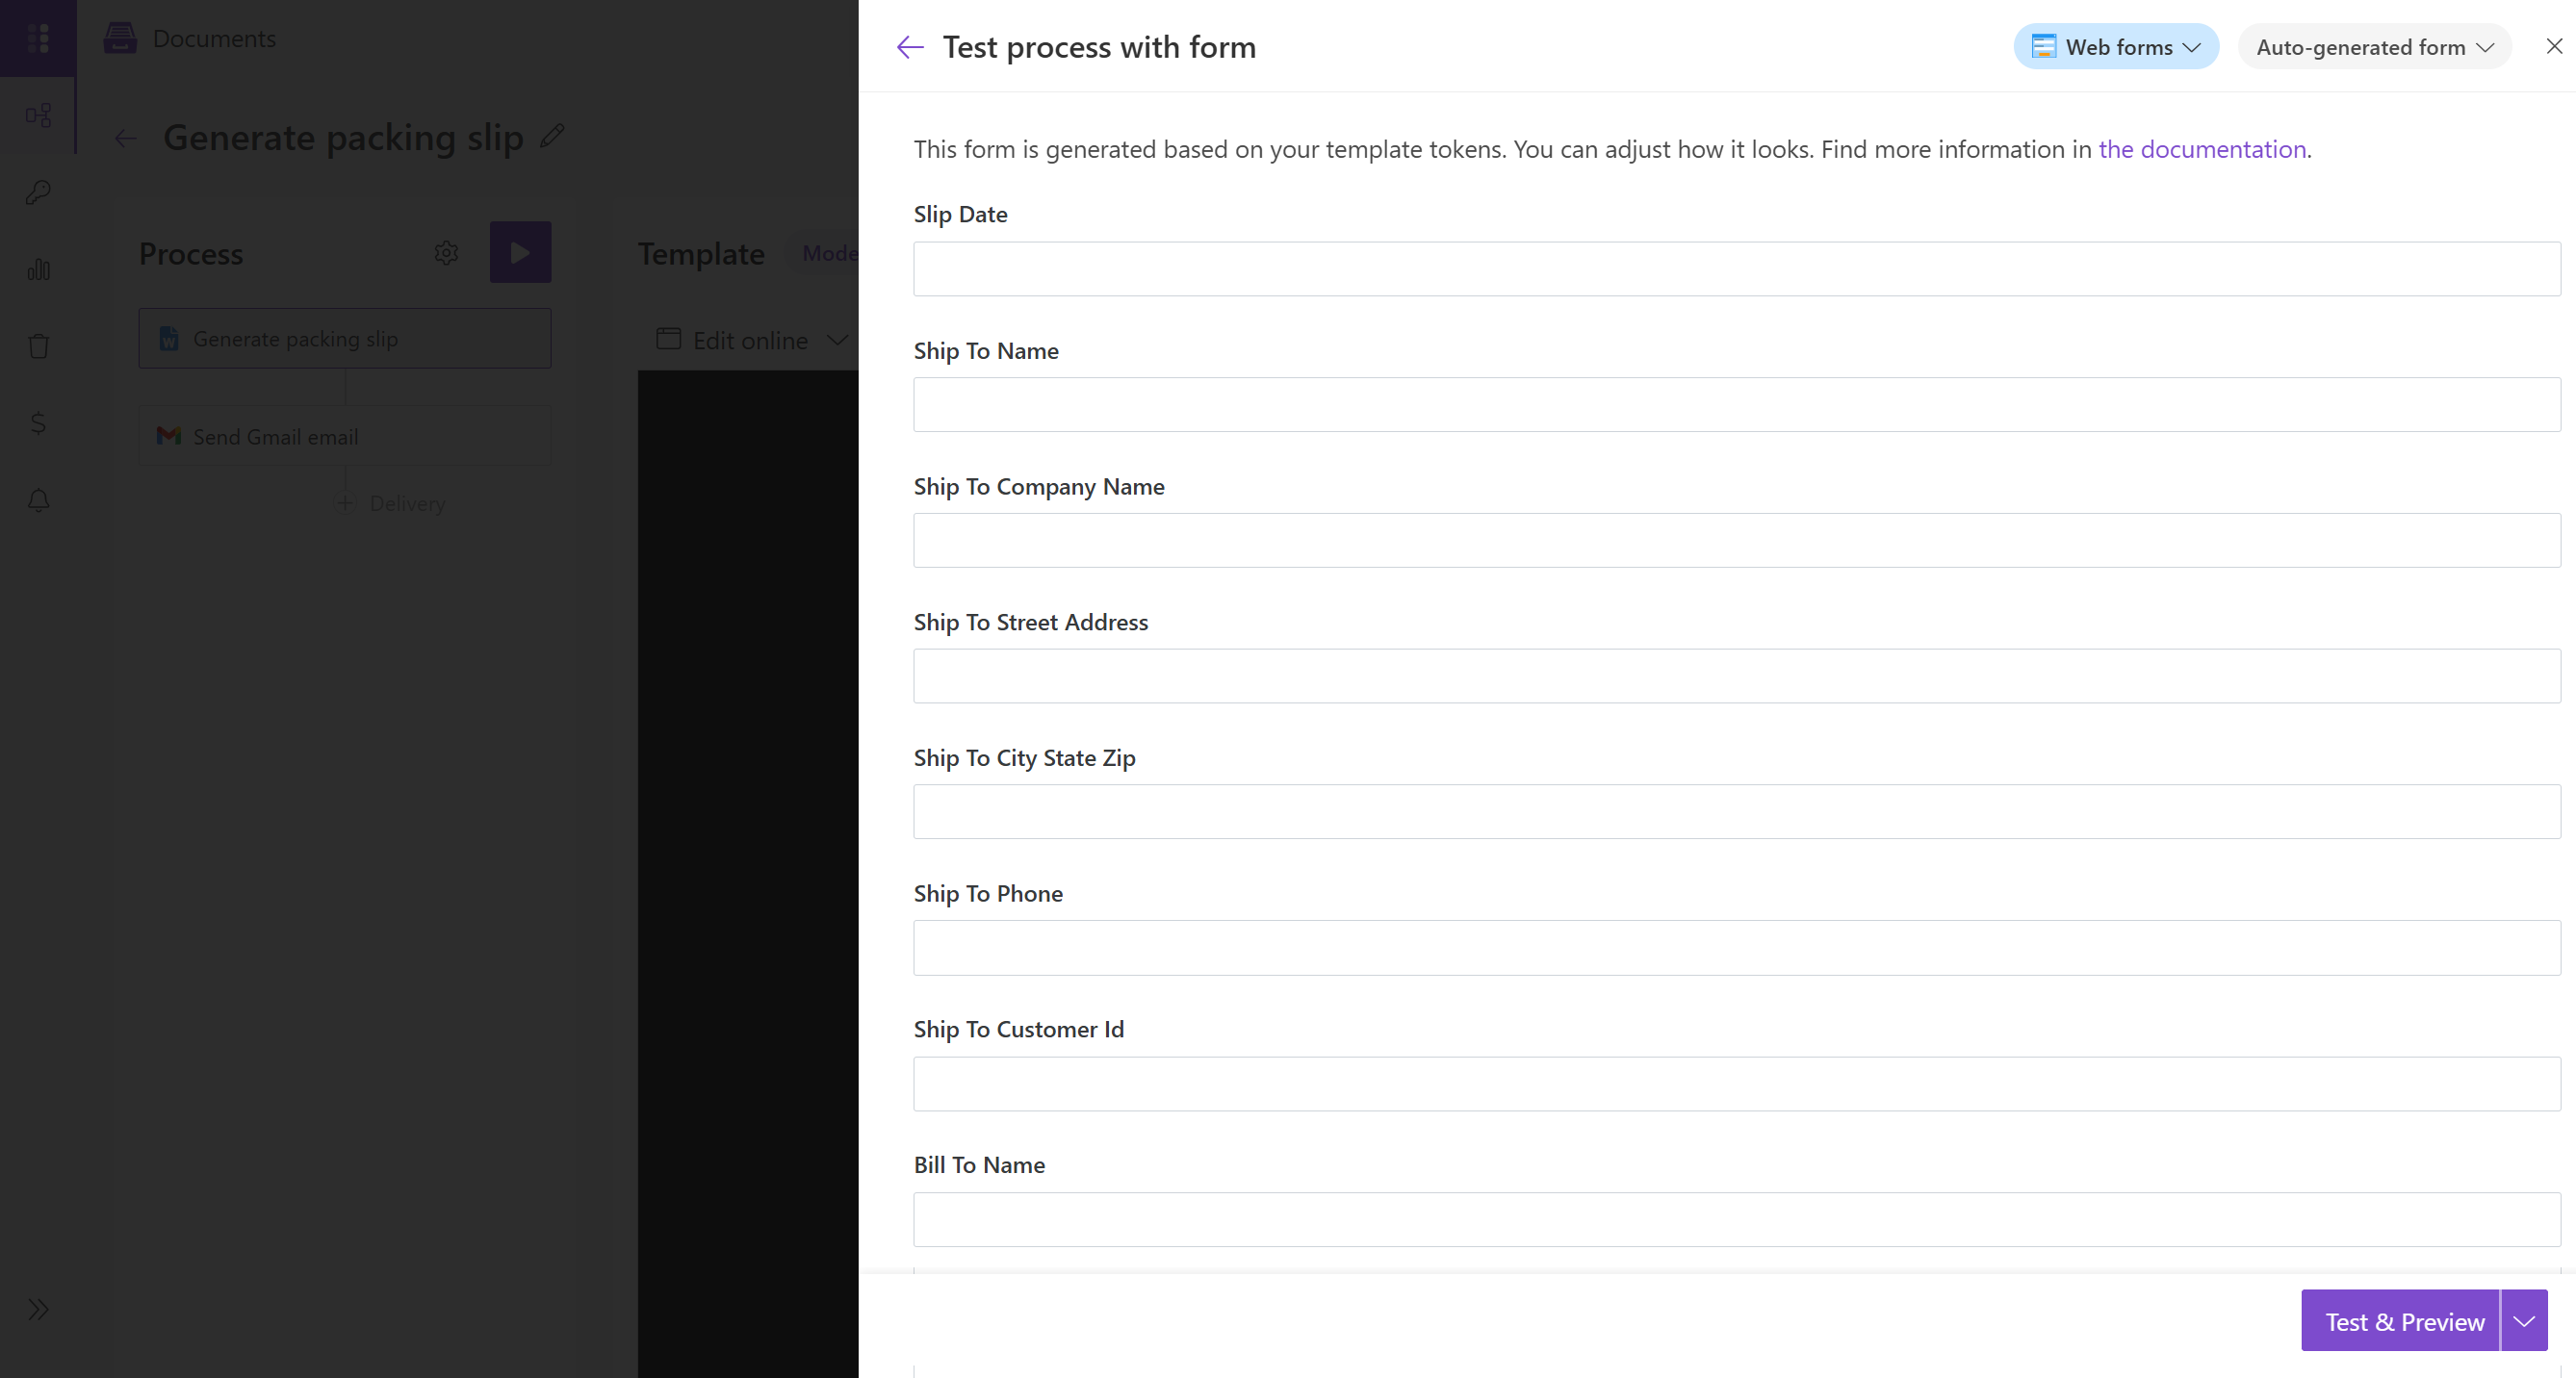
To run and test the process, click Test template in the top-right corner. In the window that appears, select the auto-generated form to fill in the required fields.

The form is generated from your template fields. The data you enter is then used to populate the template.
This is the generated document:

In production scenarios, data is typically pulled automatically from systems such as CRM or ERP.
Plumsail Documents can integrate with over 2,000 services, enabling automated data input.