Getting started
Configuration wizard
- Open configuration wizard
- Data source
- Views and filtration
- Design
- Templates
- Custom code
- General
- Reset configuration
HTML templates
JavaScript framework
Additional resources
- Video: Introducing Plumsail Org Chart
- Data caching
- How Org Chart pulls data from AD On-Premises
- Exclude disabled users in On-Premises
- Make sure that SharePoint has enough data
- Configuring profiles sync in On-Premises
- Exporting properties to a directory service
General
- Version history
- Licensing details
- Data protection and security
- Custom code security measures
- Billing and subscription management
Printing & Reports
- Printing organizational structure
- Generate multi-page PDF report
- Export to CSV and analyze in Excel
- Custom styles for printed Org Chart
Microsoft Teams
Display different types of employees
- Display dotted-line managers (SharePoint list)
- Display dotted-line managers (Entra ID)
- Display dotted-line managers (User Profiles)
- Display dotted-line managers (Excel/CSV)
- Display assistants (SharePoint list)
- Display assistants (Entra ID)
- Display assistants (User Profiles)
- Display assistants (Excel/CSV)
- Display vacancies
Filter and order boxes
Customize boxes and styles
- Format boxes conditionally
- Customize box HTML template and CSS styles
- Display awards and conditionally format Org Chart
- Create an Org Chart with two root managers
- Change Org Chart skin
- Localize Org Chart
Show specific user on load
- Drill down to specific box using URL parameter
- Drill down to current user by default
- Drill down to manager of user from URL by default
Manage web part size and scale
- Open Org Chart in full-screen mode on load
- Make Org Chart use full page width
- Automatically scale boxes to fit visible area
Other examples
Installation of Org Chart for SharePoint 2019 / SE as WSP package
The installation process consists of two parts:
Install services – web part will pull data from them.
Install SharePoint Framework add-in – it is a web part itself.
Download wsp-package and extract it from the downloaded zip archive. The archive contains wsp-package (Plumsail.OrgChart.2019.wsp) and SharePoint Framework package (plumsail-orgchart-sp-2019.sppkg). Place those files to one of the servers in your Sharepoint 2019/SE farm.
Install services
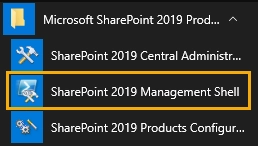
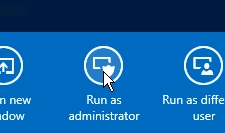
Run Sharepoint 2019/SE Management Shell as administrator:
Print Add-SPSolution [path to wsp-package] :

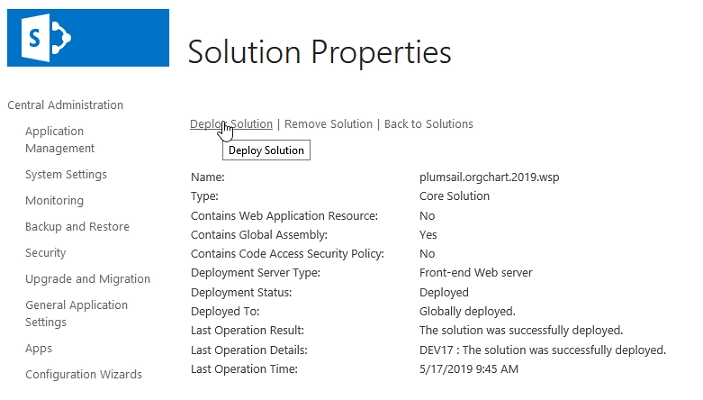
Open Central Administration as administrator and navigate to System Settings → Manage farm solutions. Select plumsail.orgchart.2019.wsp and press Deploy Solution link:
Install SharePoint Framework add-in
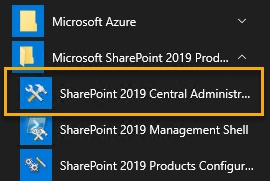
Run SharePoint 2019/SE Central Administration as administrator on your server.
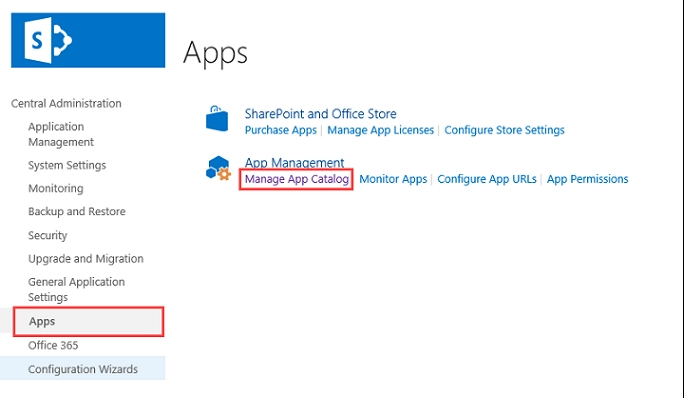
Navigate to Apps -> Manage App Catalog
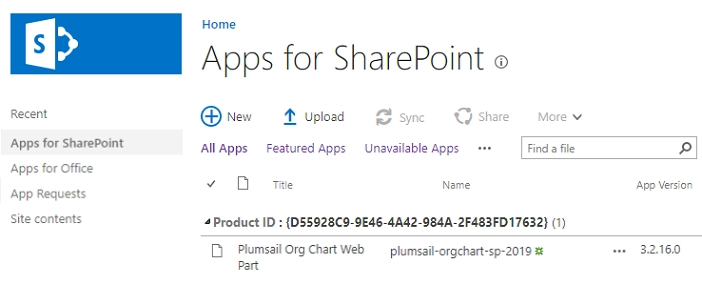
Navigate to Apps for SharePoint and upload Add-in package that you downloaded at the beginning of this instruction:
You need to select “Make this solution available to all sites in the organization” in the dialog. Once you did this you can add a web part to a page.
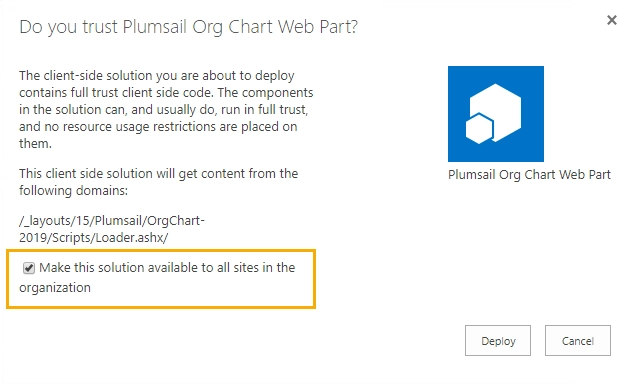
If you don’t want to make this app available on all sites, you will need to add the app to each site manually.
Adding web part to a page
Note
If you use “Classic” SharePoint pages follow this instruction to add web part to a page.
Navigate to the page where you want to add an org chart.
Pick Plumsail Org Chart web part from the menu to add it to your page:
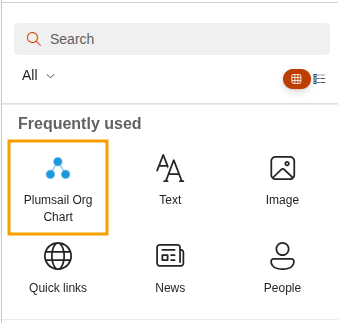
Once you added the web part you can configure it.