Display vacancies for Org Chart in SharePoint and Microsoft Teams (version 3.x.x and on-premises)
Did you know you can show vacancies beautifully inside your organization chart in SharePoint? If it’s either SharePoint 2019/SE or SharePoint Online in Microsoft 365, you can do this easily with Plumsail Org Chart. In this article, I want to show you how to display vacancies in SharePoint Org Chart. It is very useful to organize vacancies inside of OrgChart and be able to visualize them within organization’s structure.
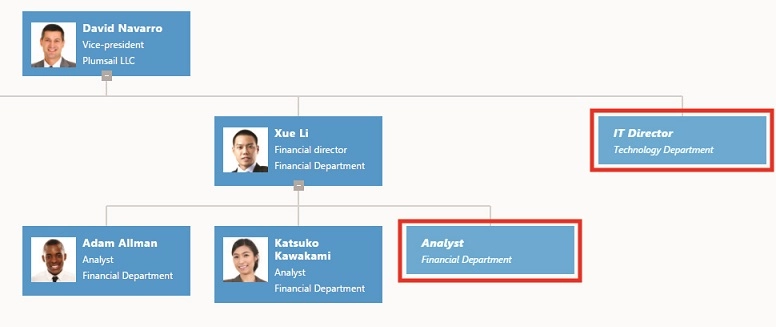
Vacancies are enabled inside of PlumsailOrgChart’s settings and use a data source different than the chart itself.Org Chart will use a different list to pull data from and show vacancies which needs to be filled with data regarding open positions through the company. Let’s see how to do it step by step, inside our SharePoint page, just like the image above.
Go to the page where you inserted OrgChart, Open the page in edit mode, open web part properties:
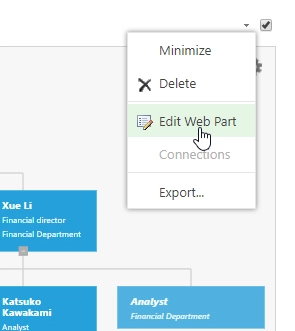
Open Configuration Wizard
Go to General settings tab
Check the Enable vacancies option to enable vacancies on your OrgChart:
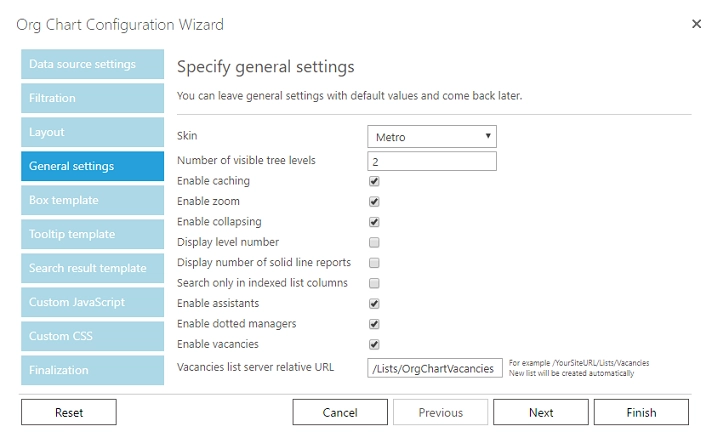
Now, under that option, you’ll see a new text input, where you’ll have to write the URLof the list that OrgChart will use to pull data from. Note that this is a server relativeURLthat you’re going to use.
In this example I want OrgChart to use the list placed in /Lists/Vacancies. If Org Chart identifies that the list already exists it will use it, otherwise it is going to create it automatically to handle vacancies.
Click Finish to save your new settings.
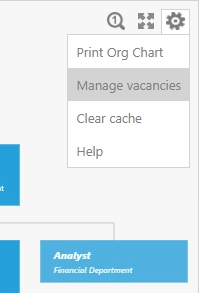
From now on, whenever you click on the gear icon you’ll see a new option called Manage vacancies. That is where you have to go whenever you want to change data about your vacancies. Let’s go there and add some data to fill our OrgChart properly.
Click on the gear icon;
Select Manage vacancies.
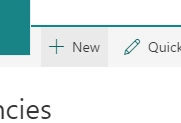
The list will open in a new tab/window. This is where you add new vacancies.
Click New;
Fill in the Title with the title of the position;
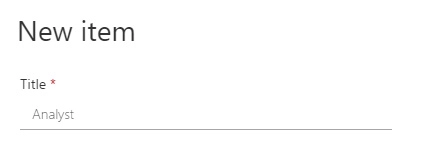
Write the correct information for Department and Manager according to your needs.
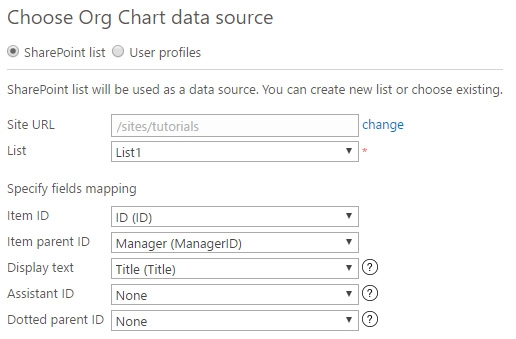
Note that the Manager field needs to be filled with the Item ID of the corresponding Manager.The Item ID is mapped according to the data source your Org Chart is pulling information from and also depending on how you mapped this information. If you open Org Chart settings again you’ll see under the Data source settings tab that we have two options: SharePoint list and User profiles.
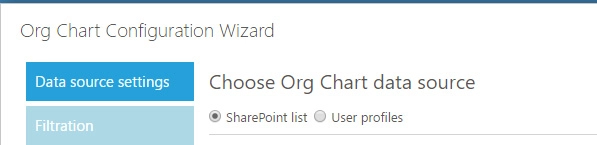
In case you’re using User profiles as the data source, Org Chart will use one’s account name as the Item ID. In SharePoint Online account name will be its e-mail address but using OnPremises installation it usually looks like this: domainaccountname.
Otherwise, if you’re using a SharePoint list as the data source for your Org Chart, you’ll have the option to choose which column from the list is going to work as Item ID. It can be anything like title, e-mail address, ID, etc. Please notice that you’ll also have to set up Item parent ID according to Item ID. So if you’re using an e-mail address as Item ID, you’ll have to use something like “Manager e-mail address” as Item parent ID so Org Chart is able to find the correct information.
That’s it. Now you can display vacancies in SharePoint Org Chart and manage them regarding company’s scenario.