Create Word documents from SharePoint list in Power Automate
In this article, you’ll learn how to generate Word documents from SharePoint list data using Plumsail Documents and Power Automate. The process automatically fills DOCX templates with data from SharePoint lists.
Processes is a Plumsail Documents feature for generating documents from templates.
In this example, we will generate a Word document from a SharePoint list item in Power Automate.
Create document generation process
The first step is to create a document generation process in Plumsail Documents.
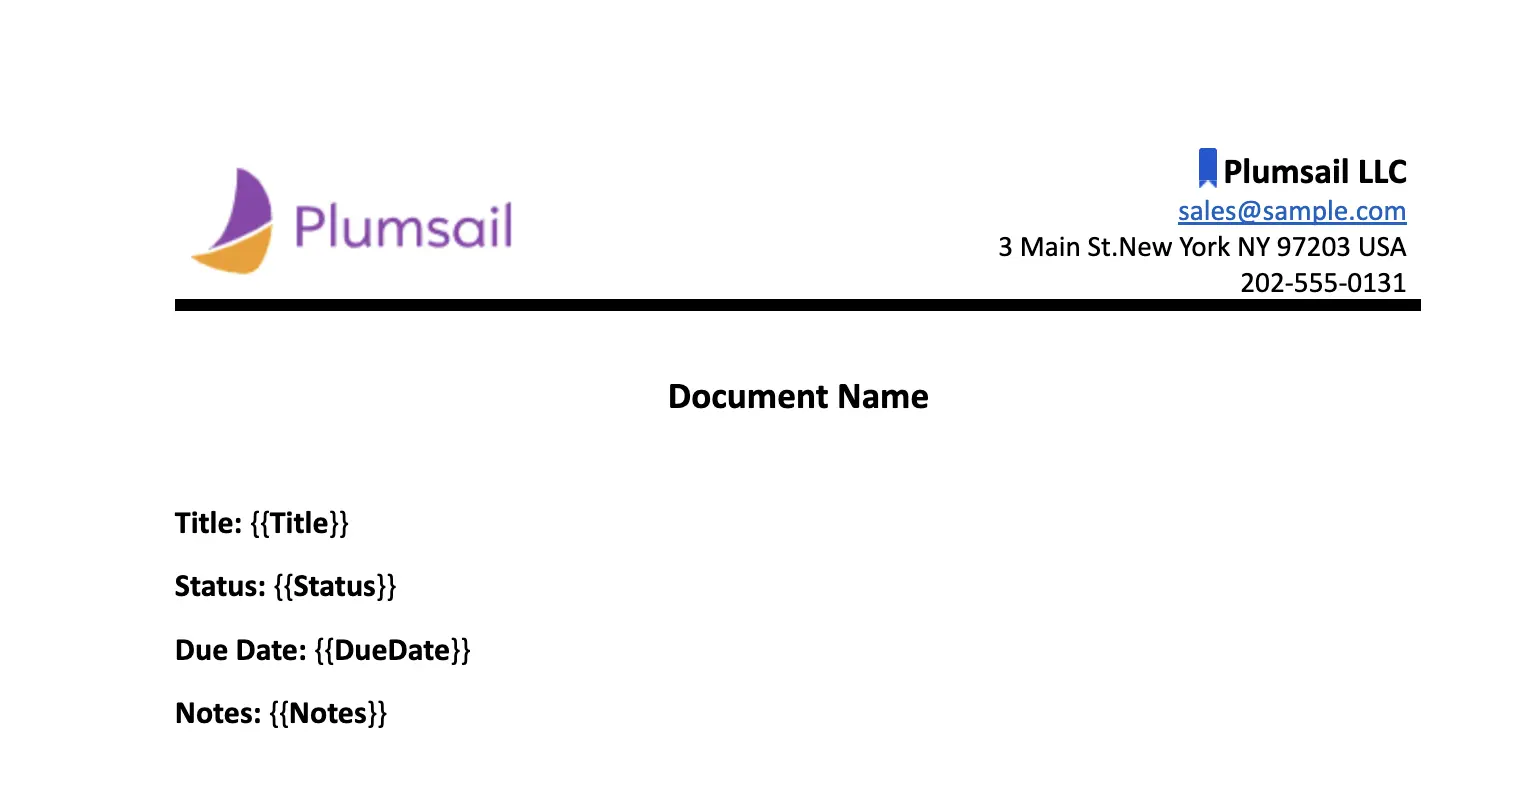
In this example, we will use a sample template. You can download the example template here. Replace the column and token names in the template with the actual column names from your SharePoint list.
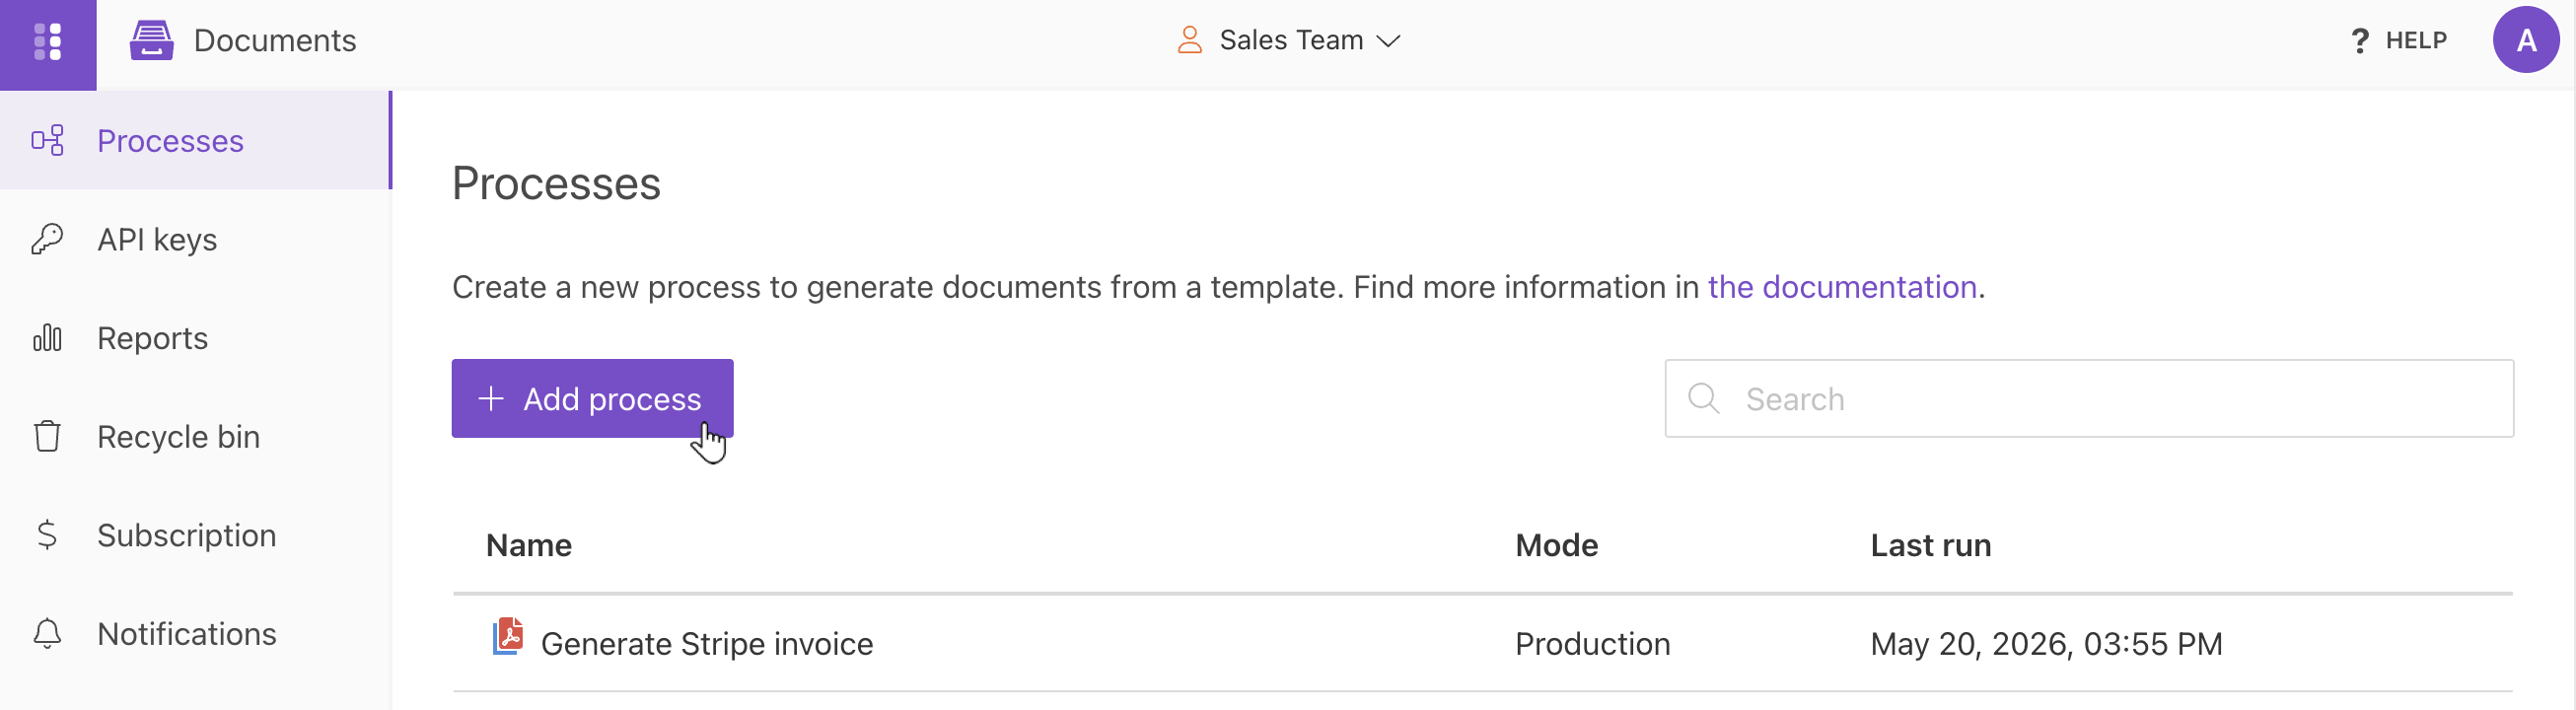
In your account, click the Add process button.
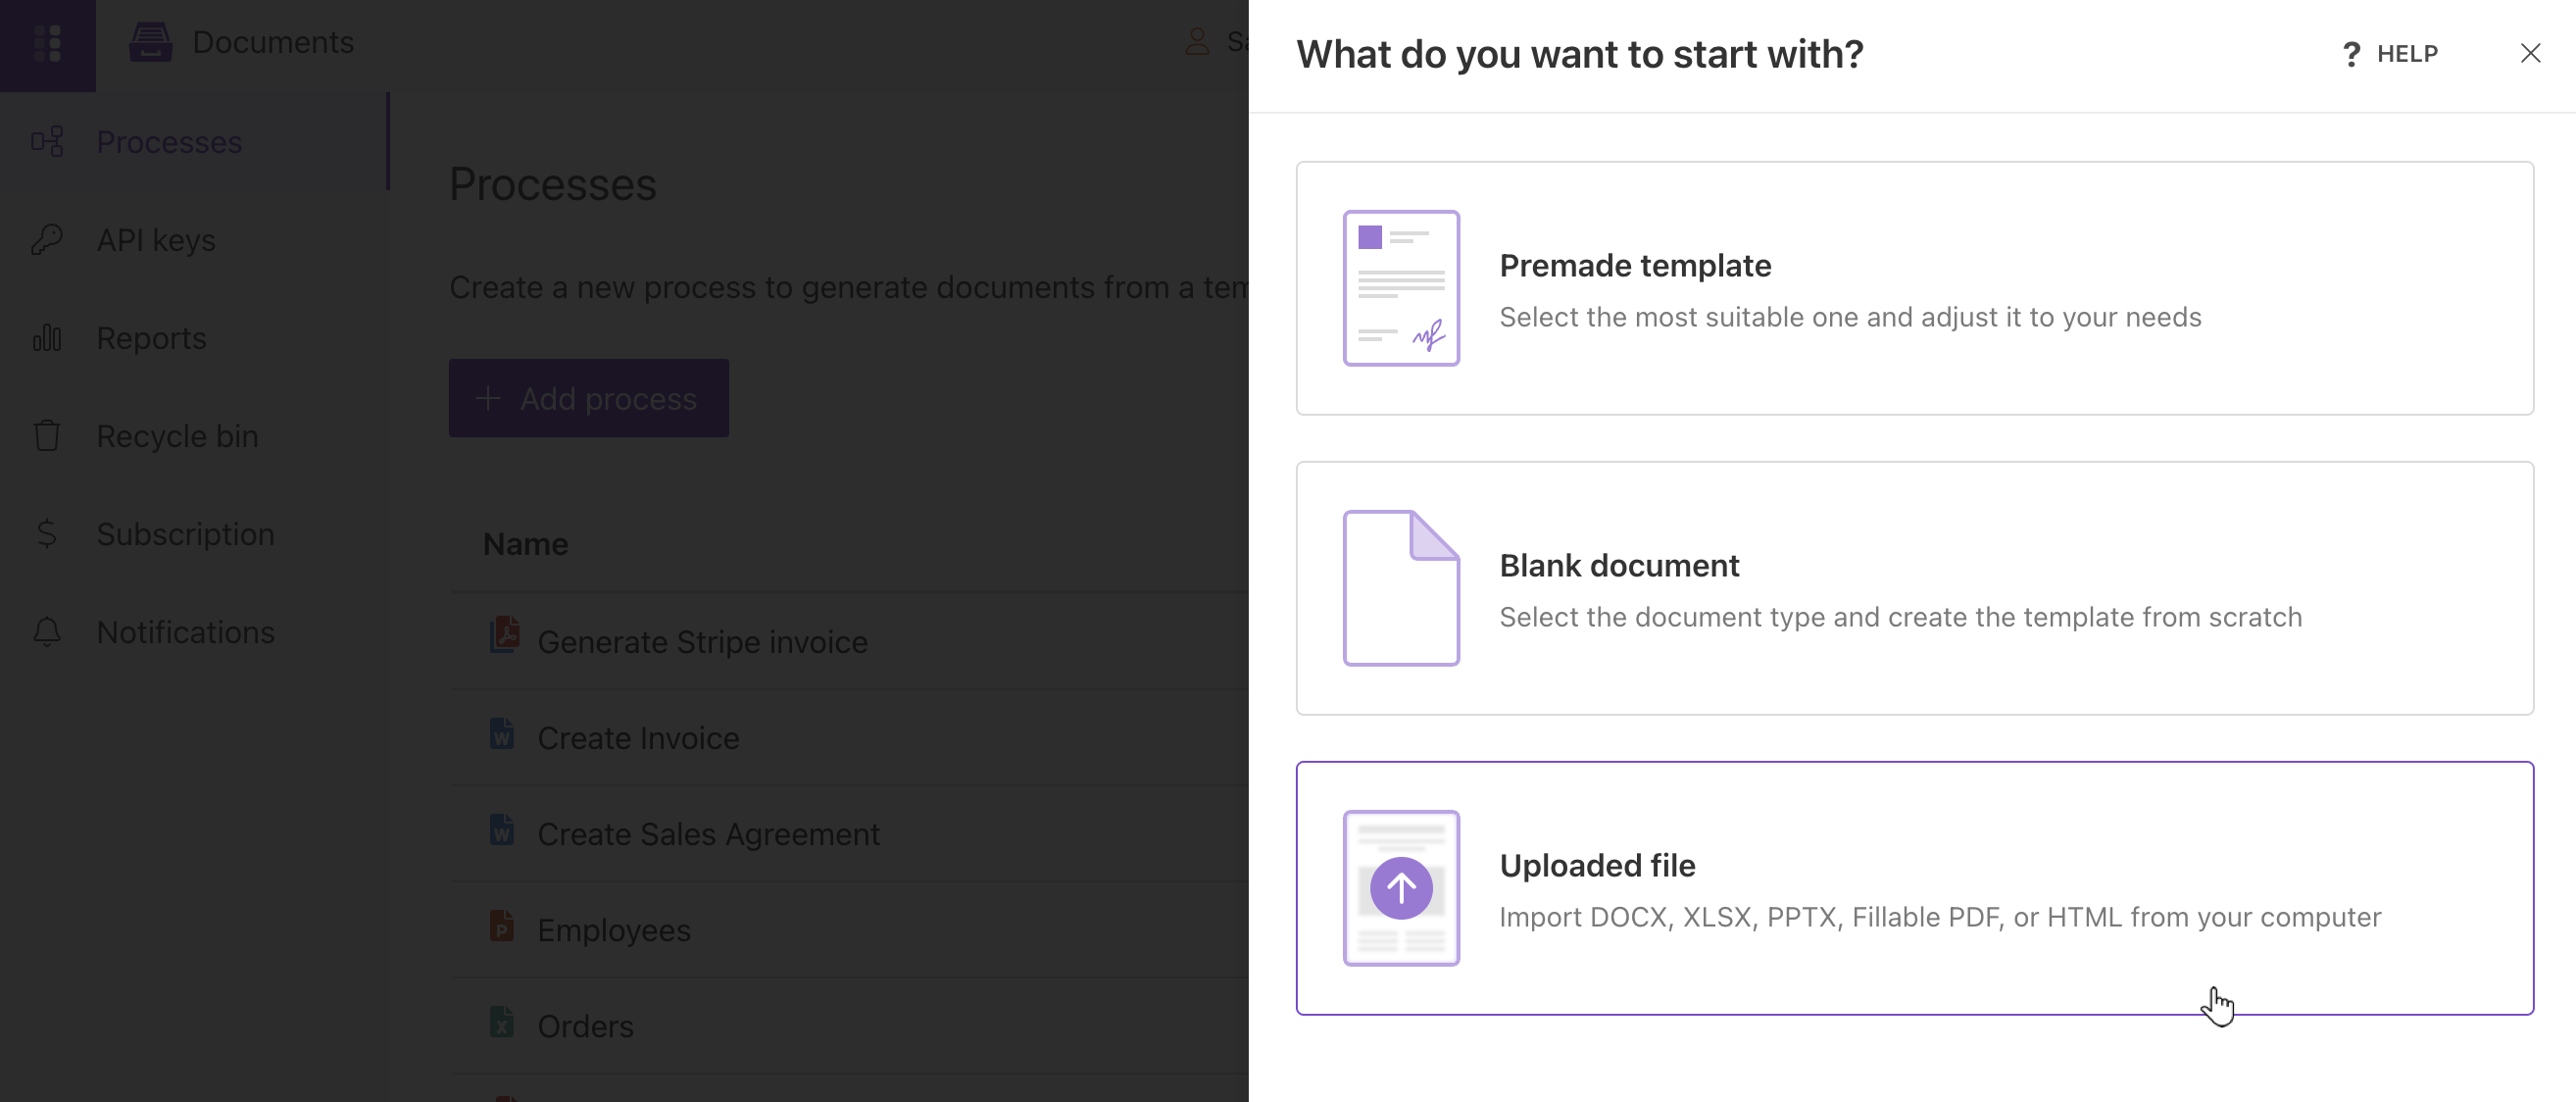
You will see options for template formats in the pop-up window. Select Uploaded file to upload your DOCX template.
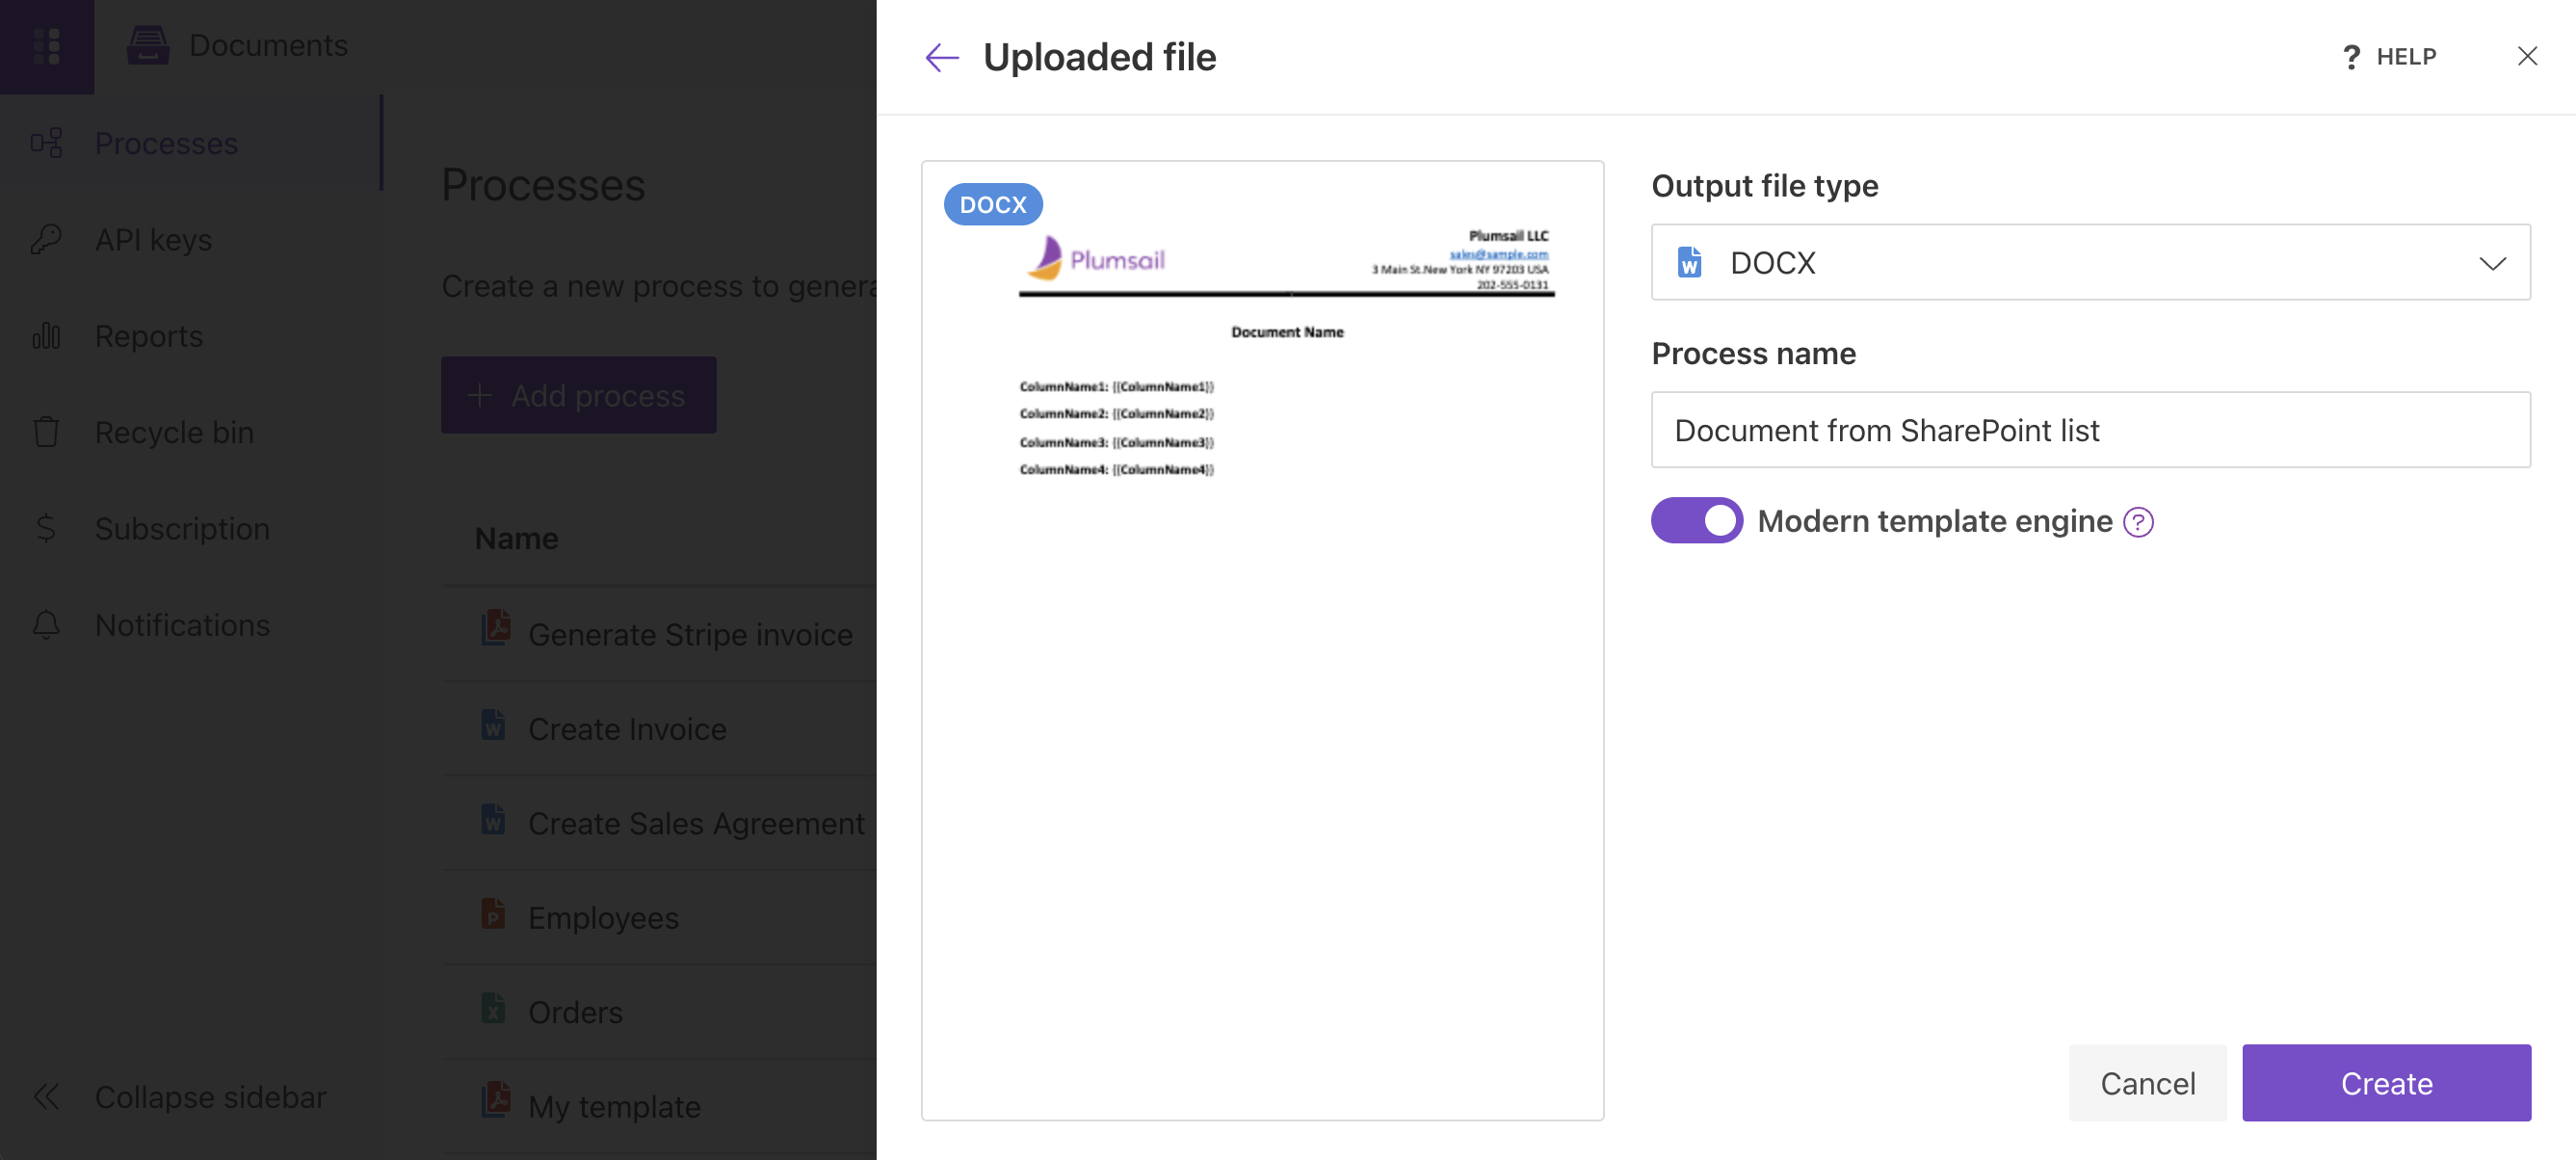
Once the file is uploaded, select DOCX as the template type, enter the process name, and click Create.
Templating syntax
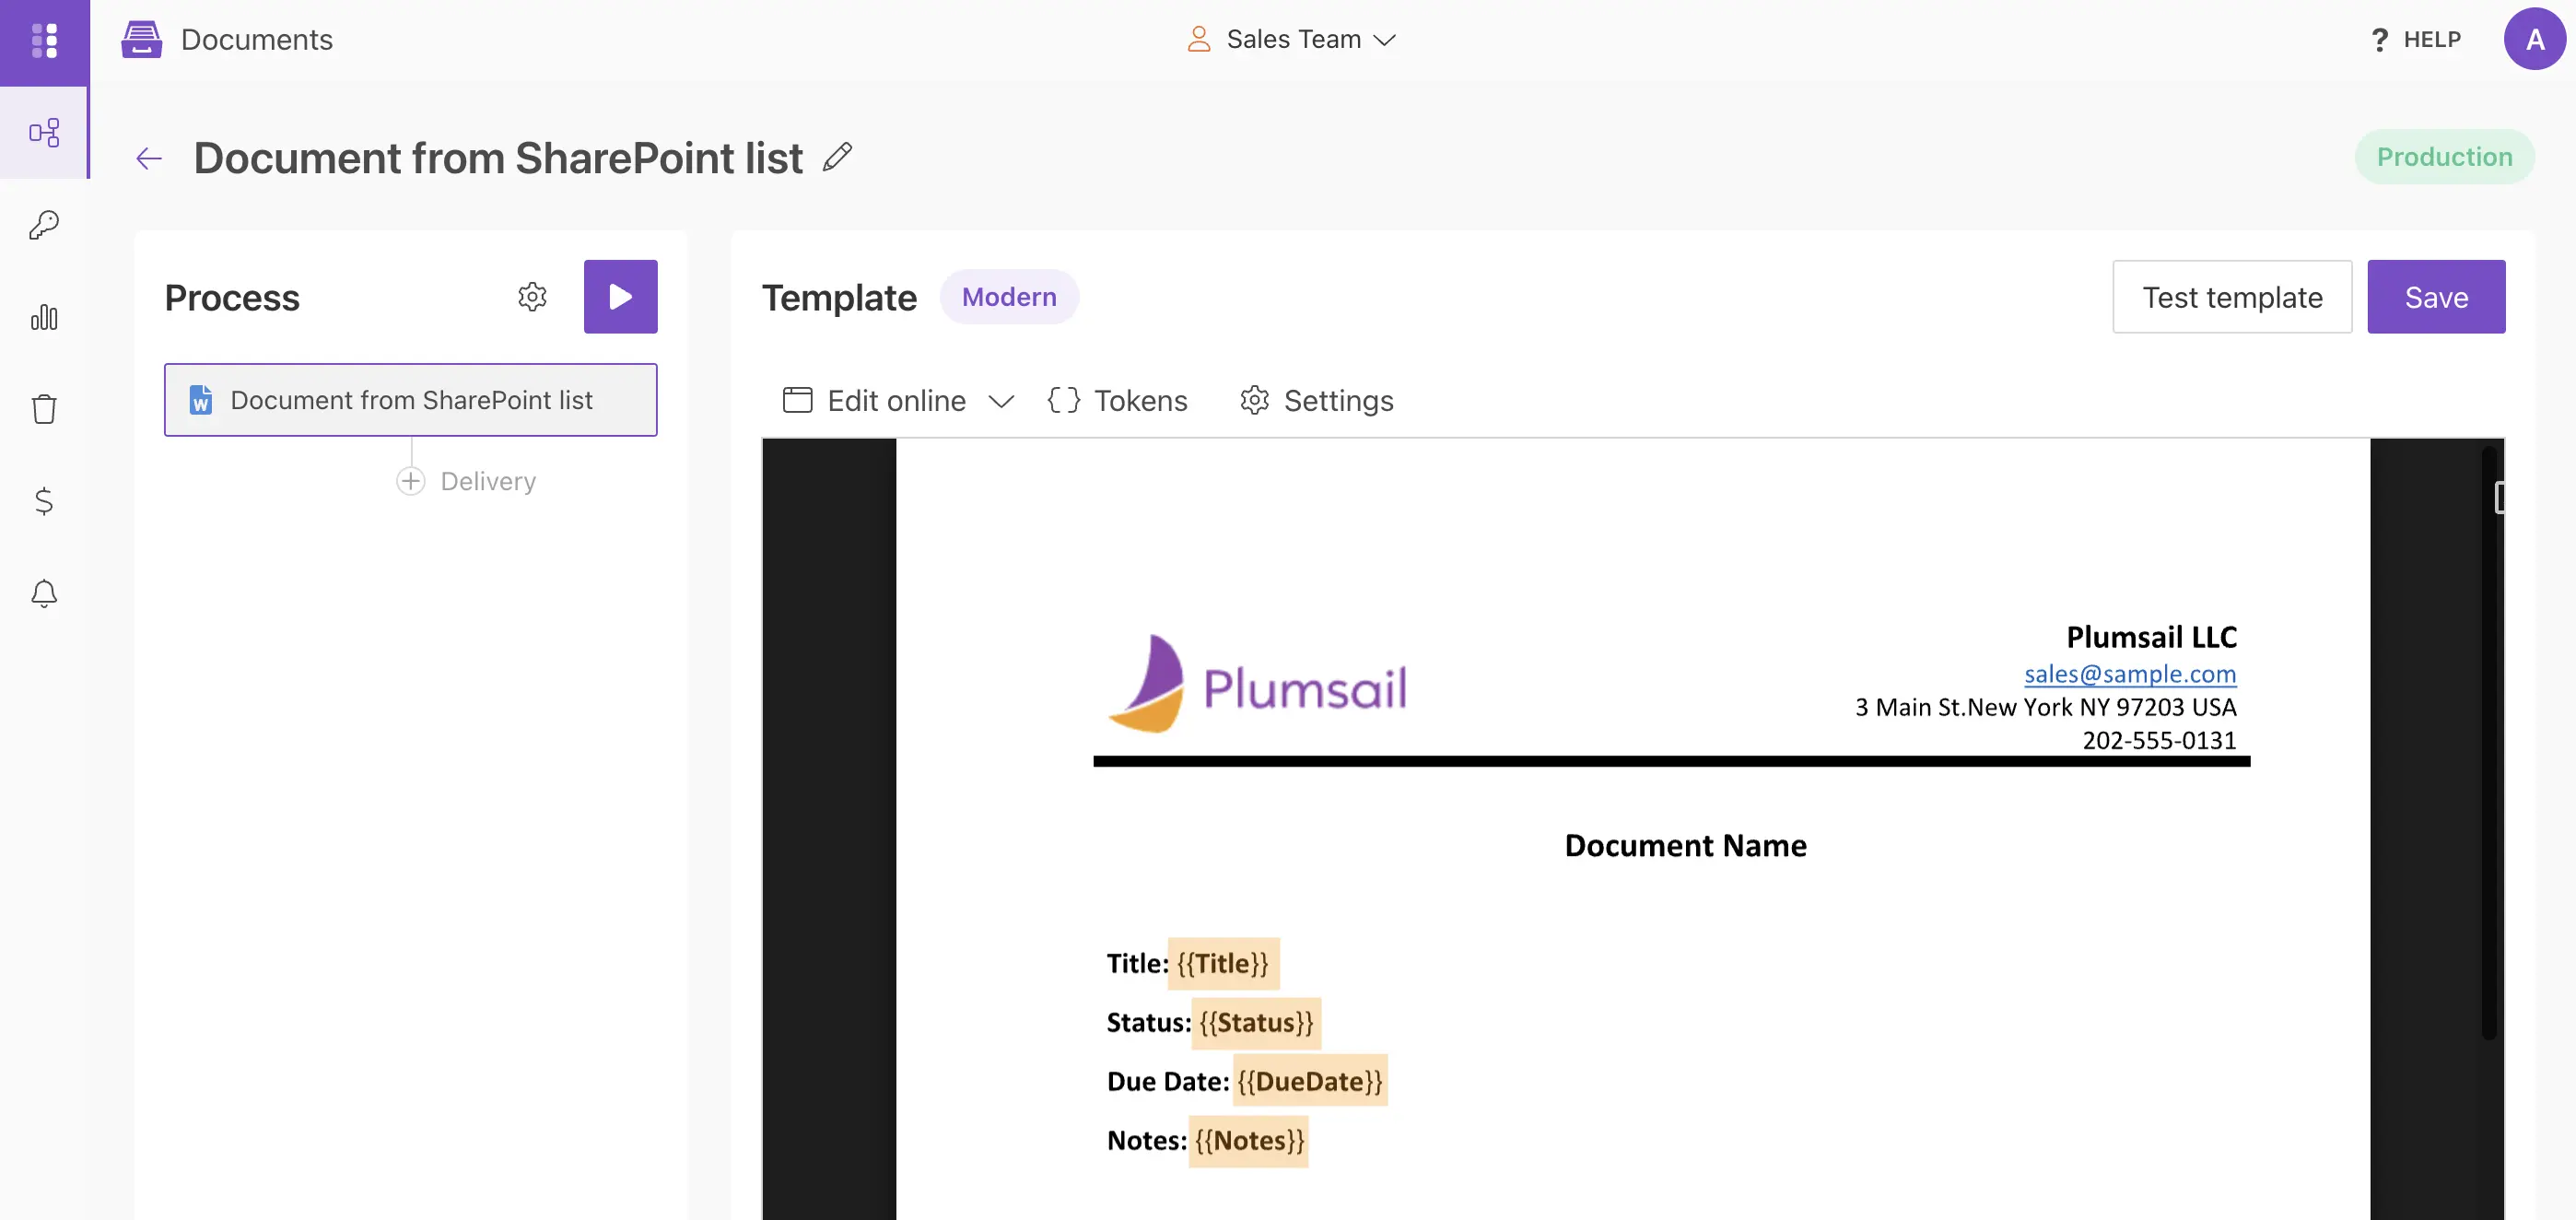
As shown in the screenshot below, the template contains special placeholders called {{tokens}}. Tokens define where SharePoint list data should appear in the generated document.
During document generation, Plumsail Documents replaces these tokens with actual values from the SharePoint list item. See the templating syntax documentation for more details.
Test template
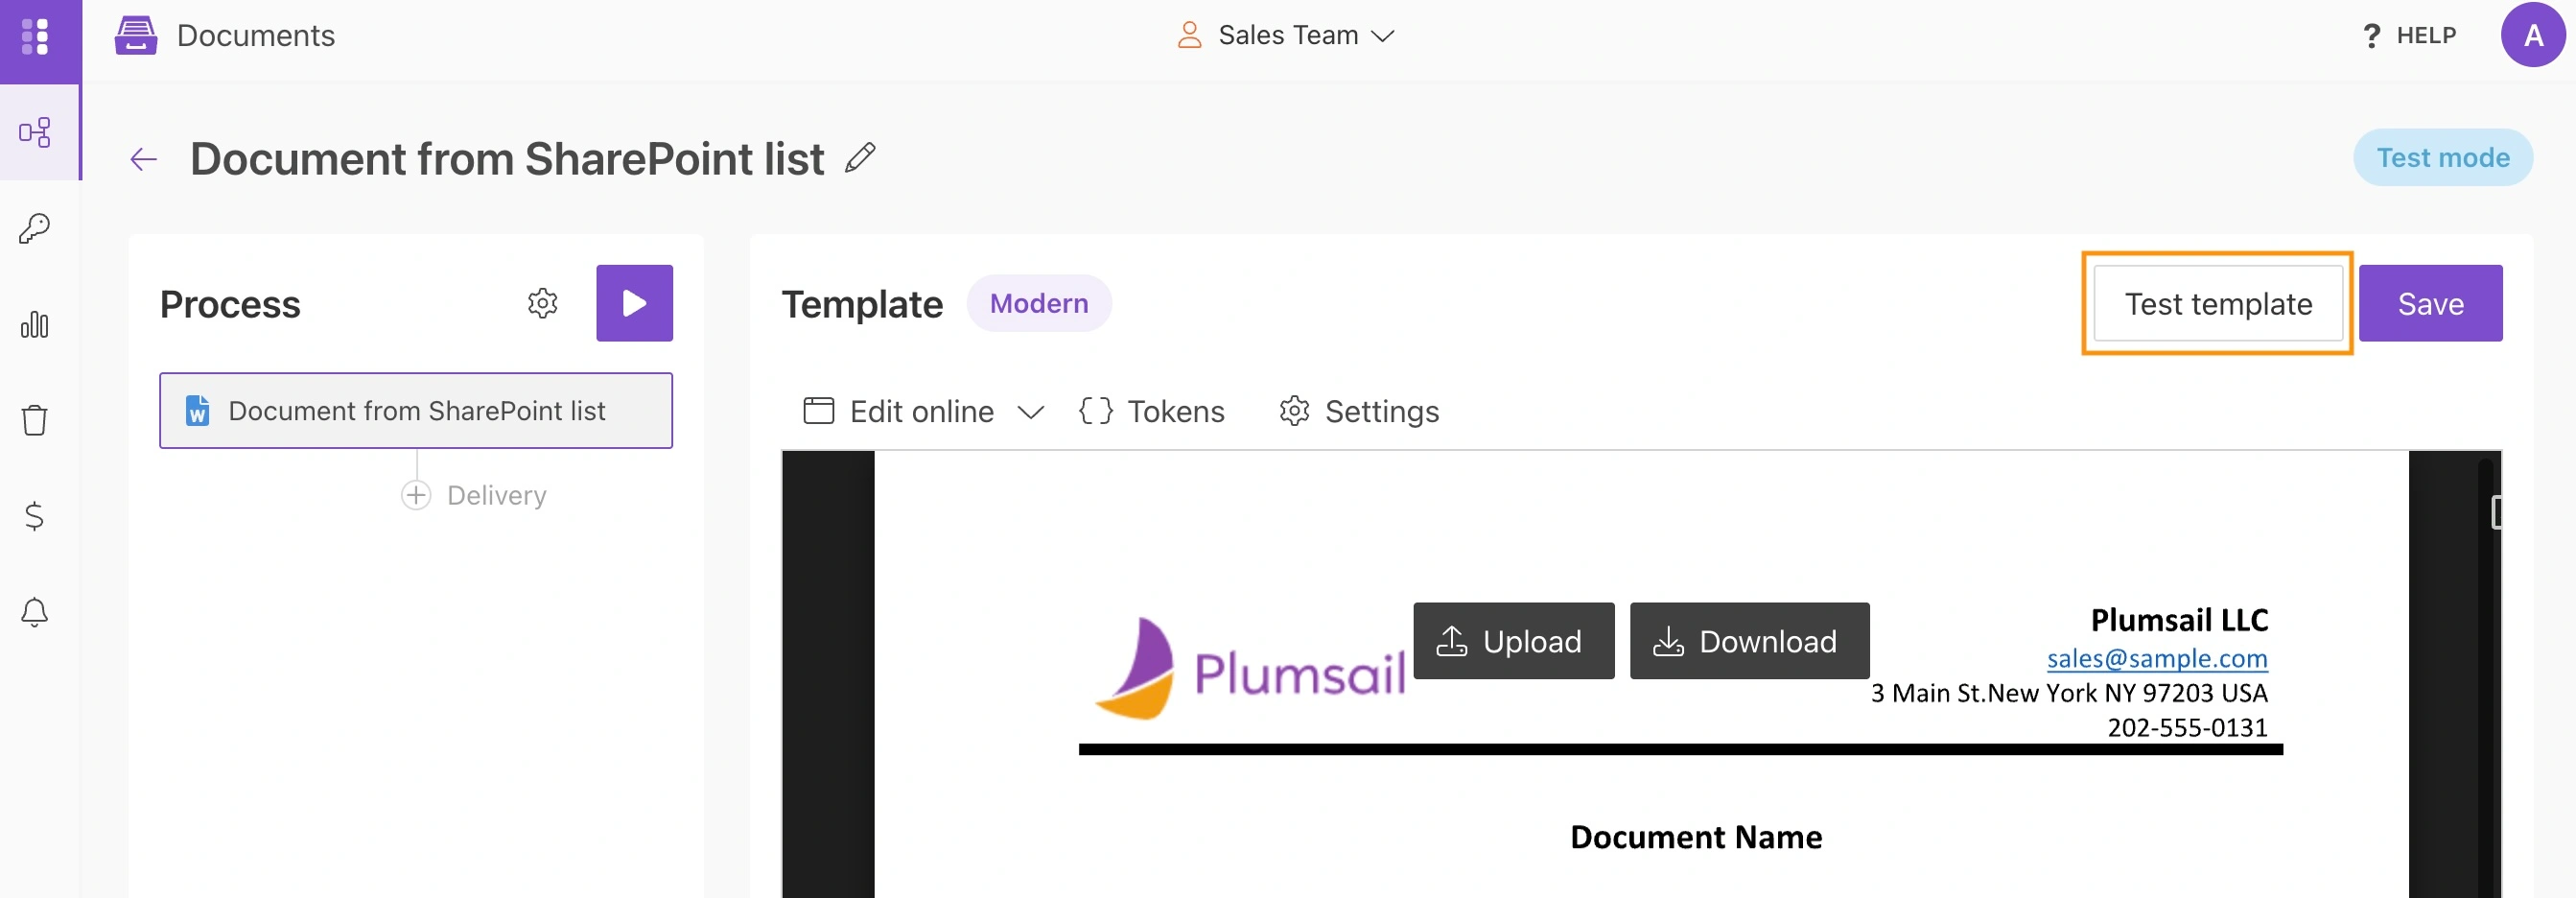
Before using the template in production, you can test it with sample data.
After clicking the Test template button, fill in the automatically generated testing form. The form fields are generated automatically based on the tokens in your document template. You can also customize the default form as well.
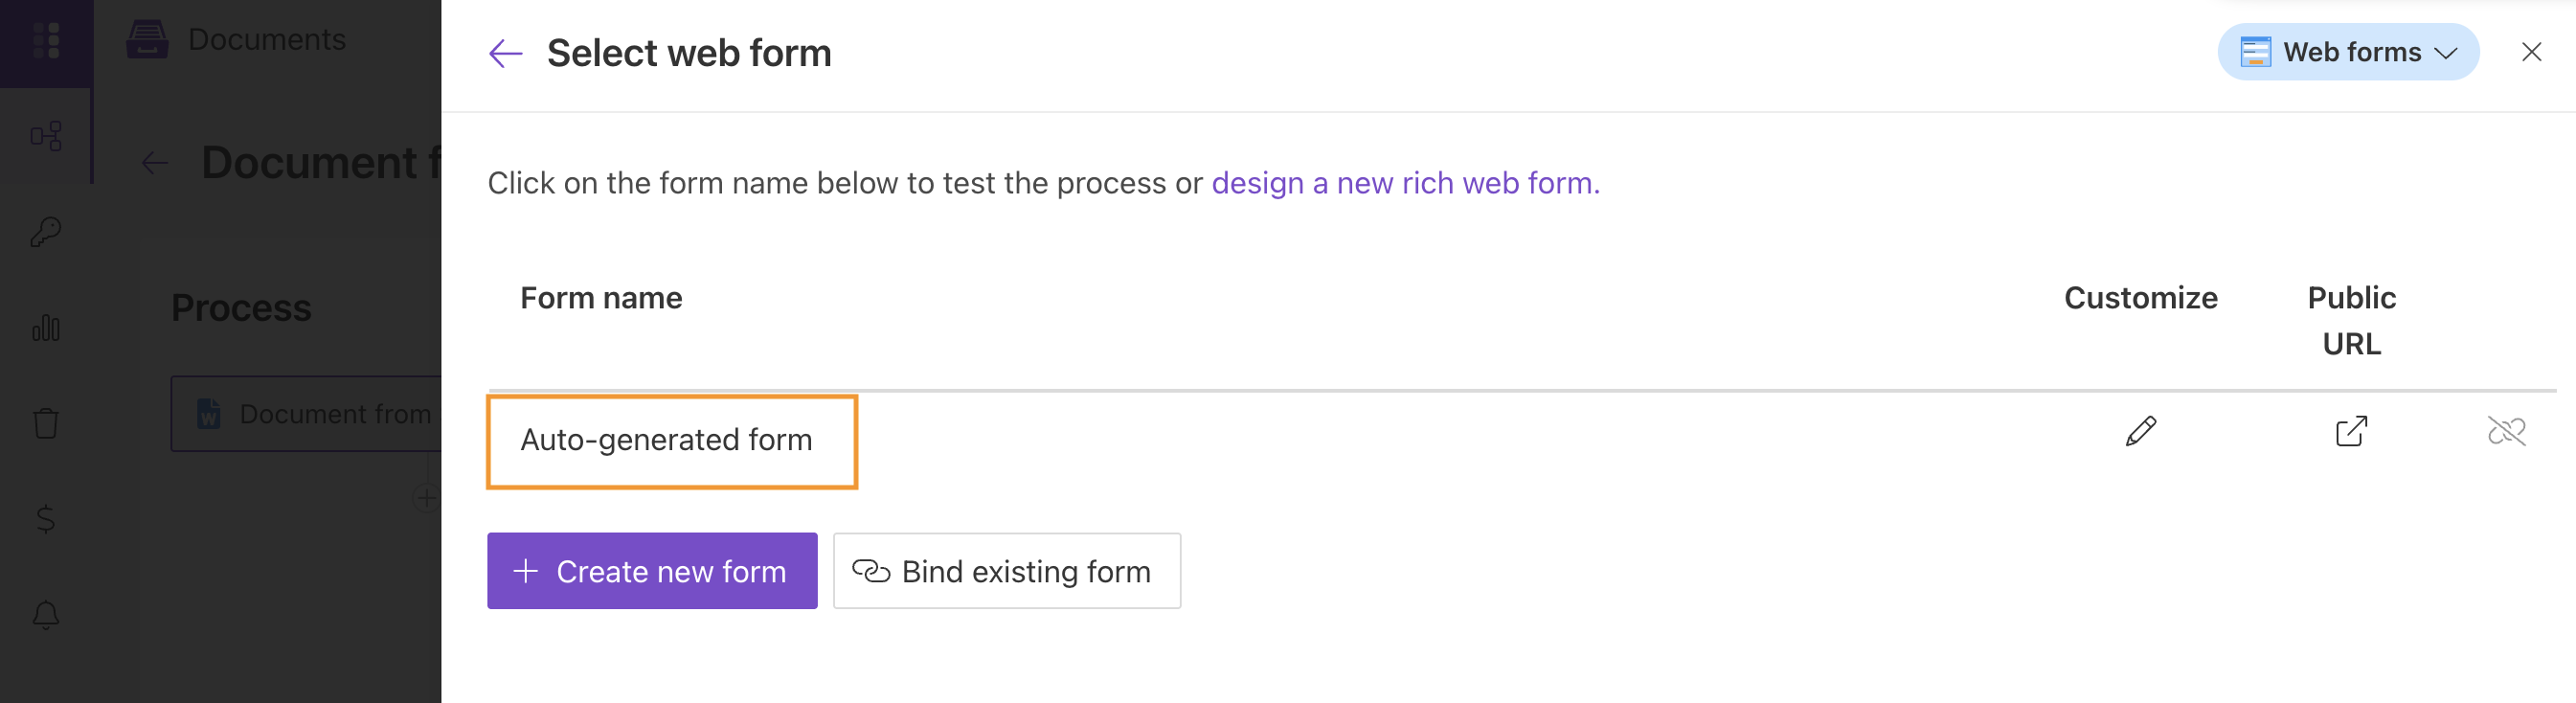
You can use the automatically generated form or create a custom one. In this example, we will use the auto-generated form.
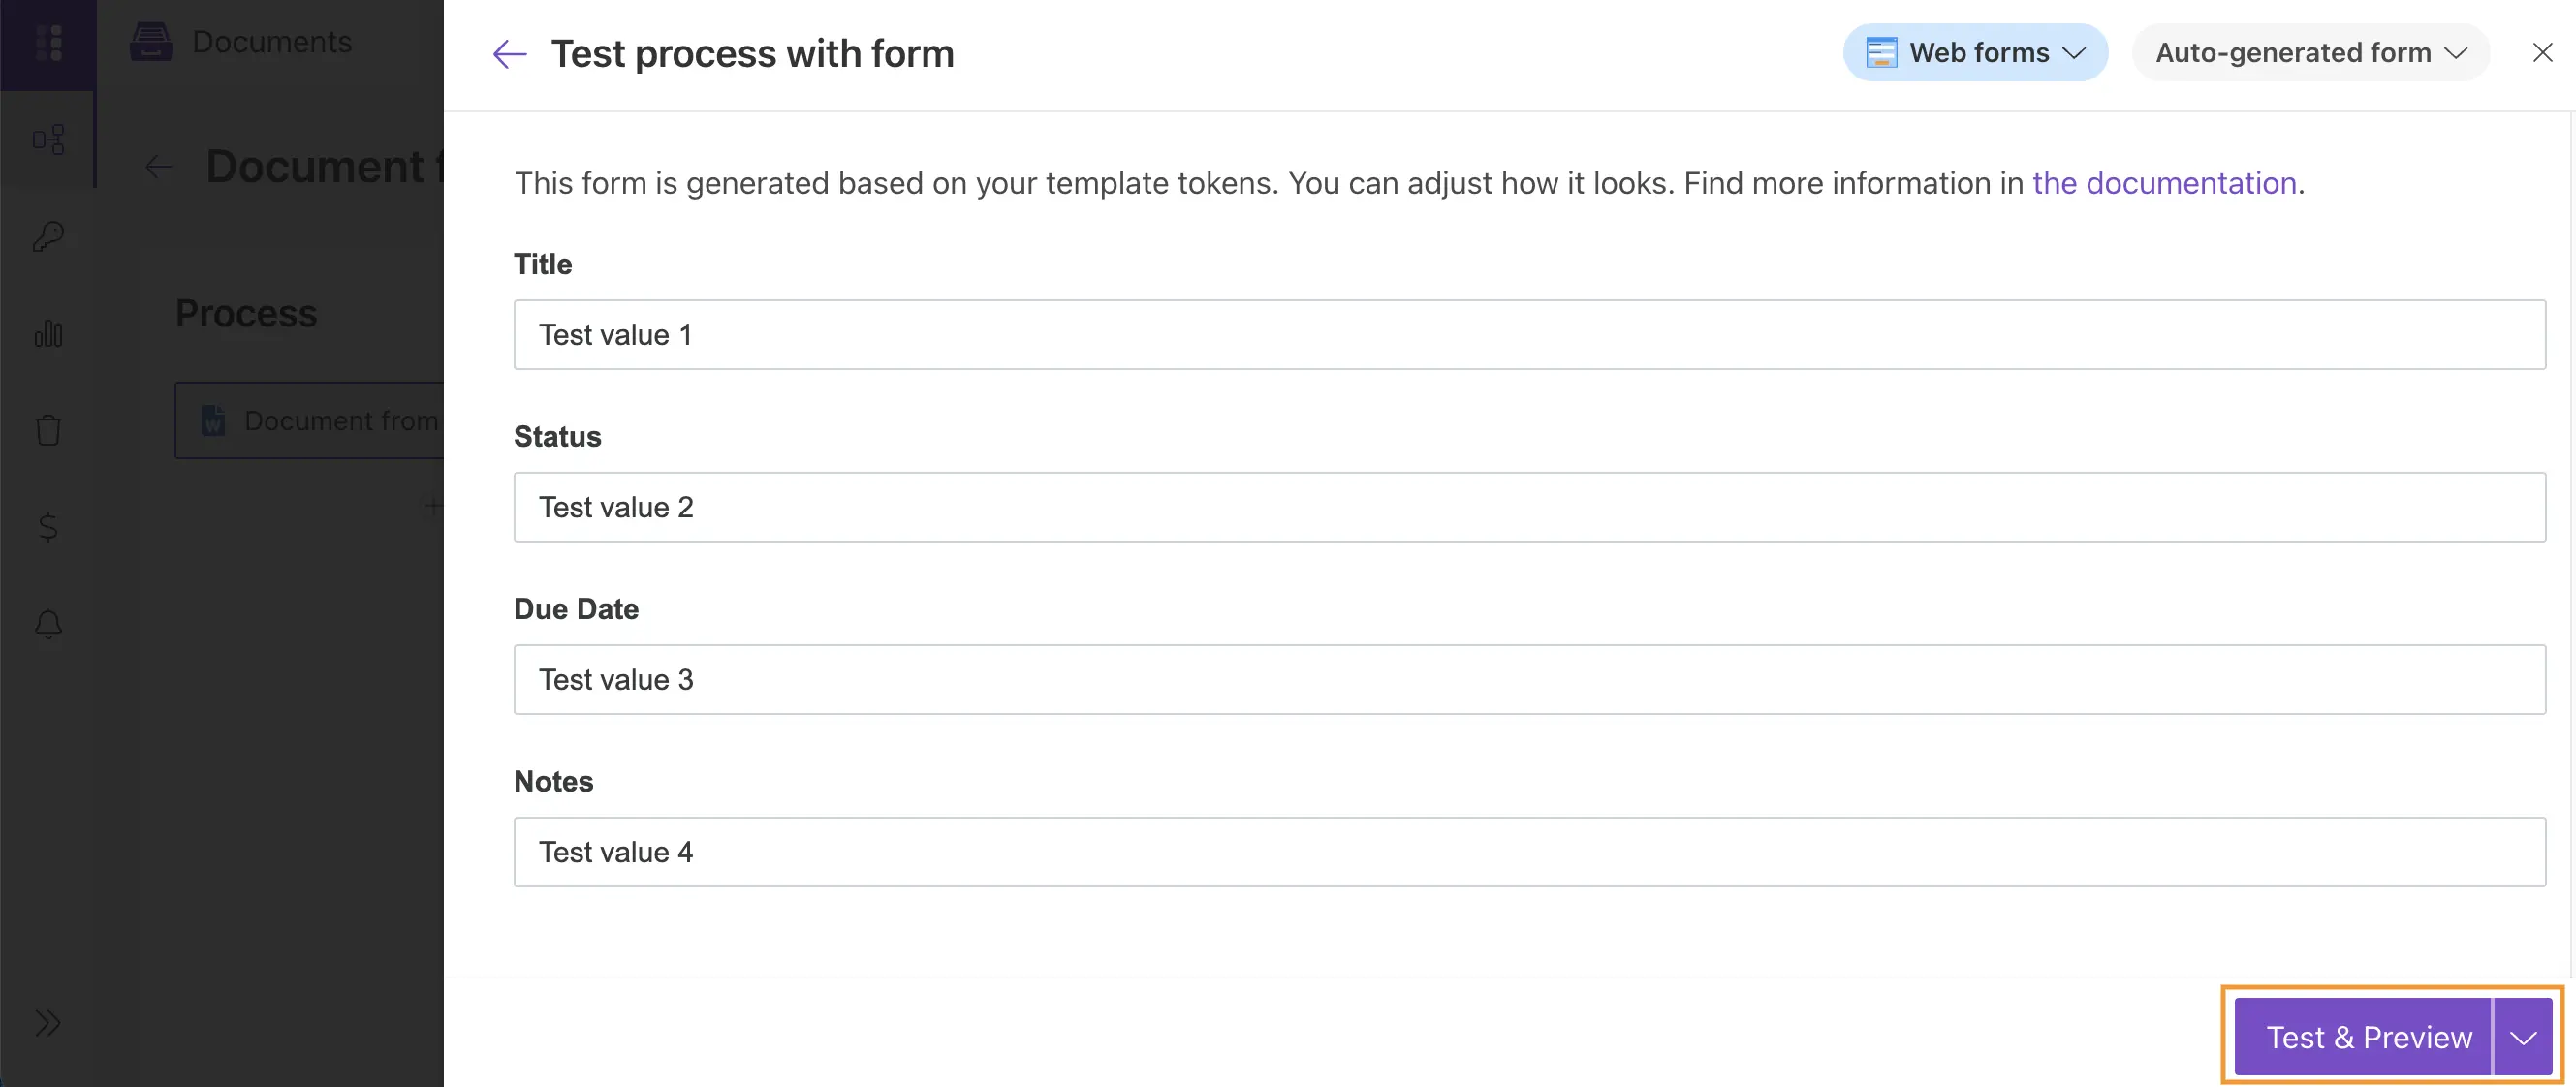
Fill out the form and click Test & Preview to open the generated document in your browser. You can also download the generated document to your computer.
After testing, return to the editor and click Save in the top-right corner.
Template settings
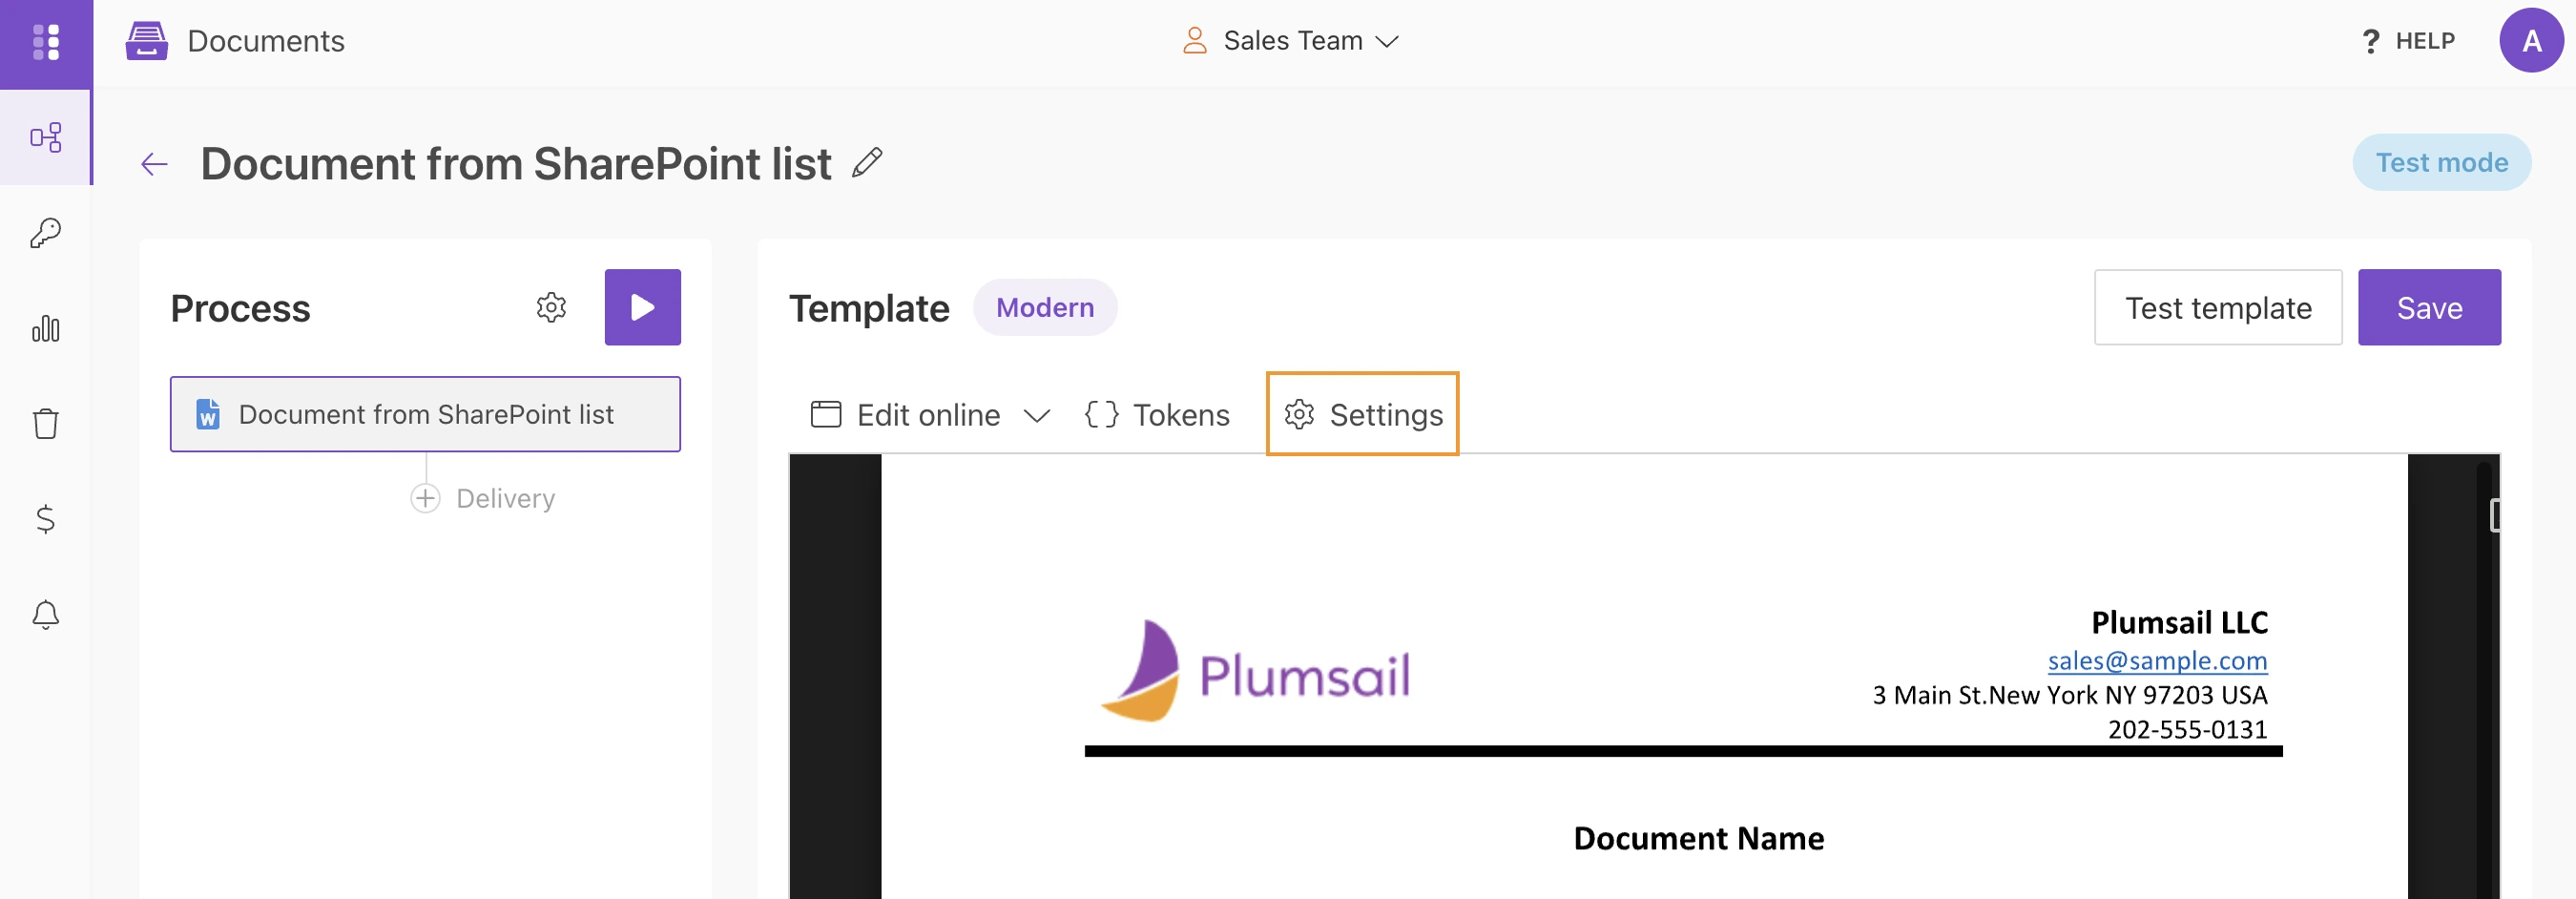
Next, configure the template and output document settings.
To do this, click the Settings button at the top of the editor.
In the pop-up window, specify the output file name and select DOCX as the output format. You can also rename the template and select the templating engine.
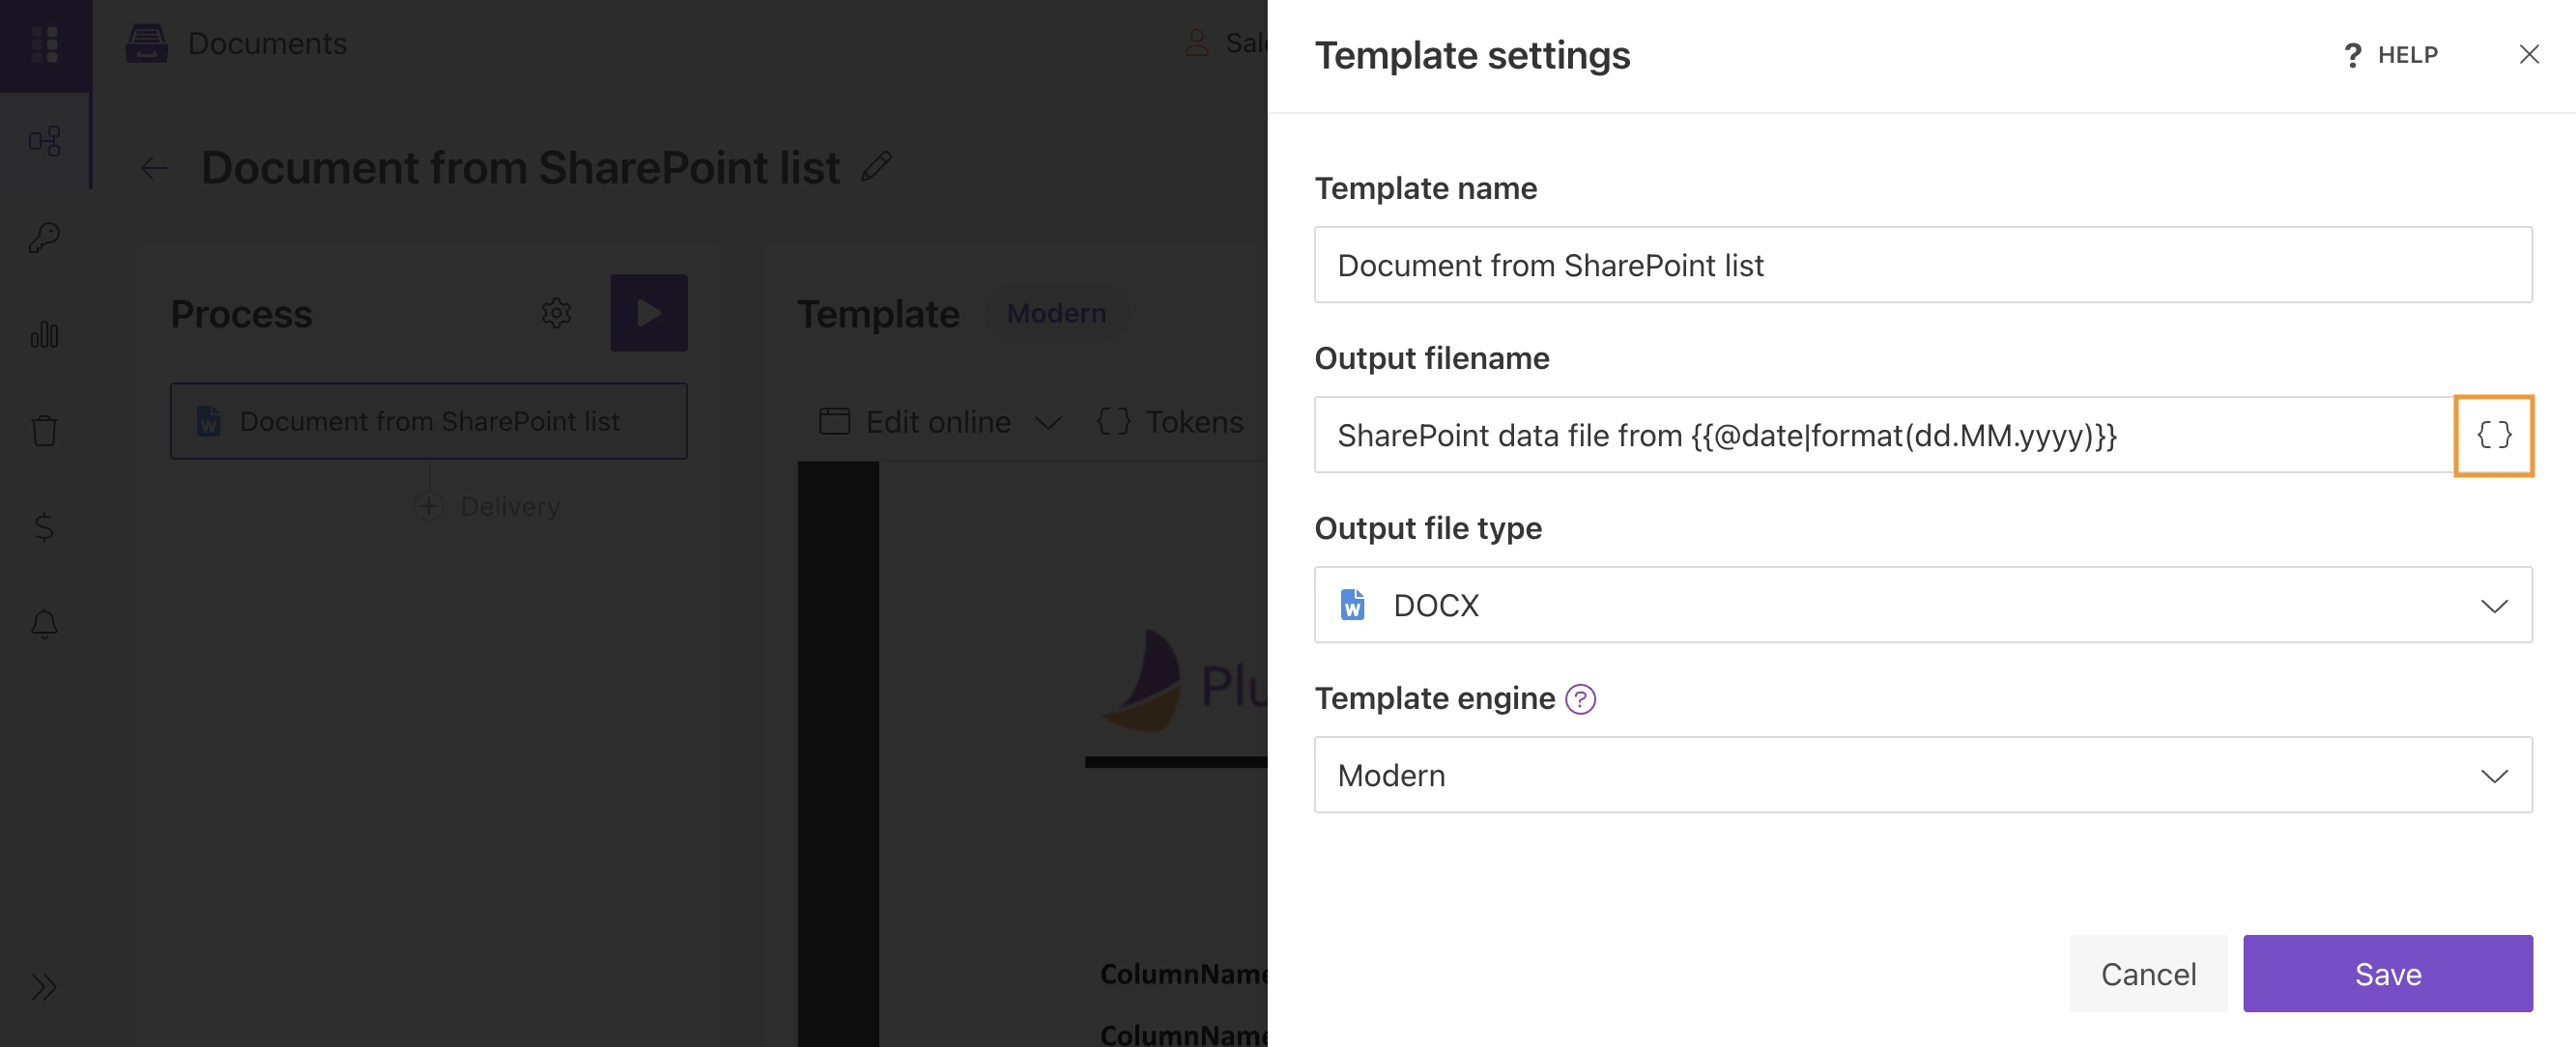
You can use {{tokens}} to generate dynamic file names.
Click Save to apply the template settings.
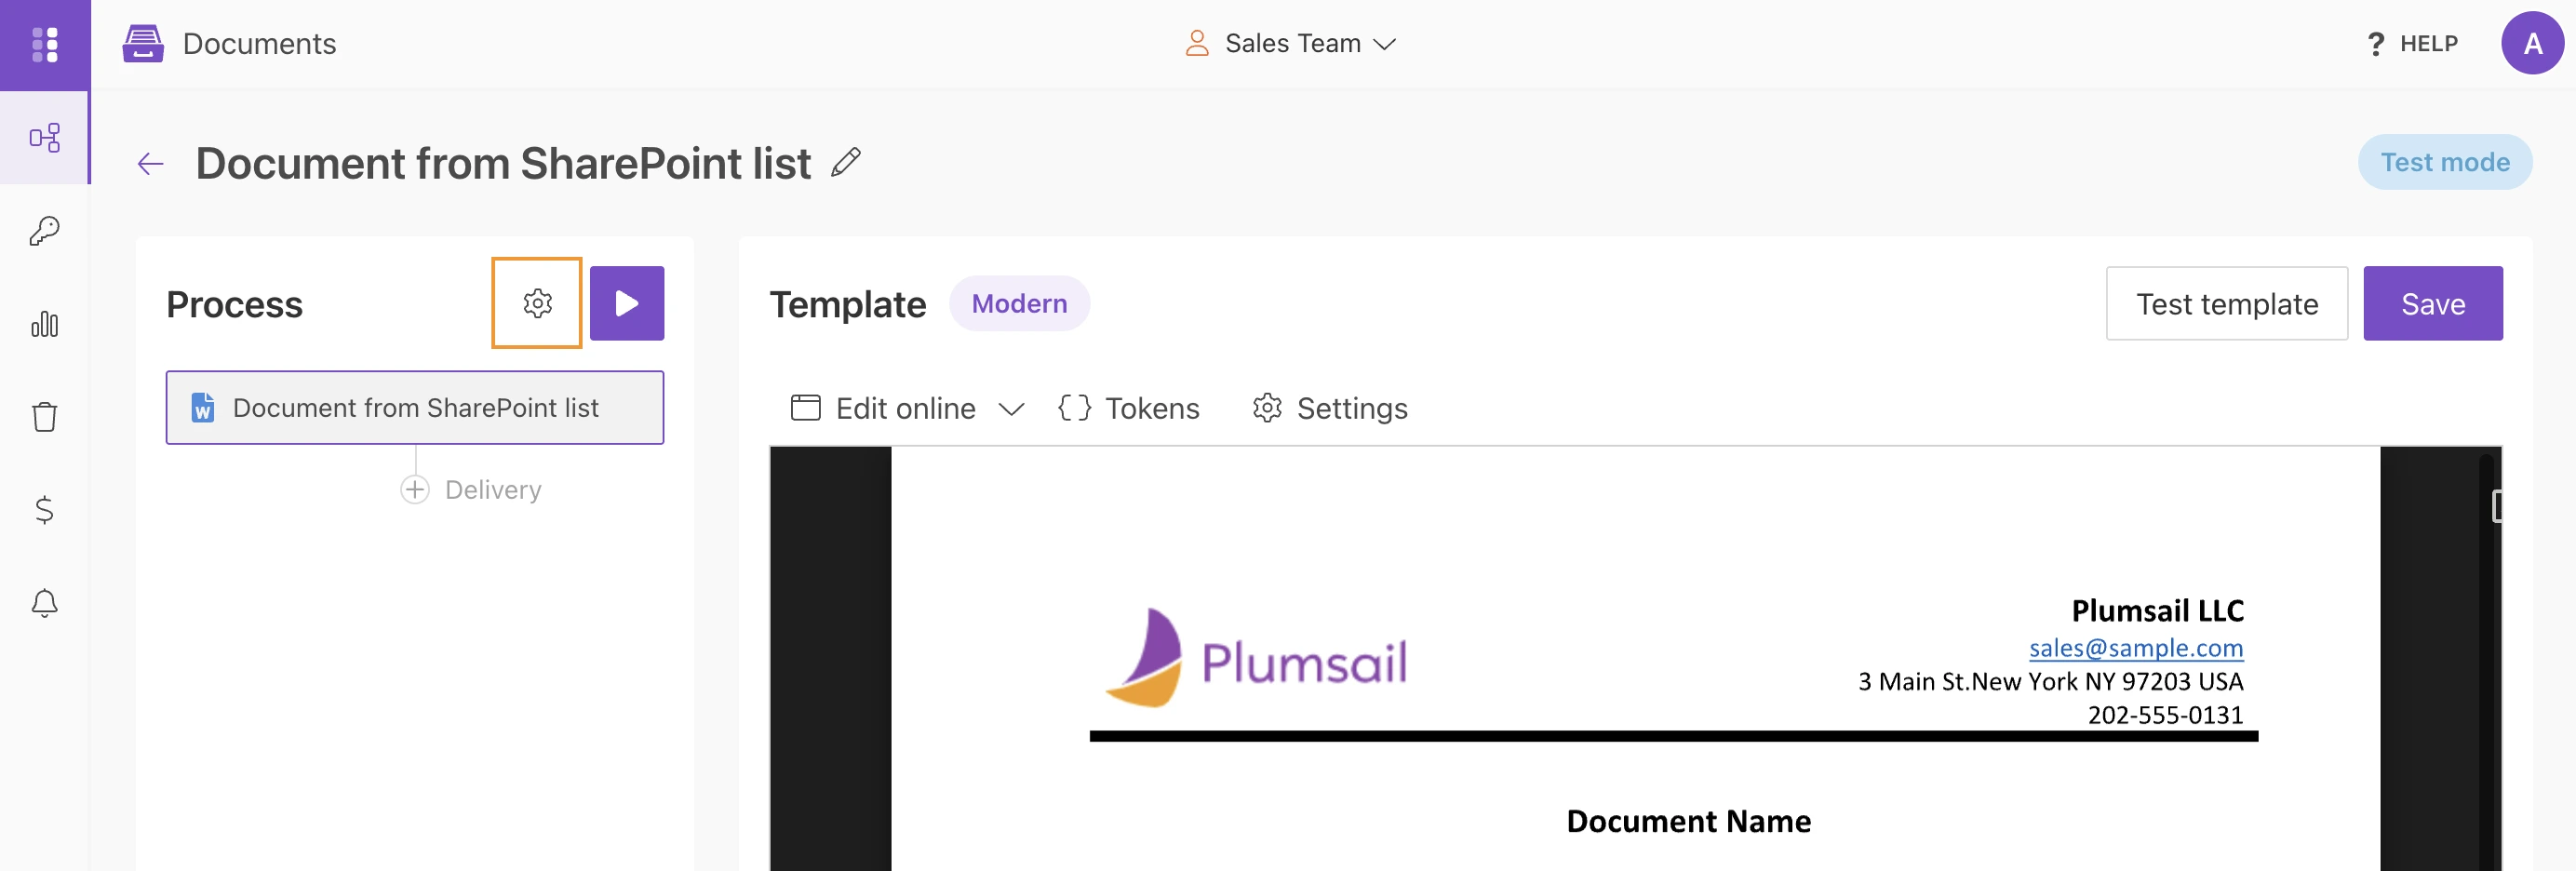
Process settings
Click the gear icon in the left sidebar to open the process settings.
Here you can switch the process from Testing to Production mode to remove Plumsail watermarks from generated documents. You can also configure the timezone, locale, and document index number.
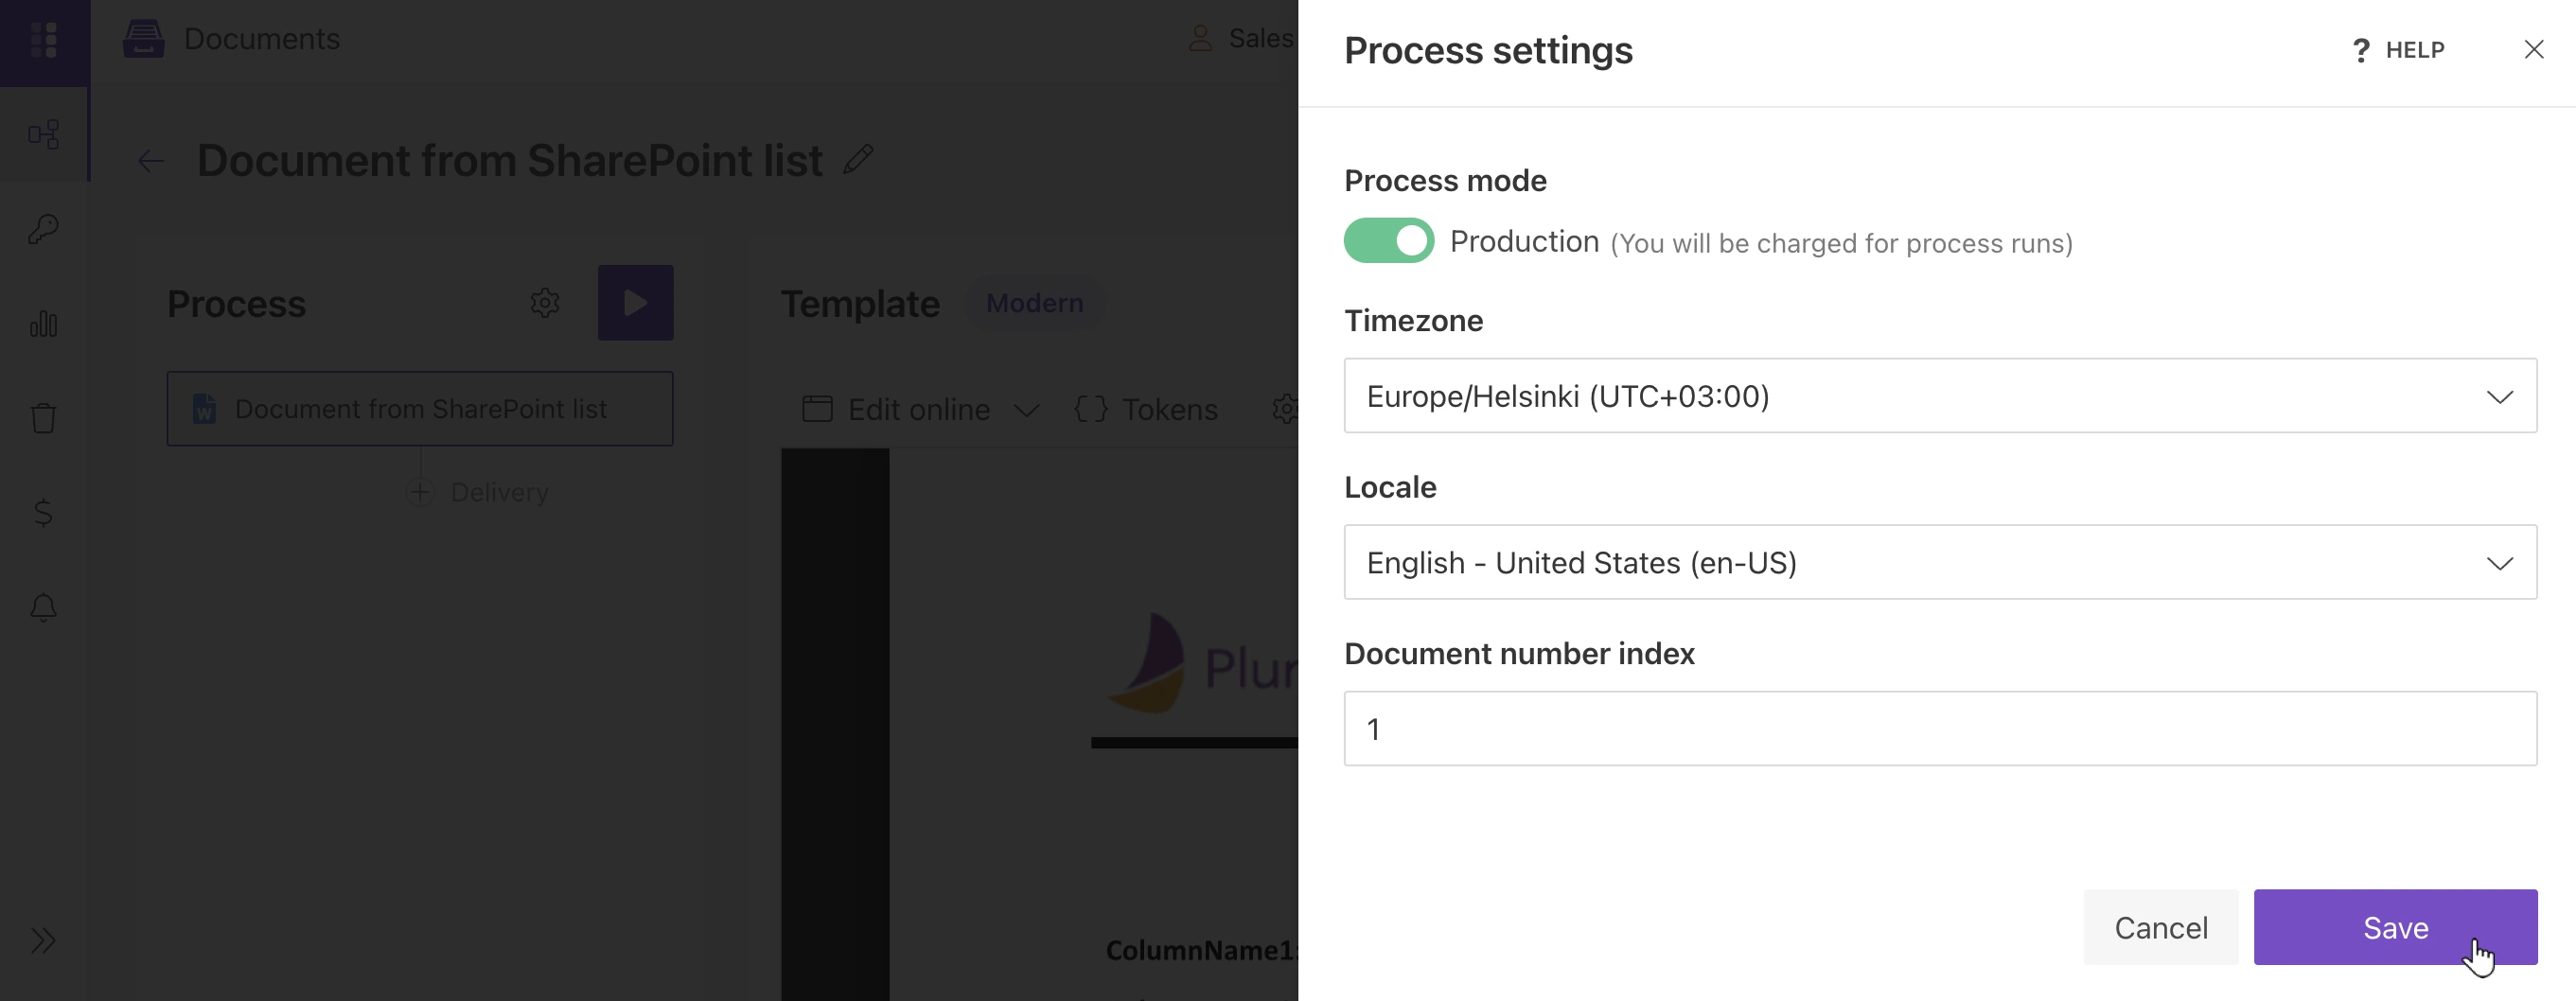
See Process settings documentation for more information.
Click Save to apply the process settings.
Delivery
The next step is to configure a delivery. In this example, the generated DOCX document will be sent to a Microsoft Teams channel.
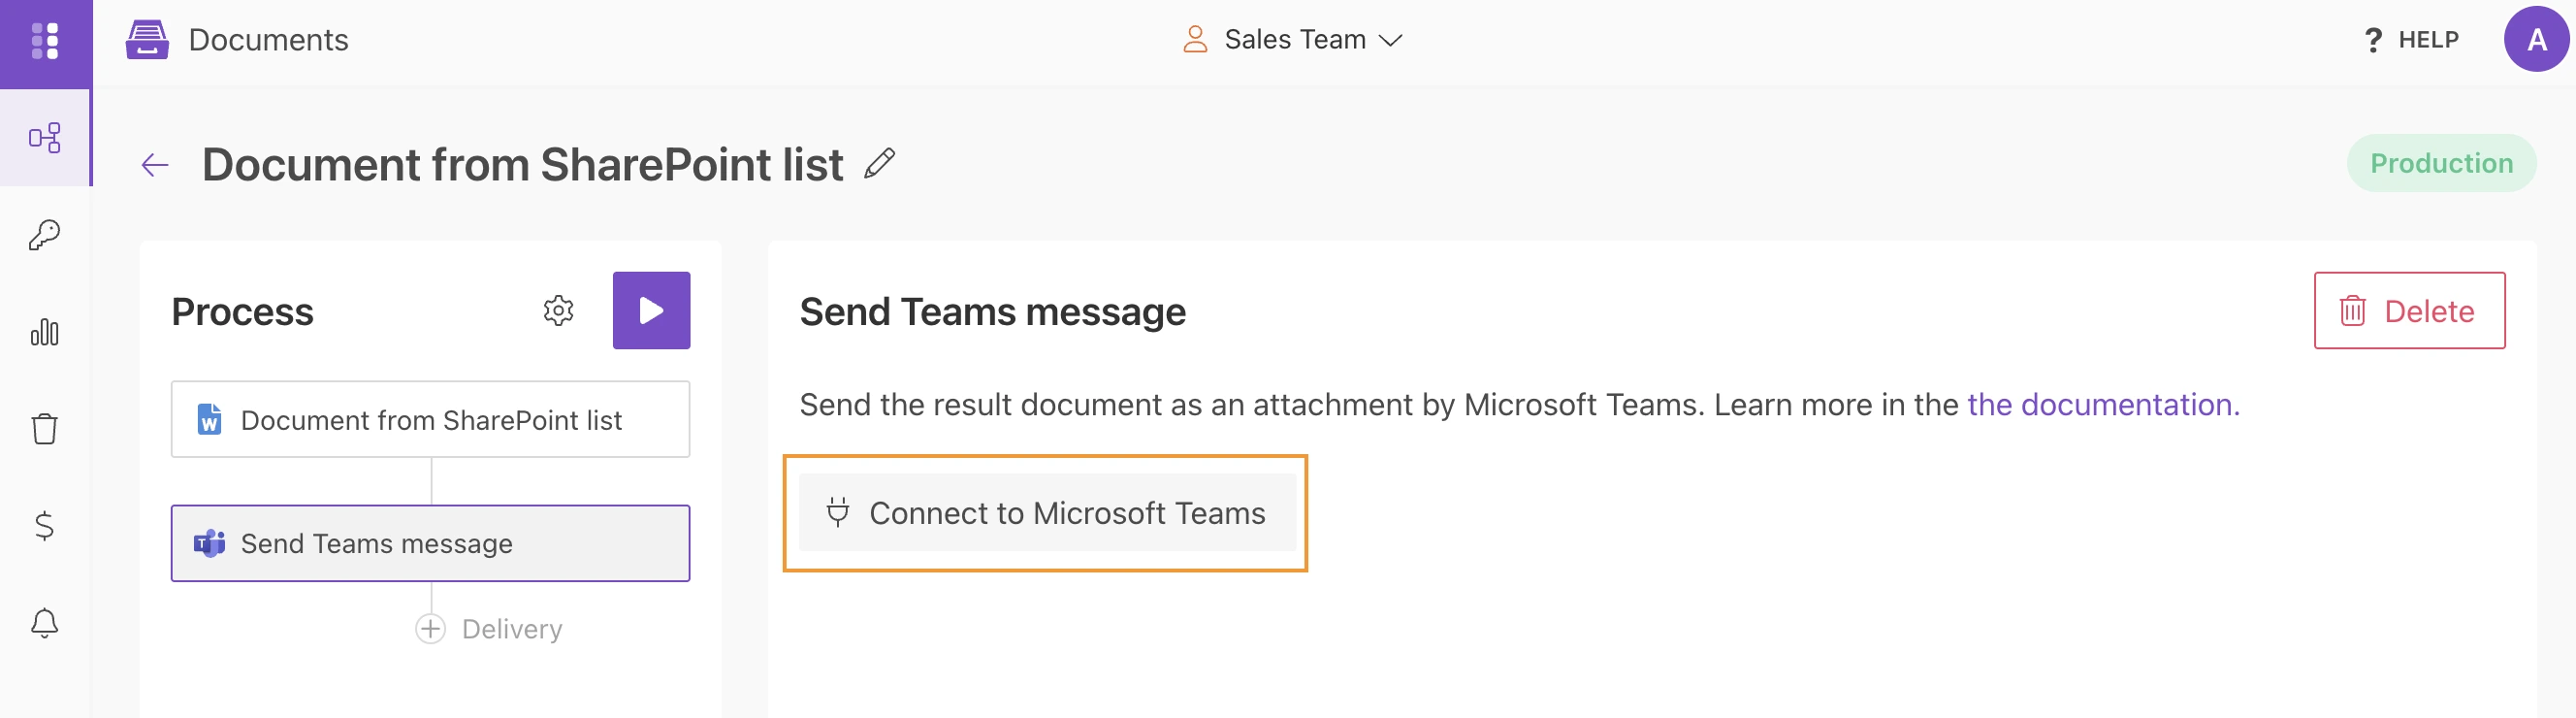
Before configuring the delivery, connect Plumsail Documents to Microsoft Teams.
To do this, click the Delivery button and select Microsoft Teams from the list of deliveries.

Click Connect to Microsoft Teams.
Once connected, select the Team and Channel, then fill in the Message field. You can use {{tokens}} in the message.
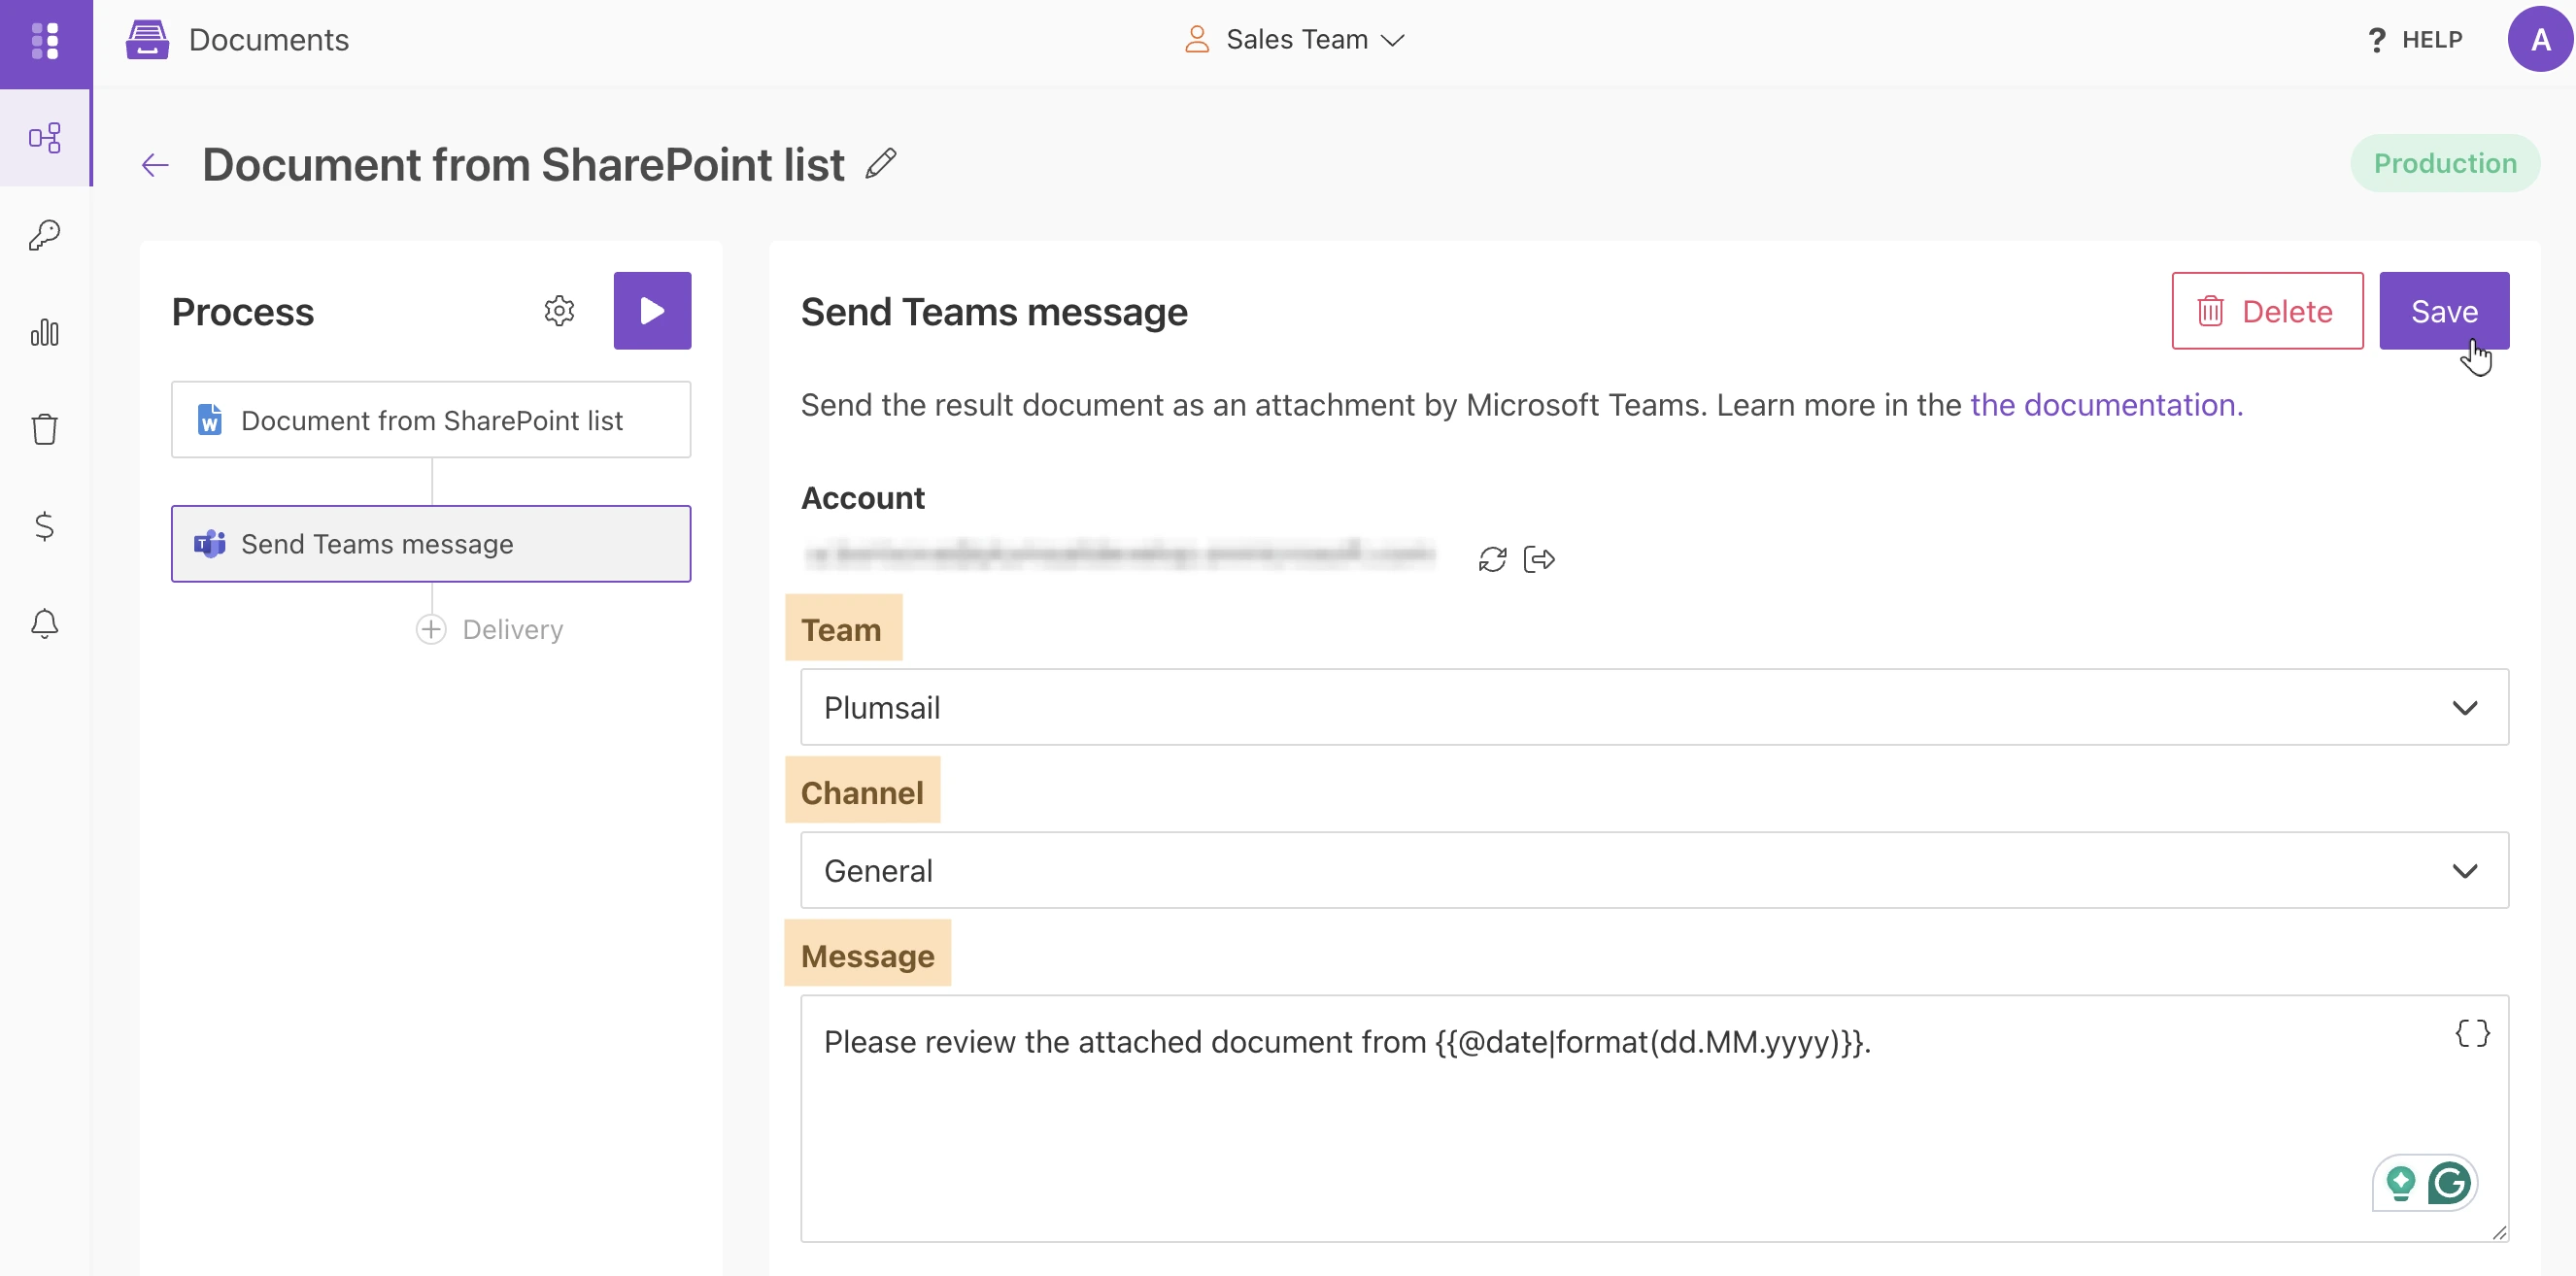
Click Save to apply the delivery settings and continue.
Configure Power Automate flow
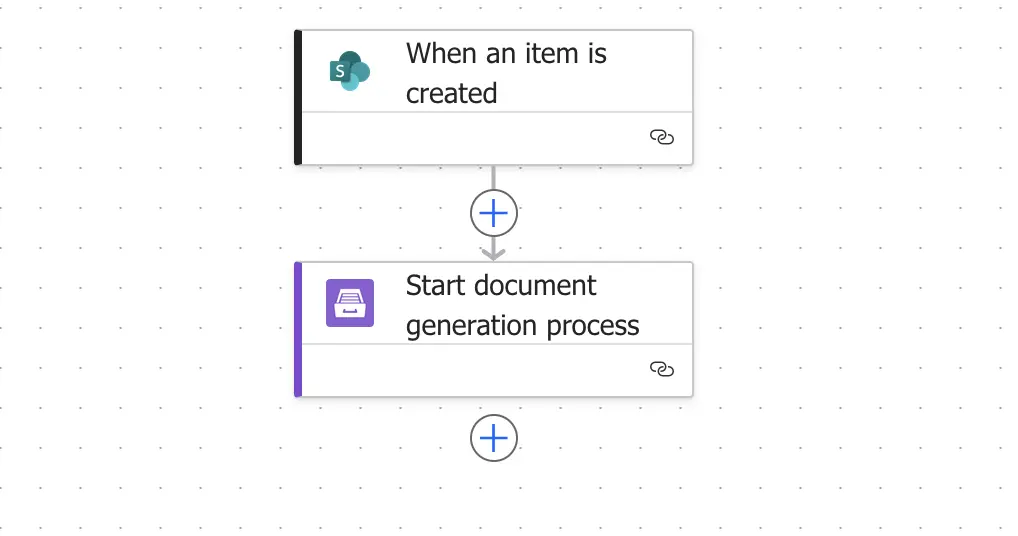
The process will be triggered from Power Automate (Microsoft Flow). The flow contains the following steps:
Flow trigger
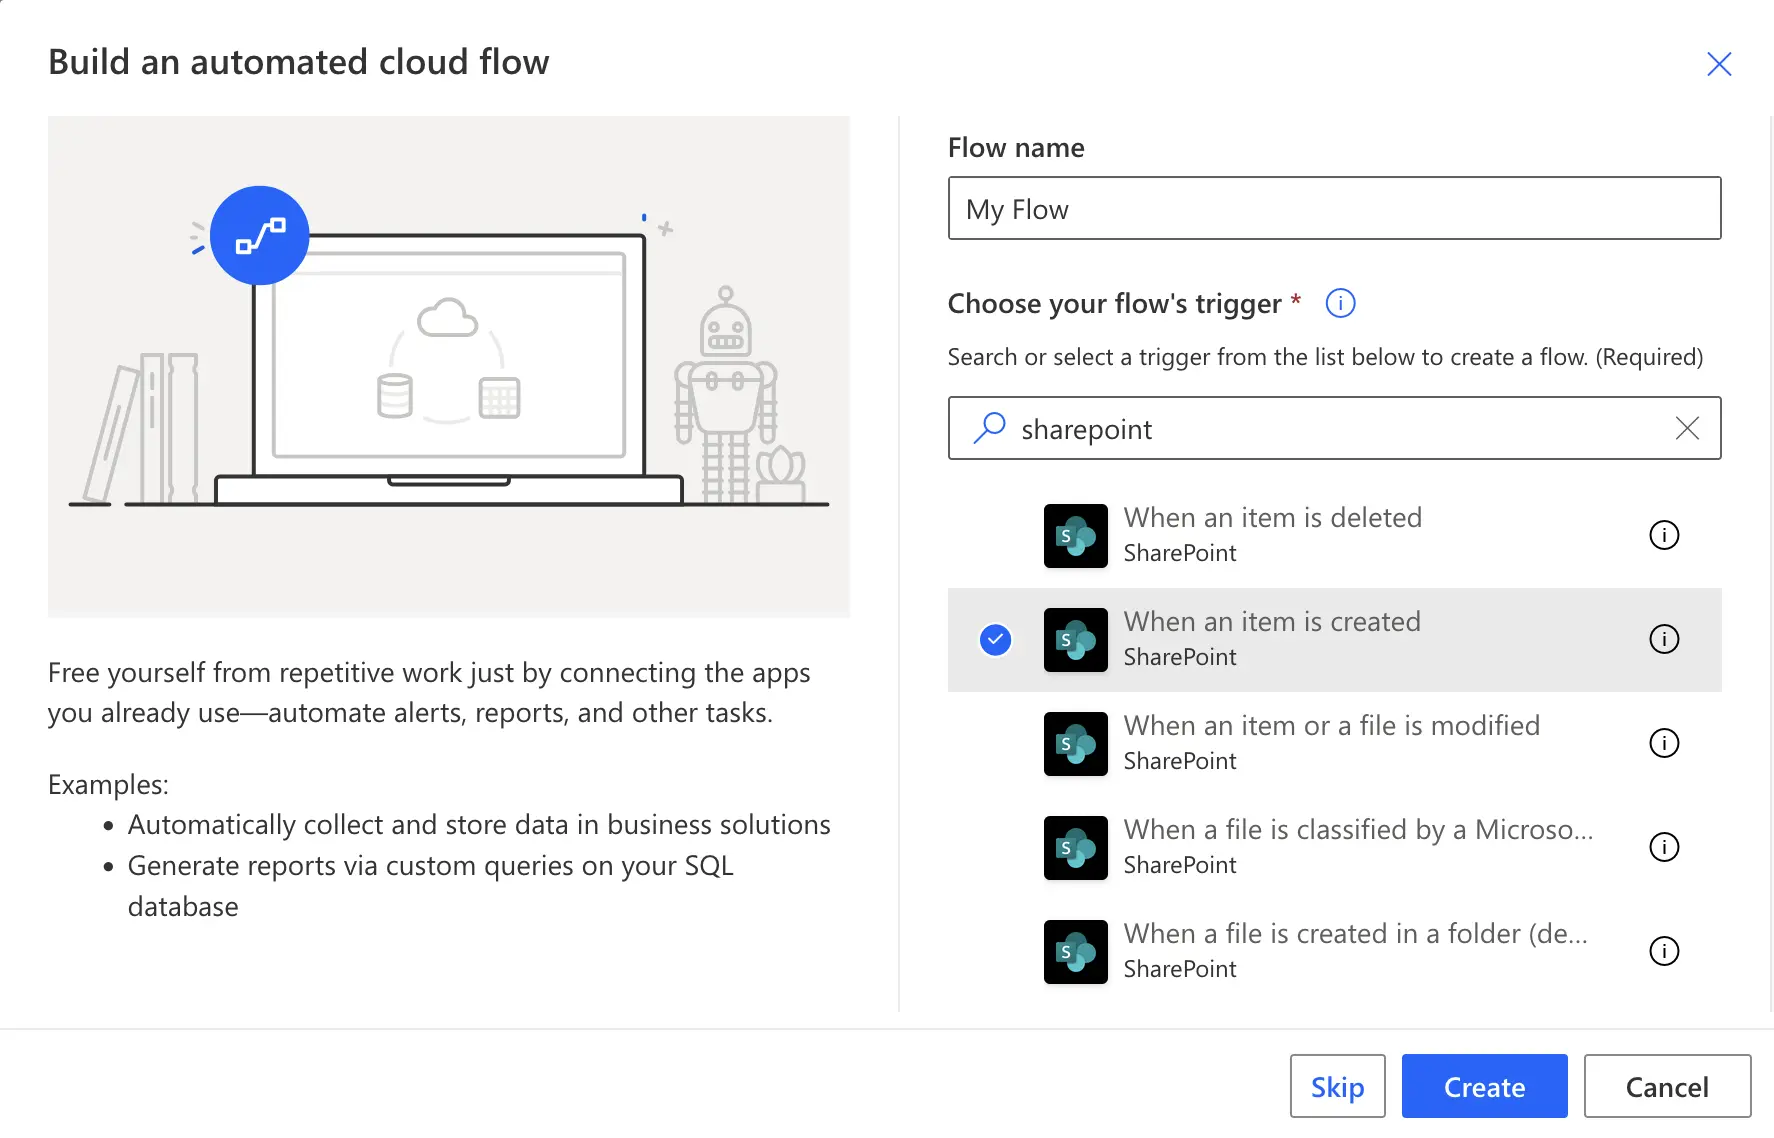
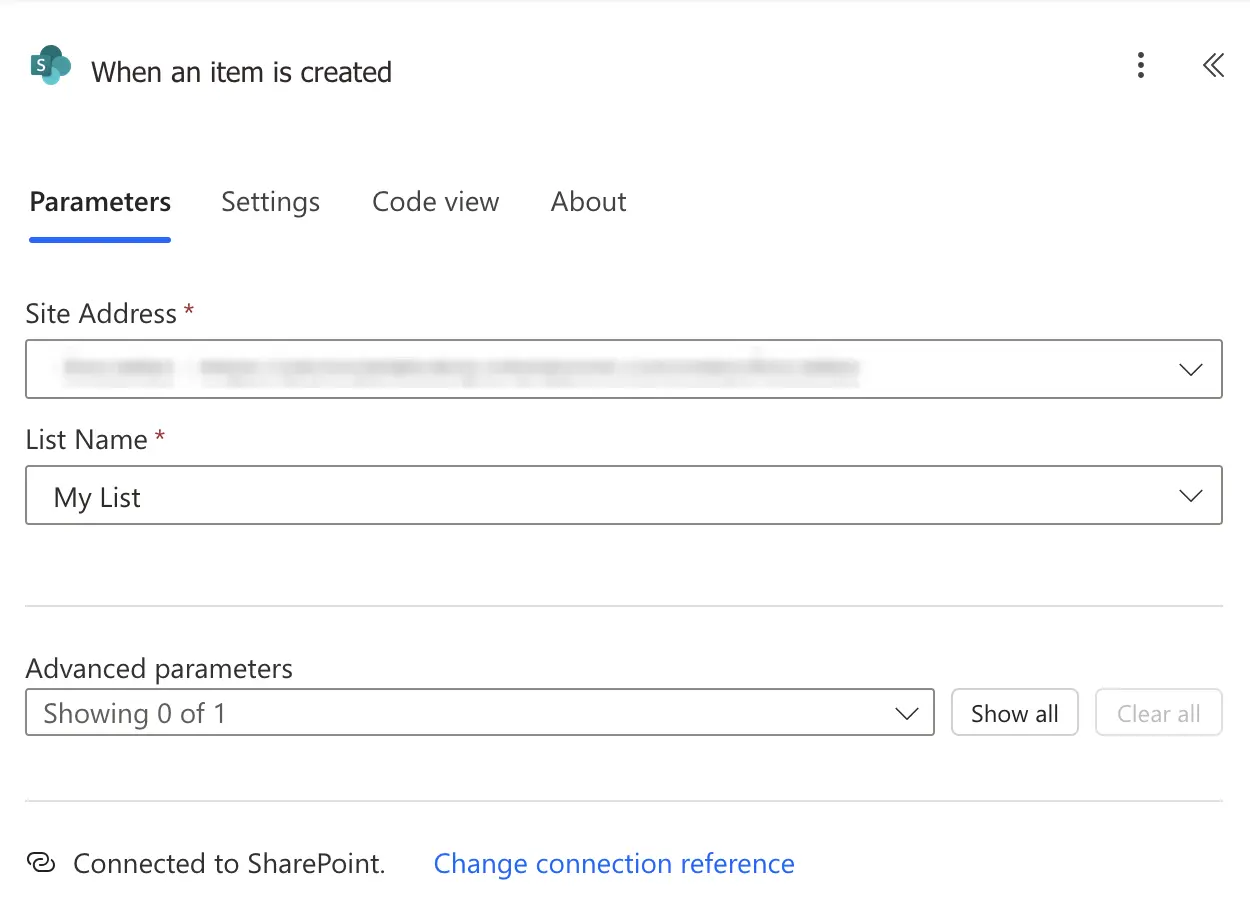
The flow should start whenever a new item is created in the SharePoint list. Search for the SharePoint connector in Power Automate and select SharePoint → When an item is created as the trigger. Click Create to start building the flow.
Then select the SharePoint site and List.
Connect to Plumsail Documents connector
When using the connector for the first time, you’ll be asked to provide the following information:
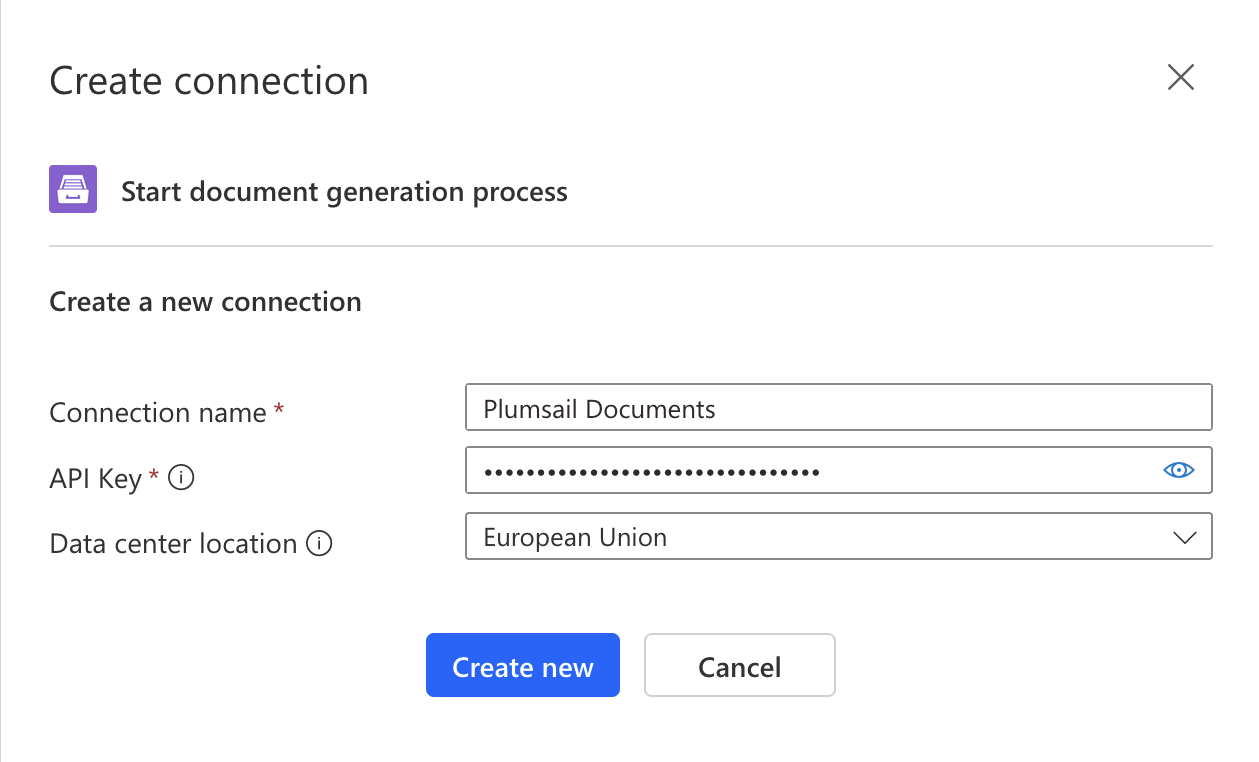
Enter any name for the connection, for example, Plumsail Documents.
Create an API key in your Plumsail account page, then copy and paste it into Access Key field.
Select the same Data center location as configured in your Plumsail account settings to avoid possible errors.
Click Create new to continue and select an action.
Start document generation process
This action is part of the Plumsail Documents connector. See the Start document generation process action for more details..
The action has two parameters:
Process name - select the required process from the list.
Template data - map the template tokens to the dynamic values from the SharePoint trigger.
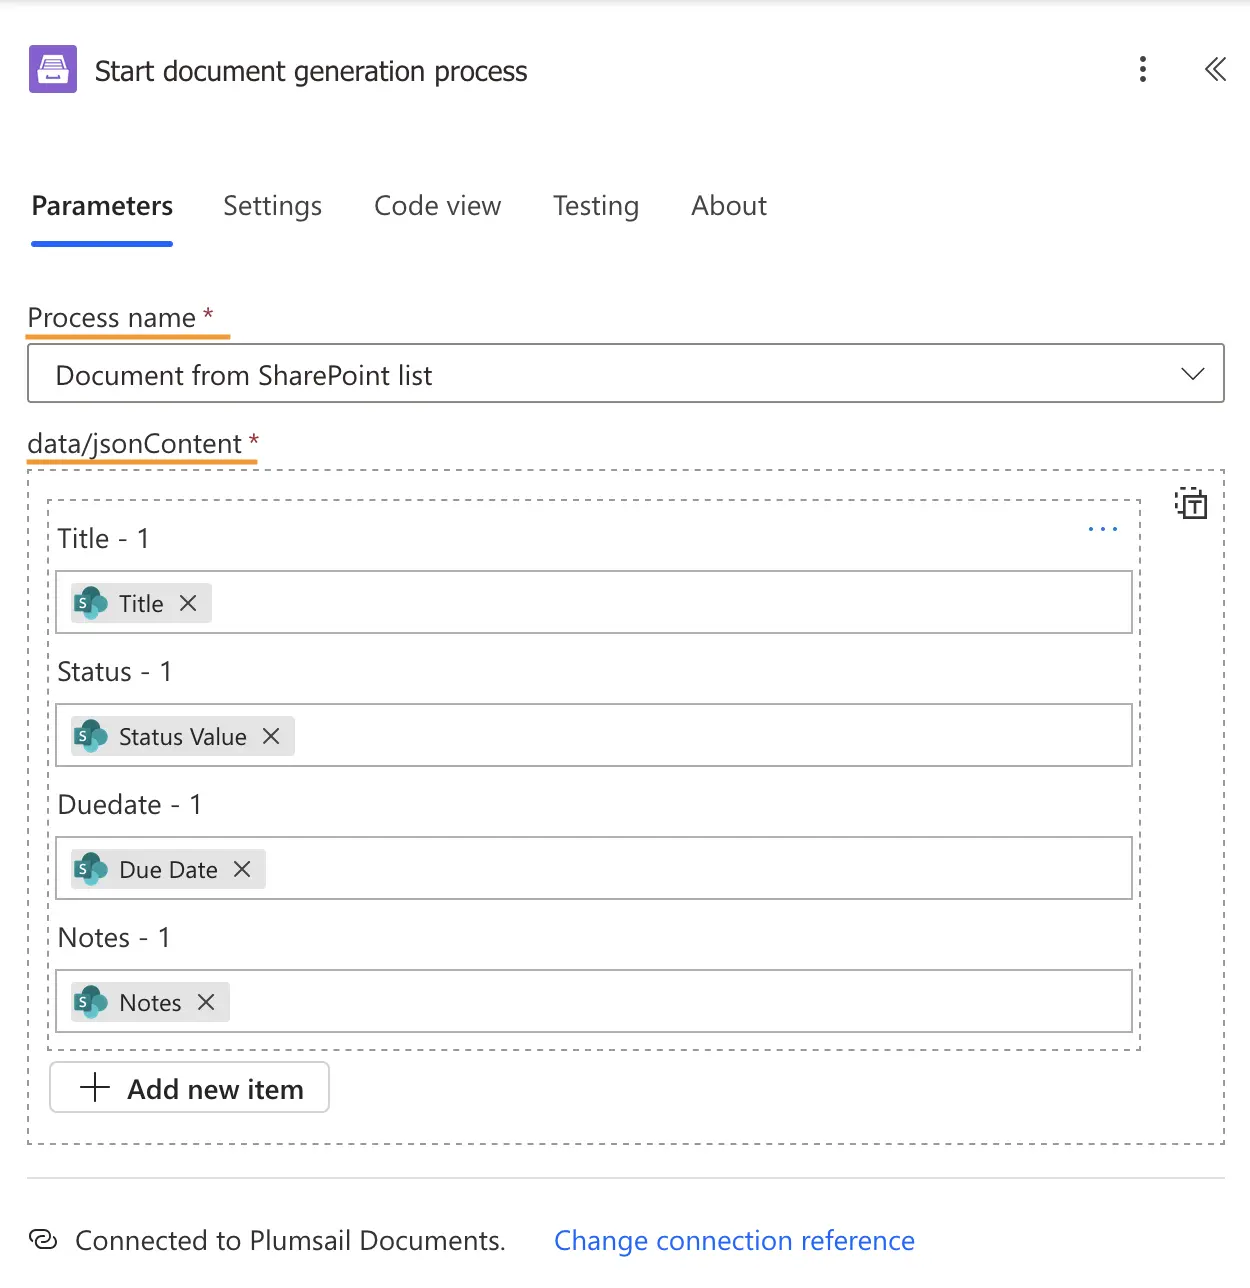
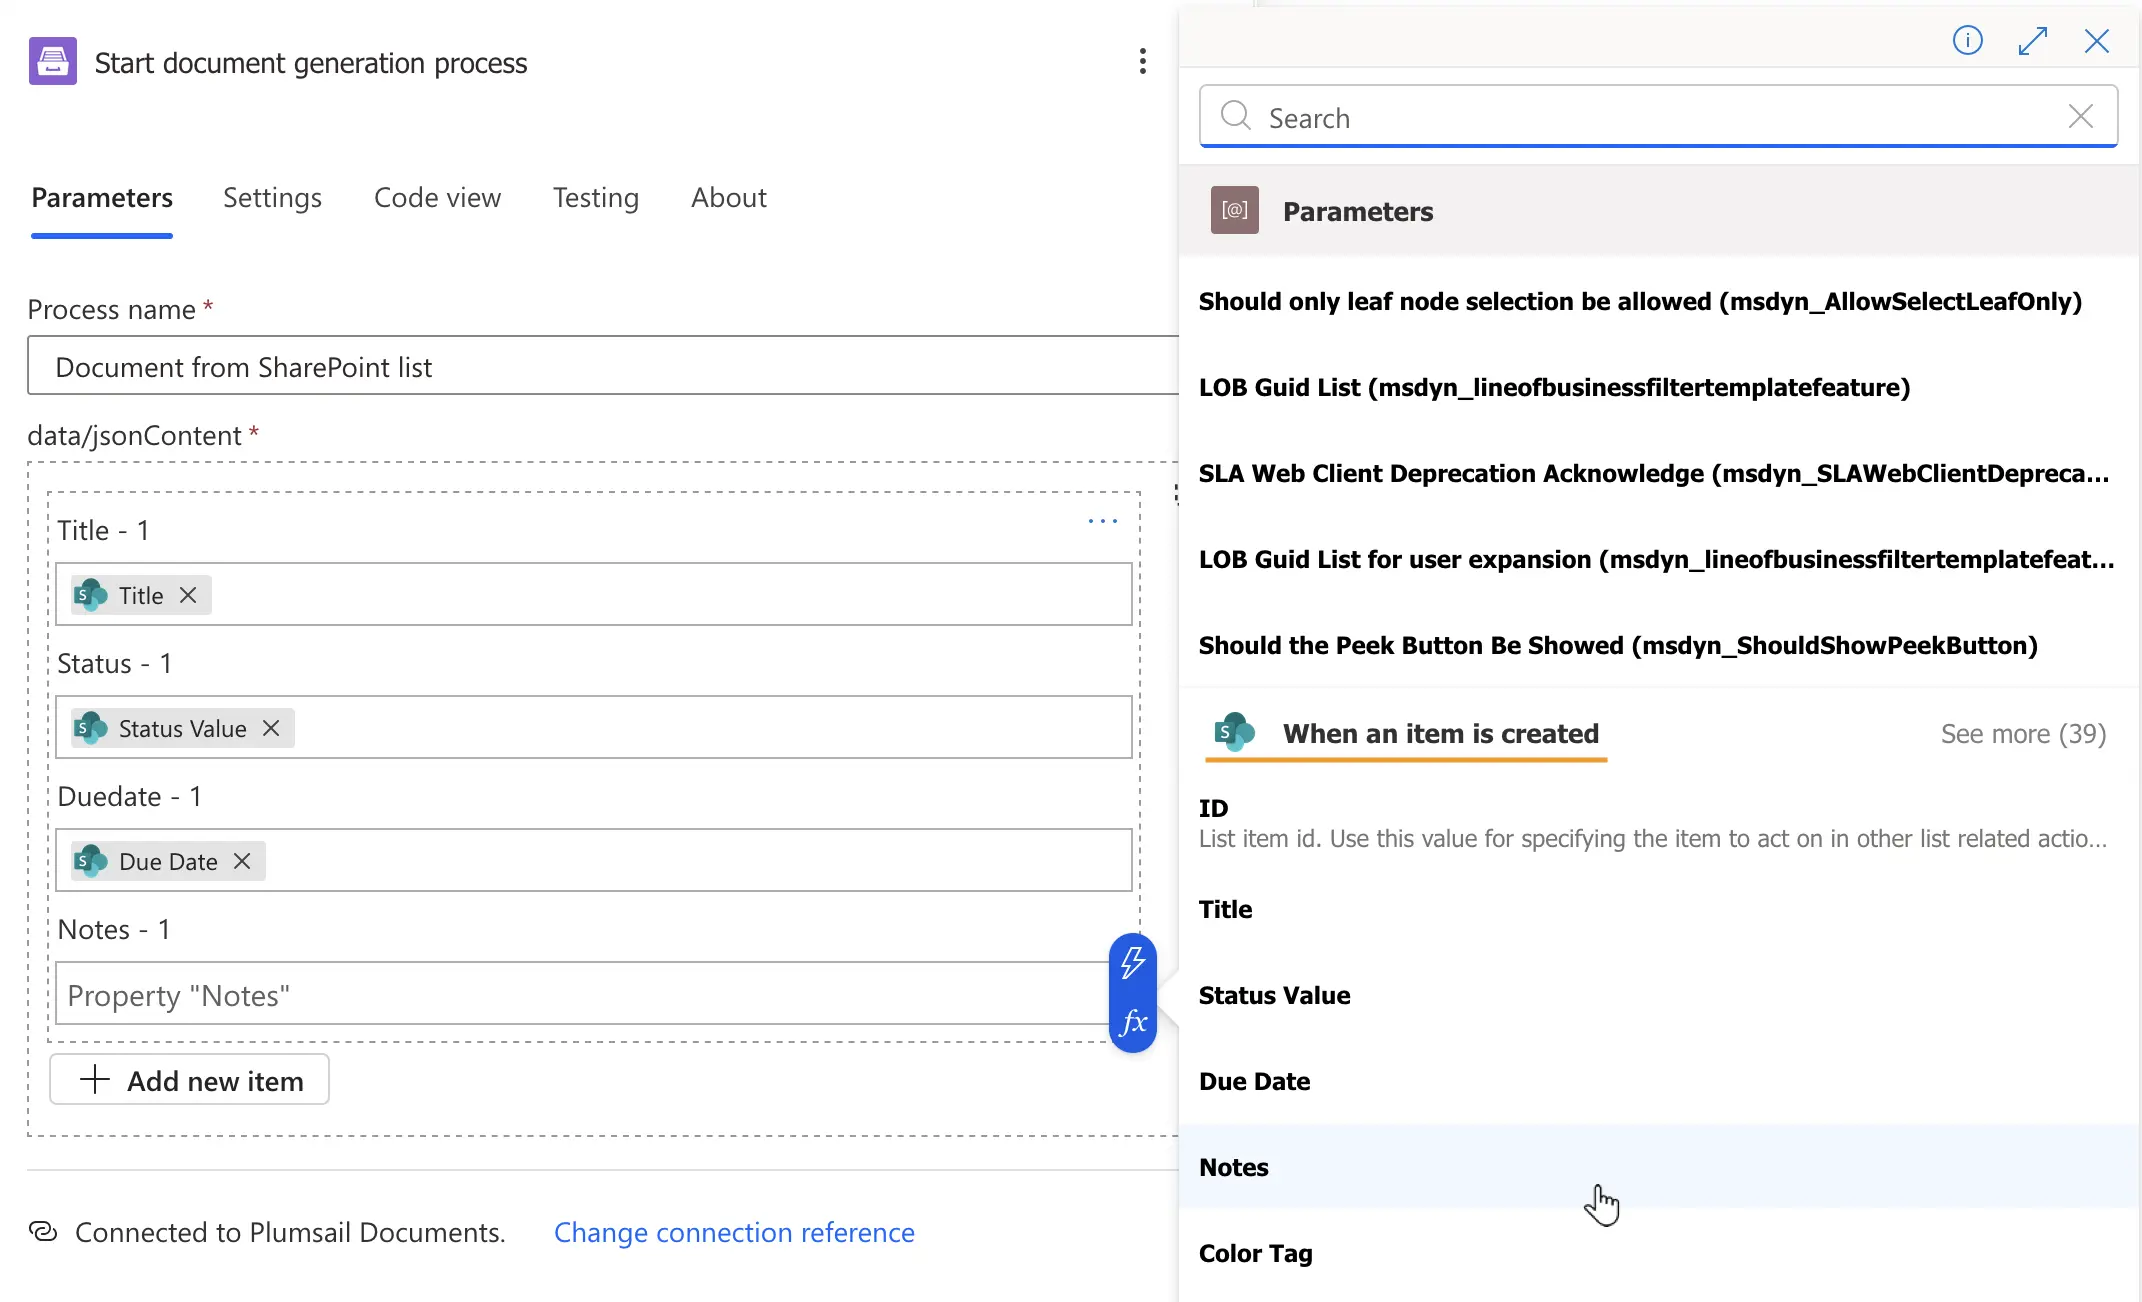
Use dynamic content from the SharePoint trigger to populate the template data fields.
Result
The flow works as follows: when a new item is created in the SharePoint list, Power Automate takes dynamic values from the trigger and fills the Word template with SharePoint data. The generated document is then sent to a Microsoft Teams channel.
The result looks like this:

Conclusion
It’s very simple to automize creating Word DOCX documents using Microsoft Power Automate and Plumsail Documents.
You can also generate more complex documents using data from multiple SharePoint lists.
If you’re new to Plumsail Documents, register an account to get a free 30-day trial.