Generate PDF documents from Word templates using data from Dynamics 365 CRM
This article shows how to generate documents such as fillable PDFs, Word, Excel, PowerPoint, and HTML files from templates populated with data from Dynamics 365 CRM.
You can not only automate document creation, but also send files via email, collect e-signatures, and manage storage across integrated applications.
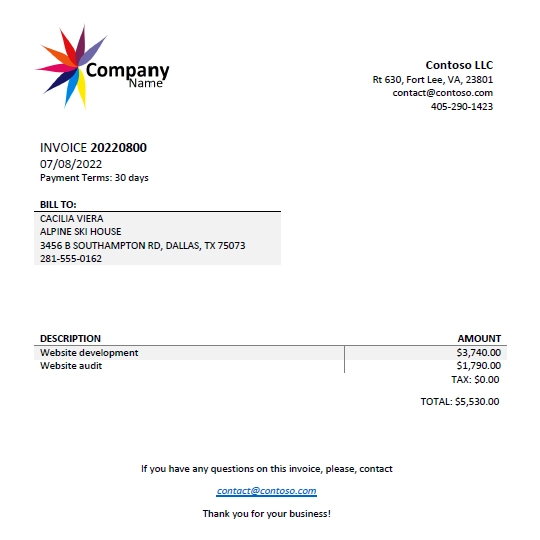
In our example, we’ll generate customized PDF invoices from a pre-made template for selected orders in Dynamics 365 CRM and send the resulting document by email.
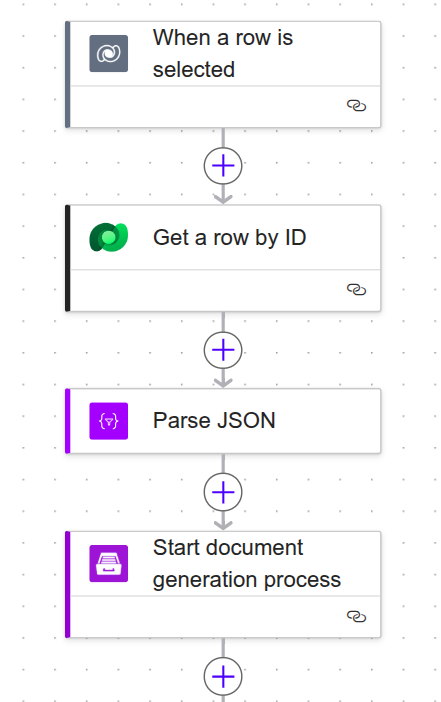
Here’s a quick look at the flow, in which we will use Power Automate and the Plumsail Documents connector:
Configure process
Before building the flow, you need to configure the document generation process which will generate our PDF documents from the Word template.
To start, sign in to your Plumsail account.
Create new process
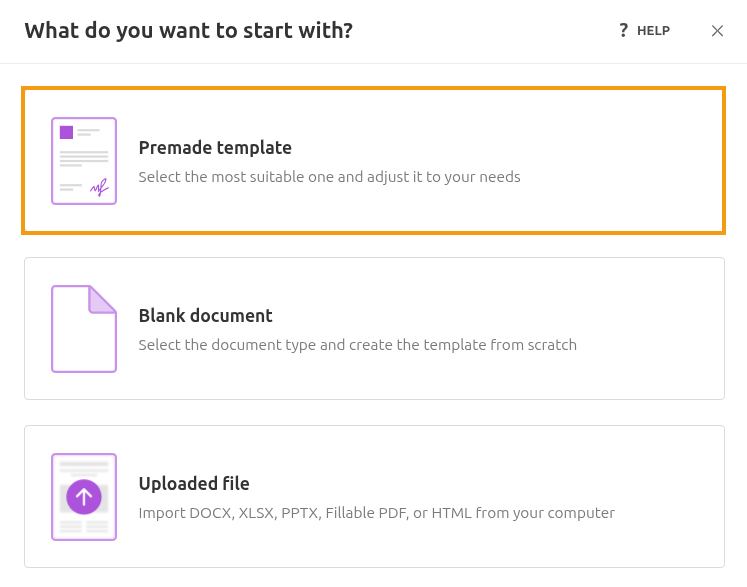
In your Processes list, click the Add process button and select the premade template option. Alternatively, you can choose to start from a blank document if you have your own template design already created.
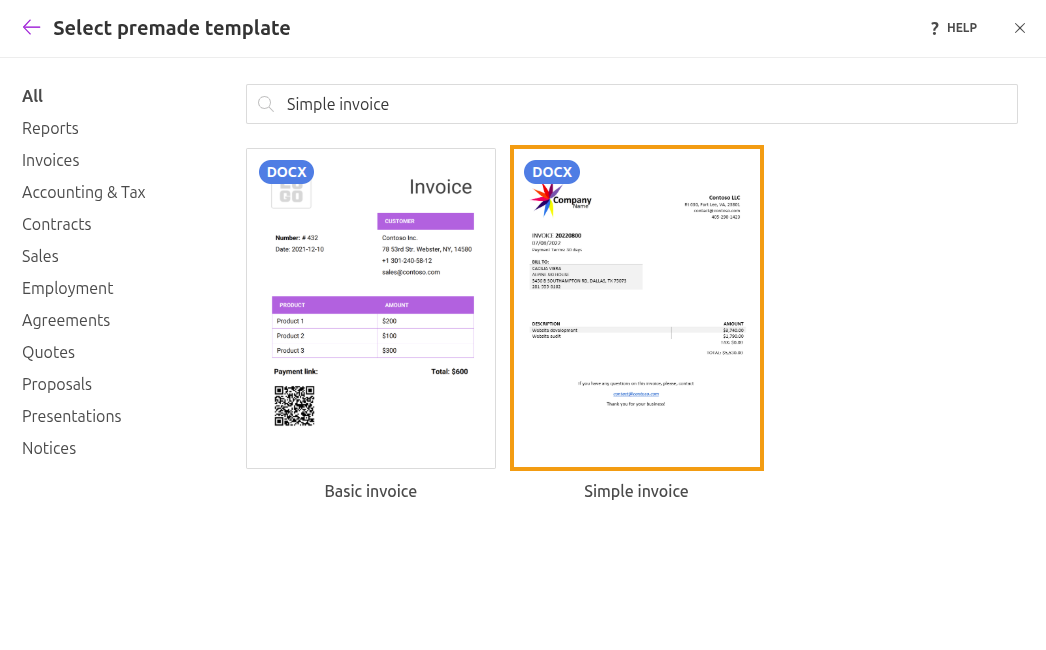
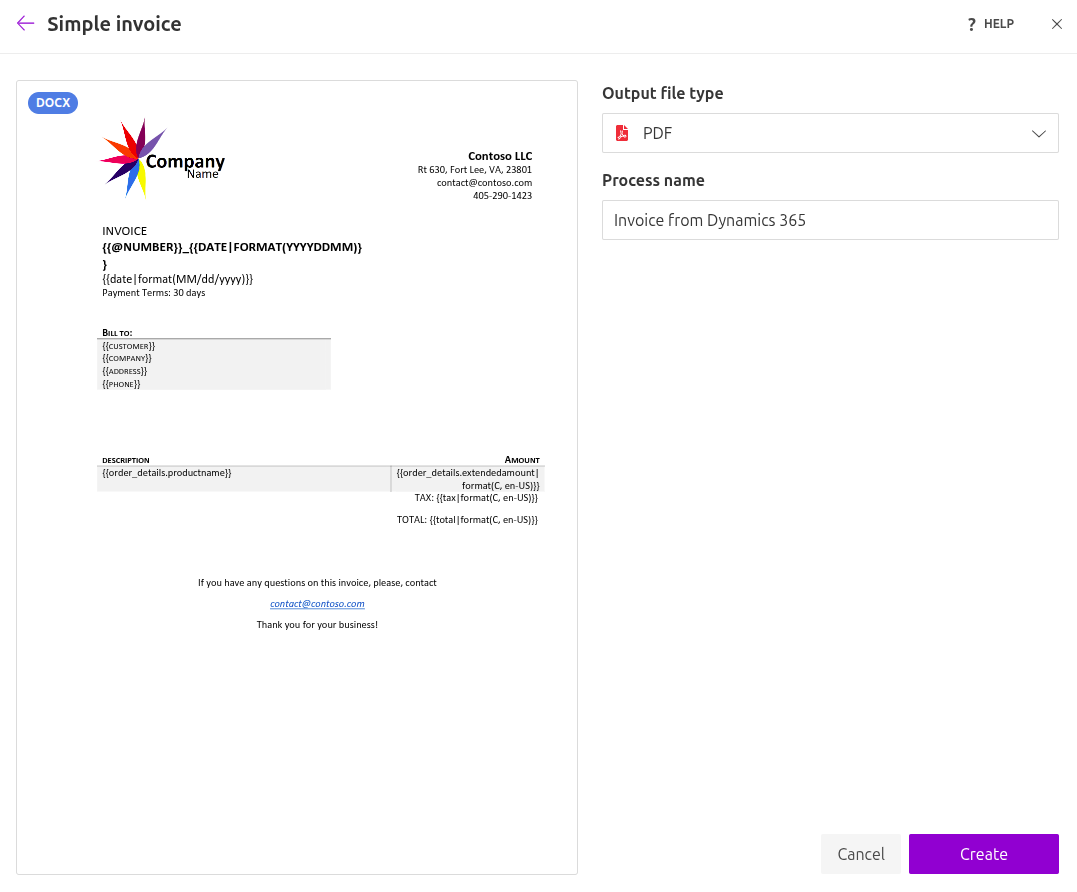
Our ready-to-use templates will be shown next. For this example, search for and select a simple invoice layout.
Select the output file type, name the process, and click Create to proceed.
Configure template
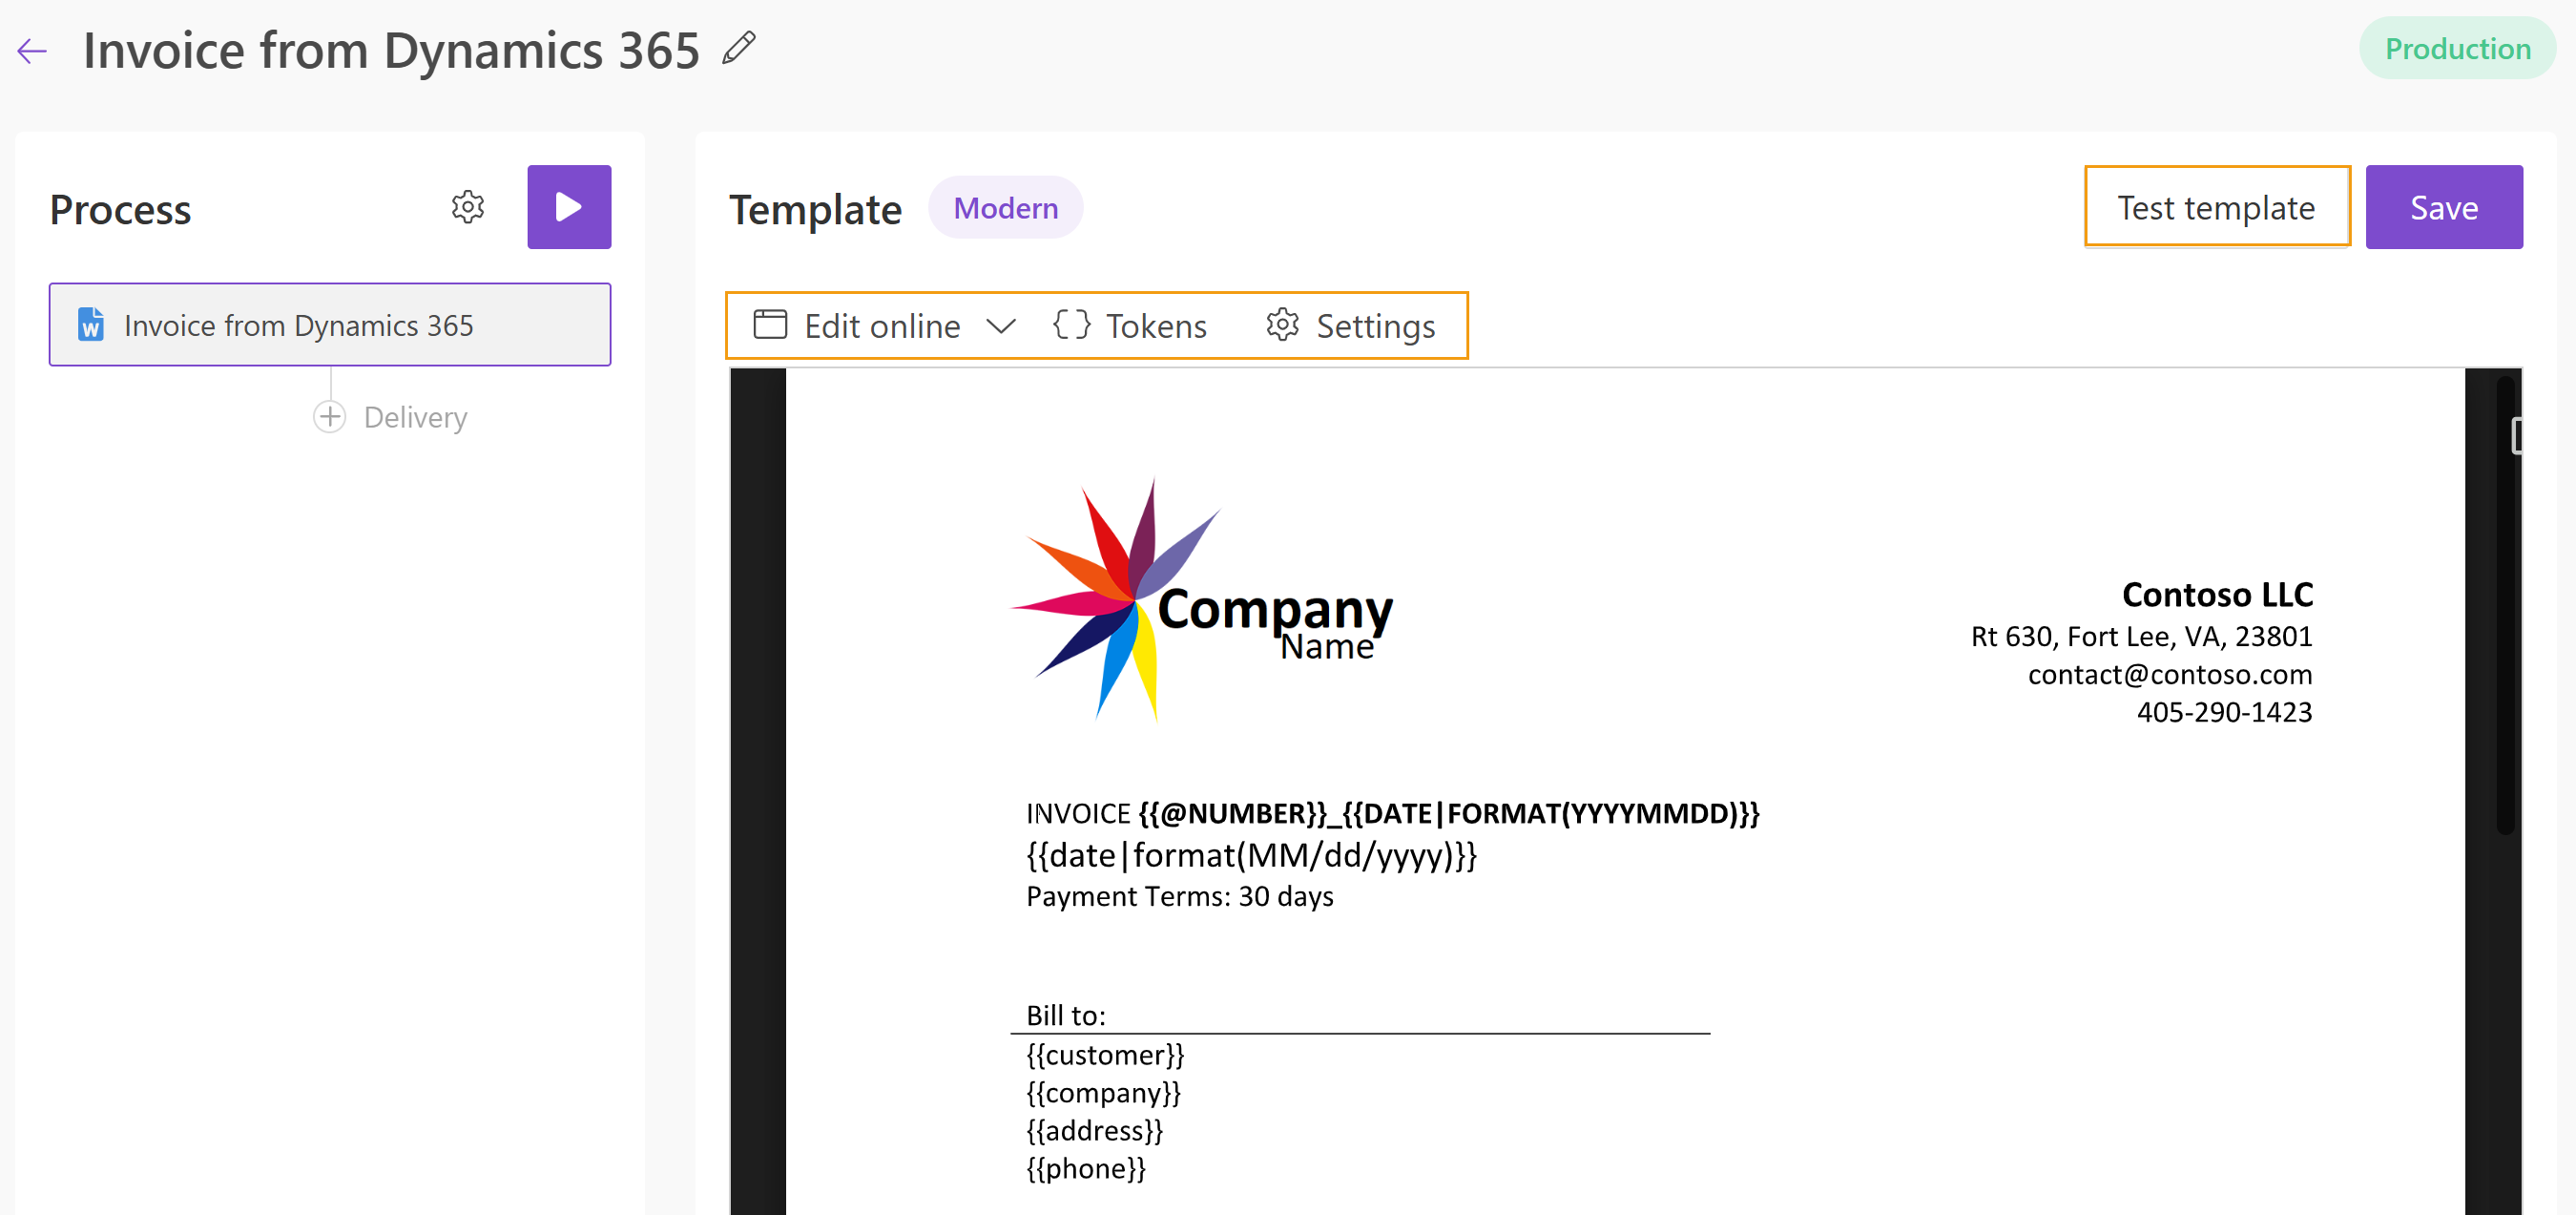
Within the initial step, you will access the editor, where you can create a template from scratch or upload an existing one.
You can also modify the current template online to update, for instance, branding elements like logos.
Templating syntax
You can use your own files, but make sure they follow the template syntax rules.
Anything inside double curly brackets {{ }} is a token. Tokens are replaced with actual data from your CRM.
The syntax supports tables, charts, conditions, and custom logic directly in the Word template.
Test template
To see how the final file looks, click Test template.
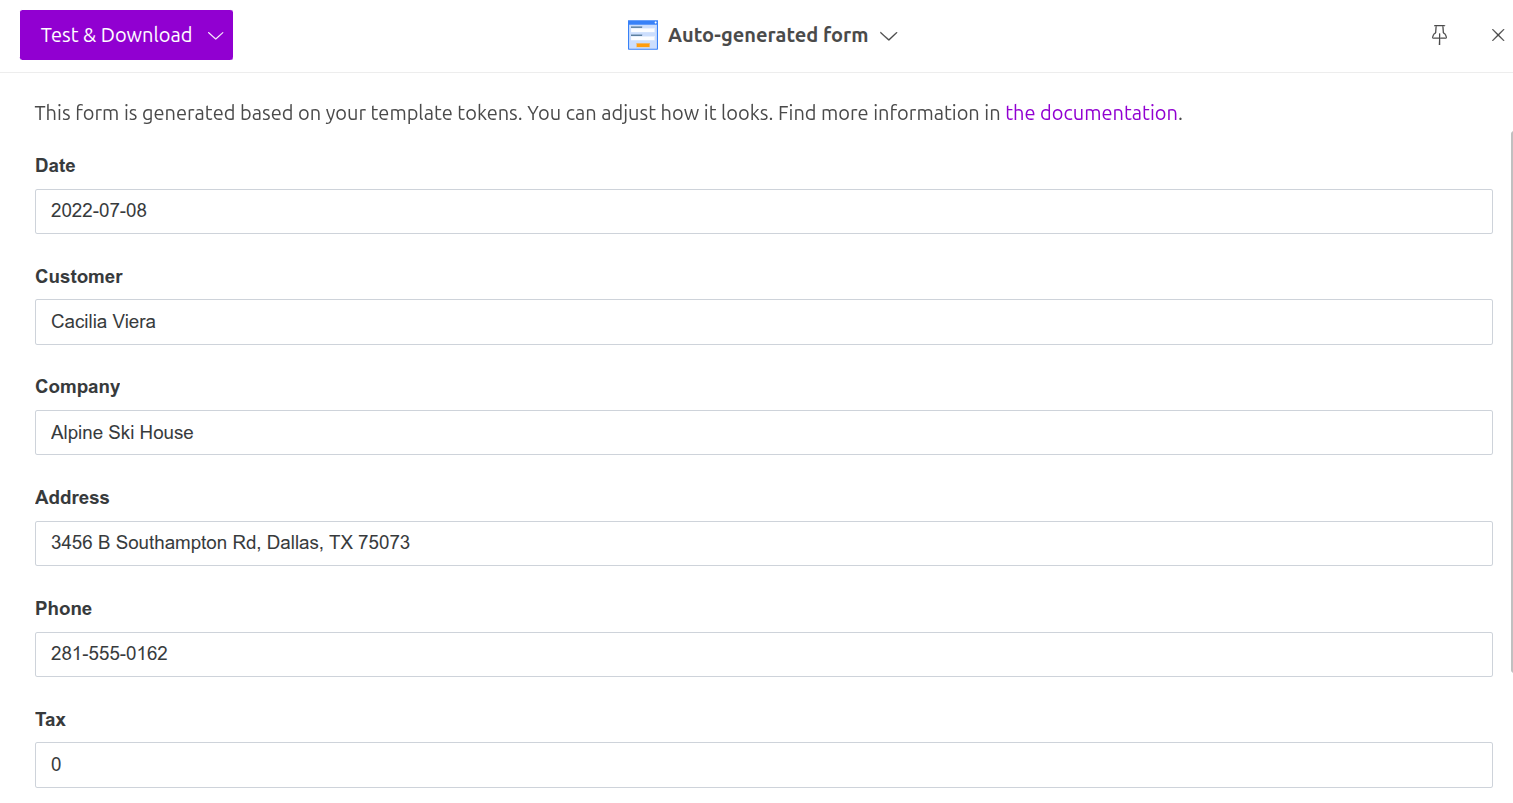
A side panel will open and show a form with fields for every token in your template. Plumsail builds these forms automatically, and you can even embed them on your website if you ever need someone to fill them out manually.
Note
Check out the documentation for more on that.
Try entering some test data to see how the Word template works.
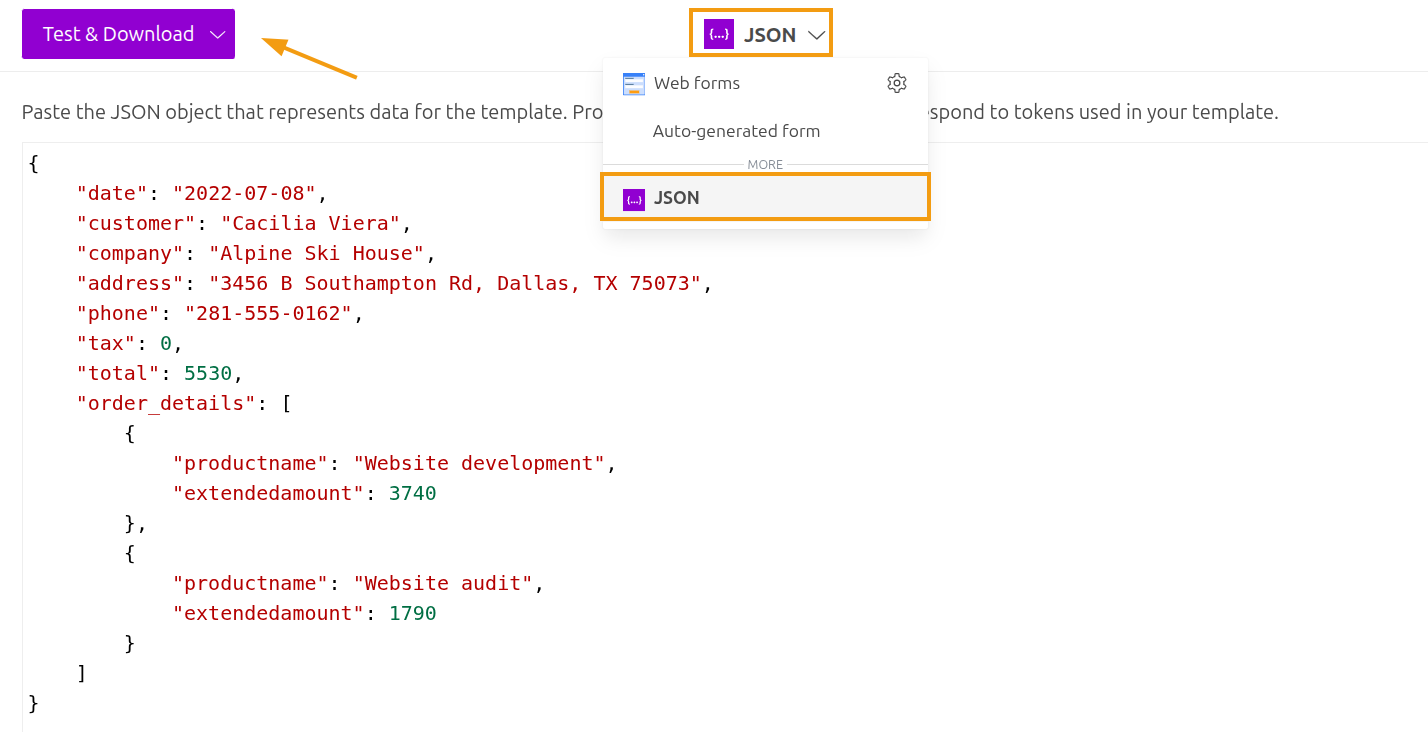
If you’re more comfortable with code, you can also test using a JSON file.
Note
This is testing. We will pass data from Dynamics 365 CRM to the process. See the Start process section.
Settings
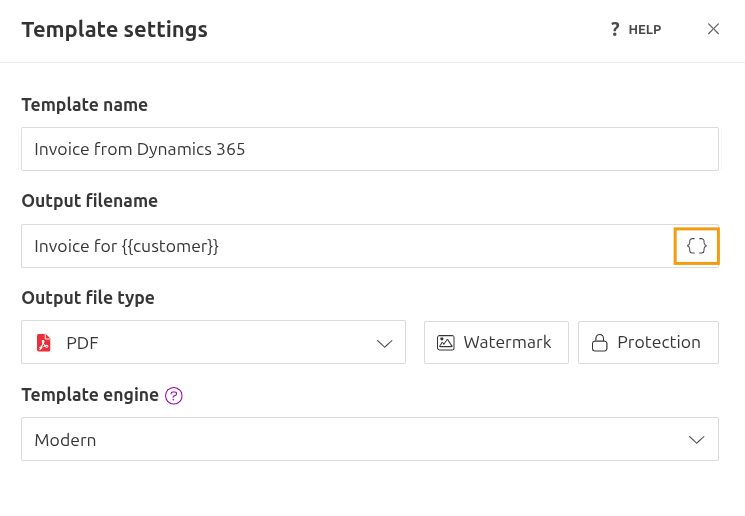
Let’s look at a few things you might want to change:
Template name: Use a clear, recognizable name to keep your workspace organized.
Output filename: You can use tokens here, too, and they will be populated with the same data as the main document. For example, using the
{{customer}}token means the file will be named something like “Invoice for Cacilia Viera.”Output file type: It usually matches the template, but you can change it to save as a PDF here.
Hint
You can protect your final PDF document with a watermark, by setting a password, or disabling some actions.
Template engine: Modern is the default engine. To explore other alternative configurations, refer to our documentation.
Once you’re happy with the settings, click Save.
Delivery
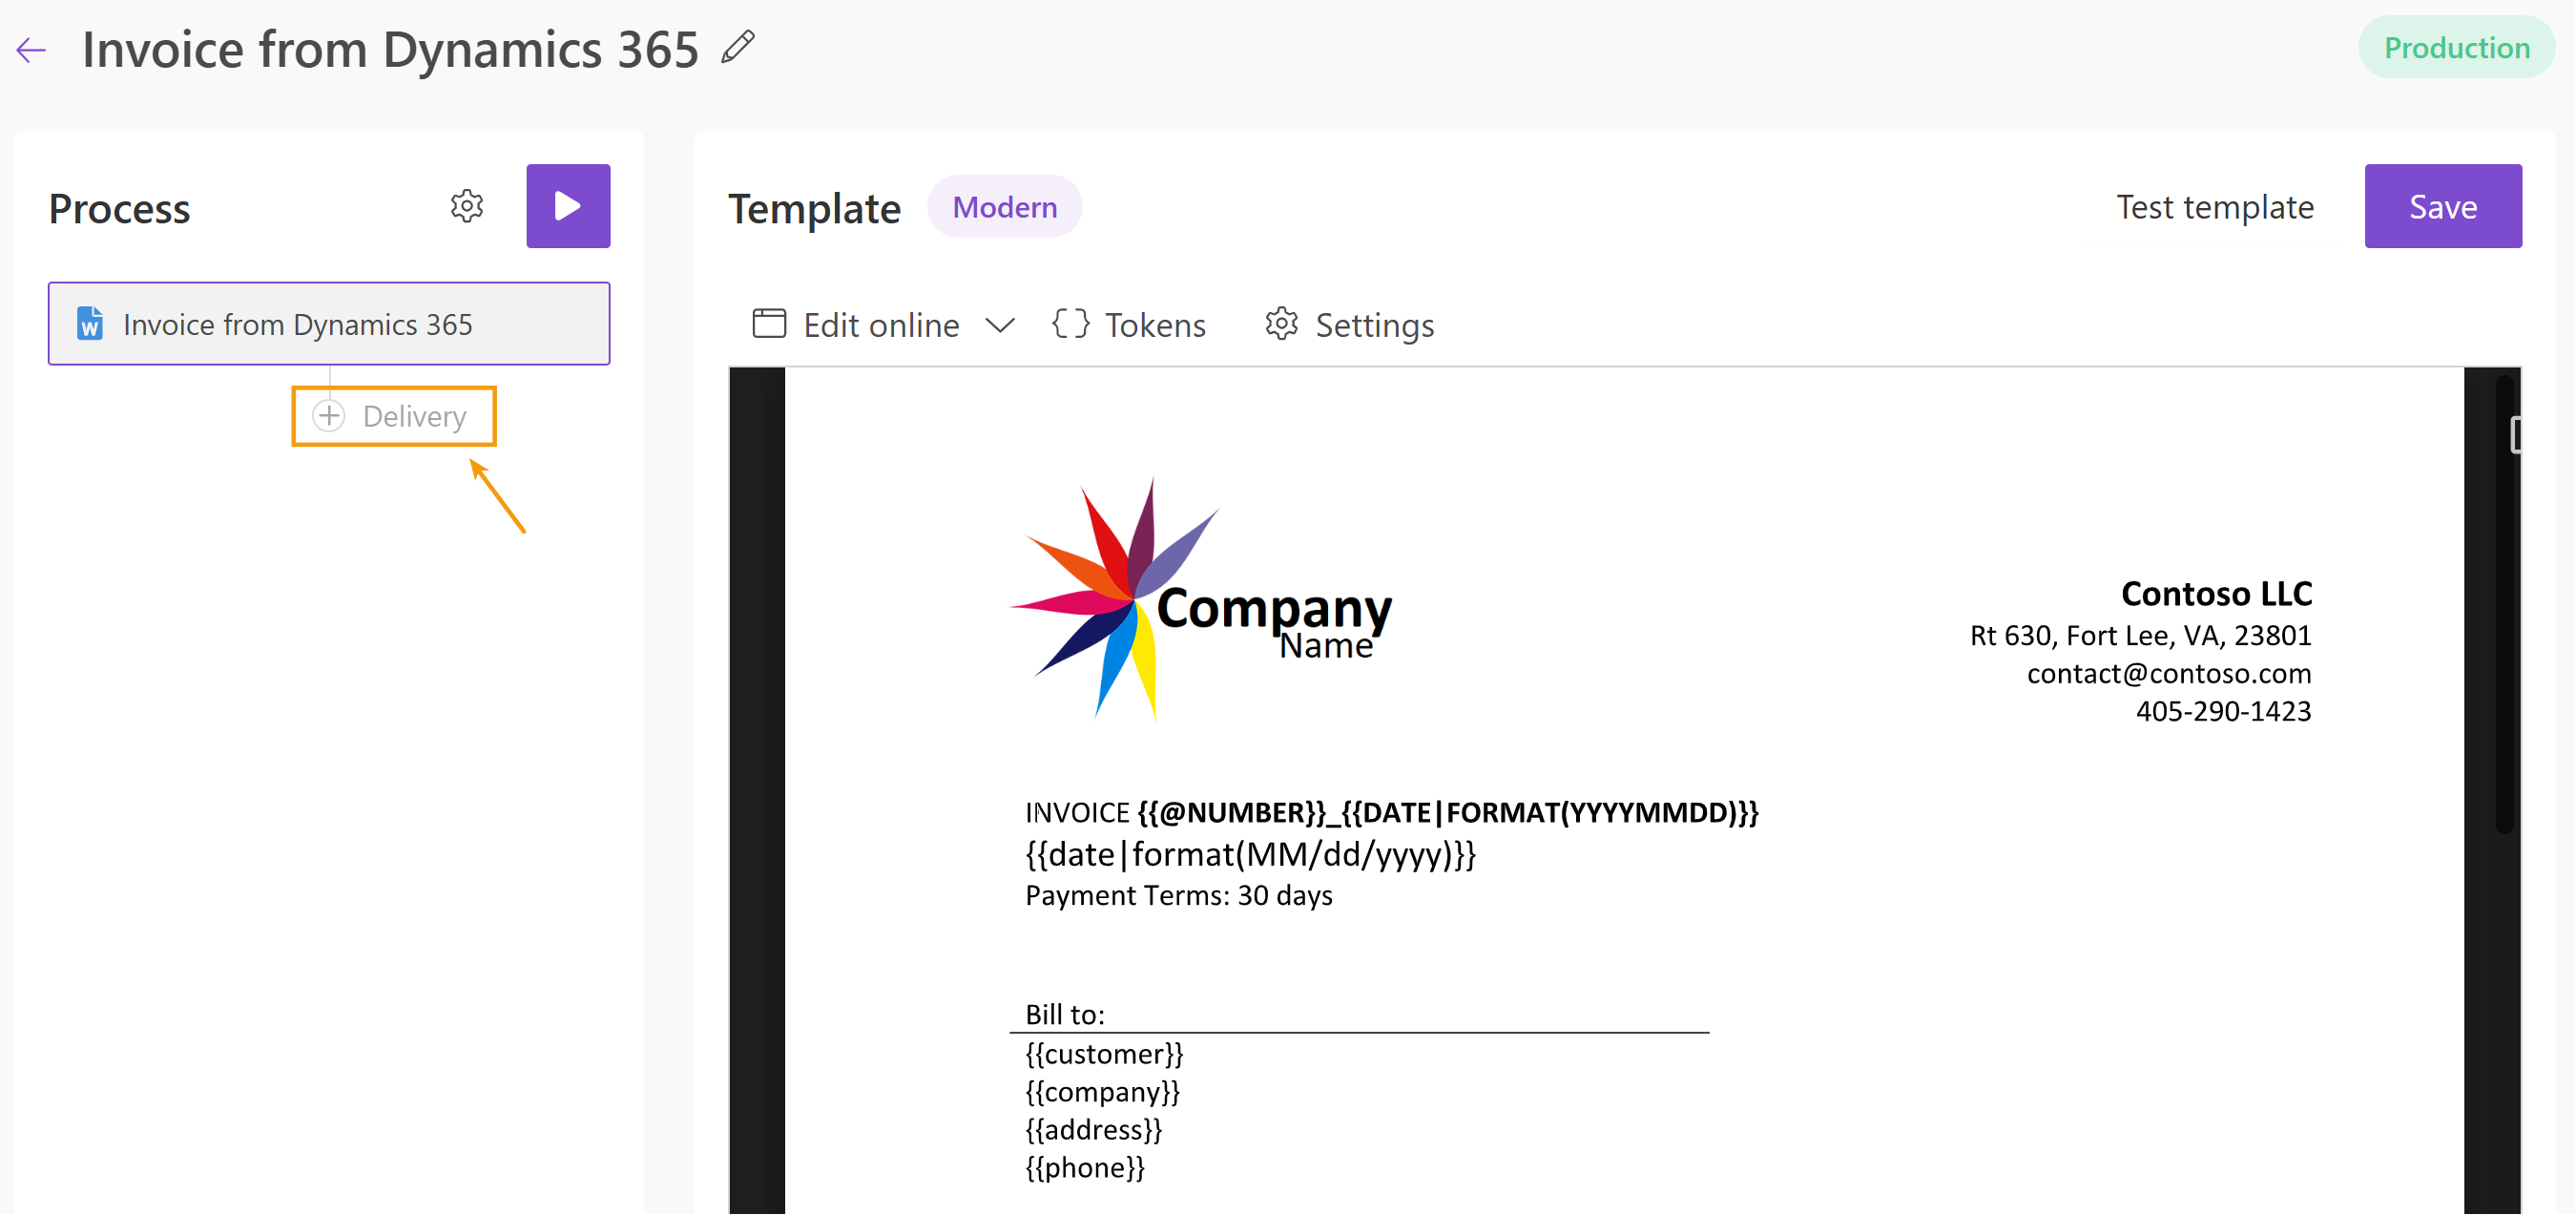
This is where you decide where the file goes. You can opt for as many deliveries as you want. For example, saving a copy to SharePoint or OneDrive, while also emailing it to the customer.
Note
Check out the full list of available deliveries.
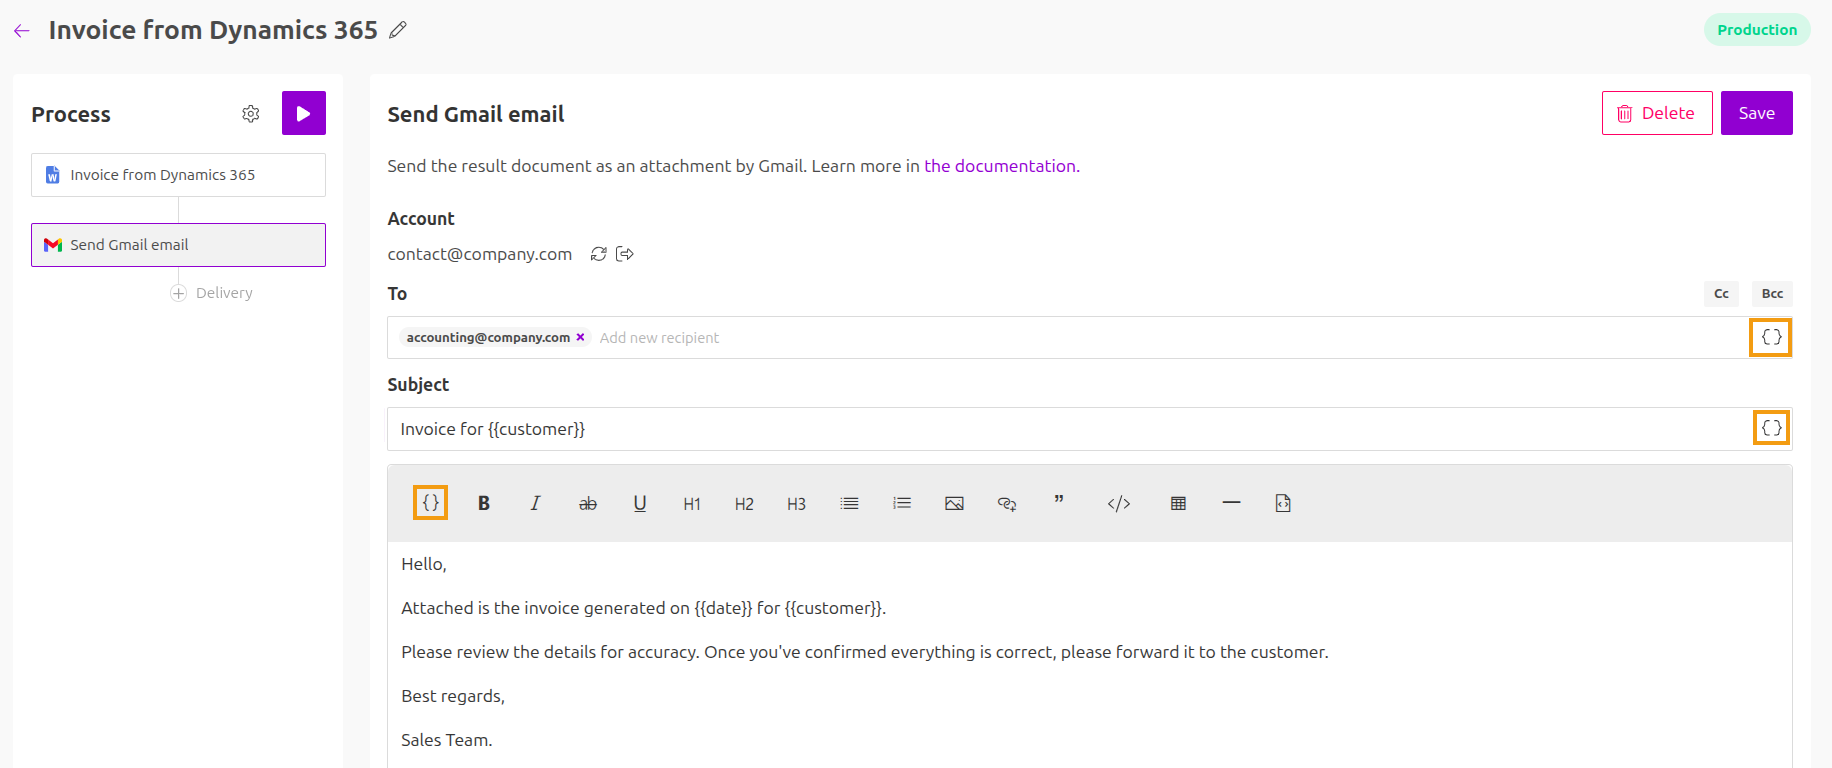
For this example, we’ll set up a Gmail delivery to send the invoice to our accounting team. You can even use tokens in the available fields and the email body to keep things personalized.
And our process is ready! Save all your changes and we’ll move to the Power Automate flow.
Create flow
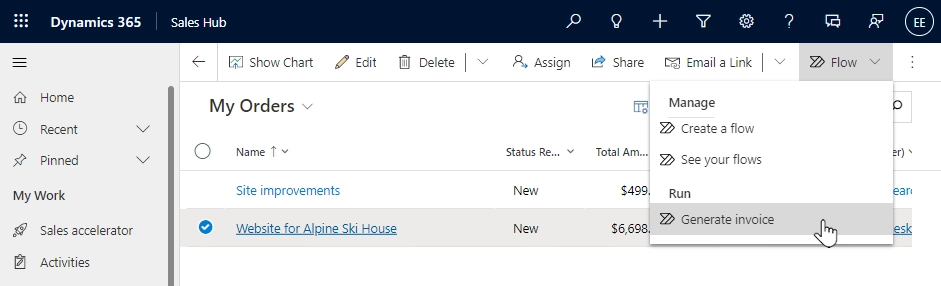
We’re going to trigger this flow from a selected record in Dynamics 365. But feel free to change the trigger to whatever fits your specific workflow.
For that, we use Microsoft Dataverse (legacy) - When a row is selected.
When a row is selected
Set the environment to Default and the table name to Orders:
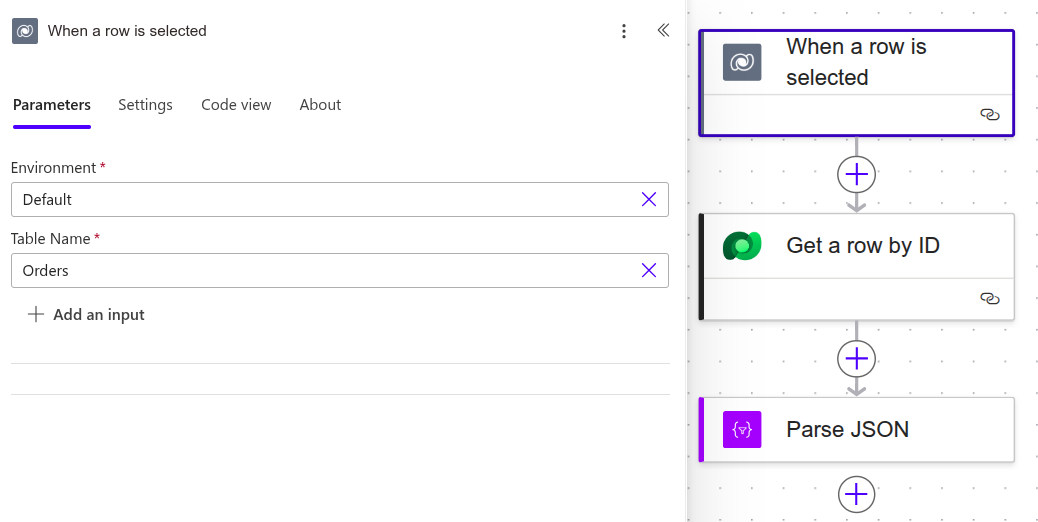
Get a row by ID
Next, add the Microsoft Dataverse action (the standard one, not legacy). We need this step because the trigger doesn’t give us the full details on the order products, so this action pulls all that extra data in.
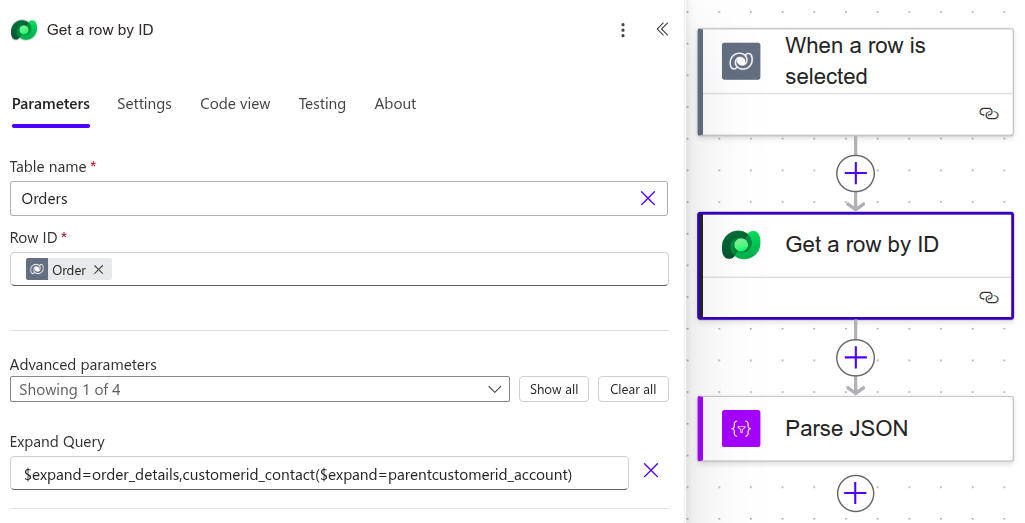
Table name: Select
Orders.Row ID: Select
Orderfrom the trigger’s dynamic content.Expand Query: Paste this in:
$expand=order_details,customerid_contact($expand=parentcustomerid_account). It’s important to customize the OData query. Otherwise, the action will return the same data as the trigger, without information about products related to the order.
Now, save and run a quick test so you can copy the JSON output for the next part.
Parse JSON
We use this to separate the product data from everything else.
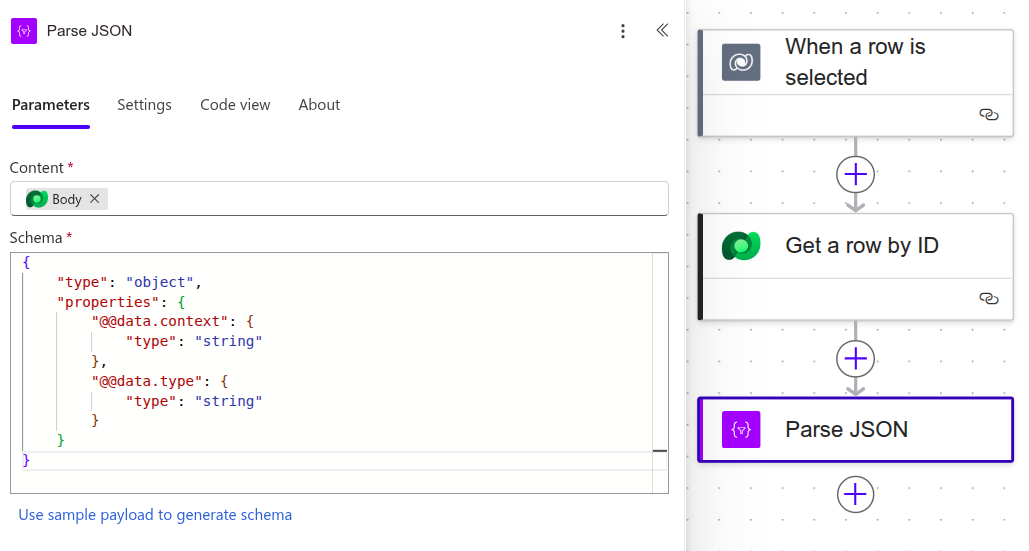
Content: Select
Bodyfrom the Get a row by ID stepSchema: Click Use sample payload to generate schema and paste that JSON you’ve copied earlier into the dialog.
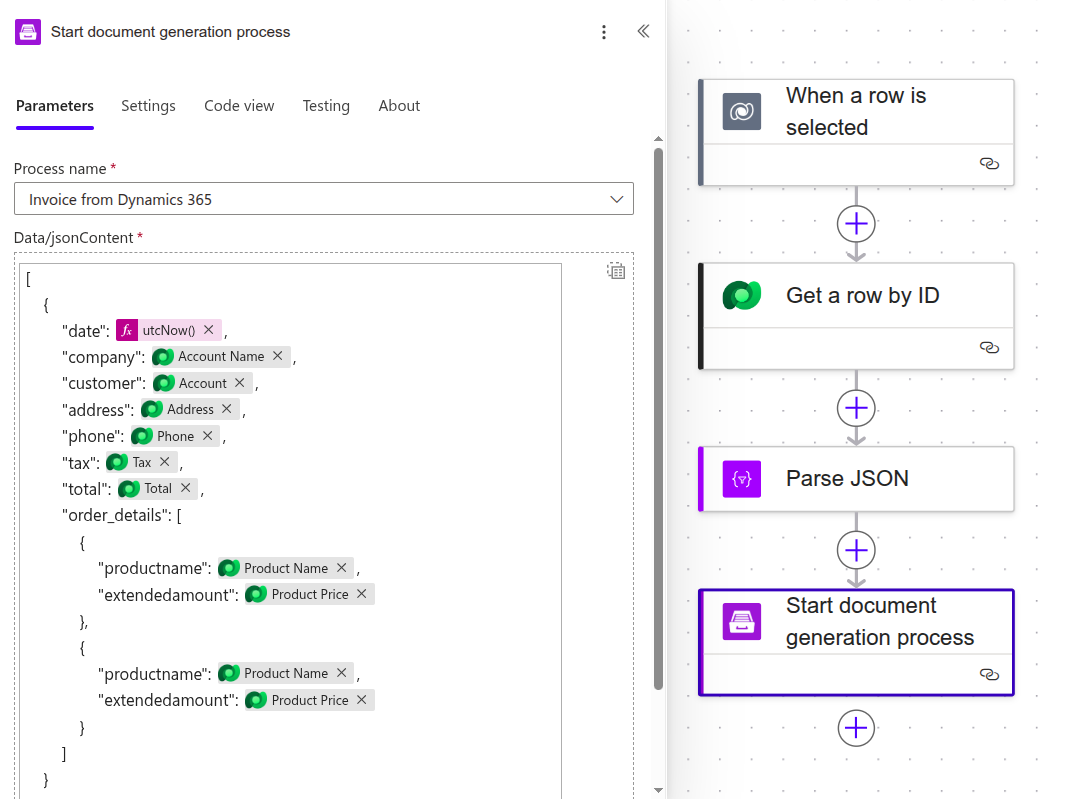
Start document generation process
This action from the Plumsail Documents connector will start the process we’ve configured.
If this is your first time using it, you’ll need to create a connection using an API Key:
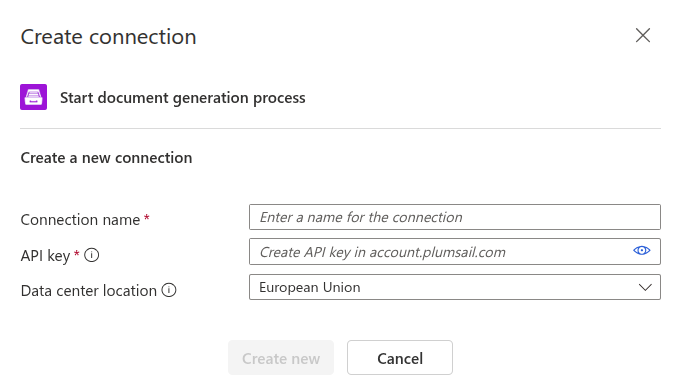
You can type any name for the connection. For example, Plumsail Documents.
Then create an API key in your Plumsail Account page, copy and paste it to API Key field.
The Start Document generation process action has two parameters:
Process name: Select from the dropdown.
Template data: Map your dynamic content here from the CRM and Parse JSON steps
The flow setup is complete.
To test it out, go to an order in Dynamics 365, hit Flow in the top menu, and run your new automation.
Once the flow runs successfully, the customer will receive a personalized email with the invoice attached:
Use ready invoices in flow
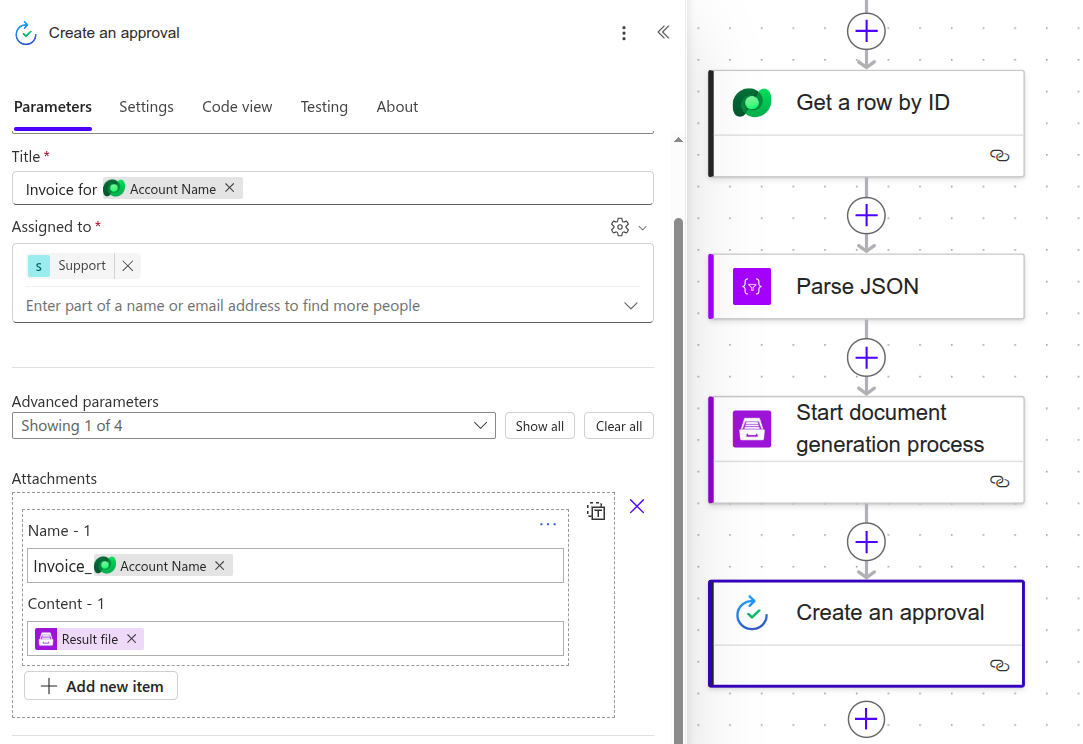
And that’s not all. You can keep using the generated file further down in your flow. For example, maybe you need to send it for a manager’s approval.
Just use the Result file from the Start document generation process action as an attachment in your next step.
Conclusion
You can now create customized invoices directly from Dynamics 365, and reuse this same logic for just about any entity in your CRM.