Convert email message to PDF in Power Automate
In this article, we’ll take a look at how to convert an email message to PDF with the help of Power Automate (Microsoft Flow).
Further in the article:
Is it possible to use Power Automate to convert an Email to PDF?
Yes, it is possible to use Power Automate, a Microsoft automation platform, as an email-to-PDF converter to automate the conversion of emails to PDF format. By creating a flow in Power Automate, you can define triggers and actions to automatically extract the required information from emails and convert them into PDF files using built-in connectors. In this article, we’ll demonstrate how to achieve this using the Plumsail Documents connector for Power Automate.
What is the purpose of saving an email as a PDF using Power Automate?
Saving an email as a PDF using Power Automate can serve various purposes:
Archiving: Saving emails as PDFs allows for long-term storage and easy retrieval of important correspondence.
Shareability: PDFs are universally compatible and can be easily shared with others, ensuring seamless communication.
Record Keeping: Converting emails to PDFs helps in maintaining a comprehensive record of communication, which can be crucial for legal or compliance purposes.
Documentation: PDFs provide a static snapshot of the email content, ensuring that the information remains intact and unchanged over time.
Organization: PDF files can be organized into folders or categories, making it easier to manage and locate specific emails when needed.
Setting up the Flow to convert Email to PDF
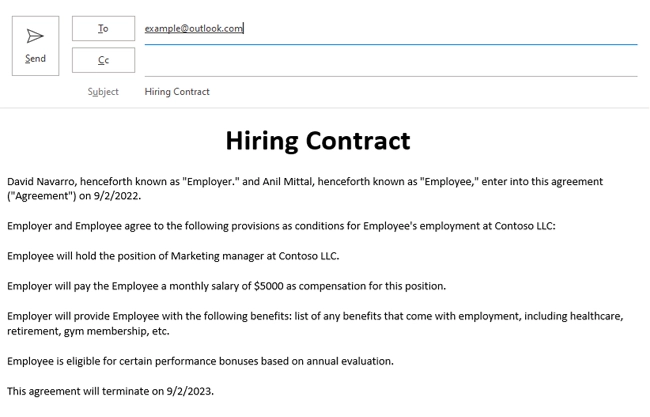
We will use a hiring contract text as the body of our message to demonstrate how to save an email as a PDF using Power Automate:
You can use different Power Automate (Microsoft Flow) connectors to receive messages. Some examples:
Office 365 Outlook
Outlook.com
Gmail
In this example, we will convert email messages to PDF when they arrive in Office 365 Outlook inbox. Then we will store PDF files to a SharePoint document library. You can configure your Flow to store documents in any other location. For example, in Dropbox.
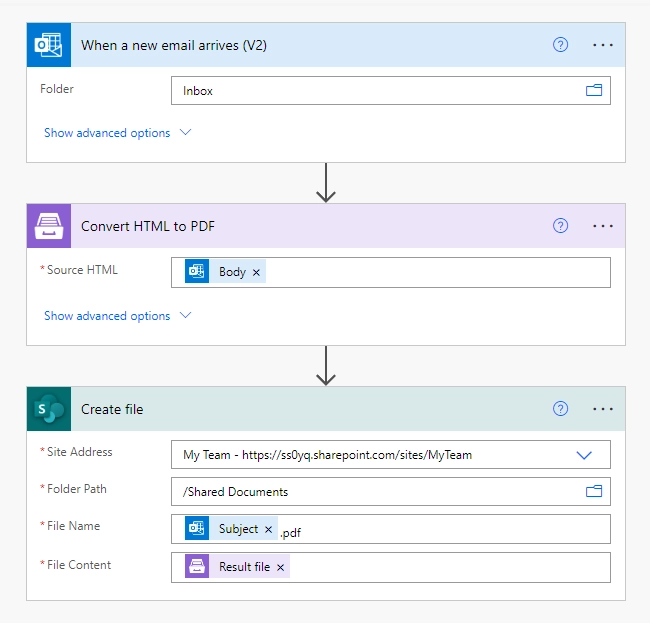
This is what the complete flow should look like:
Flow trigger
Choosing a trigger is up to you. For our scenario, we will use the Office 365 Outlook trigger called When a new email arrives:

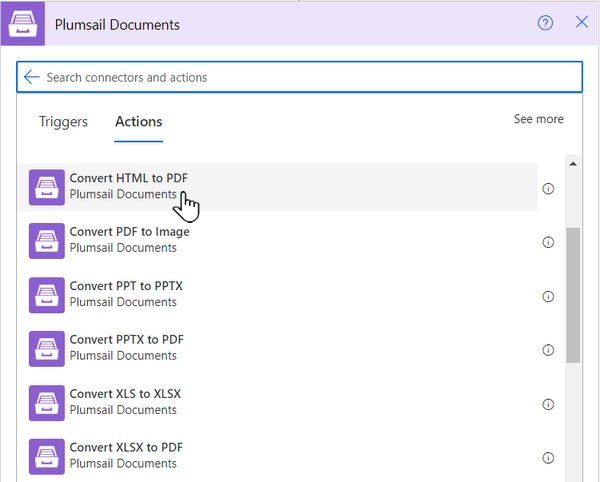
Convert HTML to PDF
This is an action from the Plumsail Documents connector.
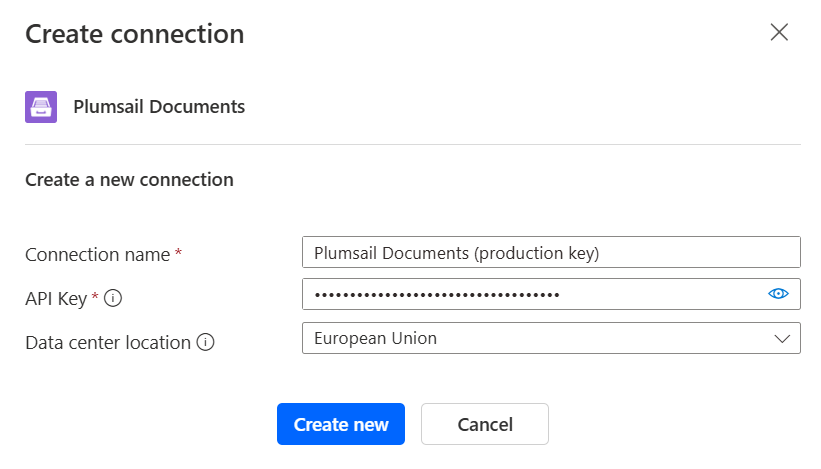
If this is your first time using the Plumsail Documents connector, Power Automate will request you to create a new connection. Provide the following details and then click Create new:
Connection name - you can type any name for the connection, for example Plumsail Documents (production key);
API Key - create an API key in your Plumsail Account, copy it, and paste it into the API Key field;
Data center location - make sure the selected data center location matches one of your account.
Just put the body variable from trigger output into the Source HTML parameter of the action. We’ll use email subject as the file name:
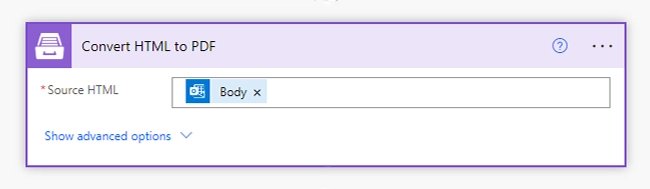
Then you can receive PDF file content as an output of the action.
You can find more information about this action here.
Create PDF file
Now you need to store PDF file somewhere. In our example, we use Create file action from SharePoint connector to store the PDF document into SharePoint document library:
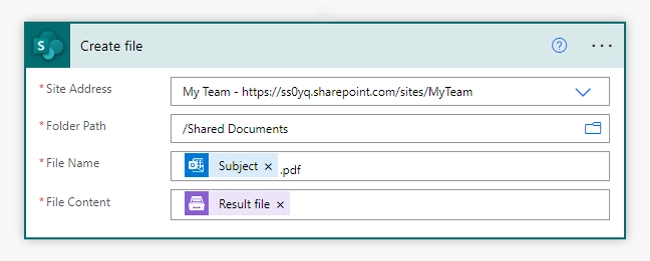
You can use any other connector to store PDF document into your system.