Import tickets into HelpDesk
Whether you are migrating from another solution or importing an existing batch of tickets, you can use Power Automate together with the Plumsail HelpDesk connector to create tickets automatically.
This article describes two common approaches:
Import tickets directly from an Excel table.
Import tickets from a SharePoint list created from your existing data.
Note
If you are migrating from another Plumsail HelpDesk instance, we recommend reviewing our guide on forwarding tickets between HelpDesk instances instead.
Prepare the data
For the examples in this article, we will use an Excel (XLSX) file as the data source. If your data is stored in another format, such as CSV or JSON, we recommend converting it before proceeding. You can use tools such as Plumsail Documents to convert CSV to Excel or JSON to Excel.
Before building the flow, make sure your spreadsheet contains one row for each ticket and separate columns for every ticket property you want to import. You can include any additional information that you plan to map later in your Power Automate flow.
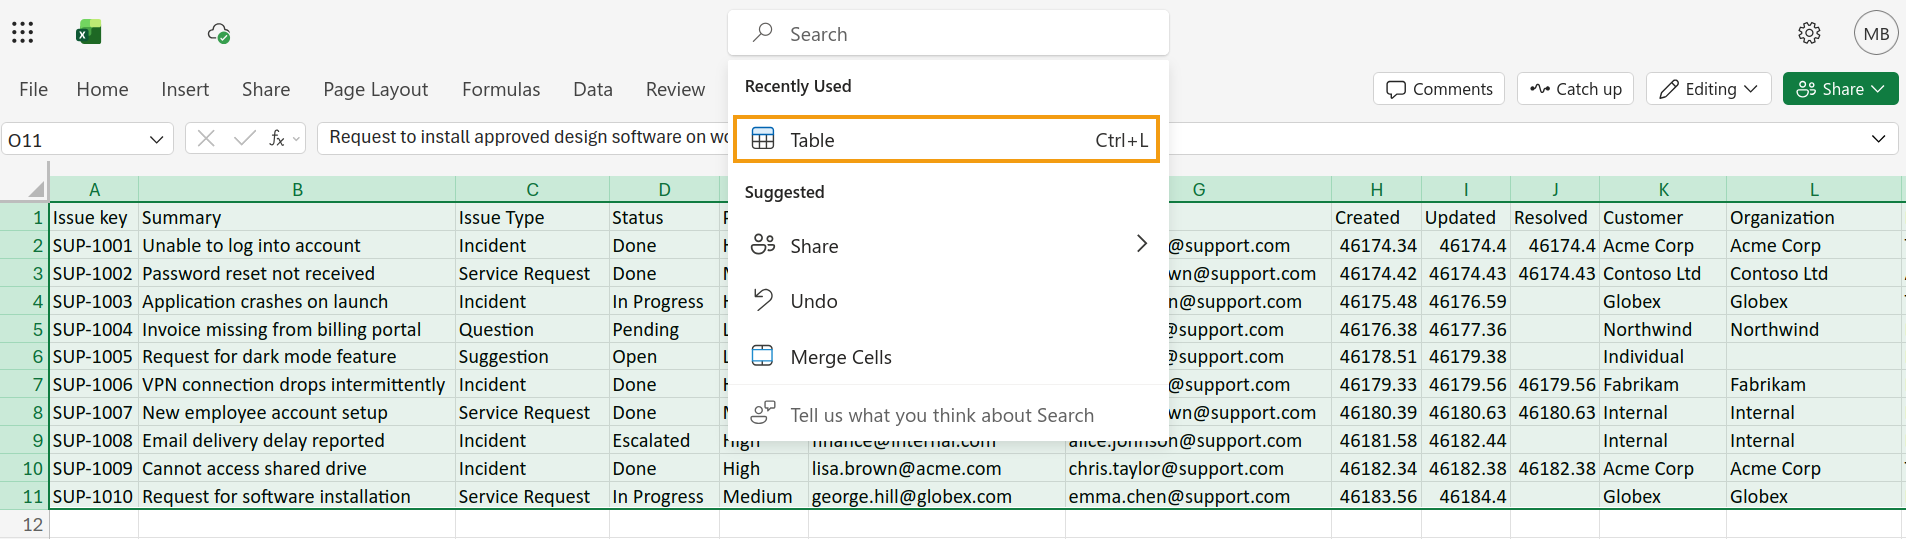
The next step is to convert the data into an Excel table. For this, upload the file to SharePoint and open it in Excel web. Then select the entire data range, and press Ctrl + L or choose Insert → Table.
After the table is created, open the Table Design tab and give it a name that makes it easier to identify when configuring the Power Automate flow.
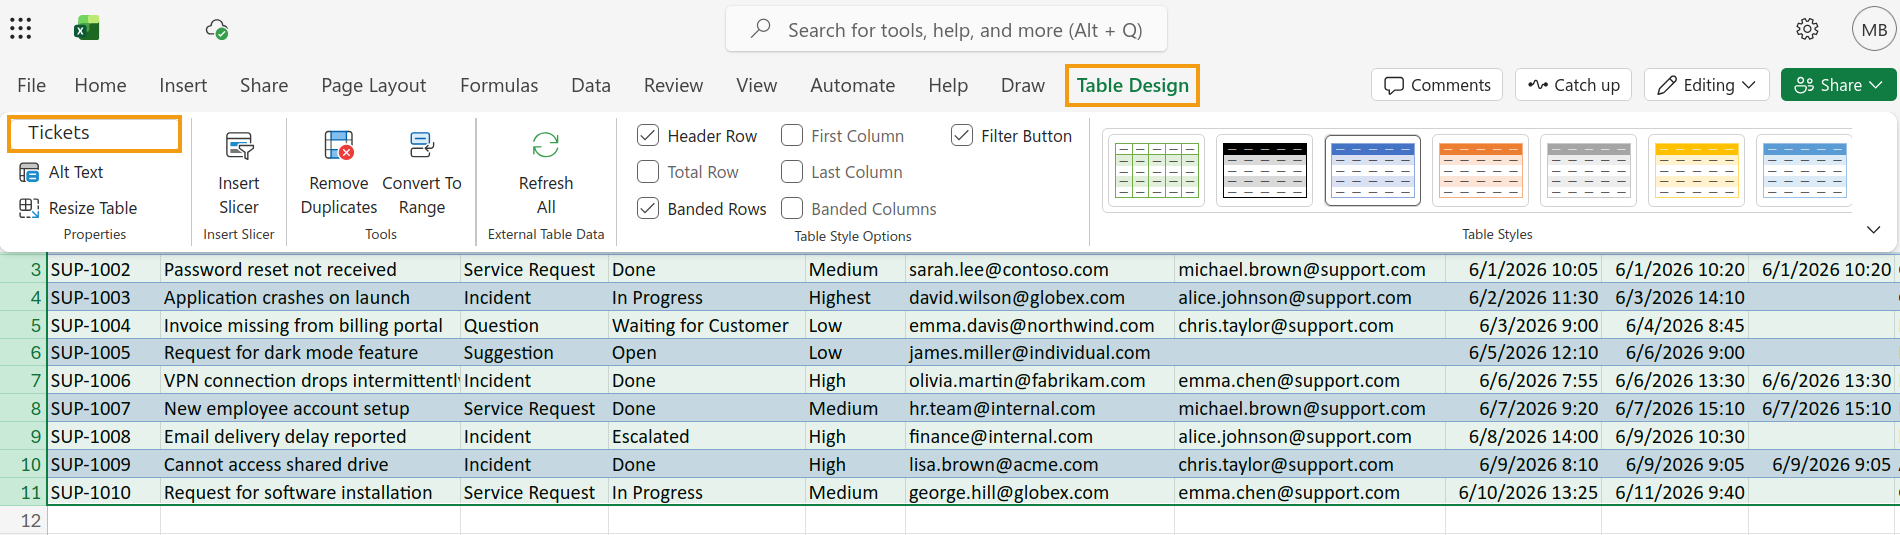
Review the data one last time to make sure all columns and values are correct. Once everything looks correct, you can import the tickets using one of the methods described below.
Import tickets using Excel rows
This approach uses the Excel Online (Business) connector to read each row from an Excel table and create a HelpDesk ticket for every record.
Note
If the Excel Online (Business) connector is not available in your environment, or if you prefer another approach, continue to the next section to import tickets from a SharePoint list.
The completed flow will look similar to the following:
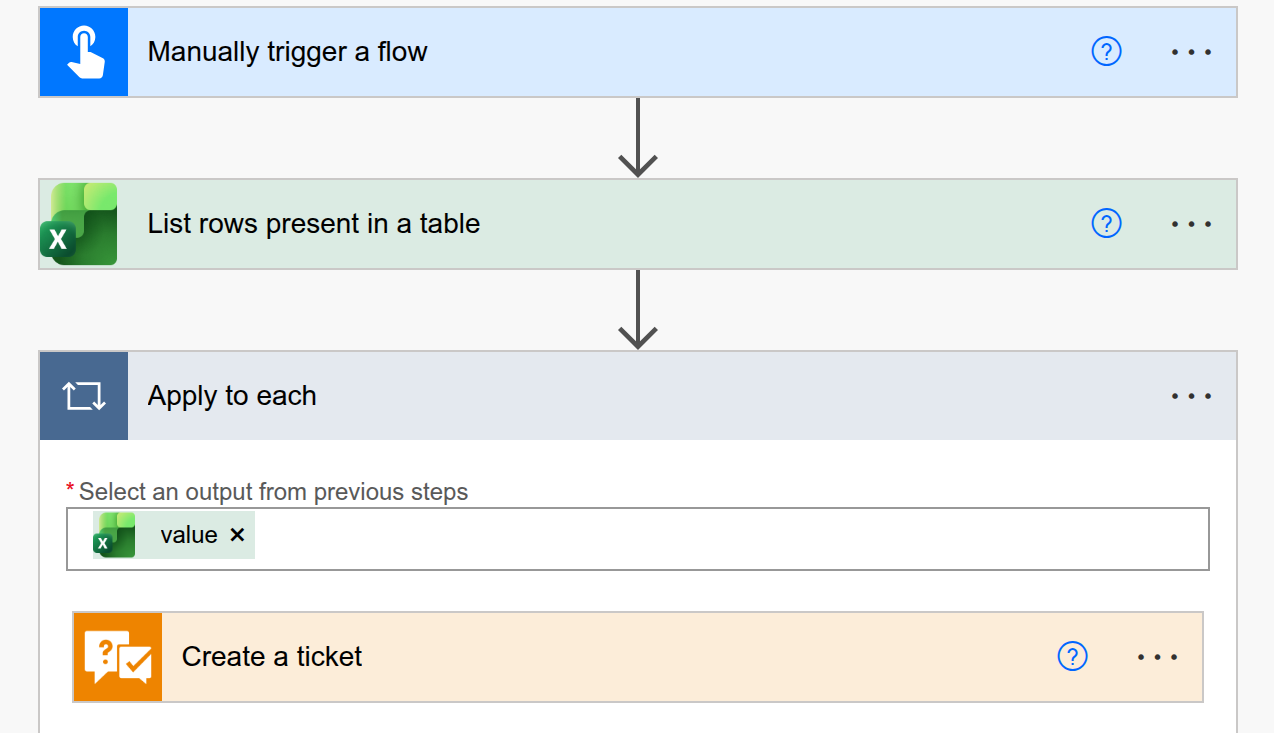
Start by creating a new flow. For this example, we will use the Manually trigger a flow trigger, but you can replace it with any trigger that fits your scenario.
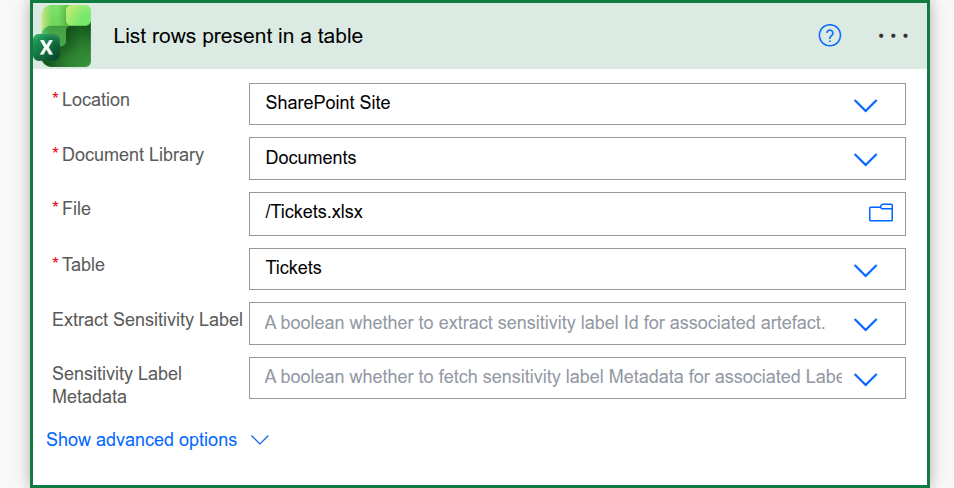
Next, add the List rows present in a table action from the Excel Online (Business) connector. Select the location of your workbook, the document library, the Excel file, and the table you created earlier.
Power Automate automatically adds an Apply to each action when you use the output of List rows present in a table.
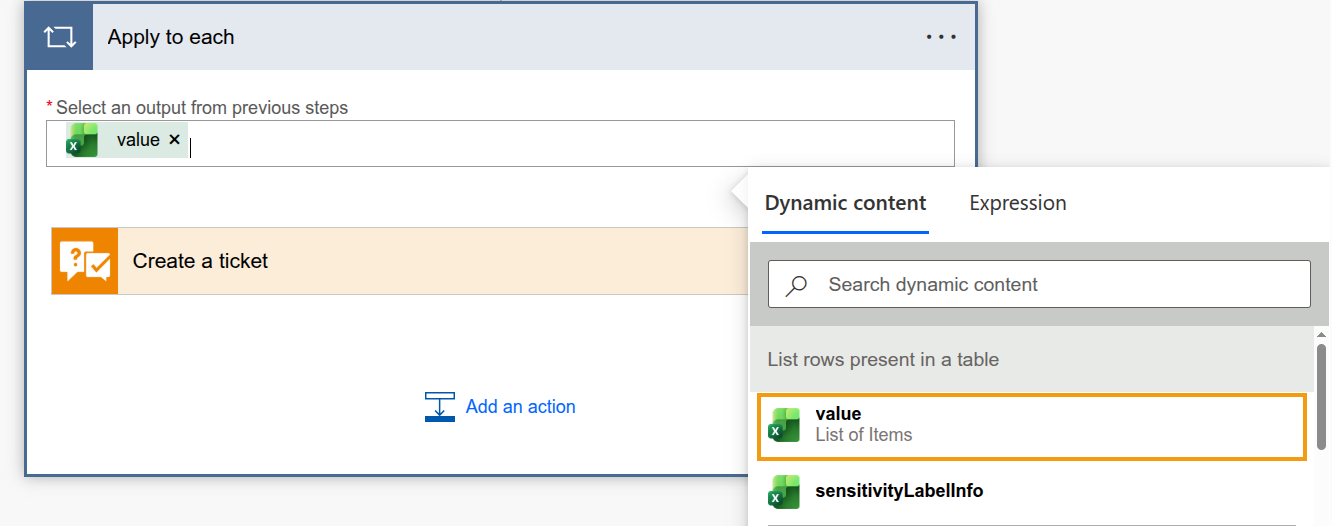
Inside the loop, add the Create a ticket action from the Plumsail HelpDesk connector, and map the columns from your Excel table to the corresponding HelpDesk ticket fields.
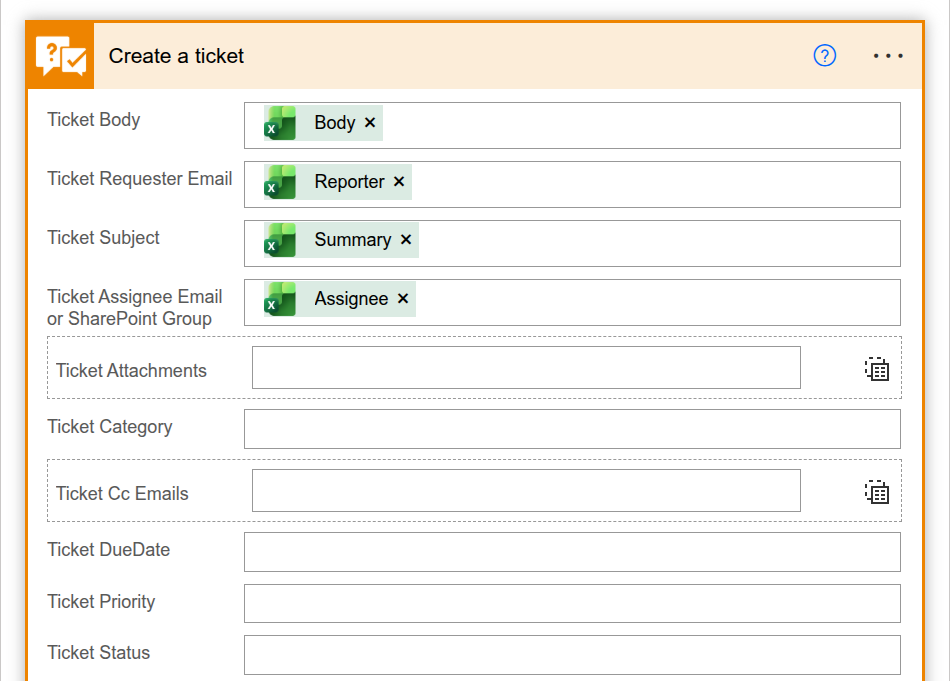
Once the flow is saved, run it to create a HelpDesk ticket for each row in the Excel table.
Import tickets using a SharePoint list
You can also use a SharePoint list as an intermediate data source. SharePoint can create a list directly from an Excel or CSV file, which makes it a convenient option for importing tickets.
To create the list, navigate to your SharePoint site’s Site contents page and select New > List.
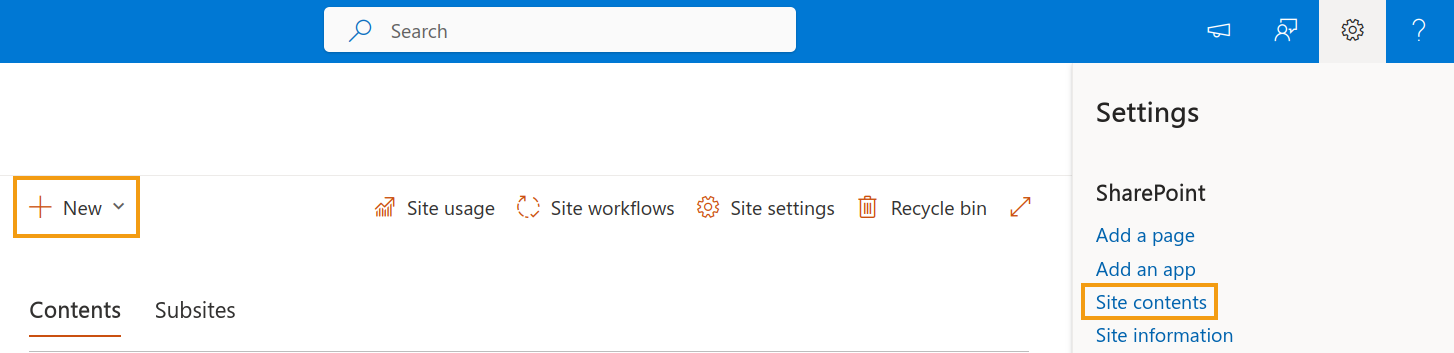
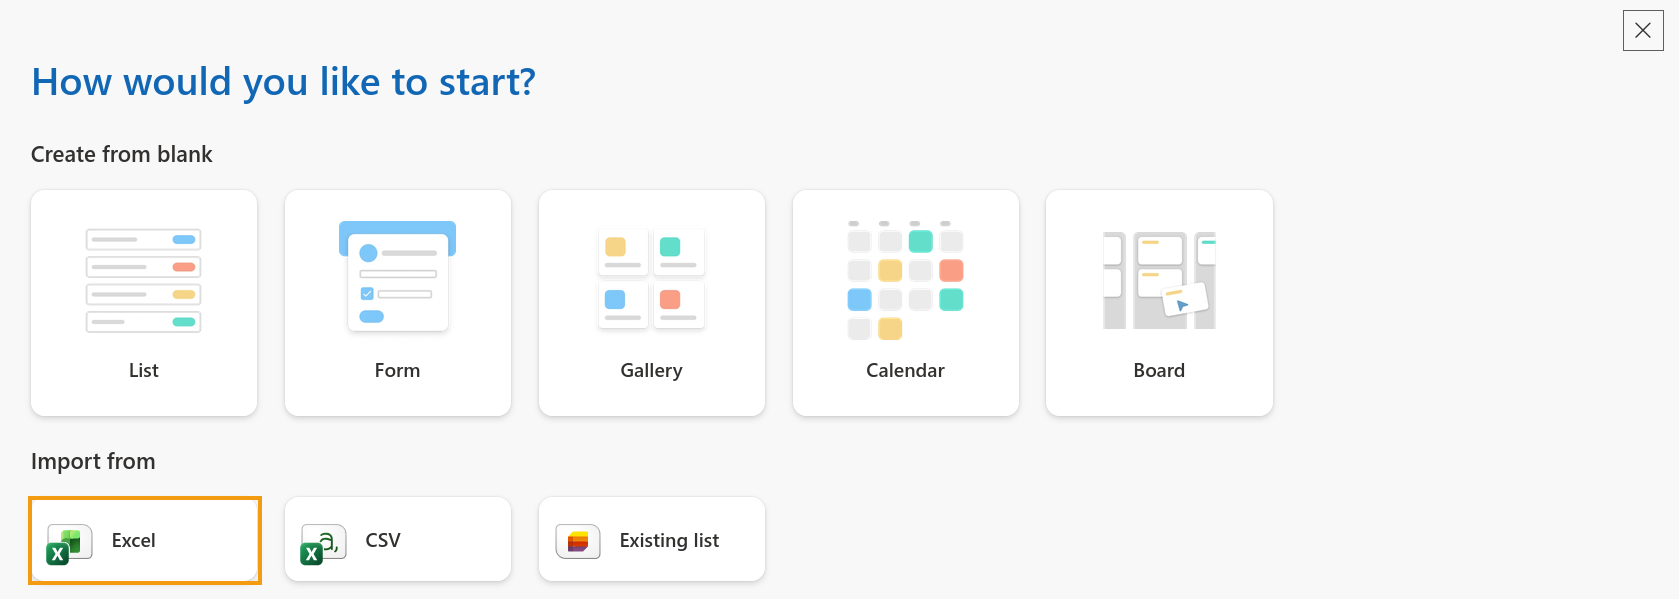
In the list creation wizard, you can choose one of the available data sources:
Excel
CSV
Existing list
For this example, select Excel and click Next.
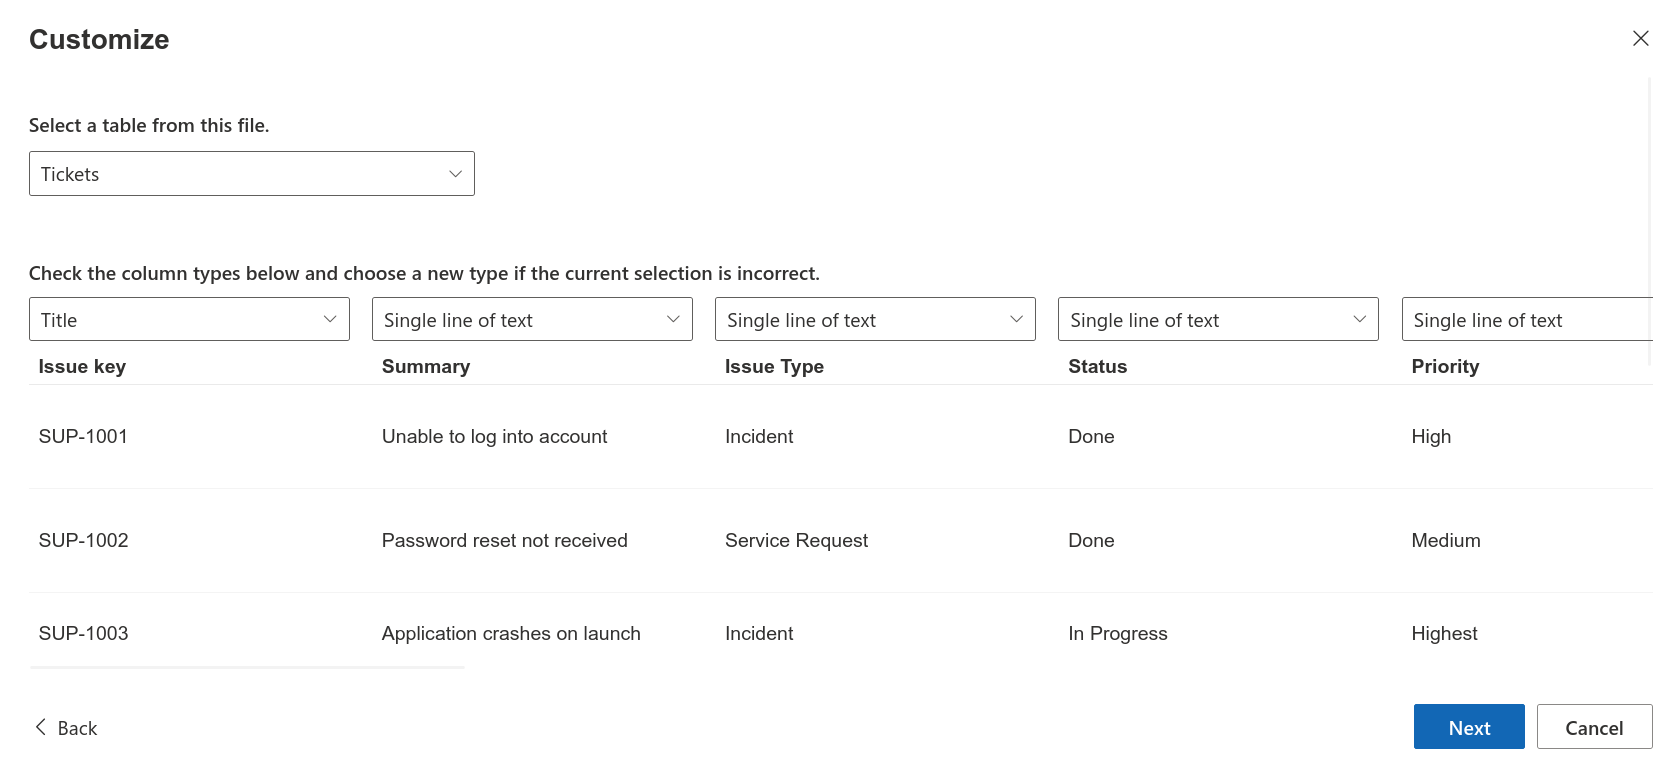
Next, choose the workbook and the table you created in the previous section, then review the detected column types before creating the list.
Once the list is ready, create a new flow in Power Automate. The completed flow will look similar to the following:
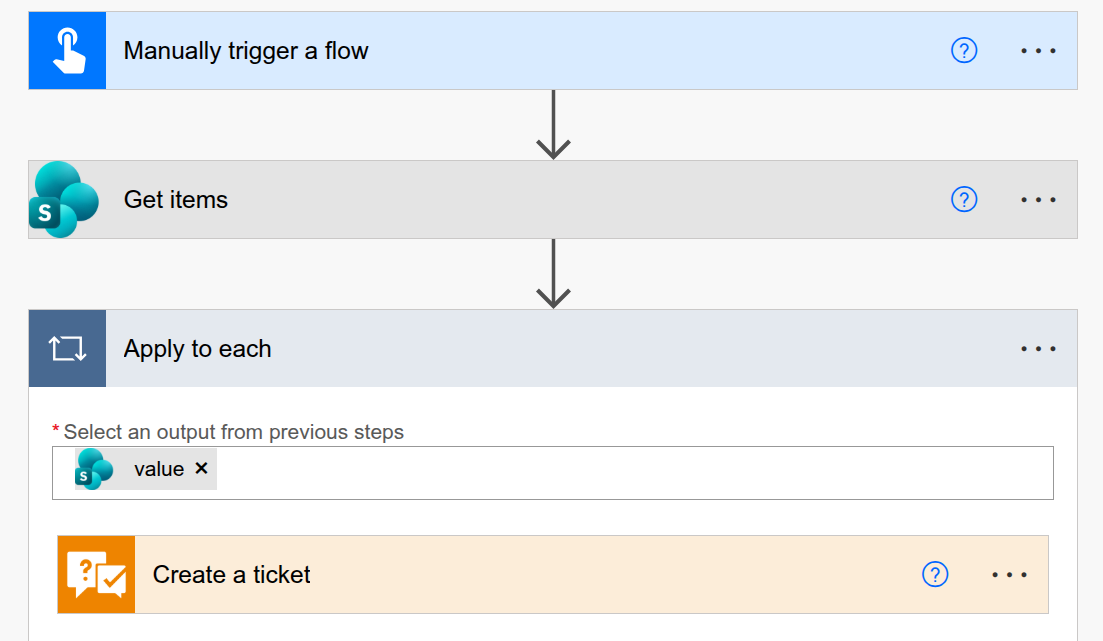
For this example, we will use the Manually trigger a flow trigger as well, but you can replace it with any trigger that matches your scenario.
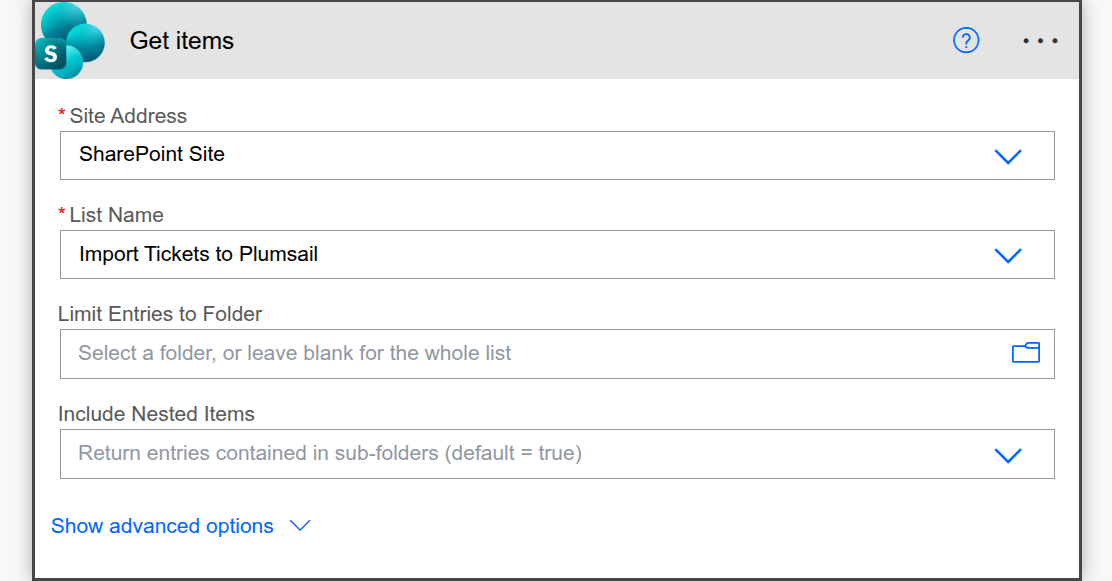
Next, add the Get items action and select the SharePoint list you created in the previous steps.
Power Automate automatically adds an Apply to each action when you use the output of Get items.
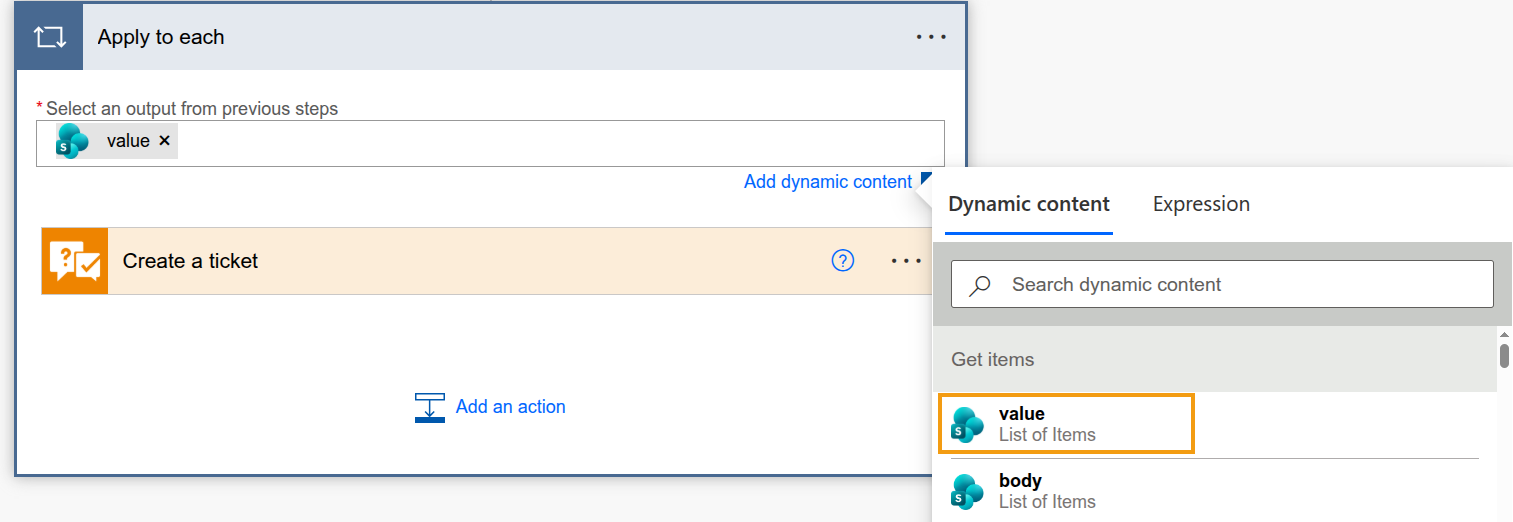
Inside the loop, add the Create a ticket action from the Plumsail HelpDesk connector, and map the SharePoint columns to the corresponding HelpDesk ticket fields.
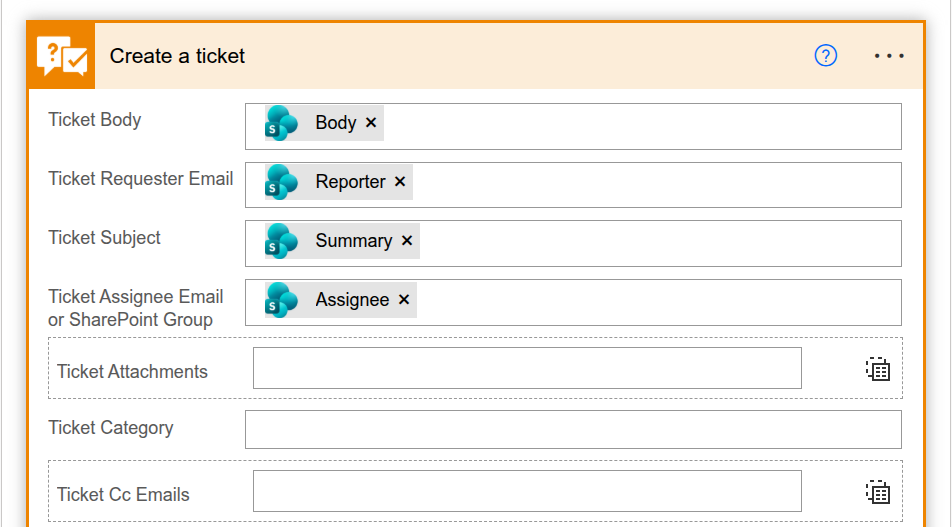
Save the flow and run it. A new HelpDesk ticket will be created for each item in the SharePoint list.
Considerations
The examples in this article show a general approach to importing tickets into HelpDesk. Depending on your environment and the structure of your existing data, you may need to make additional adjustments to the flow.
Complementary lists
HelpDesk stores some ticket information in separate lists, such as Comments, Contacts, and Status. If your imported data includes information from these lists, make sure the corresponding items exist before creating the tickets.
You can use actions such as Create a contact and Create a comment from the Plumsail HelpDesk connector to populate these lists as part of your import process.
To import a comment as a private note, set Comment Custom Fields in the Create a comment action to the following JSON. Apply this setting to private notes from your source data to preserve their visibility:
{
    "CommentType": "Private note"
}
Assignee field
The Assignee field references SharePoint users and groups. Before importing tickets with assigned users, verify that the users or groups already exist in your SharePoint site and can be selected.
Custom fields
If your existing system contains information that is not included in the default HelpDesk ticket fields, you can create matching columns in the Tickets list before running the import.
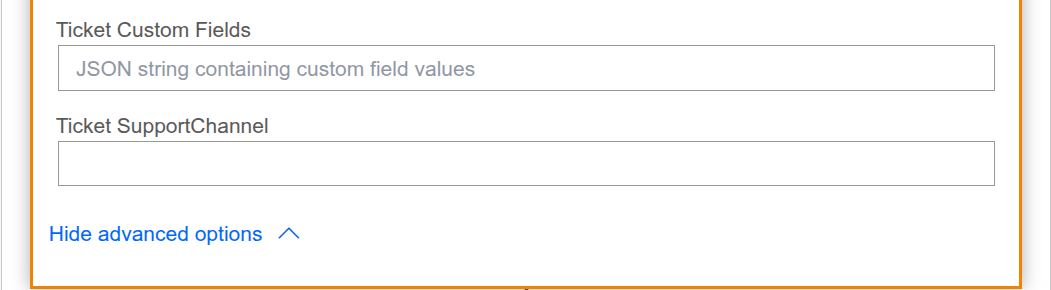
After the custom fields are available, populate them using the Ticket Custom Fields parameter of the Create a ticket action.
Triggers
Consider disabling triggers temporarily while testing or performing the import.
This helps prevent unnecessary notifications, automated actions, or other processes from being triggered for historical tickets. Once the import is complete and the data has been verified, you can enable the triggers again.