Quick HelpDesk configuration
Once installed, you can start working right away; no complex initial configuration is required.
However, to really get the most out of it and make your support life much easier, we recommend reviewing the key sections below.
Connect mailbox to HelpDesk
This is the most crucial step! By linking your support email to HelpDesk, every email sent there instantly becomes a trackable ticket.
You have two simple options for doing this:
Connect an Outlook mailbox: HelpDesk directly integrates with a specific Outlook mailbox, converting all messages into tickets.
Forward email messages: All messages forwarded from your existing support mailbox to a special, auto-generated HelpDesk address will create tickets.
Configure Outlook mailbox
Let’s walk through connecting your Outlook mailbox. This setup allows HelpDesk to create new tickets from emails and send ticket notifications on your behalf.
Navigate to the Settings page and find the Email section.
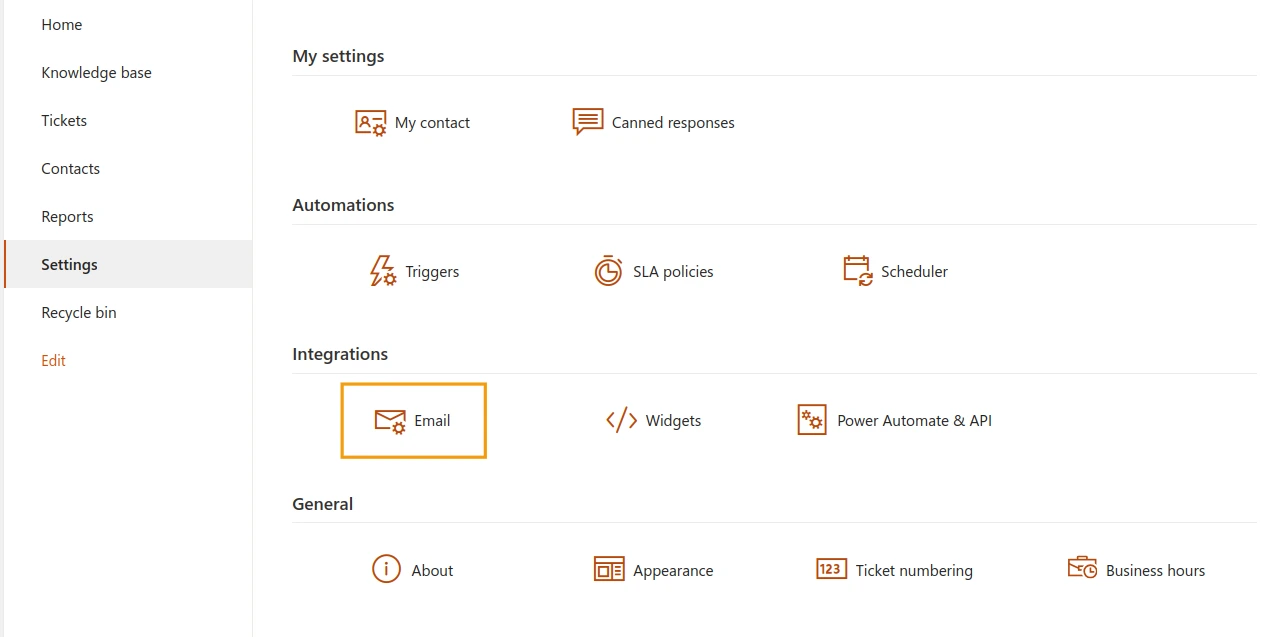
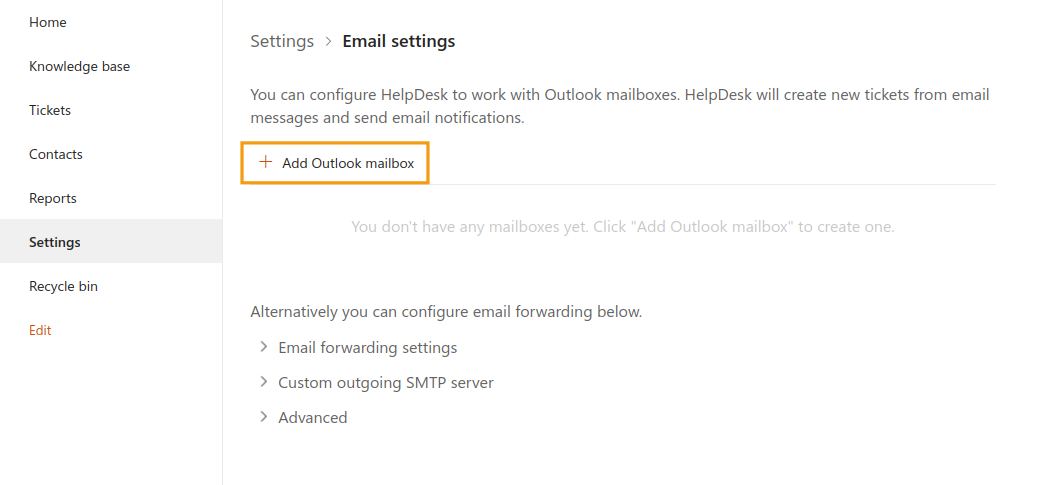
Click the Add Outlook mailbox button.
A pop-up window will appear. Enter the Outlook email address, click Grant access, and then sign in using the specified account.
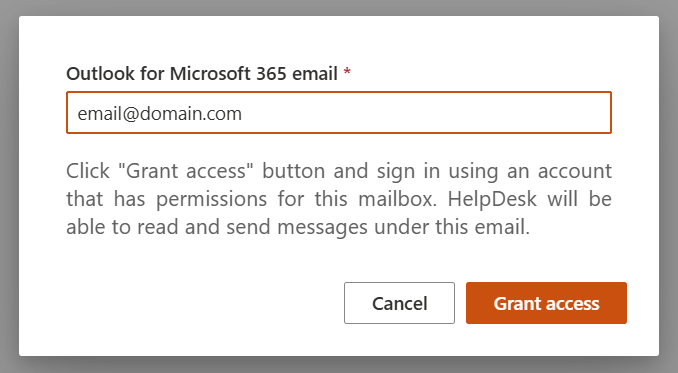
This step authorizes HelpDesk to read and send email messages using that account, enabling the two-way ticket process.
Once completed, your settings will reflect the new, connected mailbox.
Note
If you prefer the forwarding method, you can check out the forwarding instructions.
Roles
The Contacts section in HelpDesk is your centralized directory for everyone involved in your support process. This includes your customers and, most importantly, your support team.
HelpDesk recognizes three types of contacts:
Agent: SharePoint user that processes tickets.
Member: SharePoint user that creates tickets.
End-User: User without a SharePoint account that creates tickets by email.
Good news is that Members and End-Users are created automatically the first time they submit a ticket or visit your HelpDesk.
The only manual action required is creating a new Agent or promoting an existing contact to the Agent role. Once an Agent is set up, they can immediately start receiving notifications for new, unassigned tickets.
Create new agents
To create a new Agent, simply follow these steps:
Navigate to Contacts using the left navigation bar.
Click on Add new item.
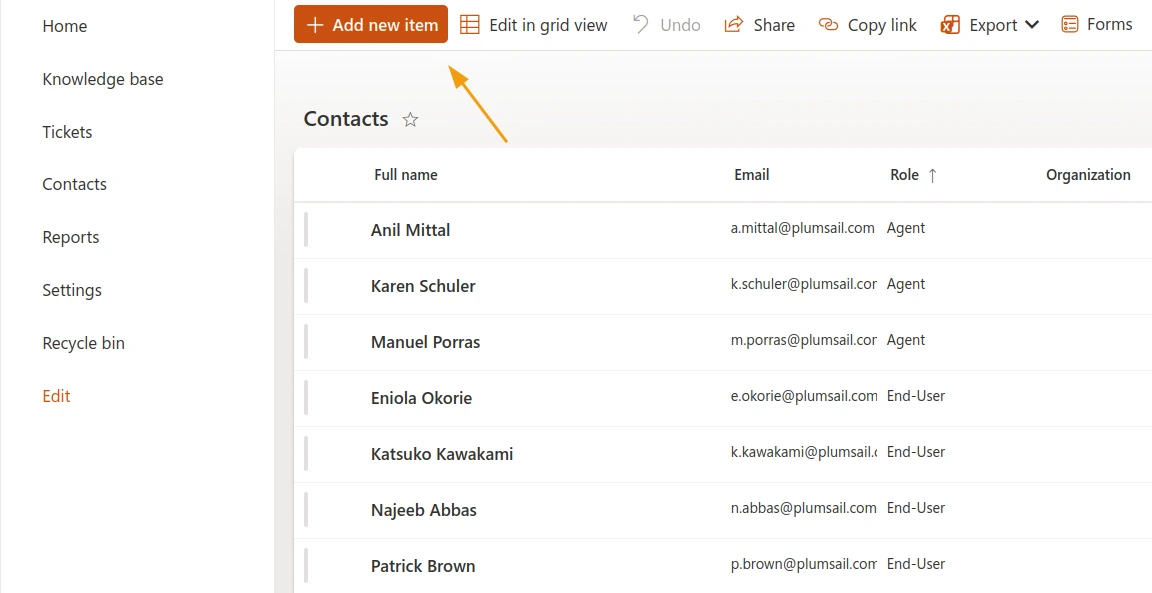
Specify the mandatory fields.
Ensure the Role value is set to Agent.
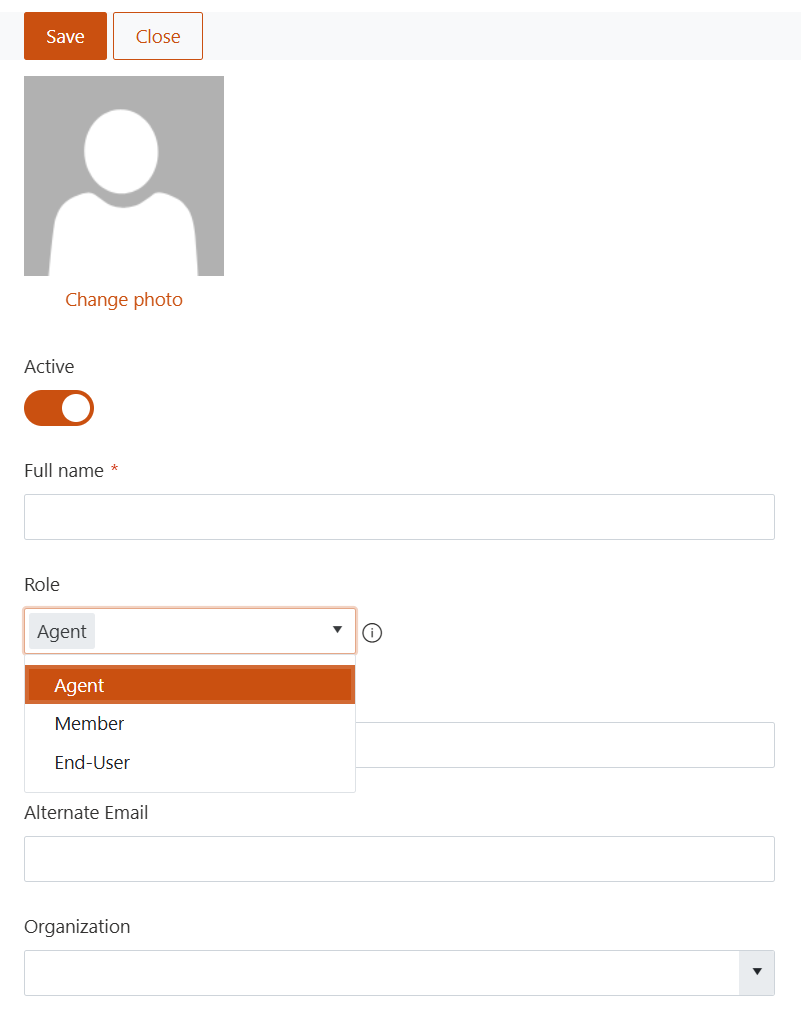
Submit the form.
That’s it! The new agent is now active and ready to jump into the queue. Remember, you can always go back and adjust their contact details or role later if needed.
Change default role
By default, HelpDesk is set up so that any new contact created is automatically assigned the Agent role. This might not be what you want if most of your new contacts are actually Members or End-Users.
You can easily change this default setting to match your organization’s needs.
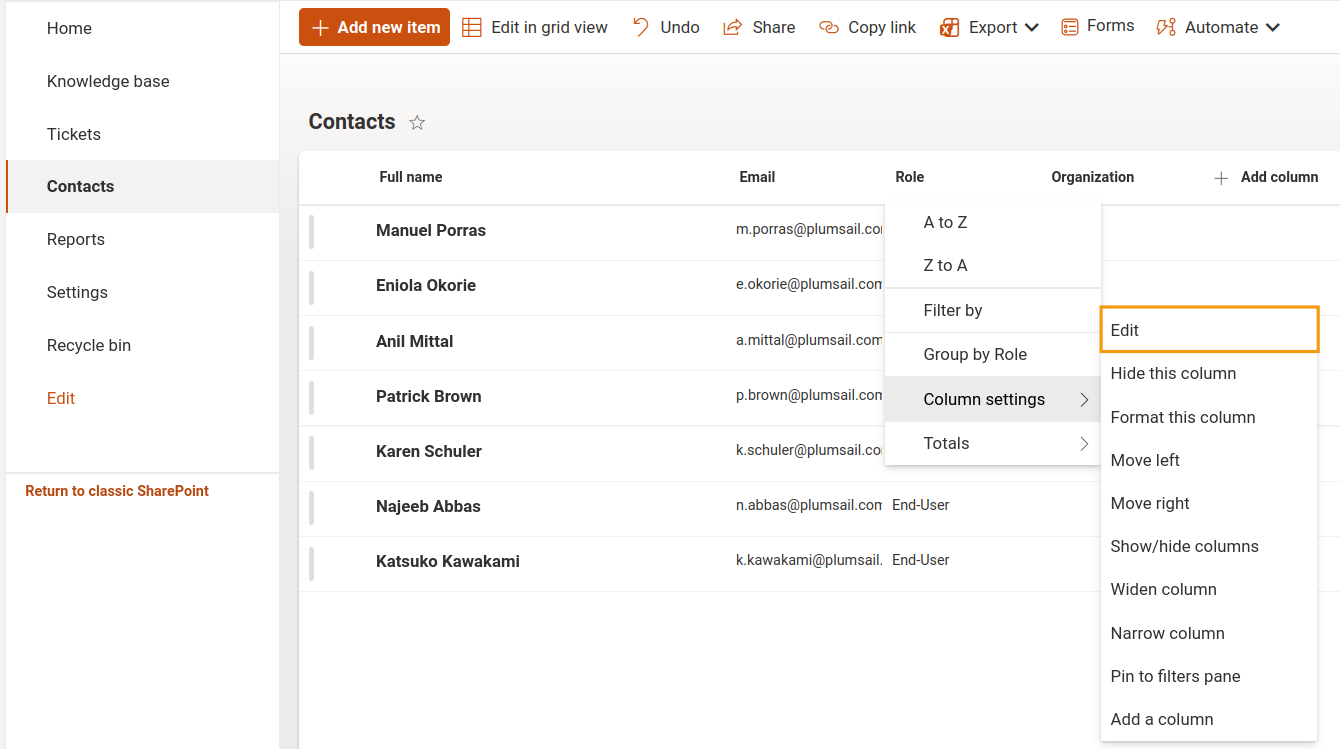
Navigate to the Contacts list.
Find and edit the Role column within the list settings.
In the column settings, look for the default value field.
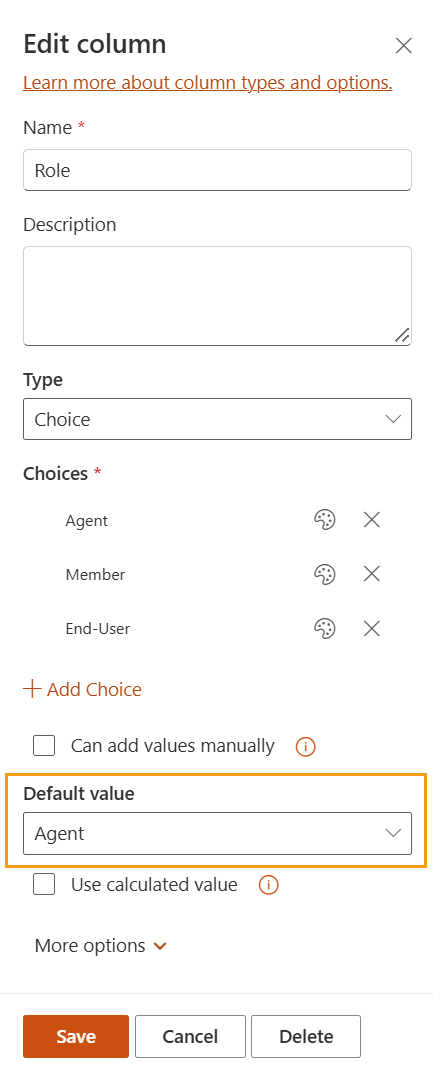
Modify the default value from Agent to your preferred option.
Save your changes.
From now on, any new contact created will automatically start with the role you selected, simplifying your contact management workflow.
Web widget for requesters
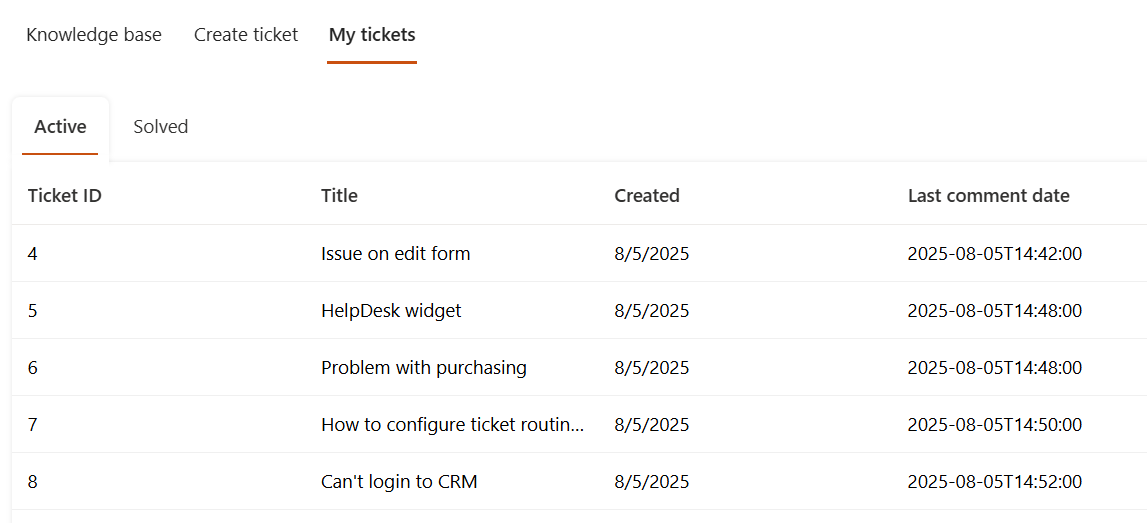
The HelpDesk Widget is a user-friendly tool that allows your requesters to easily create, view, and manage their support tickets.
You can also include a knowledge base directly in the widget to turn it into a self-service portal where users can find answers before submitting tickets.
The best part? It lets you provide support exactly where your users are working! The widget can be added to your SharePoint site or even any external website.
A key feature of the widget is its ability to automatically manage access and privacy. It comes with predefined filters that ensure non-agents can only see the tickets they created.
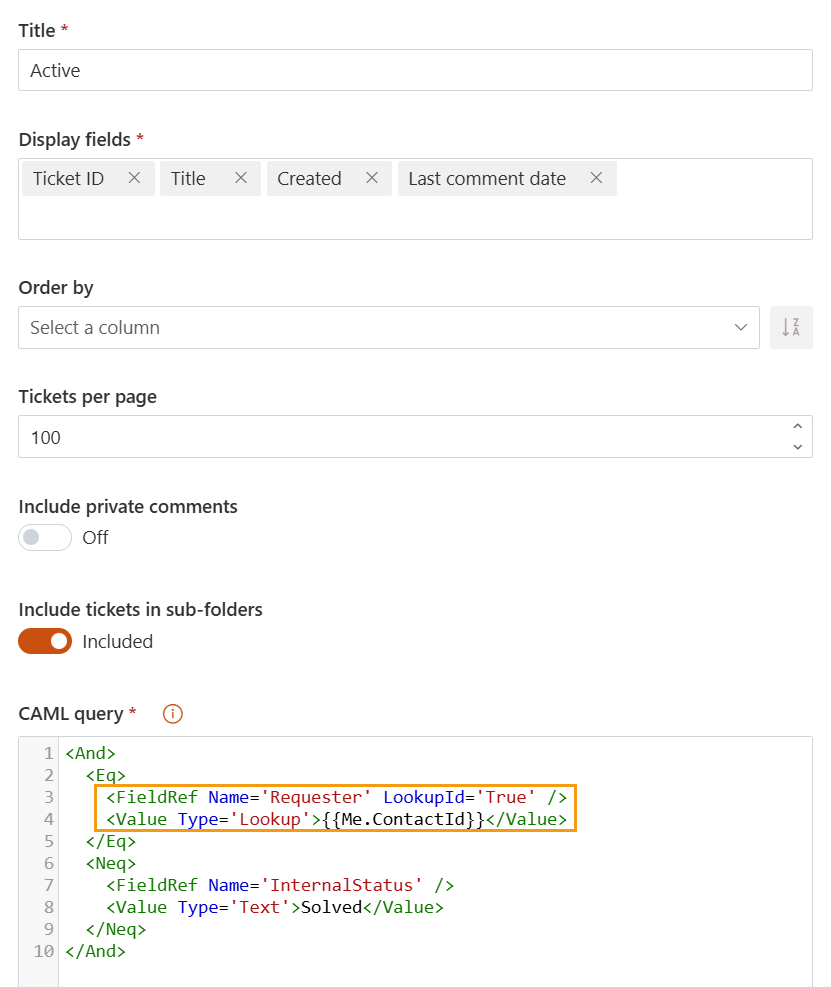
This restricts access and guarantees that users only get to view their own interactions, keeping the support process secure and private.
To get the full details, read the guide on adding the HelpDesk widget.