Add quick actions to the context menu of tickets in SharePoint HelpDesk
Plumsail Helpdesk for Microsoft 365 has Power Automate (Microsoft Flow) Connector which helps you to manipulate data in your HelpDesk with the help of Power Automate (Microsoft Flow). To start using it, you need to Create an API key and Review available actions. In this article, we’ll work with Plumsail Helpdesk connector to add quick actions to the context menu of tickets, specifically to resolve a ticket without opening it. Of course, you can use this approach with other scenarios.
Creating API key
Let’s create an API key in the Helpdesk settings
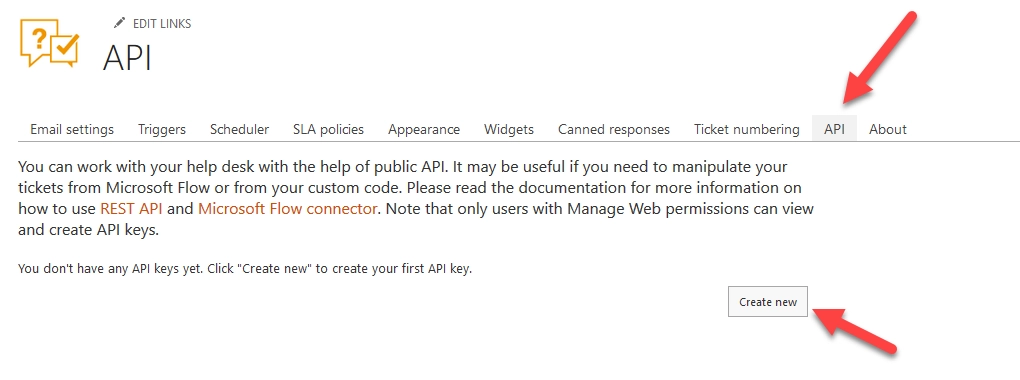
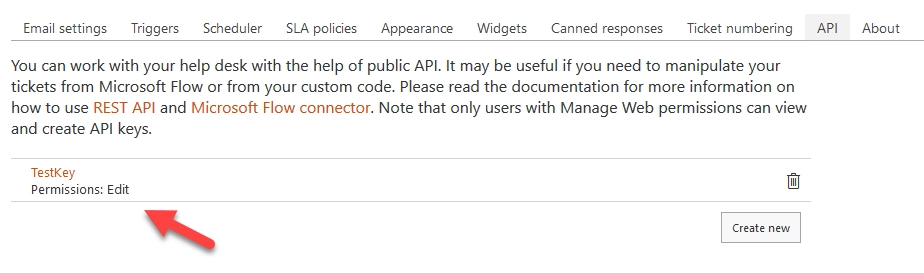
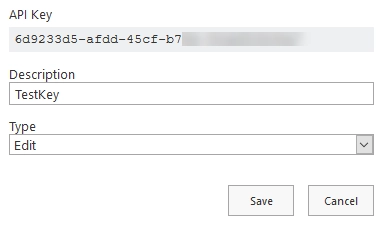
We need to copy the API key and then use it in Power Automate (Microsoft Flow).
Open Microsoft Flow website and go to Connections
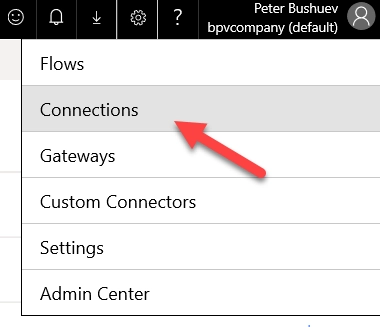
Search for Plumsail Helpdesk connector, select it and paste our API key
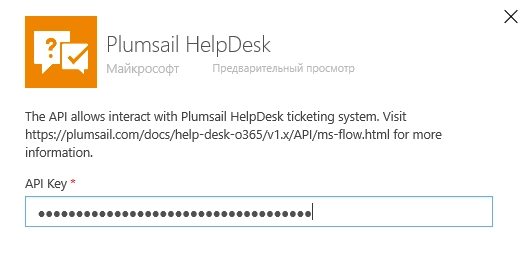
Ok, now we’ve connected MS Flow Helpdesk connector to our Helpdesk instance and ready to move on.
Creating flow
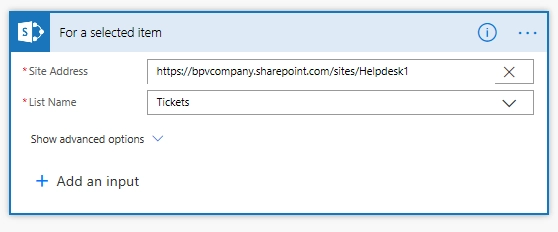
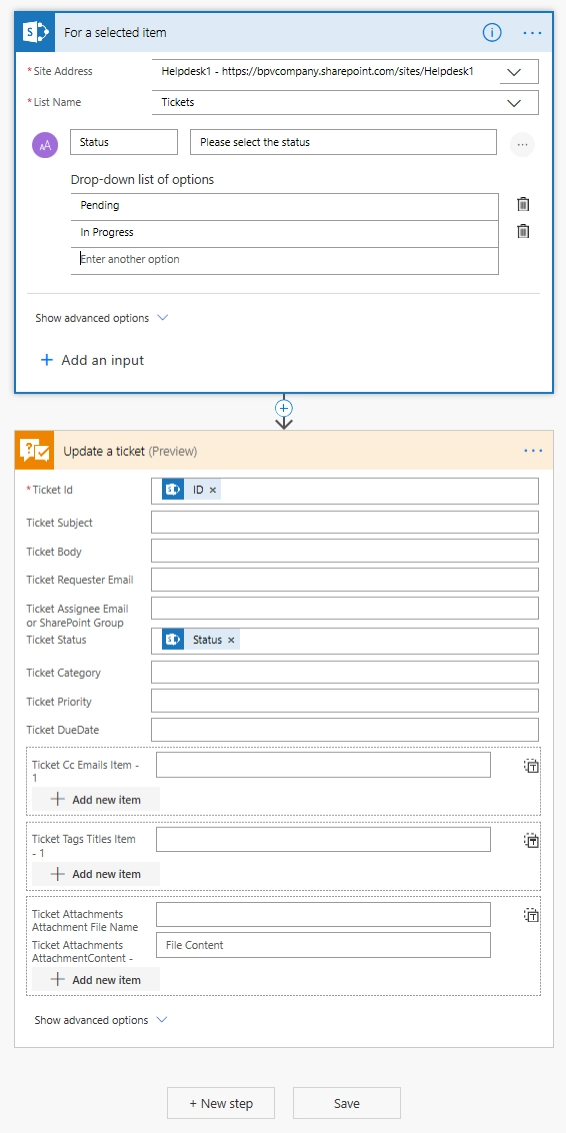
On this step, we’ve already created MS Flow connection using our Helpdesk API key. Now we move further and create a flow which is going to resolve the tickets. We start the flow with Microsoft SharePoint action “For a selected item”. We need the action to pick the selected Ticket ID and pass it to the Helpdesk action Update a ticket. I specify the Helpdesk site address and the list name “Tickets”.
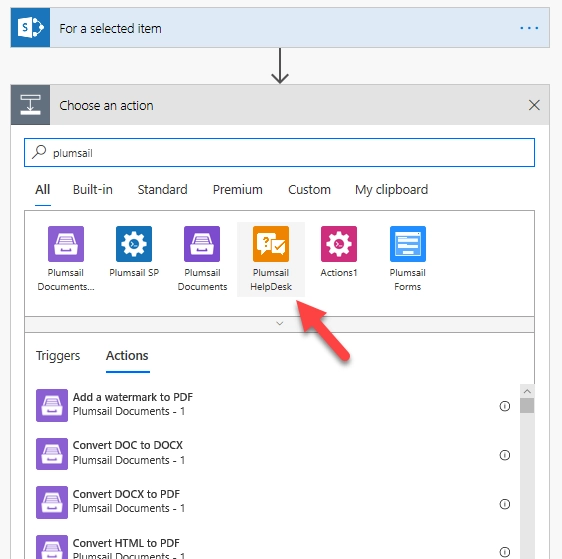
Then I search for Helpdesk connector
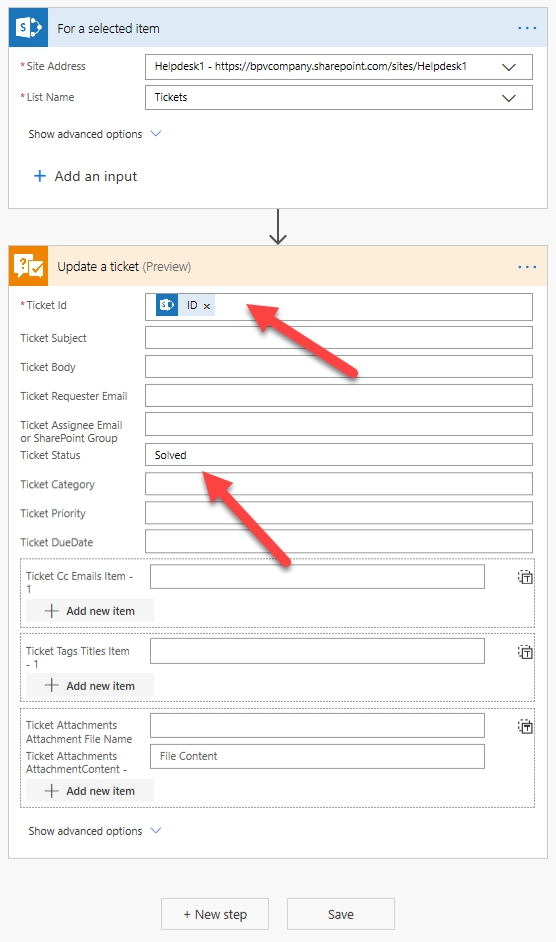
Select Update a ticket action, specify the Ticket ID from the previous step and put ticket status “Solved”.
Then we can start the flow for selected ticket. Check it out
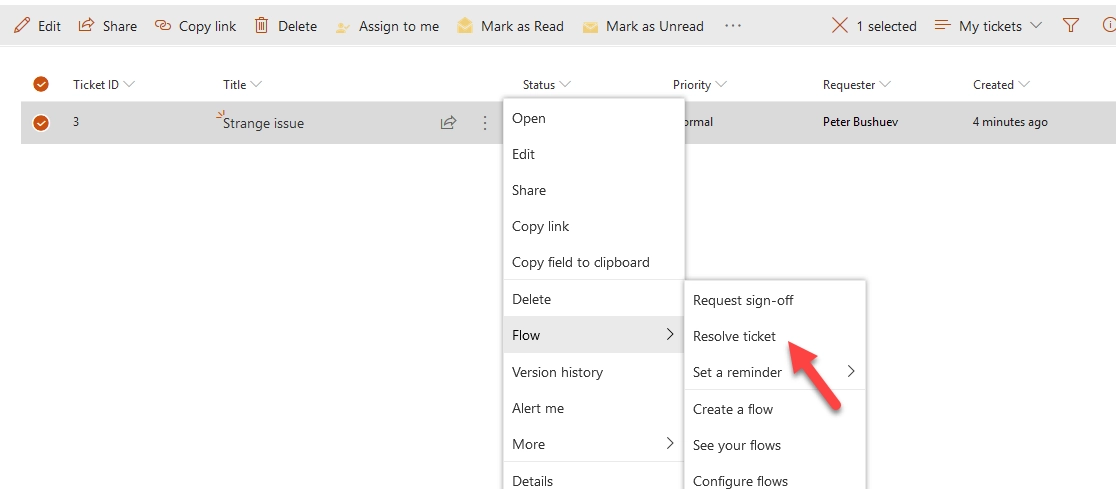
Another example
In the same manner, you can manage the tickets statuses depending on the situation and your goals. For example, you can design a flow which changes a ticket’s category, priority or due date and add the action to the ticket’s context menu. To achieve it we can add dropdown input for the initial action “For a selected item”.
Then we select the flow in the ticket context menu
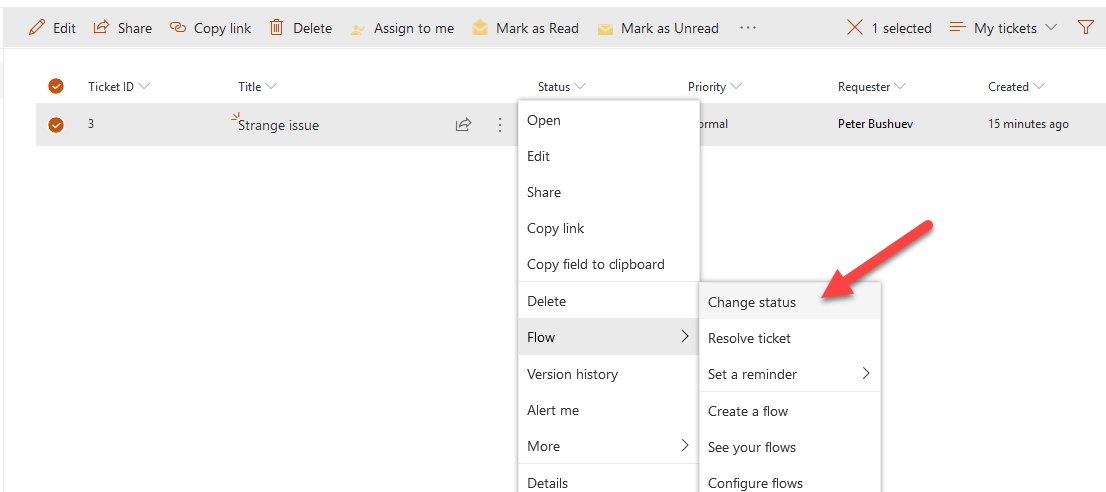
And we see the dropdown, select the status and run the flow

Conclusion
Power Automate (Microsoft Flow) and Plumsail Helpdesk connector is a power tandem which allows managing Plumsail Helpdesk very effectively.