Contacts
Contacts is a directory of people that HelpDesk is aware of.
There are three predefined contact roles:
Agent: SharePoint user that processes tickets.
Member: SharePoint user that creates tickets.
End-User: User without SharePoint account who creates tickets by email.
Let’s take a look at how to work with the Contacts list.
Get started with contacts
This section covers the basic actions you need to start working with contacts in HelpDesk.
Open Contacts list
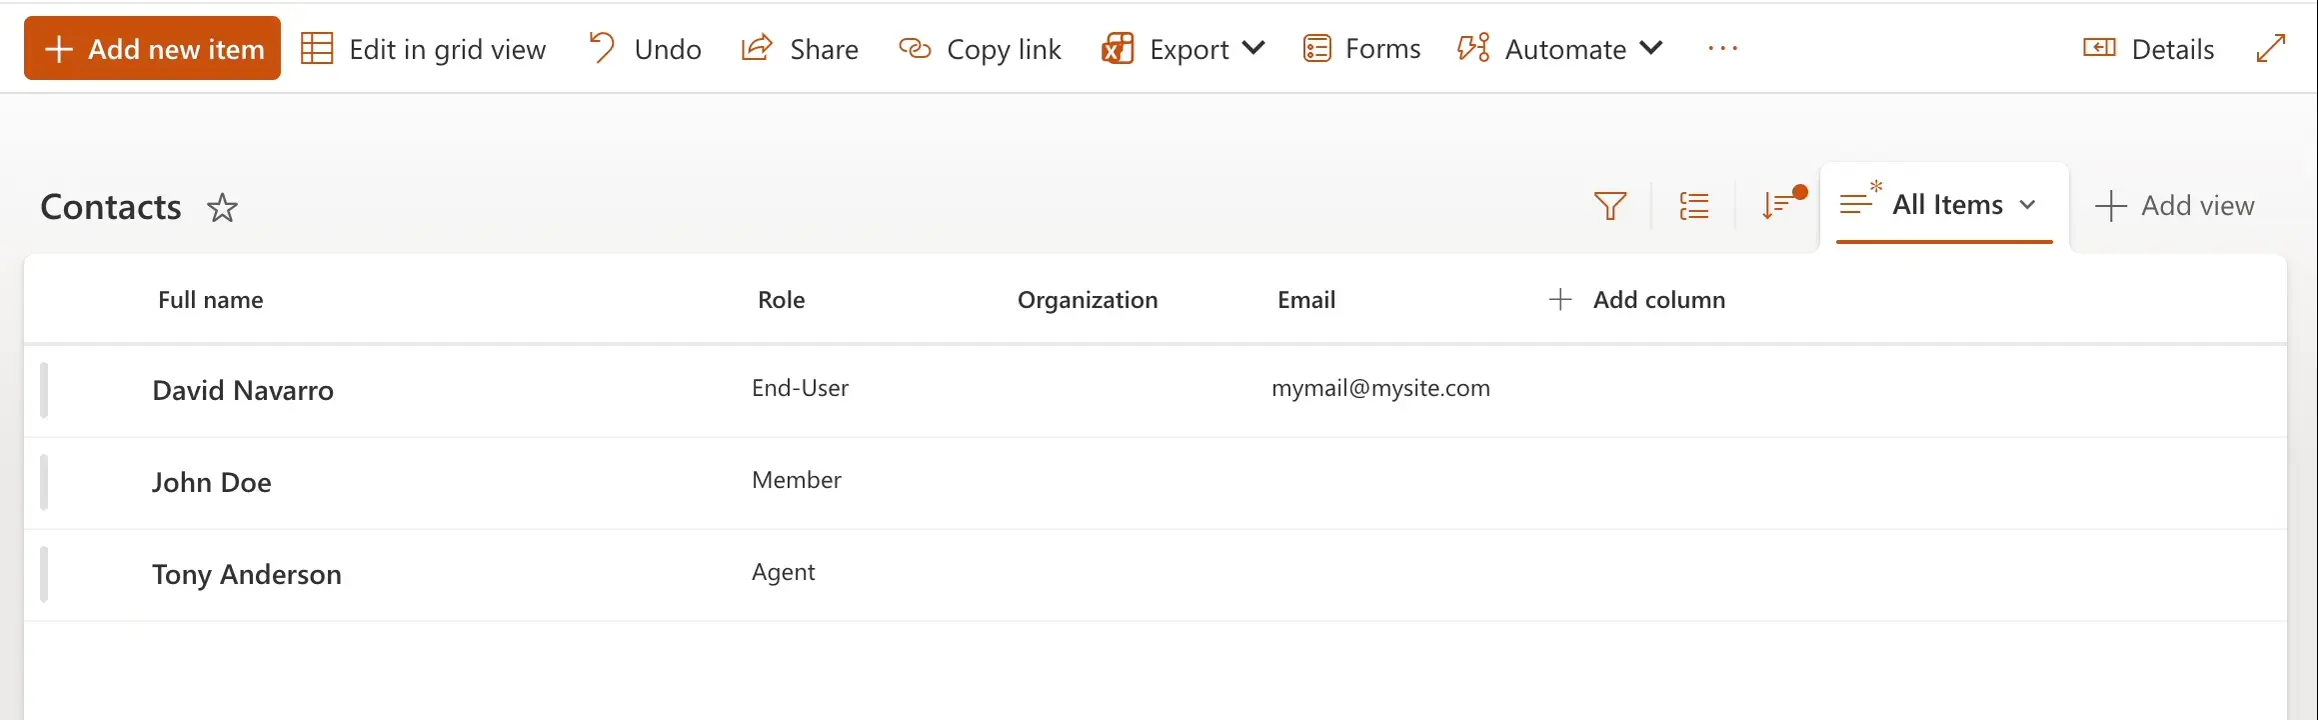
Navigate to Contacts using the navigation menu.
Use the Contacts list to manage information about everyone who works with HelpDesk.
End-Users and Members are created automatically when a new ticket is received by email. A requester who has a SharePoint account is assigned a Member role. A requester who doesn’t have a SharePoint account is assigned an End-User role.
You have to manually add all Agents who work with HelpDesk.
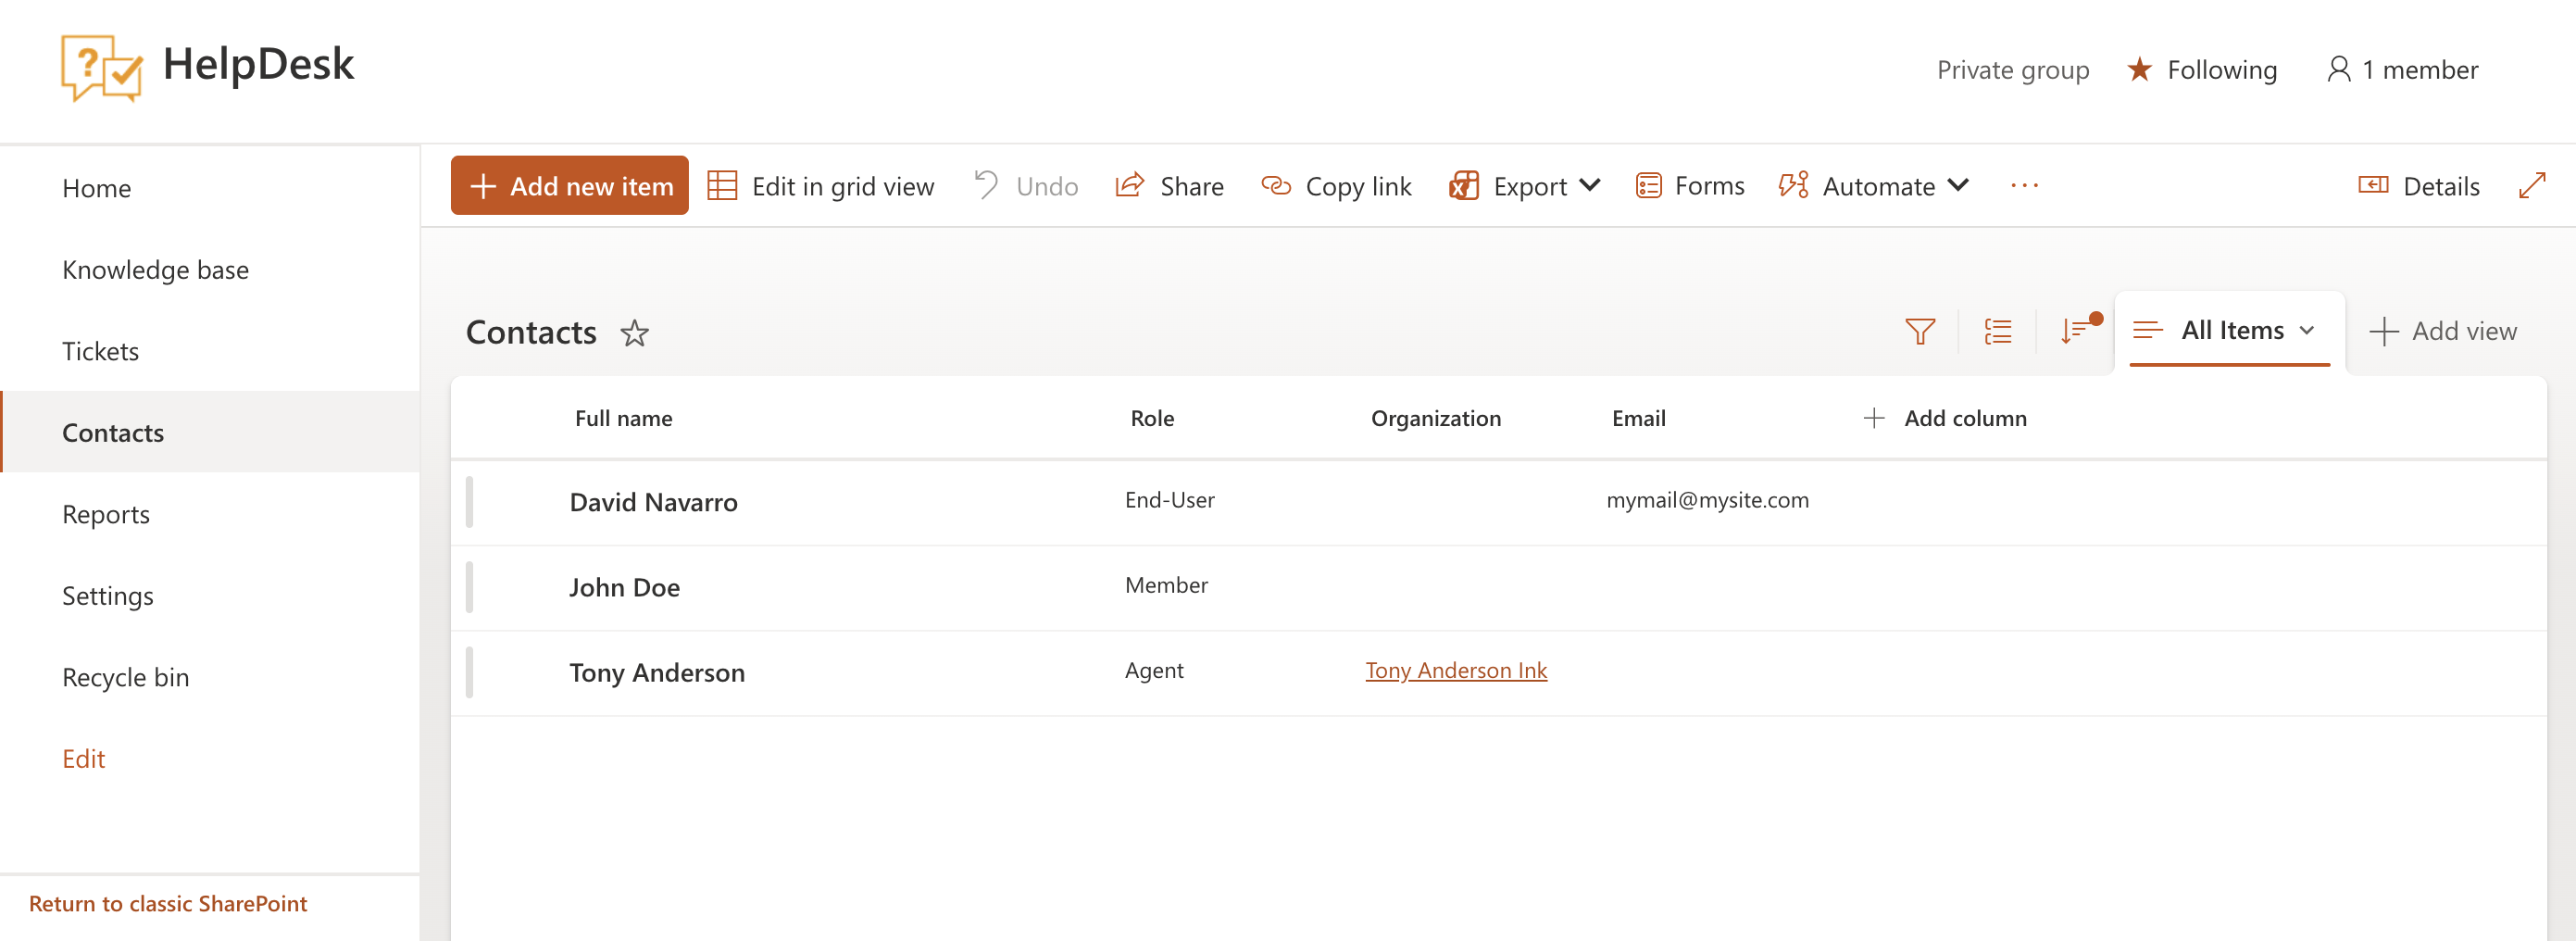
Create a new contact
To create a new contact, click Add new item.
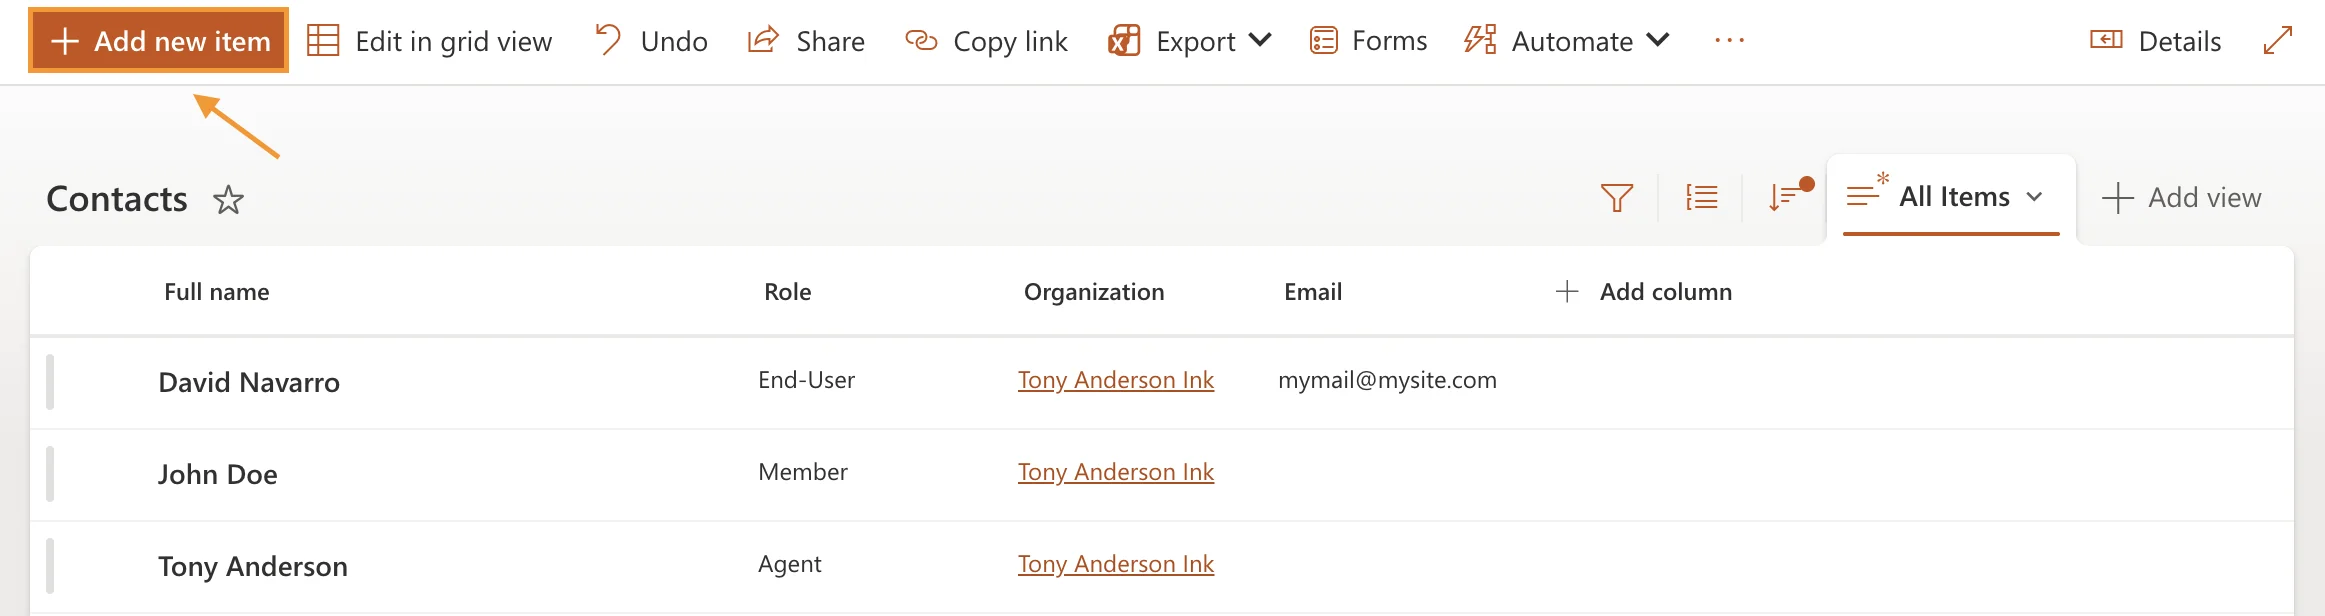
HelpDesk will display a form to create a contact. After filling in the required fields, click Save. Once saved, the new contact will appear in your contact list.
Note
You can also add new contacts directly in the ticket form or by using the Create a contact Power Automate action.
Review contact details
Click the contact’s name to open the full details form. You will see the contact card with information about the organization, email address, phone number, role, and time zone. There are also two views showing recent tickets related to the current contact:
Requested tickets: Recent tickets requested by the contact.
Assigned tickets: Recent tickets where the current contact is the assignee.
Note
The views are visible only if there are tickets related to the current contact.
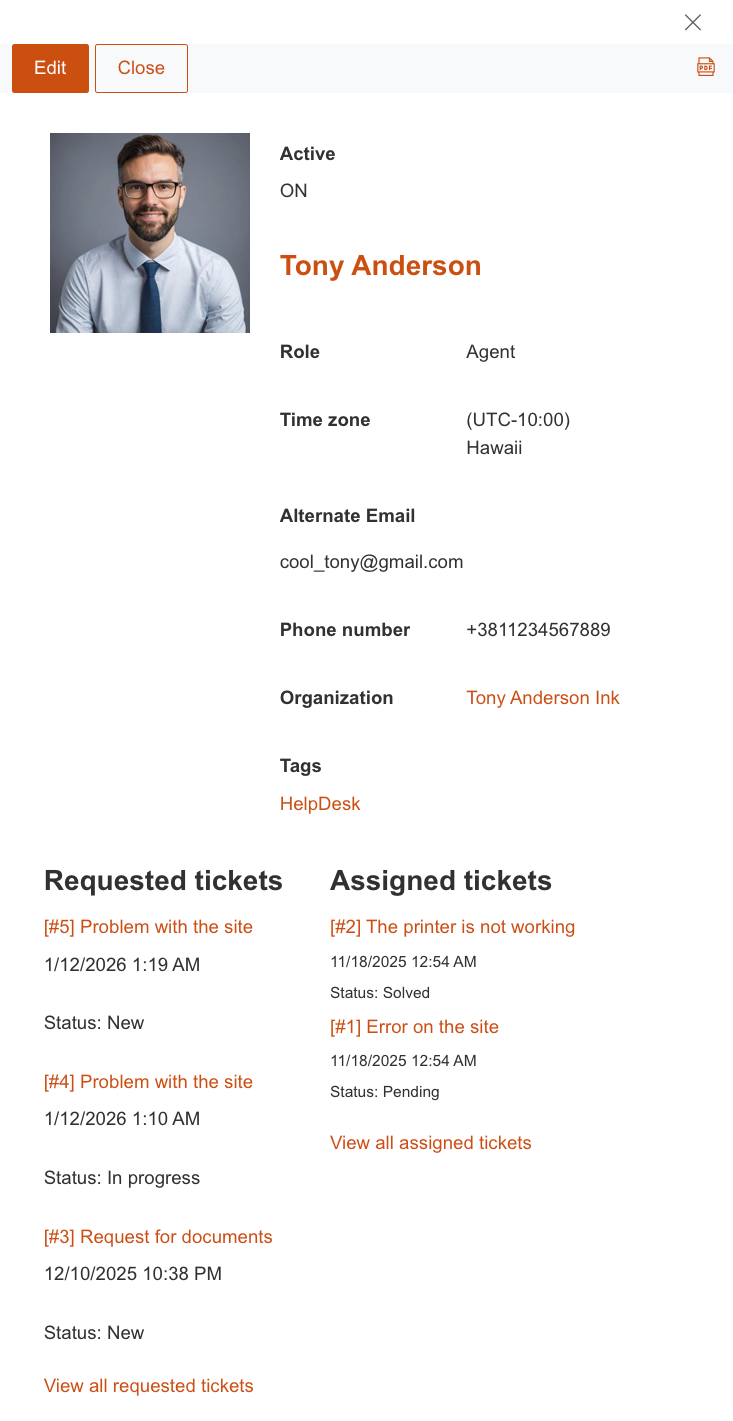
Additional information about the contact contains:
Organization: Look up to Organizations list item. You can create a new organization without leaving the currently opened form by clicking “Add new”.
Role: Defines the role of the current person on the HelpDesk site (Agent, Member or End-User).
SharePoint user/Email: The displayed value depends on the contact’s role. For agents and members, a link to the SharePoint user profile is shown. For end-users, the email address is shown.
Manage contacts
Use these options to manage and update contacts more efficiently as you work with HelpDesk.
Bulk edit contacts
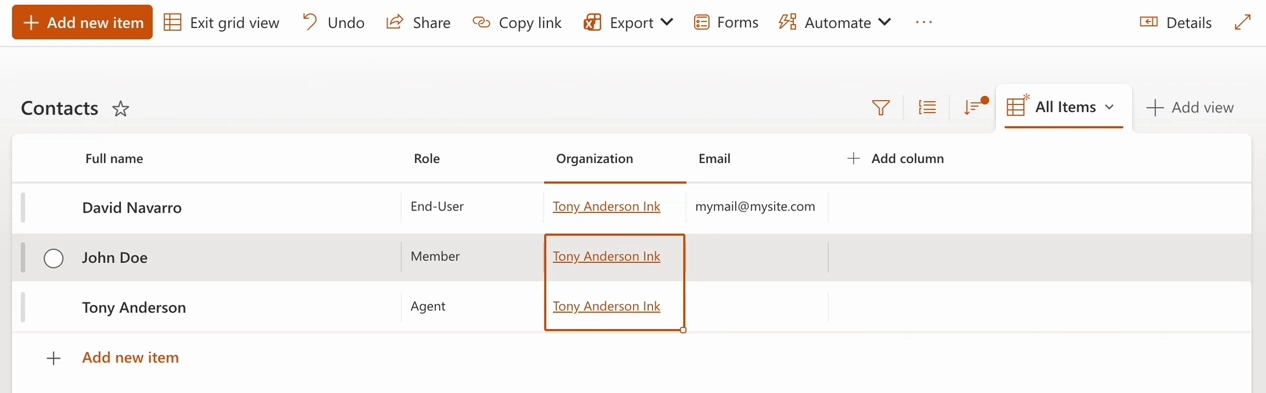
You can edit multiple contacts at once using the SharePoint grid view editor.
Click Edit in grid view in the top command bar to enable bulk editing of contacts. Once the grid view is active, select the view containing the contacts, change a property for one contact, and drag the small square at the bottom right of the cell to apply the change to other contacts.
When finished, click Exit grid view to save your changes and return to the standard view.
Add signature
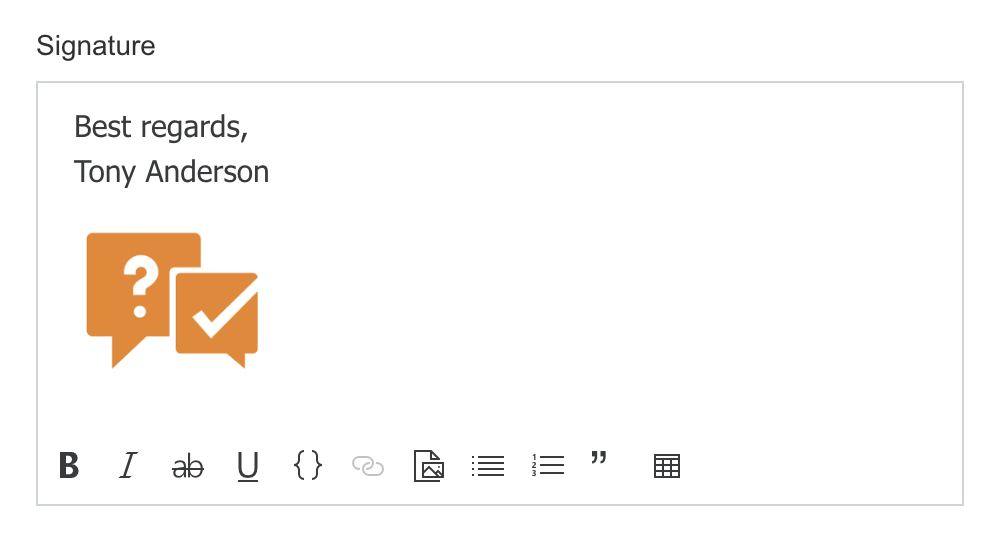
Each agent can have a signature that is automatically appended when the agent replies to a ticket.
To set up an agent’s signature, navigate to the agent’s contact and edit the Signature field.
Control your changes
You can manage the changes you make.
Click Undo to cancel a change, or Redo to apply it again.
Advanced options
These options provide additional ways to organize, share, and export your contacts list.
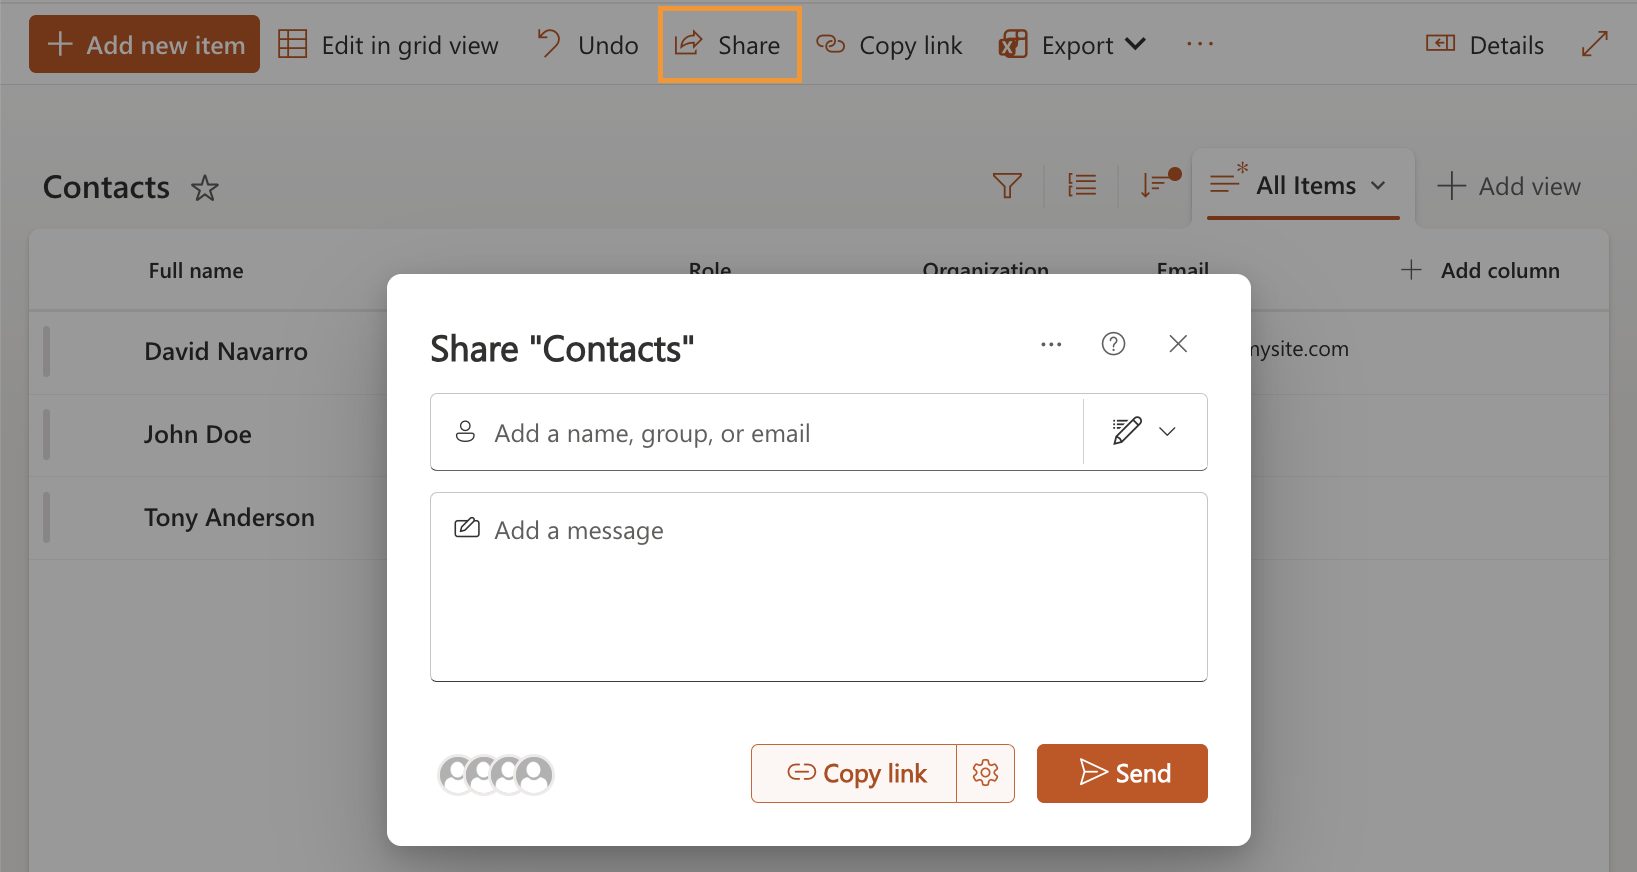
Share Contacts list
You can share contacts by clicking Share. Add a name, group, or email address, enter a message, and click Send.
You can also use Copy link to share contacts. People in your company who have the link can edit the contacts.
Export Contacts list
To export contacts, click Export. The following export options are available:
Export to CSV
Export to CSV with schema
Export to Power BI

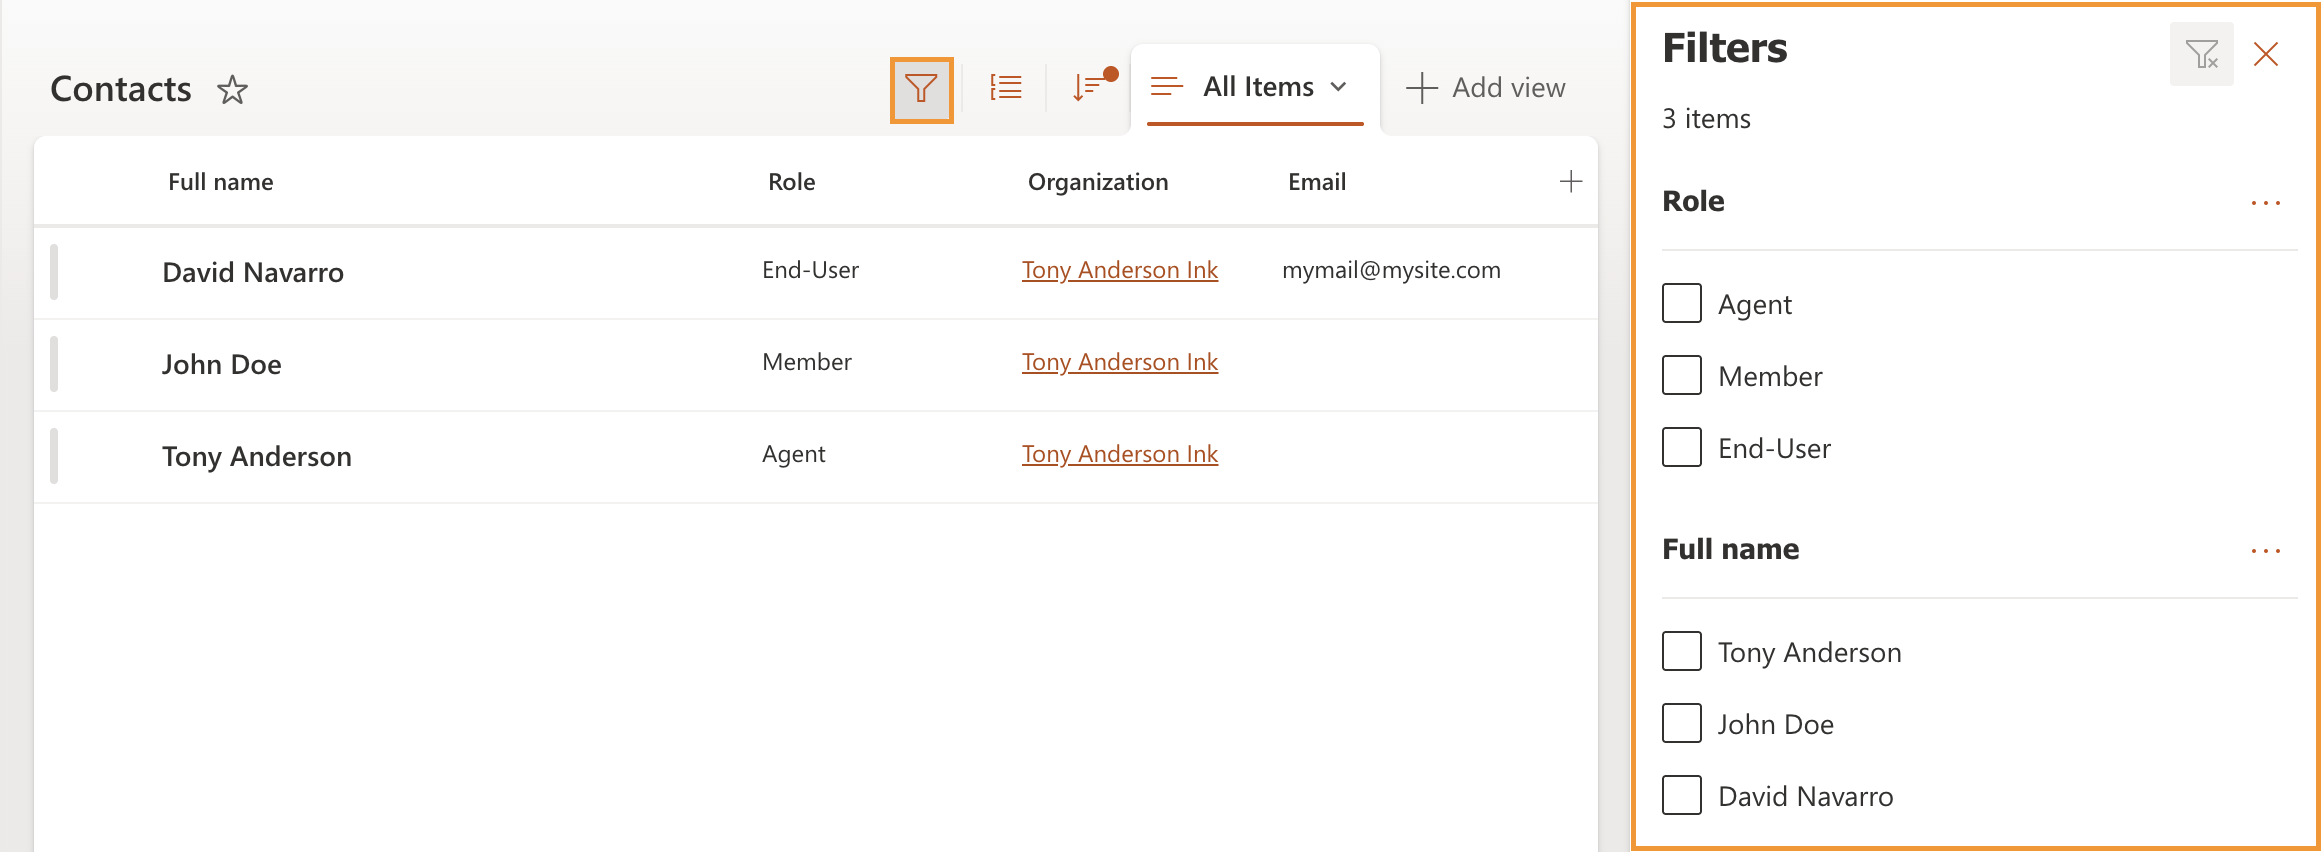
Filter contacts
To filter contacts, click the Filter icon and select the required items in the right-hand menu.
Create view
Click Add view to create a new view.
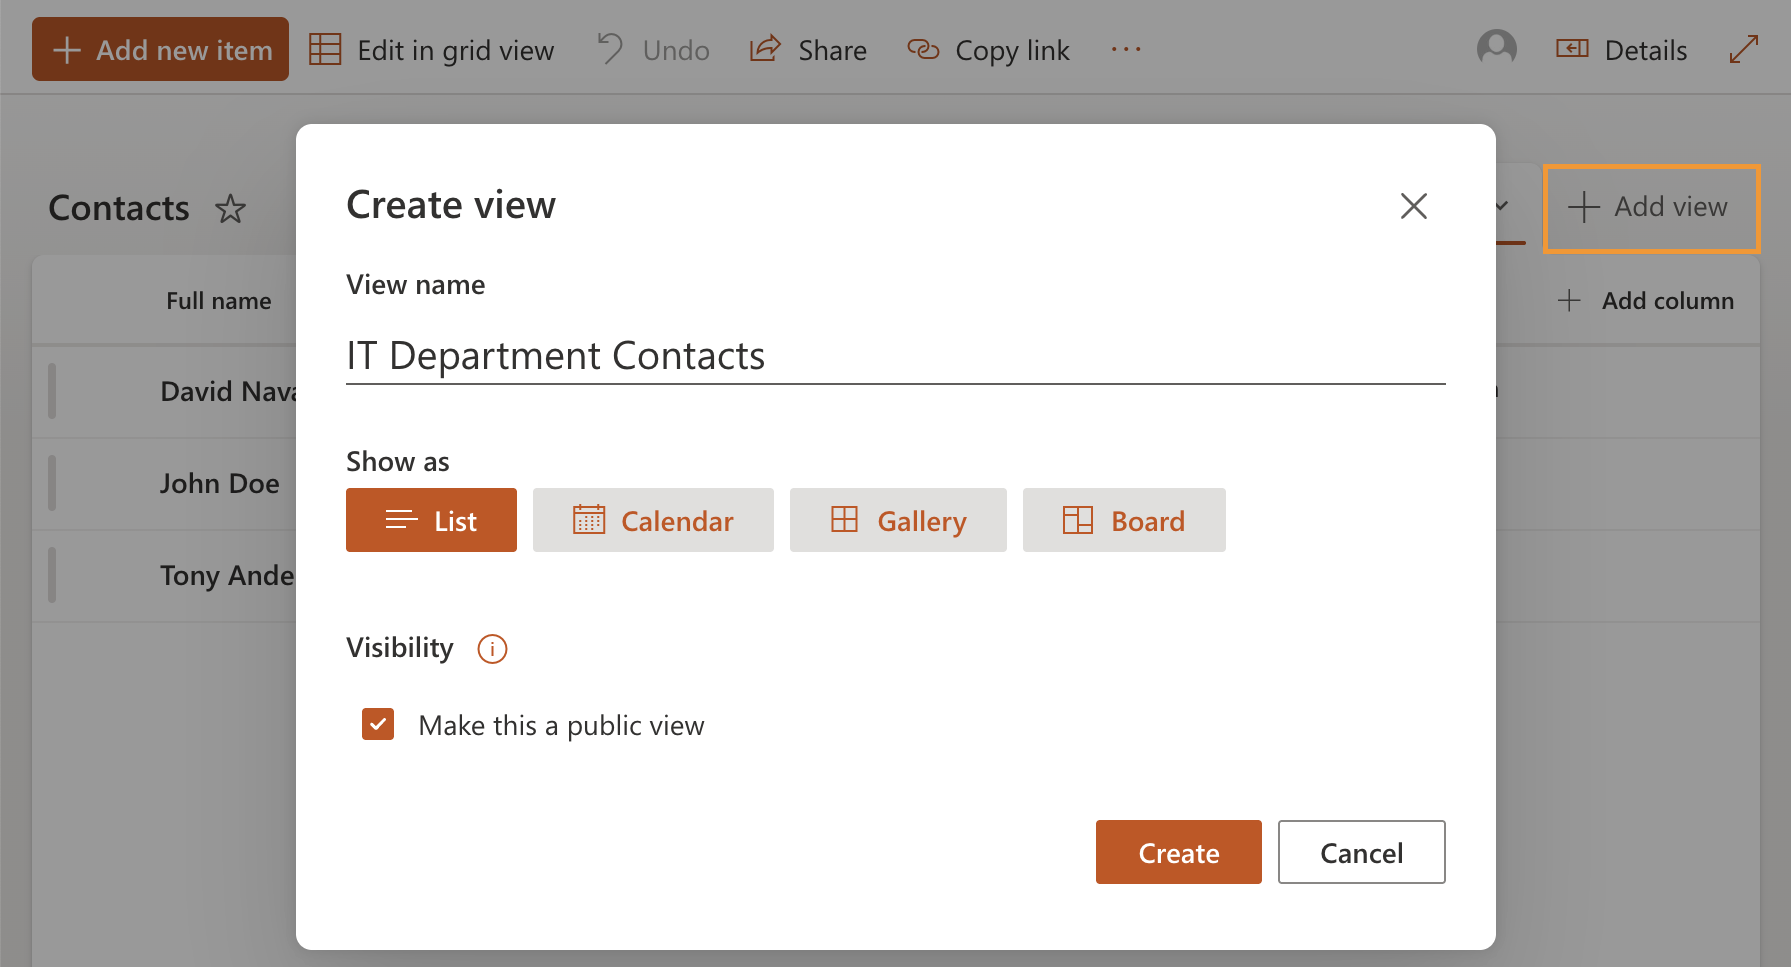
A form will open where you can enter a view name and choose how the view is displayed: List, Calendar, Gallery, or Board.
You can also set the visibility option. Public views can be visited by anyone with access to this list.
After filling in the required information, click Create.