How to filter ticket statuses
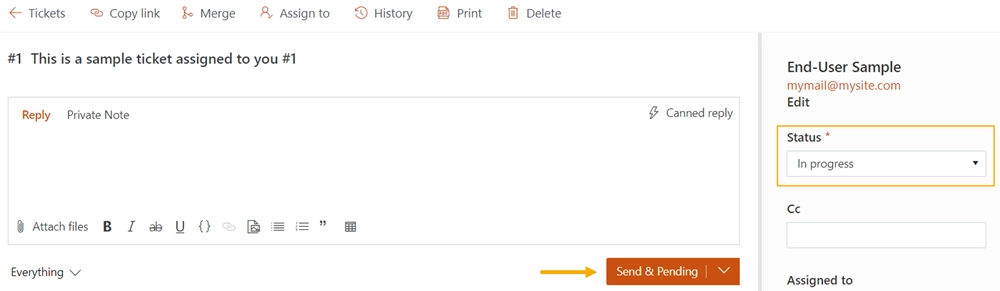
Ticket statuses can be set with either the Status dropdown or the Send & button. In this article, we’ll show how to filter the statuses depending on the current user - the user will be able to select only specific statuses, other statuses will be hidden.
Note
The feature is available starting from HelpDesk version 2.1.31. Check the version history.
Installing Plumsail Forms
To filter the statuses we’ll need to edit the HelpDesk ticket forms with the help of Plumsail Forms for SharePoint online.
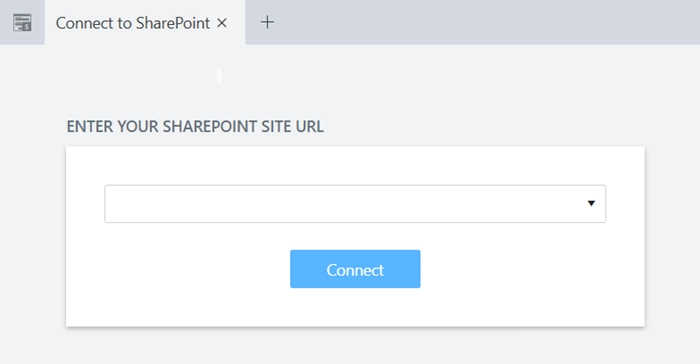
Please download a desktop app and run the installation file on your computer.
After installing, open the app and connect to your HelpDesk instance.
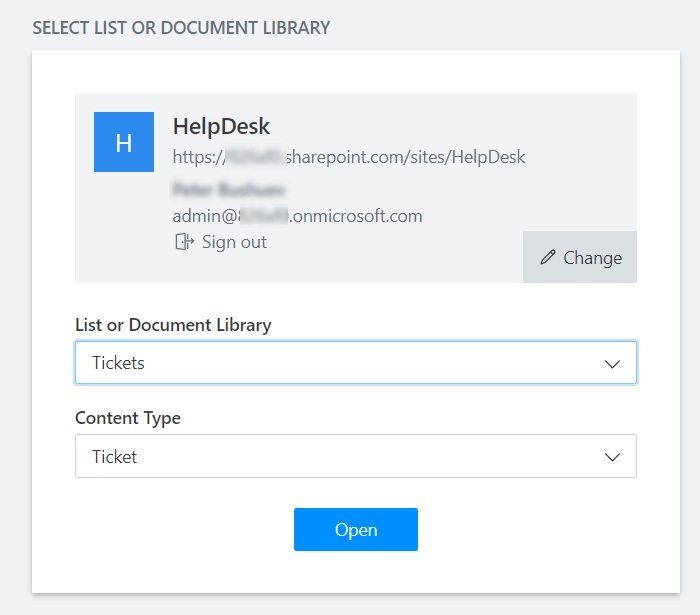
Then connect to the Tickets list.
Note
Find more information about ticket forms customization in the article.
Let’s now check how to add the filtration.
Adding filtration
We need to filter the statuses in both elements: the Status dropdown and the Send & button.
Firstly, let’s check how to filter the Status dropdown.
Filtering Status dropdown
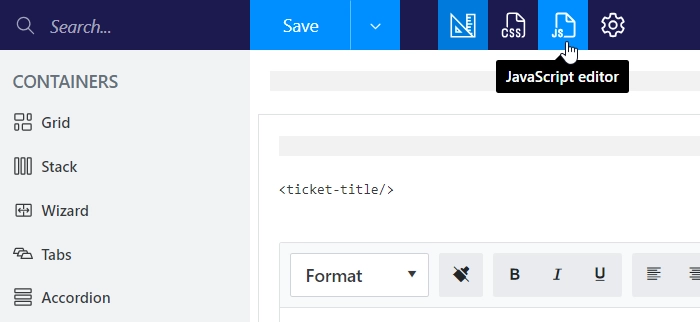
Open the ticket forms for editing and go to the JavaScript editor.
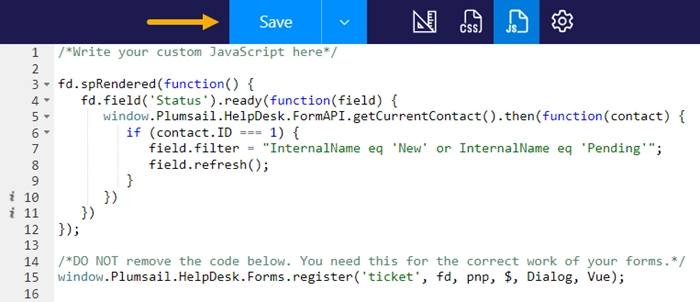
Add the following code.
fd.spRendered(function() {
   fd.field('Status').ready(function(field) {
      window.Plumsail.HelpDesk.FormAPI.getCurrentContact().then(function(contact) {
         if (contact.ID === 1) {
            field.filter = "InternalName eq 'New' or InternalName eq 'Pending'";
            field.refresh();
         }
      })
   })
});
And click Save.
This code uses method getCurrentContact which retrieves the contact object of the currently authorized HelpDesk contact.
This contact contains all Contact list fields values, except Lookup and Multichoice Lookup fields.
Then we set a condition that if the contact.ID equals 1 then keep only New and Pending statuses in the dropdown.
So, the person with ID = 1 will be able to select only these statuses in the dropdown.
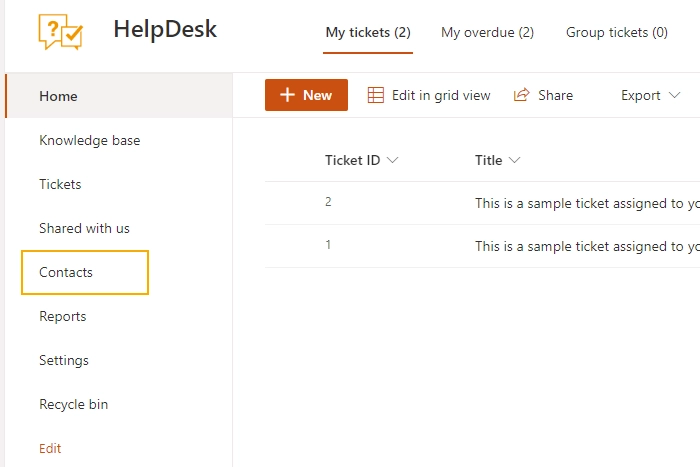
How to find the contacts IDs
To find the contacts IDs you can show the column in the Contacts list.
Select any column and click Show/Hide columns.
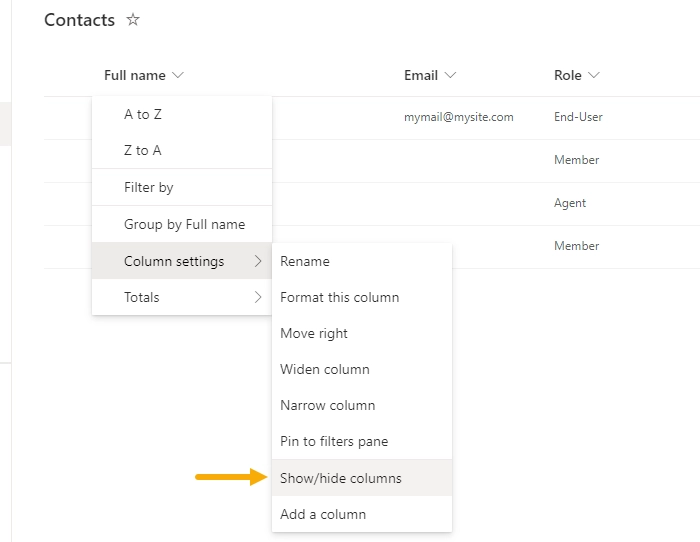
Then activate the ID checkbox.

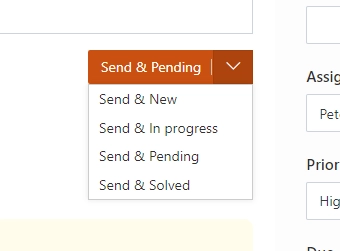
Filtering Send & button with dropdown selector
It’s not enough to filter only the dropdown options. We also need to filter the Send & button.
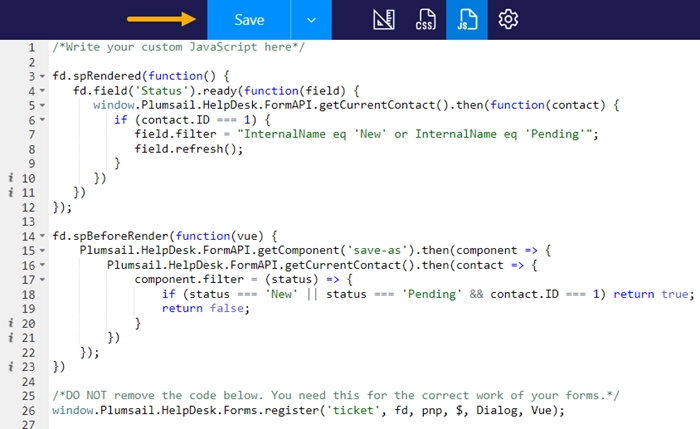
Open the JavaScript Editor and append the code to the one from the previous section.
fd.spBeforeRender(function(vue) {
   Plumsail.HelpDesk.FormAPI.getComponent('save-as').then(component => {
      Plumsail.HelpDesk.FormAPI.getCurrentContact().then(contact => {
            component.filter = (status) => {
               if (status === 'New' || status === 'Pending' && contact.ID === 1) return true;
               return false;
            }
      })
   });
})
Save the code again.
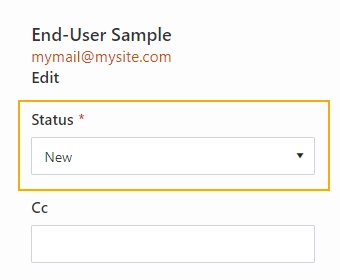
After that we have only two choices (New and Pending) for the person with ID = 1 in the Status dropdown and the Send & button.
Other options
It’s also possible to use other conditions. For example, we can filter the statuses depending on the role or use any other fields values from the Contacts list.
fd.spRendered(function() {
   fd.field('Status').ready(function(field) {
      window.Plumsail.HelpDesk.FormAPI.getCurrentContact().then(function(contact) {
         if (contact.Role === "Agent") {
            field.filter = "InternalName eq 'New' or InternalName eq 'Pending'";
            field.refresh();
         }
      })
   })
});
Additionally, take a look at the useful article on how to configure lookup field filters on a SharePoint form with JavaScript.
Conclusion
We’ve examined a basic scenario of filtering ticket statuses. Feel free to devise more intricate conditions to suit your requirements. Give it a try!