Sharing web forms created with Plumsail Forms
Account Settings
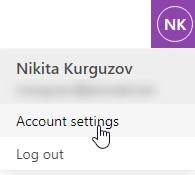
You can open Account Settings by clicking on your user icon:
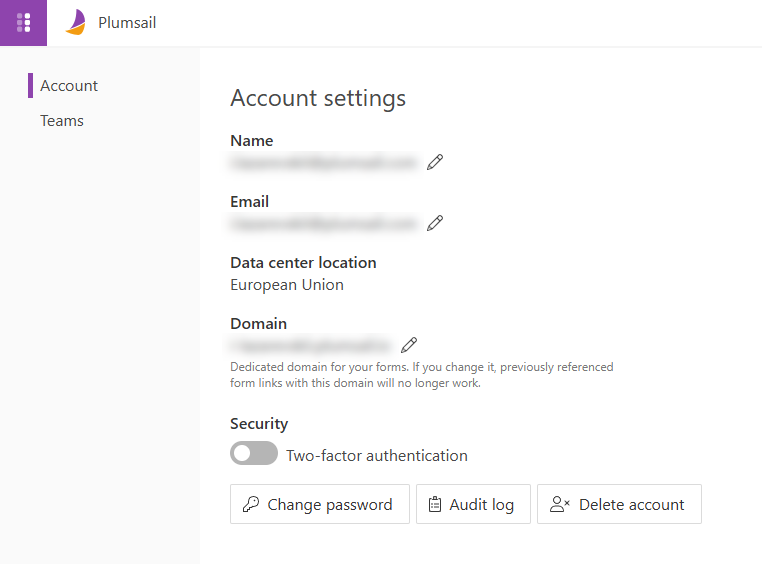
Inside, you can change your username, email, domain for your forms, as well as Reset Password and Delete the Account:
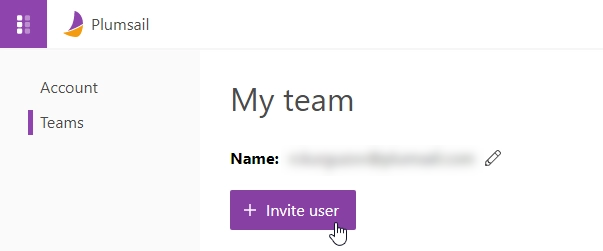
In Teams section, you can invite other users to collaborate:
Sharing pages
Share your form URL
Sharing pages allow you to share forms directly with users — via the URL. To do this, go to form’s Settings → Sharing:
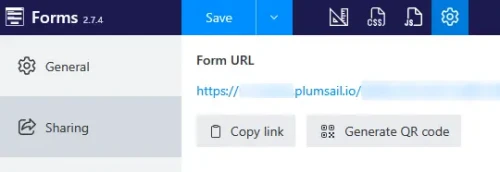
To share this URL by email or add it to your site, just click the “Copy link” button.
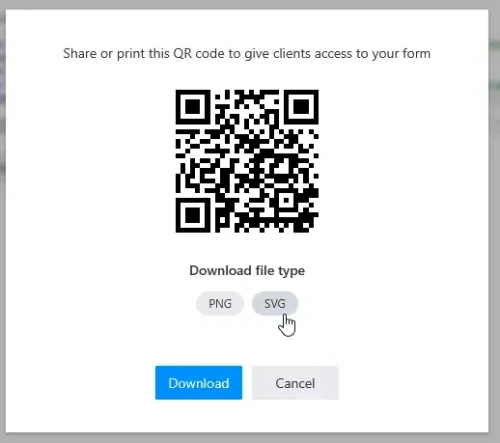
To create a QR code for users to scan, click “Generate QR Code,” choose the format, and download it.
Request a review
URL sharing won’t be available until the form is reviewed:
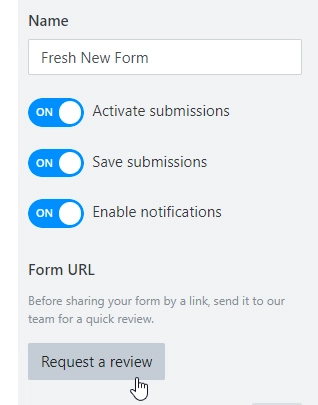
The reviews are done manually by our support team in order to ensure no malicious forms are shared this way.
Review usually only takes a few hours on a business day, but can take longer if submitted during a weekend. Adding any changes to the form after the review is complete will require a new review.
Warning
The following items will prevent your form from passing a review:
Faking other websites or e-mail messages (website spoofing)
Login forms (login spoofing) and password collection
Empty forms or landing pages without form fields
Missing or non-obvious submit button
Credit card info collection
Once your account is approved, your forms will no longer need a review before sharing. To get your account approved, you must first design a few forms that will be approved after a review, purchase a subscription, then write to us at support@plumsail.com to approve your account.
Customize sharing page
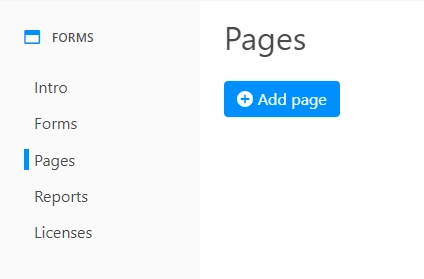
To customize a sharing page, go to your Plumsail Account → Forms → Pages section and click Add page:
Once you click it, you’ll be greeted with the following screen:
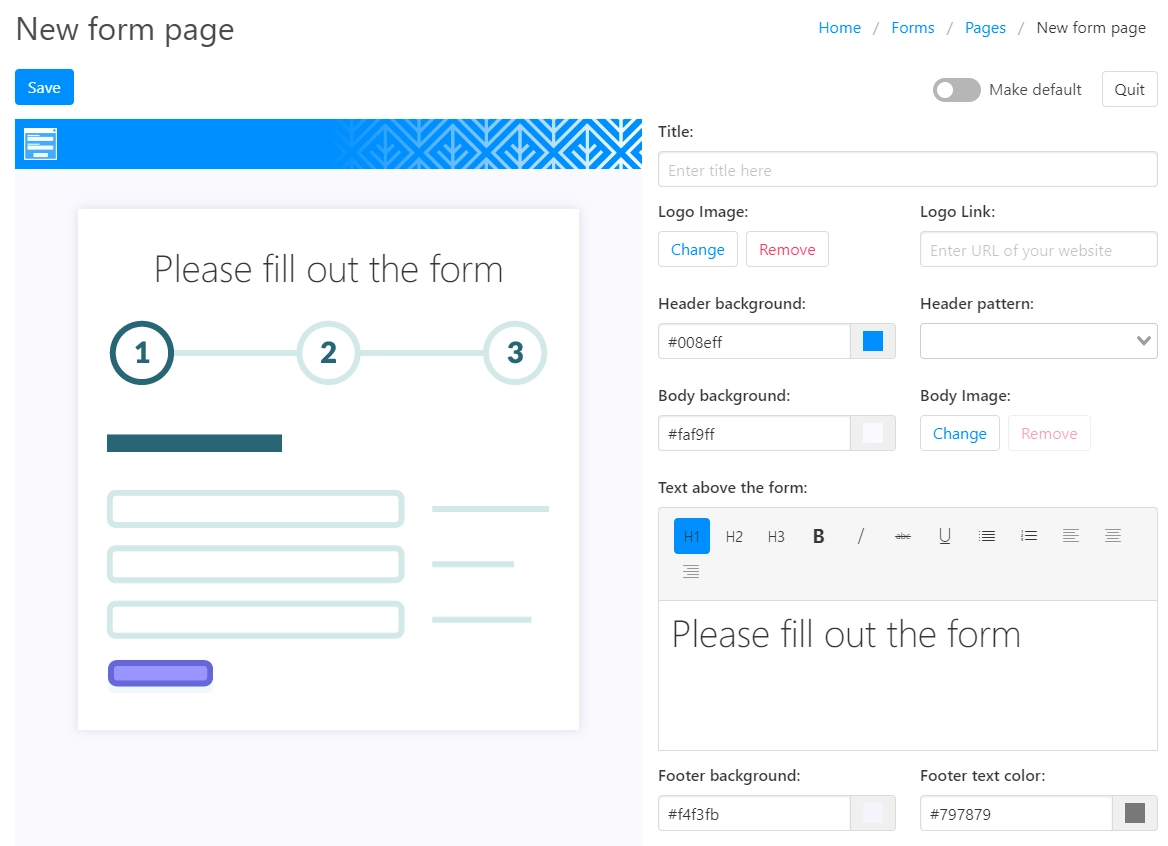
Here, you can configure sharing page to your liking and change its appearance to match your company’s or personal style.
If you select Make default for this page, you’ll be able to share any form with this page, via links in the Forms section of your account:
Title field is mandatory and is required to identify each sharing page that you have. You can also change the Logo and add a link to it, so when users click on the logo, it redirects them to your site. Adjust Header where the logo is placed by switching header color or the pattern, where you can choose from many options. Choose Body background - either a solid color or an image.
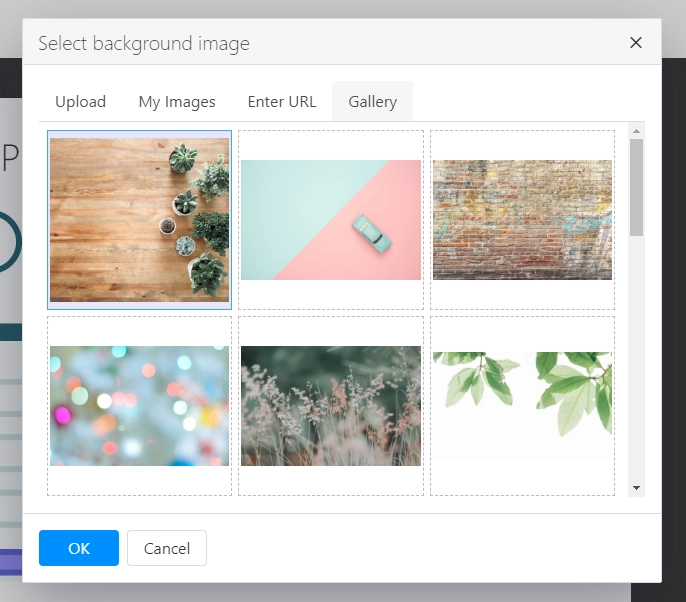
You can upload your own image or select one of existing in image gallery:
Customize the text that appears above the form.
Finally, you can also adjust Footer’s background color, text color and what text will appear in the footer.
With all that done, save the page.
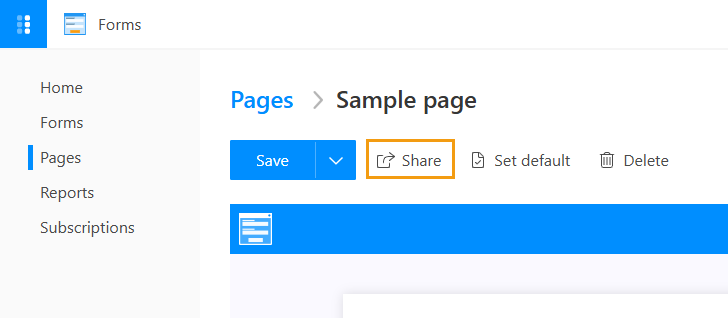
After saving you’ll get some extra options. You’ll be able to Save as or Delete the page. You’ll also finally get an option to Share the page:
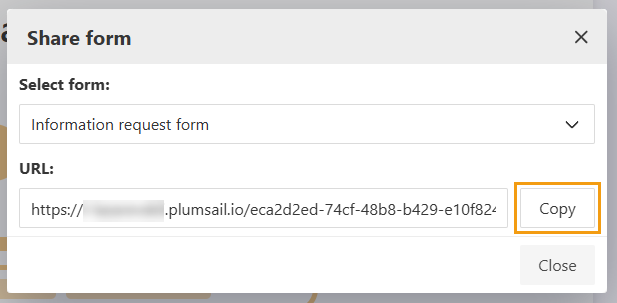
When you click Share, you’ll be able to choose which form to share and copy the URL for sharing:
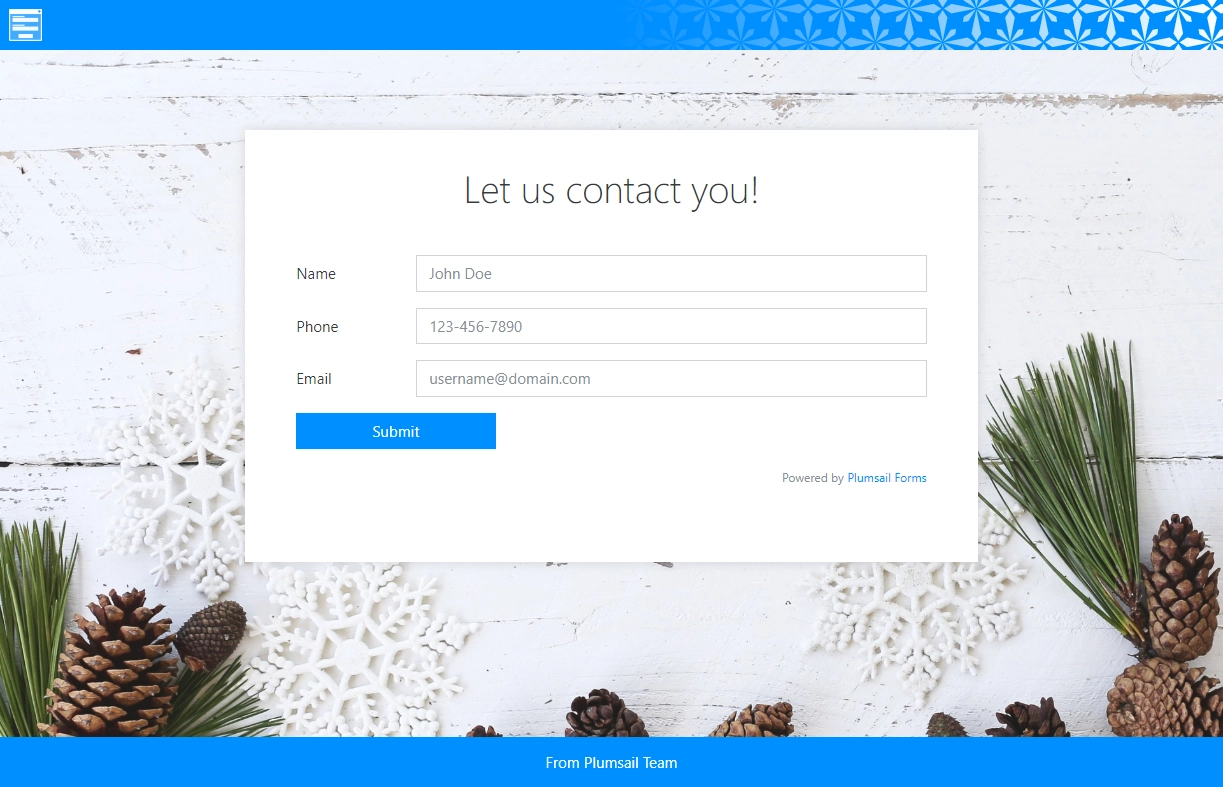
And here’s the page that I’ve created in just a couple of minutes with a simple form:
Note
To actually work with the data, please, check out our Collecting data from submissions article, or data use in MS Power Automate, Zapier or Make.
We also have direct integrations with Airtable and SharePoint.
Embedding forms
Microsoft Teams
Communication and collaboration platform for work teams. Find out how you can embed forms on your Microsoft Teams tab.
Wix
Powerful website building platform with lots of templates to choose from. Find out how you can embed forms on your Wix website.
Editor X
New project from Wix for more advanced and responsive sites. Find out how you can embed forms on your Editor X website.
Squarespace
All-in-one solution for anyone looking to create a beautiful website. Find out how you can embed forms on your Squarespace website.
Weebly
Free online website builder with easy to use drag-and-drop interface and a web store integration. Find out how you can embed forms on your Weebly website.
WordPress
One of the most popular free and open-source content management platforms in the world. Find out how you can embed forms on your Wordpress website.
Drupal
A free and open-source content management framework with robust features and flexible design. Find out how you can embed forms on your Drupal website.
Joomla!
A free and open-source content management system for publishing web content. Find out how you can embed forms on your Joomla! website.
Flexbe
Flexible and modular builder for websites, stores, landings and more. Find out how you can embed forms on your Flexbe website.
Tilda
An intuitive website builder based on blocks of content. Find out how you can embed forms on your Tilda website.
One of the most used social media platforms in the world. Find out how you can embed forms on your Facebook page.
Blogger
One of the greatest and most well-known platforms to host a blog. Find out how you can embed forms on your Blogger site.
Tumblr
A popular platform for microblogging and sharing GIFs. Find out how you can embed forms in your Tumblr blog.
Shopify
An eCommerce platform that allows anyone to set up an online store and sell products. Find out how you can embed forms on your Shopify website.
Custom website
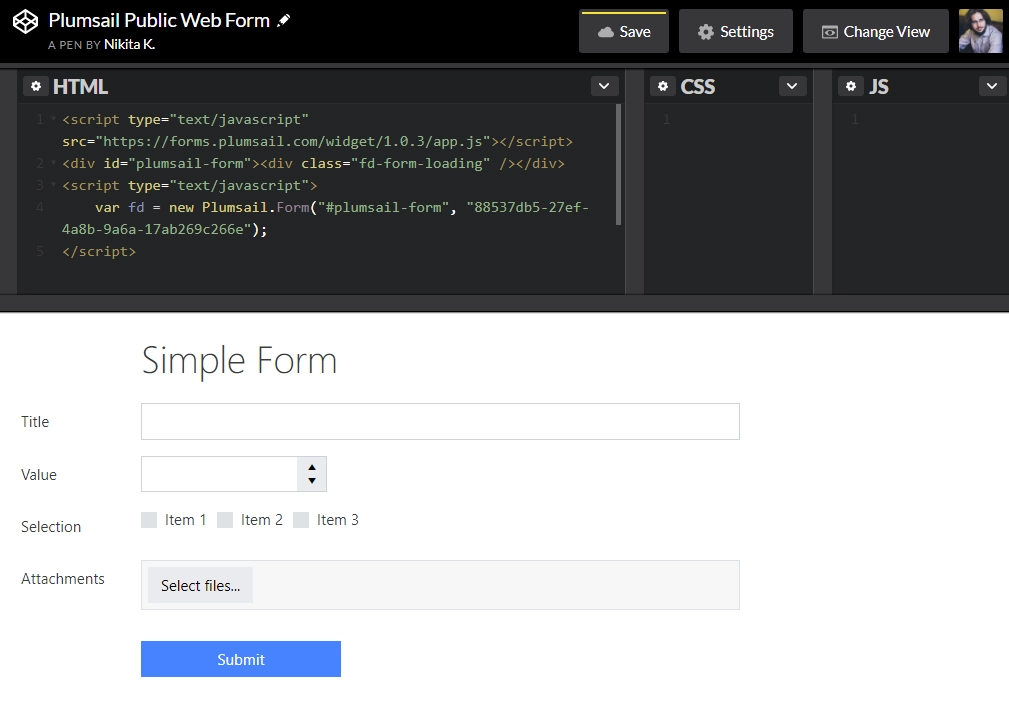
You can publish Public Web Form to any webpage on your own site or anywhere else on the web, where you can edit the HTML and add our widget.
The widget can be found in Sharing Settings in the designer where you can copy it to clipboard:
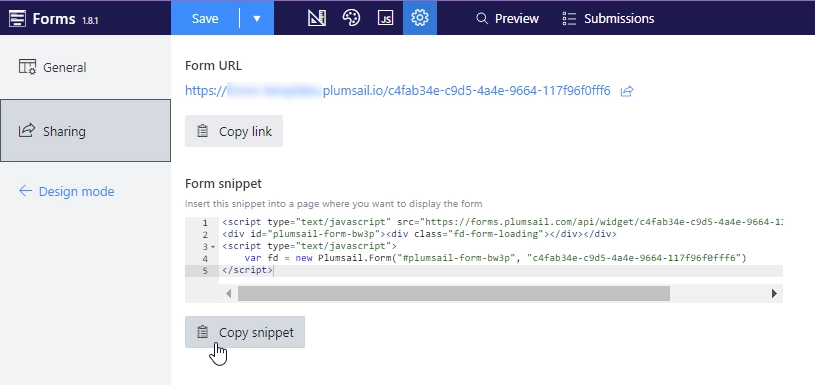
After copying the widget, simply insert it as HTML to your page and the form will be published, ready to receive submissions:
Find the detailed description of Plumsail.Forms arguments in Widget section of JavaScript framework.
Access management
Normally, a web form can be completed and submitted by anyone, but you can require users to authenticate via Microsoft Account:
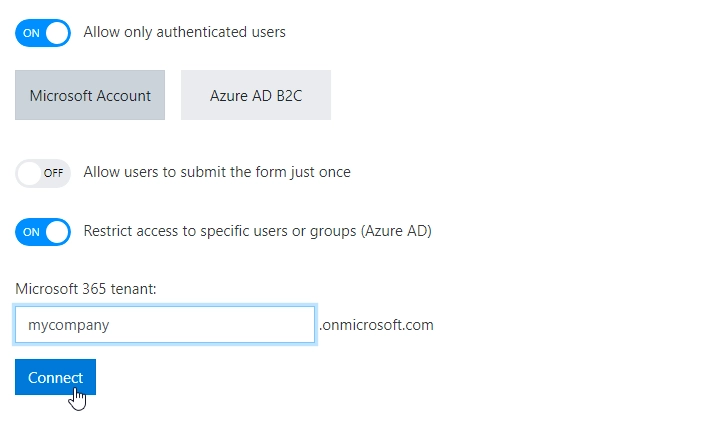
Here you can configure the following options:
Enable access to authenticated users only
Allow users to submit the form just once
Allow users to edit their submissions
Provide access to the form to specific Microsoft 365 groups or users
Find more in Manage users in public web forms.