Connect Plumsail Form to Airtable
Airtable at its core is a platform for creating and sharing data in relational databases. Our forms can be used to collect submissions from company’s staff and anonymous users alike, with or without authentication, embedded on a site or shared via a link.
Connect form to Airtable
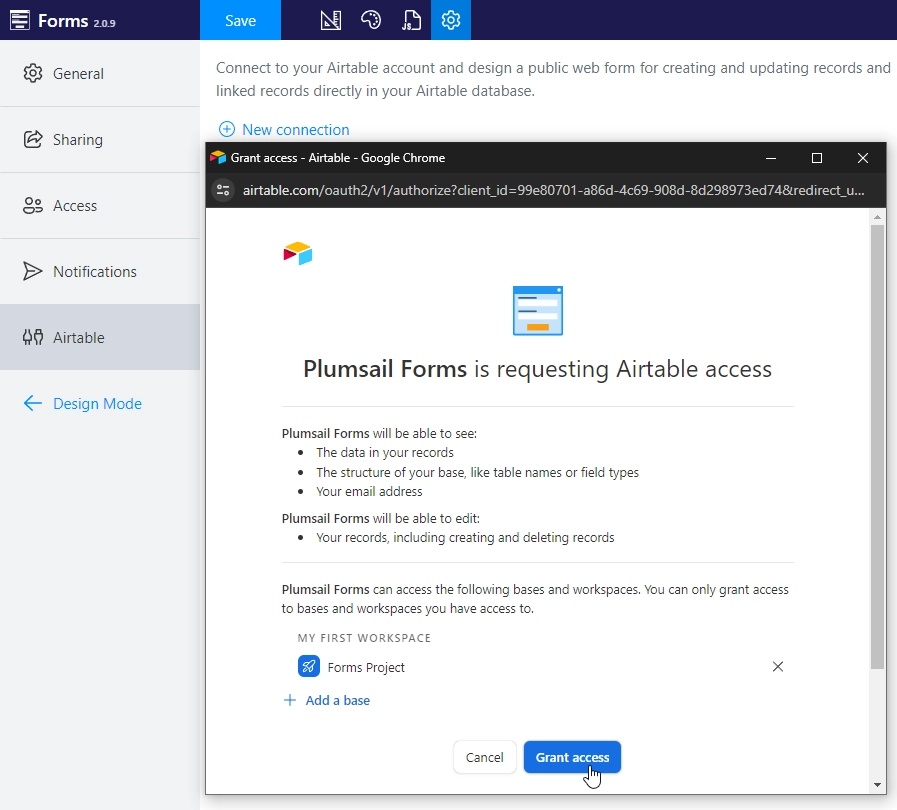
Inside form web editor, go to Settings → Airtable and create a connection from your web form to your Airtable workspace:
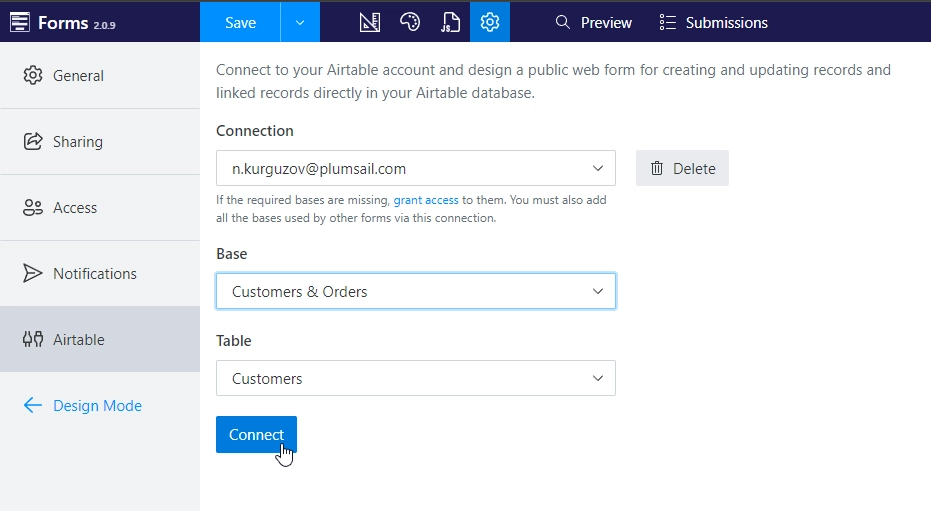
Make sure you select the right base for your form, and connect to the Table that you want to populate:
Note
If you don’t see the base that you want to connect to in the dropdown, you need to use Grant access and find the right base to connect. You need to also grant access to all the other bases used by your forms.
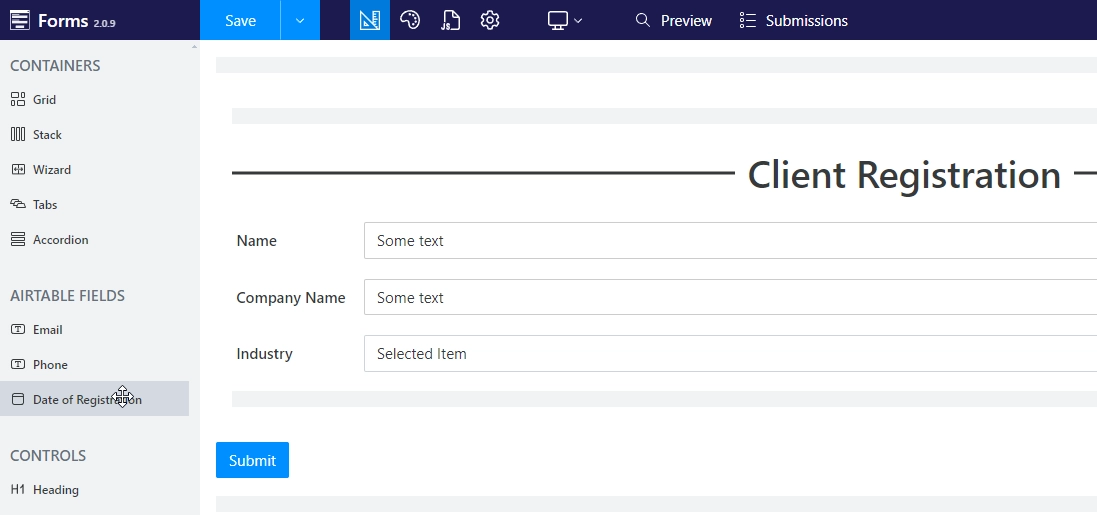
Once connected to an Airtable table, you will get access to its columns as Airtable fields – add them to the form:
When the form is completed, you can share it with others to fill out:
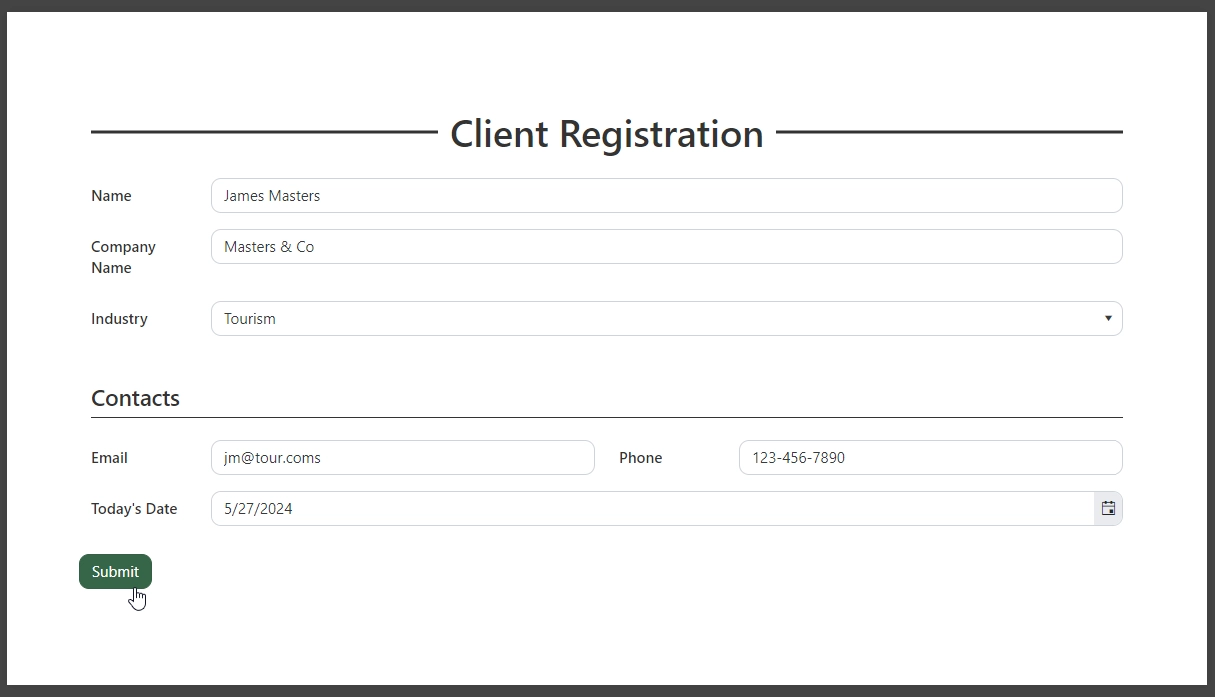
Once the fields are filled in and the form is submitted, data will automatically populate in Airtable:

Edit records in Airtable
Big advantage of Plumsail Forms is that you can use them not only to populate Airtable tables, but also to edit existing rows of data.
This can be done with the same or different form – simply enable Editing Airtable records in your form’s settings and copy the code which you’ll find in the settings:
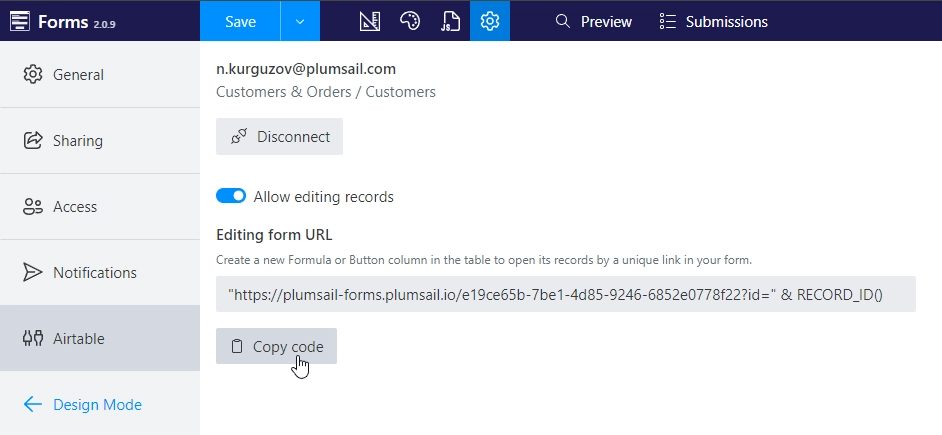
This code can then be added to a Formula or Button column in Airtable:
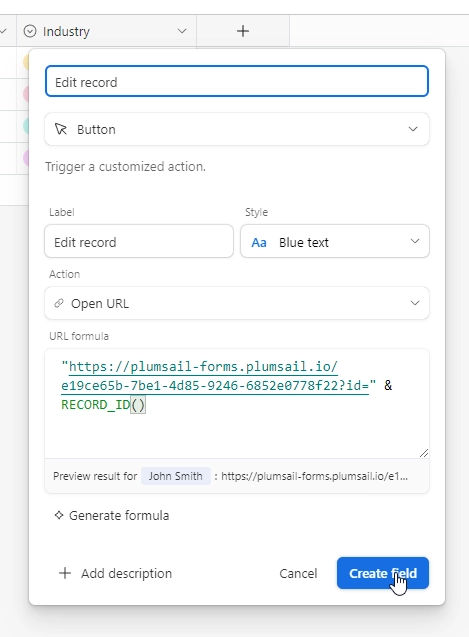
And clicking on it will bring up the form:

The form will load all the data and save back to Airtable on submit:

Note
Each edit will count as a separate submit towards your monthly limit, and will add a new submission to your Plumsail Account – storage of submissions can be disabled in form settings to avoid duplicate records.