Create a contact web form in Visual Studio
Sometimes, you might not want to work with the editor at all. Dragging and dropping fields is easy, but if you want to generate forms dynamically based on data from other systems, you can use our provisioning API for public web forms. It allows creation of forms in Visual Studio with the help of our NuGet package.
In this example, you’ll see how easy it is to create a public web form in the Visual Studio, and you can follow the same path to create and provision your own form. This method is useful if you want to have the same form available in multiple accounts and want to quickly provision them.
Note
This article is an example use case of Public Forms Provisioning API.
Create an API key in your Plumsail account
Open the Forms section in your Plumsail account and go to the API keys page. Click the Add key button and give your API key a descriptive name.
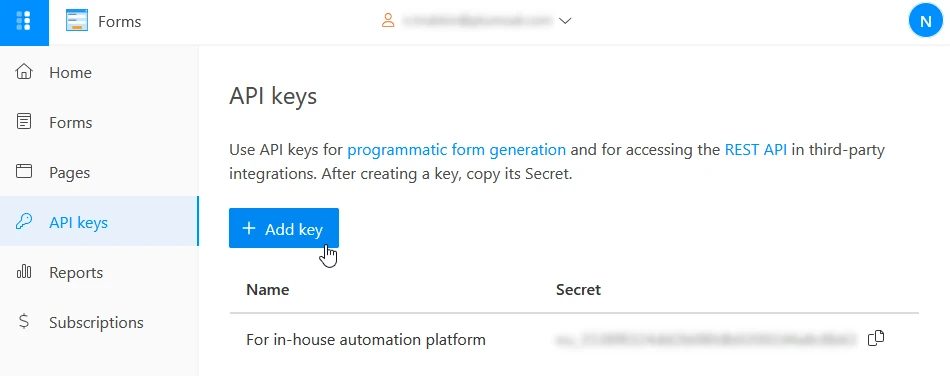
You will use the key secret for authenticating your client later in code.
Create application and install NuGet package
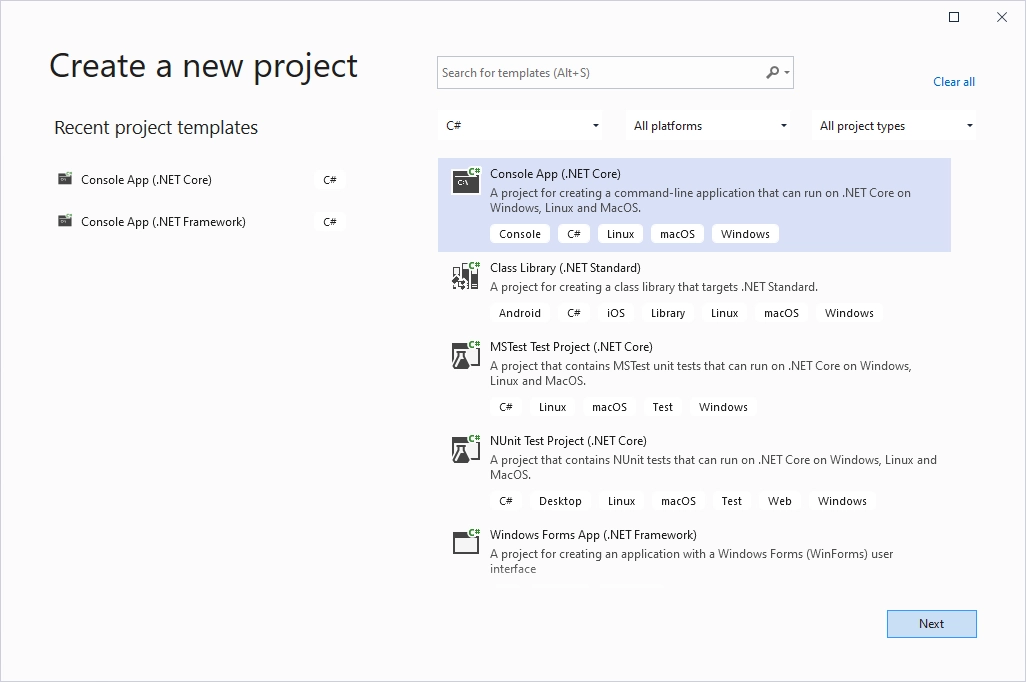
Open Visual Studio, create a new Project, and select Console App (.NET Core):
In the newly created project, open Tools, find NuGet Package Manager and select Manage NuGet Packages for Solution…
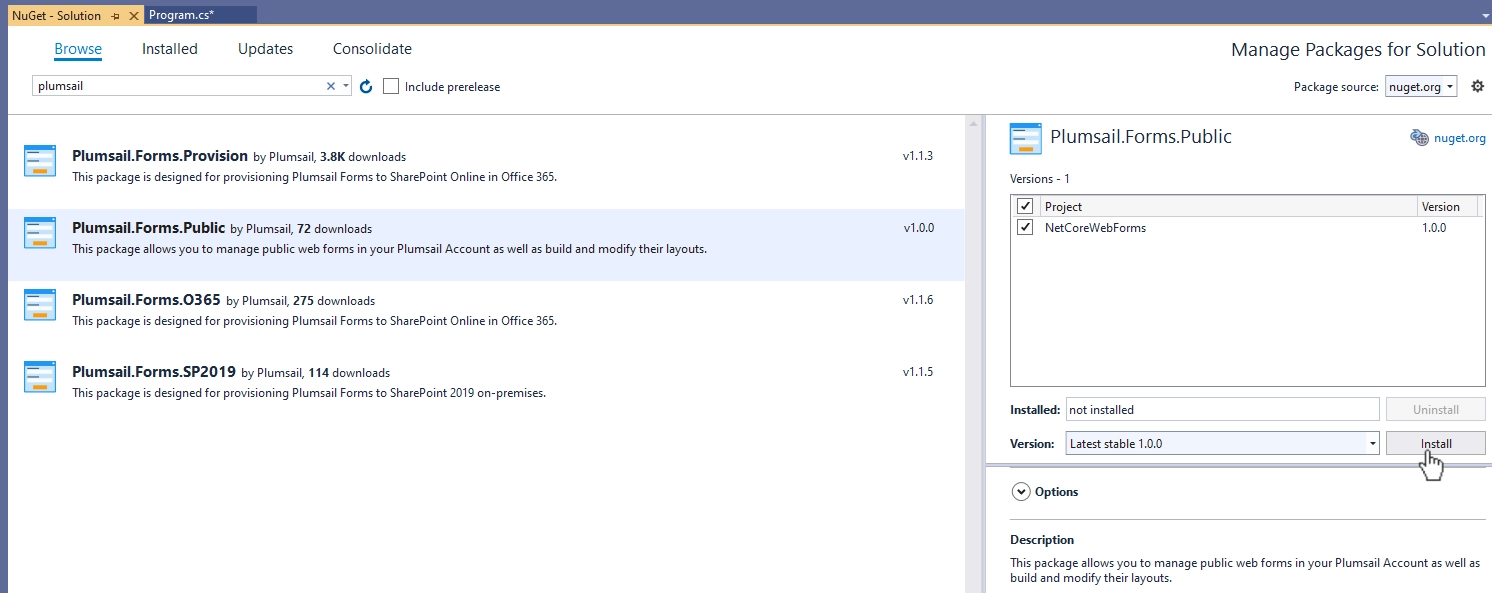
Open the Browse tab, search for plumsail, and install Plumsail.Forms.Public package:
Adjust the code
Once the package and its dependencies have installed, go to Program.cs and replace all the code there with the following:
using System;
using Plumsail.Forms.Public;
using Plumsail.Forms.Public.Common;
using Plumsail.Forms.Public.Controls;
using Plumsail.Forms.Public.Fields;

namespace NetCoreWebForms
{
    class Program
    {
        static async System.Threading.Tasks.Task Main(string[] args)
        {
            var formName = "Contact Form";
            Console.WriteLine("Creating a " + formName);

            var client = new FormsClient("<your-api-key>");

            var form = client.NewForm(formName);
            form.SavePosts = true;
            form.Notification = NotificationRecipient.Owner;
            form.Enabled = true;

            form.Layout.Css = "";
            form.Layout.JavaScript = "";
            form.Layout.Theme = new Theme(PredefinedThemes.Default);

            var grid = new Grid(
                new GridRow(
                    new GridCell(new Text("FormTitleControl")
                    {
                        Content = "<h1>Contact us</h1>",
                        Class = "text-control-class"
                    }, width: 12)
                ),
                new GridRow(
                    new GridCell(new SingleLineTextField("Name")
                    {
                        Title = "Name",
                        ControlHint = "John Wick",
                        Orientation = Orientation.Vertical
                    }, width: 6),
                    new GridCell(new SingleLineTextField("Email")
                    {
                        Title = "Email",
                        ControlHint = "jwick@hotmail.com",
                        Required = true,
                        Orientation = Orientation.Vertical
                    }, width: 6)
                ),
                new GridRow(
                    new GridCell(new DateField("Date")
                    {
                        Title = "Date",
                        ControlHint = "Today's date",
                        Orientation = Orientation.Vertical
                    }, width: 12)
                ),
                new GridRow(
                    new GridCell(new SingleLineTextField("Subject")
                    {
                        Title = "Subject",
                        ControlHint = "What issue are you facing?",
                        Required = true,
                        Orientation = Orientation.Vertical
                    }, width: 12)
                ),
                new GridRow(
                    new GridCell(new MultiLineTextField("Description")
                    {
                        Title = "Description",
                        ControlHint = "What details can you provide about it?",
                        Required = true,
                        Orientation = Orientation.Vertical
                    }, width: 12)
                ),
                new GridRow(
                    new GridCell(new Submit("Submit1")
                    {
                        Width = 300
                    }, width: 6)
                )
            );
            form.Layout.PC = grid;
            try
            {
                await form.Save();
                Console.WriteLine(form.Name + " saved successfully!");
            }
            catch (InvalidLoginException)
            {
                Console.WriteLine("Authorization failed!");
            }
            catch (BadRequestException ex)
            {
                Console.WriteLine("Error: " + ex.Message);
            }
        }
    }
}
Run the app
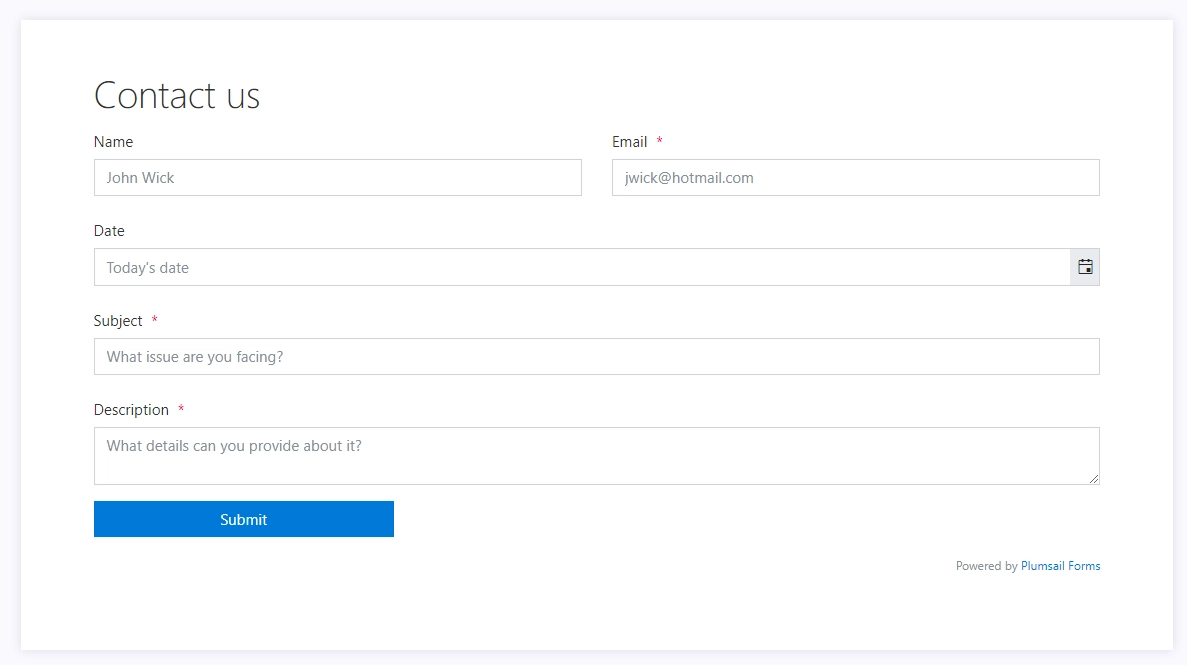
After saving the file, run the app. Congratulations, you’ve successfully created and provisioned your first form! Check the result in your account’s forms section:

It should look like this:
The example shown in this article is a basic one. For more complex use cases, check out Public Forms Provisioning API to learn about the available methods.