Create Word and PDF documents from Gravity Forms in Zapier
Throughout this article, you will learn how to create PDF documents from a Word DOCX template based on data from a Gravity Forms submission using Processes and Zapier.
Processes are a Plumsail Documents feature with an intuitive interface for creating documents from templates.
Gravity Forms is a WordPress plugin that allows you to create forms with a drag and drop creation tool.
We’ll connect Processes and Gravity Forms in Zapier to automatically collect data from a Gravity Forms form, apply the data to our template, and generate a new PDF document.
Create a Form
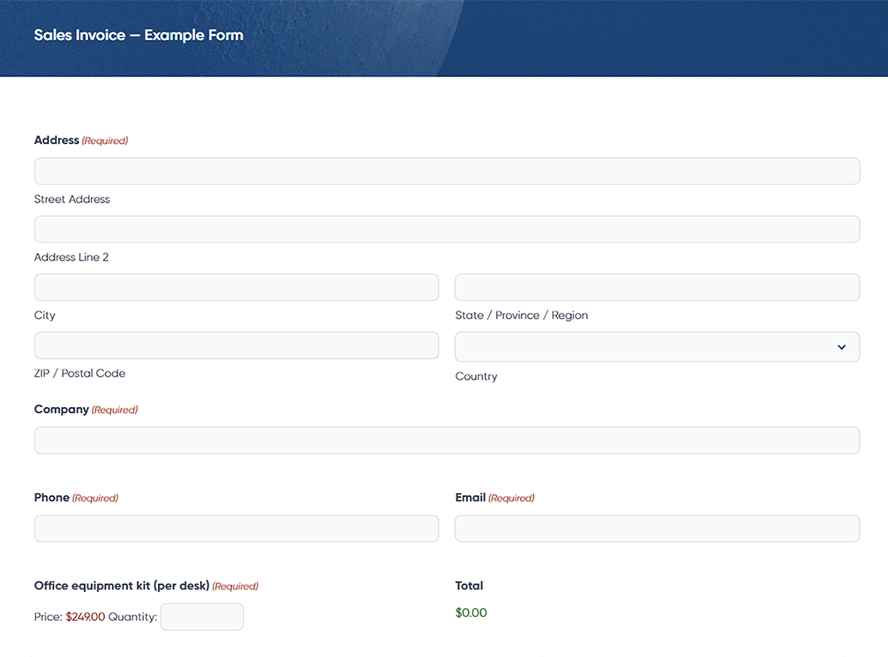
We created a simple form that we will collect submissions from. This article will guide you through your first steps with Gravity Forms if you’ve never worked with it before.
Below is a screenshot of our form:
Configure the Process
Once our form is ready, we will also need to create a Process, which we will later connect to Zapier.
Use a pre-built template
Plumsail Documents offers dozens of templates to generate documents from. For this example, we’ll use the Plumsail sales invoice template — it will work perfectly for the form we’ve created.
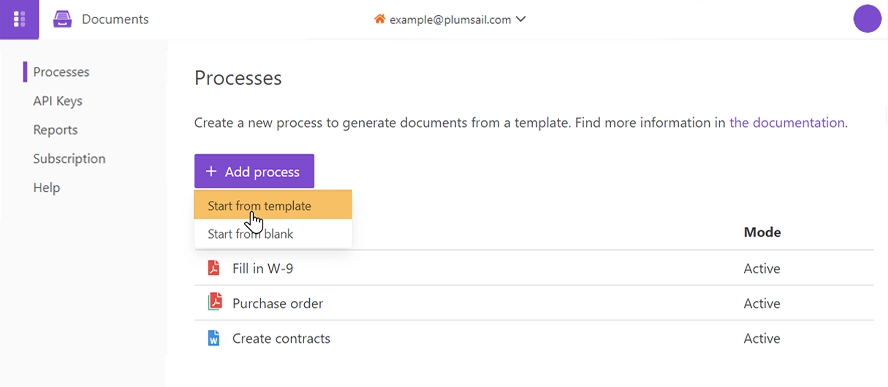
We will need to create a new process. To do that, go to the Processes section in your Plumsail account and click ‘Add process’, and select ‘Start from template’:
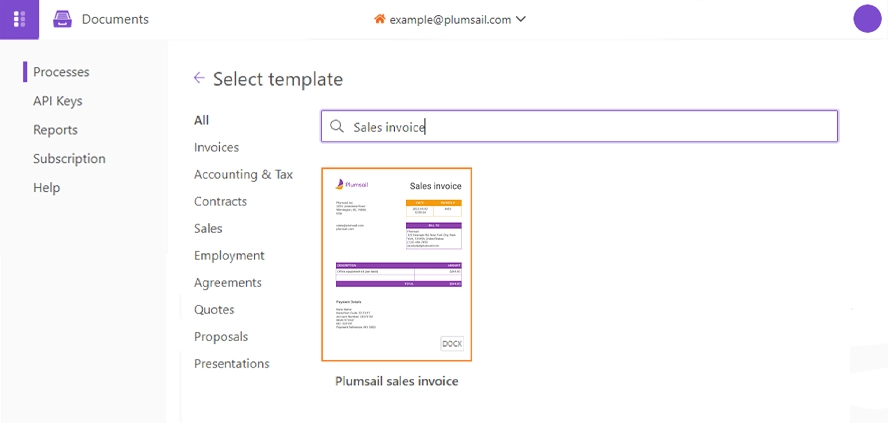
You’ll be redirected to the library of document templates. We select the sales invoice template for our scenario:
Name the process and click ‘Next’ to proceed. Then you’ll jump to the ‘Configure template’ step.
Configure the template
There are two internal steps that will guide you through the configuration:
Editor
Settings
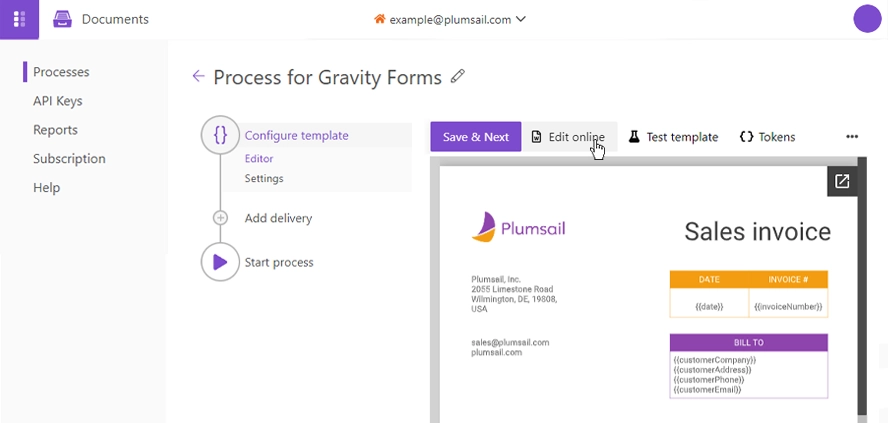
In the Editor mode, you can adjust the document template to your needs. Everything in the curly brackets will be replaced with Gravity Forms data dynamically. You can add more placeholders. They work quite simply and support even some complex logic with tables, charts, conditions, and more. Learn how Plumsail Documents Word DOCX templates work here.
This template uses the Plumsail logo as a placeholder. Click ‘Edit online’ to change the logo and make any other changes you desire:
Click Save & Next to go to the Settings substep.
Here you’ll see the following parameters:
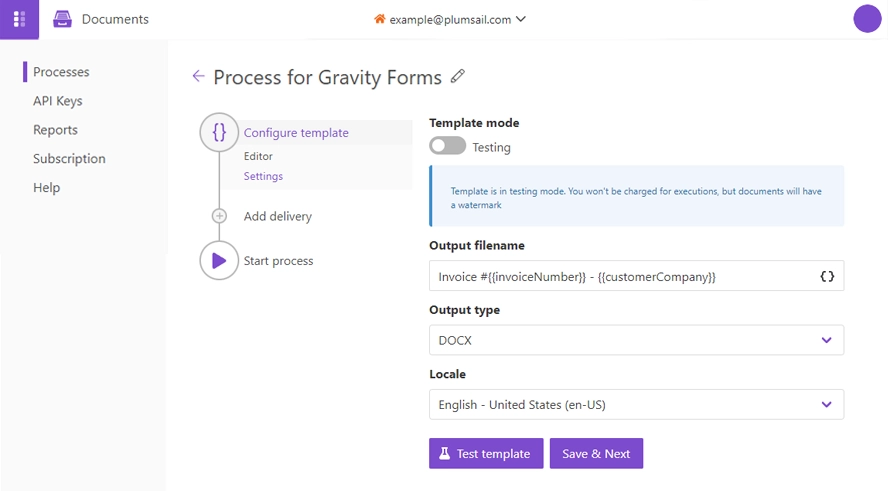
Template mode
It is Testing by default. It means you won’t be charged for this process runs, but result documents will have a Plumsail watermark. Change it to Active to remove the watermark.
Output filename
Use tokens to make it personalized. They work the same way as in the template. For instance, we’ll use the following tokens to define the output file name: {{invoiceNumber}} and {{customerCompany}}. Once the document is generated, we’ll receive a sales invoice with a name Invoice #3956 - Bear Paw Solutions (depending on the value of the tokens).
Output type
By default, it is the same as your template’s format. In this particular case, it’s DOCX. We’re changing it to PDF to generate PDF invoices from the Word template.
Hint
You can protect your final PDF document with a watermark, by setting a password, or disabling some actions.
Test template
Once you’ve customized all the settings, you can test the template to see the result.
When everything is done here, click on Save & Next to set up deliveries.
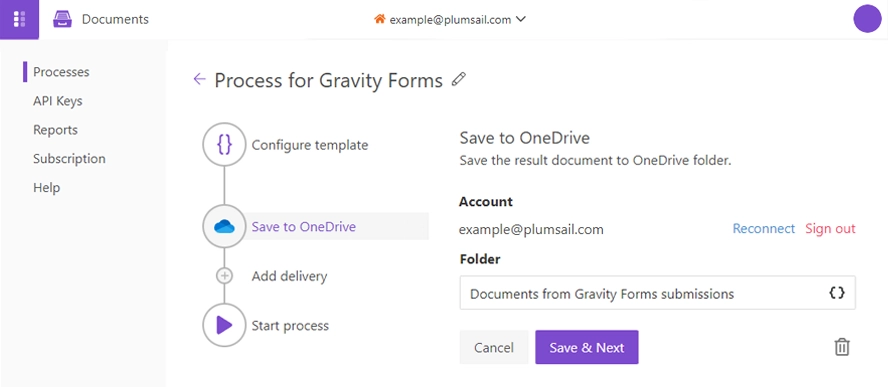
Delivery
As a matter of demonstration, we will deliver the result document to OneDrive. However, you can choose another delivery method.
Select the folder where the output document will be saved.
Start the Process
We will start our Process from Zapier.
Create a Zap
Zap is an automated connection between web services in Zapier. Below is a step-by-step explanation of how to create it from scratch.
You can also use a pre-built Zap template. Click Use this Zap, and follow the steps described further in this article.
This is how our Zap looks:

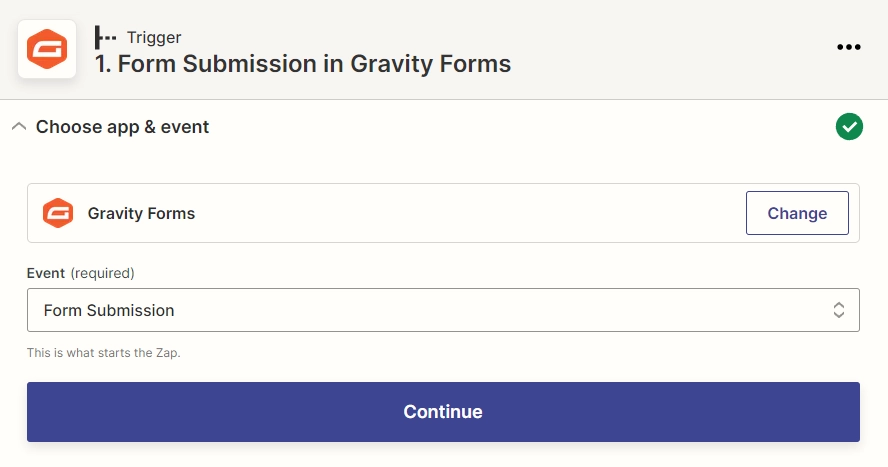
Form Submission in Gravity Forms
We need our Zap to start every time somebody submits the form. Search for Gravity Forms in Zapier and set the Event to Form Submission:
Sign in to your Gravity Forms account if this is your first Zap with Gravity Forms. Once you’re done with that, proceed to the ‘Set up trigger’ step and select your form here:
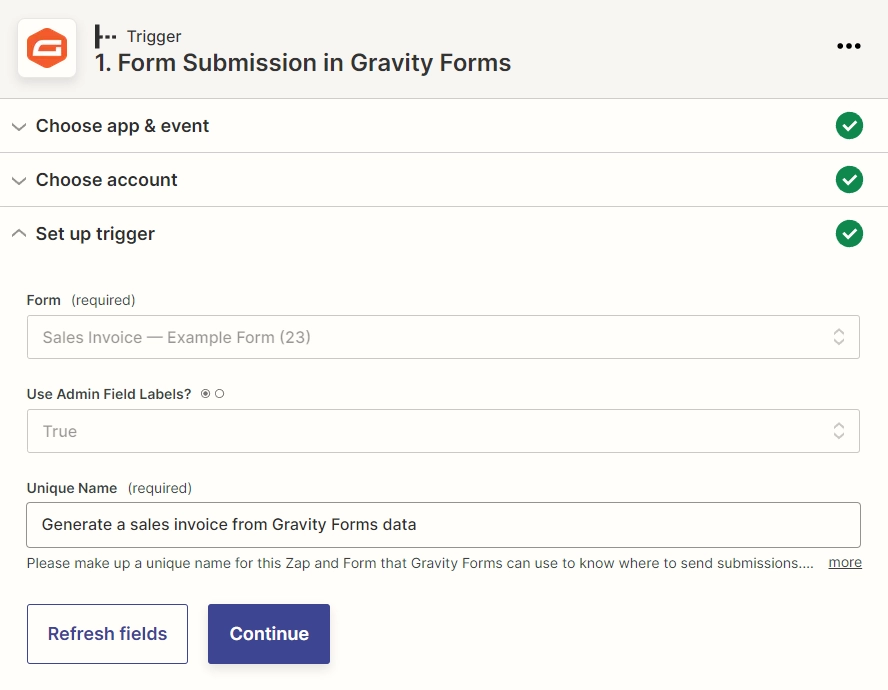
Set the ‘Use Admin Field Labels’ to the value that suits you. You can learn more about the Admin Labels here.
Finally, click ‘Continue’ and test your trigger to see if it’s working well.
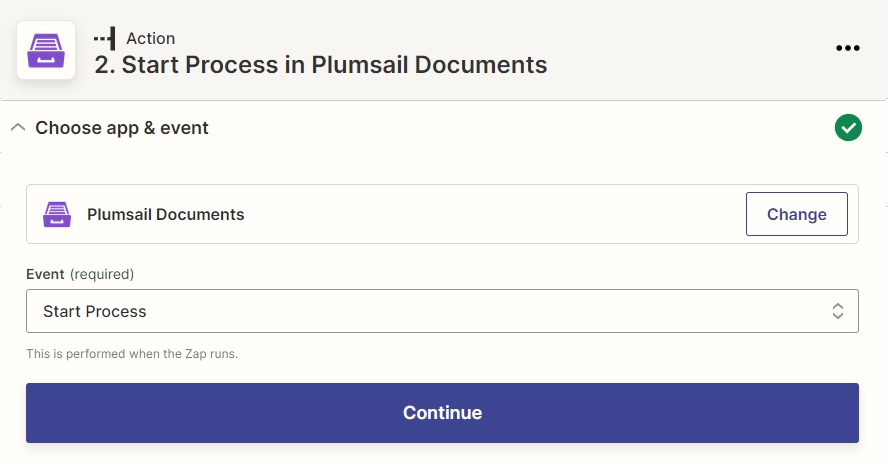
Start process in Plumsail Documents
Once the trigger is set, search for Plumsail Documents and set the event to Start Process:
Likewise, if this is your first Zap with Plumsail Documents, sign in to your Plumsail Account from Zapier. Alternatively, if you have an existing Plumsail account linked to the app, you can add another one and use that one instead.
Set up action
Select the process you want to start with this Zap from the dropdown. You will see fields to fill out — they have the same names as the tokens from the template.
To fill them out, use the results of the Gravity Forms trigger.

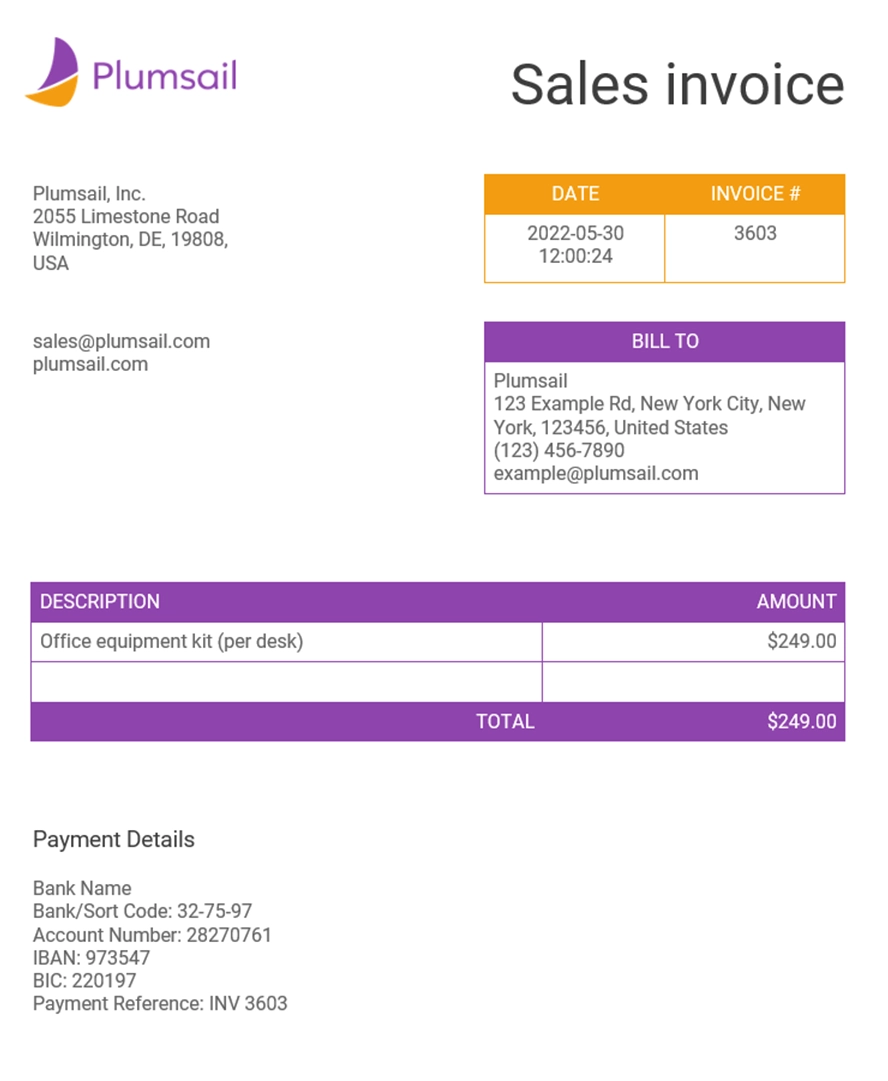
Our Zap is ready! 🎉 See how the resulting file looks:
Sign up for Plumsail Documents
As you can see, it’s easy to automate the generation of documents based on data from Gravity Forms submissions. If you’re new to Plumsail Documents, sign up to get a free 30-day trial.
Hint
Use Plumsail Documents zap templates to start documents generation processes. All available zap templates are presented on this page.