Add PDF watermark to PDF document using Power Automate
This is the third article in our “How to use Watermarks” series. We hope these articles will help you to get the best out of watermarking PDFs using Plumsail Documents in Power Automate (Microsoft Flow).
Before we dive in, here is where we are in our “How to use Watermarks” series:
How to use an image type watermark to automatically add a company logo to PDF files and save them in a new folder.
How to use a text type watermark to prevent documents dissemination.
How to use a PDF type watermark to add a watermark with a specific design to PDF documents generated on submitting a form.
Add watermark to PDF action supports a few types of watermarks — Text, Image, and PDF:
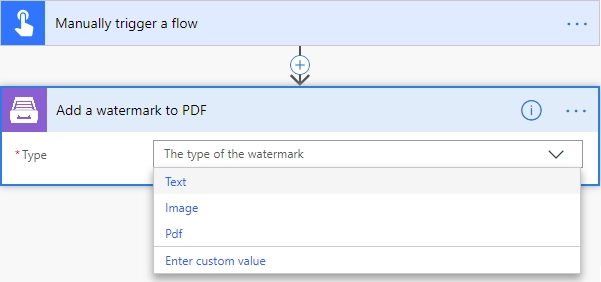
So, let us have a look at how to add a PDF type watermark to a document.
Use another PDF file to add a watermark with a specific design
With this type of watermark, you have full control over the position, size, opacity, and other properties of your watermarks. And you can save them for reuse.
In our example, we will collect data from a Plumsail Form, apply the data to our template, generate a new PDF document, and add a watermark to the document.
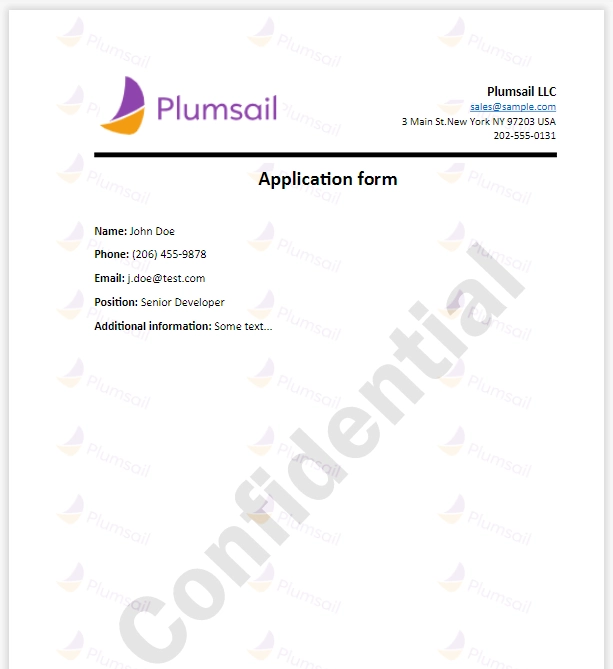
Here is the final document that we will get. It has a repeating pattern on the background and a large text that says “Confidential”.
Description
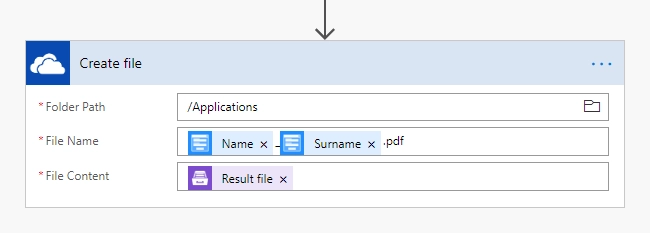
Our source and result documents have to be stored somewhere. In this example, we store our documents in OneDrive. You can store your source file anywhere.
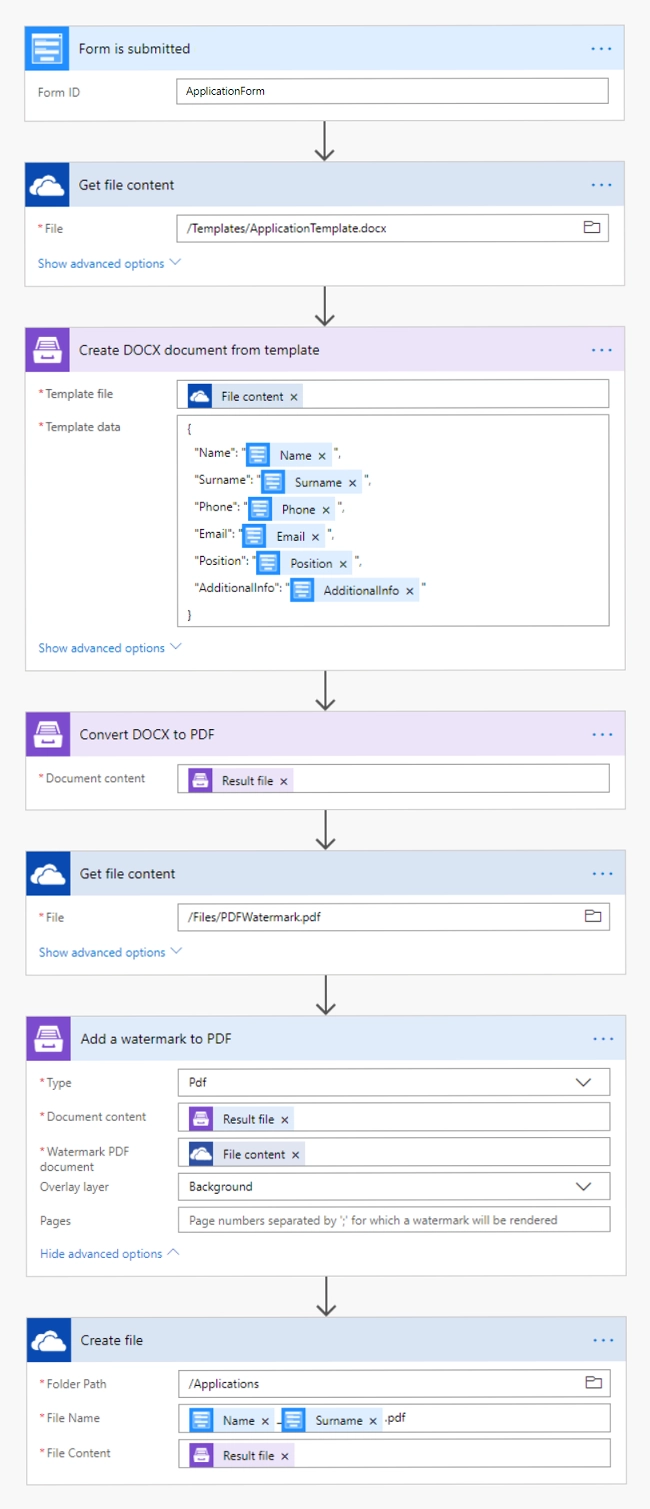
We need to create a Power Automate (Microsoft Flow) that will be triggered by a Plumsail Form submission. The flow will get the template from OneDrive, apply data from a submitted Plumsail form to this template, add a watermark to the generated document, and save it to OneDrive. This is how our complete flow looks like:
Create the flow
Form is submitted
We’ve already created a Plumsail form and we will use data from its submission in our flow. If you haven’t created a form yet, you can learn how to design and publish a Plumsail Form here.
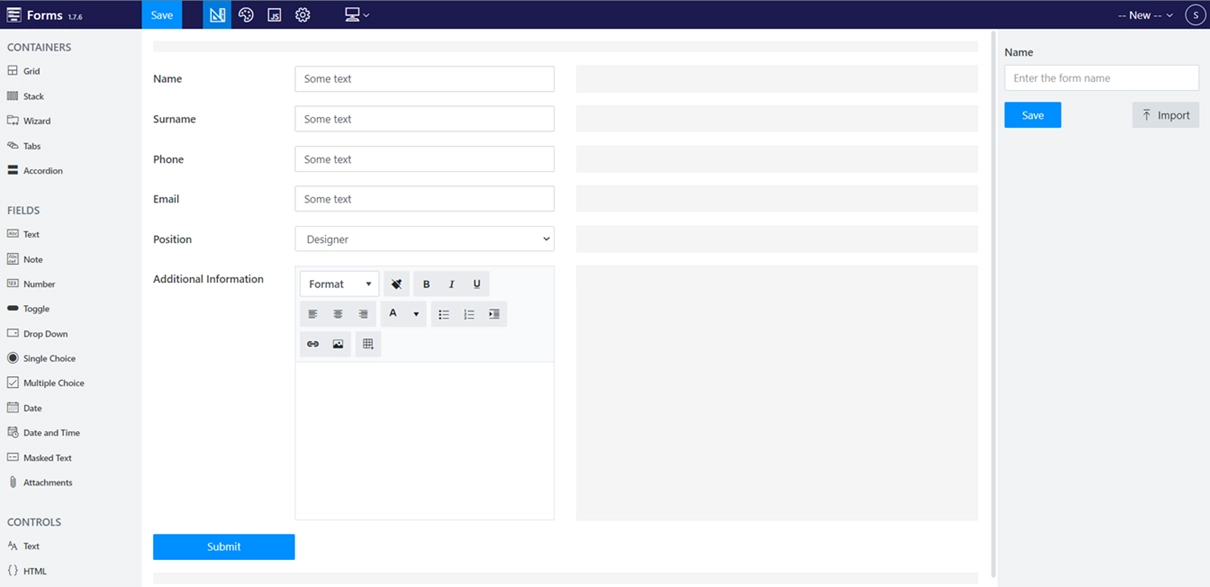
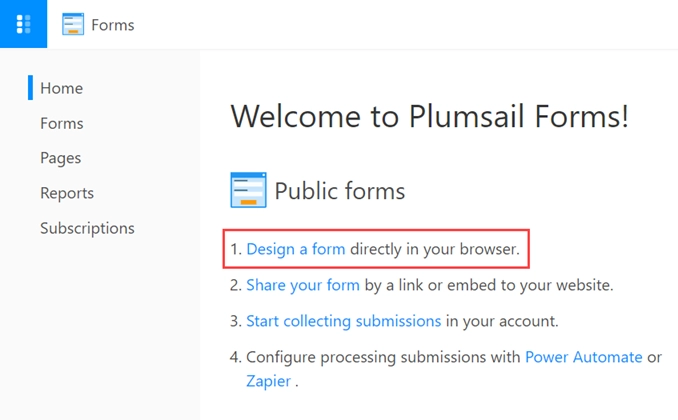
Below is a screenshot of our form:
To use it you need:
Open Forms and select Public Forms - Design a form directly in your browser.
Import the downloaded JSON file and save the form.

To start the flow on form submission we search for Plumsail Forms in MS Flow and add Plumsail Forms — Form is submitted trigger.
If this is your first Flow with Plumsail Forms, at this point you’ll need to Sign into Plumsail Account from MS Flow, so you can start using your forms inside your flows.
You’ll need to select your form name in the dropdown list.
Get file content
This action gets file content of the specified file from OneDrive. We use this action to read a .DOCX template. You can use any other connector to get files from your system.
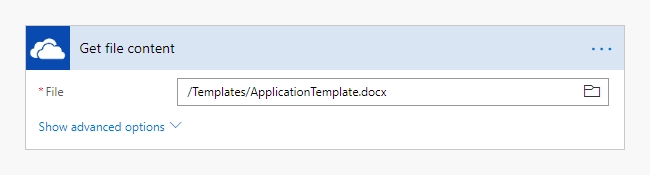
Below is our template. You may download it here.
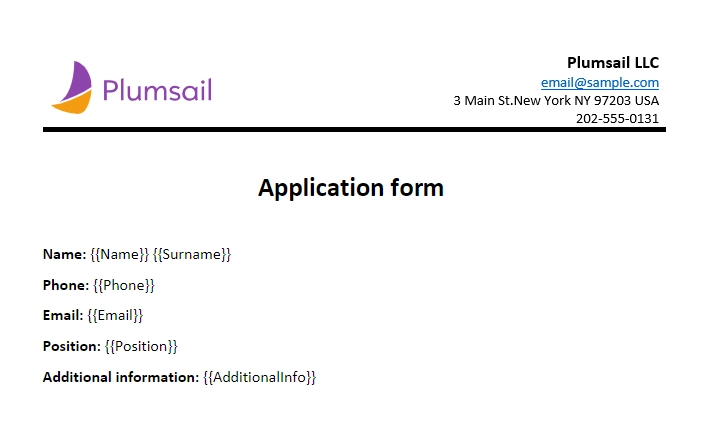
Plumsail Word DOCX templates use a different approach than most other templating solutions. It uses a minimal amount of syntax to make your work done.
In short, the templating engine thinks that everything between these {{ }} brackets is variables where it will write the data you specified in Template data.
Read this article to get familiar with the templating engine.
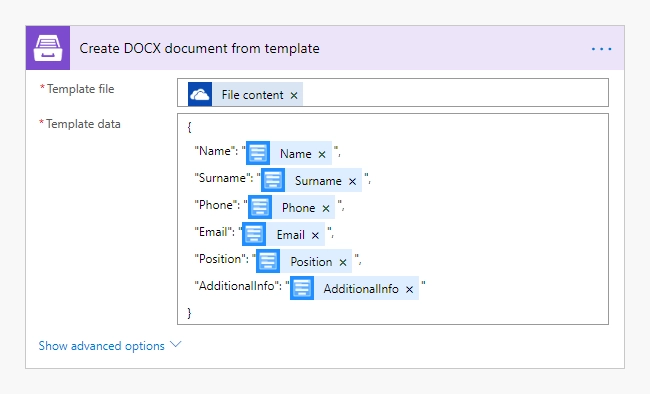
Create document from DOCX template
This action is suitable for creating documents from a template. You can find more information about the action by visiting this page.
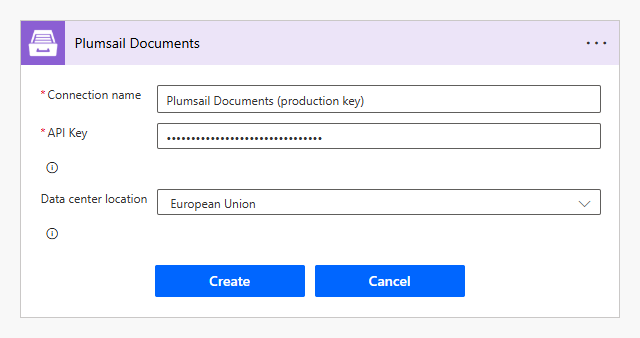
If this is your first time using the Plumsail Documents connector, Power Automate will request a Connection name, an API key, and Data center location. You can type any name for the connection, for example Plumsail Documents (production key). Ensure that the selected data center location matches one of your account. Then, create an API key in your Plumsail Account, copy and paste it into the API key field, and click Create.
There are three main parameters:
1. Template file
In the first parameter Template file, we specified the output of the previous action as a template.
2. Template data
In the second parameter Template data, we specified data to apply to the template in JSON format. This object contains information from our form. We selected the content from the output of Form is submitted action in the menu on the right.
3. Document output type
This parameter contains a file format of the result document. In this case, it should be set to PDF.
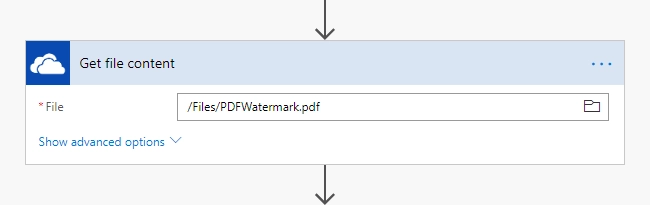
Get watermark file content
Get the file you are going to use as the watermark. We store it in OneDrive. You can use any other connector to get files from your system.
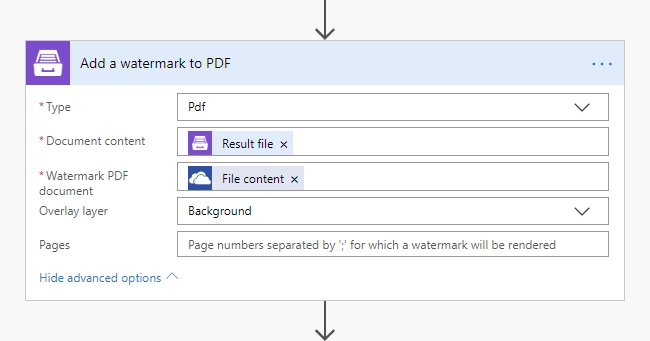
Add a watermark to PDF
This is an action from the Plumsail Documents connector.
Choose PDF type of the watermark. Put Result file from the output of the Create document from DOCX template action into the Document content field, and the File content from the previous action into the Watermark PDF document field.
We set the layer of the overlay file. You may check detailed information on how to use these and other settings here.
Conclusion
We hope this series of articles on using Add watermark to PDF action will help you to ascertain the proper use of your PDF documents. If you haven’t used Plumsail Documents yet, registering an account would be the first step. It is quite easy to get started.