Automatically generate documents from Smartsheet when a new row is added
From this article, you will learn how to automatically generate custom documents when a new row is added to Smartsheet sheets. We’ll connect Smartsheet to Plumsail Documents in Zapier to automatically create Word, Excel, and PDF documents. A built-in Smartsheet PDF generator has limitations and requires manual actions that are not suitable when you’d like to set up generate document automation.
Systems involved:
Below we propose to consider a step-by-step process:
Example of adding a new row into Smartsheet
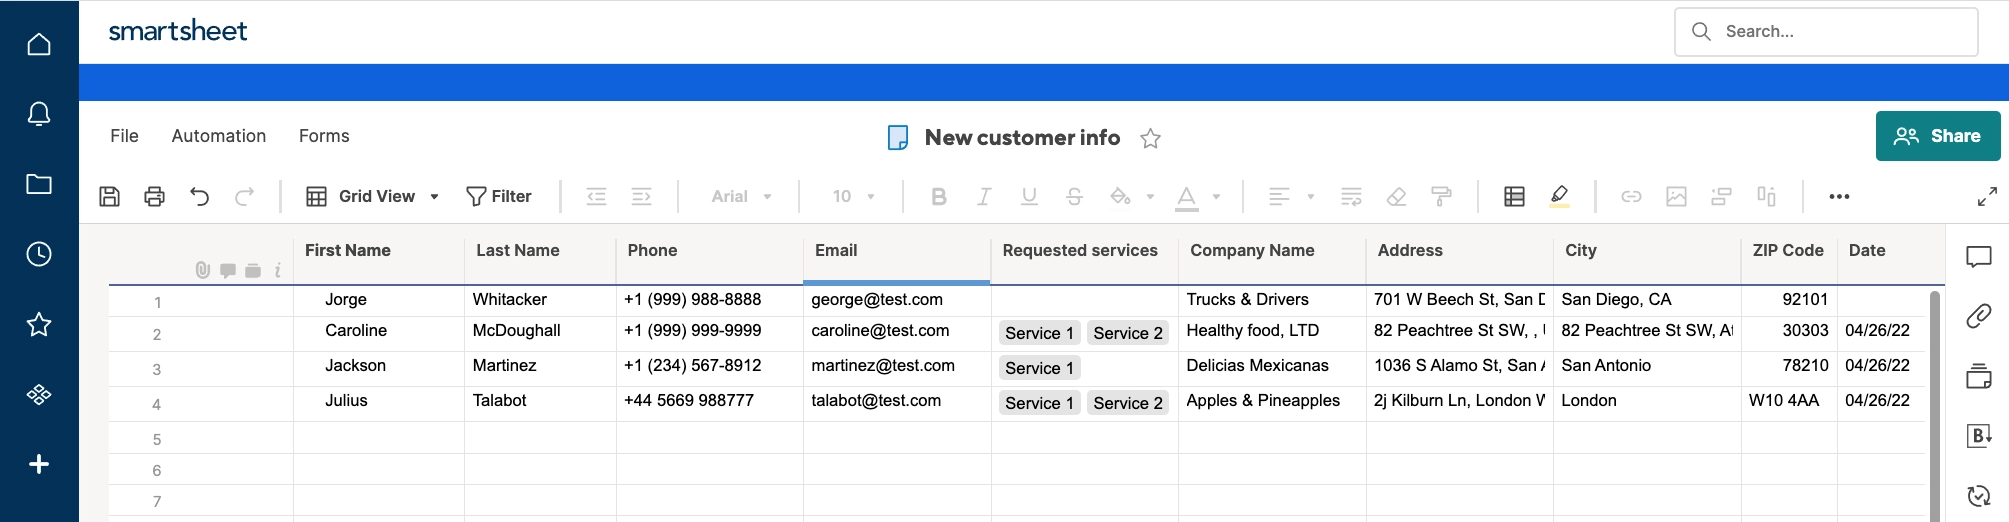
Let us say you have a contact form for new clients and a corresponding sheet for it in Smartsheet.
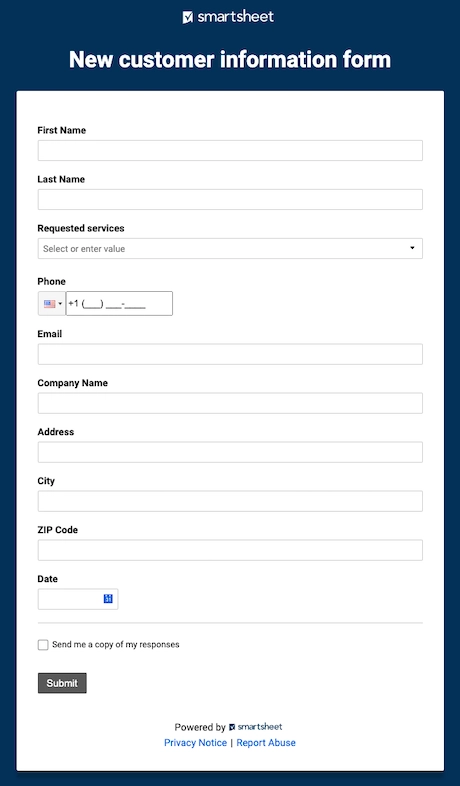
After the user has filled out the form, the data is automatically transferred to the sheet
You need to pull data from a Smartsheet new row, for example about a new customer, and fill a document with it (such as a sales quote, an invoice, or a contract), then send the document by email as an attachment. Ideally, without any manual operations.
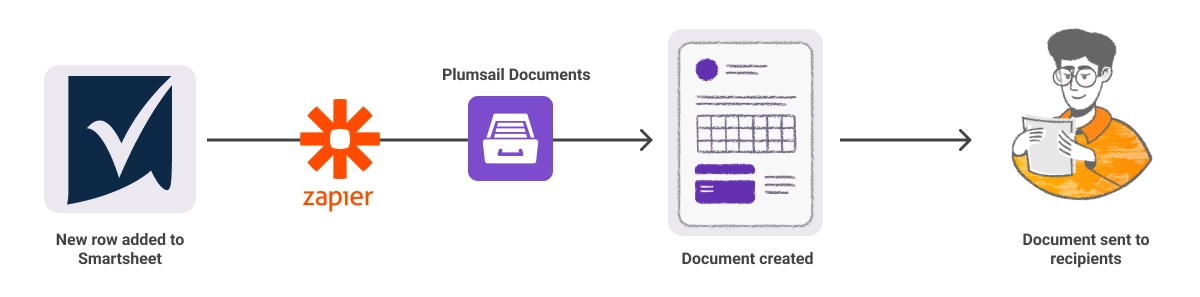
Scheme of the document generation process from Smartsheet:
Transferring data from a Smartsheet new row into Zapier.
Transferring data from Zapier into Plumsail Documents.
Plumsail processing data to create a new document and automatically send it anywhere.
Set up document generation process in Plumsail Documents
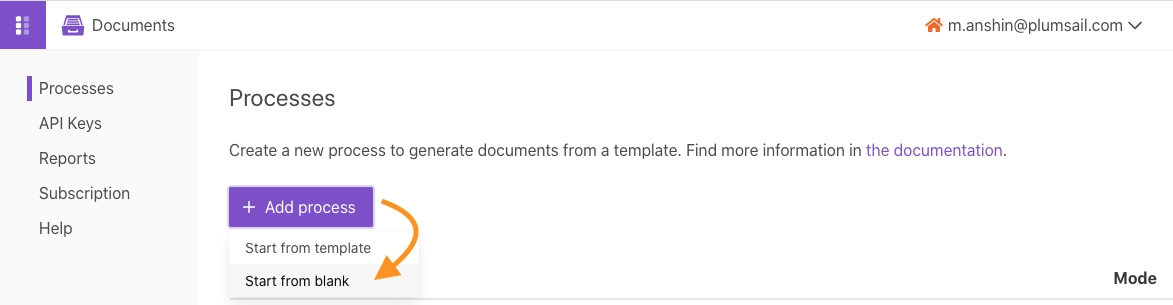
The first thing we need to do is to create the process inside Plumsail Documents. Go to the Processes in your Plumsail account. Click on “Start from blank”.
Then select the format for the document template depending on your needs. Anyway, you will be able to receive the resulting document in PDF. So, feel free to select Word, say, for contracts, Excel in case you’re dealing with tables, and so on.
We selected Word for demonstration purposes:
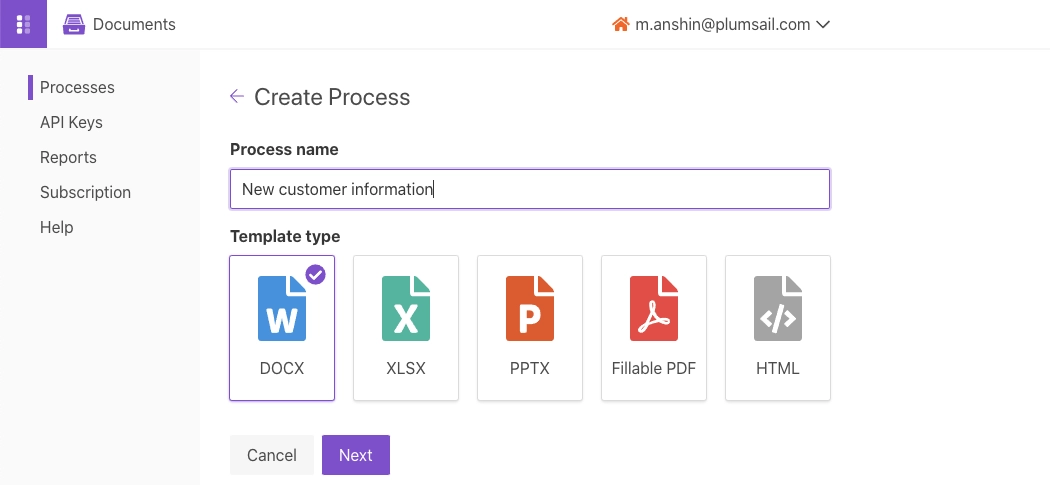
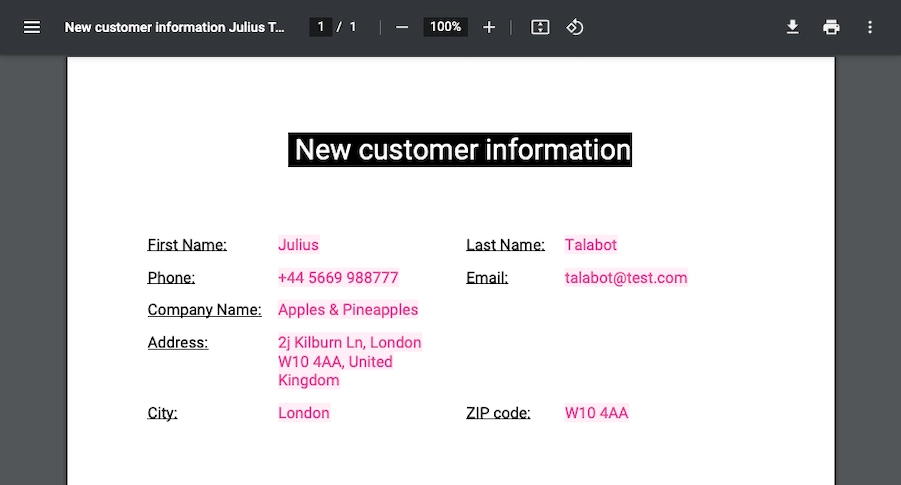
Select the source file format that you are using. Give a name for the process. Then click on the “Next” button. Then, we uploaded our very very simple template with the new customer profile:
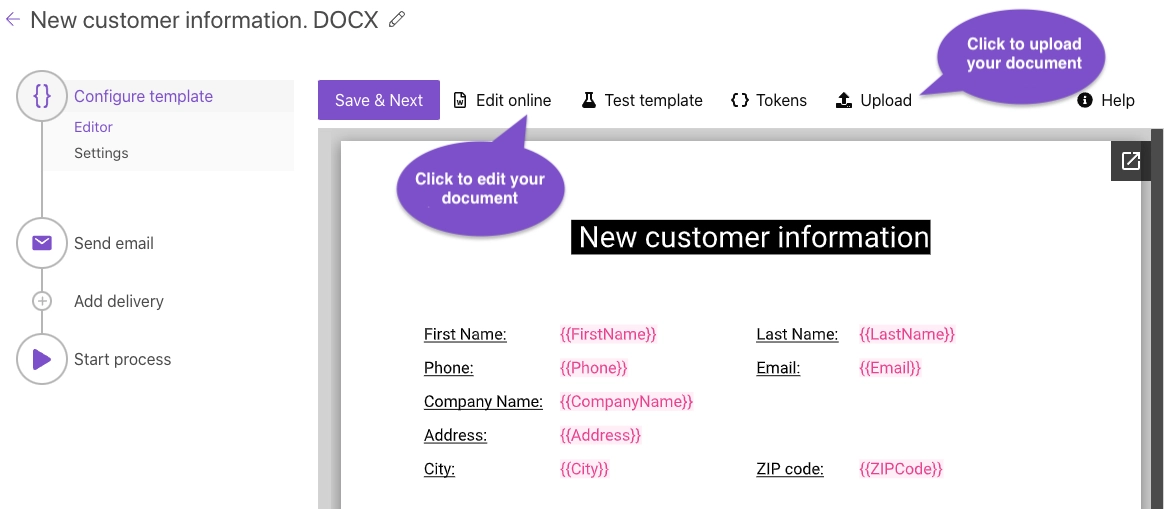
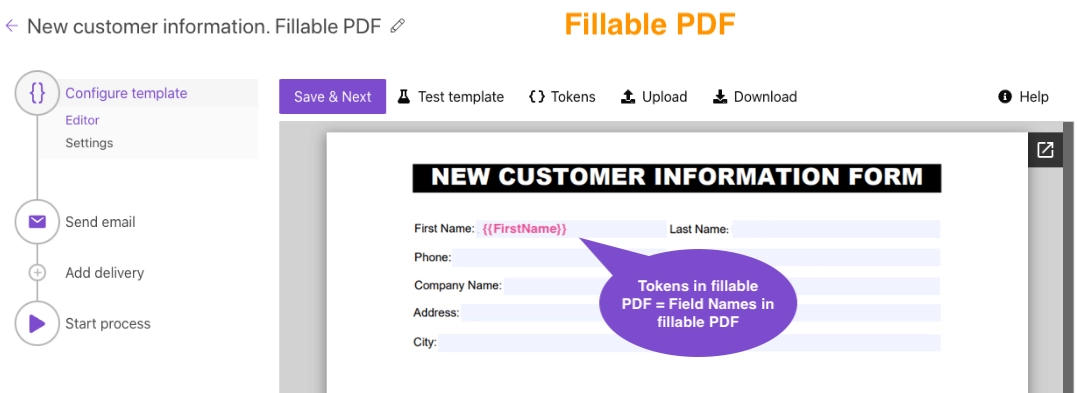
You may see that our document has special {{placeholders}} marked with double curly brackets. This way we mark those places we want to fill with the Smartsheet data. You can edit your documents online and transform them into templates by inserting these placeholders, also known as tokens.
These {{tokens}} are applied everywhere you usually copy and paste data. In short, the templating engine thinks that everything between curly {{ }} brackets is placeholders where it will apply your specified data. Read this article to get familiar with the templating engine.
For example, set {{FirstName}} and {{Address}} for contact details. To demonstrate the case, we set and highlighted {{tokens}} in our template of document.
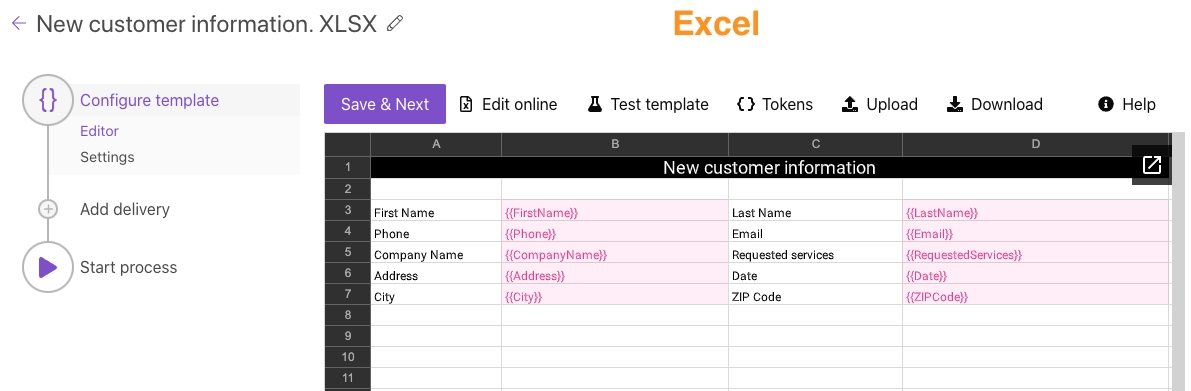
It would work the same way for any other format. For instance, for Excel, PowerPoint, fillable PDF, and even HTML:
Learn more about template formats and their features from the documentation:
We’re moving further to configure the output file settings.
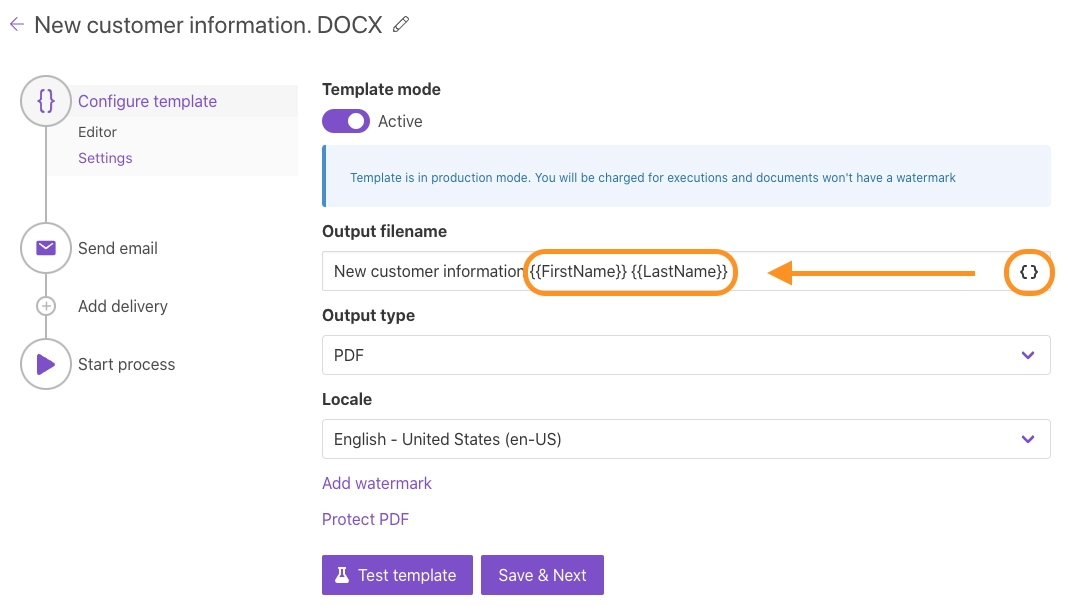
Document output settings
Here you can set the name of the file. Use {{tokens}} to make it dynamic; set the format - PDF, choose a locale, and additionally, you can protect PDF by watermark and other restrictions.
Document sending options
After you have created the process and set up the template, you can add deliveries - where the document will be stored and sent. You can add as many of them as you need. For demonstration purposes, we added an email delivery to send the document to the manager for check up.
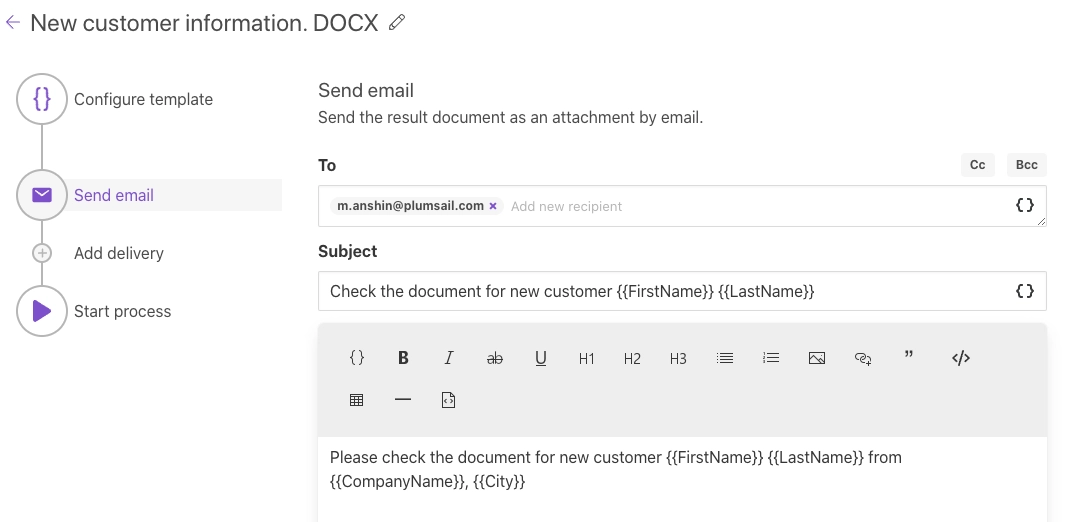
Tip
use {{tokens}} in delivery methods if it is email or any other option.
When all deliveries are set, we’re ready to start our document generation process. And we’ll do it automatically each time when a new row is added to the Smartsheet sheet.
We’ll connect Smartsheet to Plumsail Documents using the Zapier integration platform.
Set up Zapier connection
As we already arranged - we need to generate a new PDF document each time a new row is added to Smartsheet. For that, we need to connect Smartsheet to Plumsail Documents in Zapier.
It’s possible to create a connection between apps (a zap) from scratch or start from a ready-to-go zap template, then customize it as described further in the guide. To start from the zap template, click on Use this zap on the widget below:
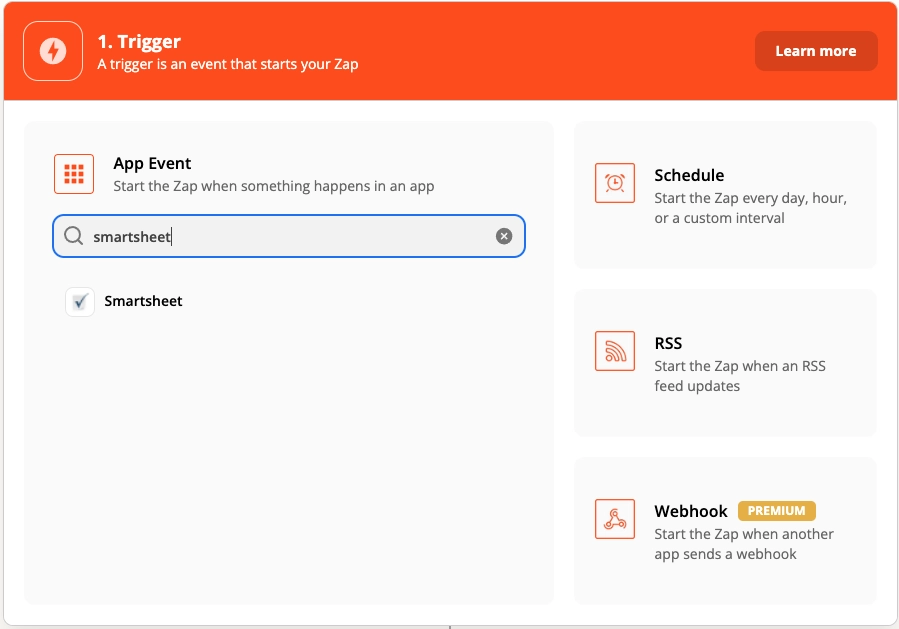
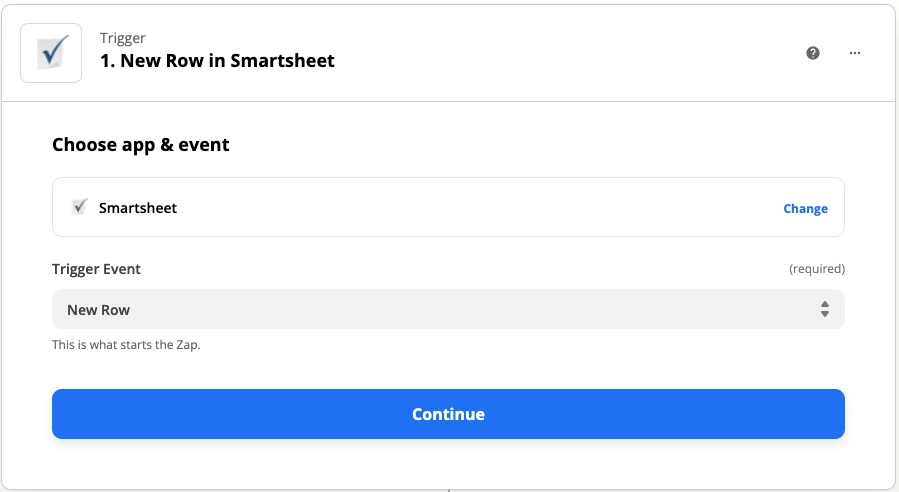
To create a zap from scratch, add a new zap in your Zapier account. For the zap trigger, search for Smartsheet:
Choose ‘New Row’ as a trigger event:
On the next step, you’ll be asked to sign in to your Smartsheet account from Zapier.
After that, you need to select the sheet you’d like to track for new rows:
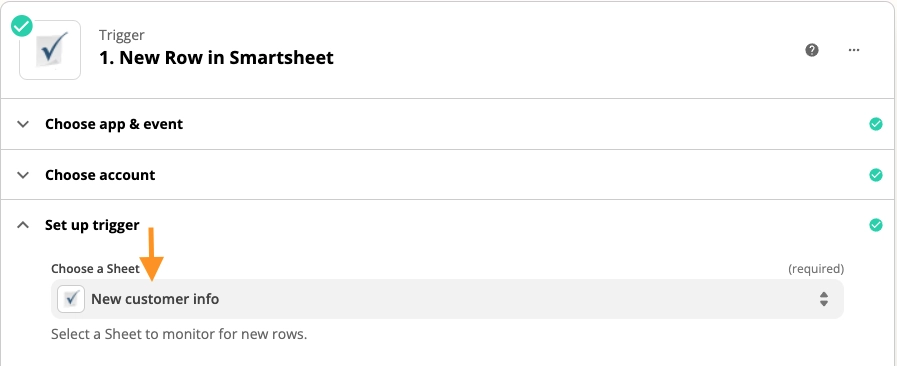
Don’t skip testing the trigger to be able to use its output.
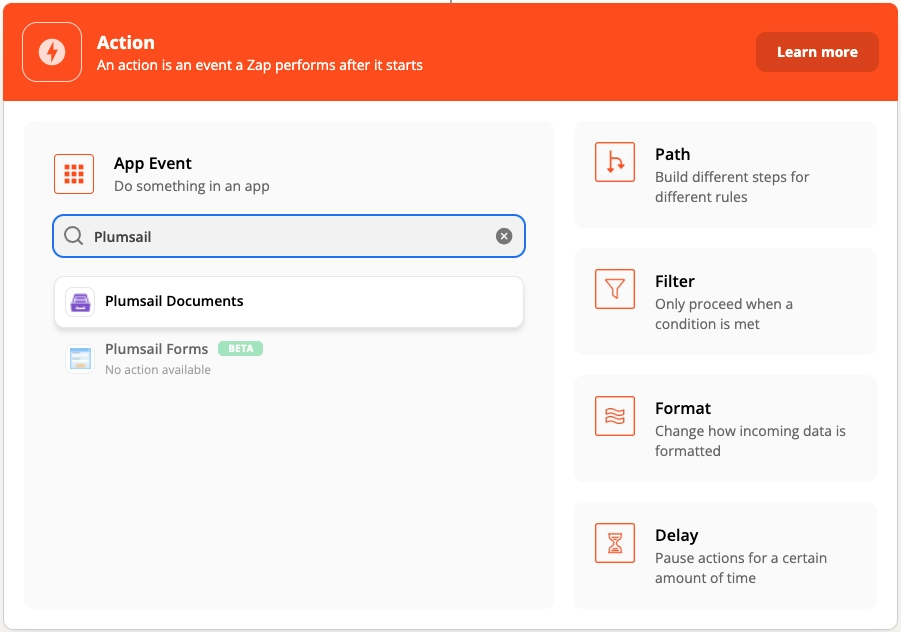
Click on Continue to proceed to add an action that will be executed on the trigger event. Search for Plumsail Documents.
Choose ‘Start process’ as an action event:
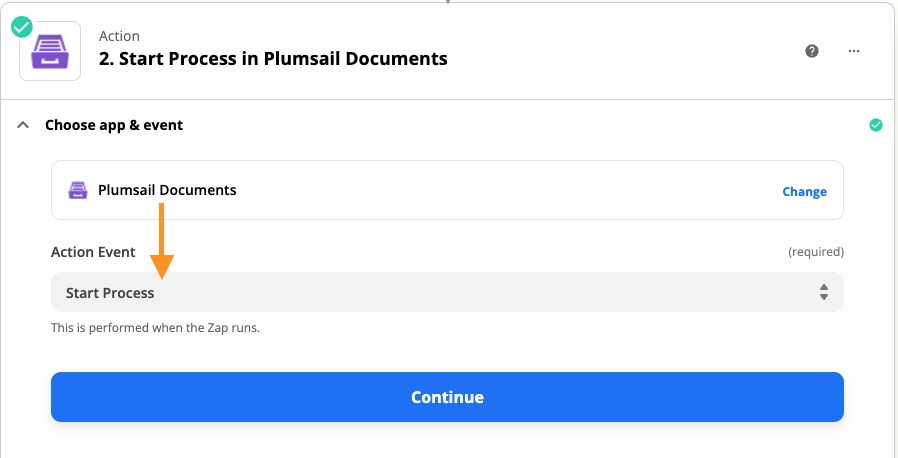
On the next step, you’ll be asked to sign in to your Plumsail Account from Zapier. After that, you need to select the process to start with this Zap. In our example we use a process with a document template based on DOCX format.

Once you’ve picked it up, you see fields to complete. They represent placeholders from our template. To specify values, we’ll use the output from the Smartsheet trigger:
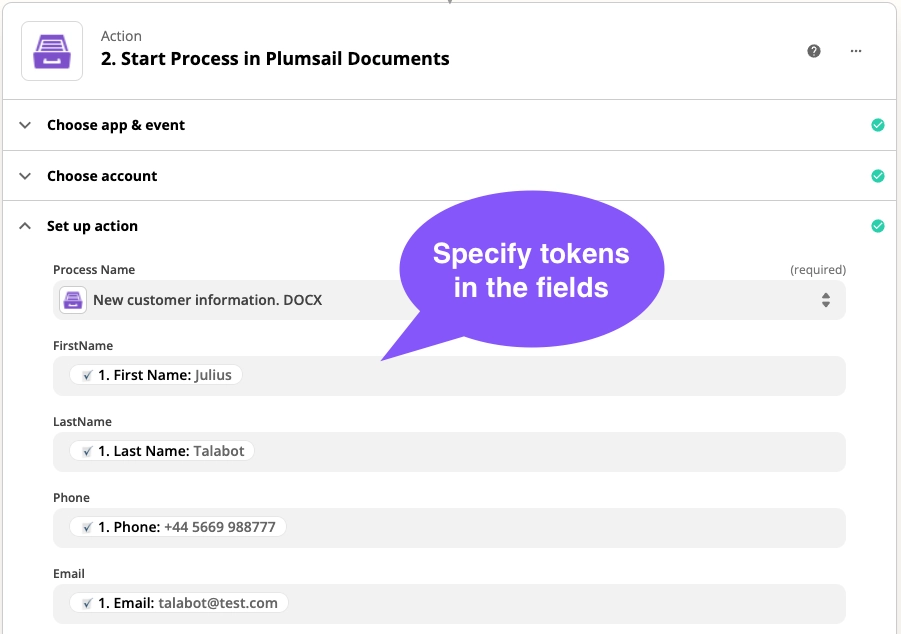
On this step you can see the {{tokens}} with pre-filled data because on the previous step we made a test while setting up the Smartsheet trigger.
Don’t forget to turn your Zap on!
Our Zap is done. So we got an email with the automatically generated document from the Smartsheet new row: