Add image watermark to PDF document using Power Automate
If you find yourself in a need to protect your PDF documents, you may decide to add a watermark to them. It can help you to identify the document owner, to maintain some level of traceability, to classify documents, and to assure confidentiality of the information both inside and outside the organization.
We hope this first article from our “How to use Watermarks” series will let you get started with watermarking PDFs using Plumsail Documents in Power Automate (Microsoft Flow).
Here is the list of all the articles in the series:
How to use an image type watermark to automatically add a company logo to PDF files and save them in a new folder.
How to use a text type watermark to prevent documents dissemination.
How to use a PDF type watermark to add a watermark with a specific design to PDF documents generated on submitting a form.
Add watermark to PDF action supports a few types of watermarks — Text, Image, and PDF:
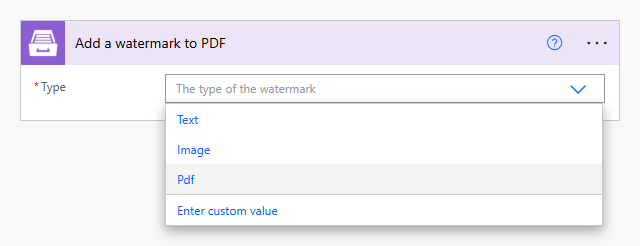
So, let us have a look at how to add an image watermark to a document.
Use image type watermark to add a company logo
One of the most effective ways to protect PDFs files or to retain corporate identity across documents is to add the company logo to them. Even if a document is spread further than you intended, the watermark will identify you as the owner.
Imagine, you are storing your company files somewhere in a cloud, for example, OneDrive, and want to add an image watermark to new PDF files.
When a new file is added to a folder Files in OneDrive, we will add an image watermark to it and save it in a new folder named WatermarkedFiles.
Here is how our flow will look like:
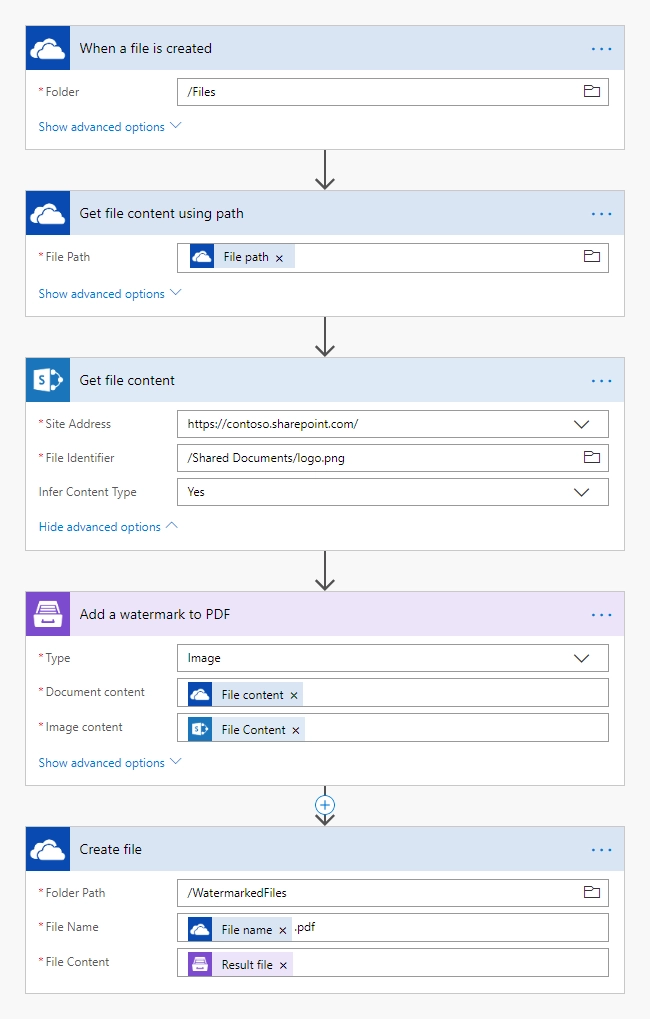
Let us have a closer look at each step of the flow.
Create the flow
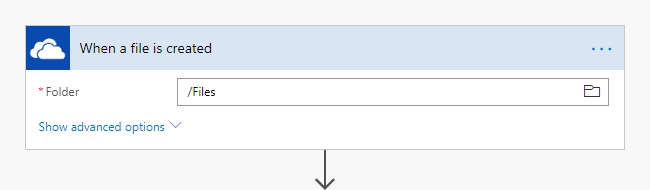
Flow trigger
Please navigate to Power Automate, create a flow and find OneDrive — When a file is created action. Using this trigger will allow you to start the flow on adding a file into a folder. Set the name of the source folder:
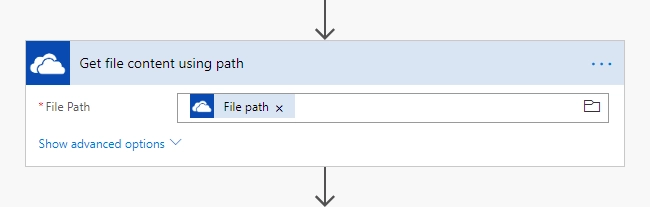
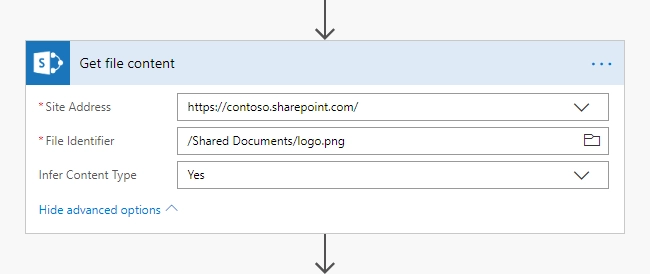
Get file content
Find Get file content using path action from OneDrive connector. Put here File Path from the output of the previous action:
Get watermark file content
Get the file you are going to use as the watermark. We store it in SharePoint. You can use any other connector to get files from your system.
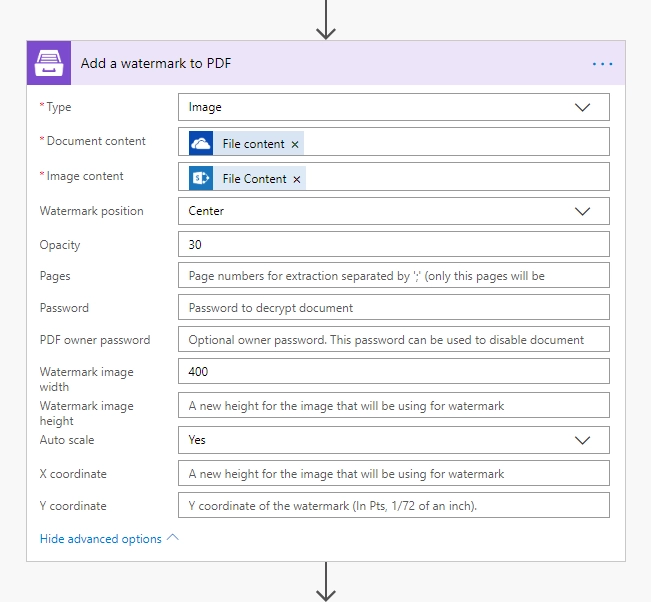
Add a watermark to PDF
This is an action from the Plumsail Documents connector.
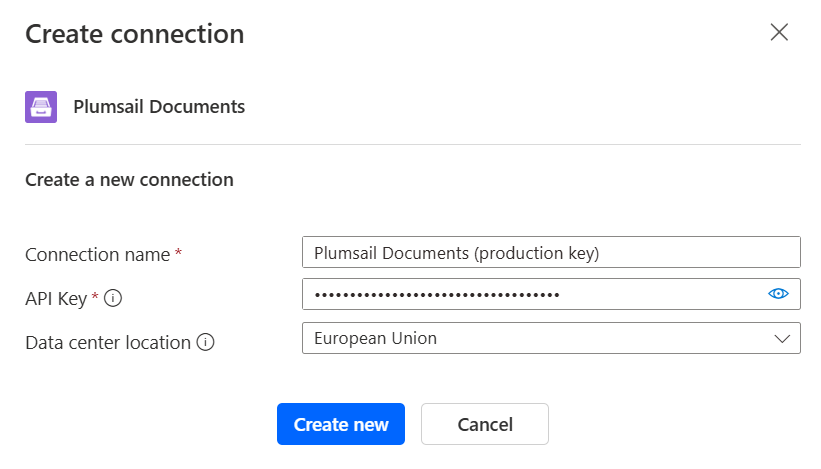
If this is your first time using the Plumsail Documents connector, Power Automate will request you to create a new connection. Provide the following details and then click Create new:
Connection name - you can type any name for the connection, for example Plumsail Documents (production key);
API Key - create an API key in your Plumsail Account, copy it, and paste it into the API Key field;
Data center location - make sure the selected data center location matches one of your account.
Choose Image type of the watermark. Put File content from the output of the Get file content using path action into the Document content field, and the File content from the previous action into the Image content field.
We set custom values for Watermark position, Opacity, Watermark Image width. You may check detailed information on how to use these and other settings here.
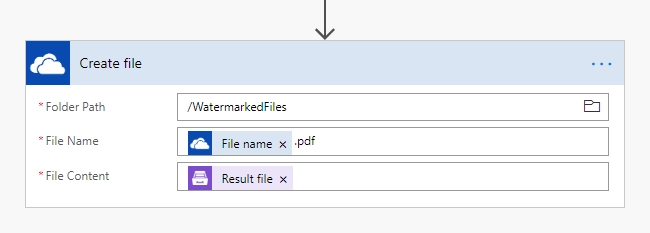
Create file
Create a file in another folder. We used Create file action from OneDrive connector, but you can save your file in any other cloud service.
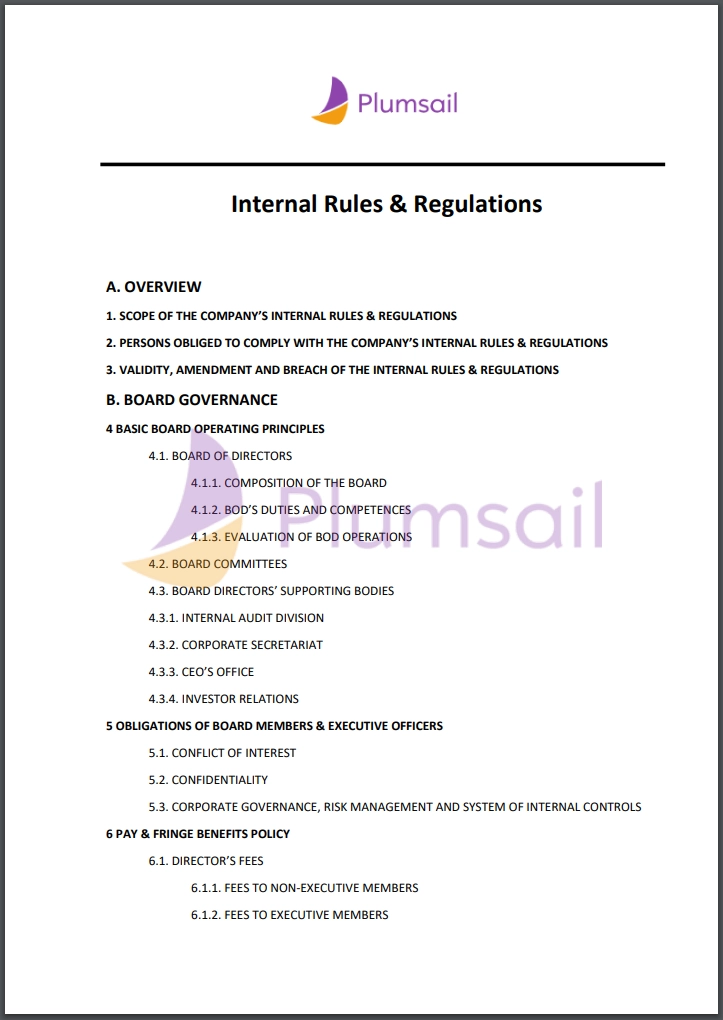
So, here is our result document watermarked with a large Plumsail logotype on the background:
Conclusion
We hope this series of articles on using Add watermark to PDF action will help you to ascertain the proper use of your PDF documents. If you haven’t used Plumsail Documents yet, registering an account would be the first step. It is quite easy to get started.