How to fill PDF form from Excel, Google Sheets, and other cloud sheets
In this article, you will learn how to fill out PDF forms from Excel, Google Sheets, and other cloud spreadsheets without using mail merge, scripts, and VBA. No coding skills are required.
In our example, we will fill out the PDF form from Google Sheets each time a new row is added. After data is filled out in a PDF form, we will automatically send the document by email and save the copy in Google Drive. You can use Excel Online and deliver your resulting document across any app with the help of Plumsail Documents and Zapier, as we do.
Imagine we have a Google Sheet with the data of Conference participants. Any time new participant info is added, we will automatically send an email with the filled participation PDF form. To represent the approach, we took the example of a PDF form from the IAEA (International Atomic Energy Agency) for an international conference in 2019.

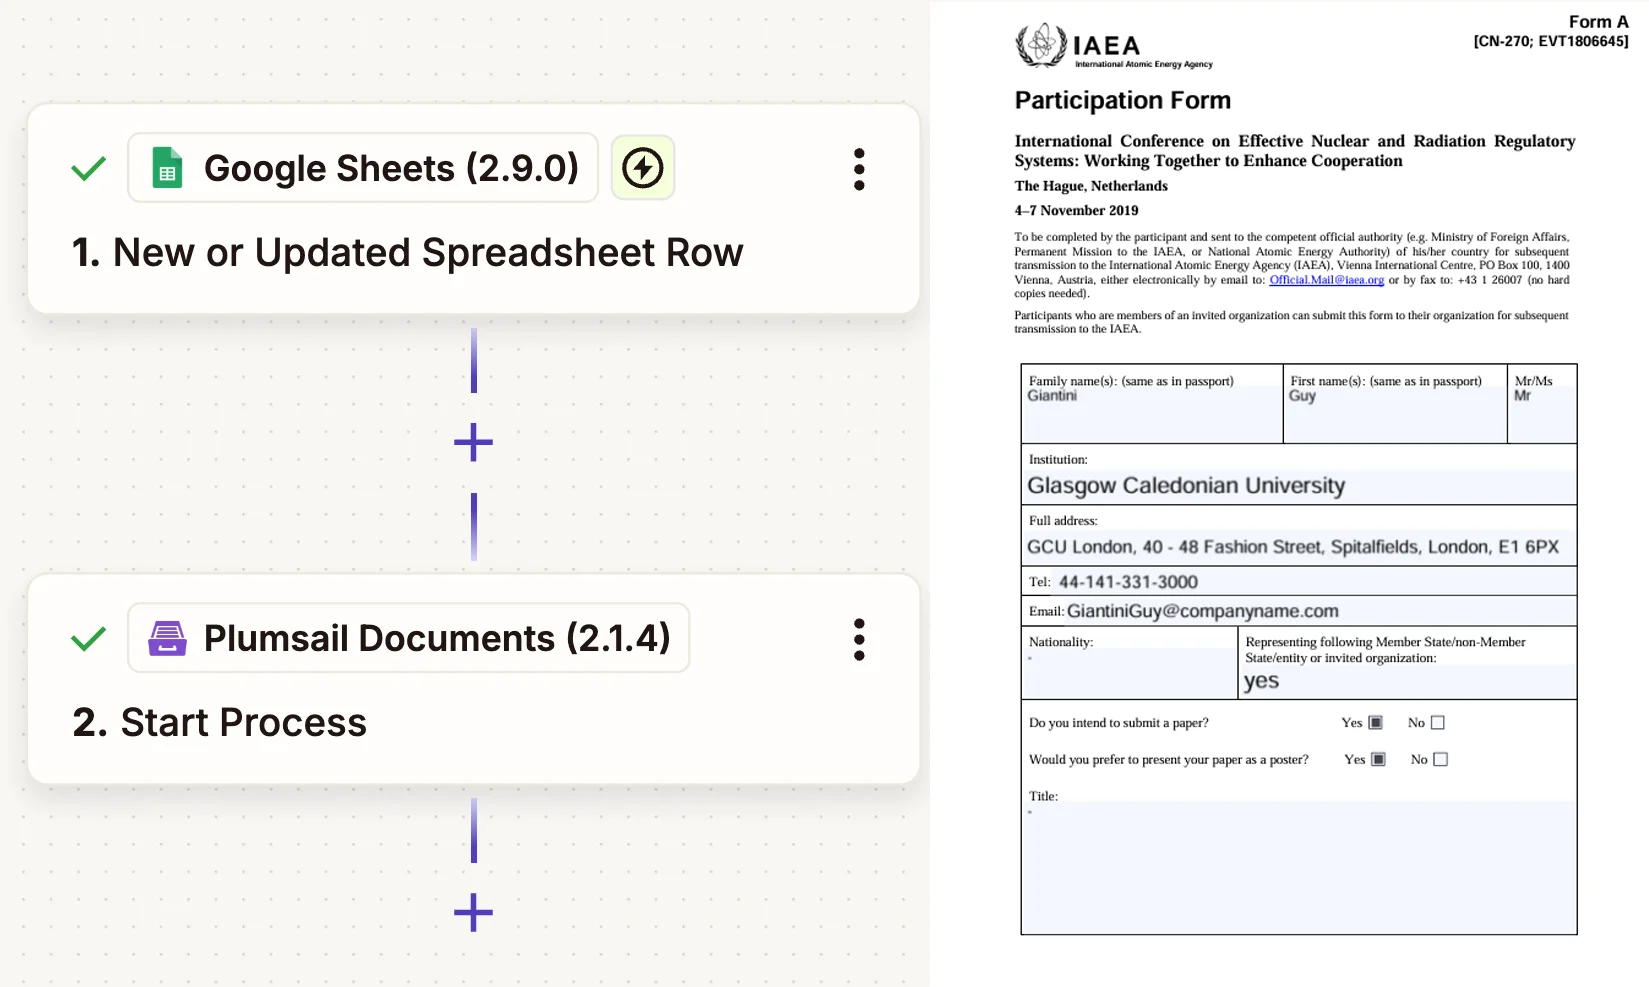
Here is an example of our Zap and filled PDF form:
Content of the article:
Set up the process in Plumsail Documents
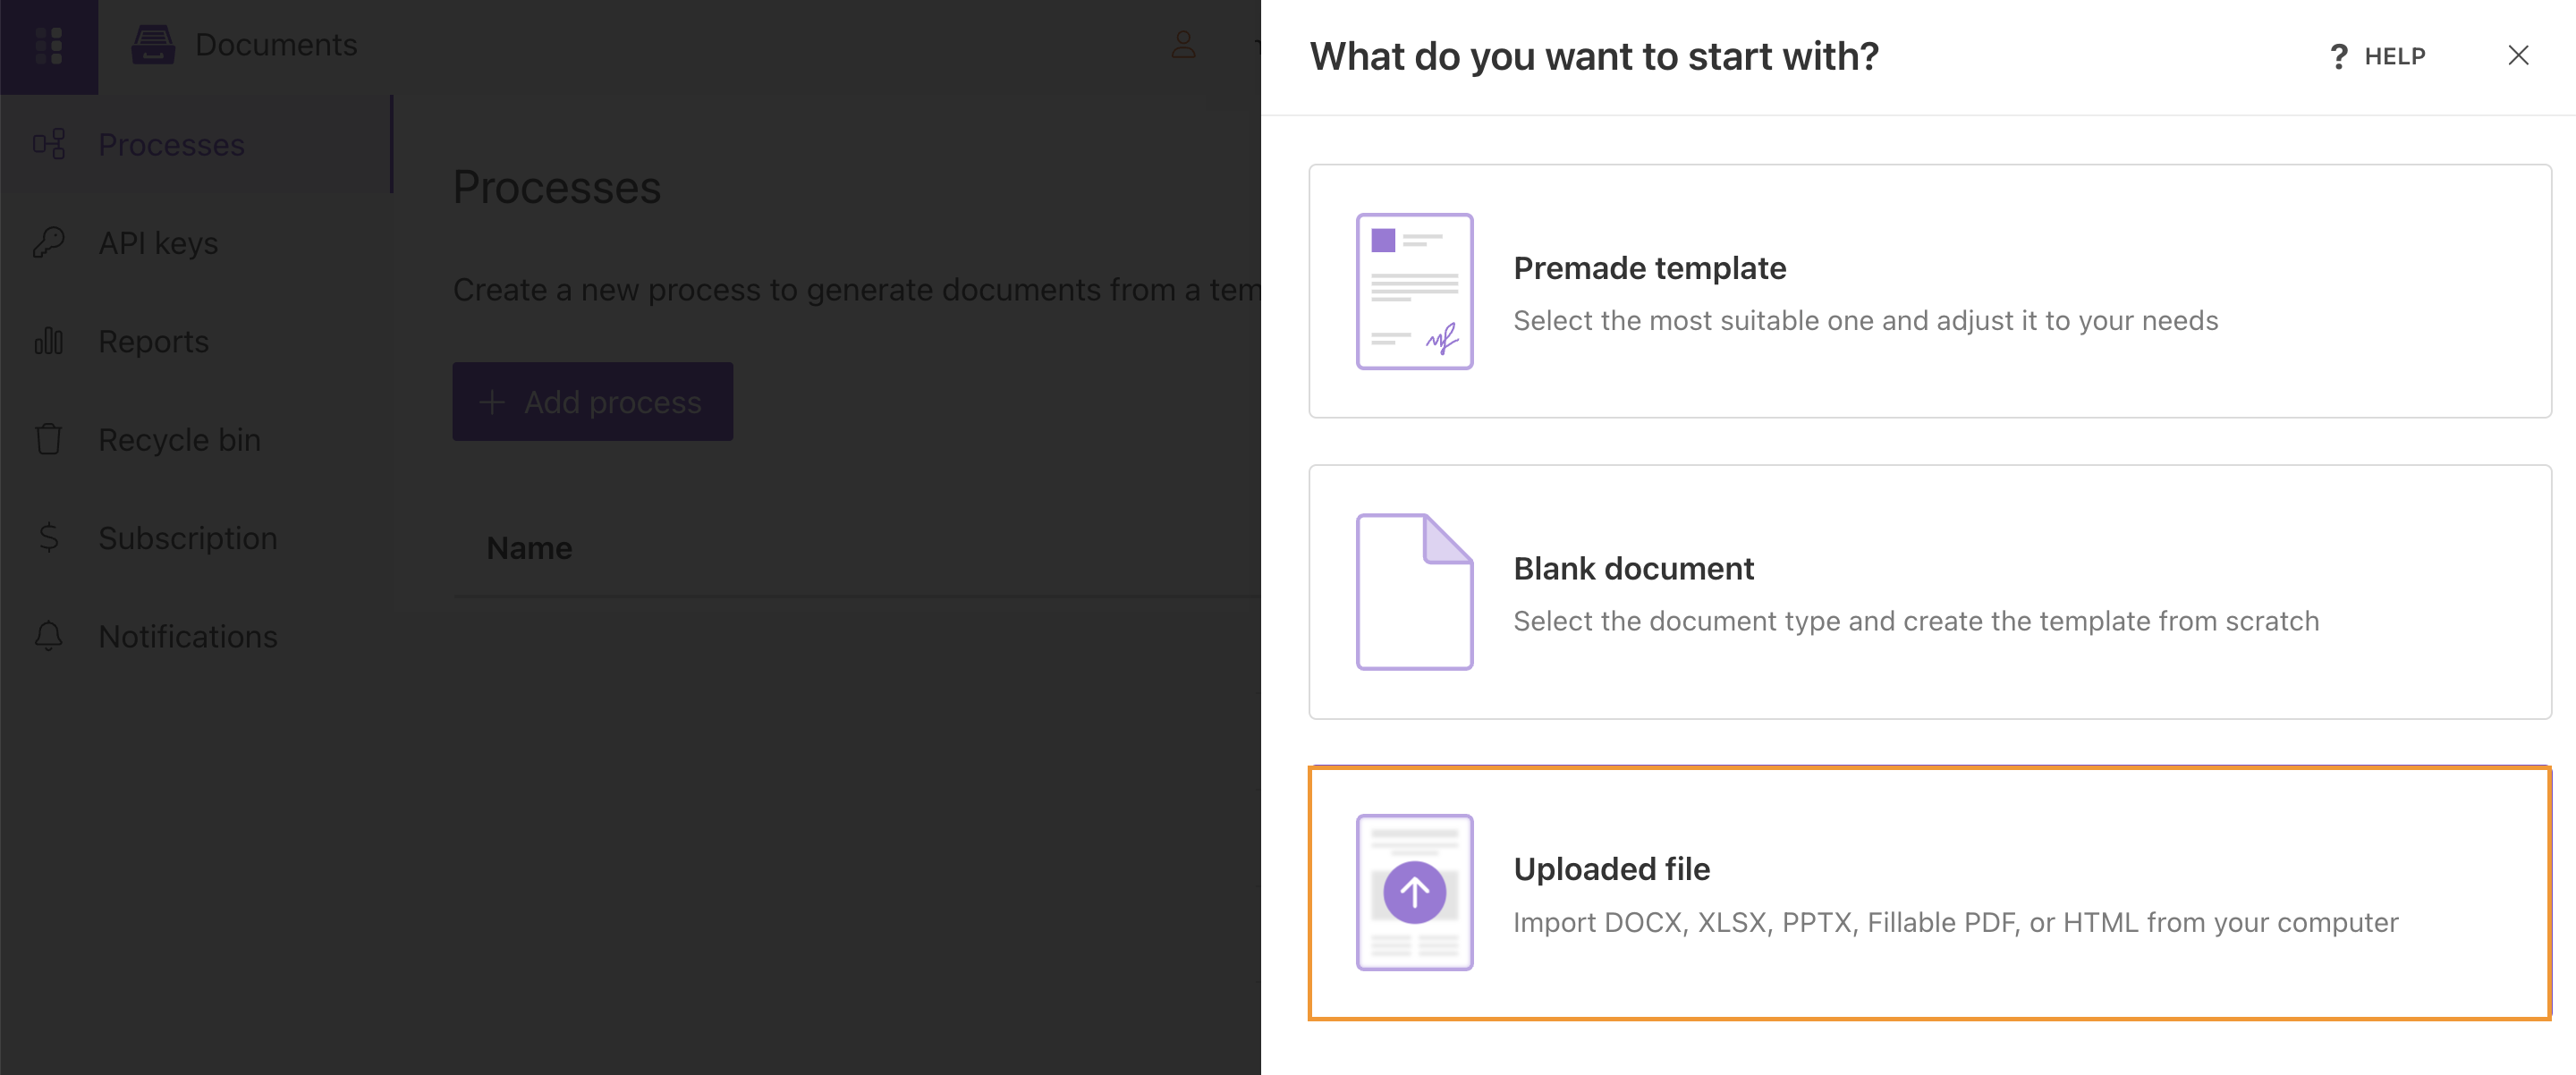
First, we create a PDF form filling process in Plumsail Documents. Go to Processes in a Plumsail account, add a new process and select Uploaded file.
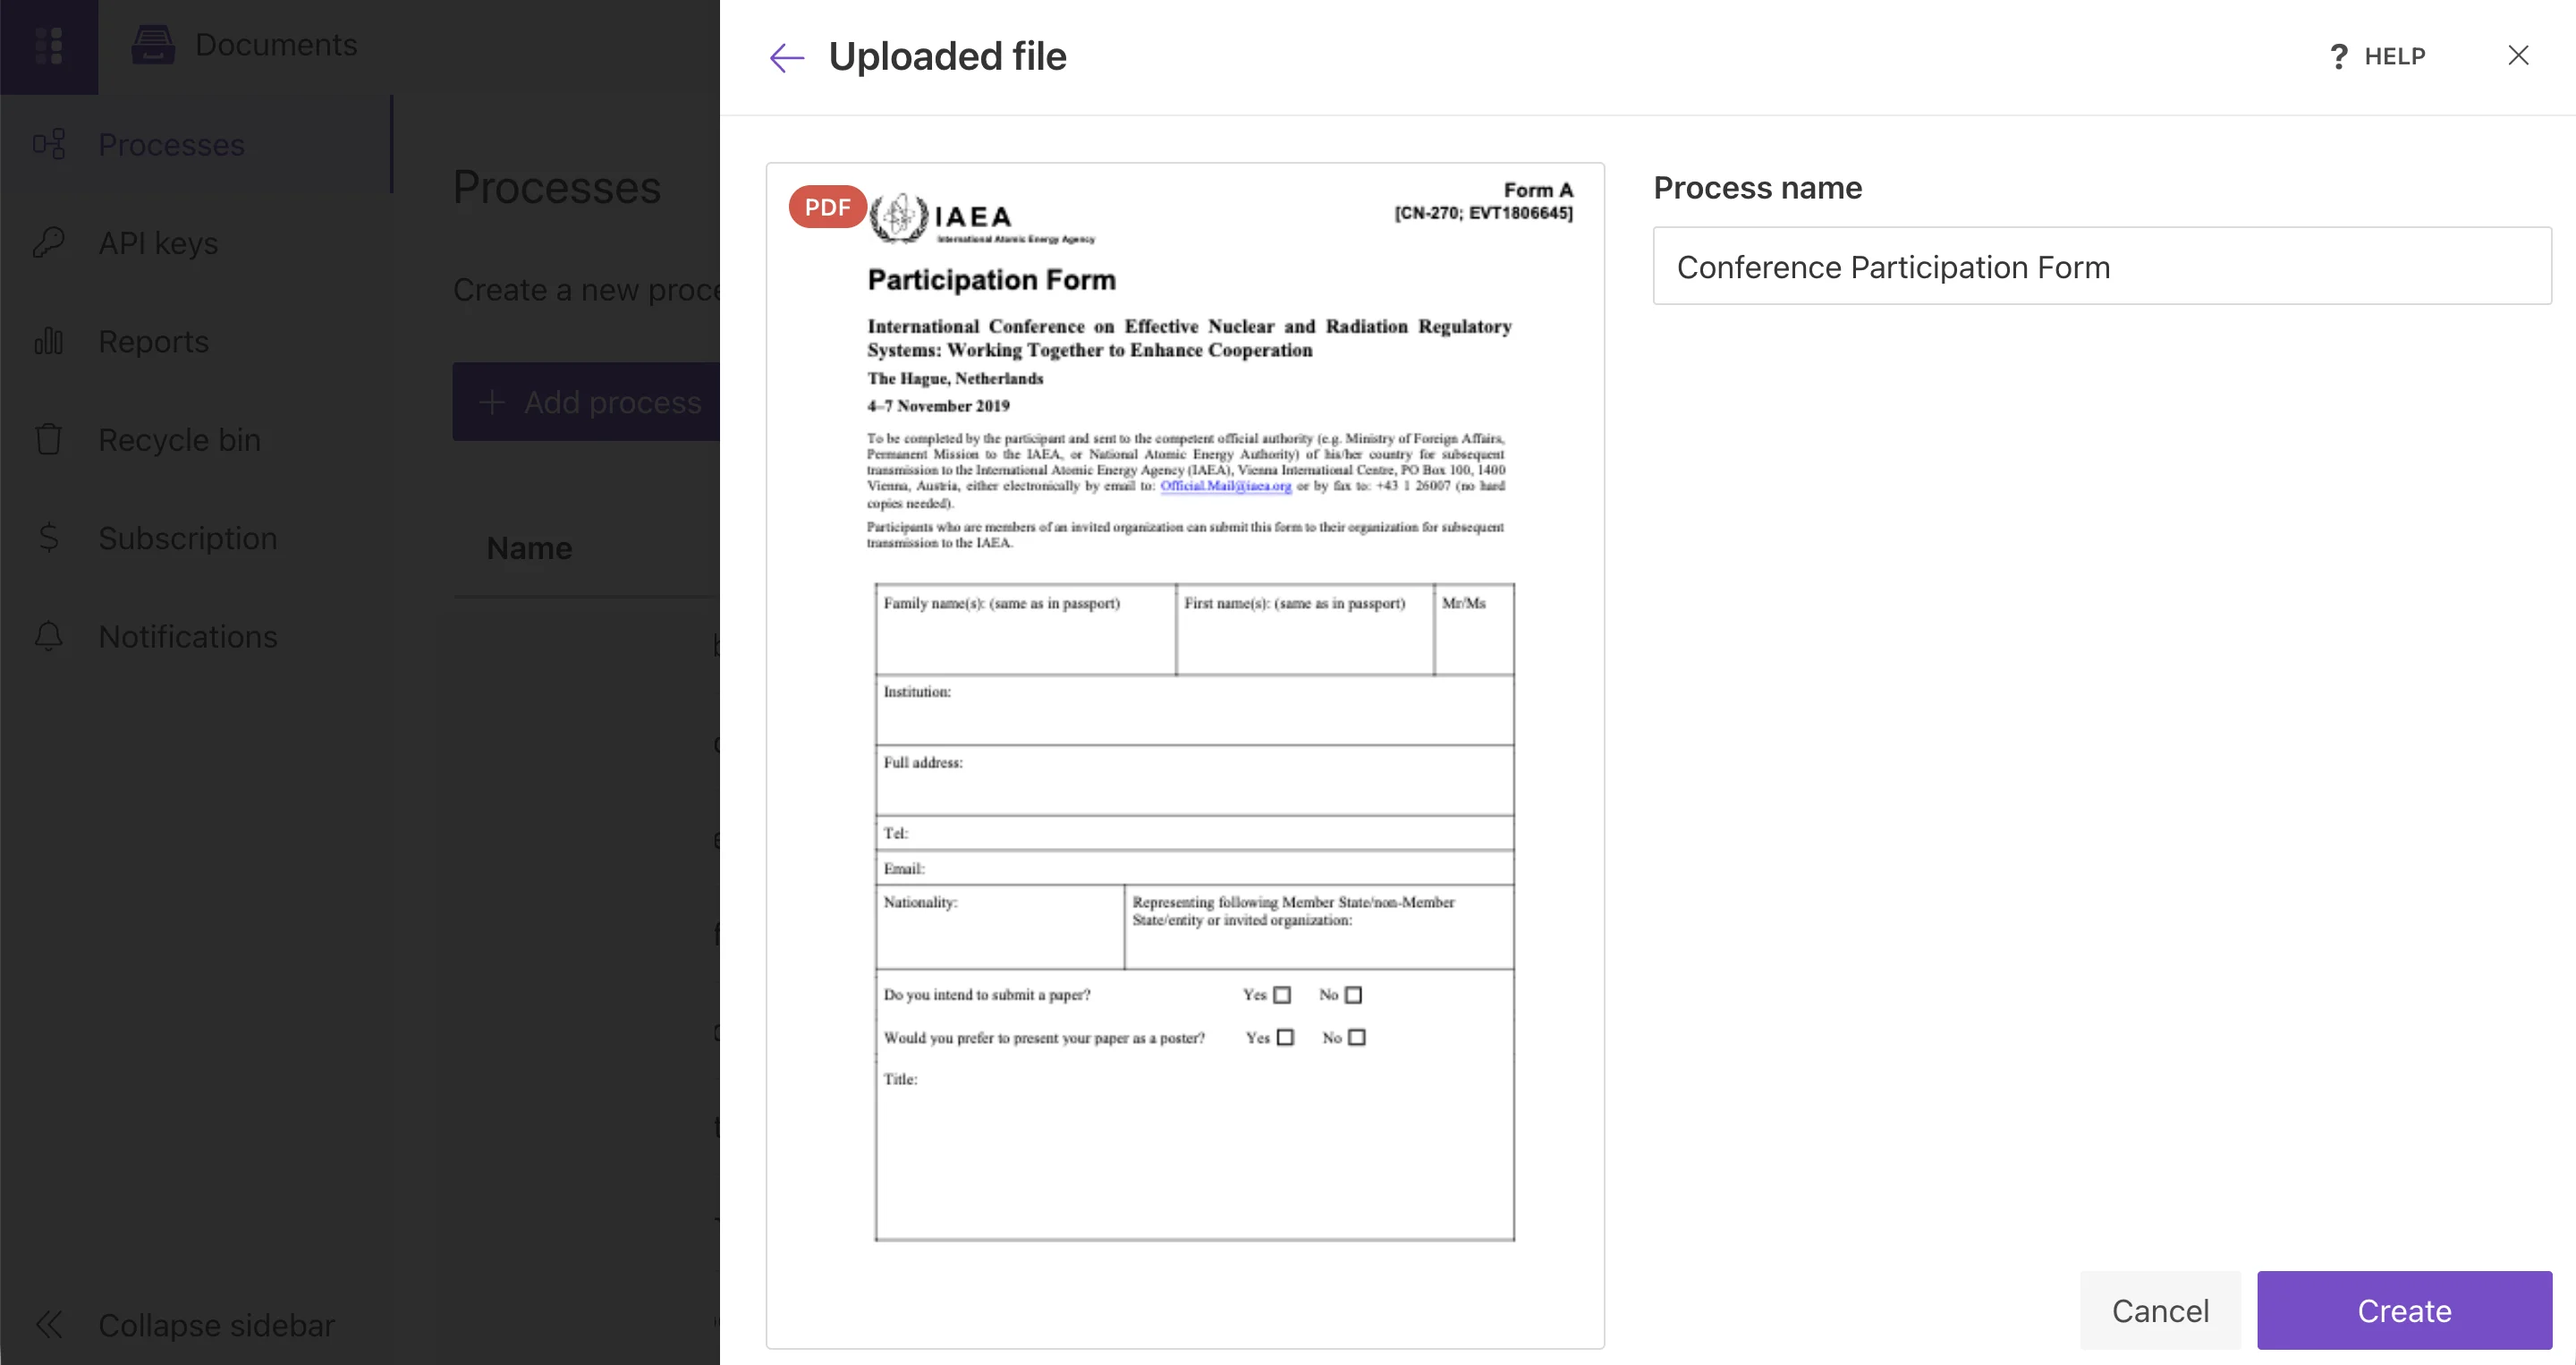
Then, upload your fillable PDF form, enter a name for the process, and click Create.
The template lets us automatically generate PDF documents with the data from a third-party system.
In case you don’t have a PDF form, we have instructions to create a fillable PDF. Also, you can use the example of the PDF form from the article to try the method.
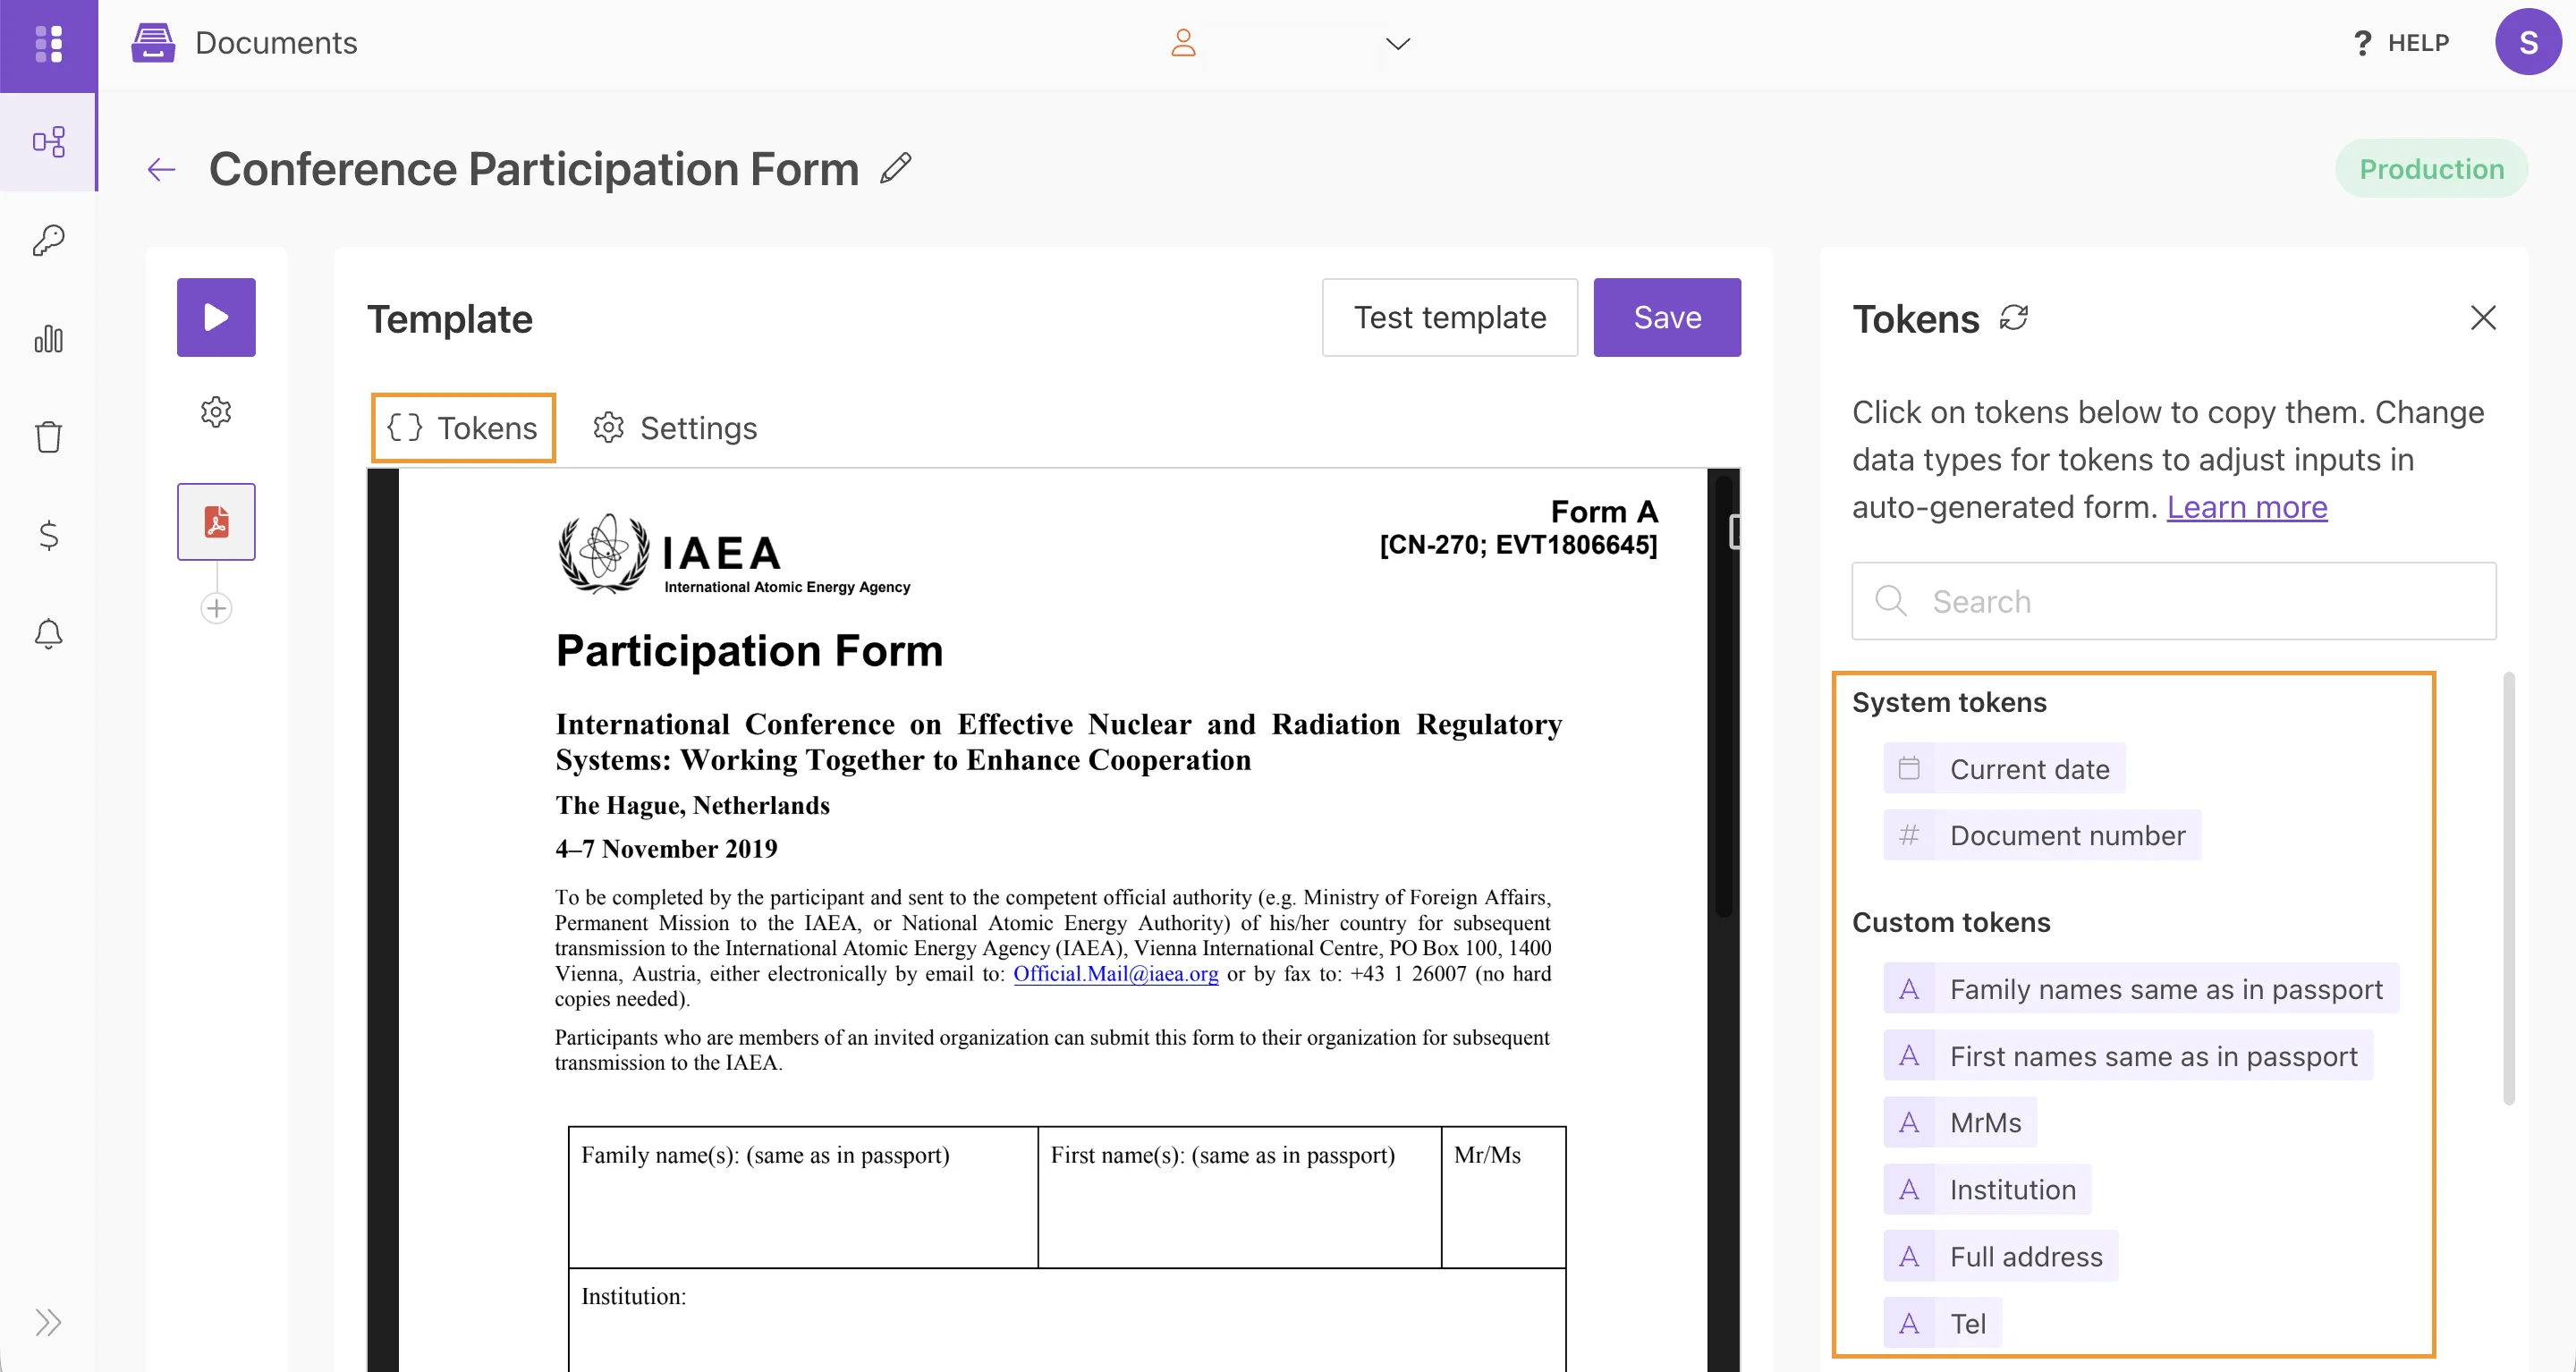
After process creation, the Plumsail Documents online editor allows us to manage the document template, set the output settings, and configure storage and delivery settings for the filled PDF form. You will see various options for working with the document template. Let us briefly describe them.
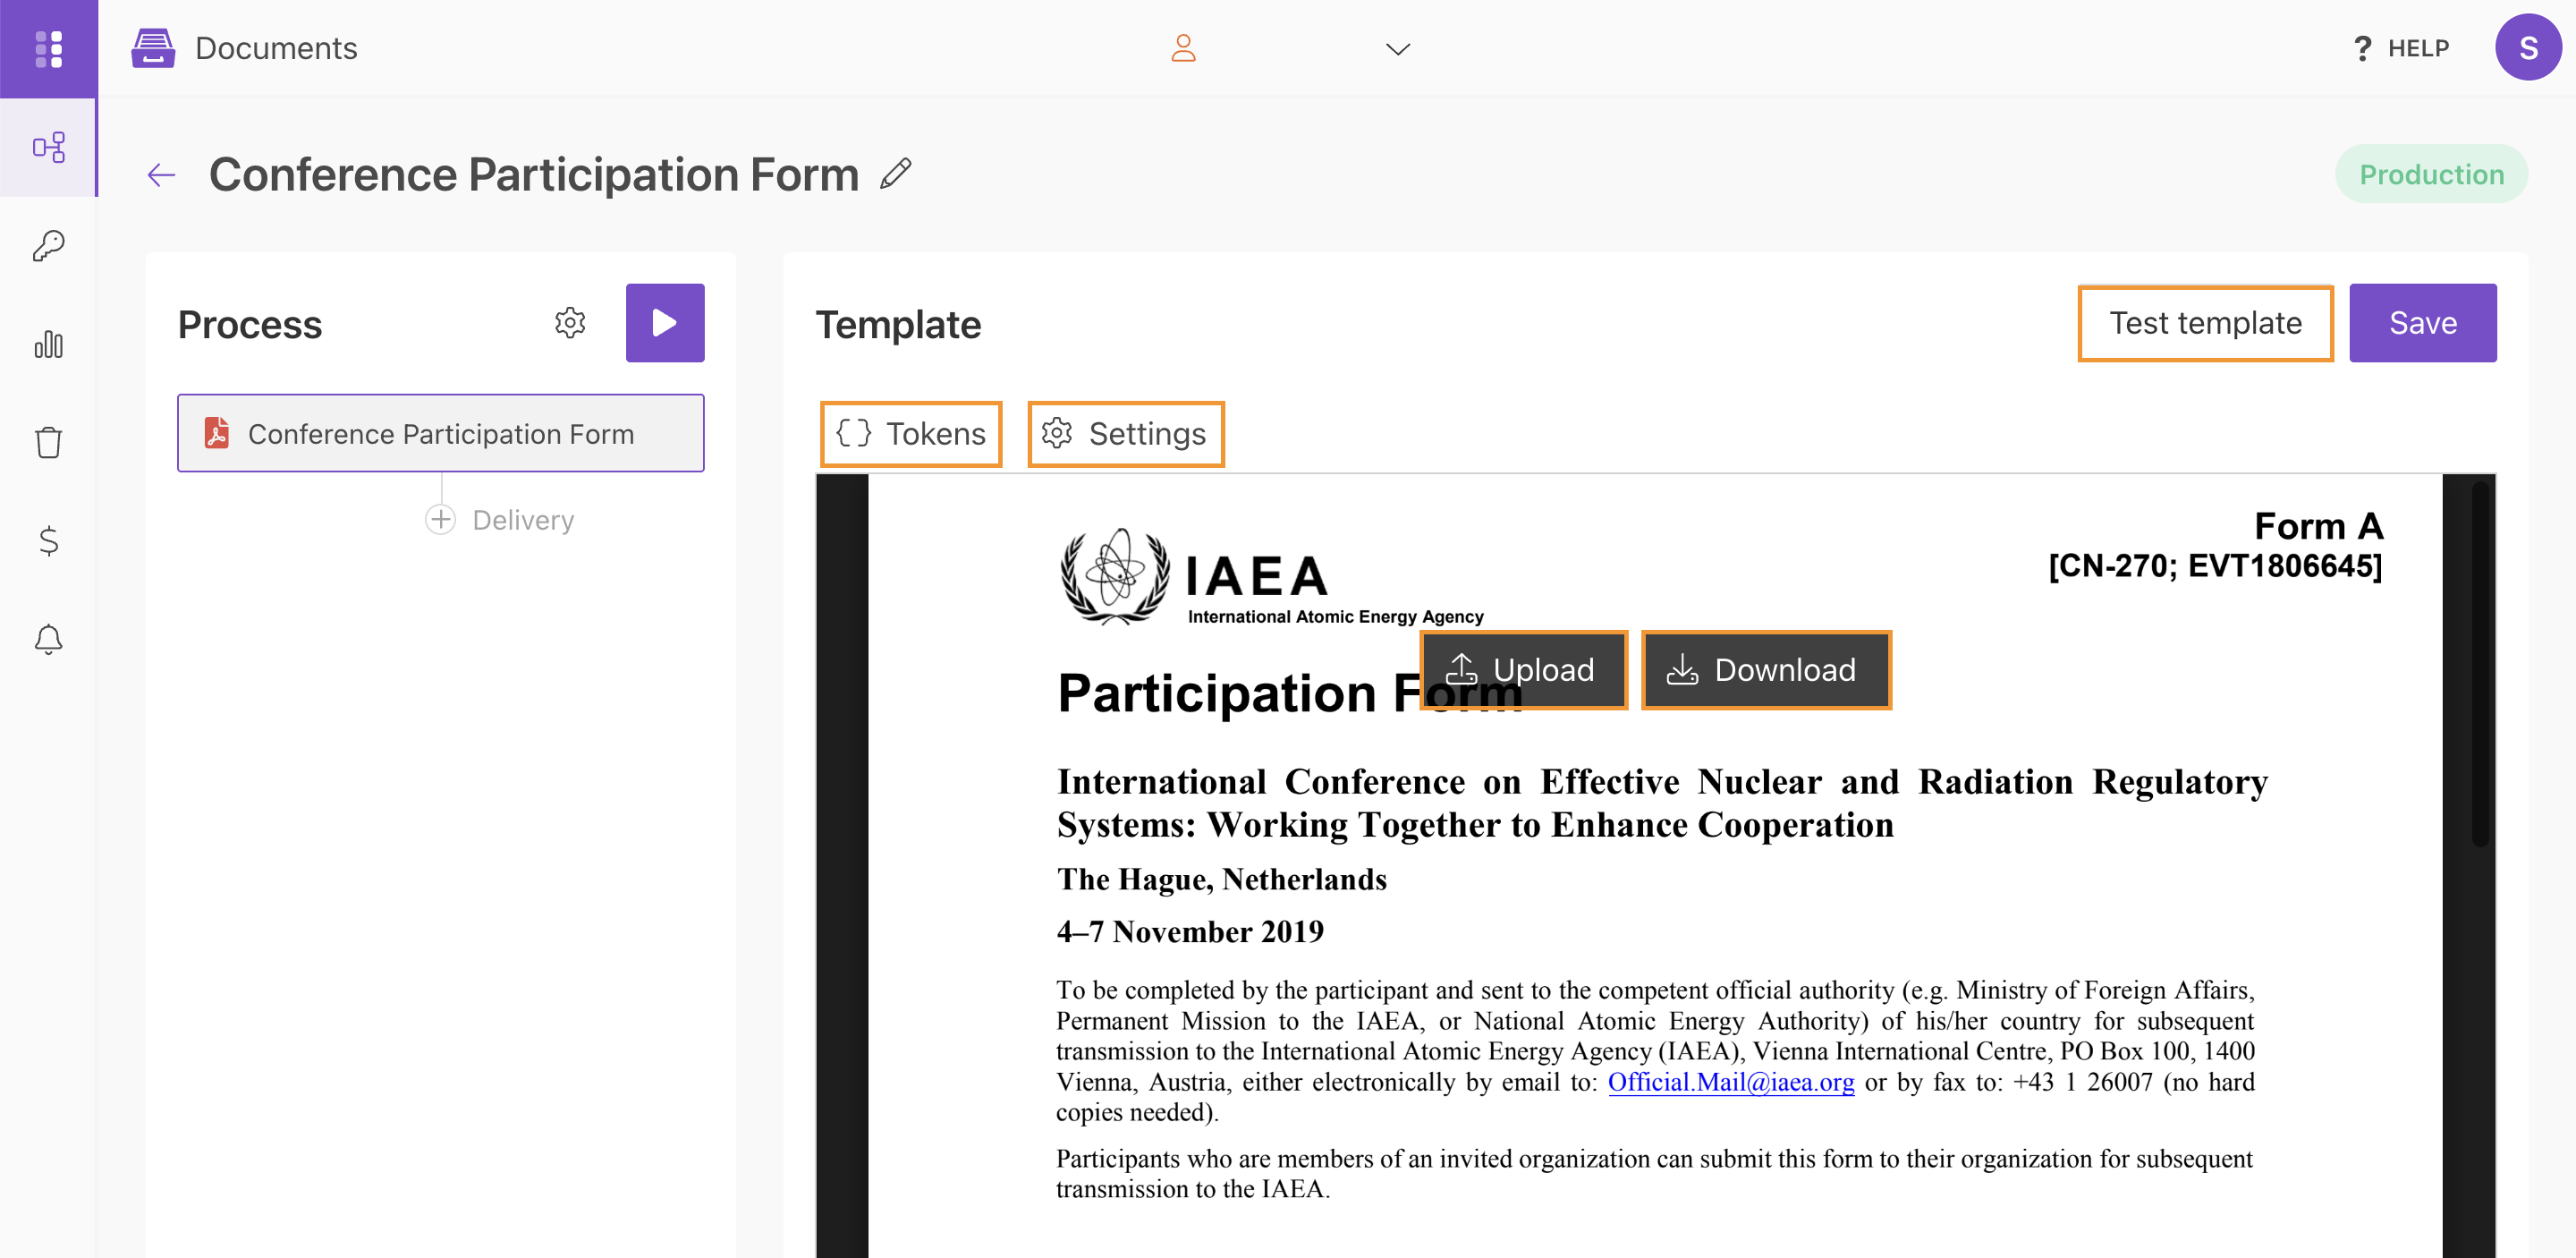
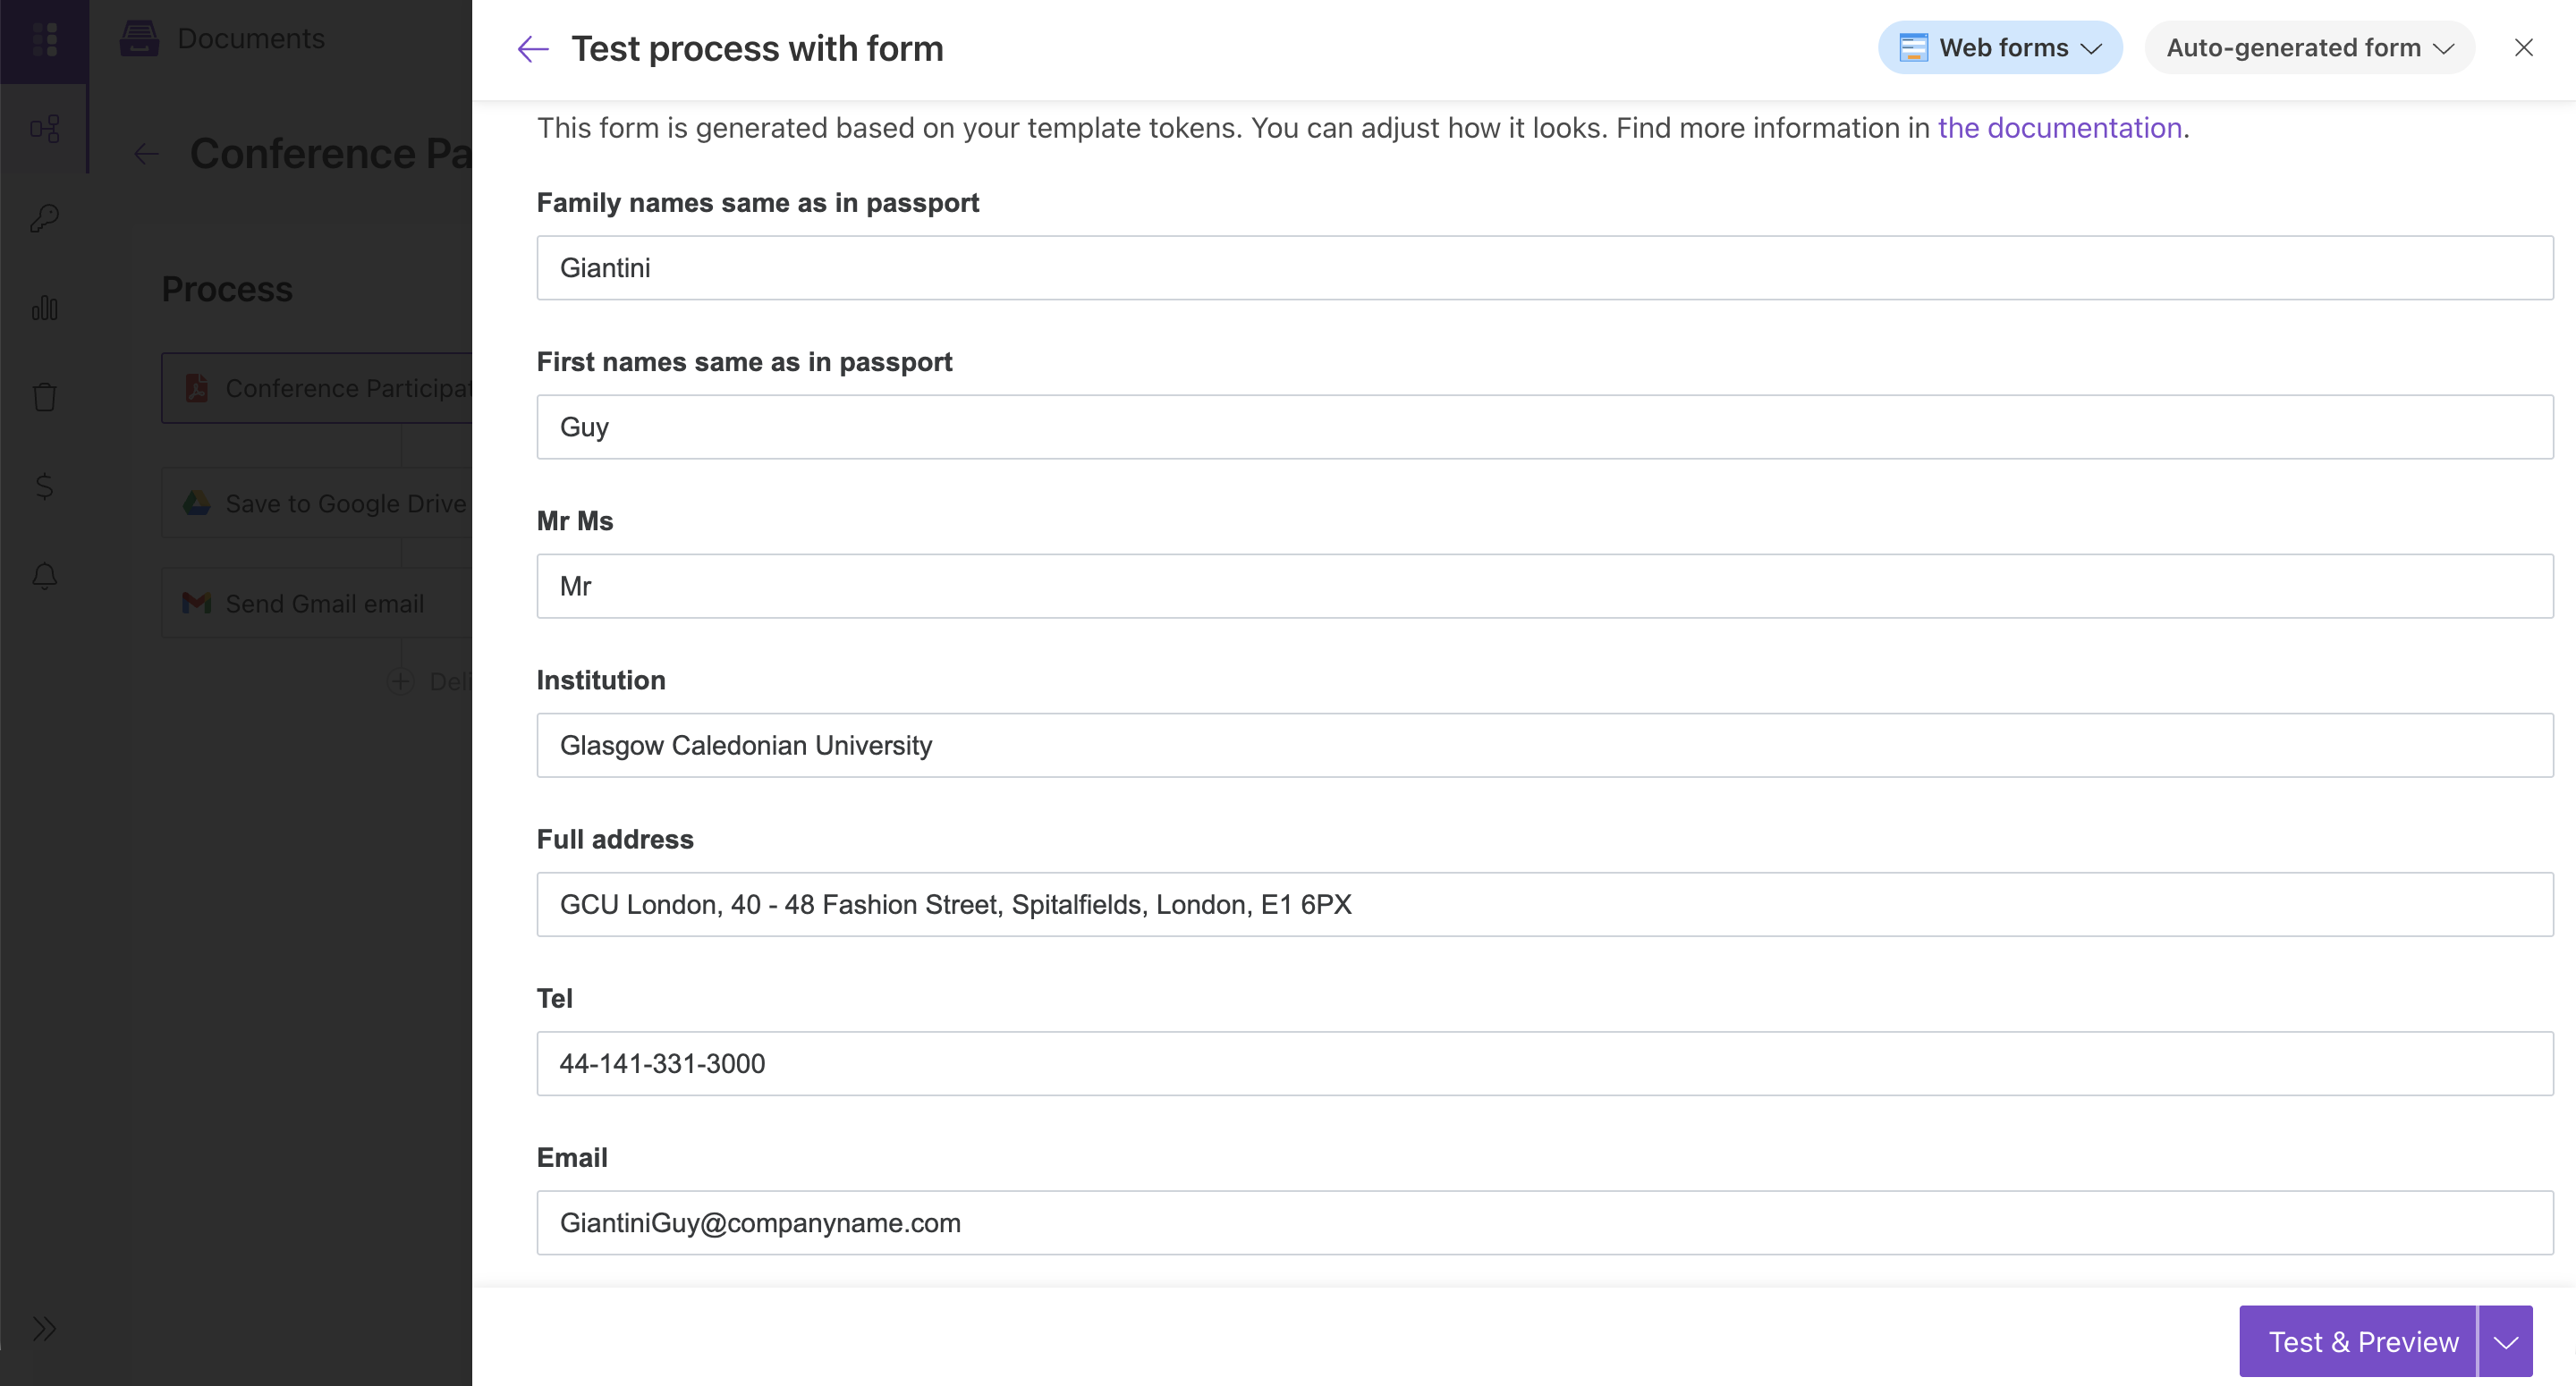
The Test template feature opens a web form created with the fields related to fields from the uploaded PDF form. You can fill it out with some dummy data to test your PDF form and make sure that you prepared the document template correctly.
{ } Tokens are placeholders for data retrieved from other systems. They are related to fields from your PDF form and are created automatically. The tokens extracted from your template can hold and format the data in different types, such as string, date, number, and boolean. Learn how it works.
Upload and Download let you replace the template file or download the current one.
Template settings
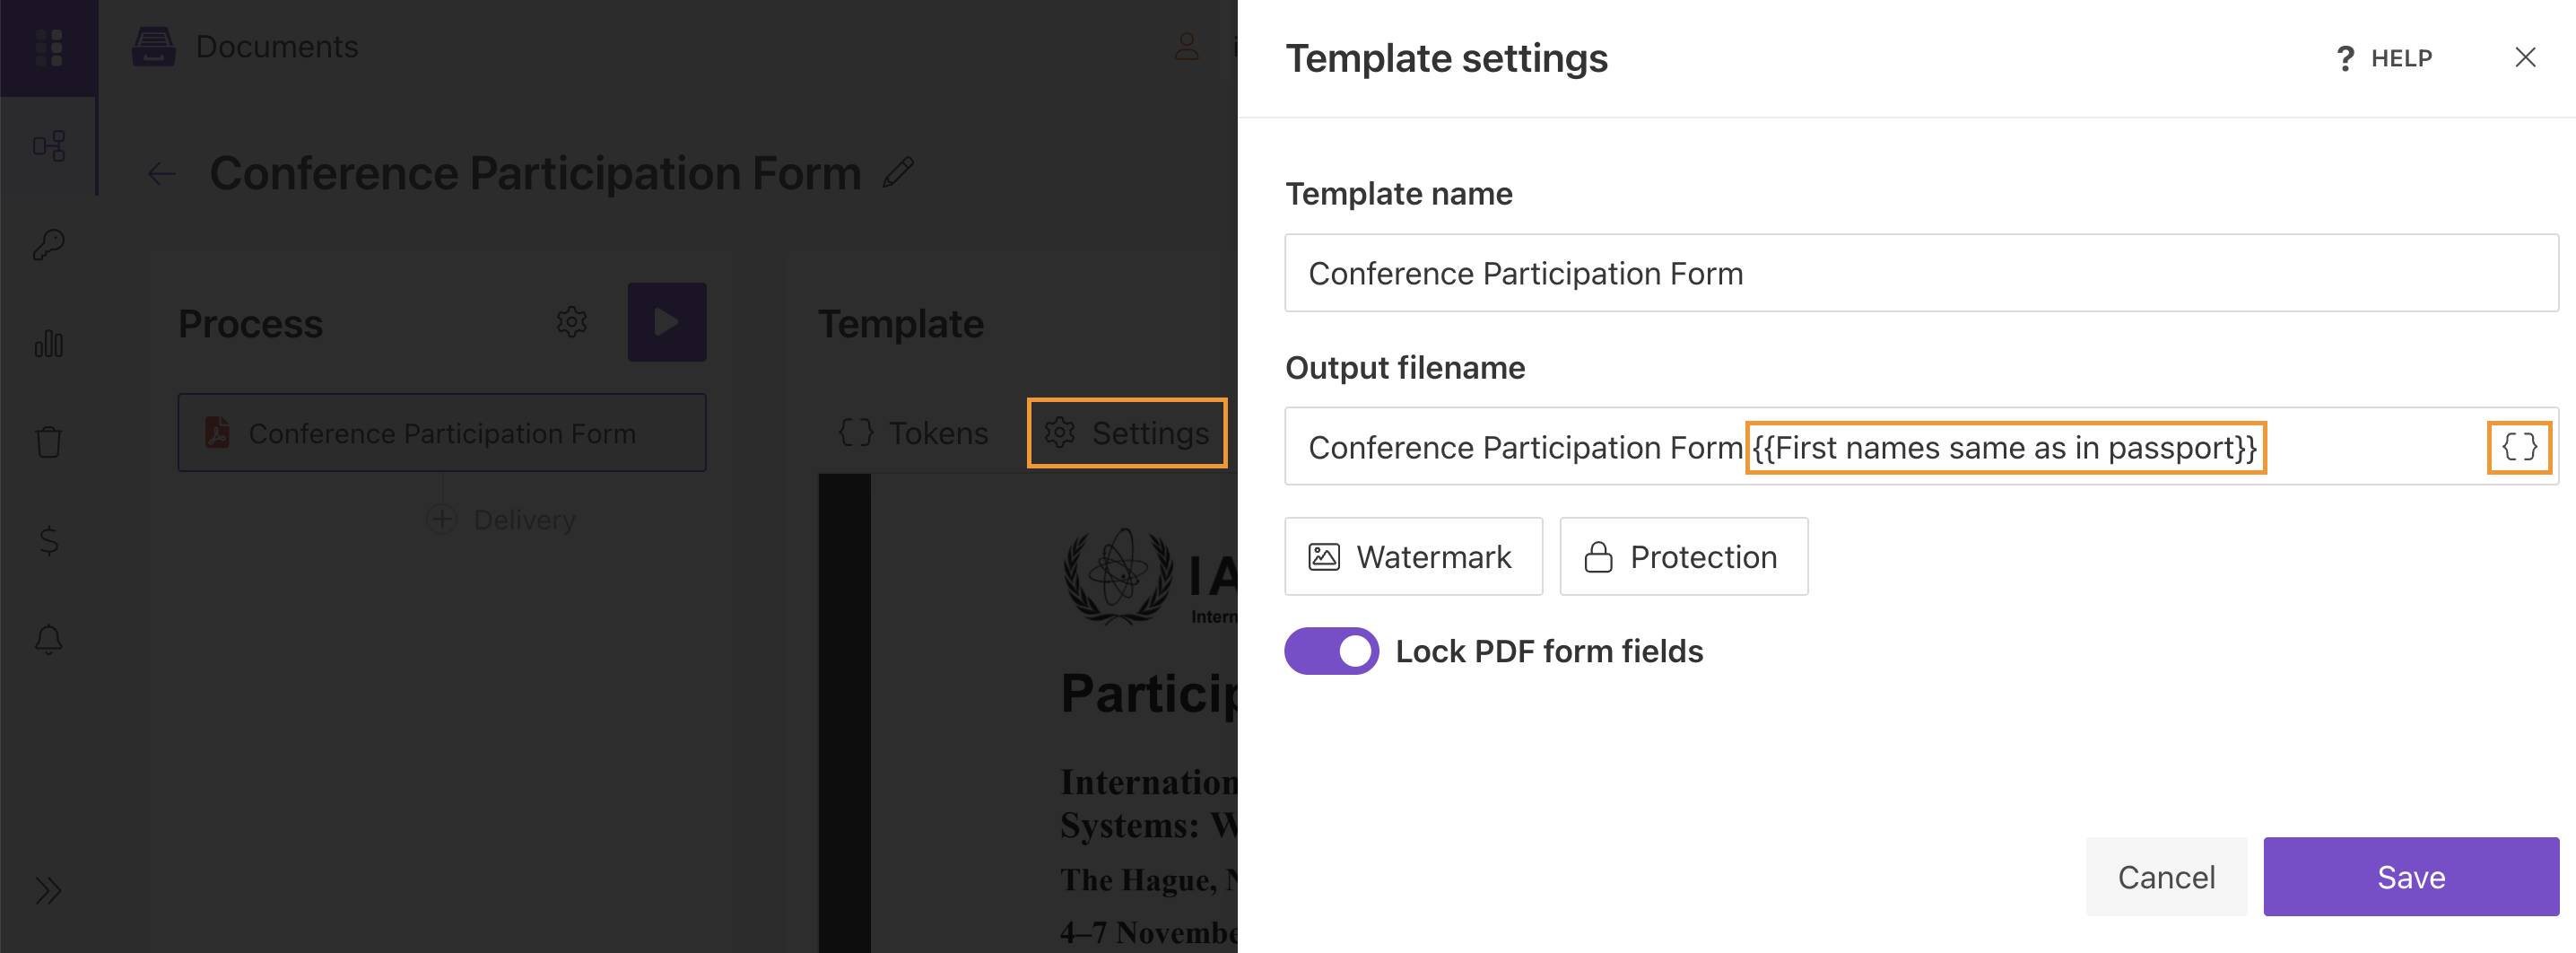
After configuring our document template, we move to set the document output parameters. Go to the Settings tab to open the Template settings.
For a fillable PDF template, the following options are available:
Template name identifies the template inside the process. It does not affect the name of the generated file.
Output filename defines the name of the generated document. We add {{tokens}} here to make it dynamic, so every participant gets a separate file.
Watermark stamps a PNG image over the generated PDF. You can set its position and opacity.
Protection restricts what recipients can do with the PDF: set a user or owner password, disable printing, and so on.
Lock PDF form fields makes all filled form fields read-only, so nobody can edit the data after the document is generated.
See Configure settings for a detailed description of every option.
Store and deliver settings
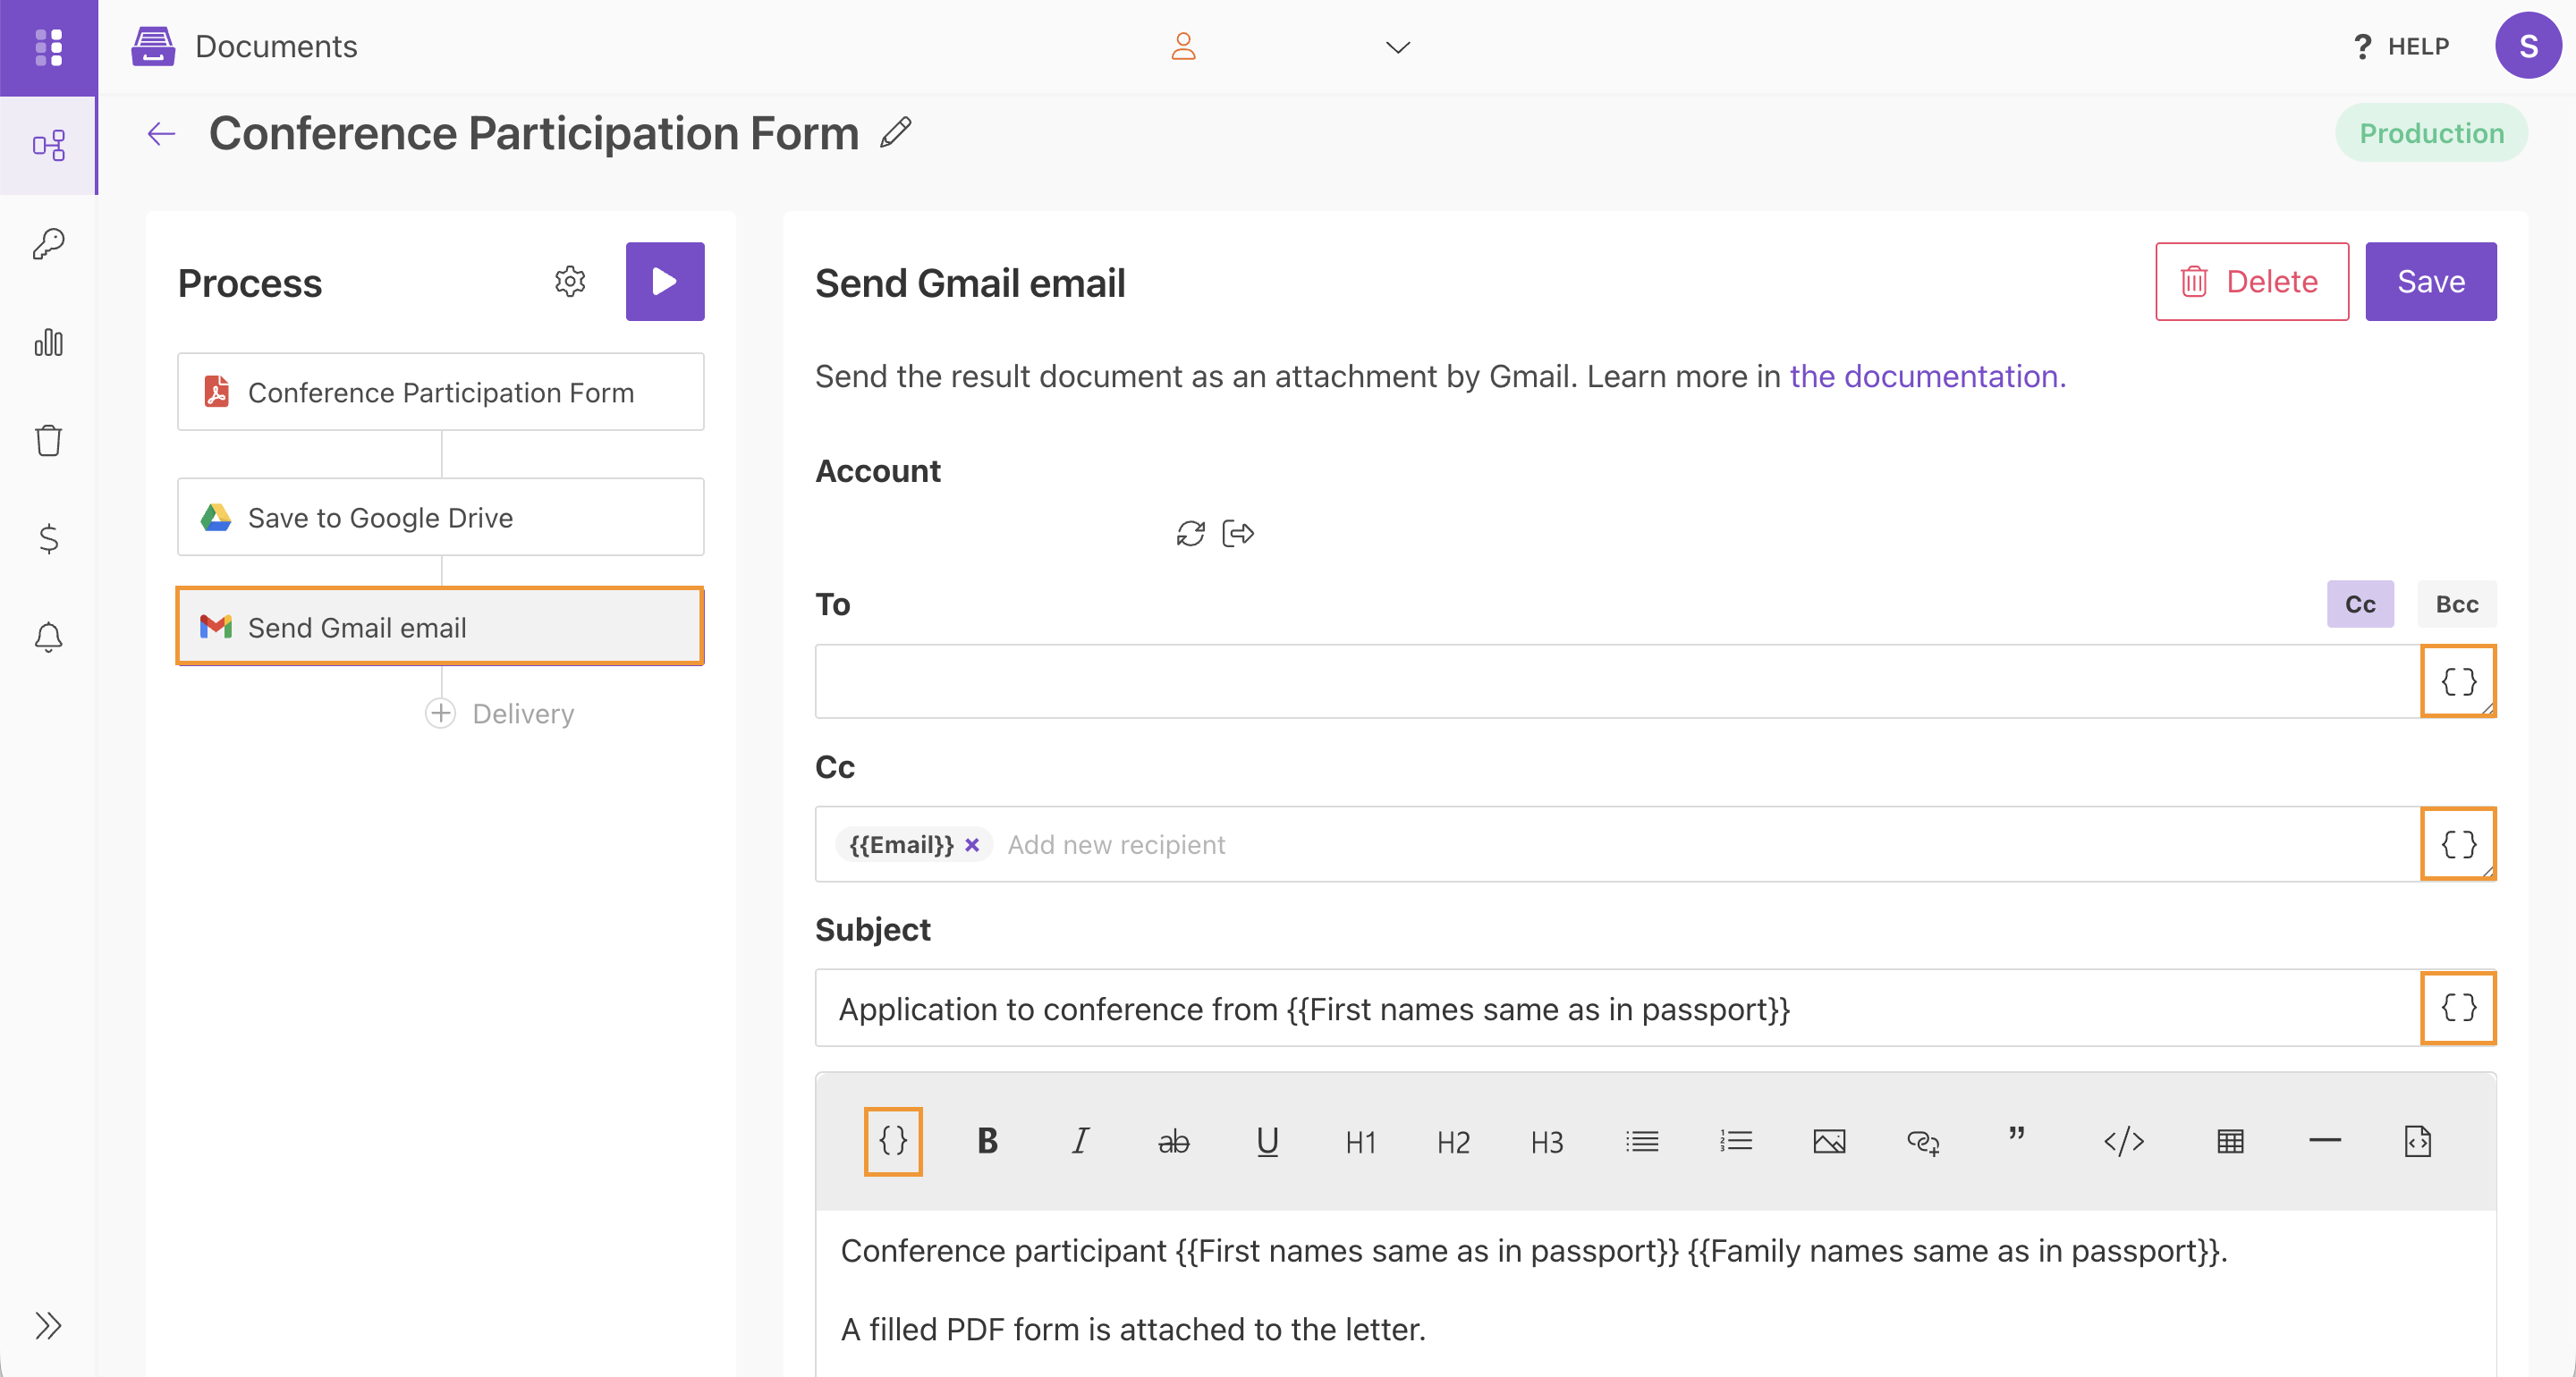
In this step, we add deliveries — where the document will be stored and sent. You are free to include as many as you want. You can use native integrations from the list and add a delivery later via Zapier. In our example, we added Gmail delivery to the manager of the conference and saved the generated document in Google Drive.
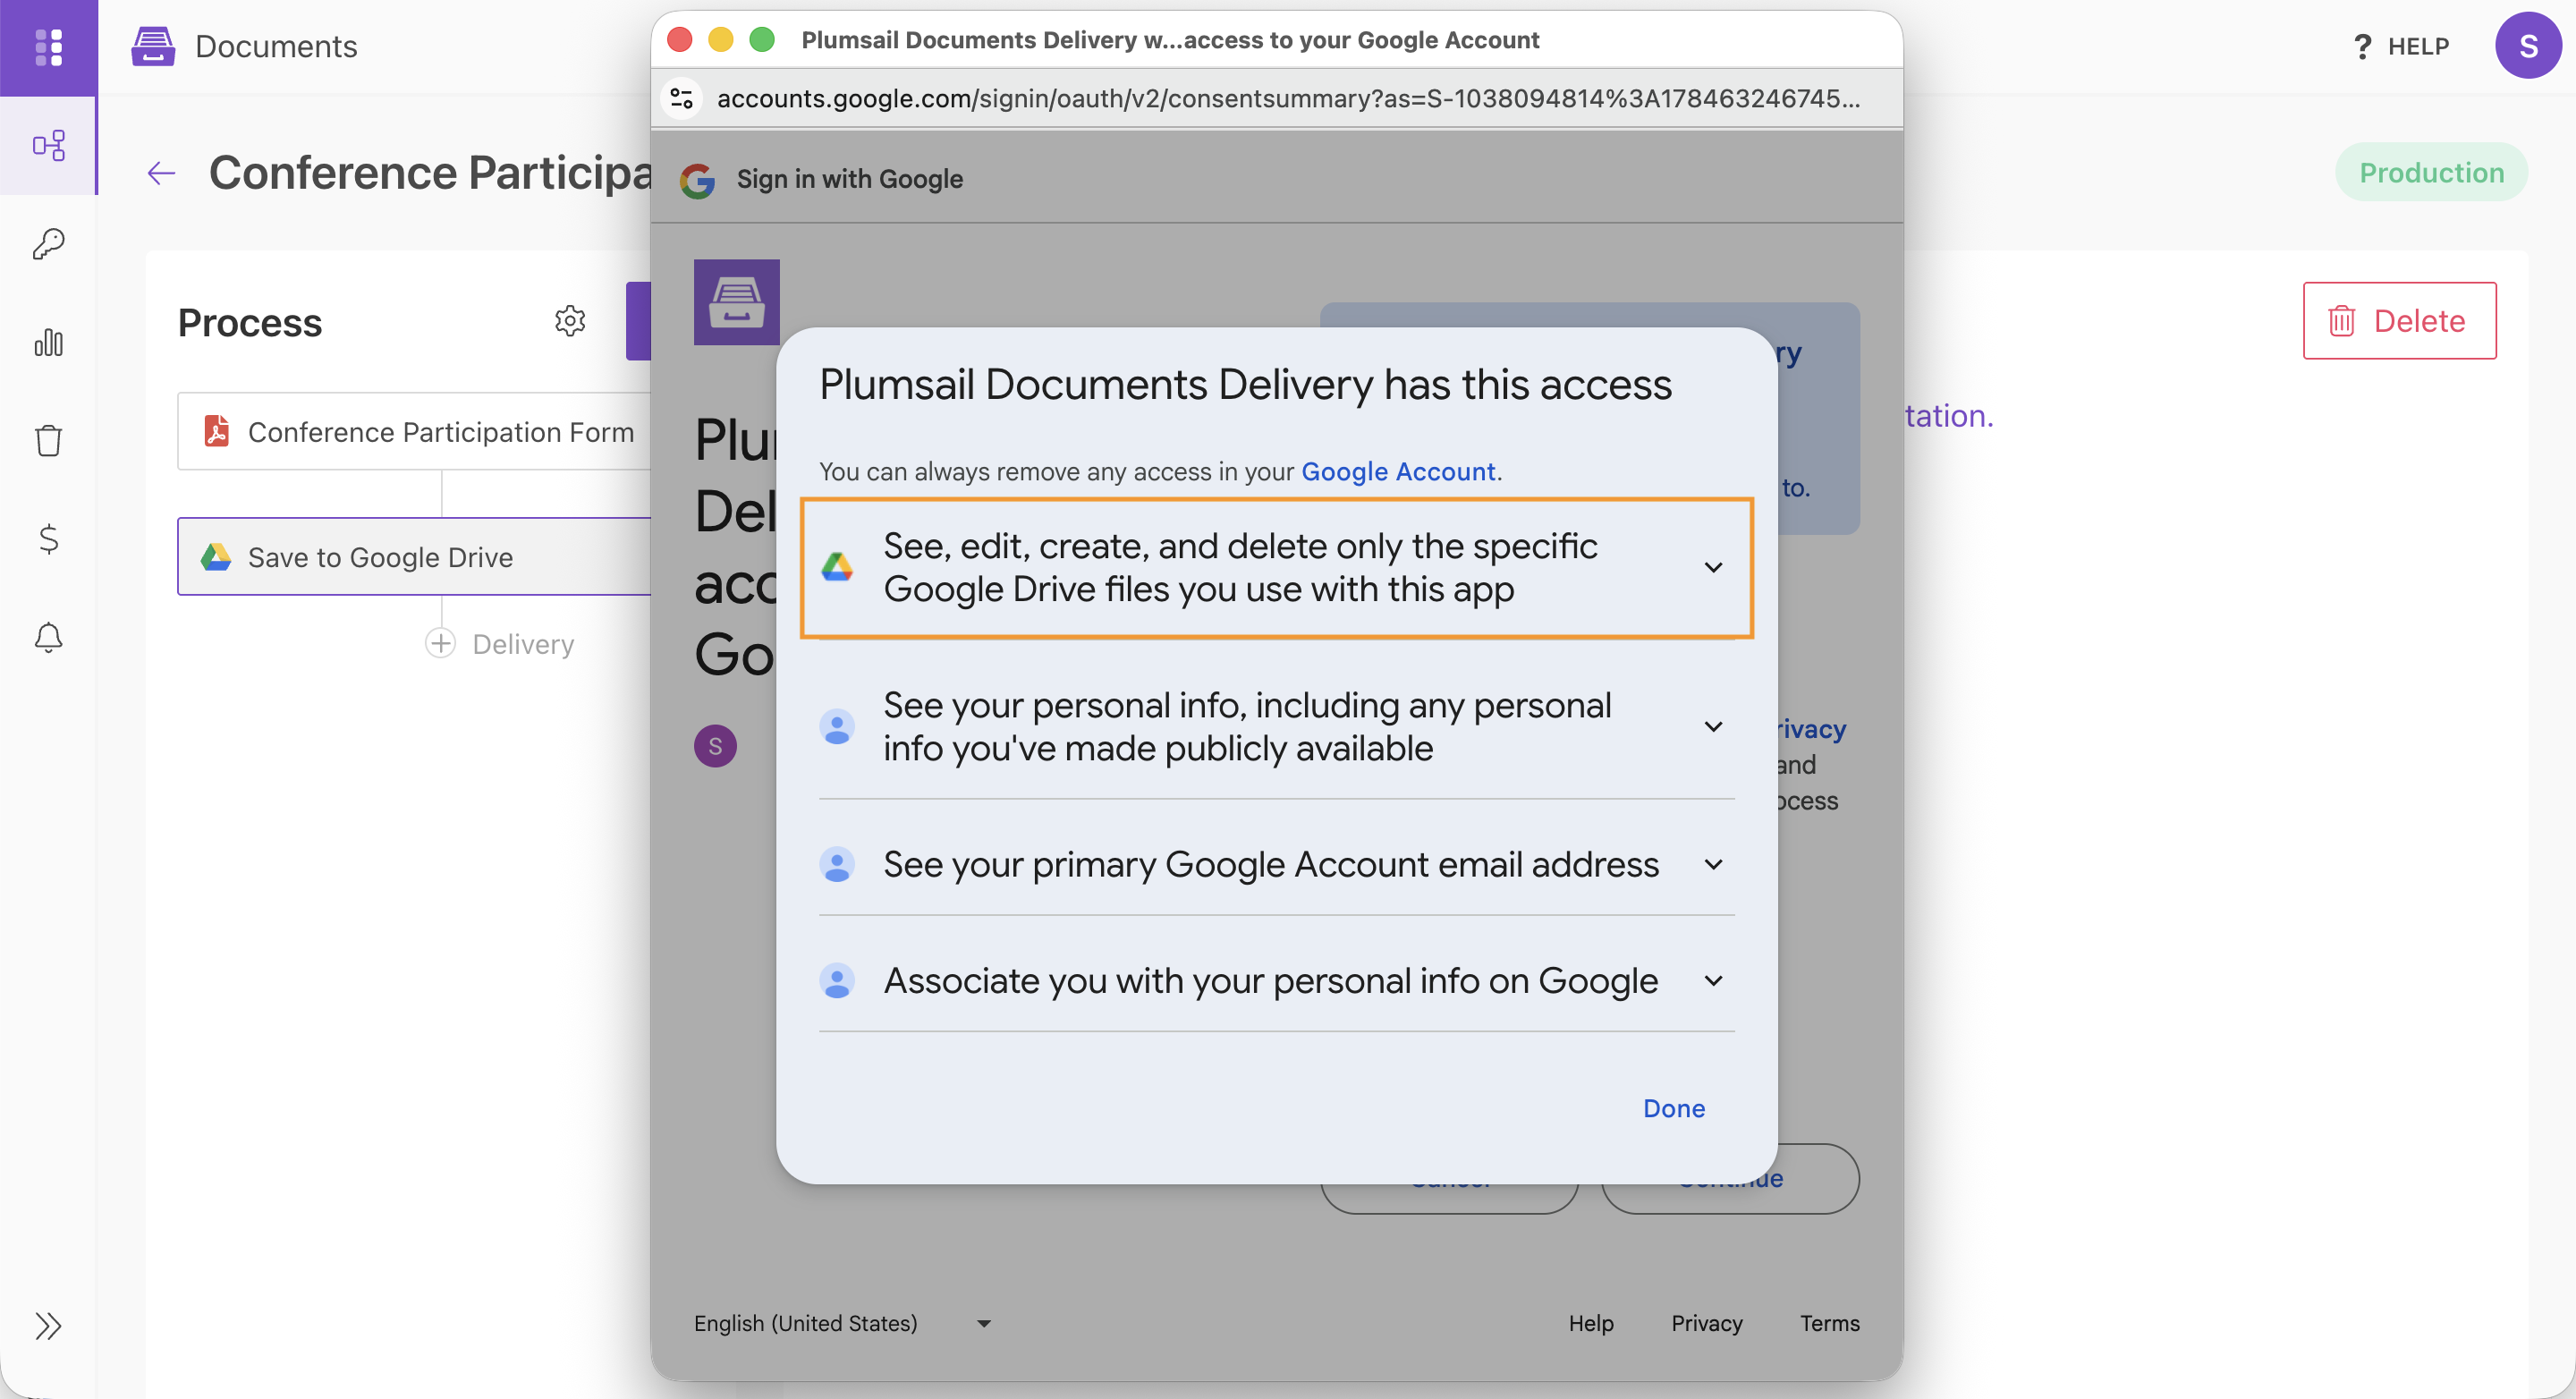
We save the document in Google Drive. You can integrate any software via Zapier to store the resulting documents. In our example, we need to connect the Google account to Plumsail Documents. If you do the same, be sure you give all permissions to Plumsail Documents while connecting your Google account.
Set up Zapier connection
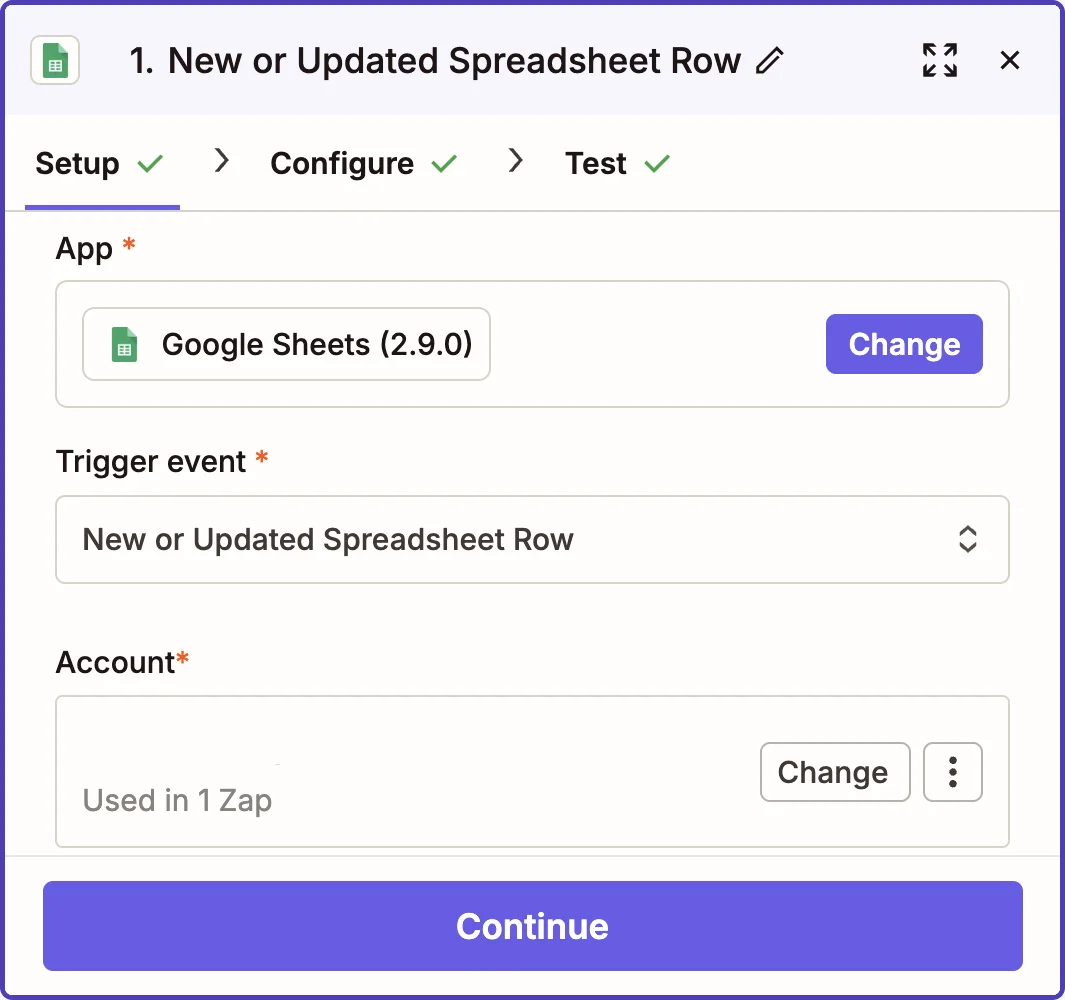
In our example, we use the trigger New or Updated Spreadsheet Row from Google Sheets. You can use another trigger you need. Go to Zapier and create an account if you don’t have one. Next, create a Zap, find a trigger you need, connect an account, and set up the trigger parameters.
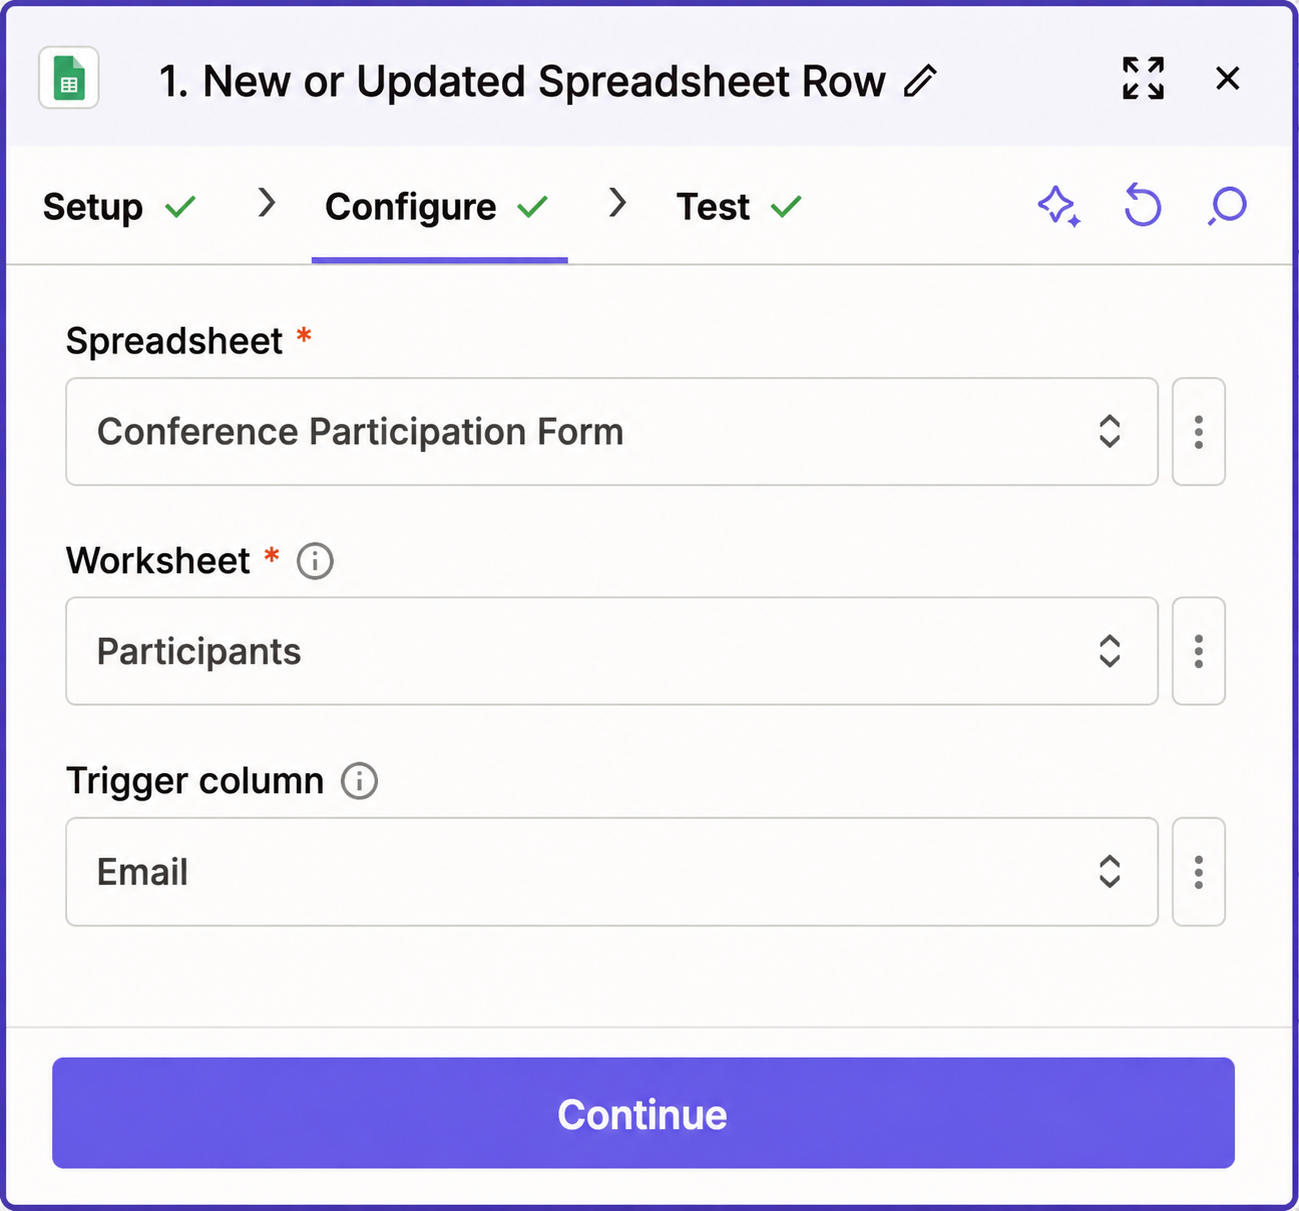
Go to configure the connection. We decided to fill out the PDF form and generate the document after a participant’s email was placed in a cell, so we selected the last column, Email, from our sheet as a Trigger Column. It means the trigger activates every time cells are changed in that column. It allows us to avoid sending emails accidentally.
We test the trigger to make sure everything works well. While testing the trigger, we use the data from Google Sheets.
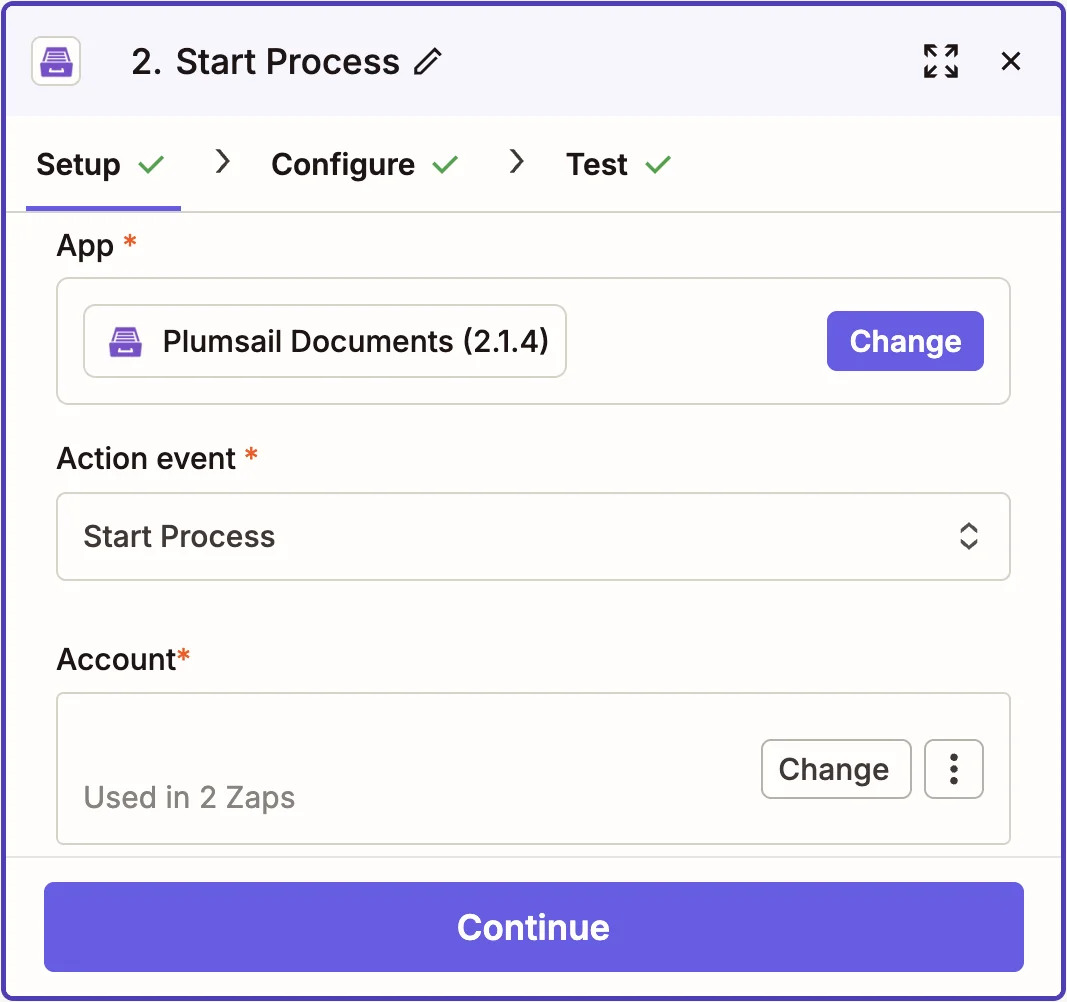
After the successful test of the trigger, click on Continue to proceed to add an action. Search for Plumsail Documents and choose Start process as an action event.
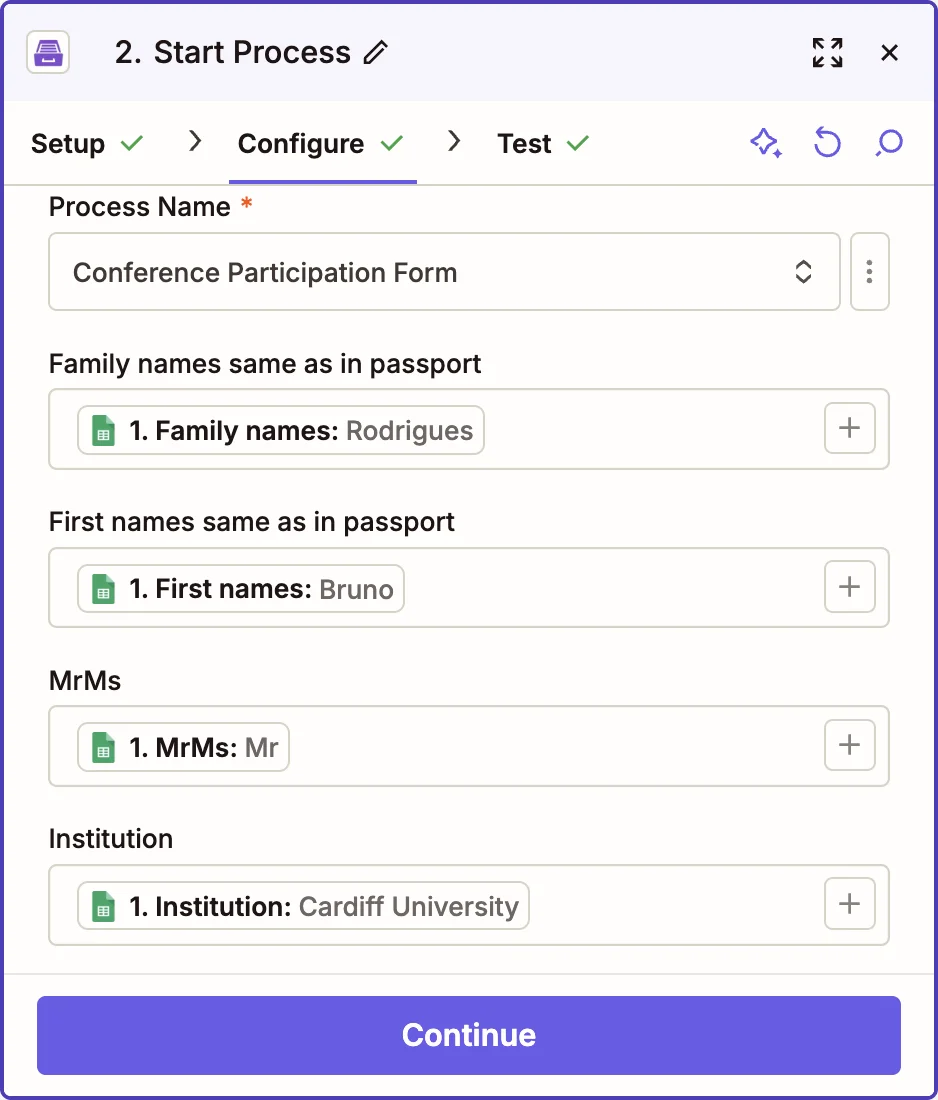
We configure the action from Plumsail Documents. Here we connect our Plumsail Documents account to Zapier and select our data outputs from the Google Sheet trigger to fill tokens in the PDF form template. To help us to do this correctly, Zapier allows us to use the data from the testing trigger step. Here is what we selected for our tokens:
Our Zap is almost done. Next, test it, and don’t forget to turn it on!
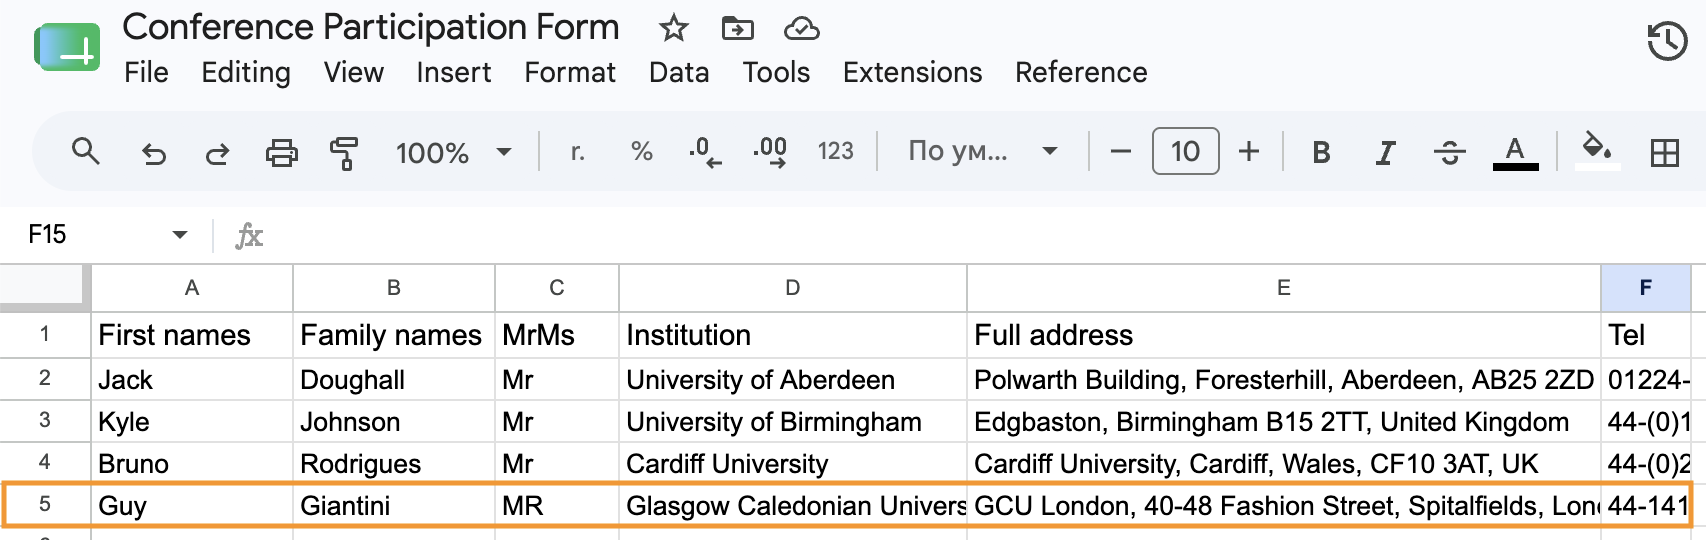
To be sure everything works well, we added a new row into the Google Sheet with the info about the participant Guy Giantini.
After that, we got the filled PDF form.

The document generation process is done!
Now you know how to automatically fill out PDF forms from Google Sheets with the help of Plumsail Documents and Zapier. You can use our approach to fill PDF forms from Google Sheets, Excel Online, and other cloud sheets.