Box template
You can customize the template of the box inside the Org Chart web part. There are two options:
Use Design mode - Visual editor
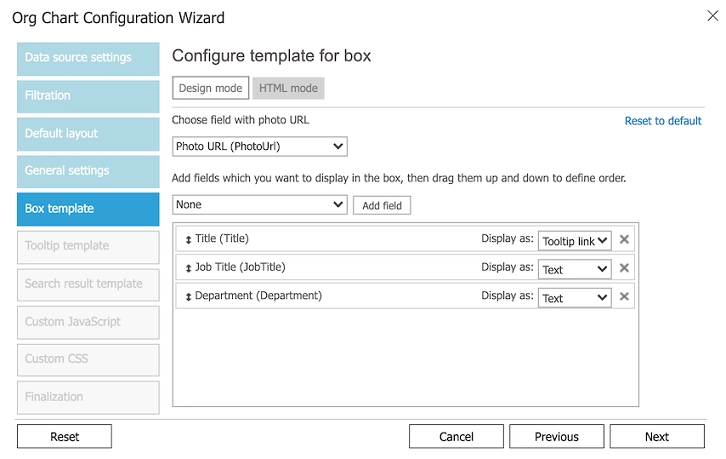
In the visual editor you need to specify photo URL field. This property defines the field which will be used to get photo URLs for boxes. These photos will be displayed in the left side of the boxes. You can leave this property empty if you don’t have photos.
Under photo URL field property you can see area with list of fields. You can choose field from the combo box and click Add field button. Added field will be included in the box template.
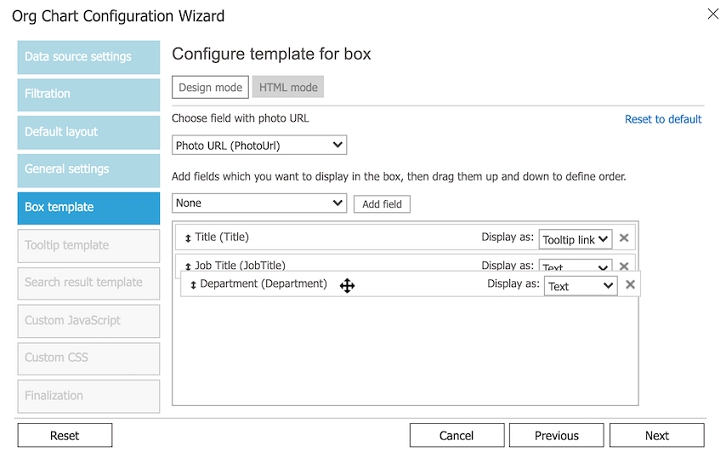
Once you added a new field you can drag it up and down to change order of fields in the box. See the picture below:
Each field has Display as property. You can use it to change behavior of the field. There are four display types:
Tooltip link – if you apply this type to the field, it will be displayed as a link. This link will show the details tooltip for the current box on click.
Text – if you apply this type to the field, it will be displayed as a plain text.
E-mail – if you apply this type to the field, it will be displayed as a mailto link.
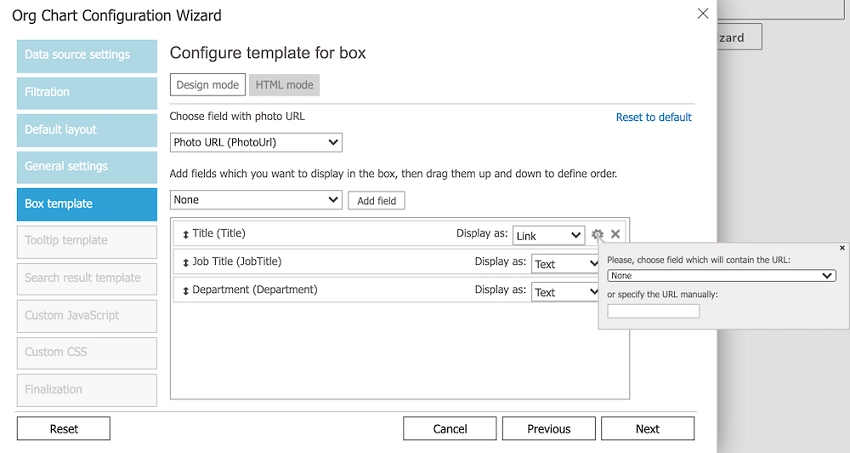
Link – if you apply this type to the field it will be displayed as a link.
Once you choose the Link as a display type you can see the tooltip. This tooltip allows to choose other field, which will be used as a URL for the link. You also can specify the URL manually:
Once you click to the HTML mode button, all modifications from visual editor will be converted to HTML template.
Note
If you switch to HTML mode and finish the wizard you will not be able to go back to visual editor without resetting template to default.
Use HTML mode - HMTL editor
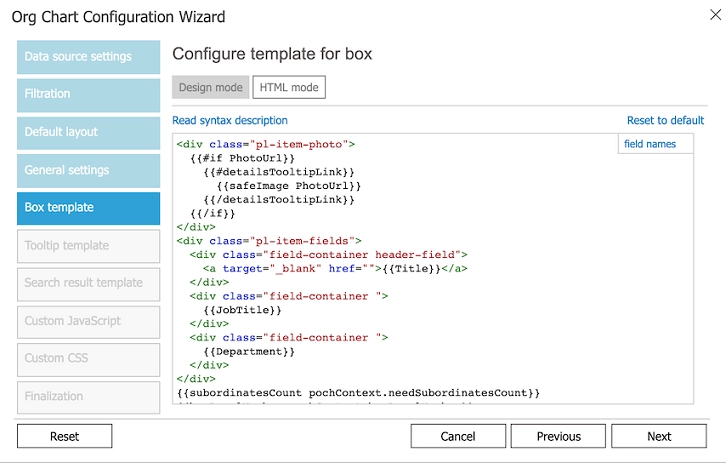
Once you switched to HTML mode you see HTML template editor. To get more information about the HTML templating syntax read HTML templating syntax description.
Note
Go to the next step of the configuration wizard Tooltip template.