Fill merge fields in DOCX document in Power Automate
This article demonstrates how to fill merge fields in a DOCX Word document with the help of Power Automate (Microsoft Flow). This approach allows you to create simple DOCX template with merge fields and generate new documents by filling those fields.
We will generate a hiring contract. Our source document with merge fields and result document has to be stored somewhere. Power Automate (Microsoft Flow) has a lot of connectors for different systems. Here are just a few of them:
SharePoint
Salesforce
Box
OneDrive
Google Drive
Dropbox
SFTP
File System
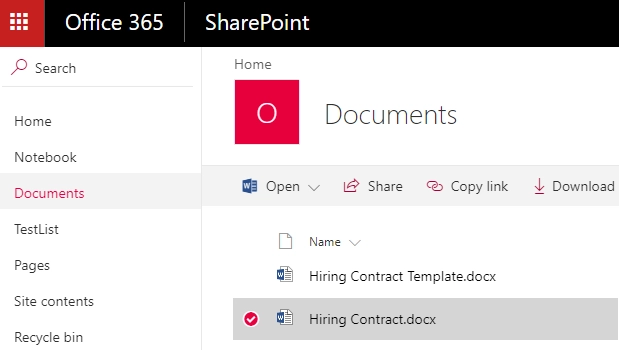
You can store your source file anywhere. In this example, we will store our documents in SharePoint. Our Flow will get a source document from a SharePoint document library, generate a new document based on source document and on some data. The resulting document will be stored back to SharePoint document library.
Firstly, we have to prepare the source file with merge fields. Please follow this instruction to prepare your source document.
Now we need to create a Power Automate (Microsoft Flow) that will get the source document from the SharePoint document library, fill merge fields in this document and save result document back to the document library. This is how complete flow looks:
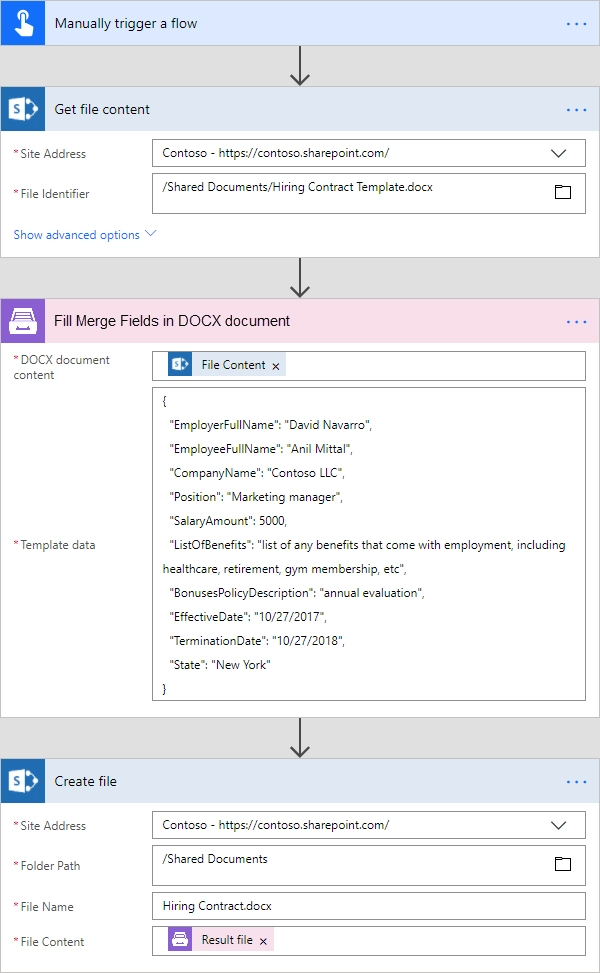
A step-by-step explanation is below.
Flow trigger
You can actually pick any trigger. For example, you can start Flow on file creation in a SharePoint document library. We use “Manually trigger a flow” trigger here to simplify the Flow.
Get file content
This action gets file content of the specified file from a SharePoint document library. You just specify SharePoint site URL and path to your file. We use this action to read source .docx document.
You can use any other connector to get files from your system.
Fill Merge Fields in DOCX document
This is an action from Plumsail Documents connector.
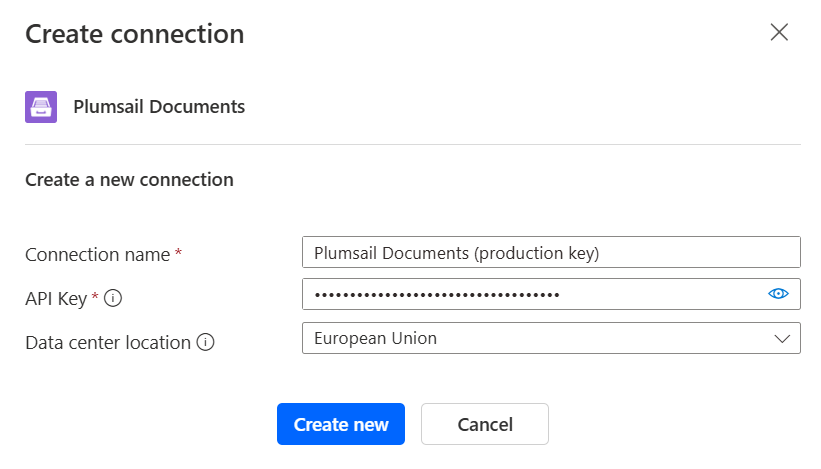
If this is your first time using the Plumsail Documents connector, Power Automate will request you to create a new connection. Provide the following details and then click Create new:
Connection name - you can type any name for the connection, for example Plumsail Documents (production key);
API Key - create an API key in your Plumsail Account, copy it, and paste it into the API Key field;
Data center location - make sure the selected data center location matches one of your account.
There are two parameters:
DOCX document content
Template data
In the first parameter ‘DOCX document content’ we specified file content of the source document from the output of the previous action. Use this link to download it.
In the second parameter, we specified data in JSON format that will be used to fill merge fields. This is information about a sample employee. You can actually request this information from an external system with the help of another Power Automate (Microsoft Flow) action.
This is our sample data:
{
    "EmployerFullName": "David Navarro",
    "EmployeeFullName": "Anil Mittal",
    "CompanyName": "Contoso LLC",
    "Position": "Marketing manager",
    "SalaryAmount": "5000",
    "ListOfBenefits": "list of any benefits that come with employment, including healthcare, retirement, gym membership, etc",
    "BonusesPolicyDescription": "annual evaluation",
    "EffectiveDate": "10/27/2017",
    "TerminationDate": "10/27/2018",
    "State": "New York"
}
You can find more information about this action here.
Create file
Once the result document is generated, we need to store the Word file somewhere. In our example, we use “Create file” action from SharePoint connector to store the document in SharePoint document library.
You can use any other connector to store the Word document into your system.