Email delivery
The Email delivery sends documents generated by your process as email attachments through an SMTP server.
Create connection
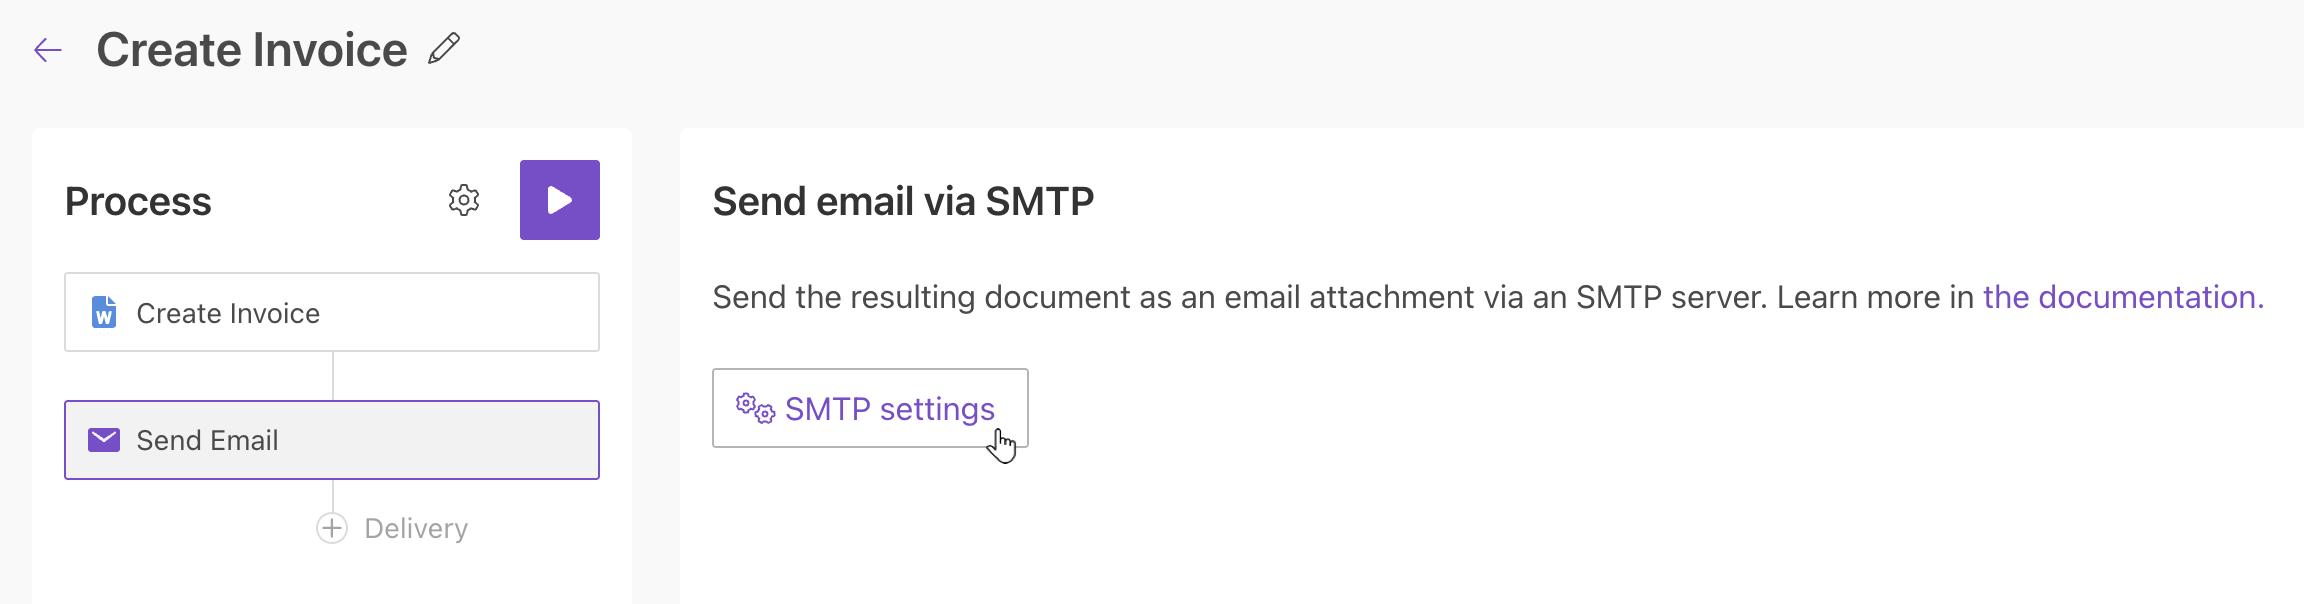
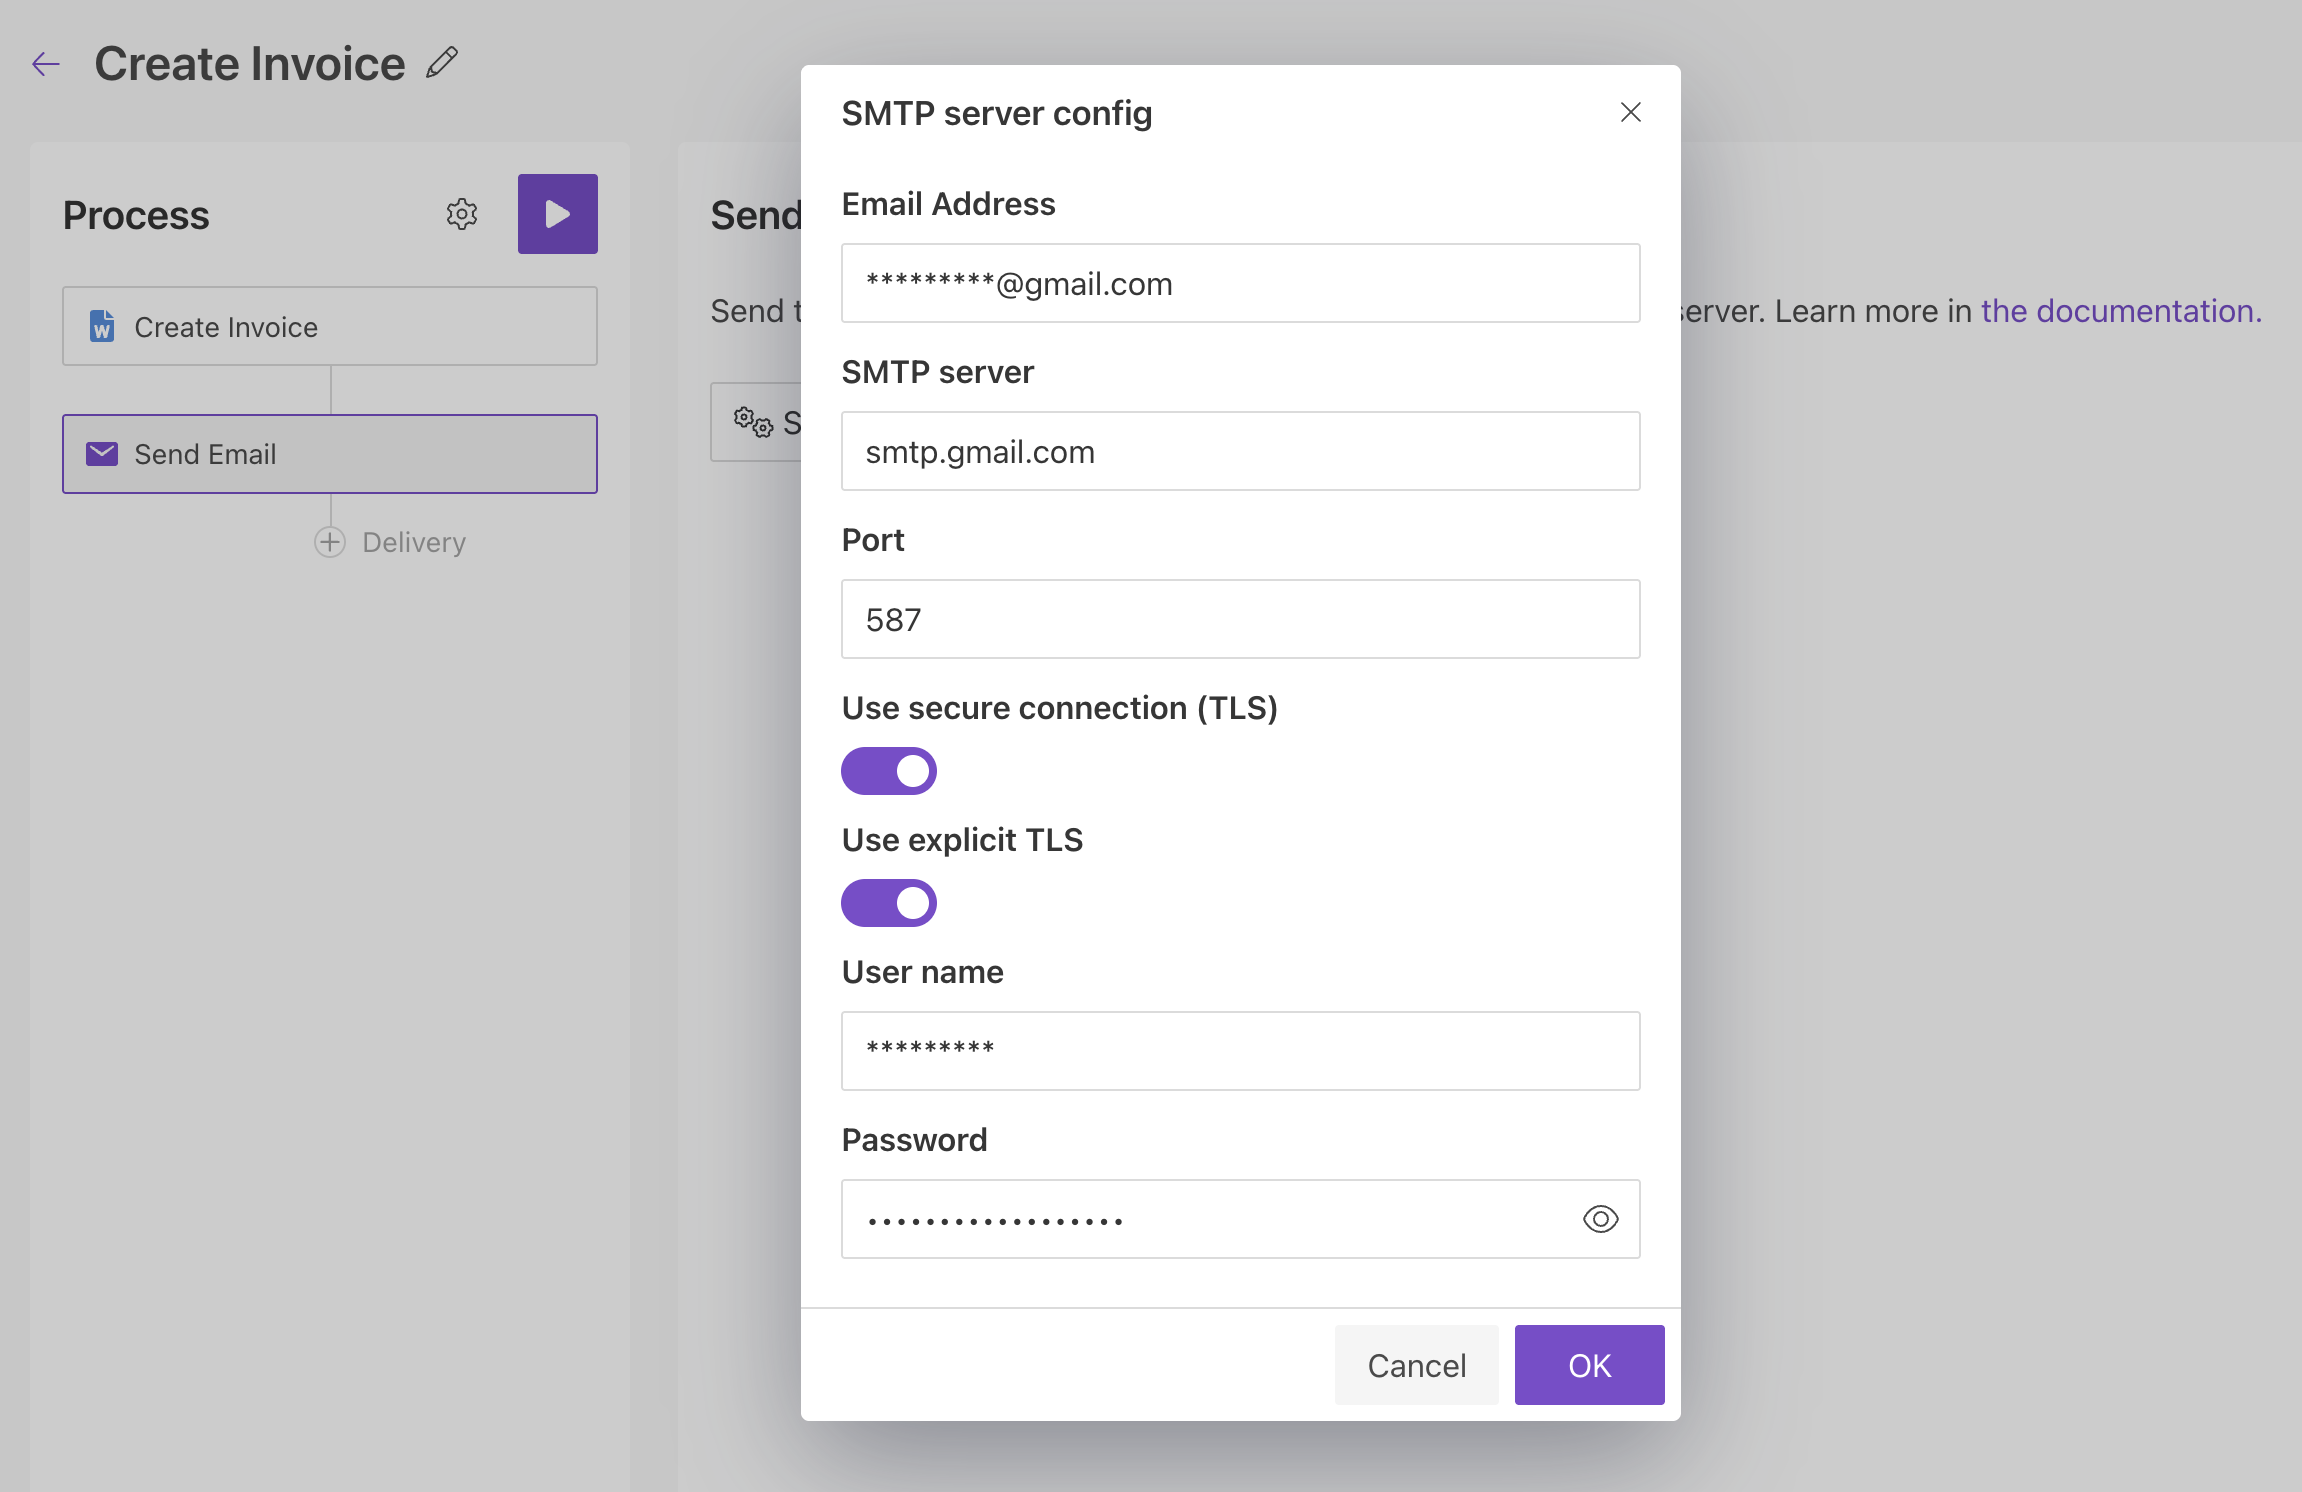
Click the SMTP settings button:
Then enter the SMTP settings and click OK.
Note
If you prefer not to share the username and password for the email, we recommend setting up a dedicated mailbox specifically for notifications.
See the following articles for SMTP provider setup instructions:
Main settings
Once connected, configure the SMTP delivery settings.
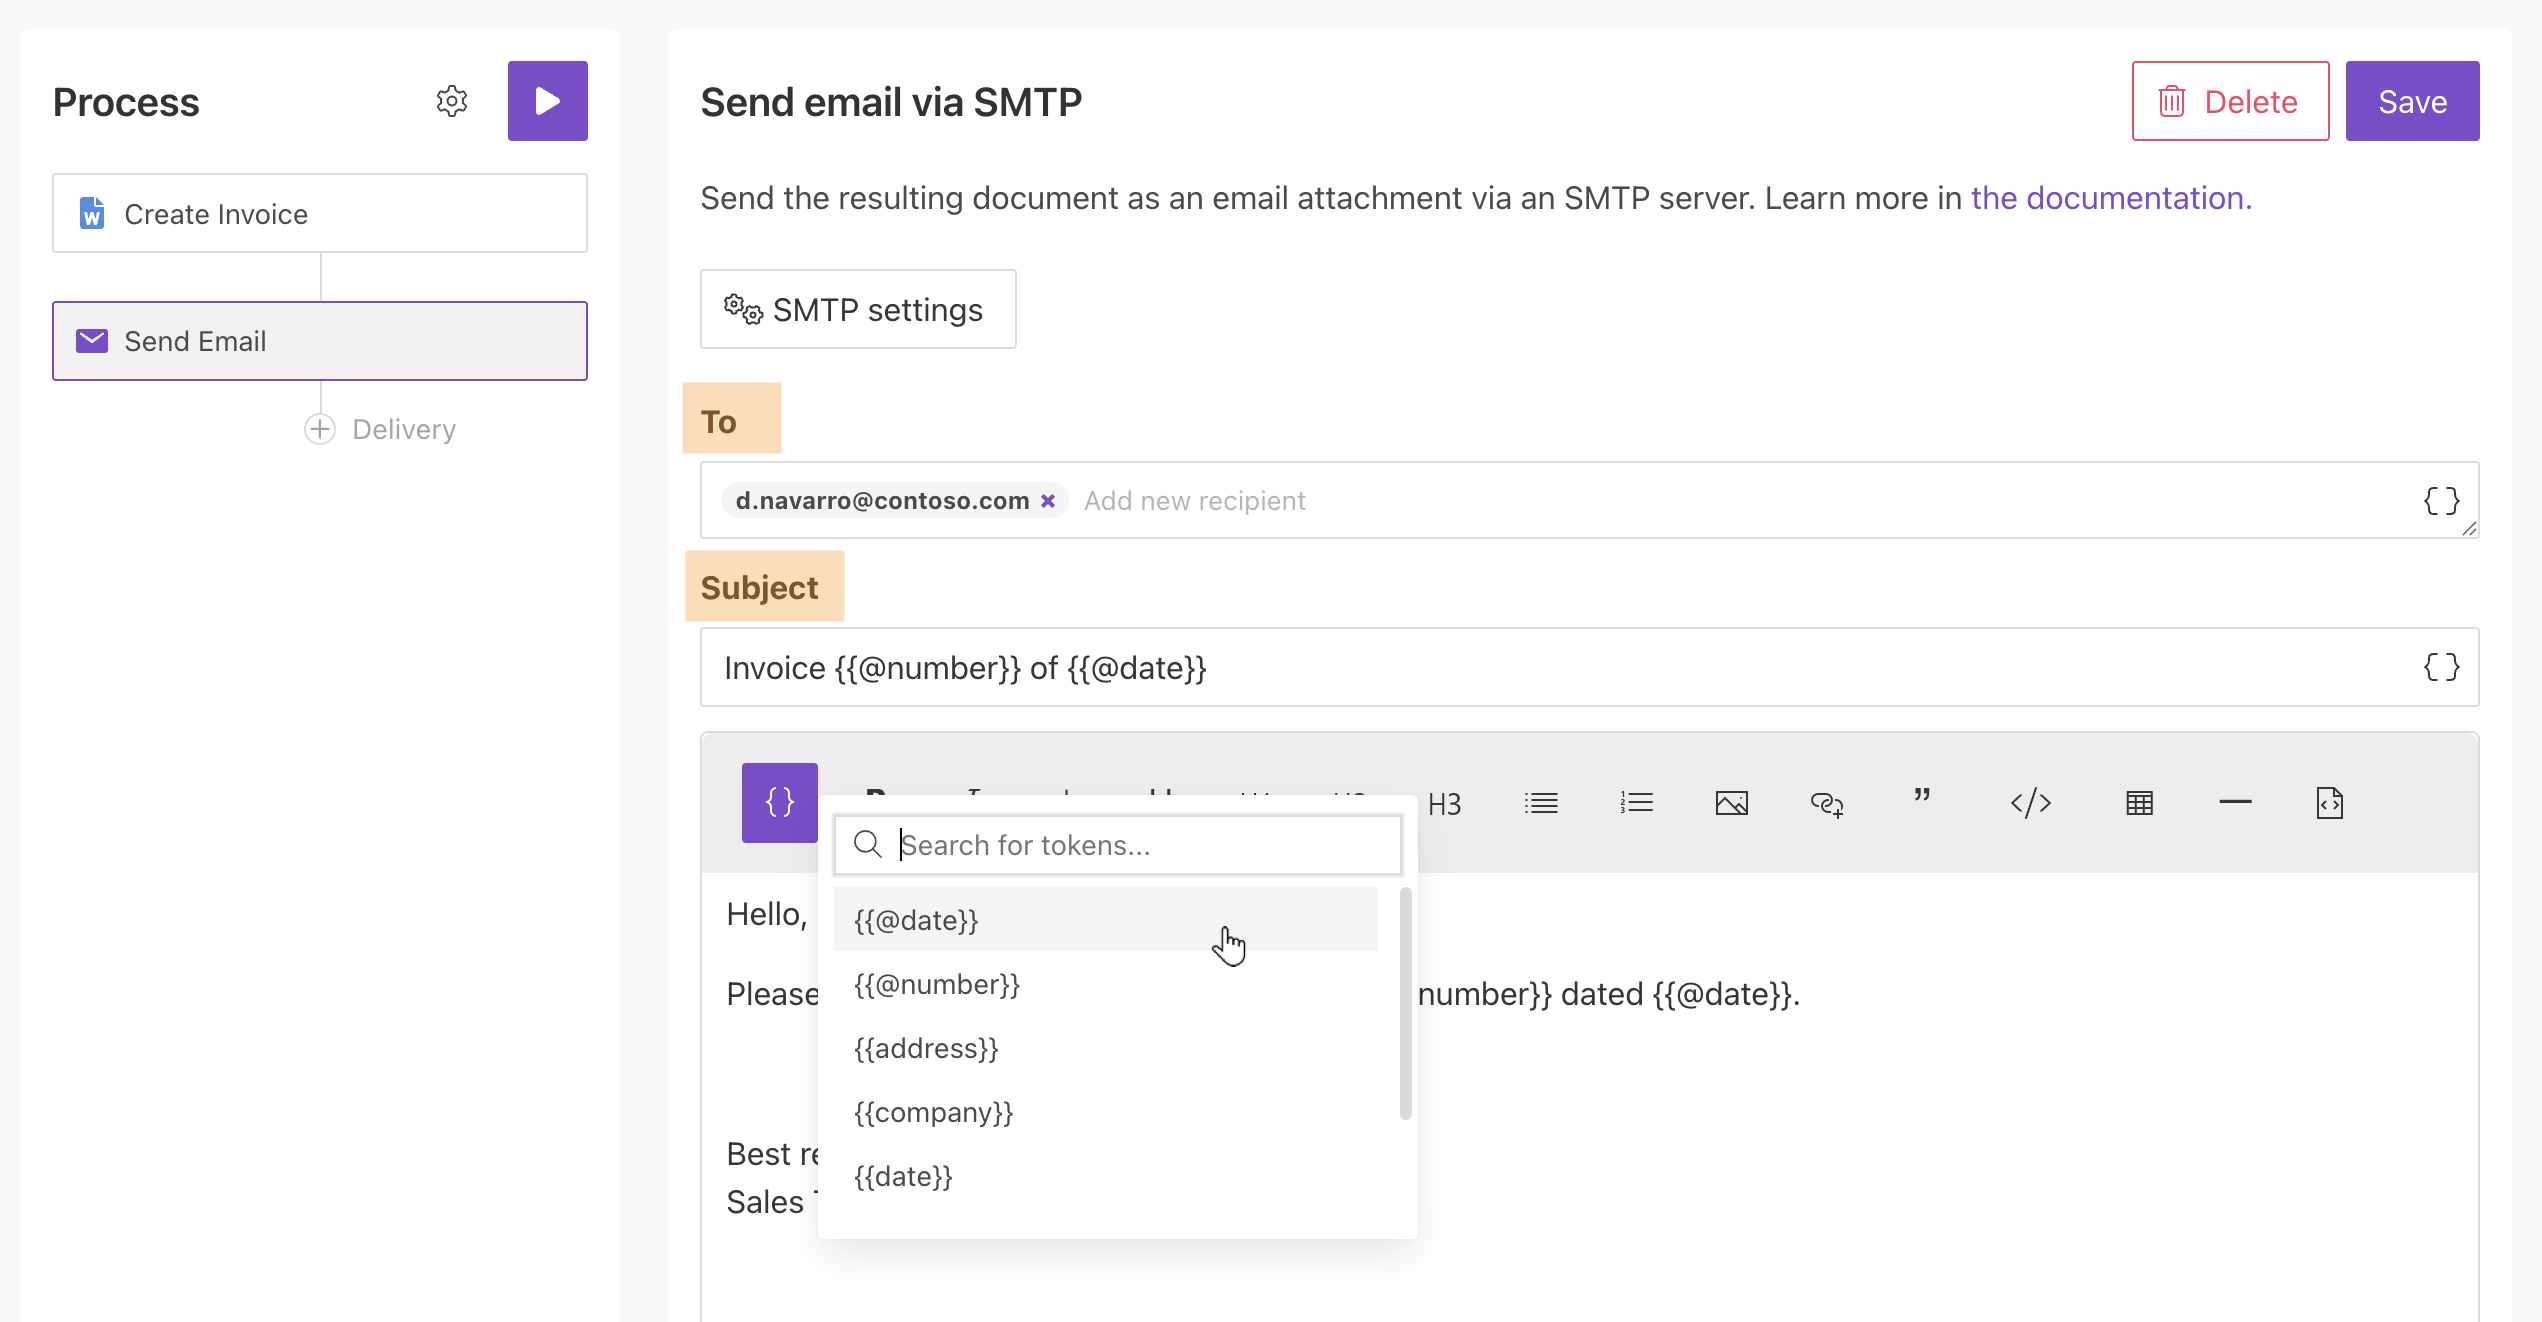
Add recipients to the To field. See how to specify recipients dynamically based on your data.
Specify the Subject and Body. See how to use tokens inside these fields.
Advanced settings
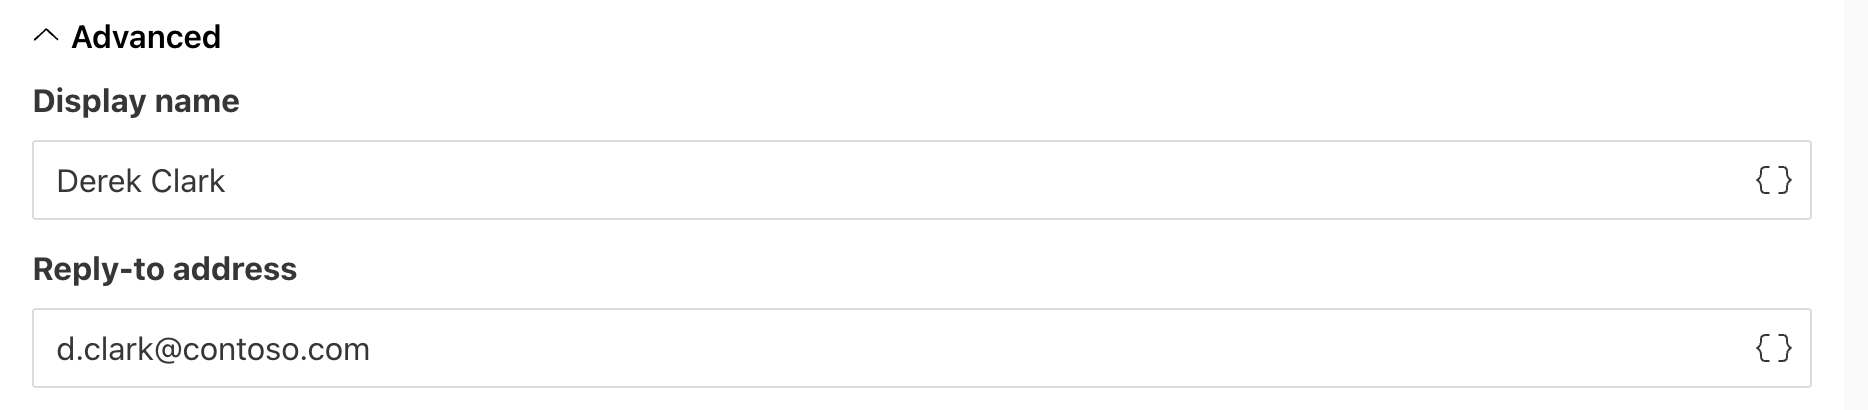
Expand the Advanced section to configure:
Display name. The name which recipients see when receiving emails. Default is the SMTP account email. You can define your custom Display name.
Reply-to. The default is the currently logged-in user’s email. It’s possible to change it.
Use tokens to specify recipients
You can specify recipient email addresses manually or use tokens. The data passed to the process determines who receives the document.

The email token can contain a single address or a list of addresses separated by commas:
{
  "email": "john.smith@contoso.com, adam.allman@contoso.com"
}
Use tokens in email subject and body
You can insert values from your data using tokens.
Click { } to open the list of available tokens.
For example, if your data contains a property called address, insert it using the token {{address}}.
Tokens work the same way as in document templates and also support value functions.
You can also use predefined tokens:
{{@date}}- the current date and time{{@number}}- the current document number.
Build dynamic email content (Modern engine)
When sending documents by email, you can format the email body using data from tokens. This allows you to create clear and well-organized emails. You can iterate over collections using lists and tables in the Modern engine to display dynamic data directly in the email body.
This makes it easy to include structured data, such as product lists, order summaries, or nested details, in your email notifications.
For example, you can generate a Sales Agreement and include a summary of its data in the email body when sending it via SMTP.
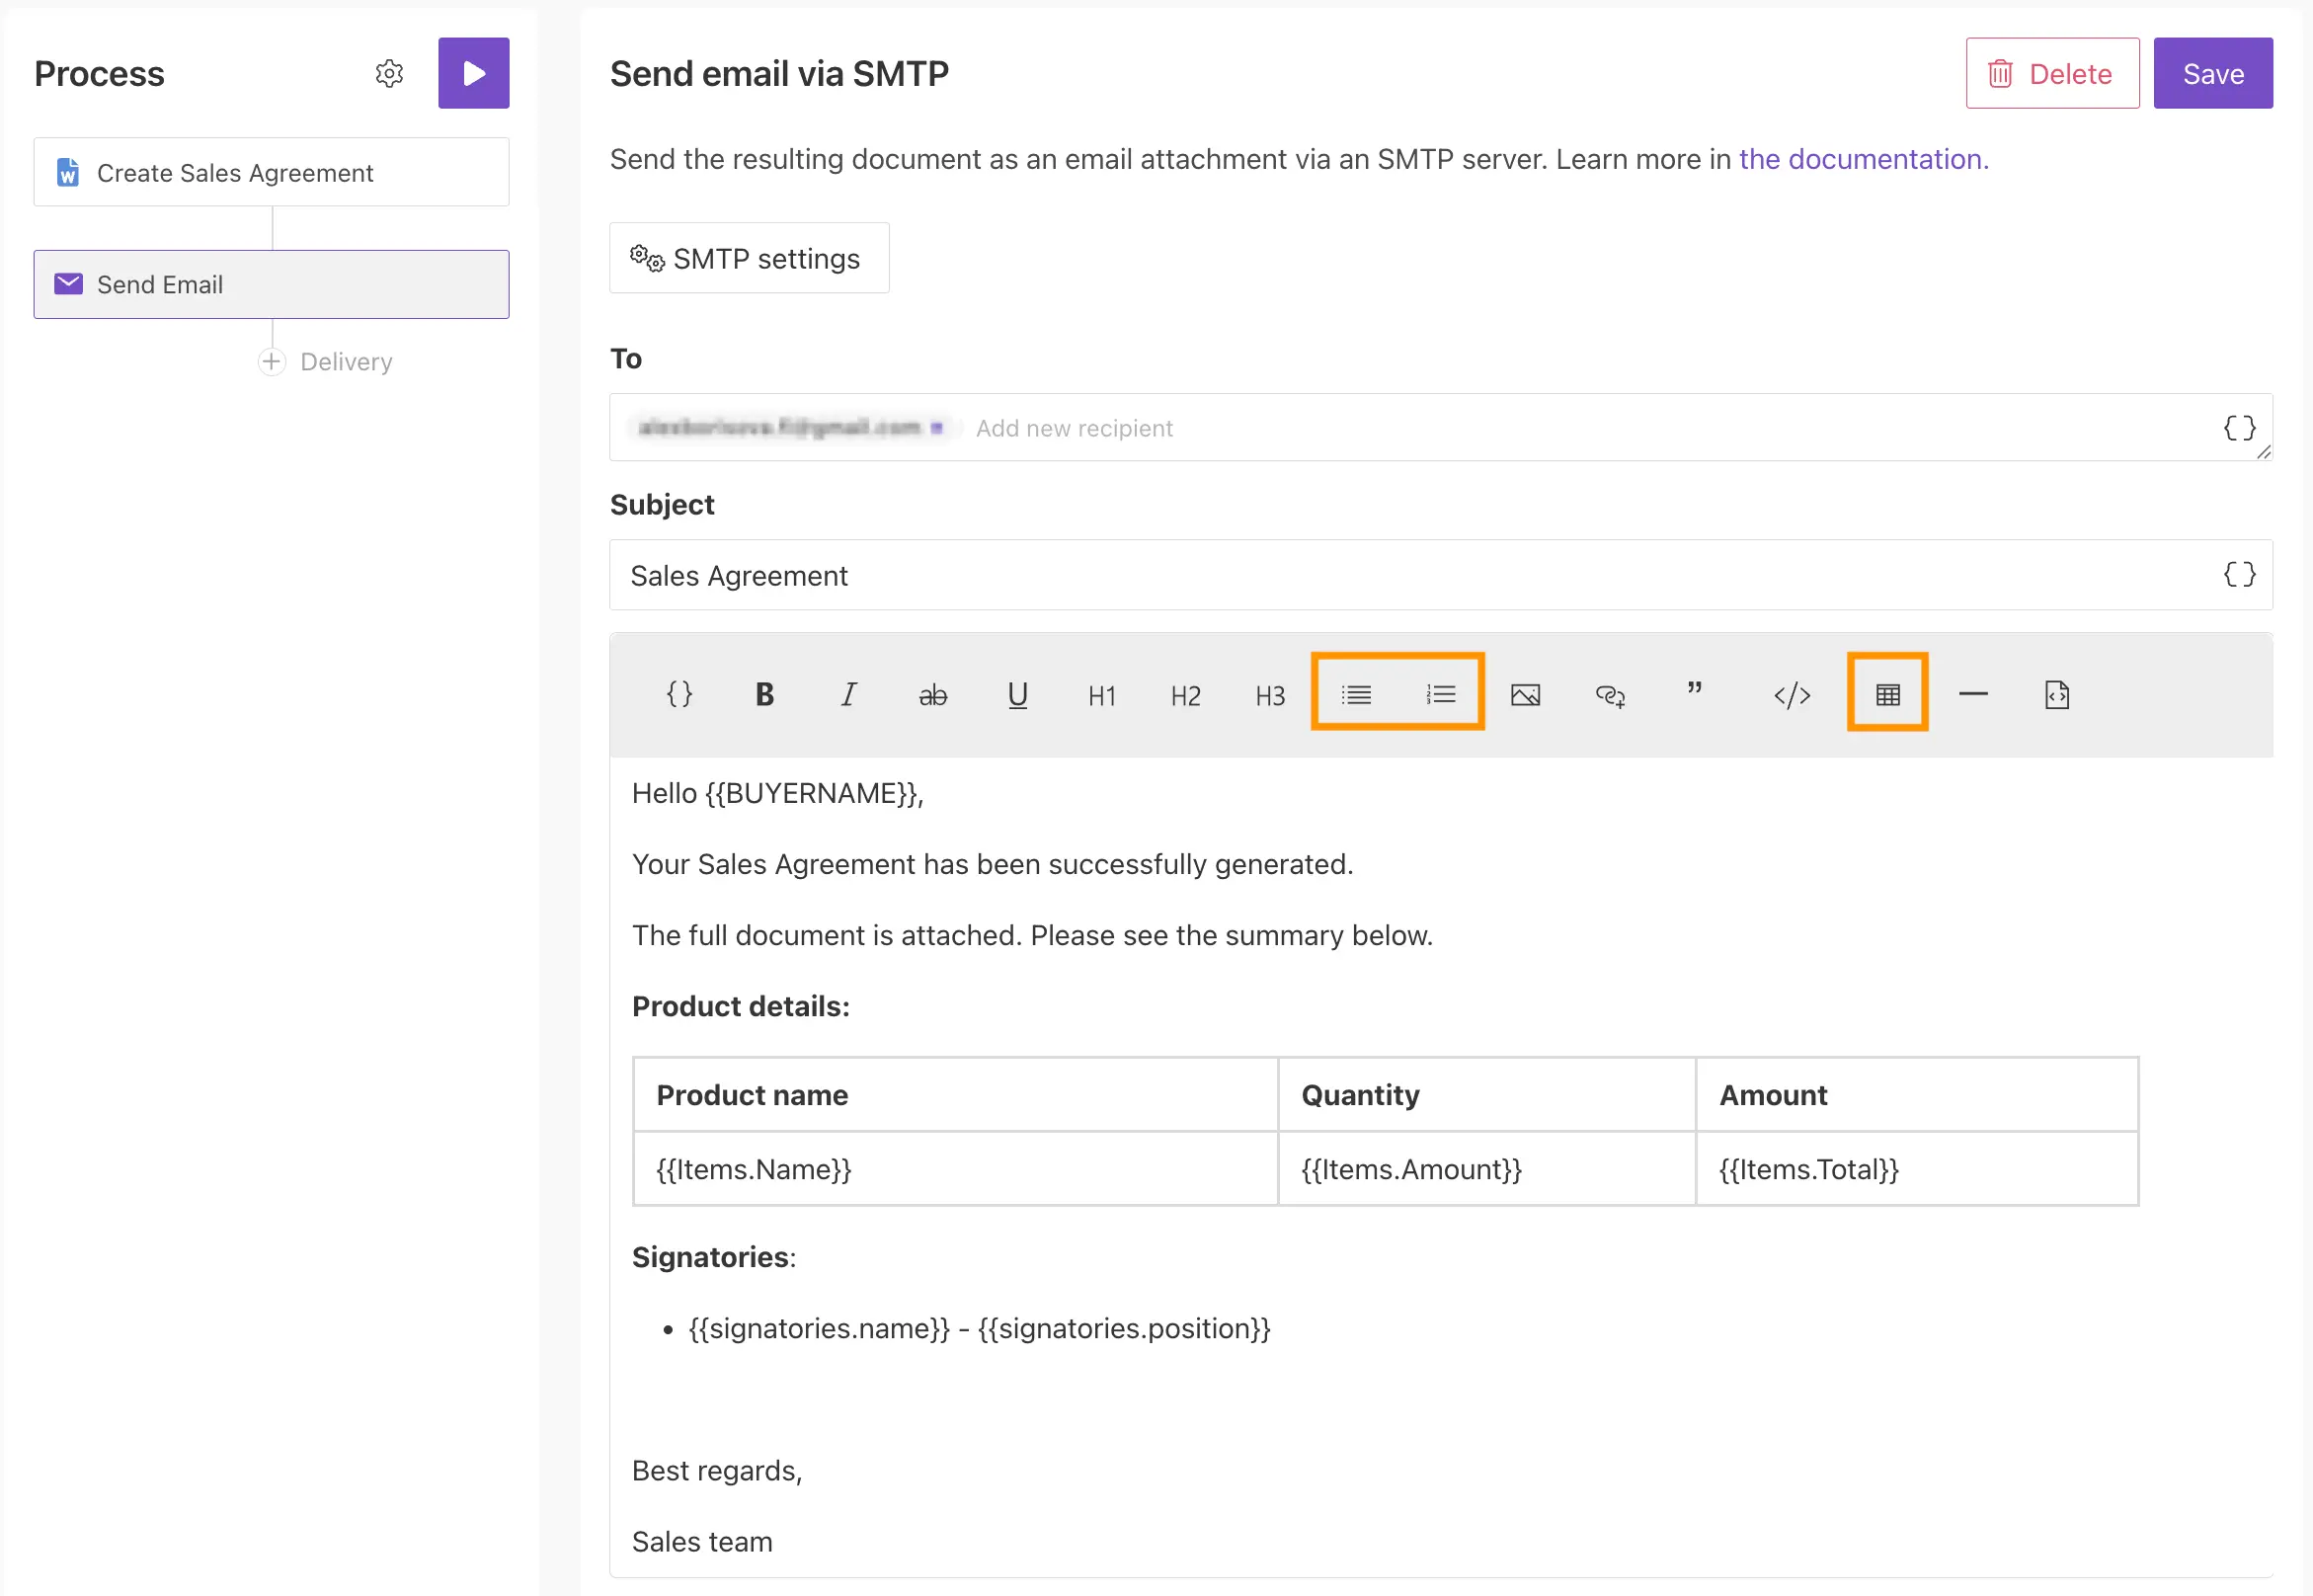
To ensure correct formatting, follow the Tables and Lists syntax guidelines.
Note