Authenticate users with other platforms using Azure AD B2C in public web forms
Enable authentication
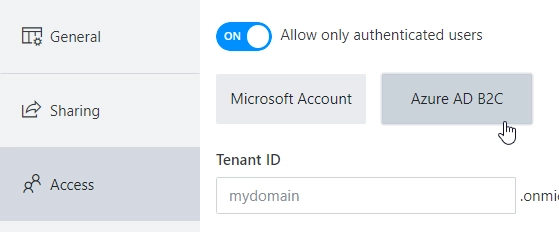
After saving a form, go to Settings → Access where you can find Access management and toggle Allow only authenticated users to enable authentication.
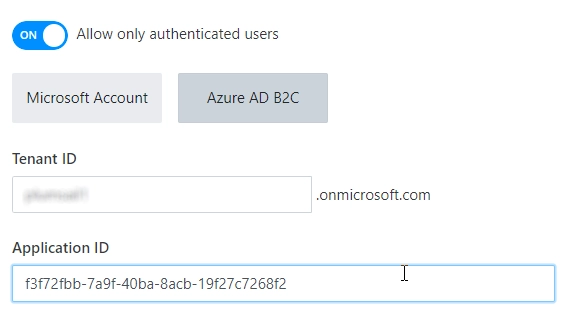
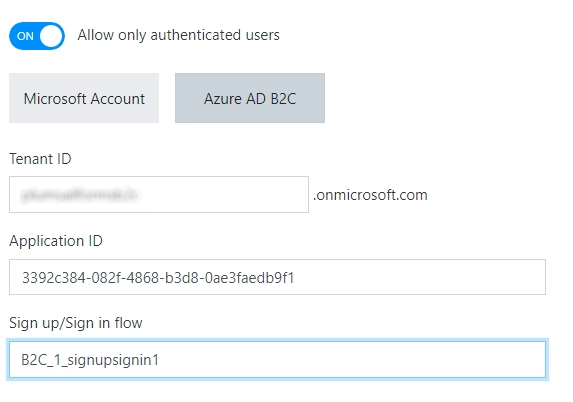
First toggle Allow only authenticated users and select Azure AD B2C:
Set up AAD B2C tenant
You will need to create an Azure Active Directory B2C tenant and specify it in Tenant ID:

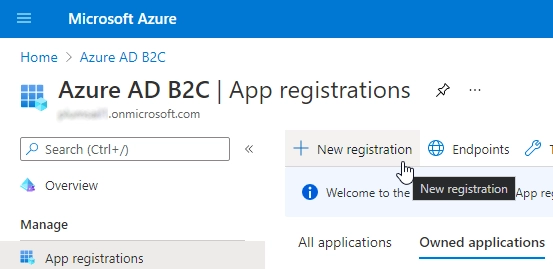
You will then need to register a web application in Azure AD B2C tenant:
Inside redirect URI select ‘Single-page application (SPA)’ option:
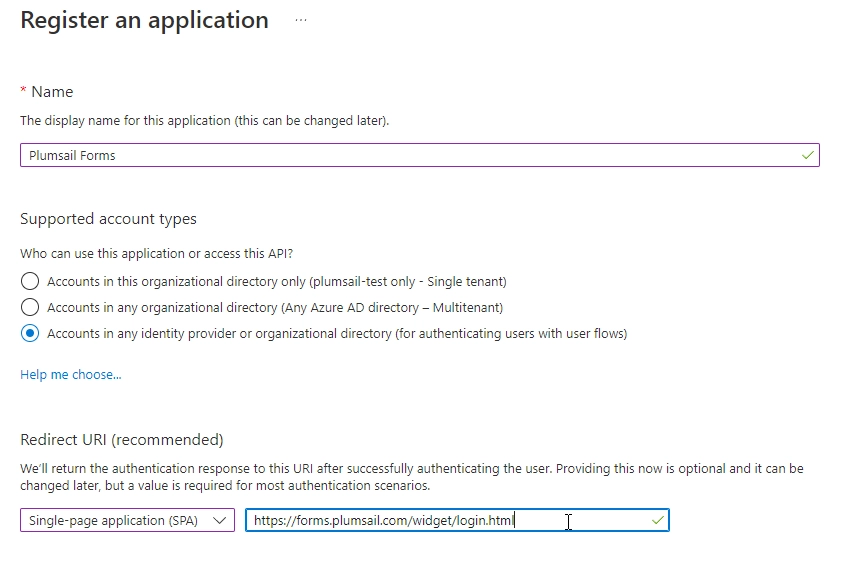
Add the following URL inside and save:
https://forms.plumsail.com/widget/login.html
After saving, you can copy Application (client) ID of the web application:
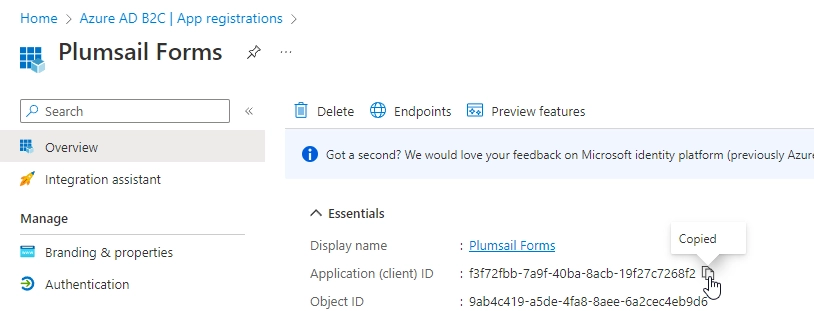
And paste it to the form’s settings Access Management → Application ID:
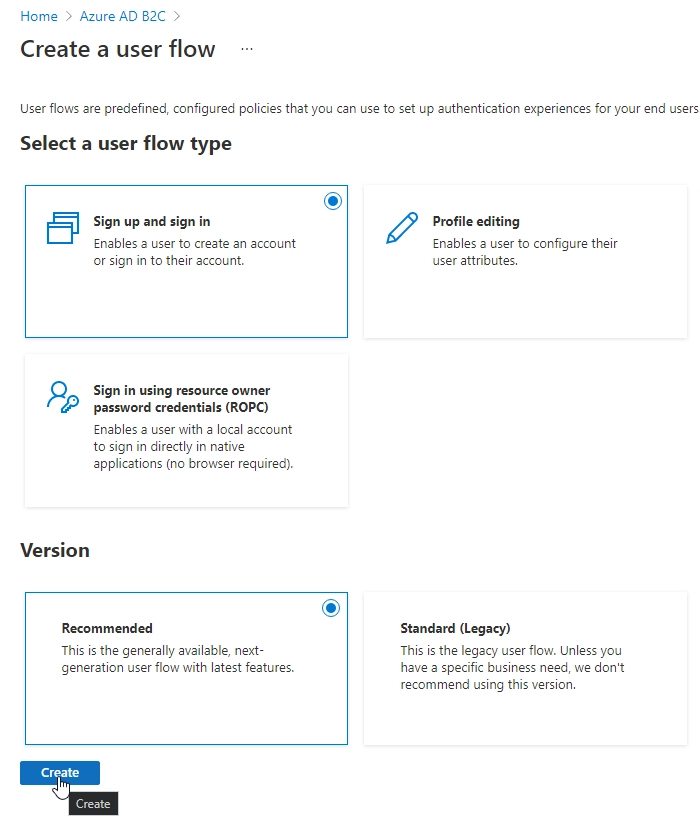
Create a sign up and sign in user flow
Finally, you’ll need to create a Sign up/sign in user flow in Azure AD B2C tenant:
After creating flow, make sure to select Display Name, Email Addresses, and all other fields that you need in flow’s application claims and save:
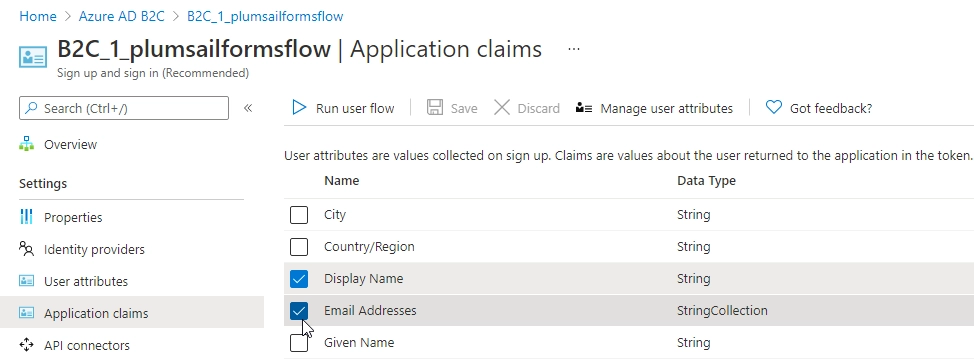
Now, copy the name of the flow and paste it in form’s settings Access Management → Sign up/Sign in flow:
You can use other popular platforms for authentication, just go to Identity providers, and click the provider that you’d like to use:
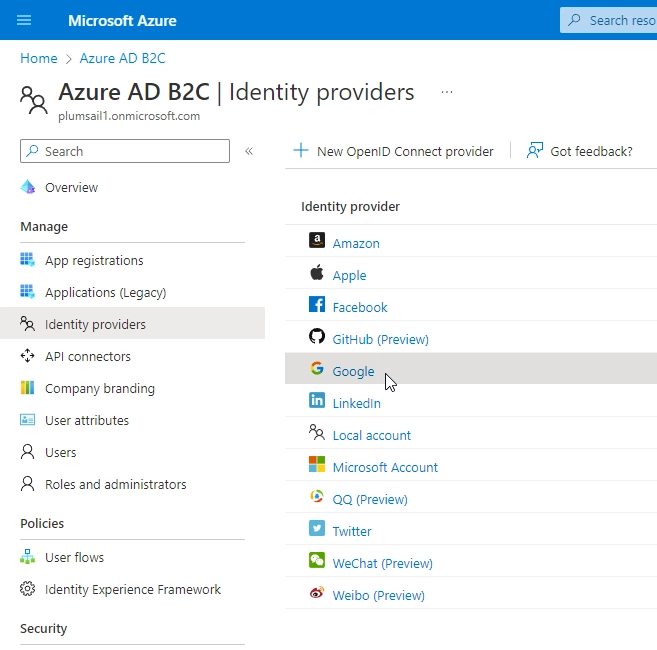
Inside of each Identity Provider you’ll find an instruction on how to set them up.
Use other platforms
Find out how you enable Google account authentication.
Find out how you enable Facebook account authentication.
Find out how you enable Twitter account authentication.
Find out how you enable LinkedIn account authentication.
Limit to one submit
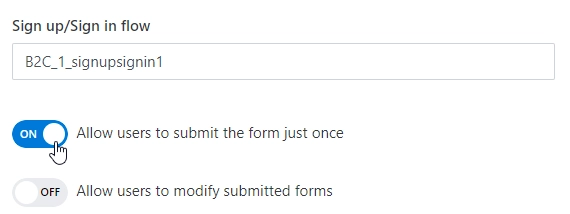
You can restrict submissions to just one per user:
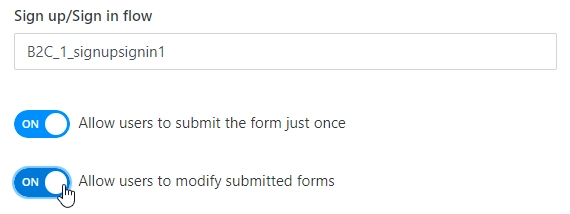
If you do — you can also allow users to go back to form and edit their submission (each edit counts as a separate submission):
Restrict access
Finally, you can restrict access to specific users by enabling Restrict access to specific users or groups (Azure AD) :

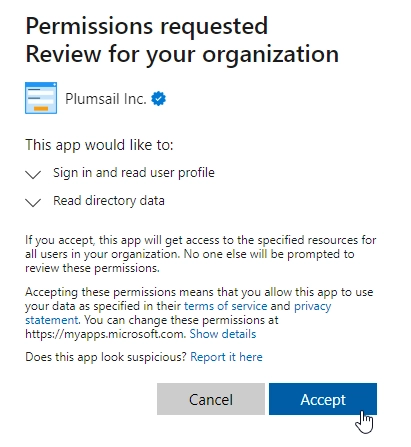
This will require you to authorize the app to access domain and retrieve information about the users:
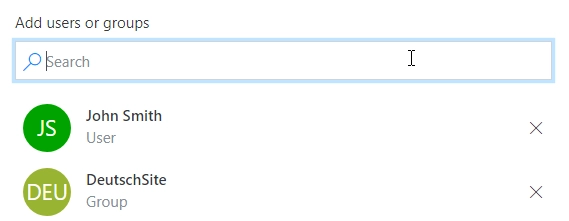
On top of that, you will also be able to select specific Azure Active Directory groups or even individual users to provide access to:
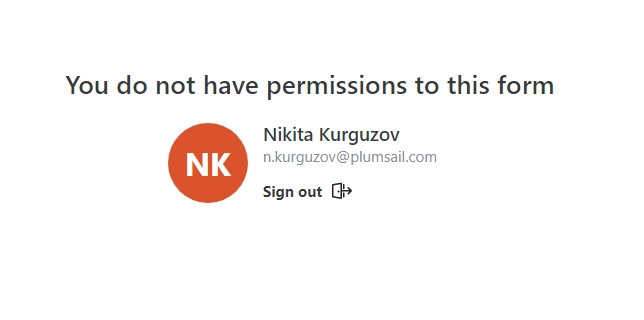
Users without permissions will not be able to access the form: