Add Facebook Authentication to Azure AD B2C in public web forms
Follow this instruction for Facebook Identity Provider — you’ll first need to start the Facebook developer account registration process.
For more information, see Register as a Facebook Developer.
Sign in to Facebook for developers with your Facebook developer account credentials.
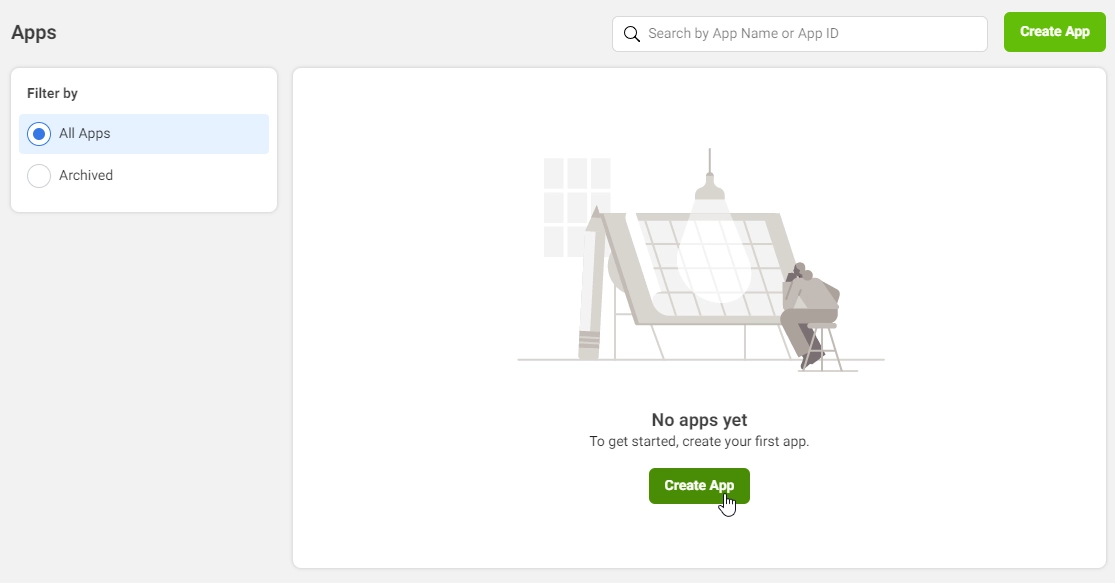
Select Create App:
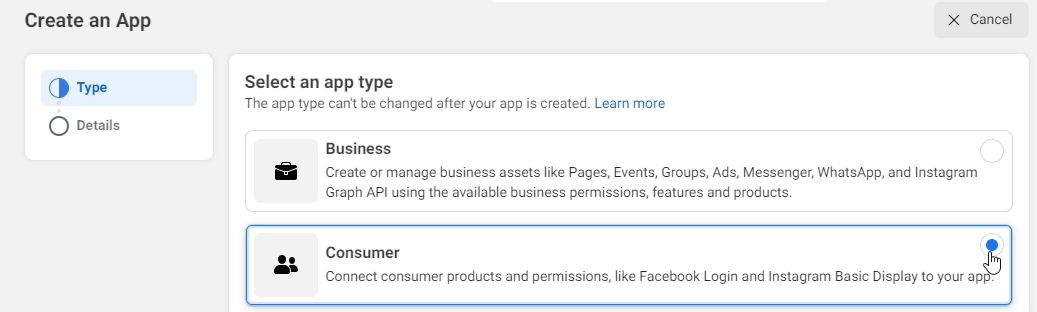
For the Select an app type, select Consumer, then select Next:
Enter an App Display Name and a valid App Contact Email, and select Create App. This step may require you to accept Facebook platform policies and complete an online security check.
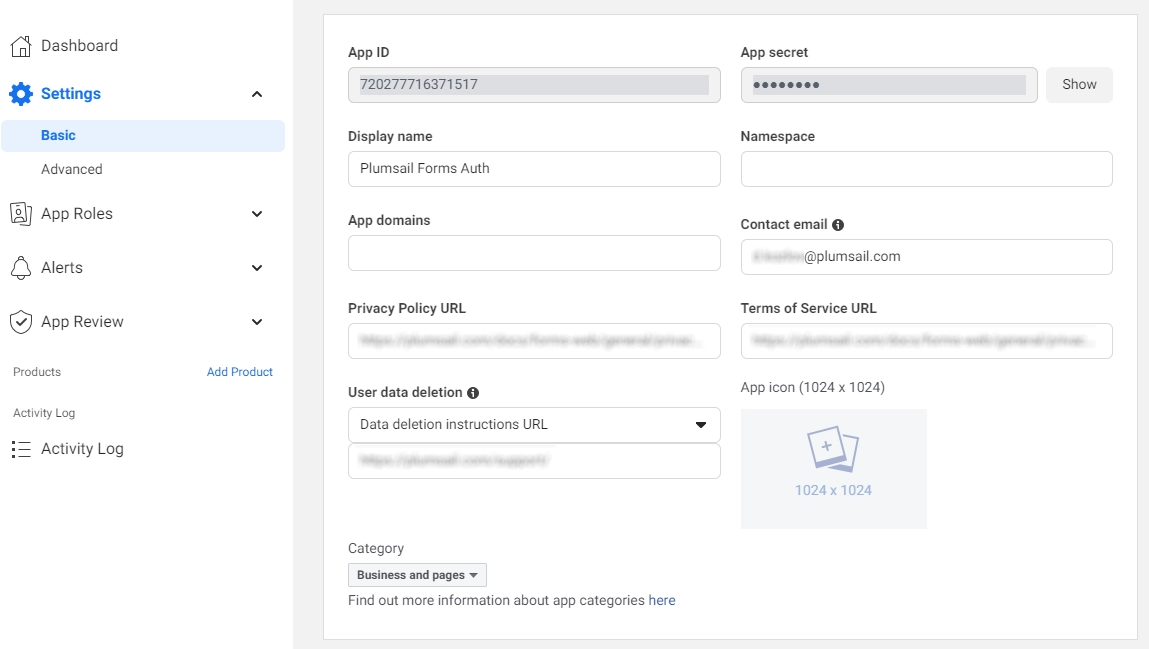
Go to Settings → Basic:
Copy the value of App ID.
Select Show and copy the value of App Secret. You use both of them to configure Facebook as an identity provider in your tenant. App Secret is an important security credential.
Enter a URL for the Privacy Policy URL, for example https://www.contoso.com/privacy. The policy URL is a page you maintain to provide privacy information for your application.
Enter a URL for the Terms of Service URL, for example https://www.contoso.com/tos. The policy URL is a page you maintain to provide terms and conditions for your application.
Enter a URL for the User Data Deletion, for example https://www.contoso.com/delete_my_data. The User Data Deletion URL is a page you maintain to provide away for users to request that their data be deleted.
Choose a Category, for example Business and Pages. This value is required by Facebook, but not used for Azure AD B2C.
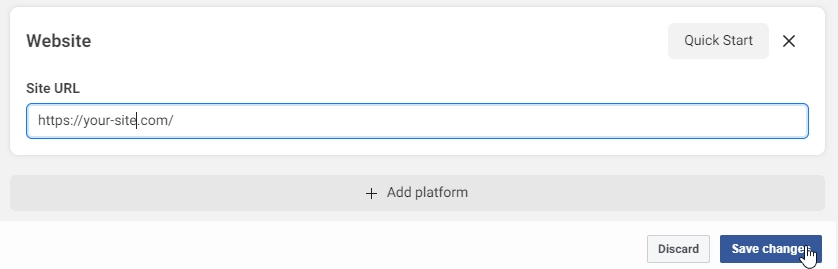
At the bottom of the page, select Add Platform, and then select Website, then in Site URL, enter the address of your website, for example https://contoso.com, and select Save Changes:
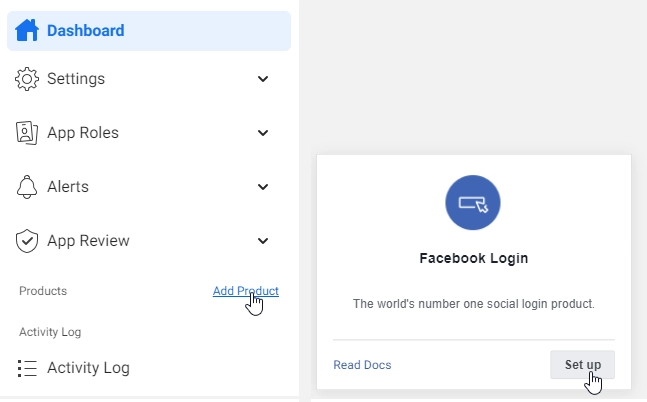
From the menu, select the plus sign or Add Product link next to PRODUCTS. Under the Add Products to Your App, select Set up under Facebook Login:
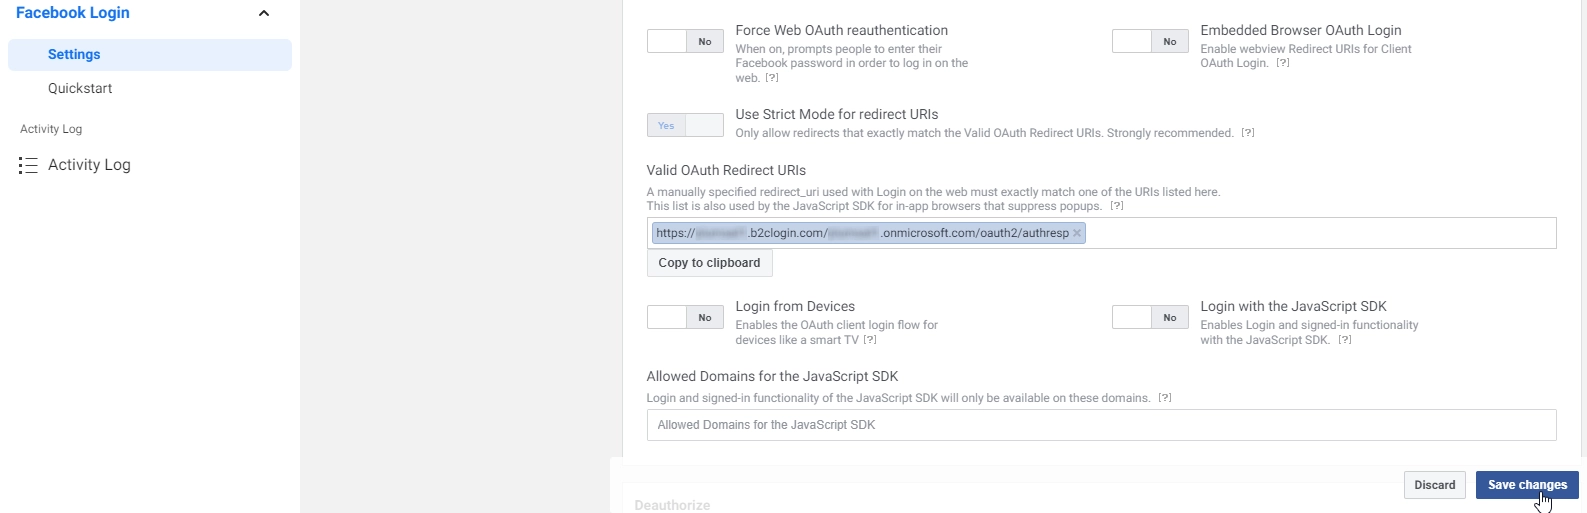
From the menu, select Facebook Login, select Settings.
In Valid OAuth redirect URIs, enter https://your-tenant-name.b2clogin.com/your-tenant-name.onmicrosoft.com/oauth2/authresp. If you use a custom domain, enter https://your-domain-name/your-tenant-name.onmicrosoft.com/oauth2/authresp. Replace your-tenant-name with the name of your tenant, and your-domain-name with your custom domain.
Select Save Changes at the bottom of the page.
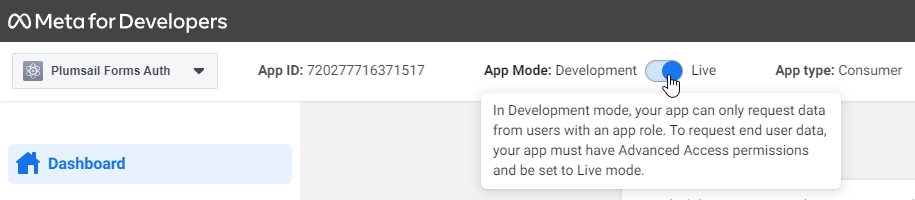
To make your Facebook application available to Azure AD B2C, change app status to Live:
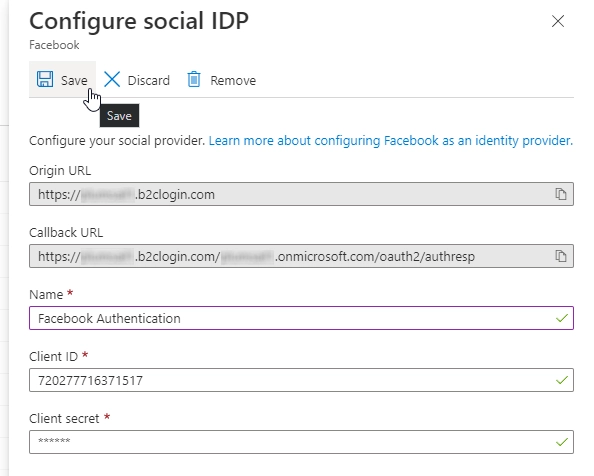
Copy the values of App ID and App Secret and paste them to Google Identity provider in Azure AD B2C:
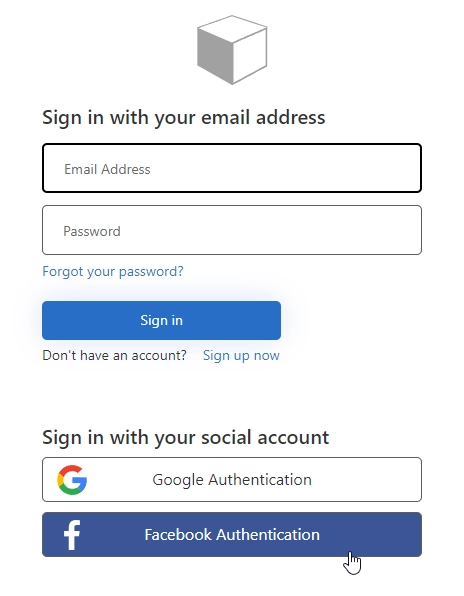
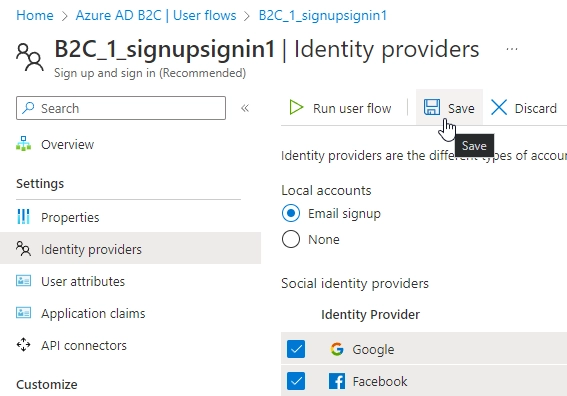
After setting it up, you can add it as an Identity provider to the sign up and sign in flow that you’ve created:
Then, your form users will be able to select Facebook as sign in platform: