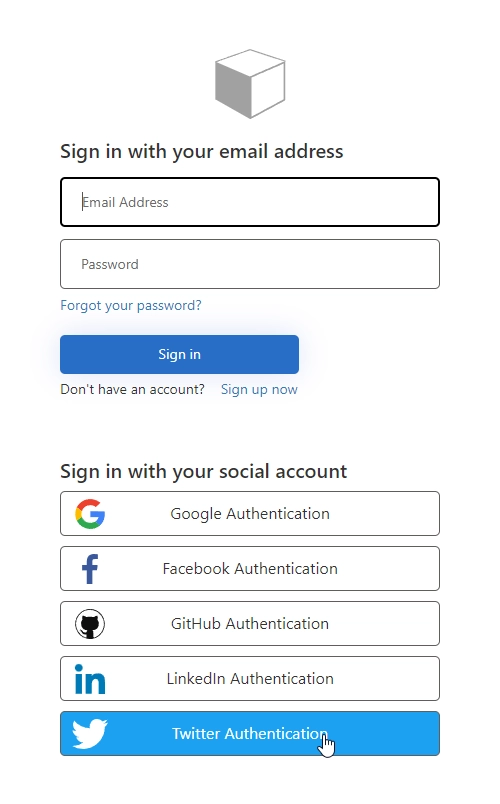
Add Twitter Authentication to Azure AD B2C in public web forms
Follow this instruction for Twitter Identity Provider — first Apply for a developer account, requiring you to confirm your personal info, phone and email.
Then, you’ll need to create a new project:
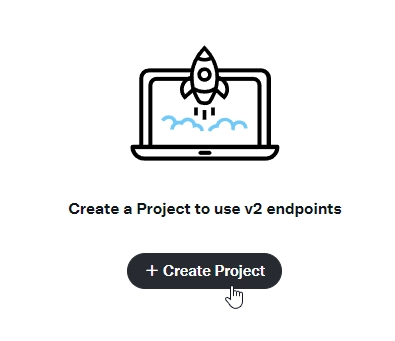
Under Project name tab, enter a preferred name of your project, and then select Next button.
Under Use case tab, select your preferred use case, and then select Next.
Under Project description tab, enter your project description, and then select Next button.
Then, you’ll need to create an app and give it a name:
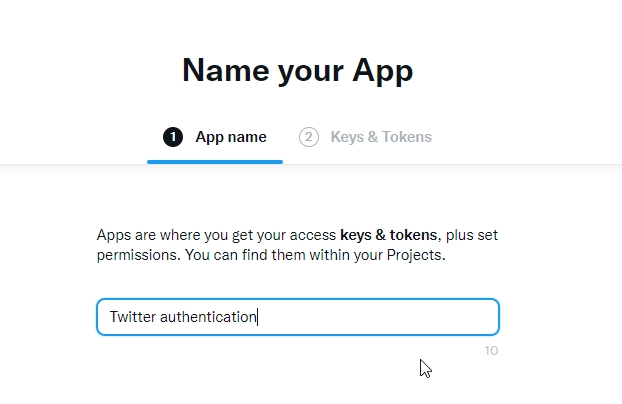
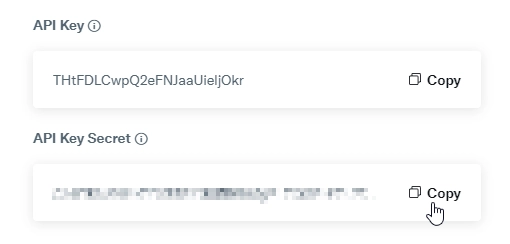
Under Keys & Tokens tab, copy the value of API Key and API Key Secret for later. You need to use both of them to configure Twitter as an identity provider, but they can also be copied later.
Select App settings to open the app settings, at the lower part of the page, under User authentication settings, select Set up:

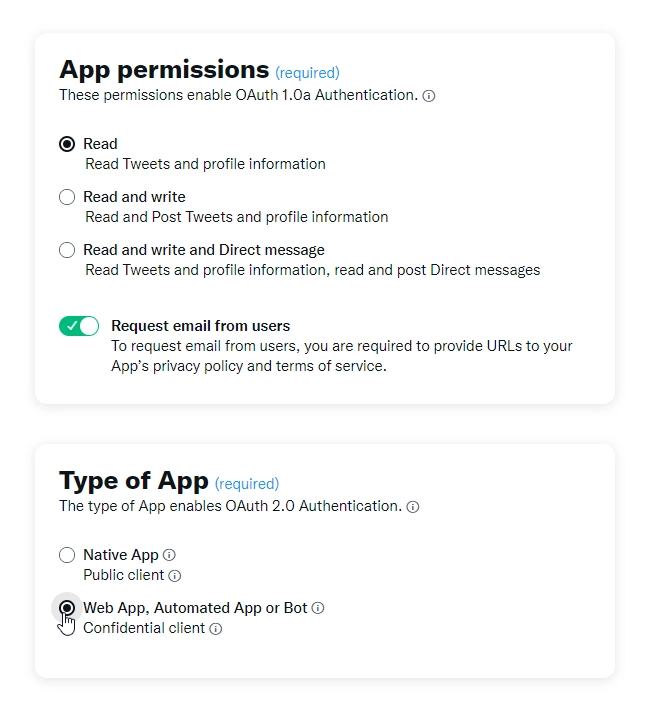
In the App permissions select Read, you can also request user email, and in Type of App select Web App:
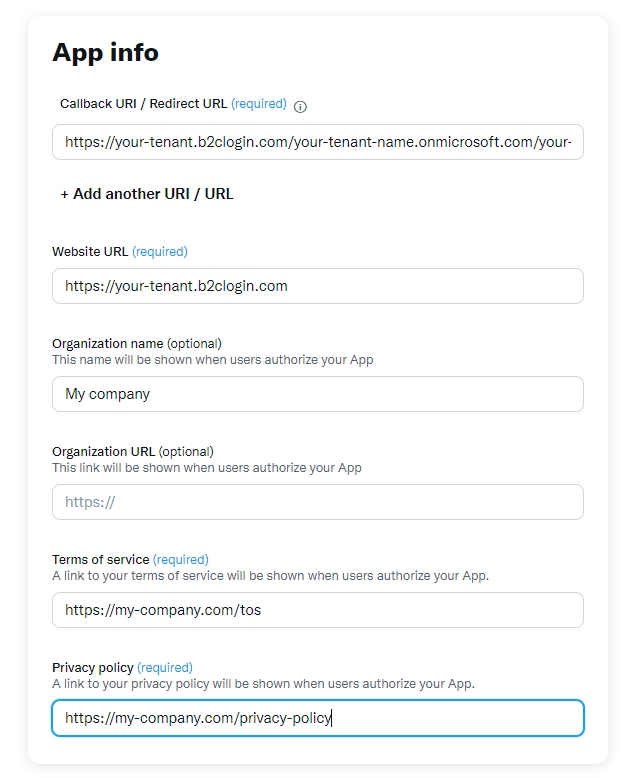
In the app info, enter Callback URI / Redirect URL https://your-tenant.b2clogin.com/your-tenant-name.onmicrosoft.com/your-user-flow-name/oauth1/authresp - make sure to use all lower case letters for both your-tenant and your-user-flow-name or it wouldn’t work.
For website URL, enter https://your-tenant.b2clogin.com, and also add name of your organization and links to your Terms of Service and Privacy policy:
After setting everything up, copy the values of API Key and API Key Secret (copied earlier or found in Keys and tokens section):
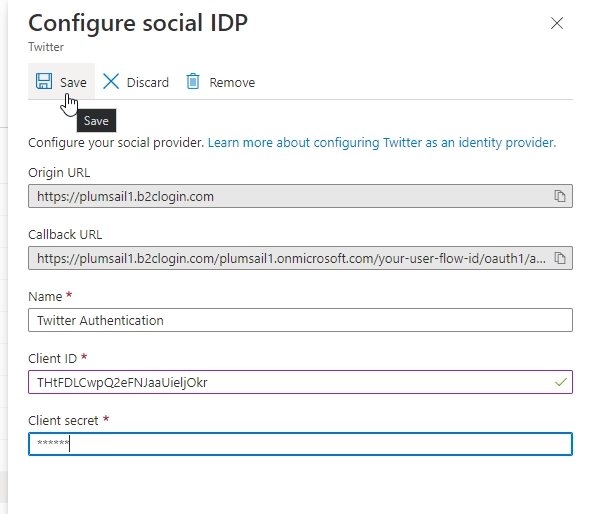
Paste them to Twitter Identity provider in Azure AD B2C:
After setting it up, you can add it as an Identity provider to the sign up and sign in flow that you’ve created:
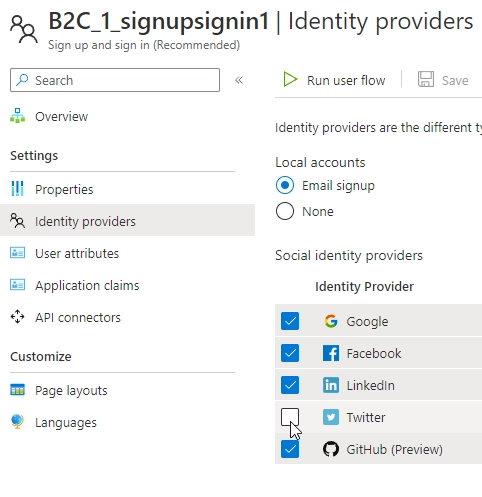
Then, your form users will be able to select Twitter as a sign in platform:
