How to upload files to SharePoint Document Library with Power Automate
In this article, we’ll show how to upload files to the SharePoint document library with the help of Power Automate.
The SharePoint connector includes the action “Create file”. Using the Create file action, you can automate uploading files to SharePoint.
We’ll take an example of submitting the Plumsail form with attachments. The described approach is suitable for any other system - PowerApps, CRMs such as Salesforce, Dynamics, and more.
Create file
Create a flow in Power Automate, which will get you the URL of the file. In this case, we’ll use Plumsail Forms connector to get a form with attachments, but you can use your trigger as long as you get the direct URL of the file and it’s available to download.
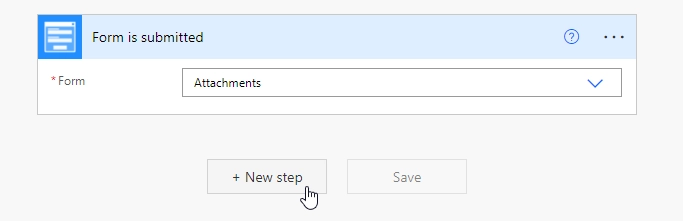
Next, you need to search for Plumsail Forms and select Download attachment action:

Add the url to the File URL field. It should look like this as a result:
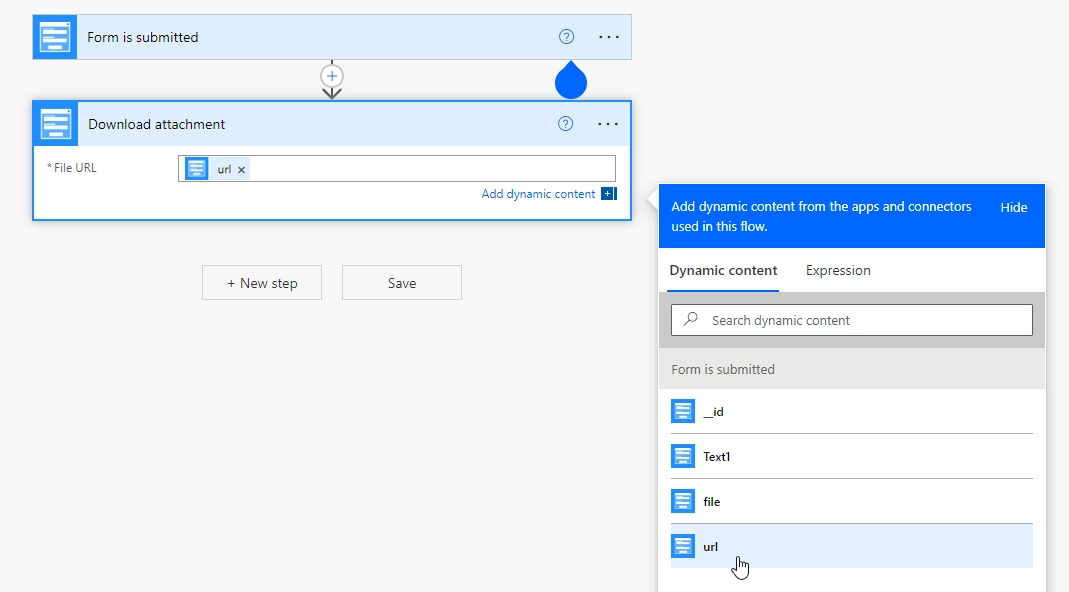
This will automatically transform this action into repeating one which will be performed for each file in Attachments.
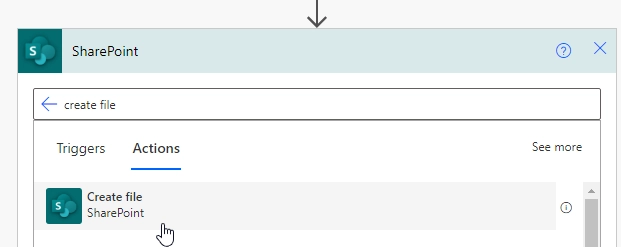
You will now need to search for SharePoint file and select SharePoint - Create file:
In this next window you can fill the following data - your Site address, Document Library you want to create file in, File name (can be taken from form submission), File Content - select Result file from Download attachment:
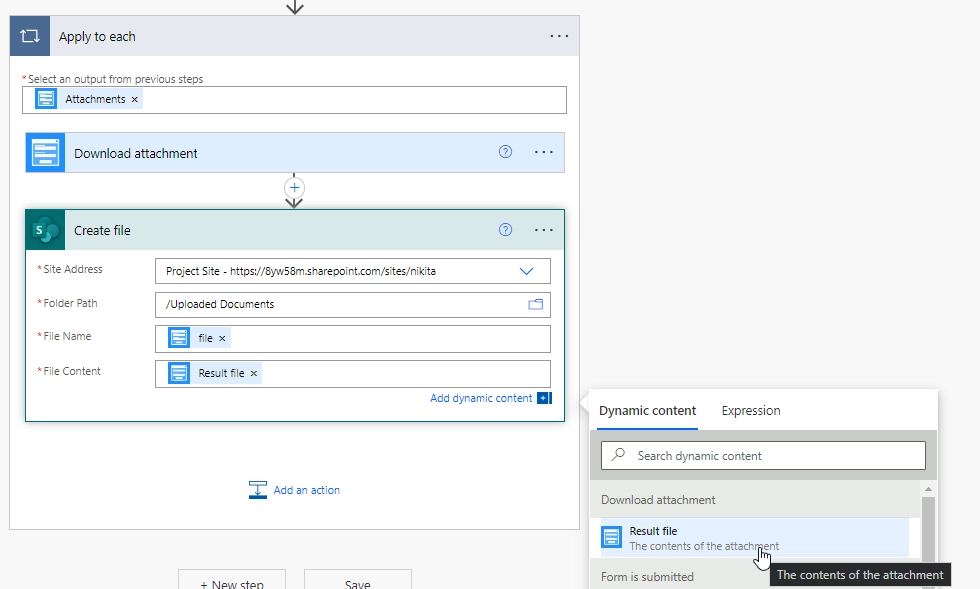
This is enough to create file in the library, so if this is all you wanted you can save the Flow now.
Update file properties
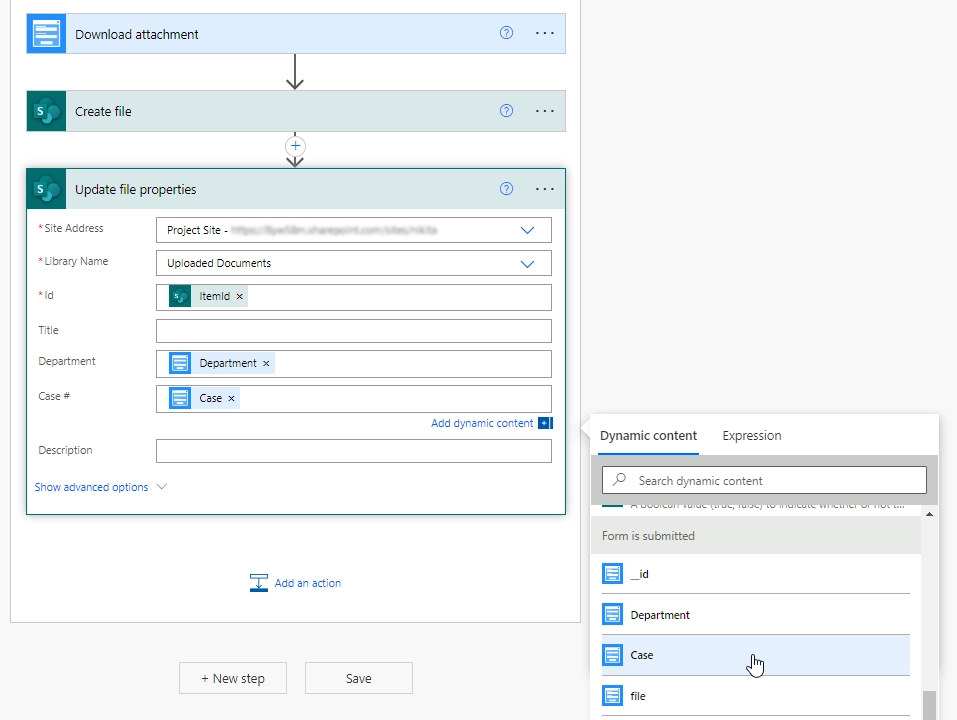
If you want to change uploaded file’s properties in SharePoint library, you need to click Add an action, search for SharePoint update file and add SharePoint - Update file properties action. You will need to once again select your Site Address and Library name.
Add ItemId to the Id field to select the correct item and fill in other columns with information from the form. In this case I will fill Department and Case # columns with information from the form:
Final result
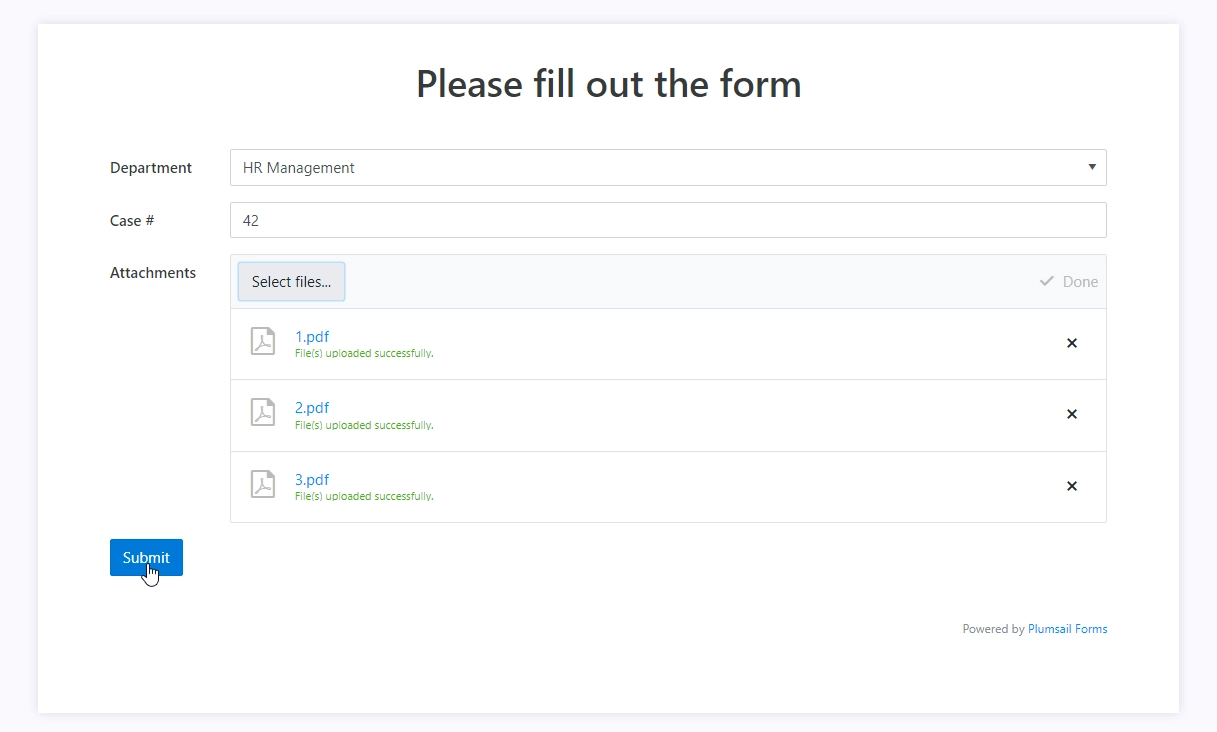
Make sure that the Flow is active and open Form preview. I’ve filled mine with example data and clicked Submit:
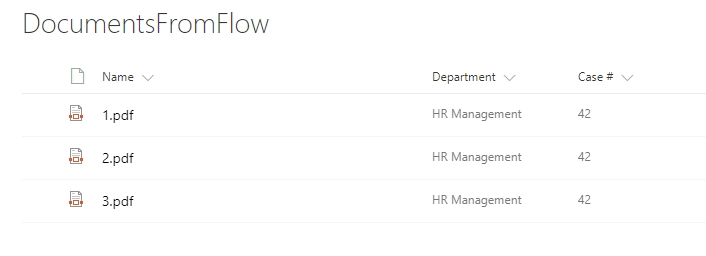
Once the Form is submitted and processed with Flow, here are the files in my Documents Library:
In this example we’ve added files from the Attachments field to Document Library. This can be used in combination with any other Flow, for example, you can also send an email after form is submitted or create items in SharePoint List at the same time.