How to send an email from Plumsail form with Power Automate
You can send a customized email with form data using Power Automate (MS Flow) and Plumsail Forms connector.
Here you will find instructions on how to create an automated flow from scratch. You can also create the same flow from the Microsoft Power Automate template and jump to Configure ‘Send an email’ action step.
Configure the Flow
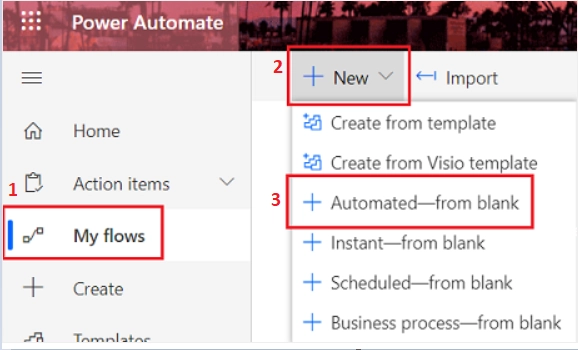
Open Microsoft Power Automate and create an automated flow:
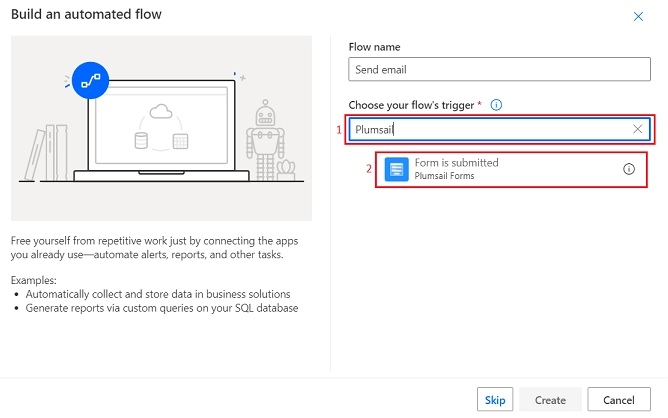
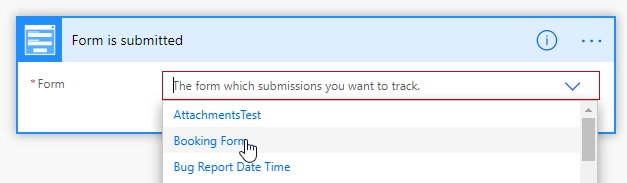
Select the trigger that starts the flow. Search for Plumsail and select ‘Form is submitted’ trigger, click Create.
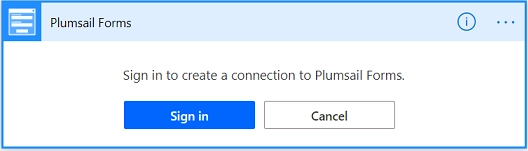
If this is the first time you are using Plumsail Forms connector, you will be asked to sign in to Plumsail account to create a connection. Click Sign in and enter your account credentials.
Select the name of the form from the dropdown list.
Configure ‘Send an email’ action
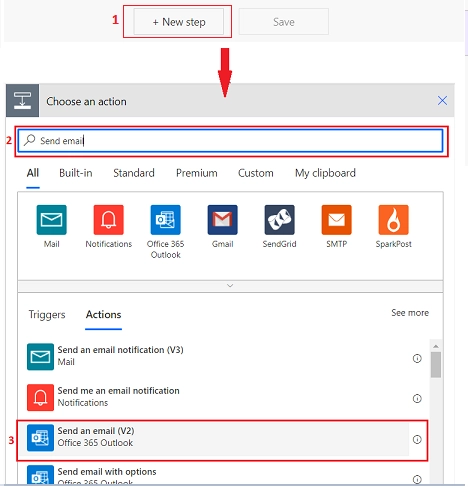
In this example, we use Office 365 Outlook connector to send emails from the Outlook account, but you can use any other connector like Mail, Gmail, or SMTP.
Click New step and search for Send email action. Select ‘Send an email (V2)’.
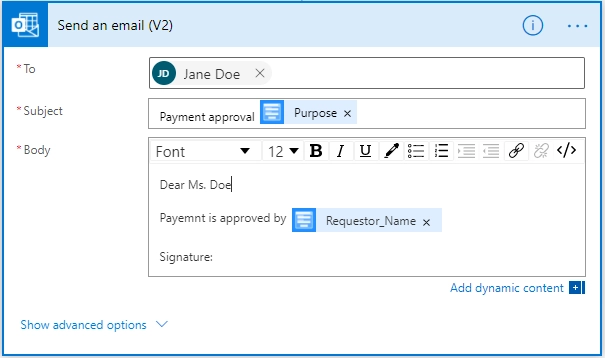
You can add any dynamic content from the form to the subject and body of the email.
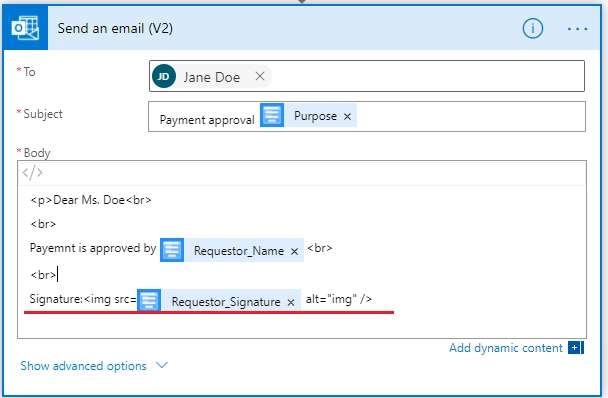
Adding Ink Sketch to email body
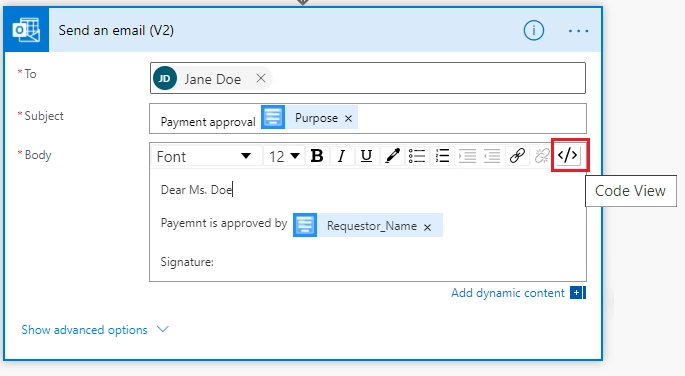
The Ink Sketch control picture is stored as a base64 string. To insert a base64 string to the email body, first, you need to switch the body input to the code view.
Then, paste this HTML code line to the email body and add field that stores Ink Sketch data from the dynamic content.
<img src= alt="img" />
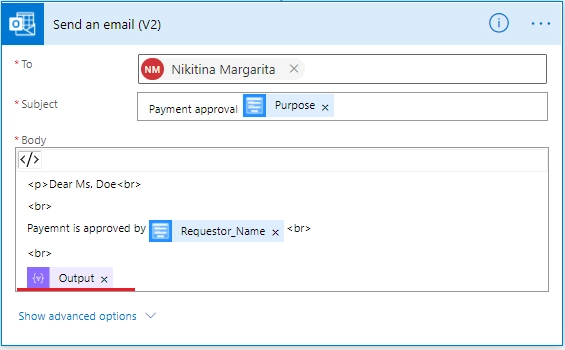
Adding DataTable to email body
The DataTable control is stored as an array of objects.
Add ‘Create HTML table’ step to convert an array of objects to HTML table. For the From field select DataTable control from the dynamic content and set Columns to ‘Automatic’.

To insert the HTML table to the email body, switch the body input to the code view.
Then, add the output of the ‘Create HTML table’ step to the email body.
Adding attachments to email
To send an email with multiple attachments, add these steps:
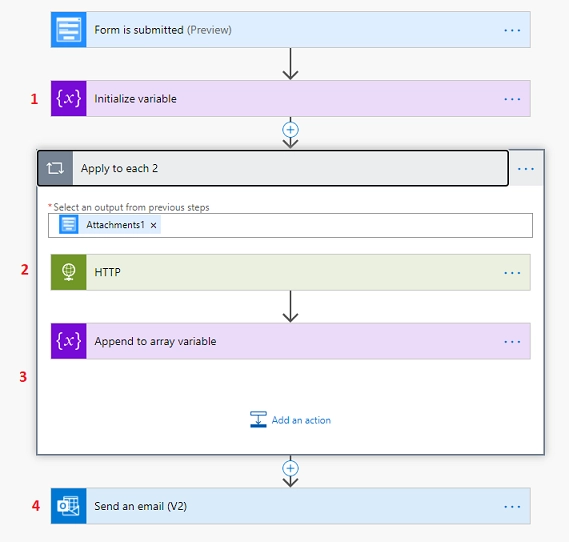
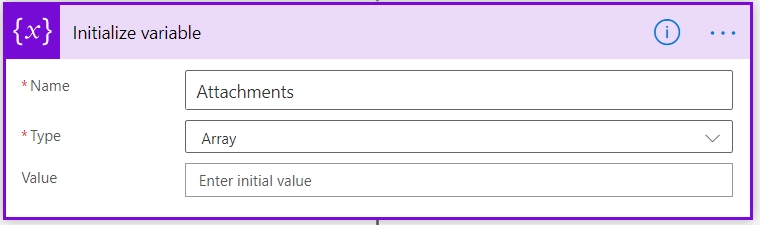
1. Initialize variable
Name the variable and set its type to ‘Array’.
2. HTTP
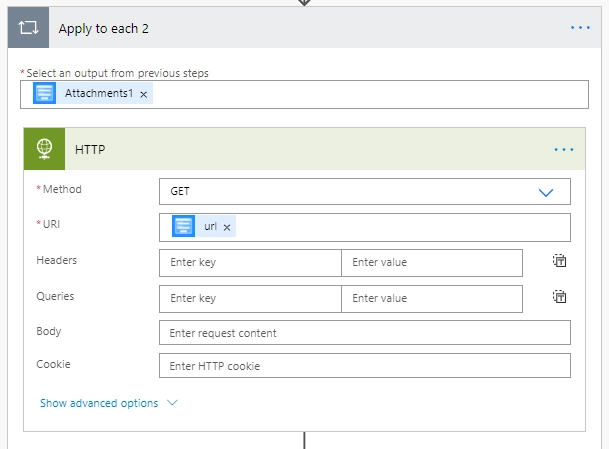
Add the ‘Apply to each’ action for iterating through the attachments. ‘Attachments1’ is the common field output.
To get the content of the attached files add ‘HTTP’ action. Select GET in Method dropdown field and add url to the Uri field.
3. Append to array variable
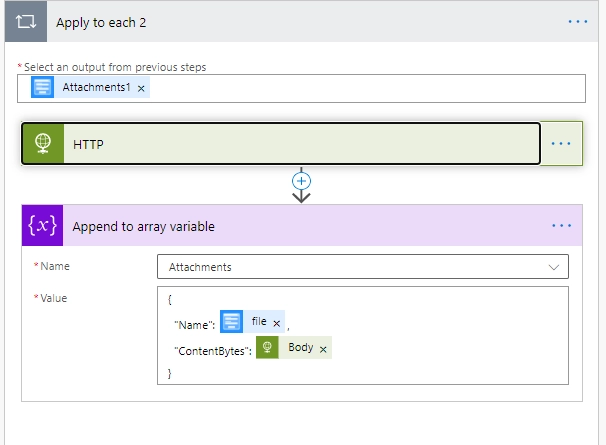
Add ‘Append to array variable’ action inside ‘Apply to each’ step. Select the variable name from the dropdown. In the value section, map file name and its content.
{
   "Name": ,
   "ContentBytes":
}
4. Send an email
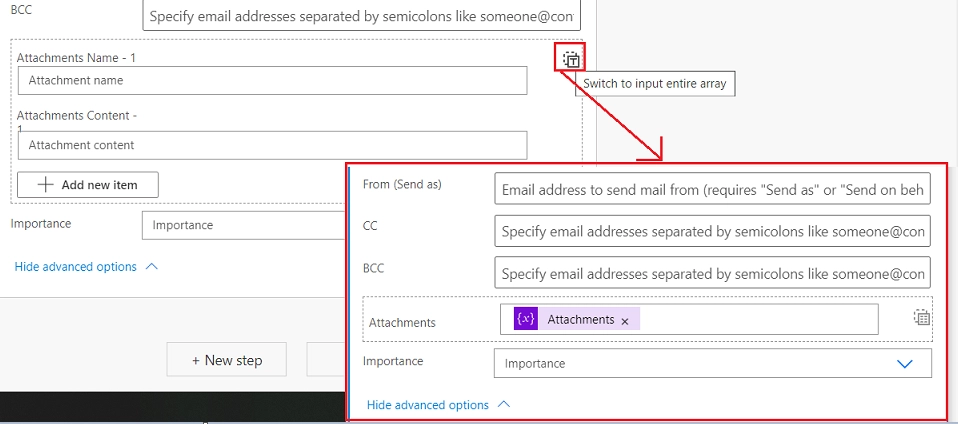
Go to ‘Send an email’ action. Click Show advanced options, switch attachments field to input entire array. Add the variable output to the attachments input field.