Create documents from Airtable using Interfaces and Automations
This article shows how to generate documents from Airtable using an Airtable Interface button and an Airtable automation.
In this example, the automation starts a Documents process that generates an invoice from Airtable record data. The generated file is attached to the record and can also be sent by email.
Prepare Airtable base and Interface
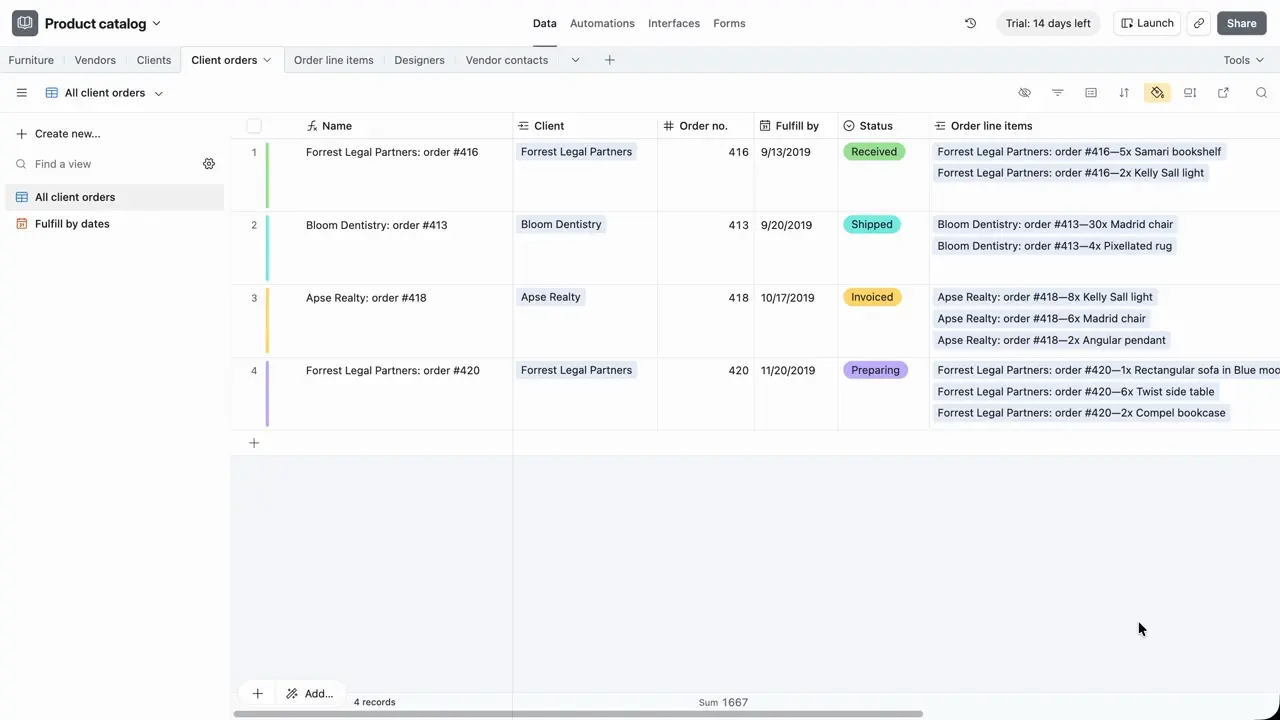
For this example, we use the Client orders Airtable base created from the Product catalog template.
We also created an Airtable Interface for this base. We will use it later to trigger the automation.

Note
To learn more about Airtable Interfaces, see the Airtable documentation.
Configure document generation process
Before setting up the Airtable automation, create a Documents process that generates an invoice from a DOCX template.
Create new process
Sign in to your Plumsail account or create one if needed.
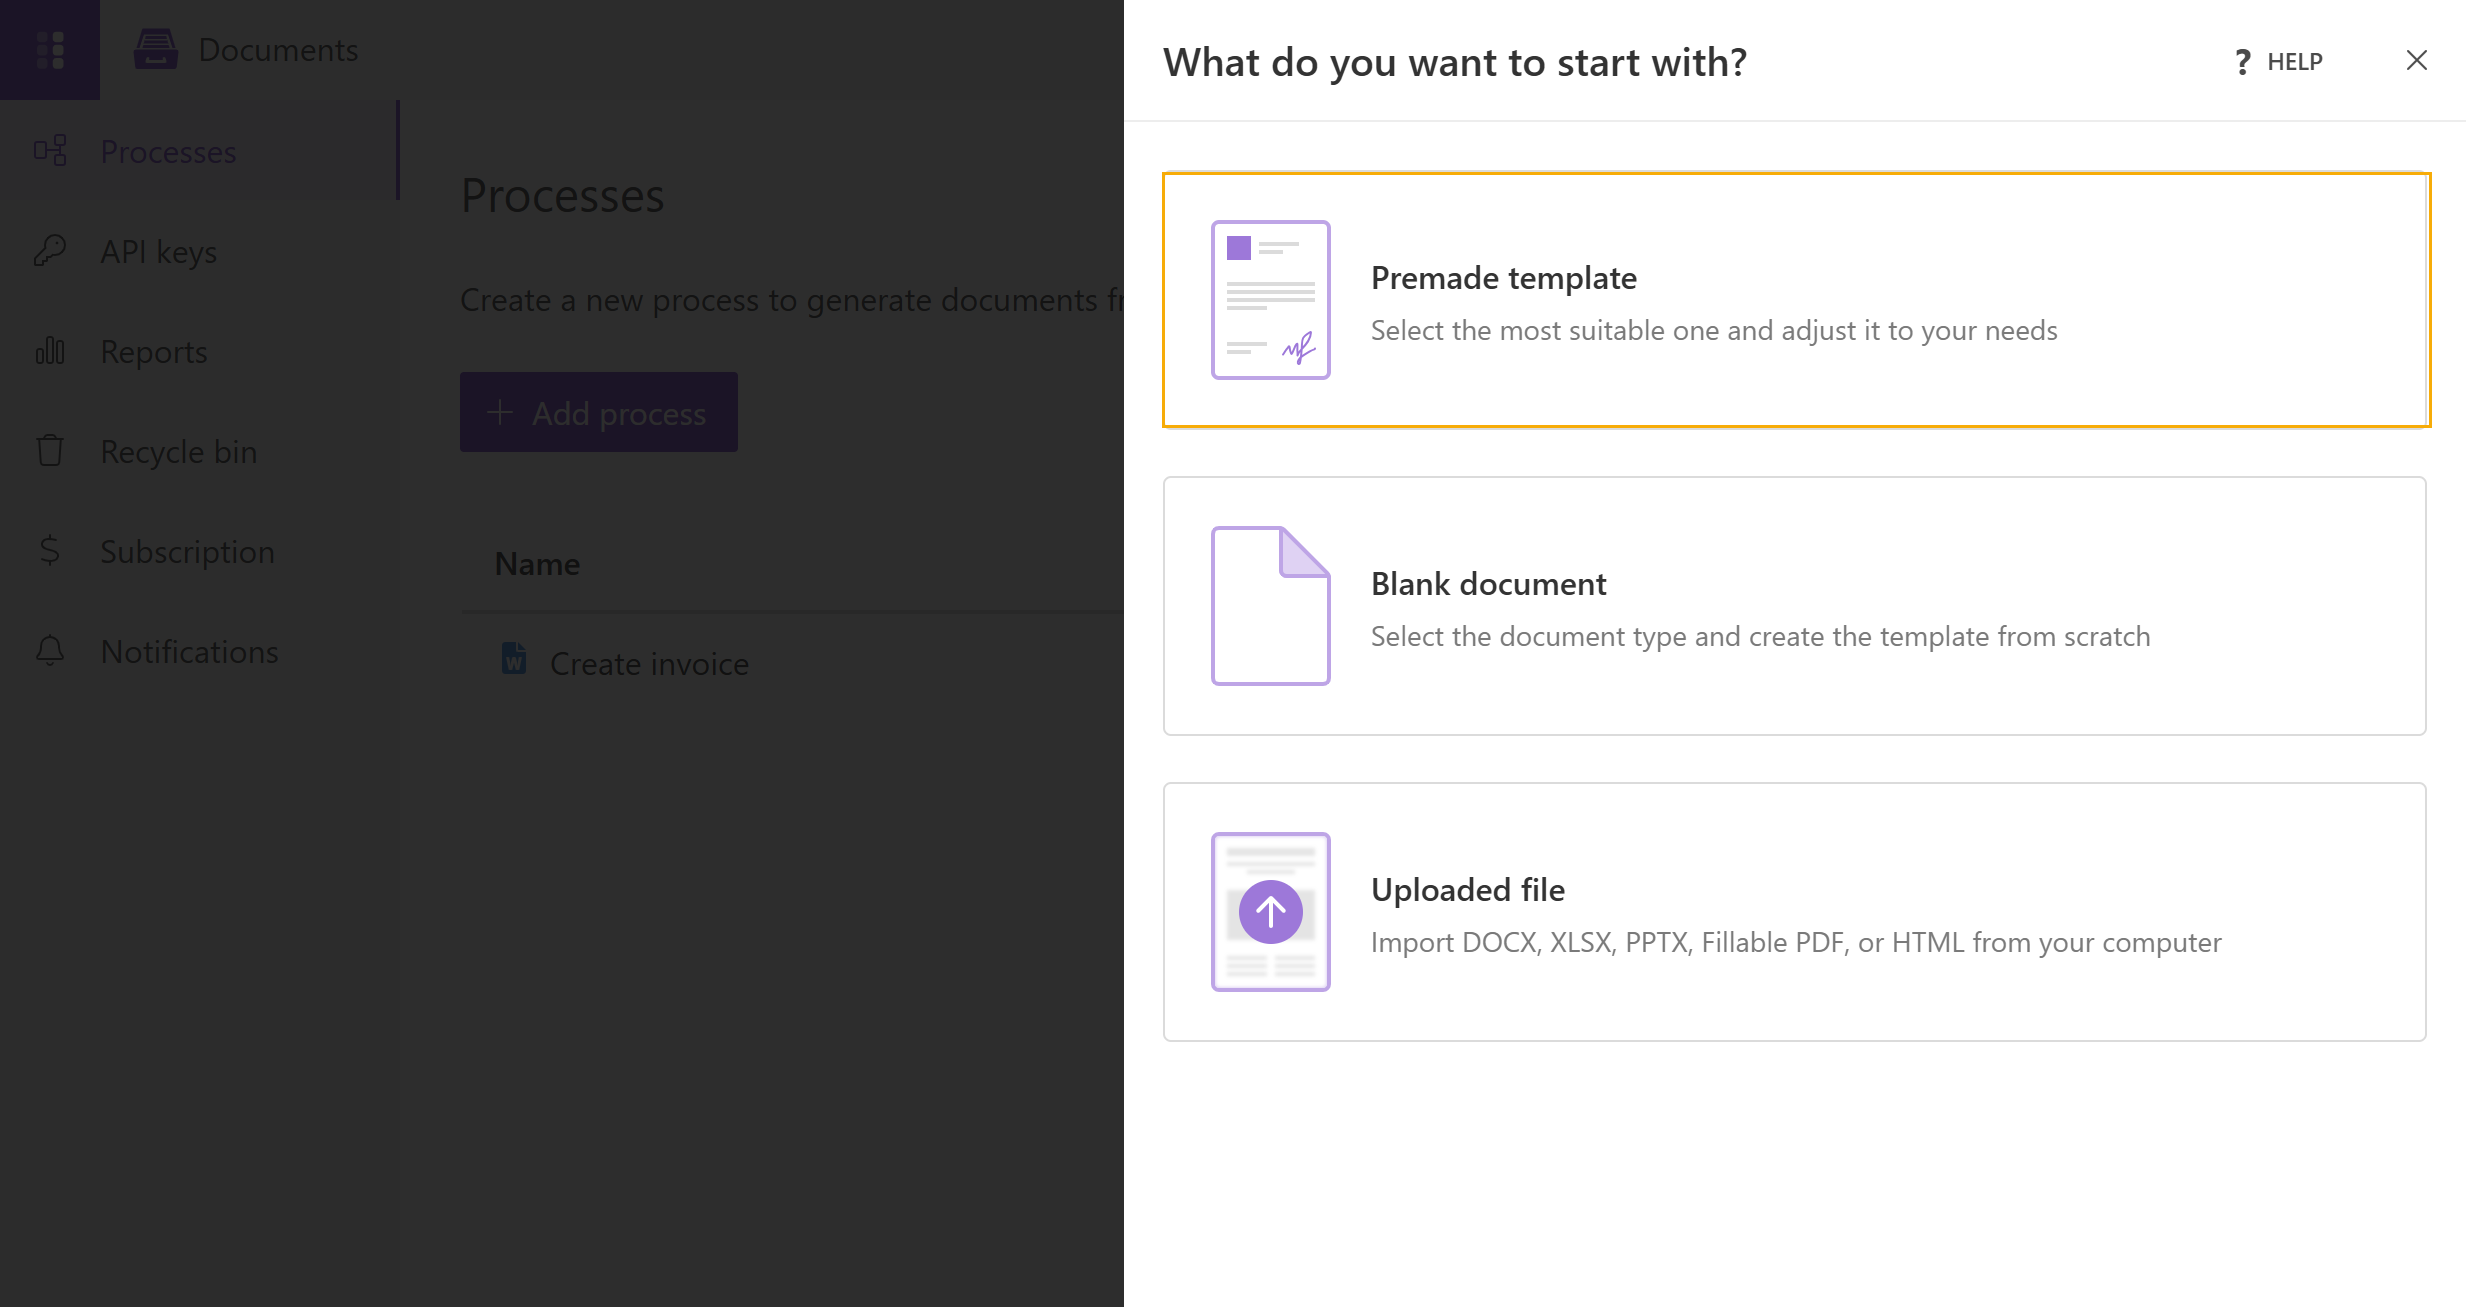
In Processes, click Add process and select Premade template.
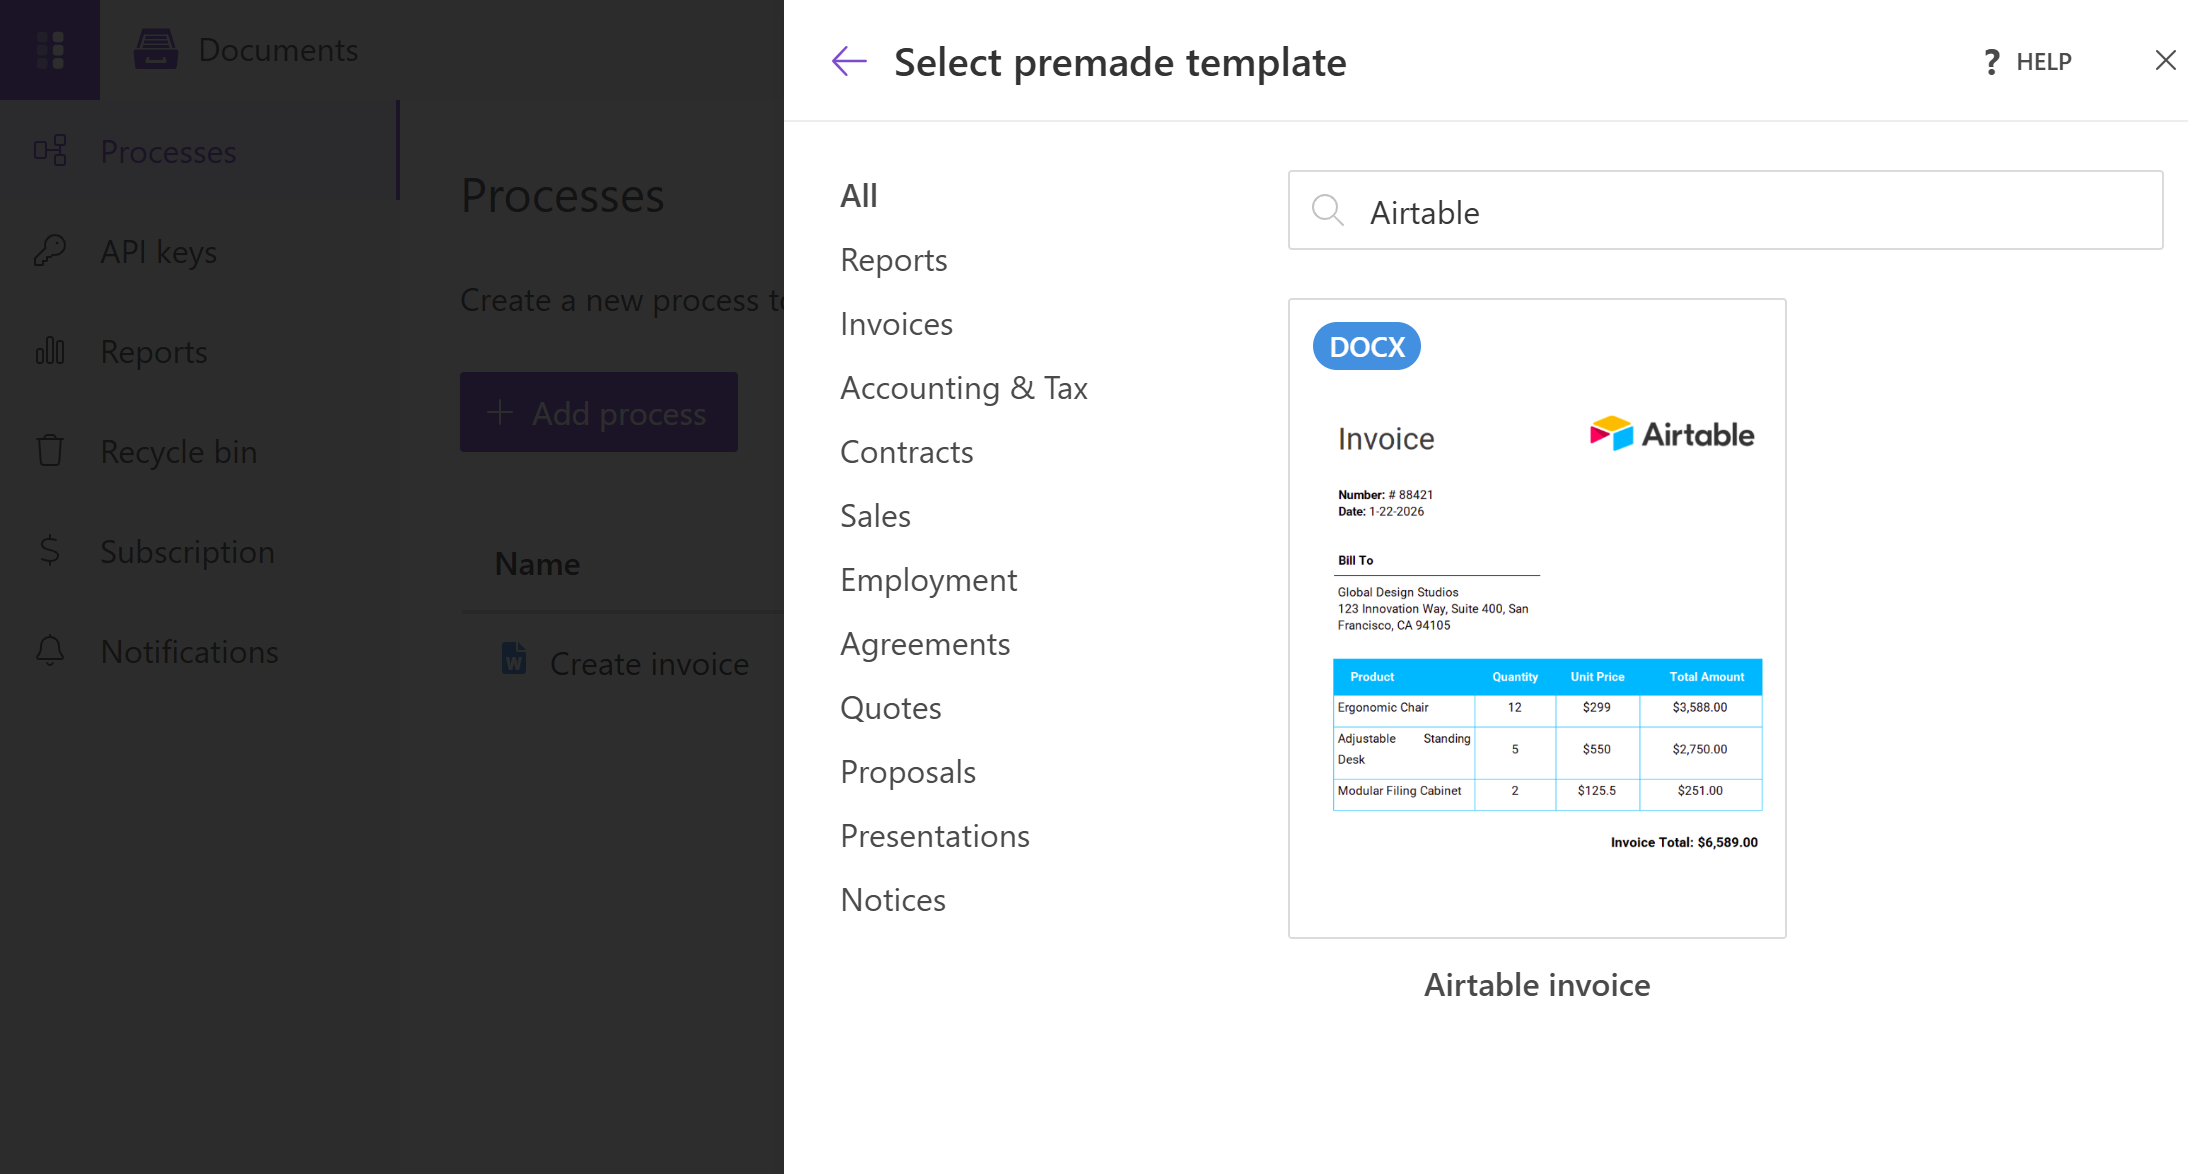
In the template library, find the Airtable template.
Enter a process name, select the output file type, and click Create. On the next screen, update the document template if needed.
Note
Learn how Plumsail Documents Word DOCX templates work.
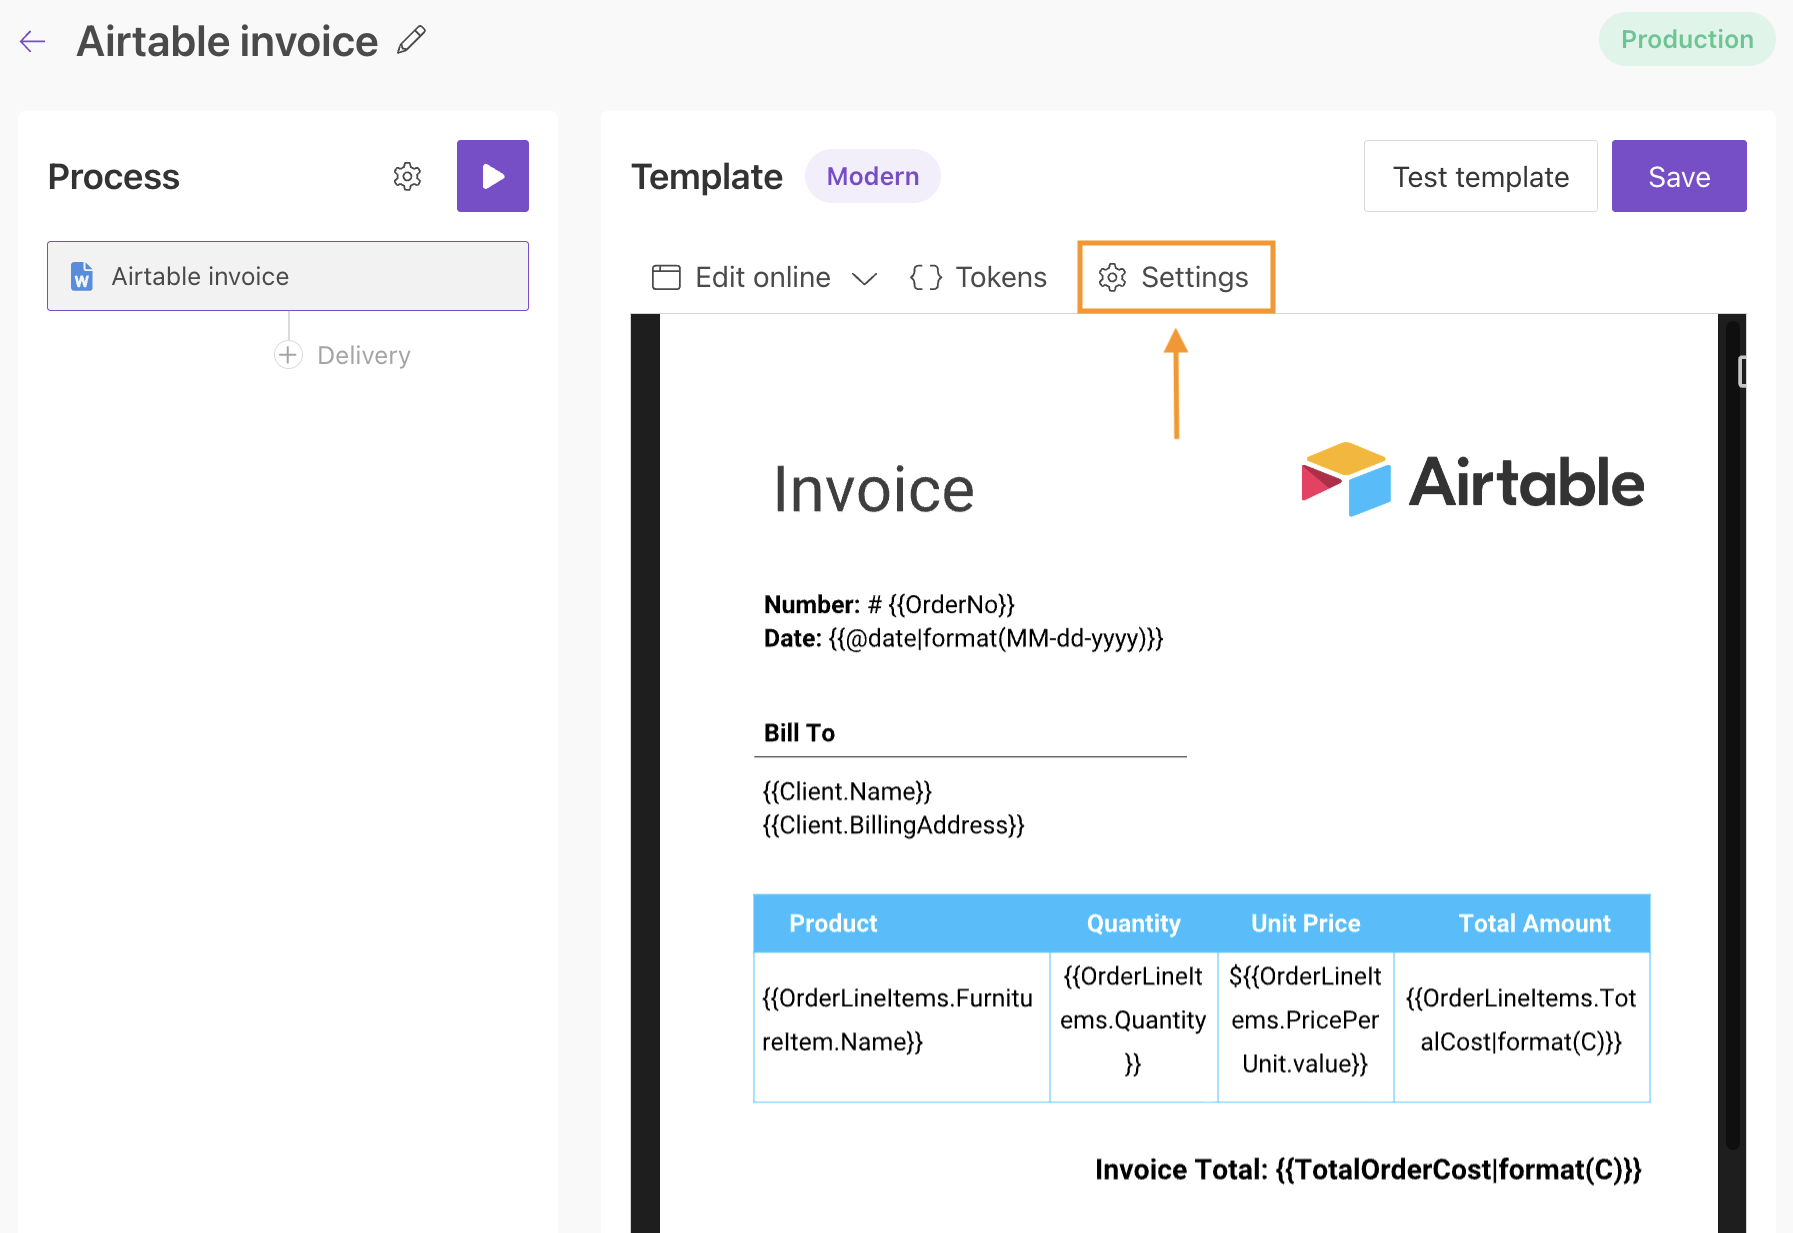
The default template already includes all fields from the Airtable demo base, so we will keep it as is.

Open the Settings tab.
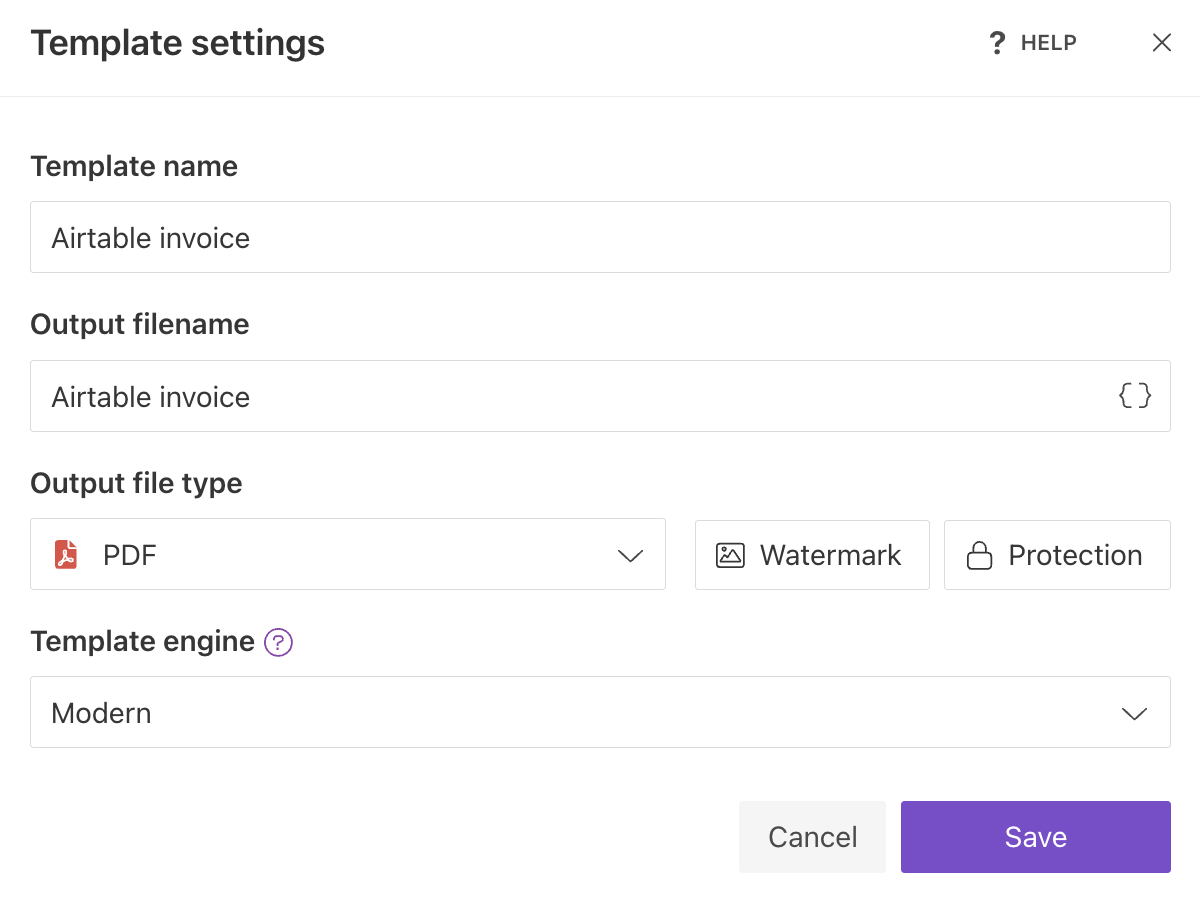
Use Template settings to configure the remaining process options. For details, see the user guide.
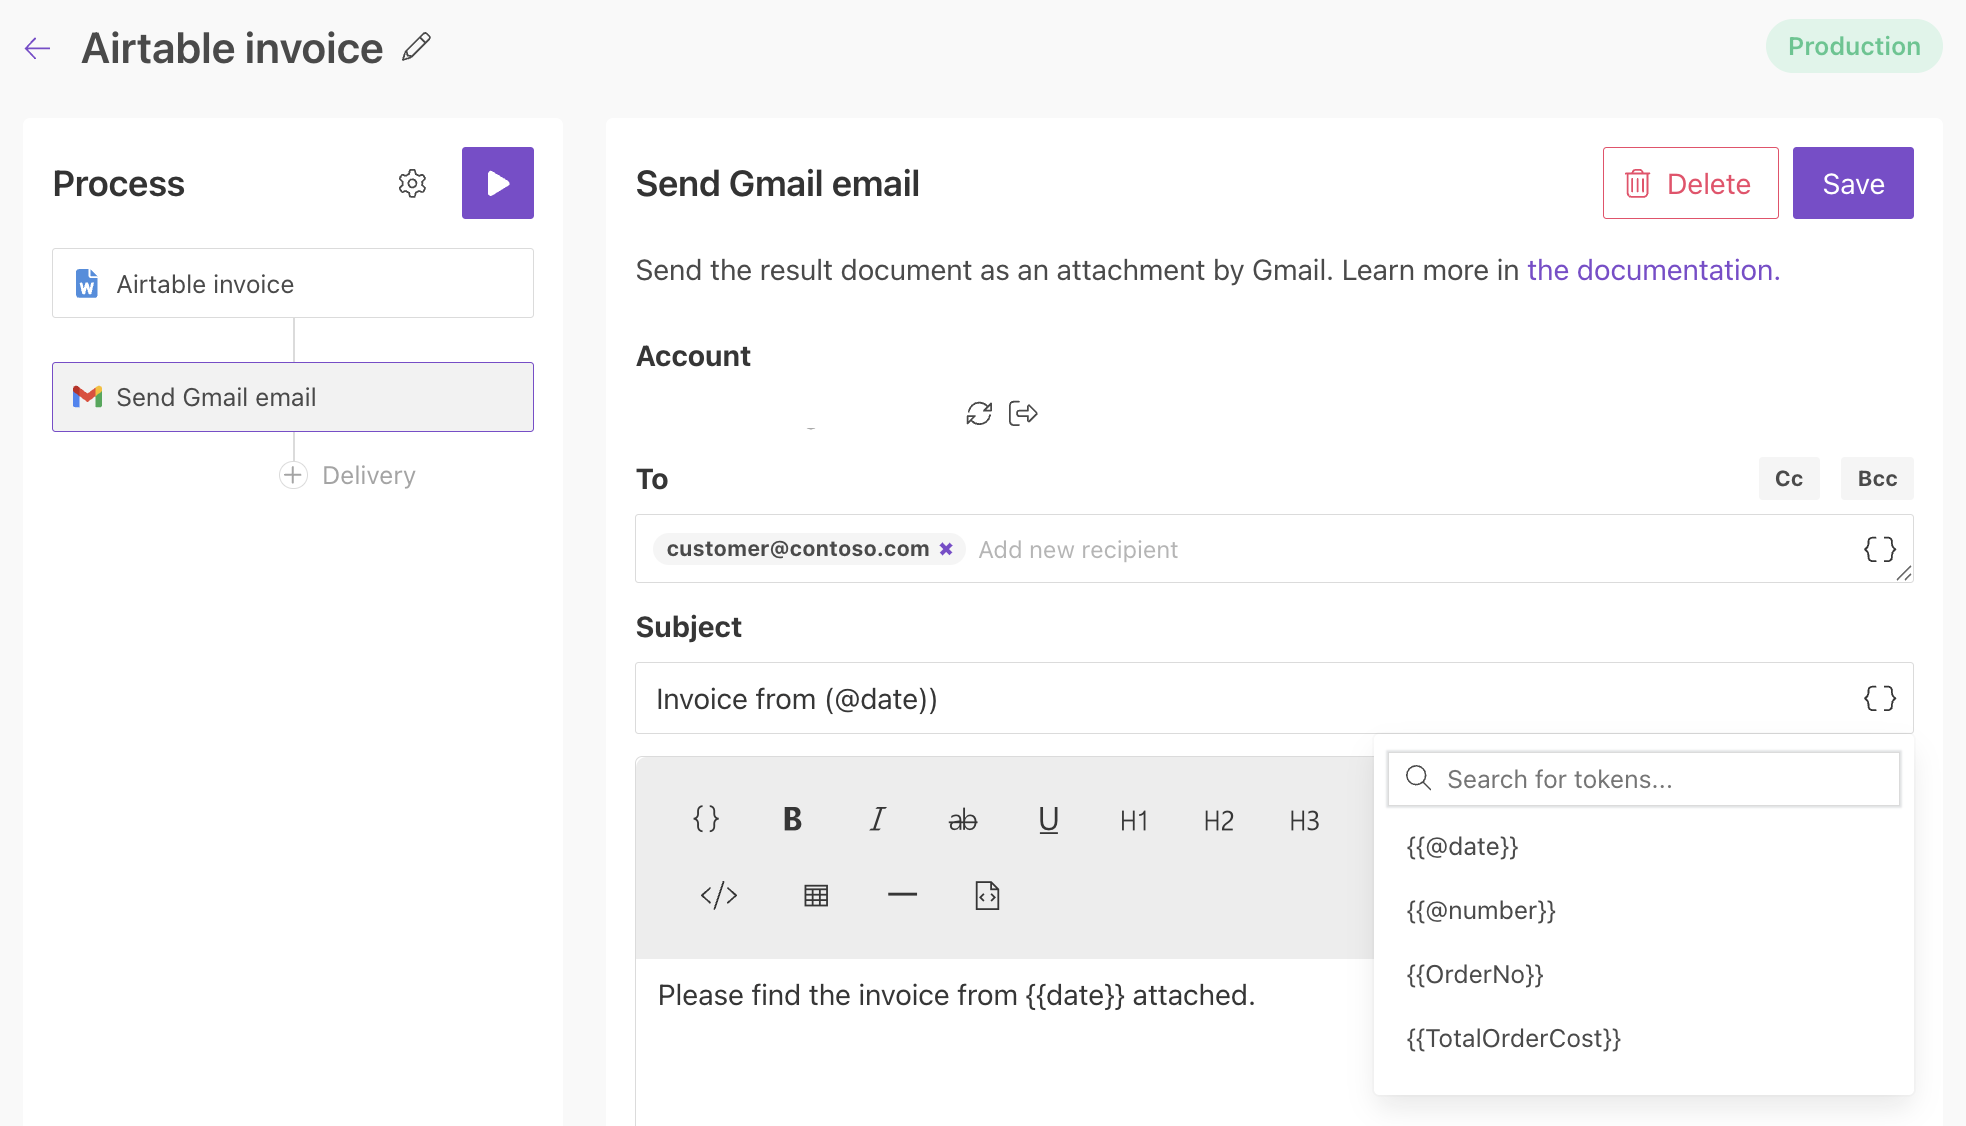
Add Gmail delivery
For this example, add a Gmail delivery.
Plumsail Documents also supports other delivery options. For more information, see Create delivery.
You can add multiple deliveries if the generated document needs to be sent or saved in several places.
Add Documents Airtable extension
In this example, the process is started by an Airtable automation triggered by a button in the Airtable Interface.
In the Airtable Interface, open Tools > Extensions, click + Add extension, find Plumsail Documents, and add it to the base.
To finish setup, connect your Plumsail account. If you do not have one yet, sign up first.
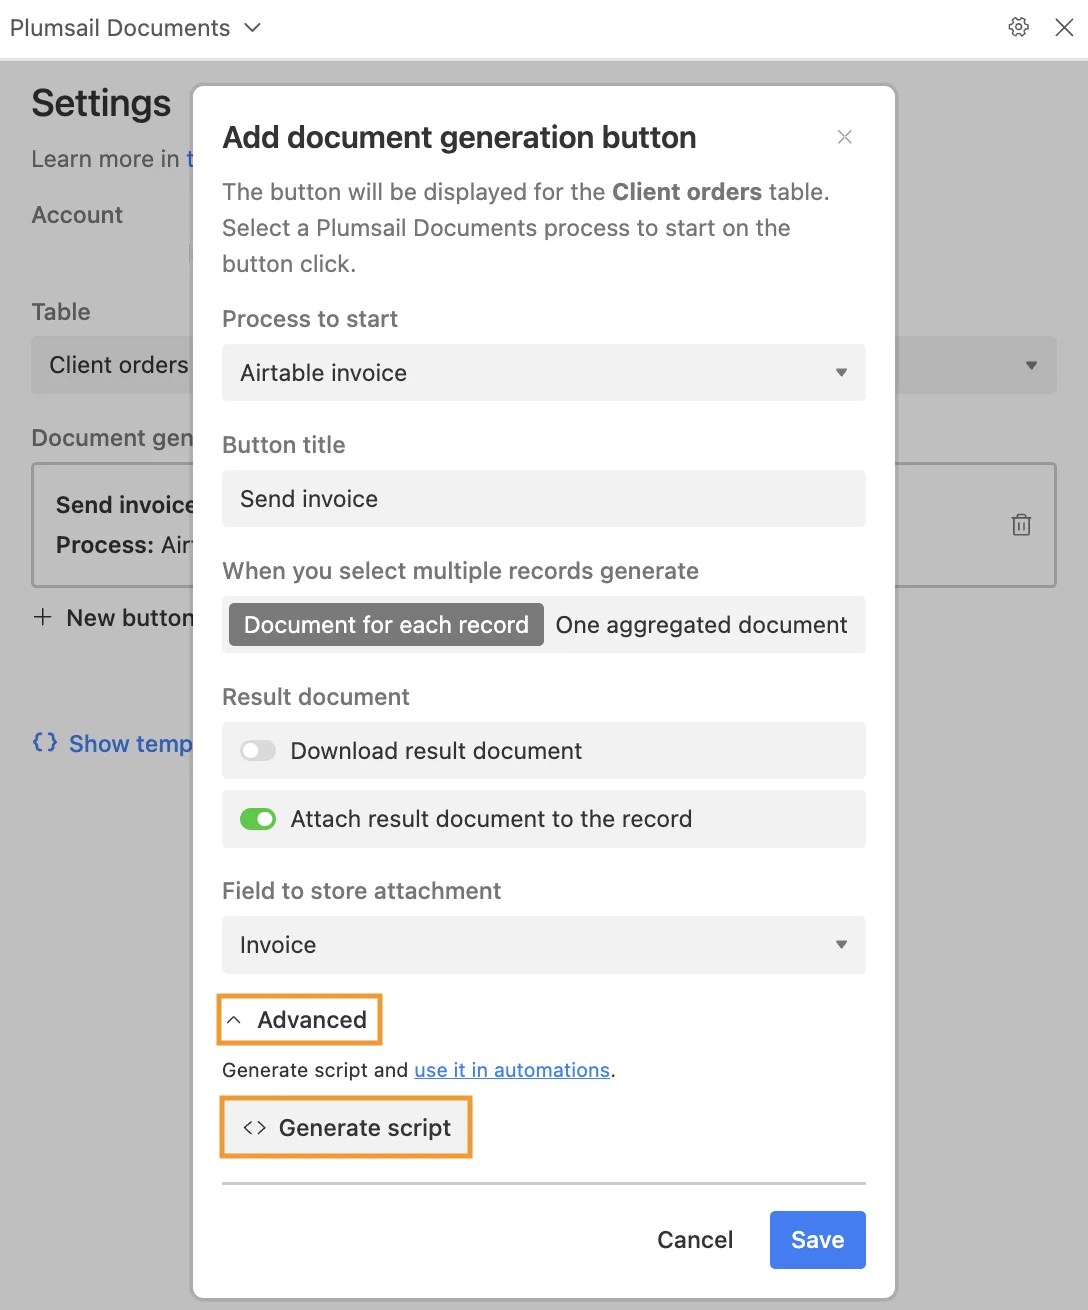
Use the following settings for this example:
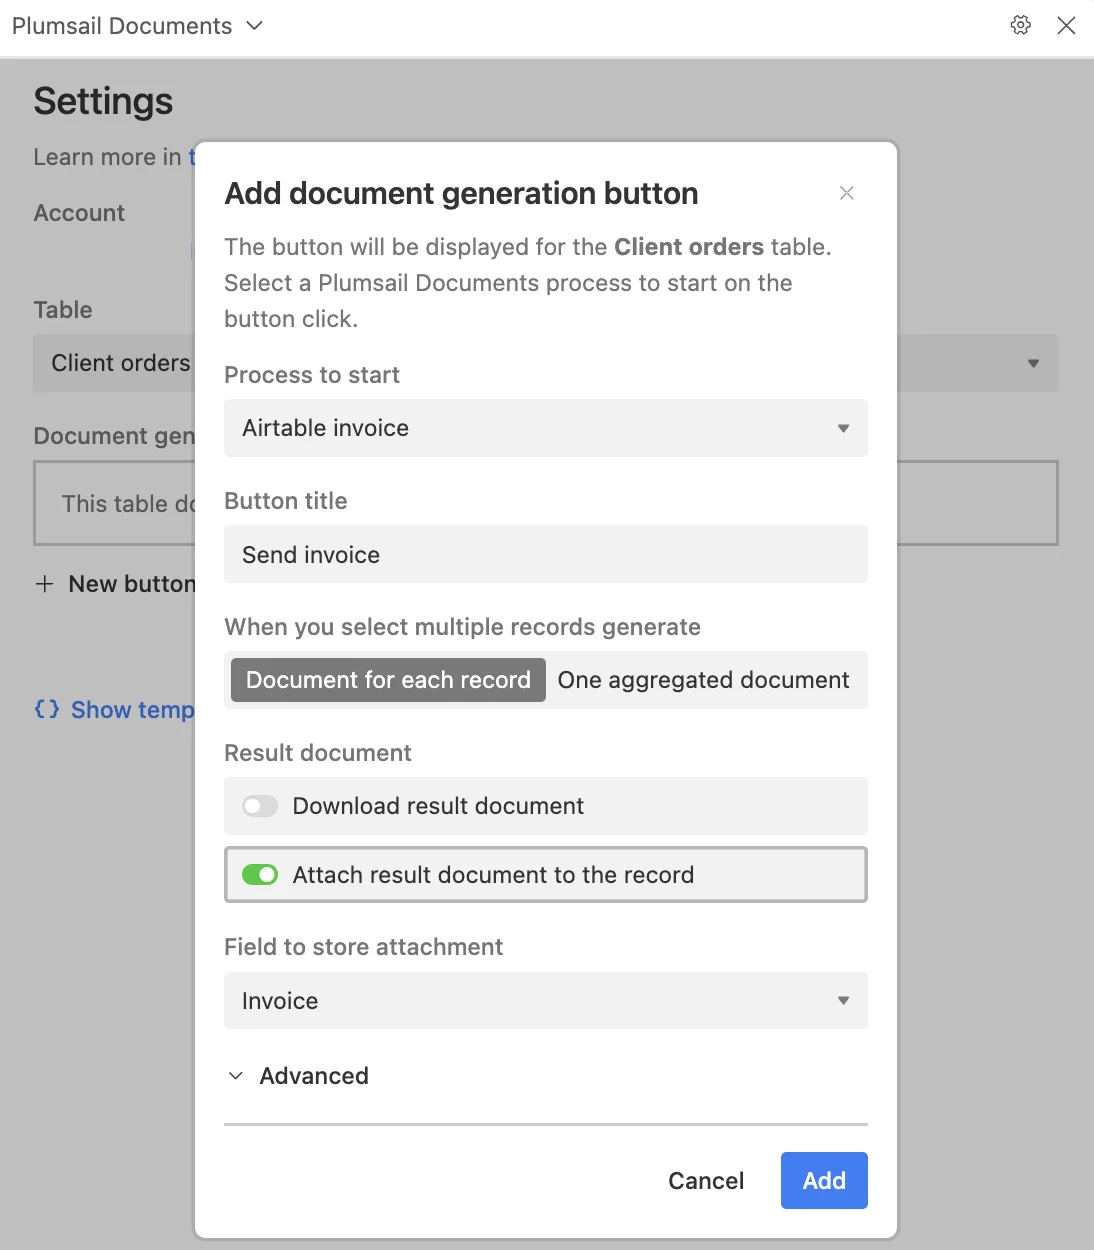
Process to start: Select the Airtable invoice process created earlier.
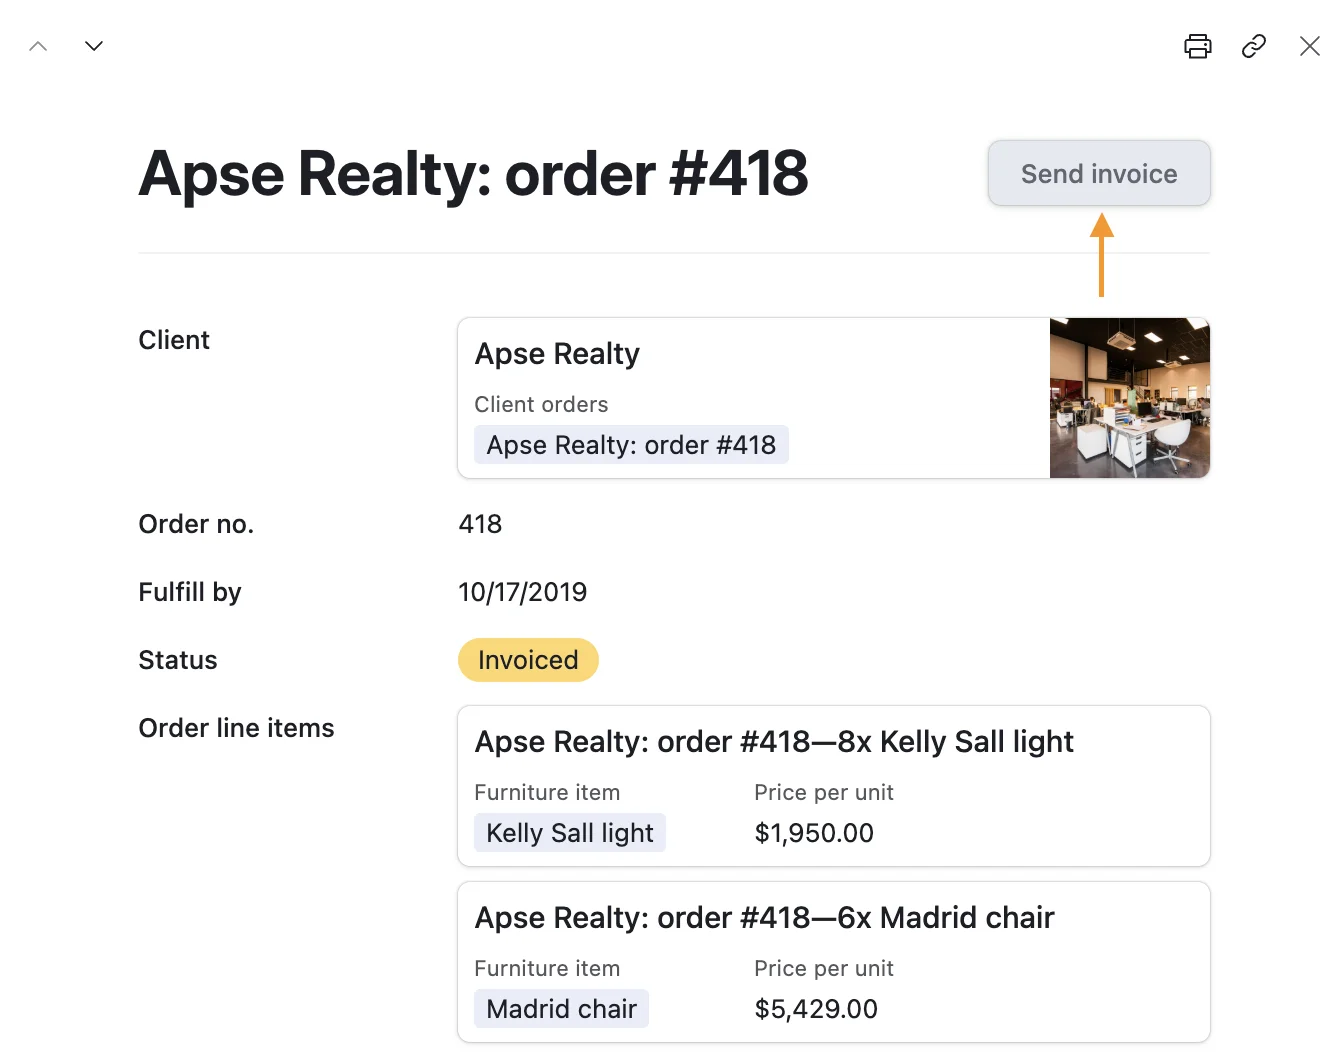
Button title: Enter Send invoice.
Generation mode: Select Document for each record.
Result handling: Select Attach result document to the record and choose the Invoice field.
Note
For more information, see Use Plumsail Documents from Airtable.
Create Airtable automation
After saving the extension settings, open them again.
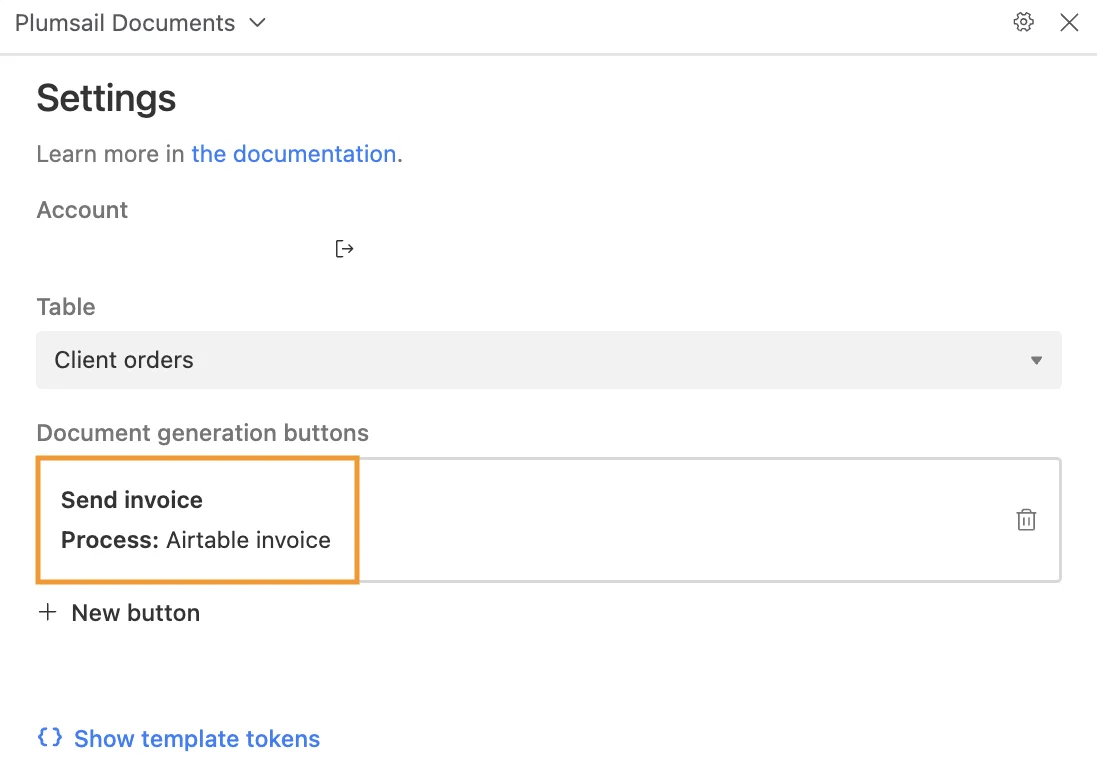
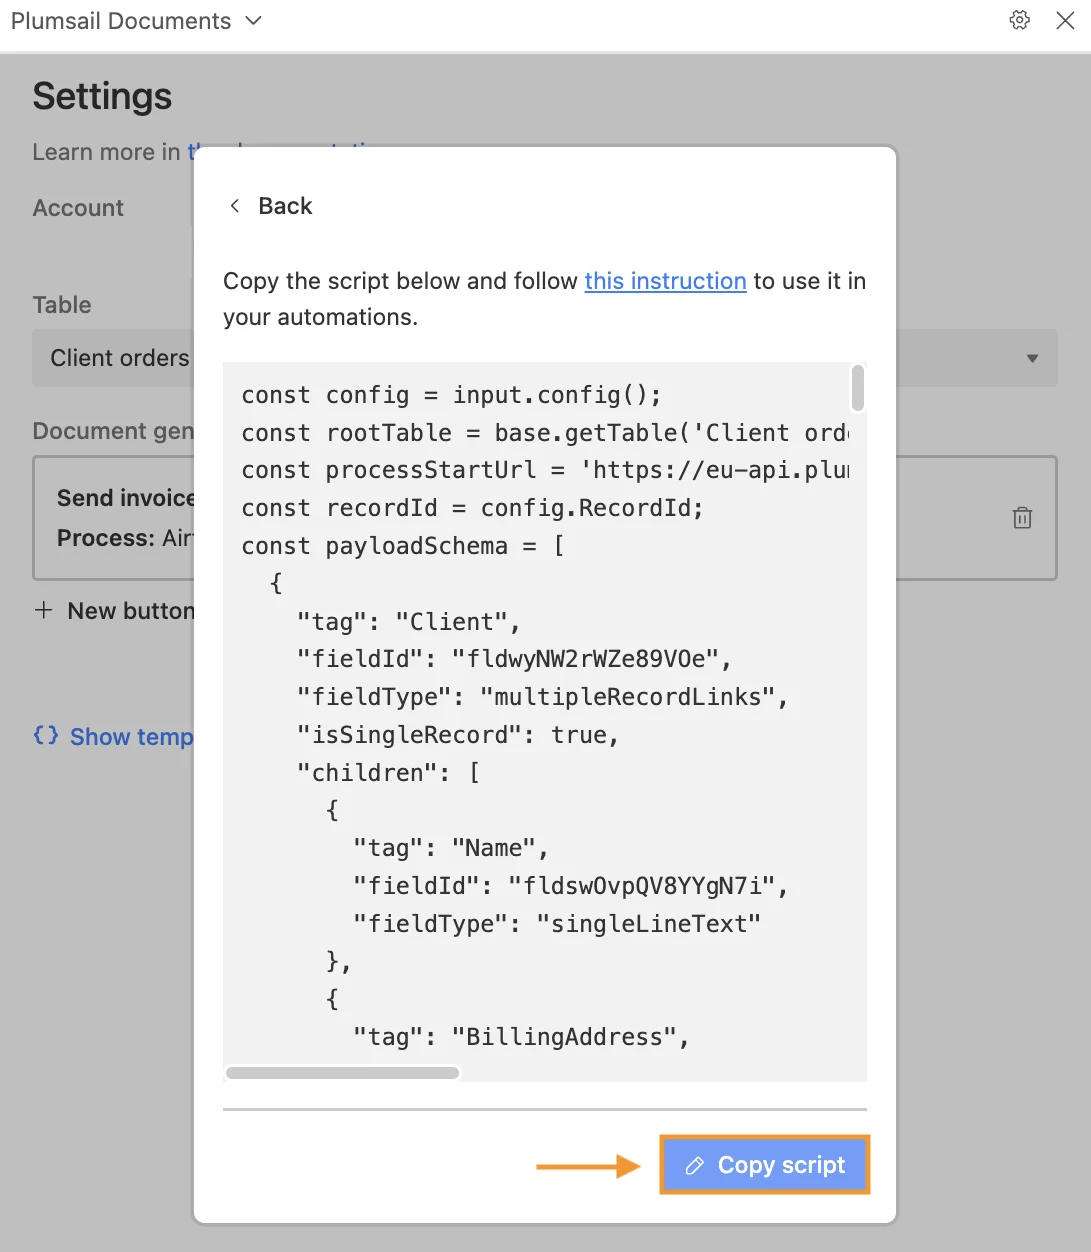
Expand the Advanced section and click Generate script.
Copy the generated script and close the settings.
Next, open the Airtable Interface in edit mode.
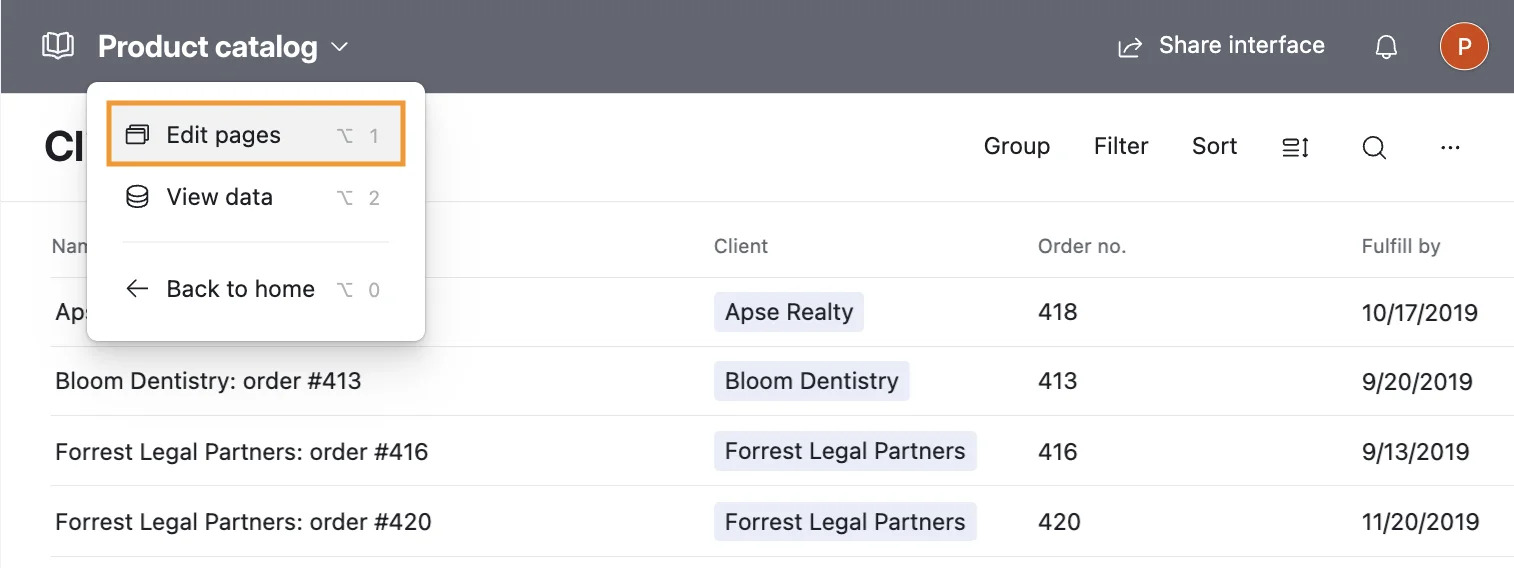
Add a new button action.
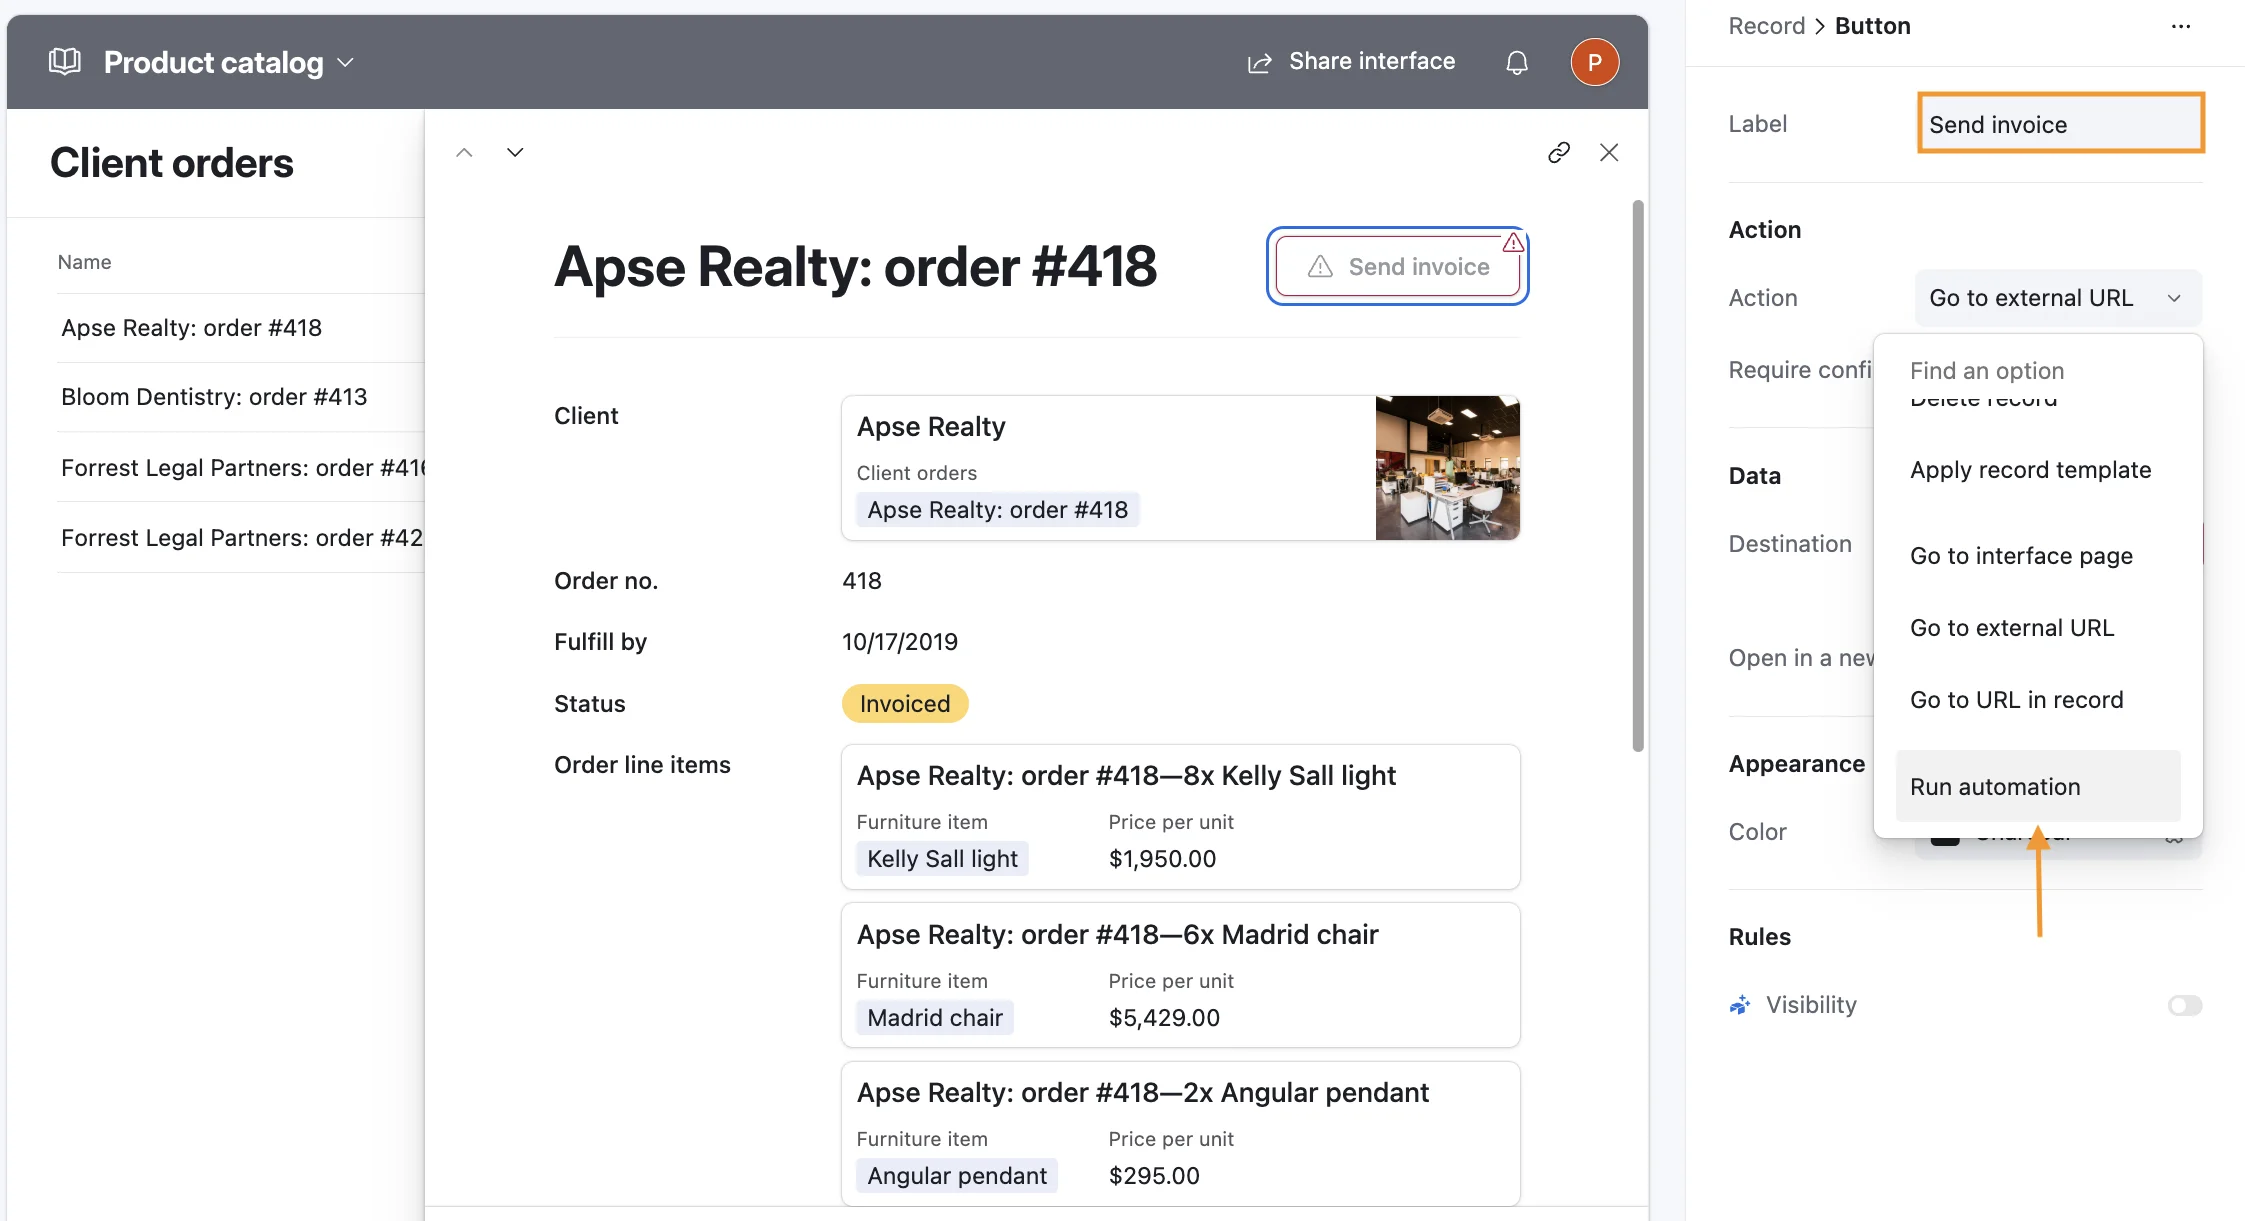
Click Buttons > + Add button action.

Name the button Send invoice and select Run automation as its action.
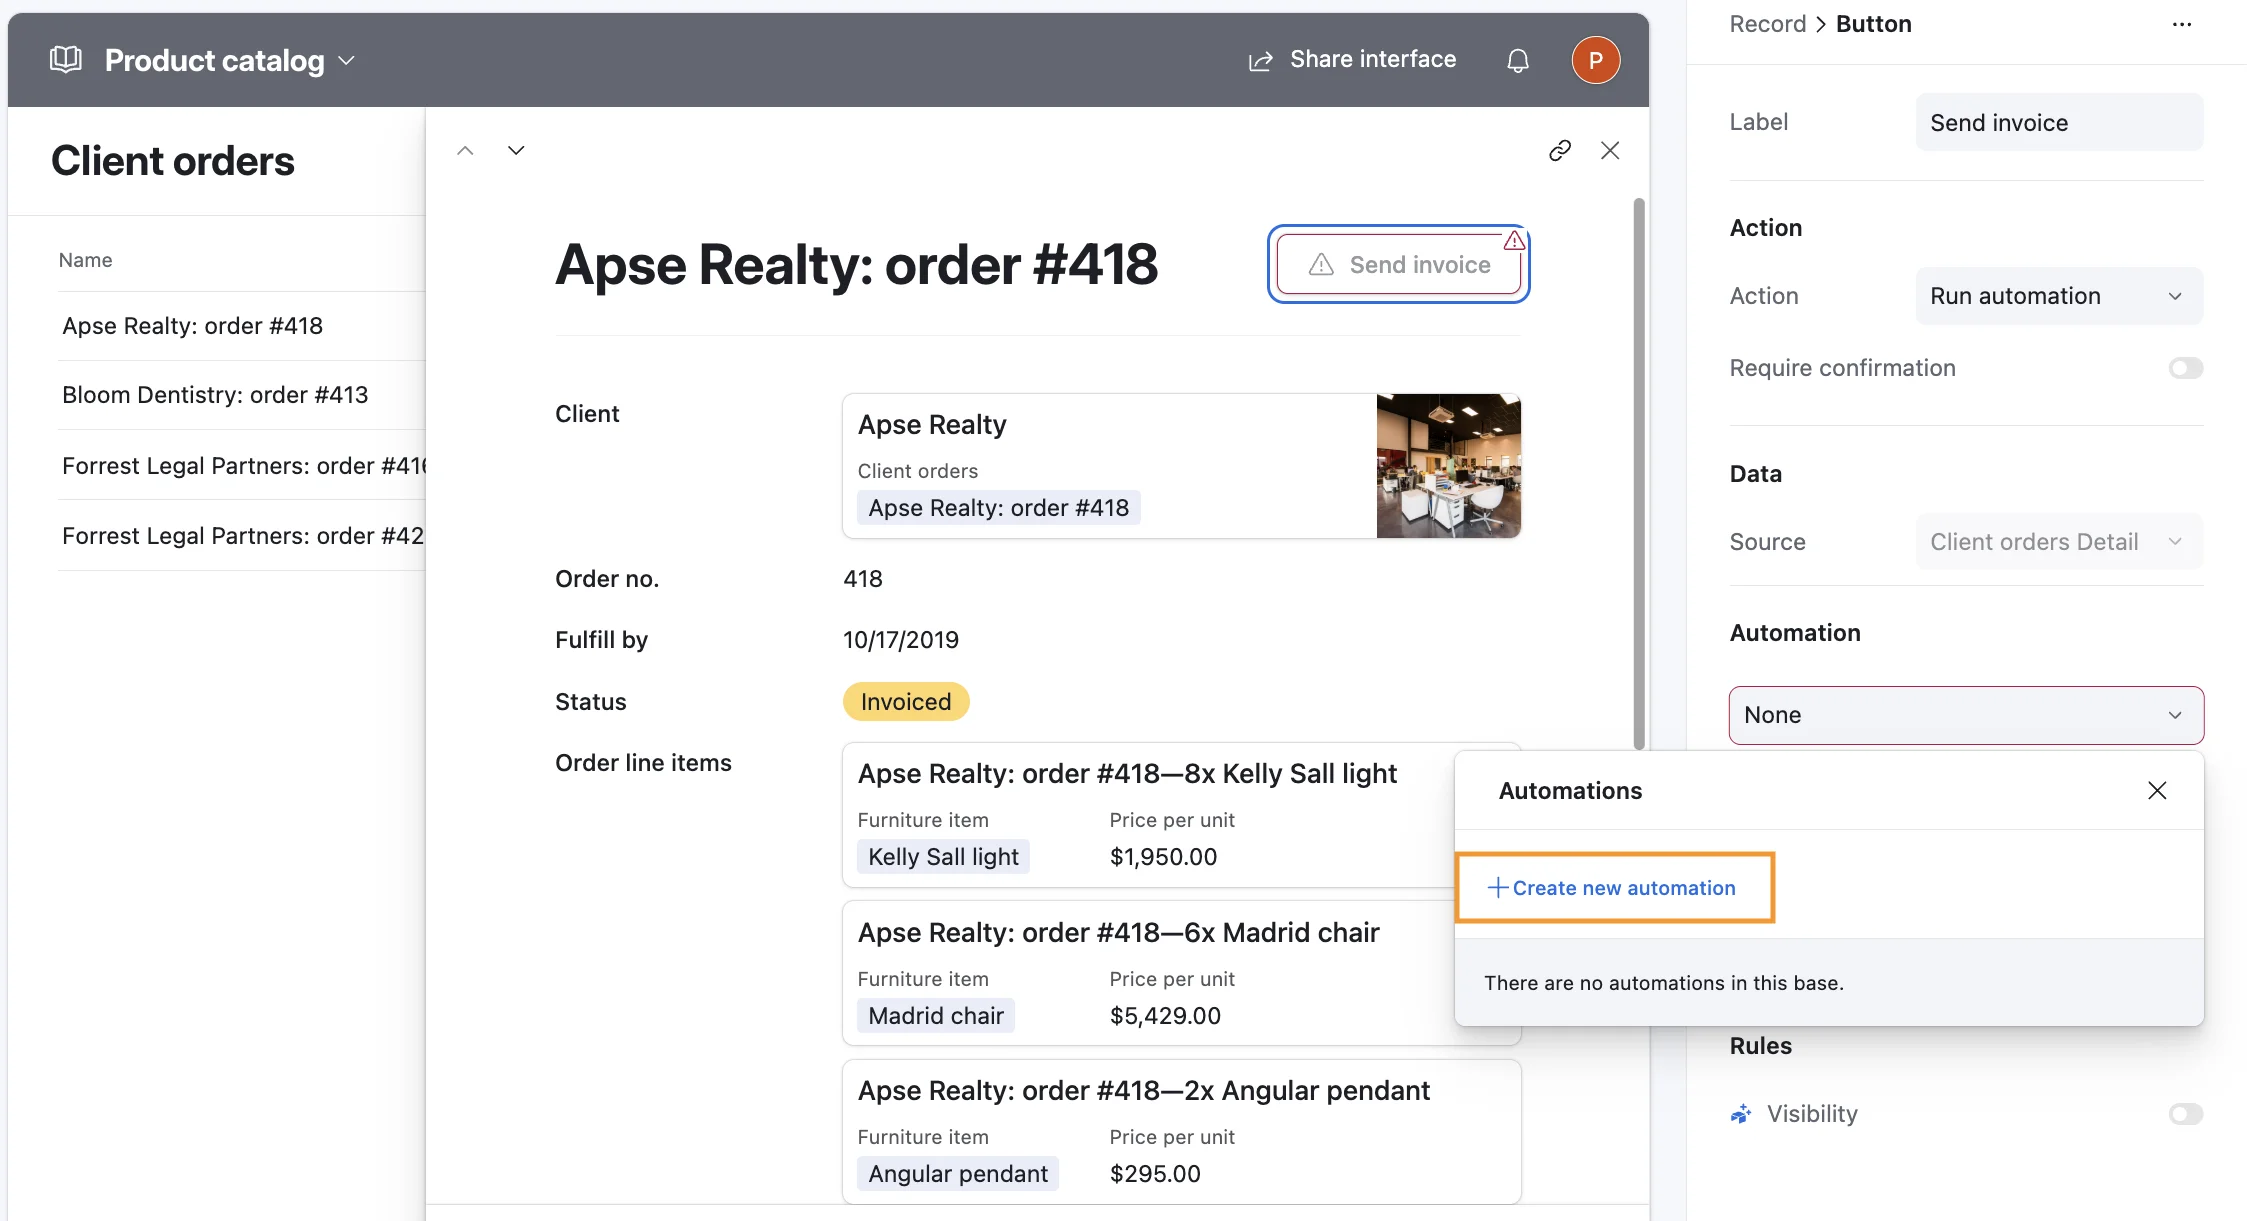
If no automation exists yet, open the automation dropdown and click + Create new automation.
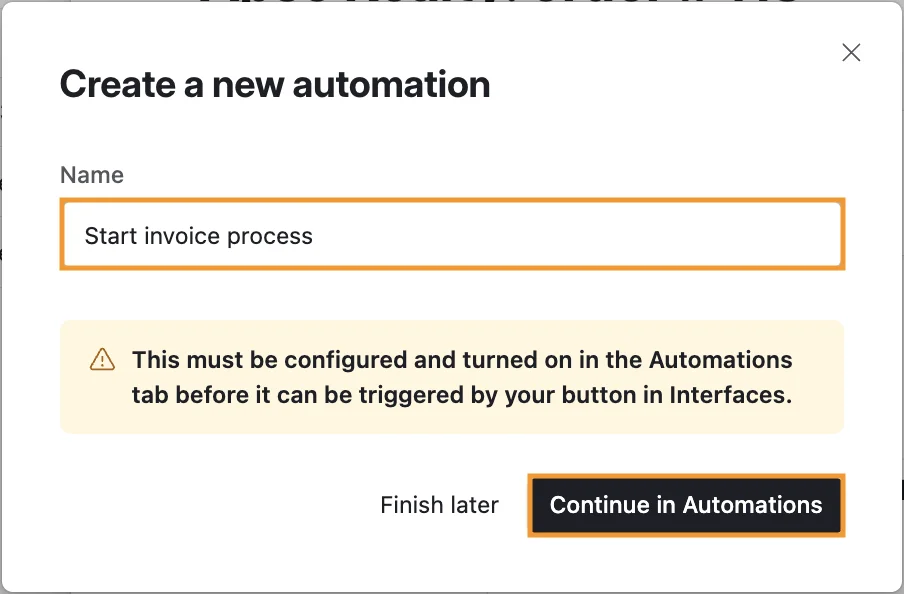
Name the automation Start invoice process and click Continue in Automations.
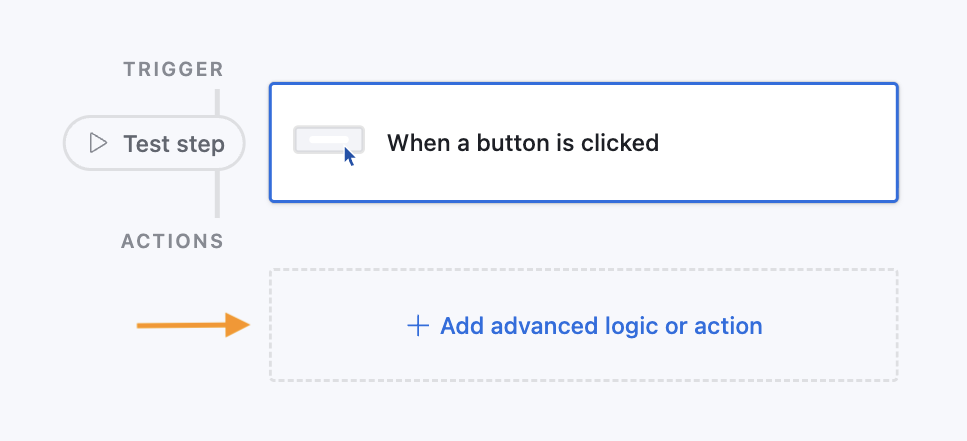
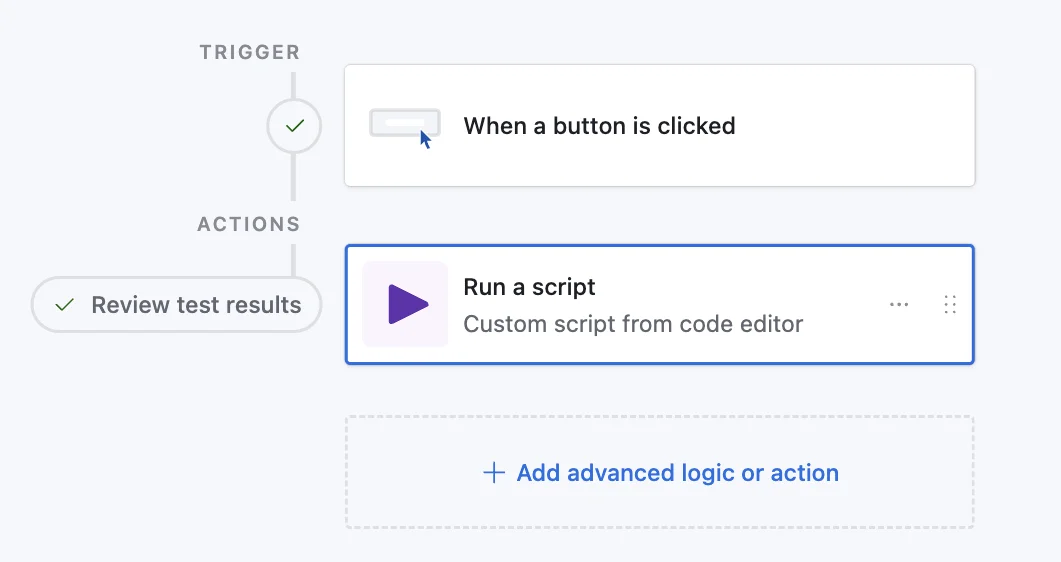
The automation already includes the When a button is clicked trigger. Add a new step by clicking + Add advanced logic or action.
Select Run a script.
Paste the script copied from the Documents extension into the Code field.
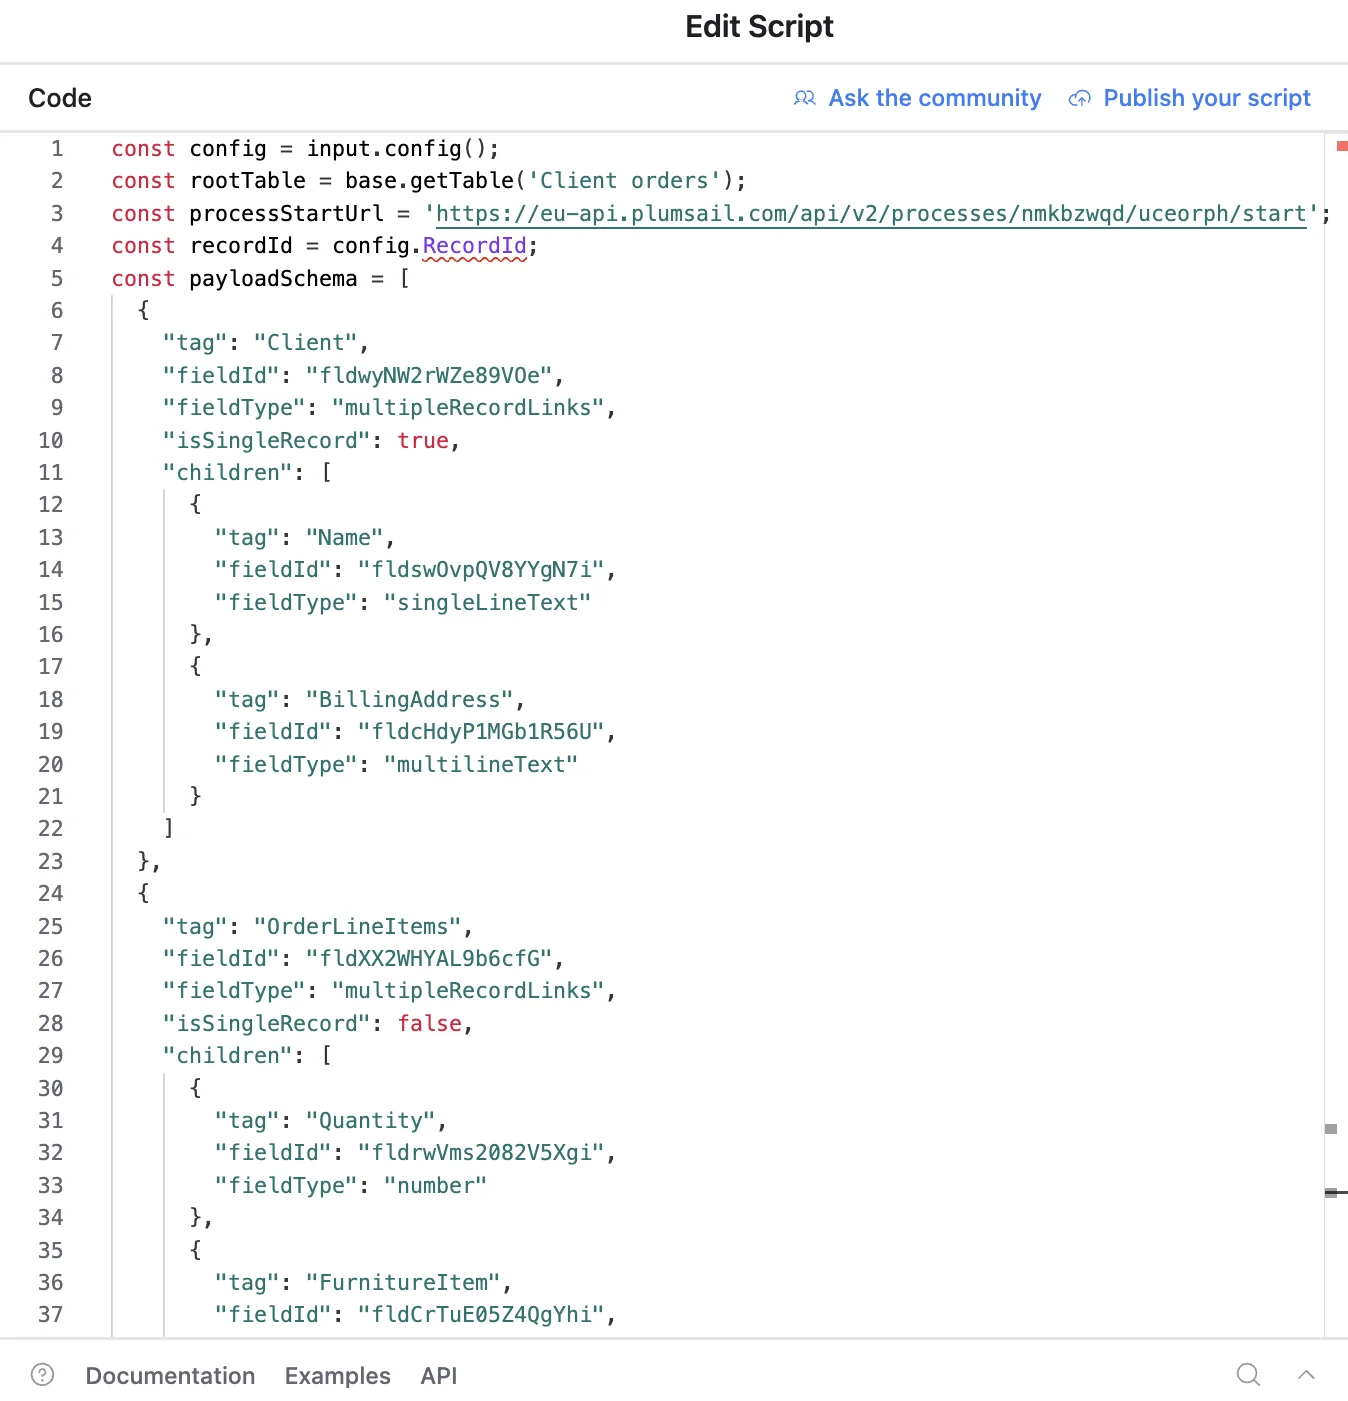
This script uses the extension configuration to start the same Documents process from an Airtable automation.
If you later change the extension settings, generate a new script and update it in the automation. If you add new template tokens or Airtable fields, make sure the updated script includes them.
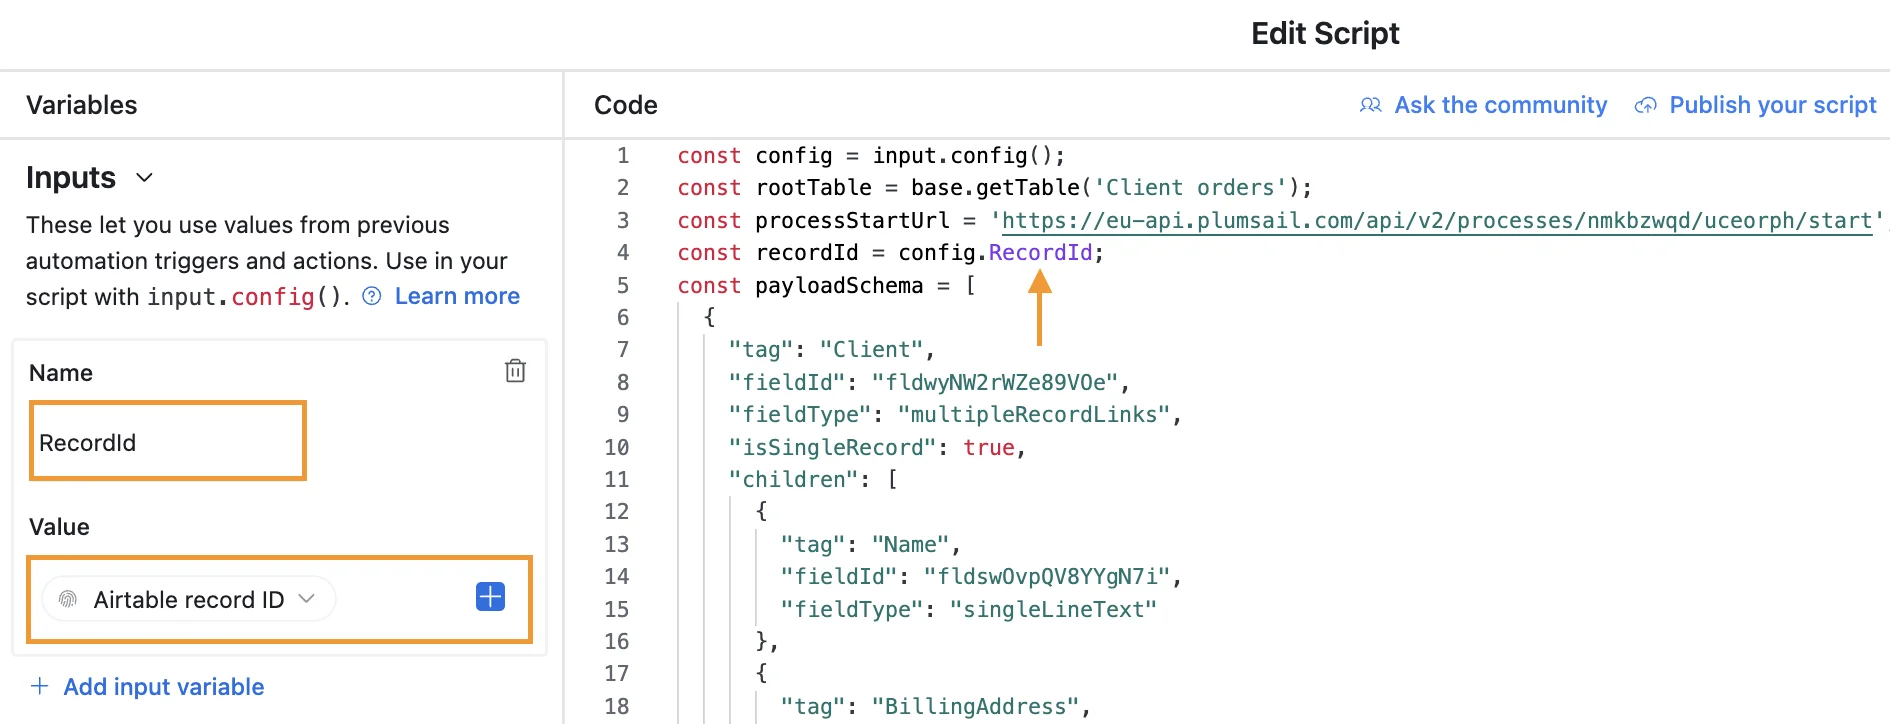
Finally, create an input variable named RecordId and map it to the Airtable record ID.
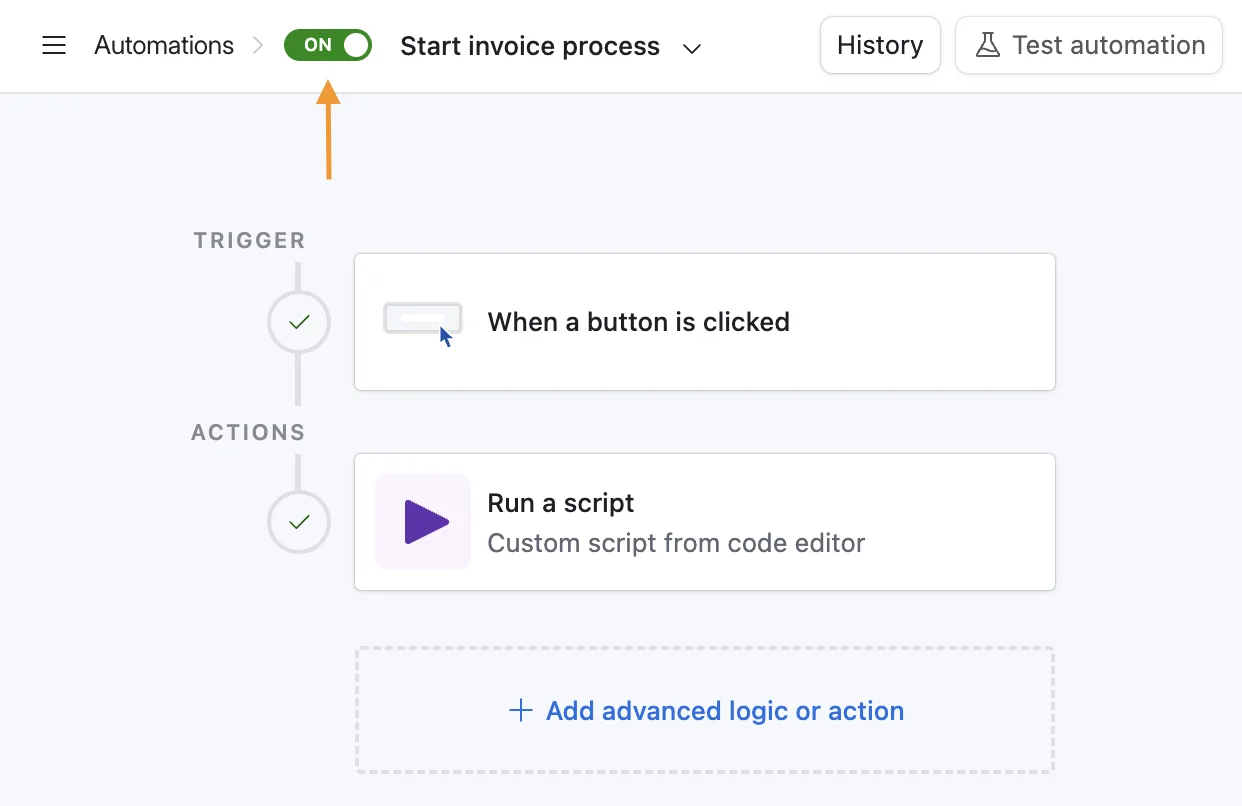
Test the automation, then turn it on.
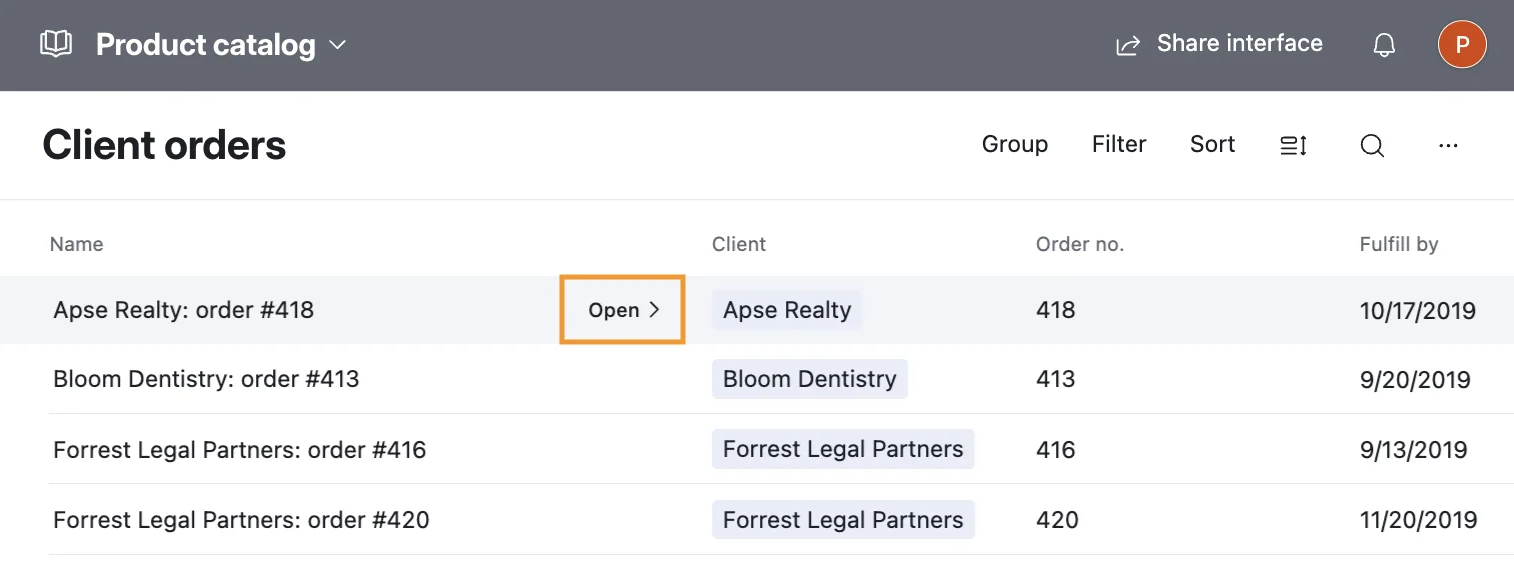
Return to the Airtable Interface and publish it.
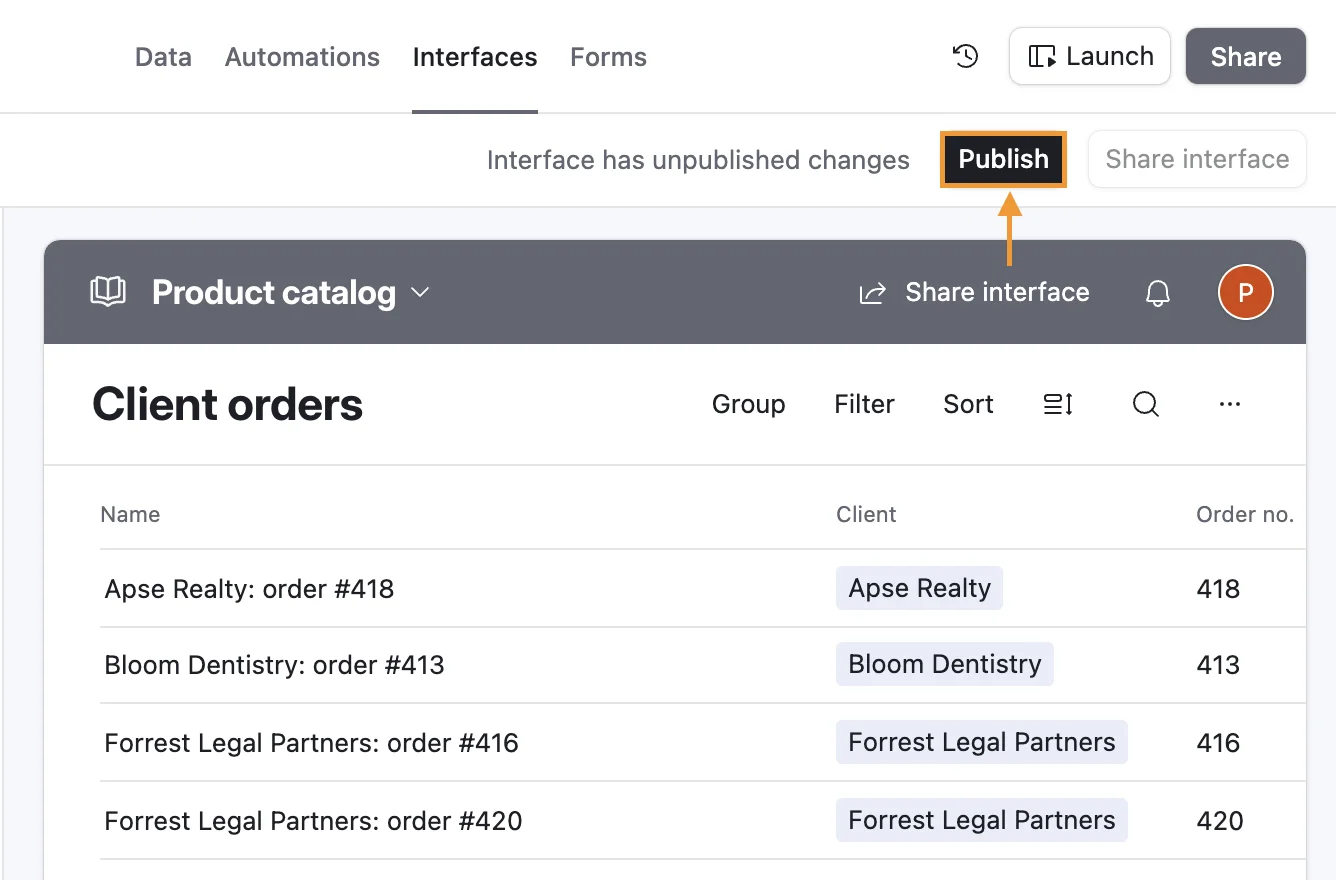
You can now generate invoices from the Interface by running the automation.
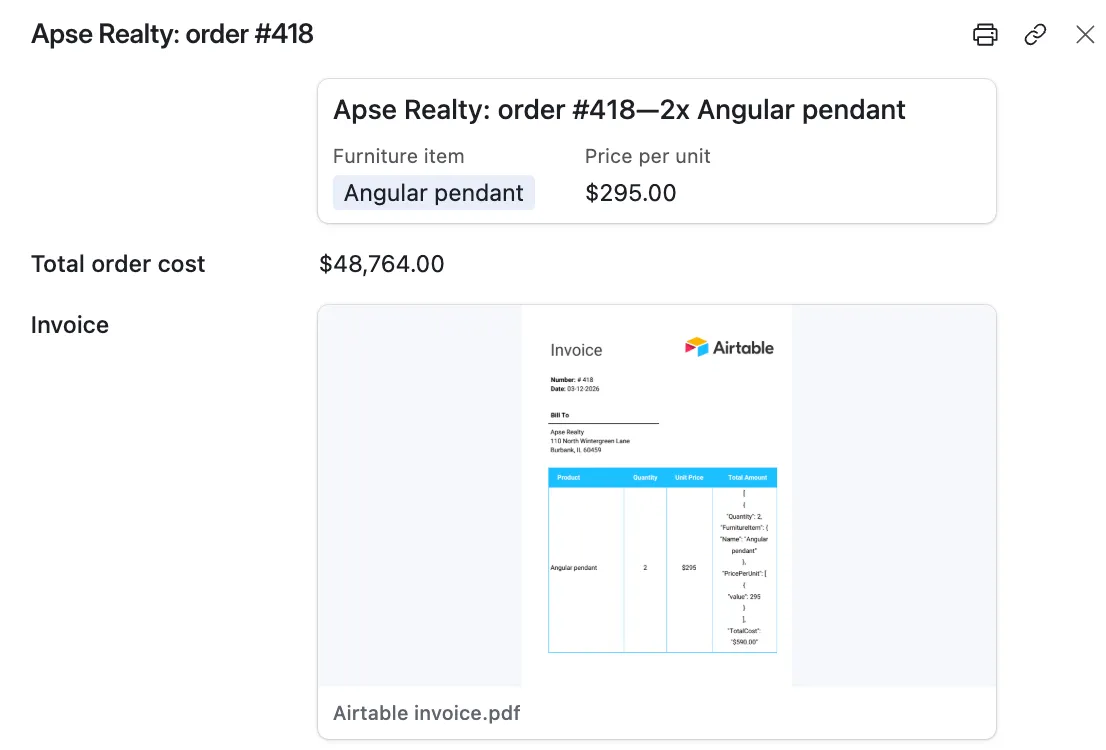
The generated invoices are attached to the Invoice field in the Airtable base.
The invoice is also sent to recipients through Gmail delivery.
Note
To learn more about Airtable Automations, see the Airtable documentation.
If you are new to Plumsail Documents, create an account to start a 1-month free trial.