DocuSign delivery
The DocuSign delivery sends the resulting document to DocuSign for signing.
First of all, you need to connect to your DocuSign account from the Plumsail account:

At this step, you can select an environment - either Sandbox or Production. Sandbox environment allows you to test sending documents for signature without being charged, but documents won’t be valid. Make sure you have a DocuSign demo account (it’s also called a developer account) to be able to connect to DocuSign Sandbox. Otherwise, select Production.
After you connected, you can customize the DocuSign delivery settings.
Main settings
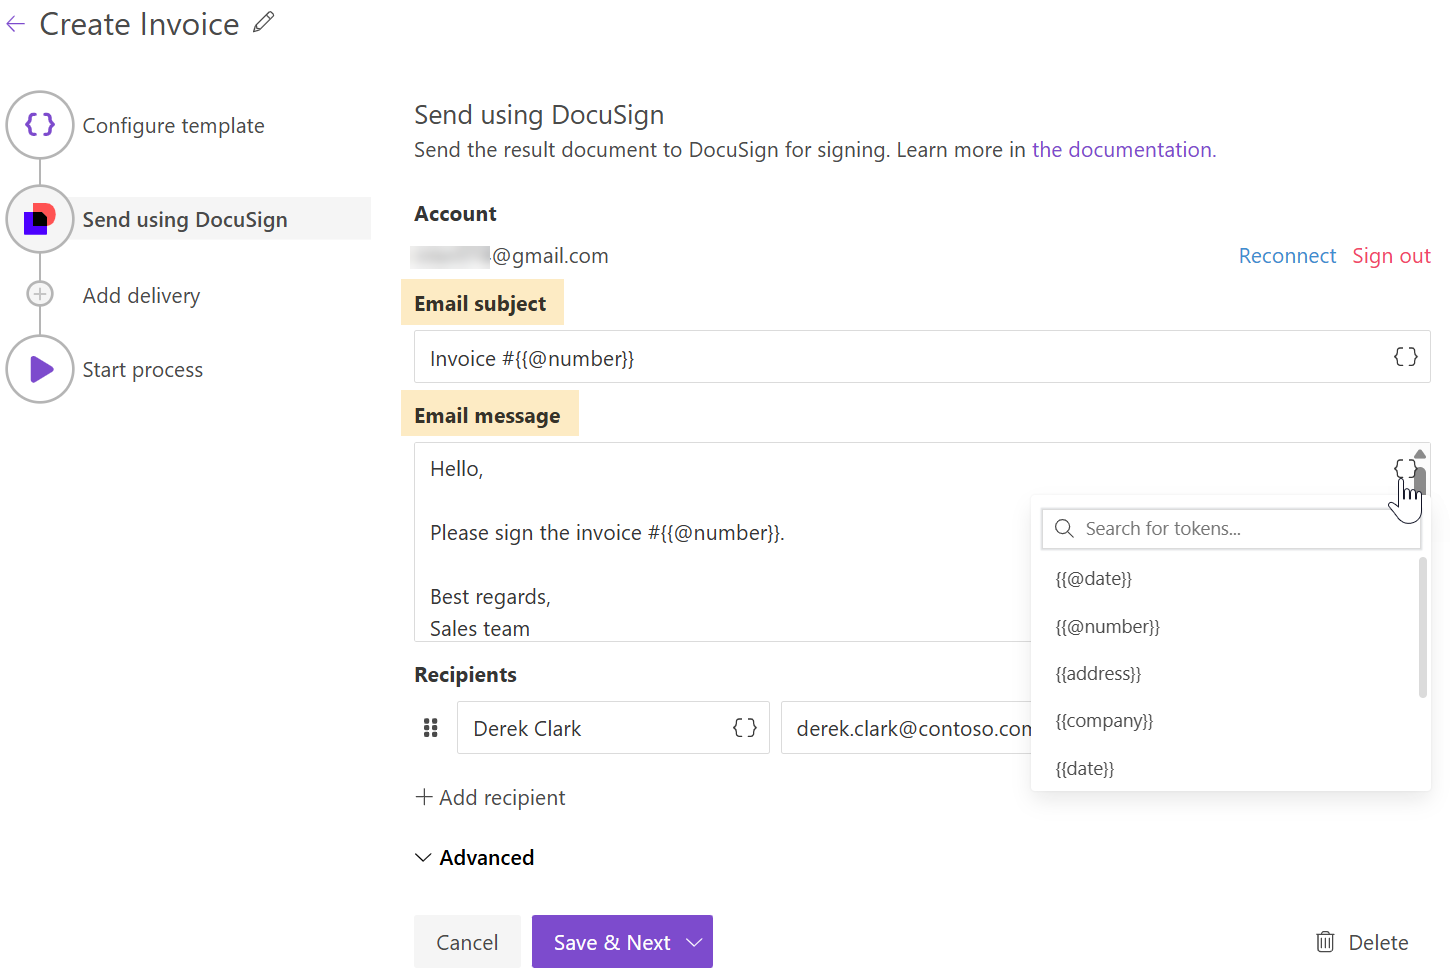
Fill in email subject and body and also check how to use tokens inside these fields.

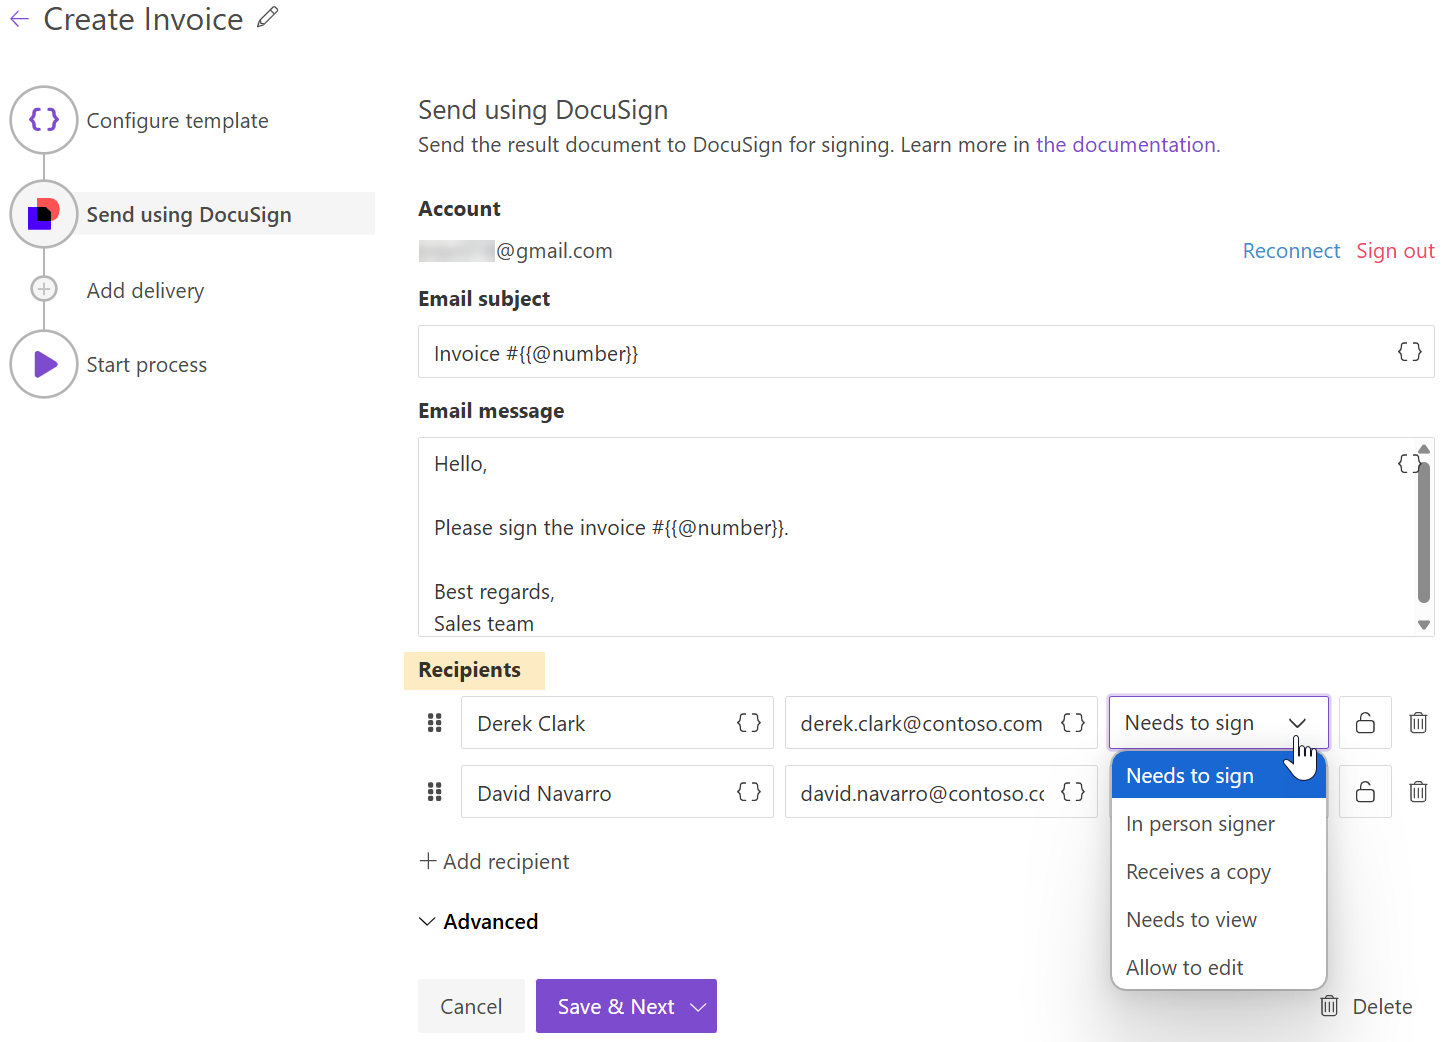
Add recipients - as many as you need and assign roles to them. Check how to specify recipients dynamically based on your data.

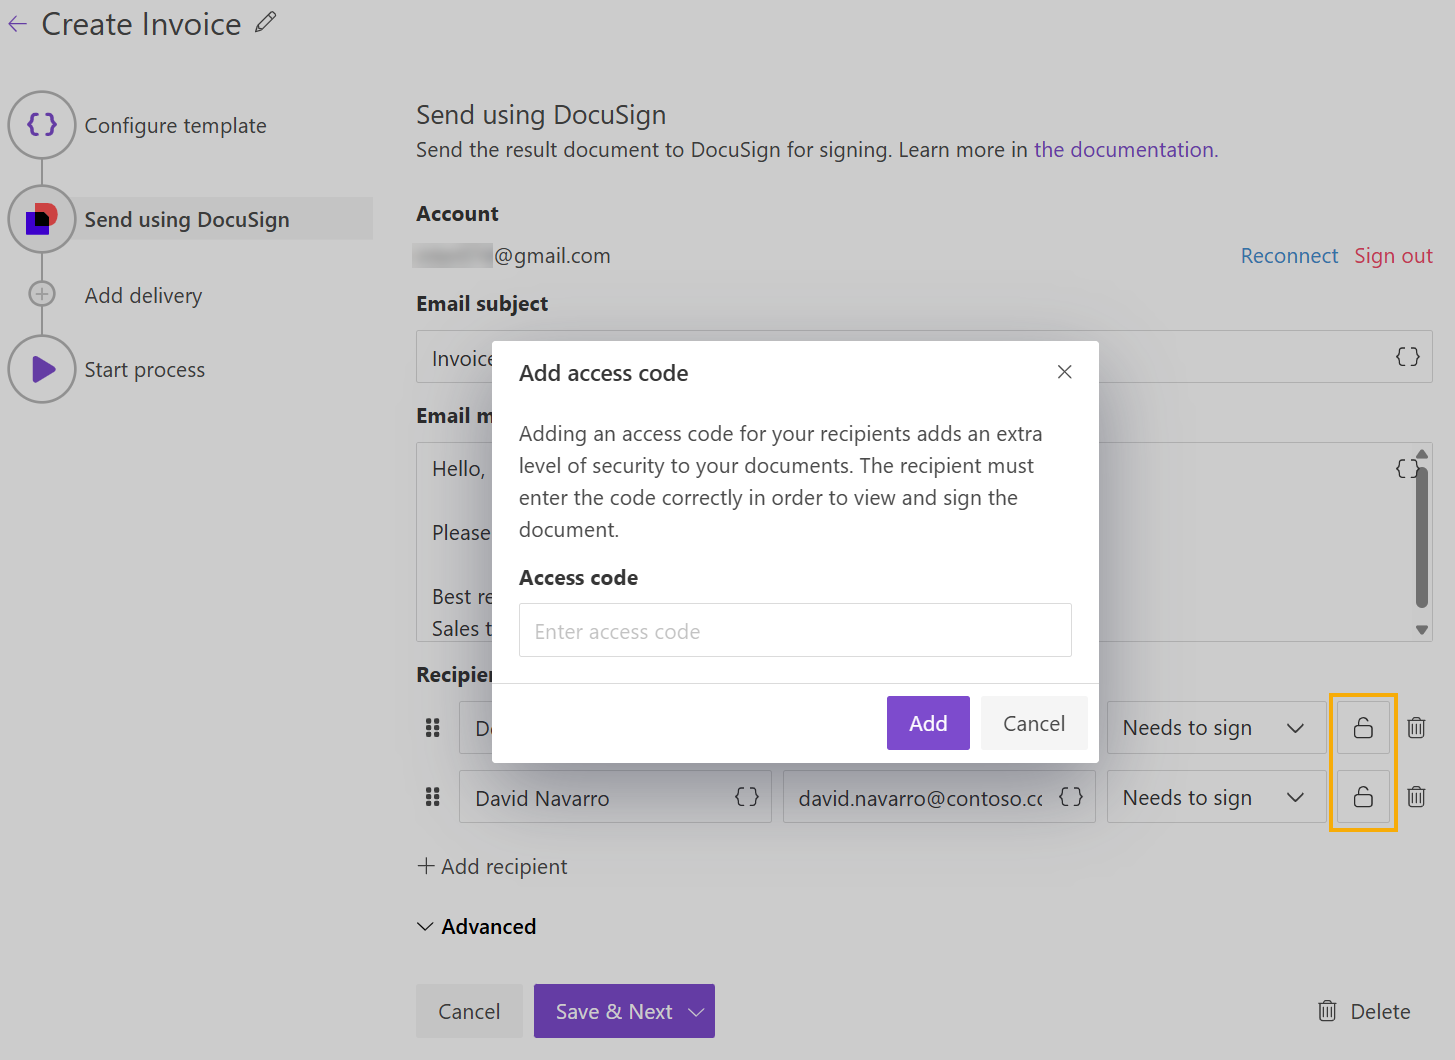
Optionally, you can add an access code by clicking the lock button next to a recipient. Adding an access code for your recipients adds an extra level of security to your documents. The recipient must enter the code correctly in order to view and sign the document.

Sequential signing and other advanced settings
Expand Advanced to customize more settings:

Here you can switch on Sequential signing, then just drag and drop recipients to define an order in which they should sign the document:

You can also set an expiration period for envelopes and configure reminder notifications. By default, envelopes expire after 120 days, after which recipients can no longer view or sign them. When reminders are enabled, you can specify how often follow-up notifications are sent. Ensure that the reminder frequency is shorter than the expiration period.

Specify recipients dynamically based on your data
You may want to set recipients dynamically for each document. In this case, you can use tokens inside the Name and Email fields. The data passed to the process will define who receives the document.

The Email token can contain not just a single email address but a list of addresses, separated by commas or semicolons:
{
    "email": "Derek Clark <d.clark@contoso.com>; Jessica Adams <j.adams@contoso.com>"
}
If you put the list of recipients into the Email field, the information you typed in the Name field will be skipped.
You can specify recipient names in the list by placing names before the email address.

Or you can omit that, and the email address will be displayed as a recipient name.
In case Sequential signing is enabled, the order in which recipients receive the document will be the same as in the list.
If you add an Access code, all recipients on the list will receive the same code. If you want them to receive different codes, add each recipient individually to the Recipients section.
Use tokens inside email subject and body
You can insert values from your data using tokens.
Their list is available by clicking { }.
Let us assume your data has property address.
In this case, you can include it using token {{address}}.
The tokens work in the same way as in document templates including value functions.
Additionally, you can use predefined tokens:
{{@date}}- full current date with time,{{@number}}- the current document number.
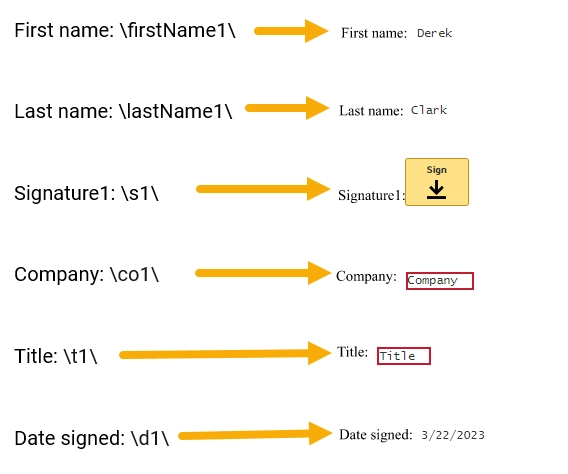
Note
