Xodo Sign (formerly eversign) delivery
The Xodo Sign (formerly eversign) delivery sends the resulting document to Xodo Sign for signing.
Before configuring the delivery, connect your Xodo Sign account in Plumsail account.
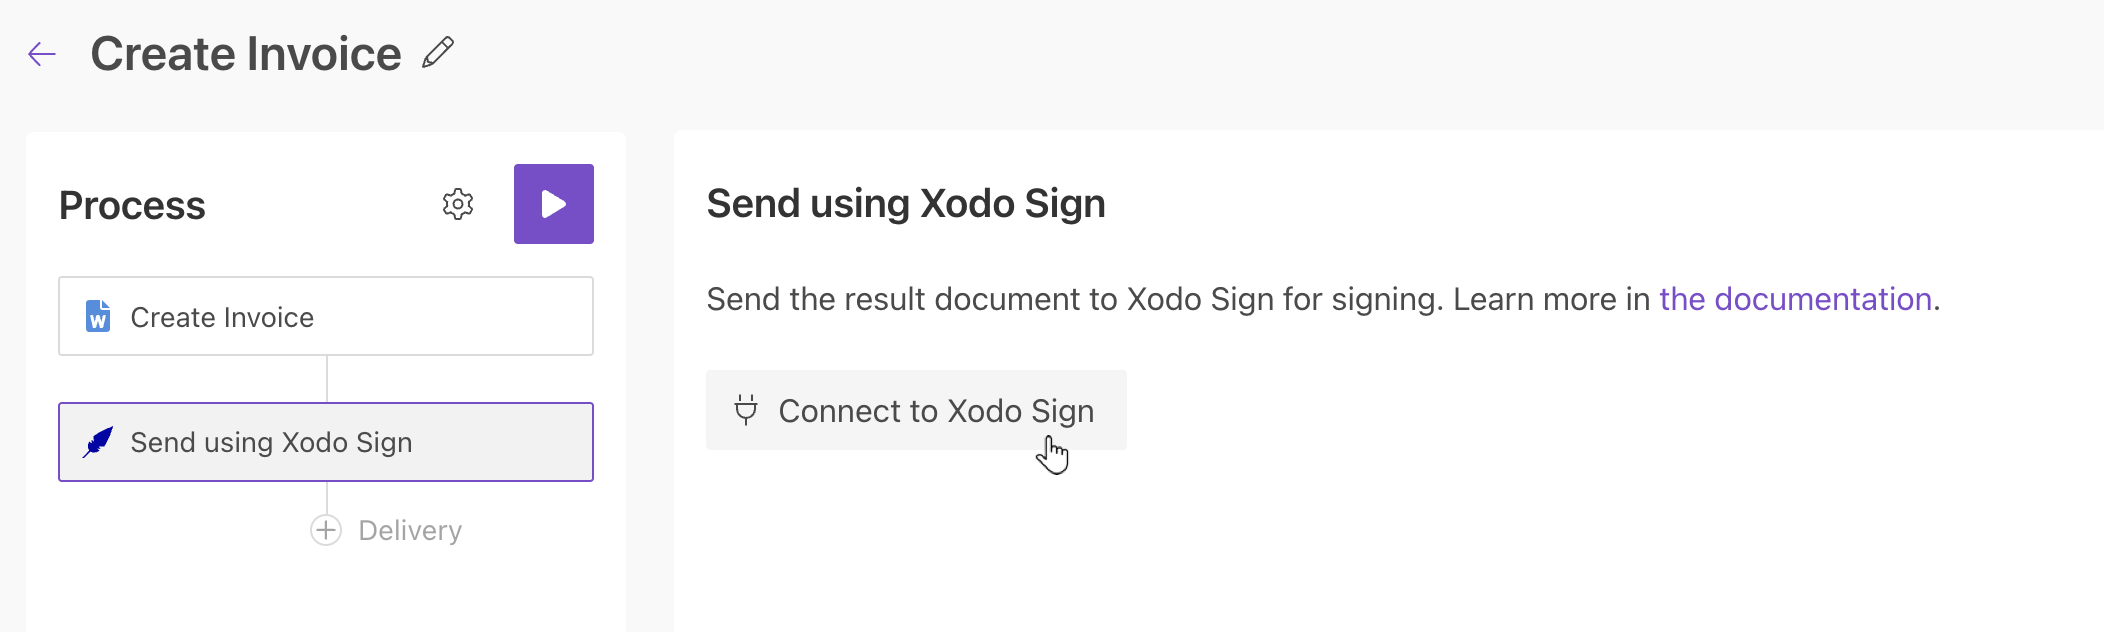
Once connected, configure the Xodo Sign delivery settings.
Note
See Automatically generate documents from template and send to Xodo Sign for e-signing article for a complete example.
Main settings
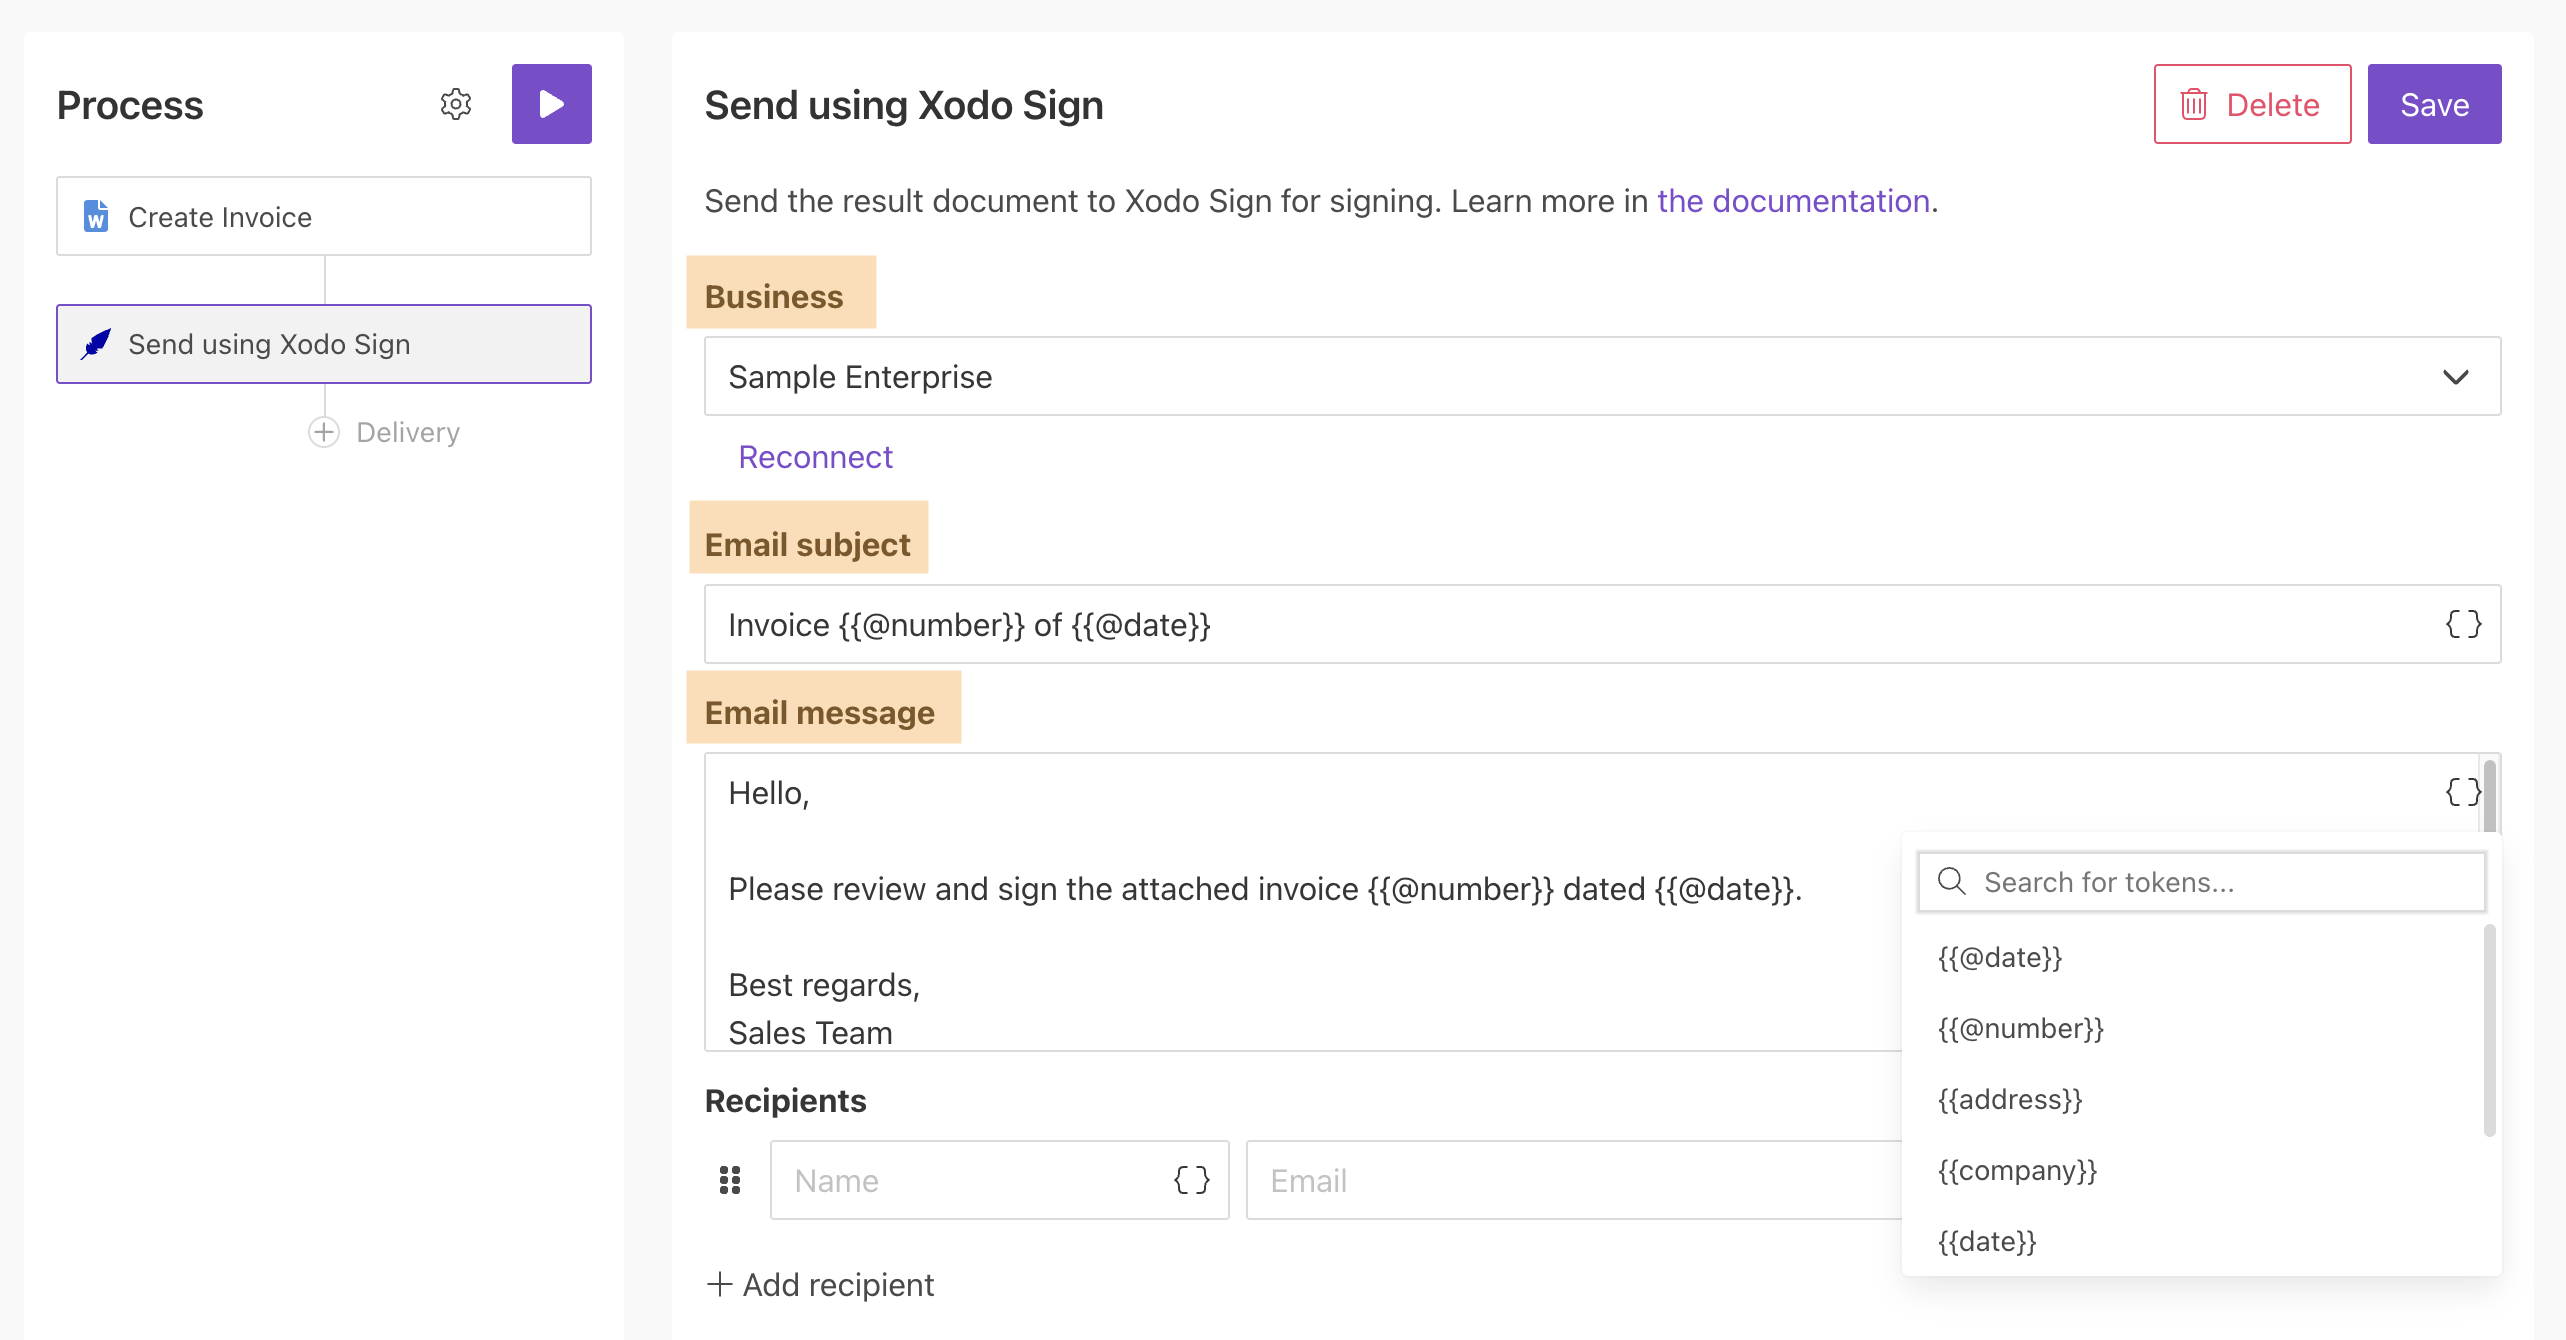
Select the Business and specify the email subject and body. See how to use tokens inside these fields.
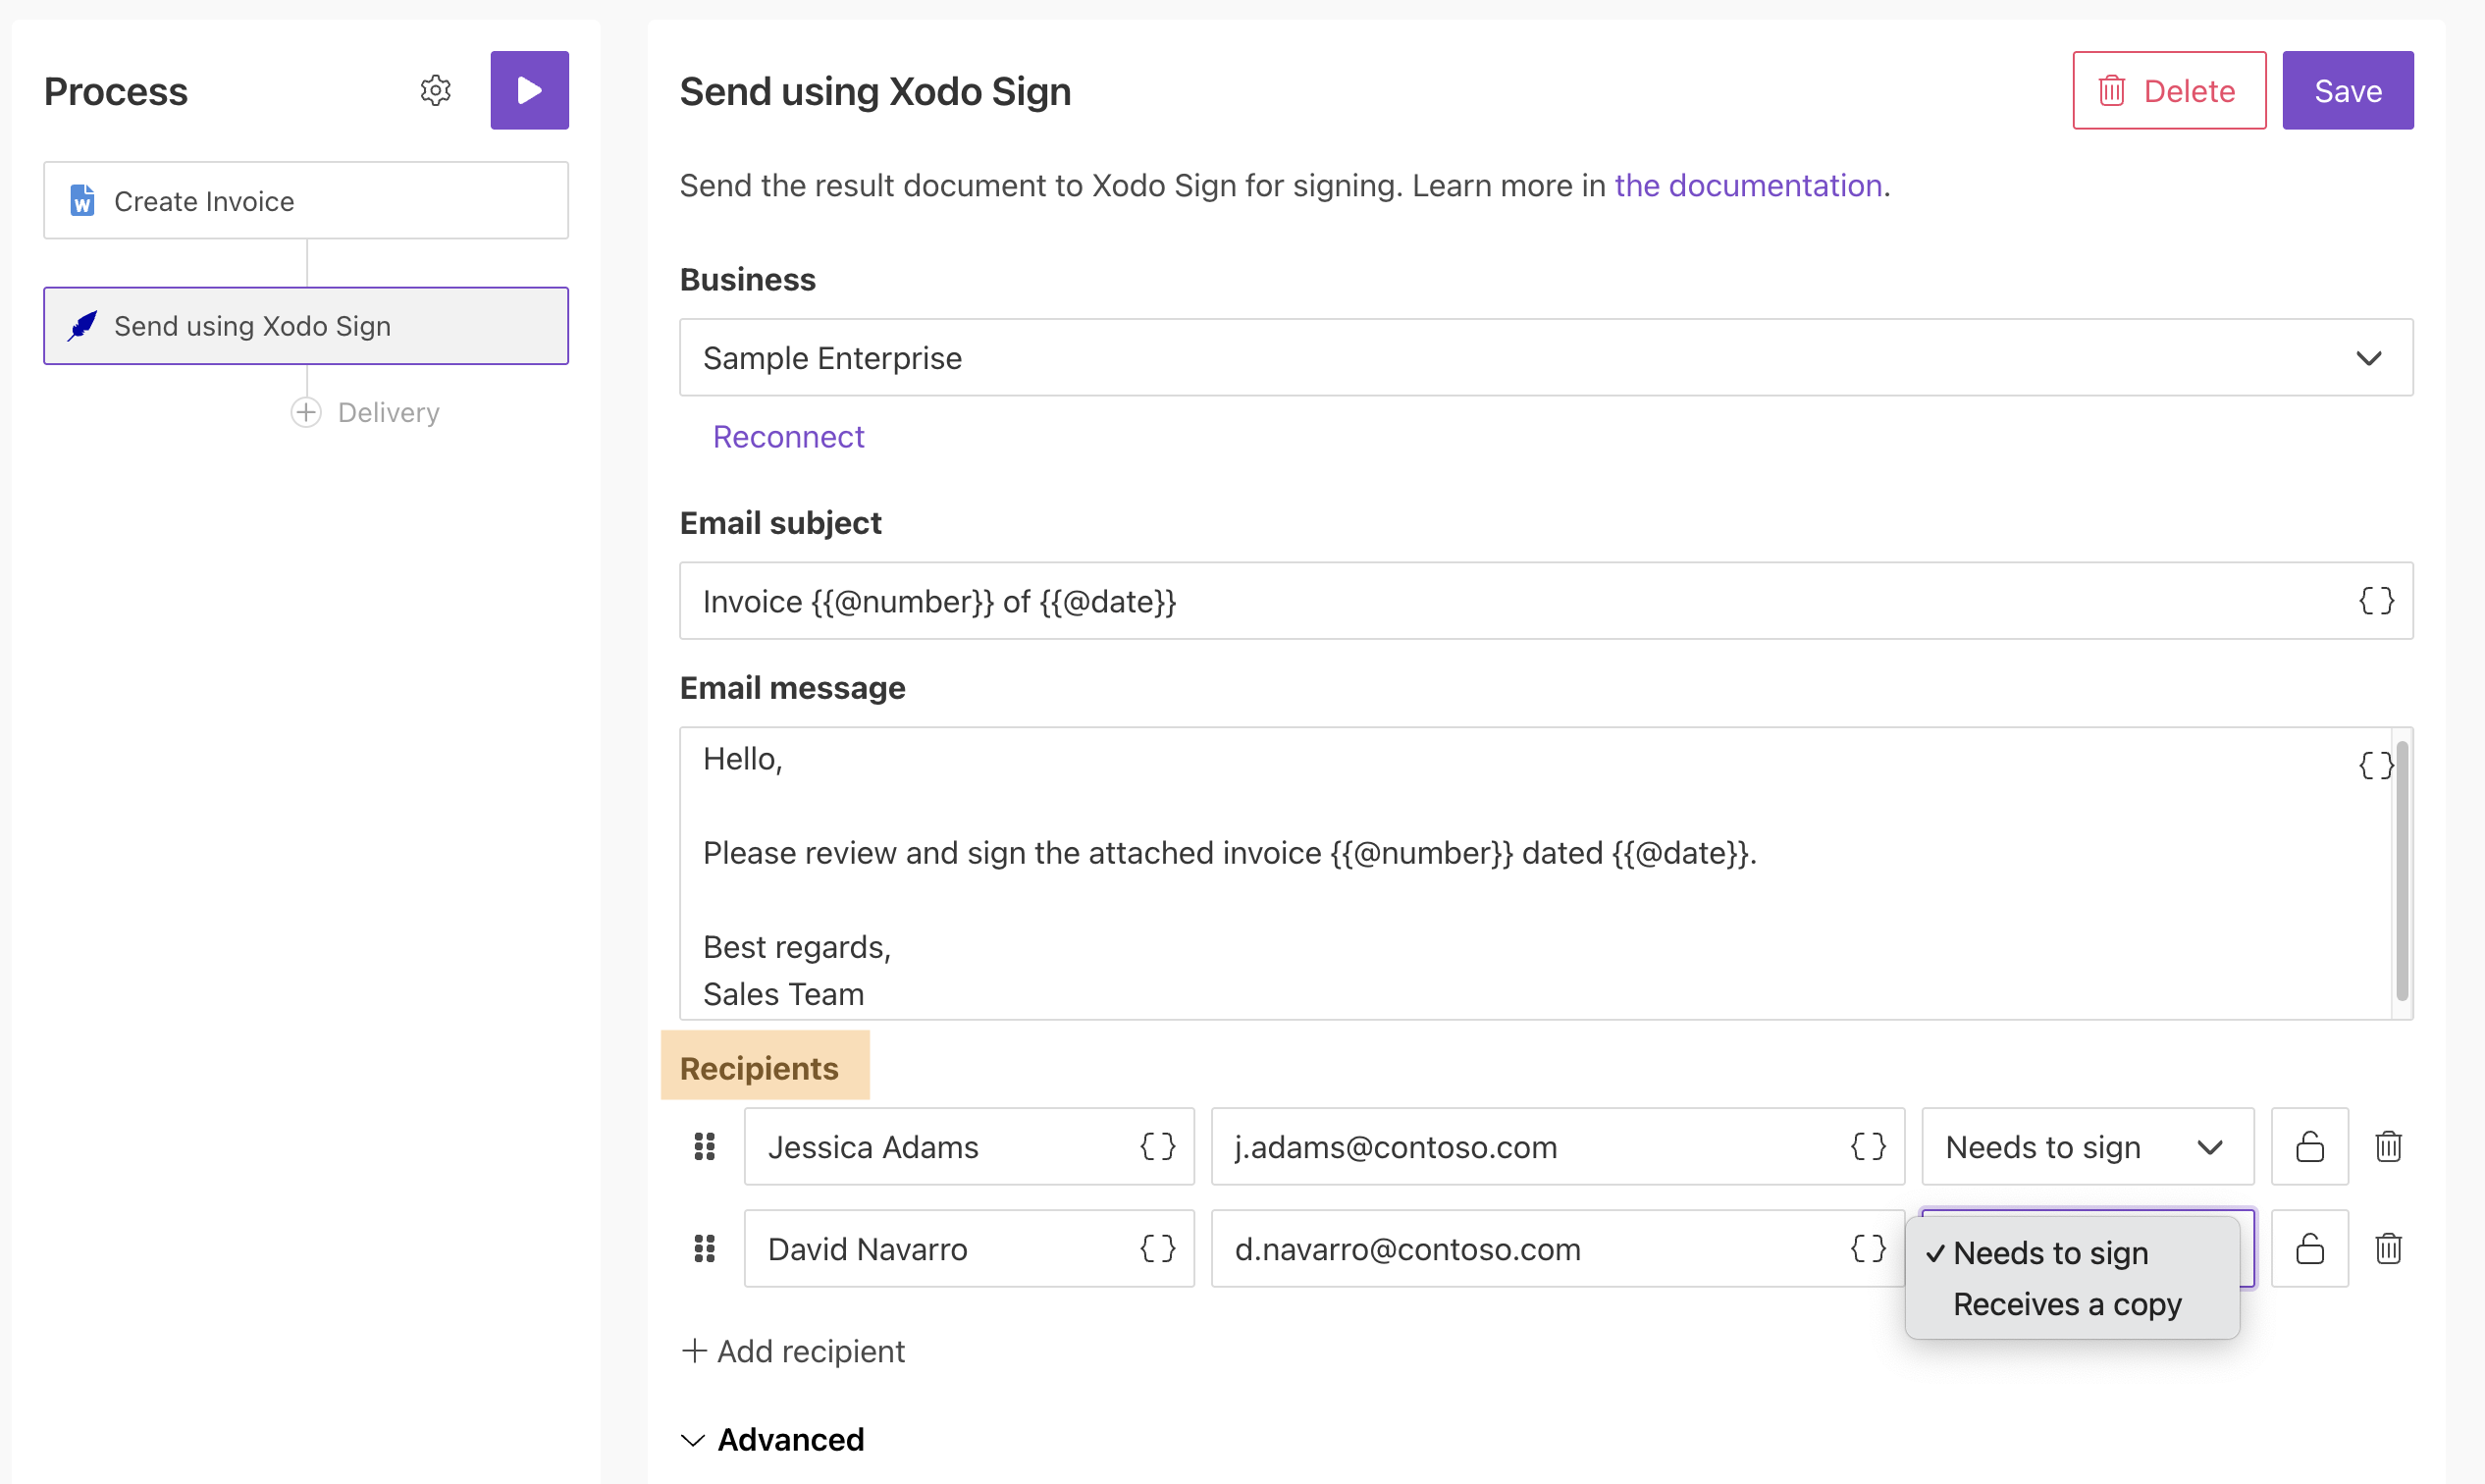
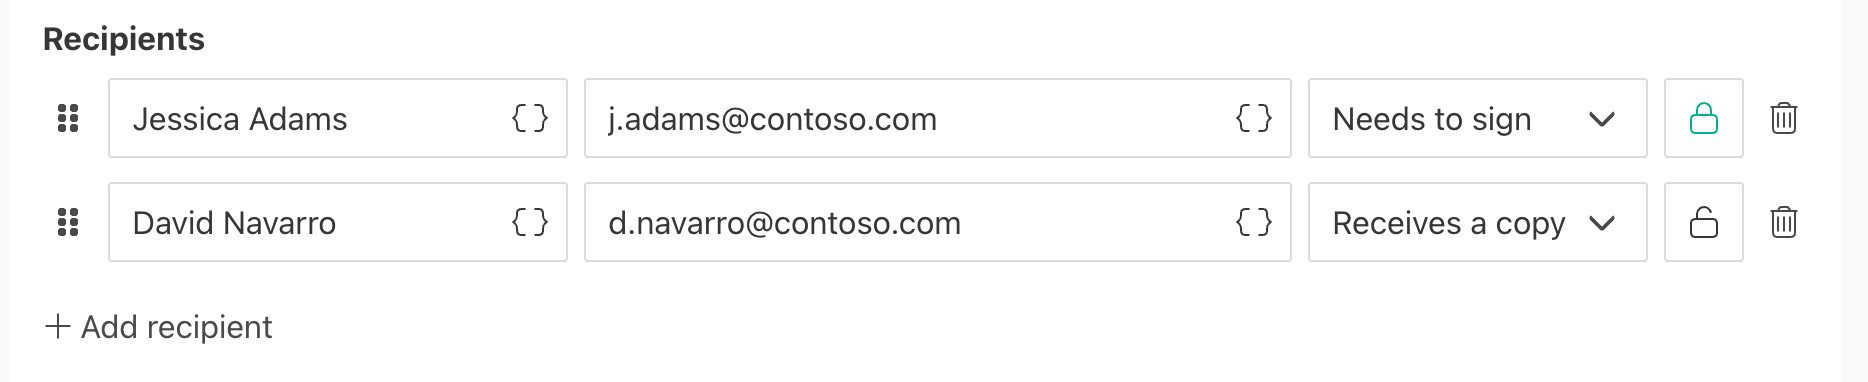
Add as many recipients as needed and assign roles to them. Check how to specify recipients dynamically based on your data.
Optionally, add Signer PIN by clicking the lock icon next to a recipient. This adds an extra level of security. The recipient must enter the code to view and sign the document.
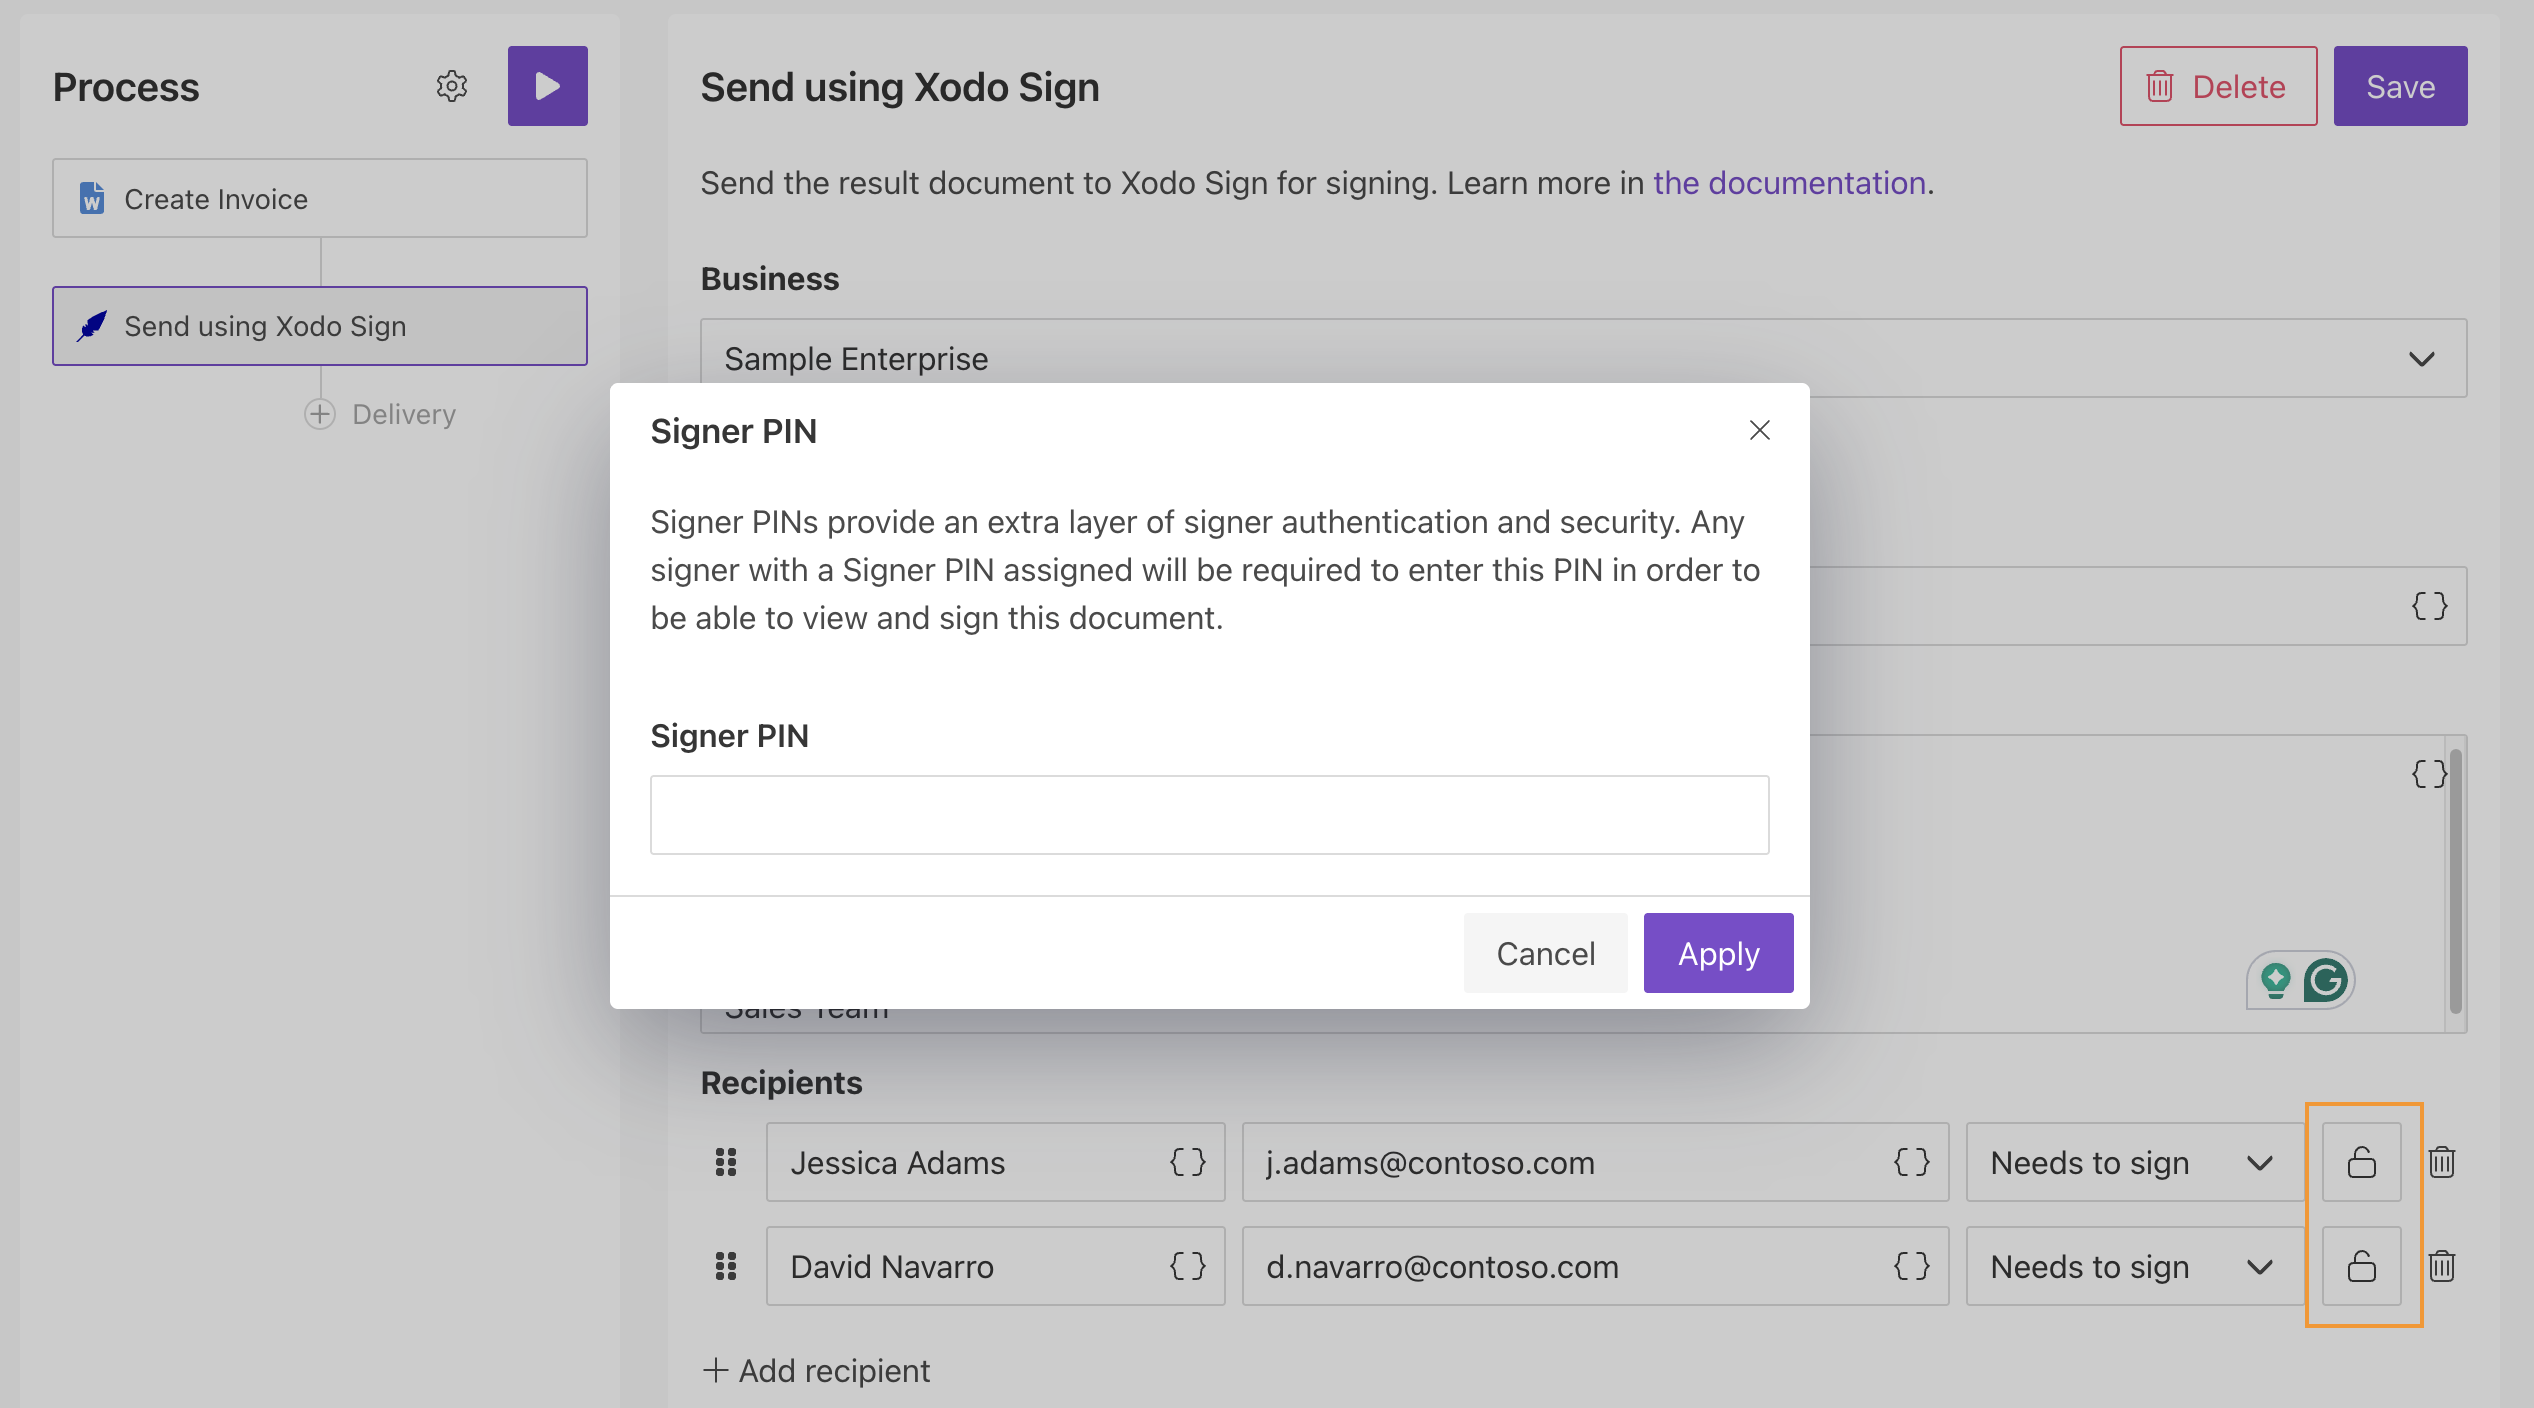
Active options are highlighted in green.
Advanced settings
Expand the Advanced section to configure more settings:
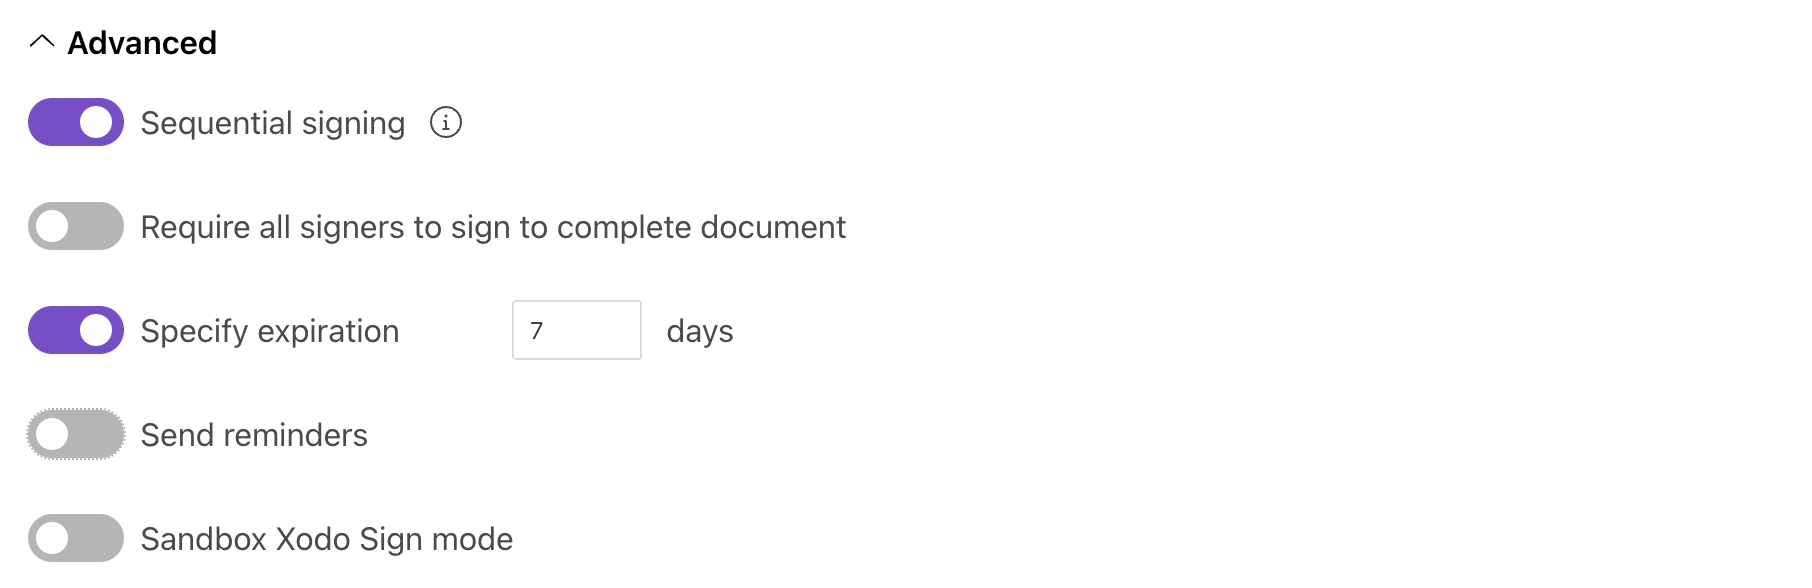
Enable Sequential signing to control the signing order. Drag and drop recipients to define the sequence in which they sign the document:

Enable Require all signers to sign to ensure the document is completed only after all recipients sign it. If any signer declines, the document is canceled.
You can also configure an expiration period for documents and set up reminder notifications. By default, envelopes expire after 120 days. After that, recipients can no longer view or sign them.
One more significant option here is to enable Sandbox Xodo Sign mode. With Sandbox on, you won’t be charged, and signed documents are for testing purposes only. They will have a tag [test-only-not-binding]. Use this mode for testing purposes.
Use signature and other related tags
Xodo Sign integration in Plumsail Documents allows you to use special tags to define the location of signatures and other fields. Each signer sees fields indicating where to sign and what information to provide.
Tags are text elements enclosed in [square brackets]. They include multiple parameters separated by | symbols.
To hide tags from viewers, set the text color to white or match the background color.
You can specify up to 9 parameters.
Name |
Description |
|---|---|
Field type |
Available field types are |
Required / Non-Required |
|
Signer Number |
|
Field Label |
This is to display placeholders for text fields (for example, |
Field identifier |
Example: |
Prefill Field Value |
This value will auto-fill the field. |
Field Width Override |
By default, the field width is the same as the tag’s. It’s possible to override it by specifying width in pixels like |
Field Height Override |
By default, the field height is the same as the tag’s. It’s possible to override it by specifying height in pixels like |
Field Validation |
There are three types of validation: |
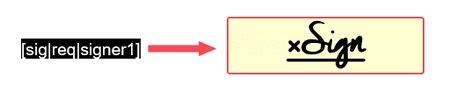
The most simple example is [sig|req|signer1], where:
- sig defines a signature field
- req marks it as required
- signer1 assigns it to the first signer
Here is how it appears for the signer:
You can create more complex tags with prefilled values, such as signer name, title, or date. Validation rules can also be applied.
Please, find more examples and explanations in the Xodo Sign documentation.
Specify recipients dynamically based on your data
You can define recipients dynamically using tokens in the Name and Email fields. The data passed to the process determines who receives the document.
The Email field can contain a single address or a list of addresses separated by commas or semicolons:
{
    "email": "Derek Clark <d.clark@contoso.com>; Jessica Adams <j.adams@contoso.com>"
}
If you provide a list of recipients in the Email field, the Name field is ignored.
You can specify recipient names in the list by placing names before the email address:

Behavior details:
If no name is provided, the email address is used as the recipient name.
If Sequential signing is enabled, recipients receive the document in the order specified in the list.
If you add an Access code, all recipients in the list receive the same code. To assign different codes, add recipients individually in the Recipients section.
Use tokens inside email subject and body
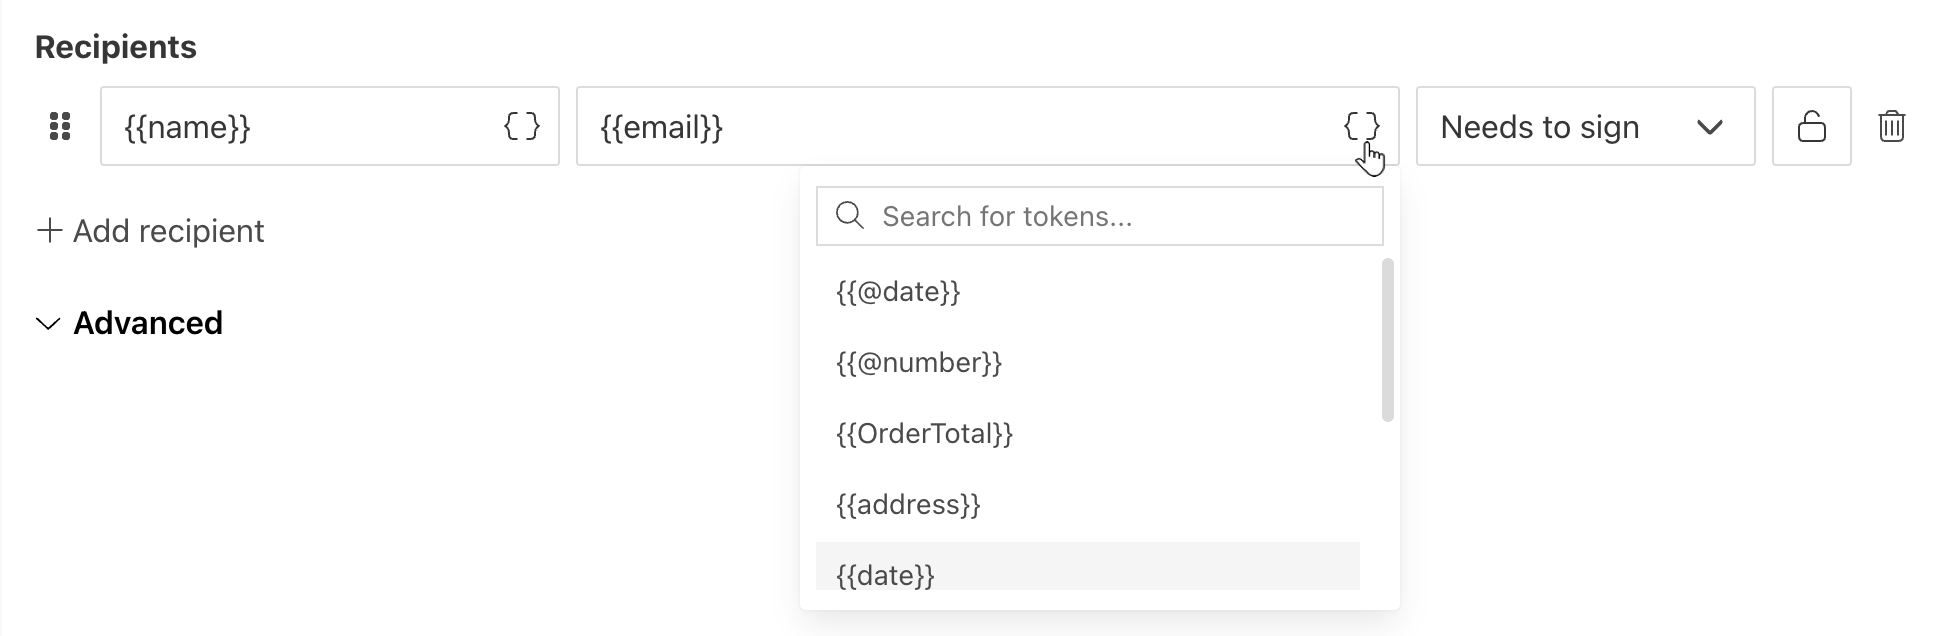
You can insert values from your data using tokens.
Click { } to open the list of available tokens.
For example, if your data contains a property called address, insert it using the token {{address}}.
Tokens work the same way as in document templates and also support value functions.
You can also use predefined tokens:
{{@date}}- the current date and time{{@number}}- the current document number.
Note