How to add row to Excel table (Office 365) using Power Automate Flow
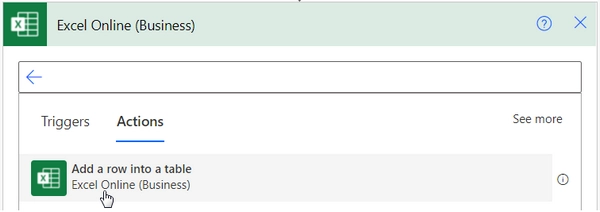
In this article, we’ll show you how to use an Add a Row into a Table action from the Excel Online (Business) connector for Power Automate:
You can perform this action on whatever trigger suits your scenario. For example, you may want to retrieve data from SharePoint and add new rows into your Excel table or automatically add rows on form submissions. Dozens of cases.
We’ll use Manually trigger a flow to show how “Add a row into a table” works. And as a bonus, we’ll show how to add rows automatically on Plumsail web form submission.
Add a row into a table - action overview
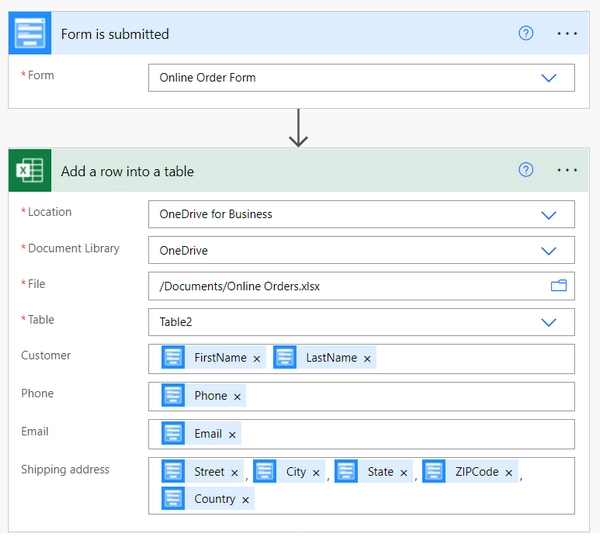
This is how our Flow looks:
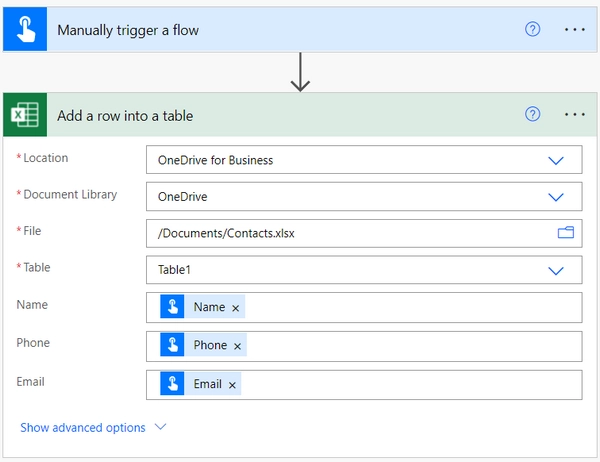
Add a row into a table action has the following parameters:
Location - we selected OneDrive for Business as our Excel file is stored there.
Document library - here, you need to specify a document library within the selected location.
File - specify the Excel file you’d like to add rows.
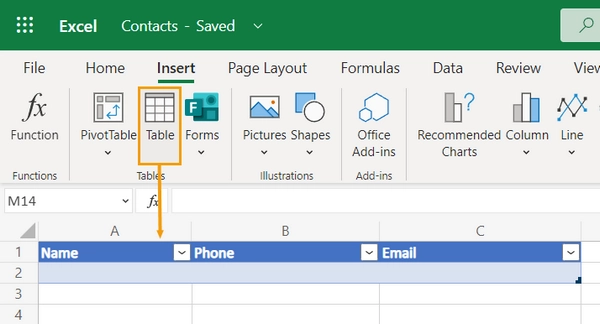
Table - select a table inside the Excel file. If you are working with a regular Excel file, you might not need to add a table, but the current version of the Excel Online (Business) connector only supports adding rows to tables. That’s why it’s better to create a table beforehand.
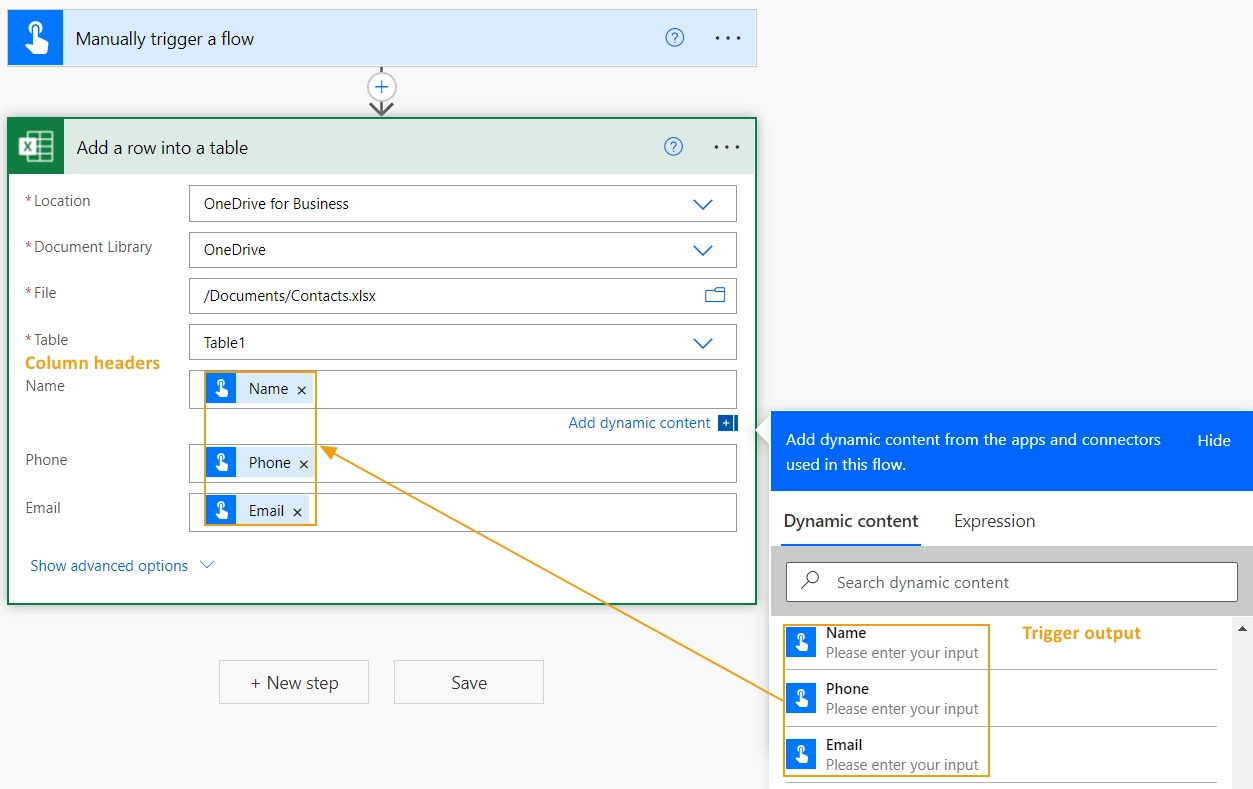
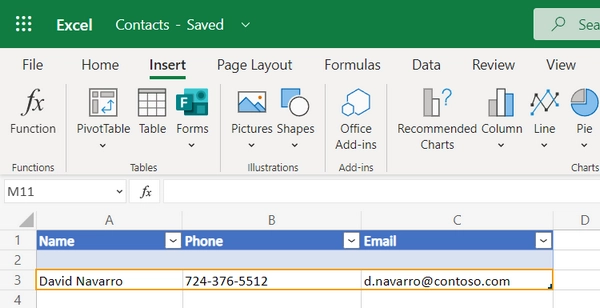
Map table headers with trigger output - in our case, they are Name, Phone, and Email.
We tested our flow by filling text inputs in the trigger, and it ran successfully. Checking the Excel table, the row is added, great!
Now let’s see how you can automatically add rows into an Excel table on web form submission.
Add rows into Excel on Plumsail form submission
Plumsail web forms are easy to build and share. And they don’t require additional actions after the trigger to get and parse submission details if compared, for example, to Microsoft Forms.
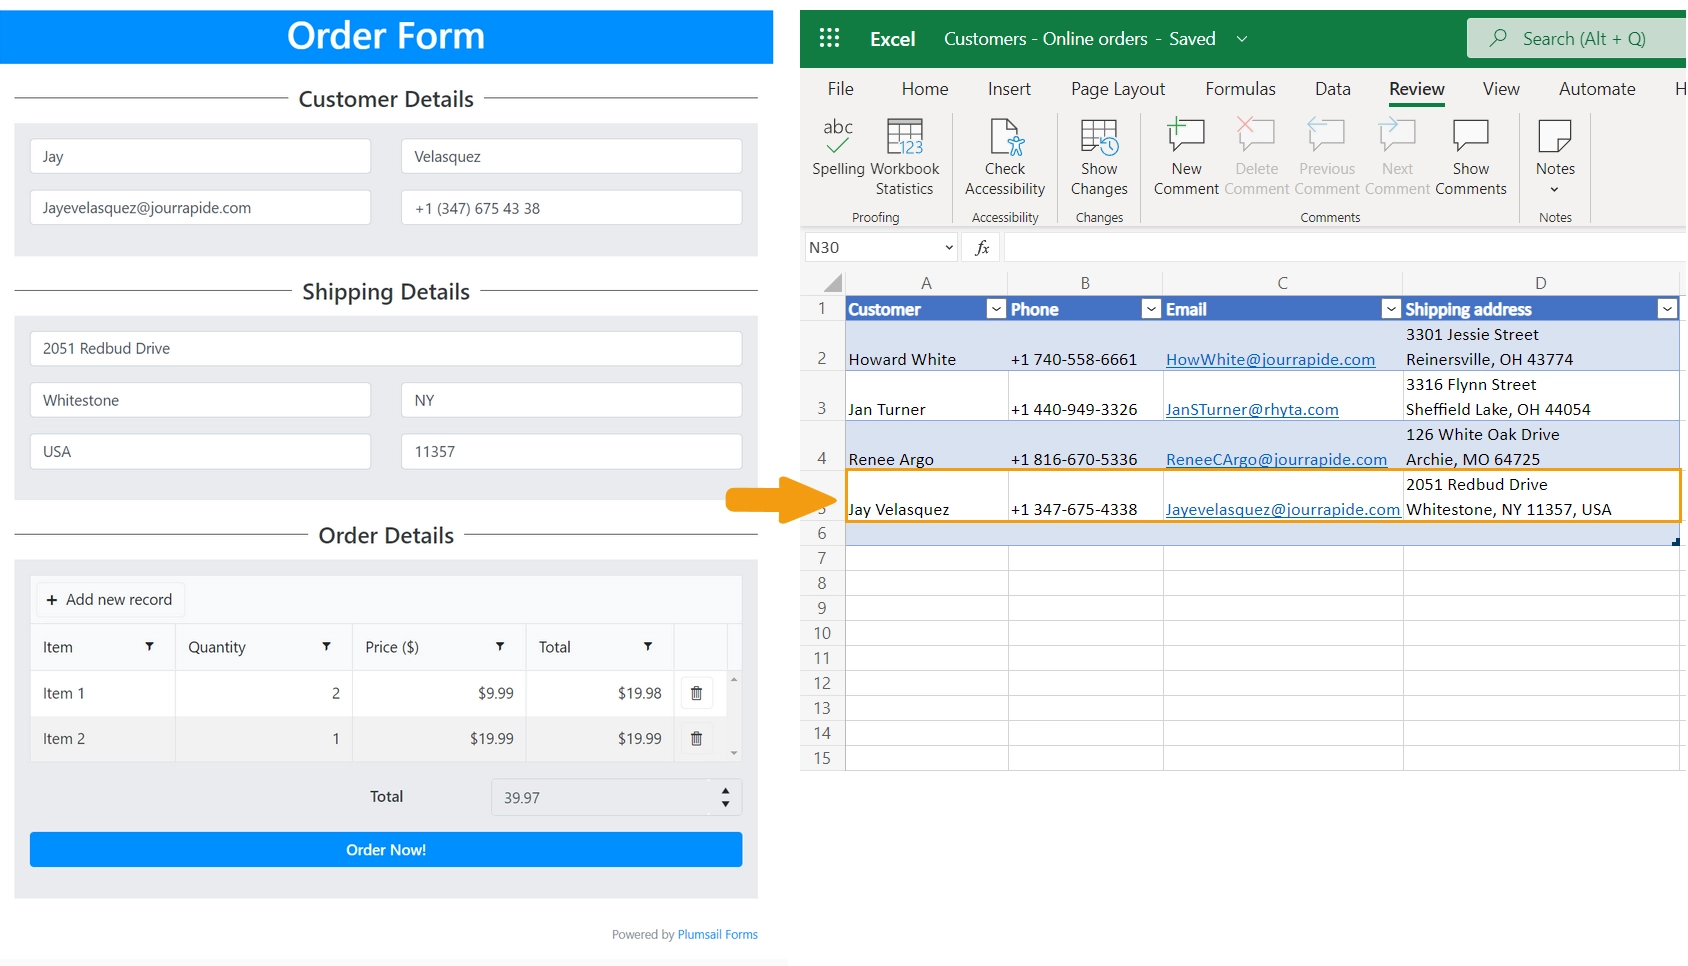
Just a two-step Flow, and you get form submissions as new rows in your Excel table.
For the Flow trigger, search for Plumsail Forms - Form is submitted.
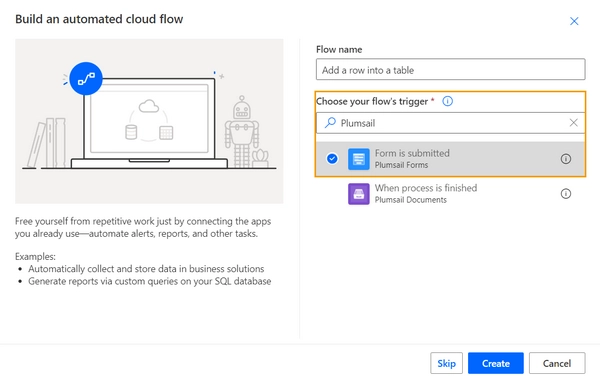
You will be asked to sign in to your Plumsail account to retrieve Forms data in Power Automate Flow. After that, you’ll be able to select the form you’d like to track for submissions. We’re utilizing an online order form. Check it in the Plumsail form template library.
Add the “Add a row into a table” action from the Excel Online connector as it’s described above. Map the table headers with the trigger output. So your Flow will look like this:
And that’s it! Every time somebody submits the form, it will add a row into the Excel table.