Create a document template for Airtable
This guide shows how to create a document template for Airtable using the Plumsail Documents extension. In this example, you’ll build an invoice template that pulls data from your Airtable base.
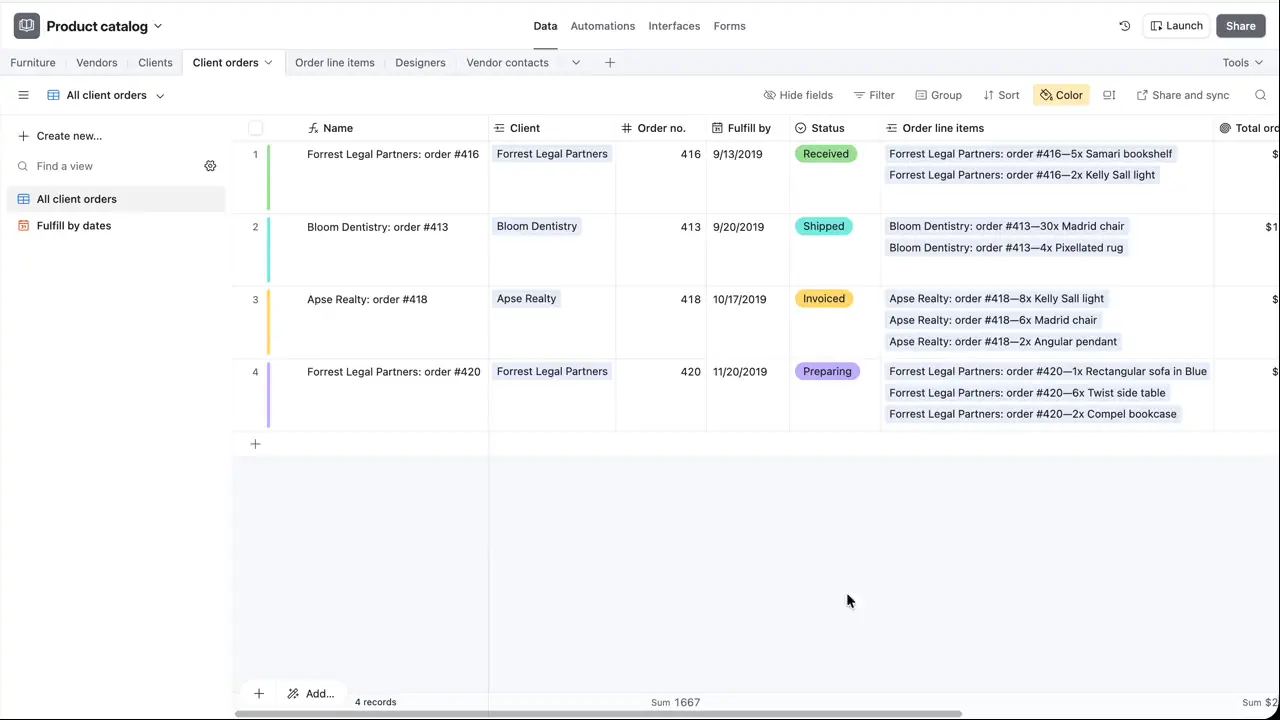
Prepare Airtable base
In this example, we’ll use the Client orders base from the Airtable Product catalog template. You can follow along with this sample base or use your own.

The invoice template will pull data from Airtable records using tokens. Tokens are placeholders wrapped in {{ }}. When the document is generated, Plumsail Documents replaces them with values from your Airtable base.
Before you can use the template, create a document generation process in Plumsail Documents.
Create document generation process
Sign in to your Plumsail Documents account. If you do not have an account, sign up for a free 30-day trial.
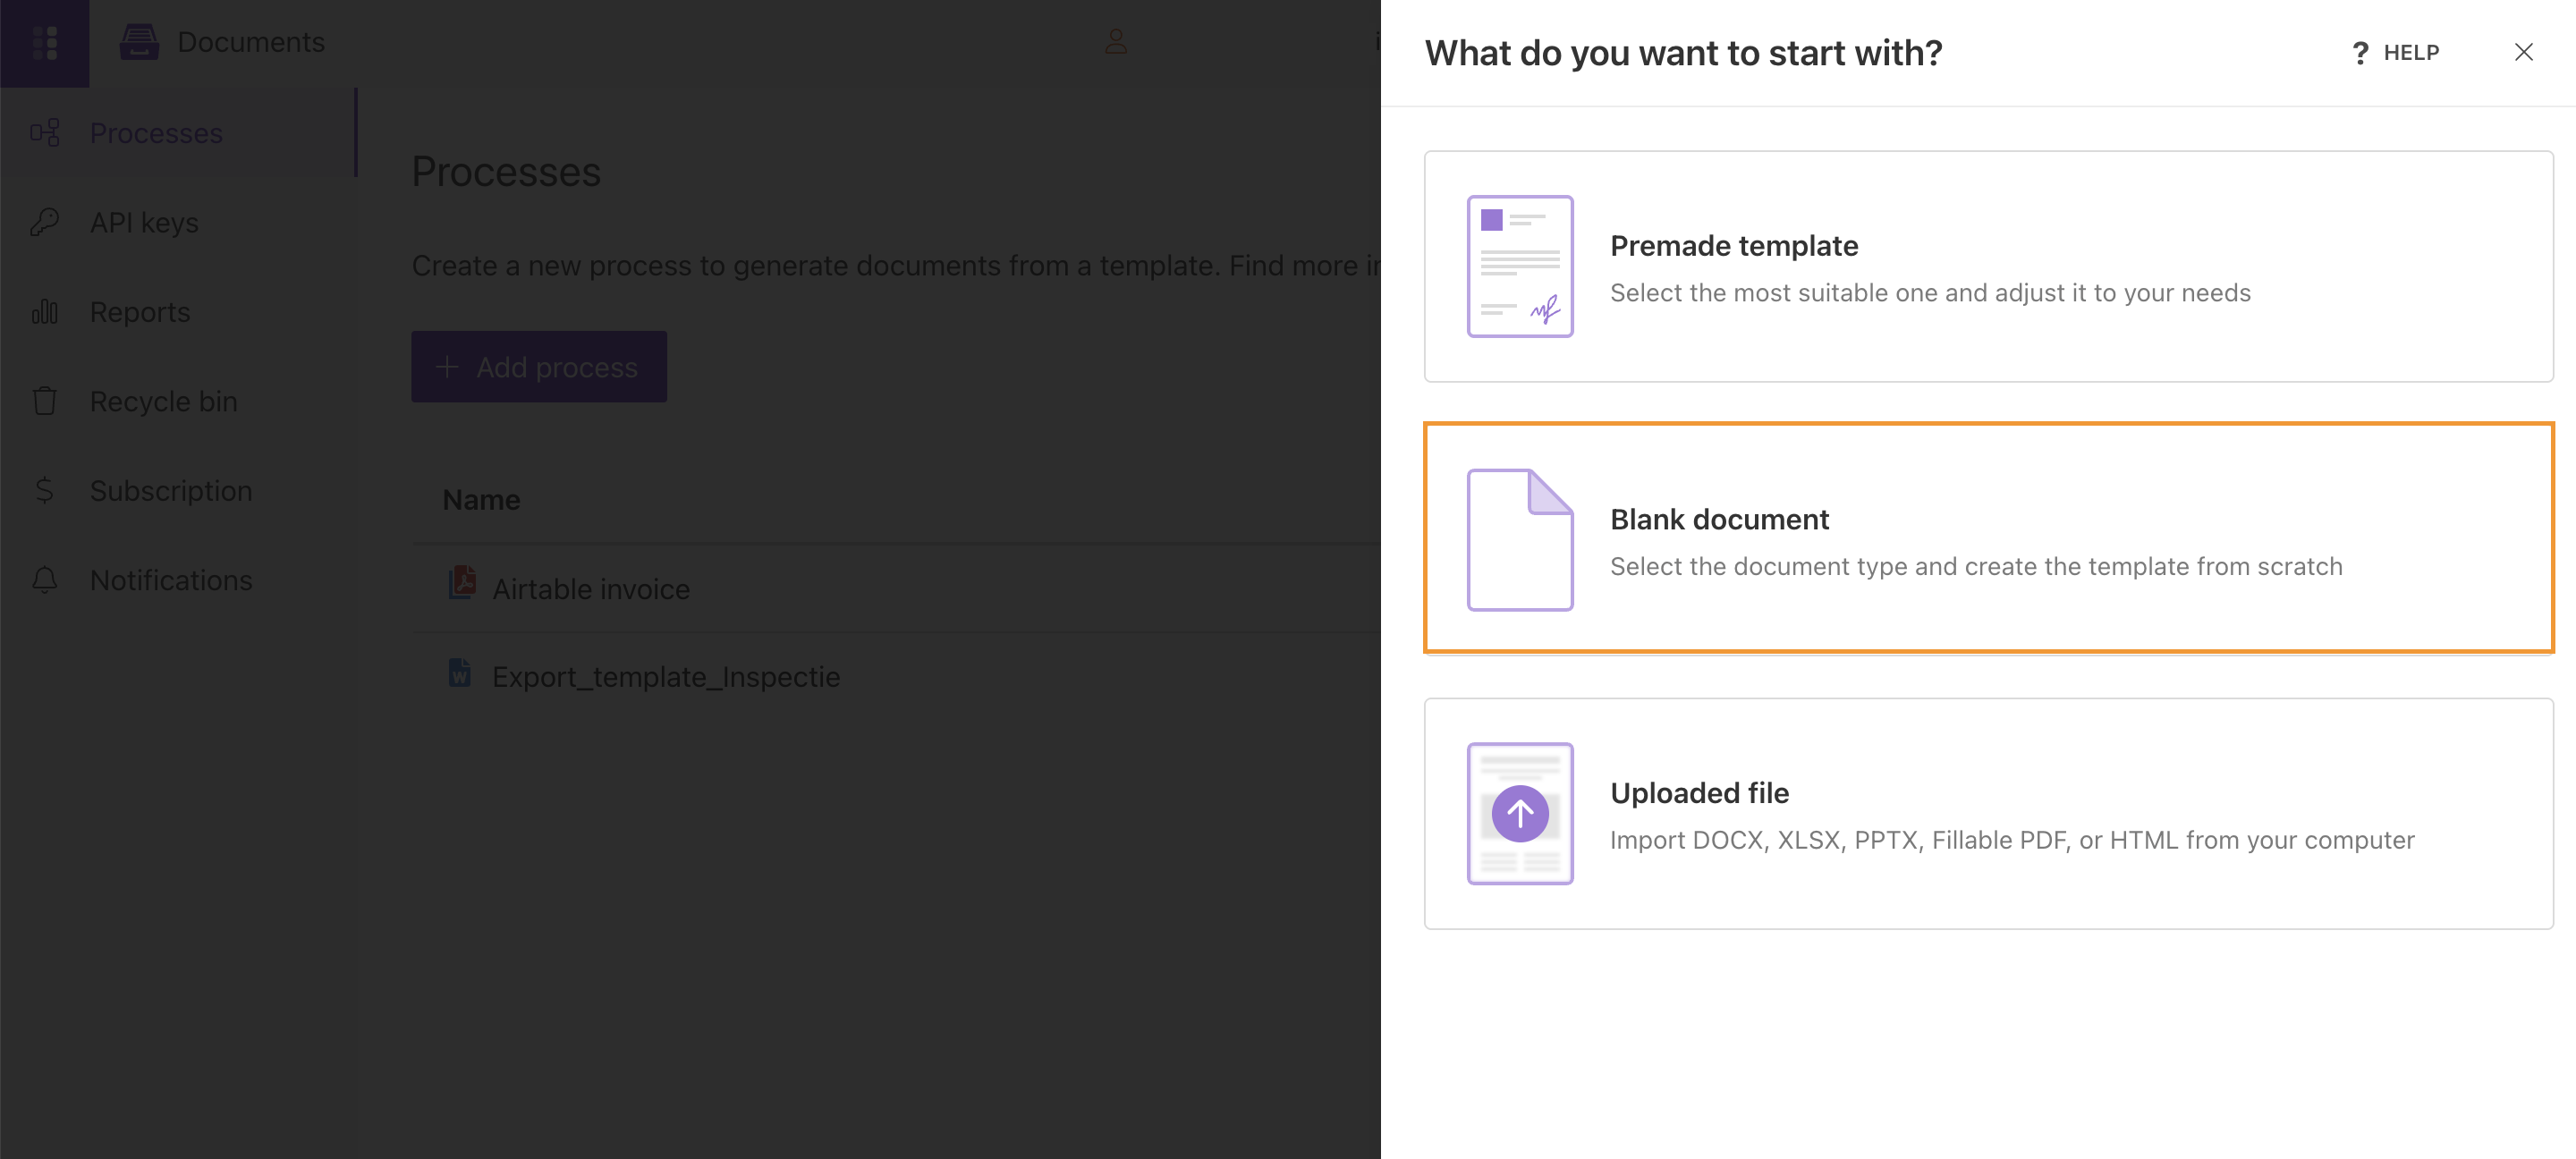
Go to Processes, click Add process and select Blank document.
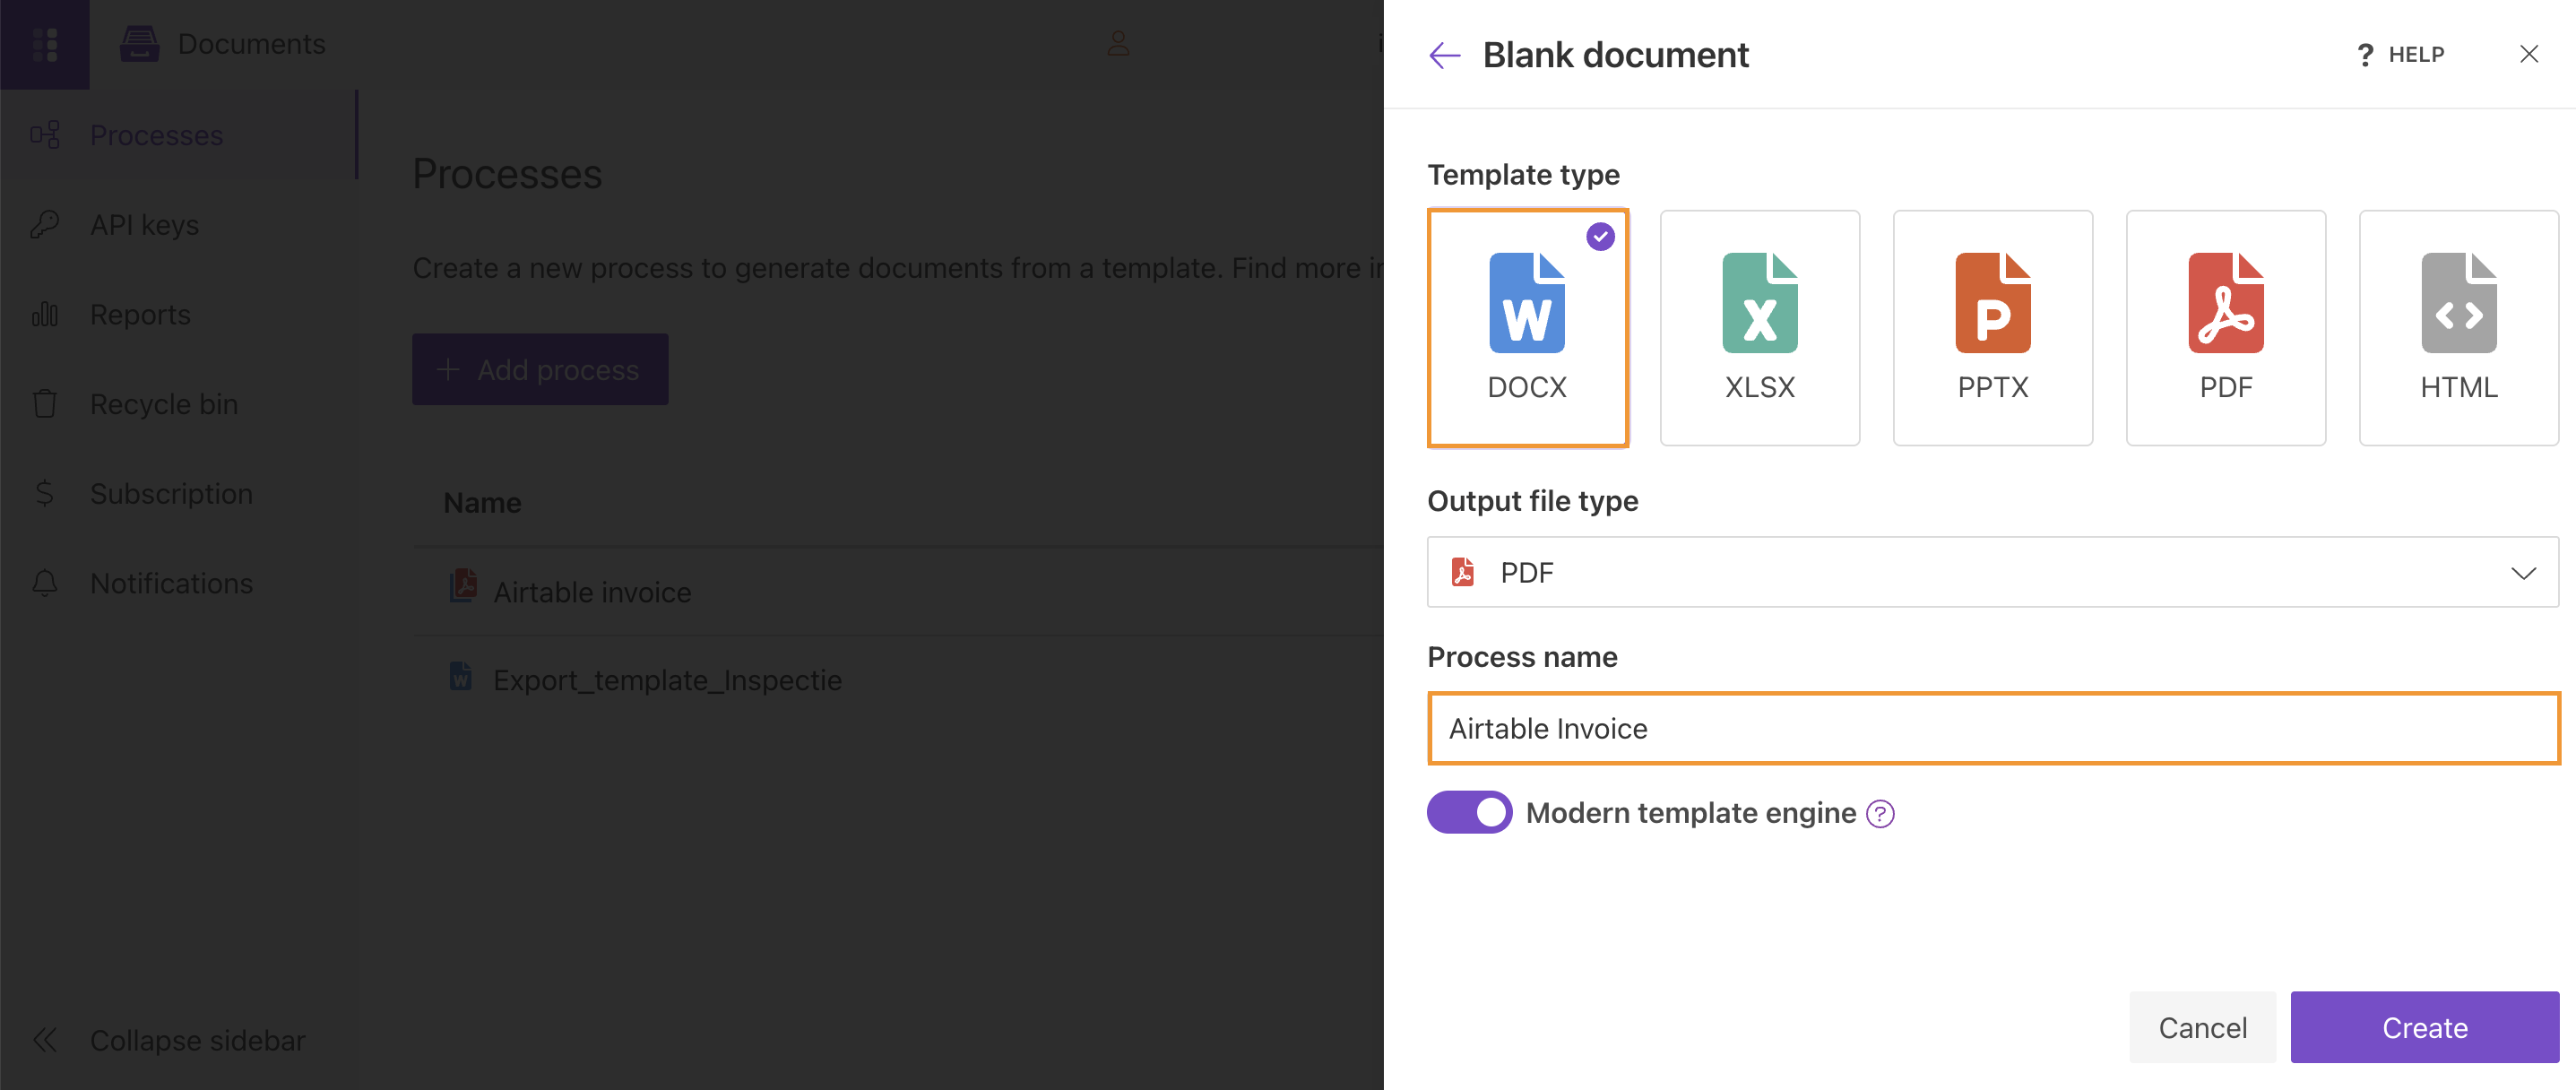
Choose a template format and enter a process name.
In this example, use DOCX and name the process Airtable Invoice. You can also choose the output file type here.
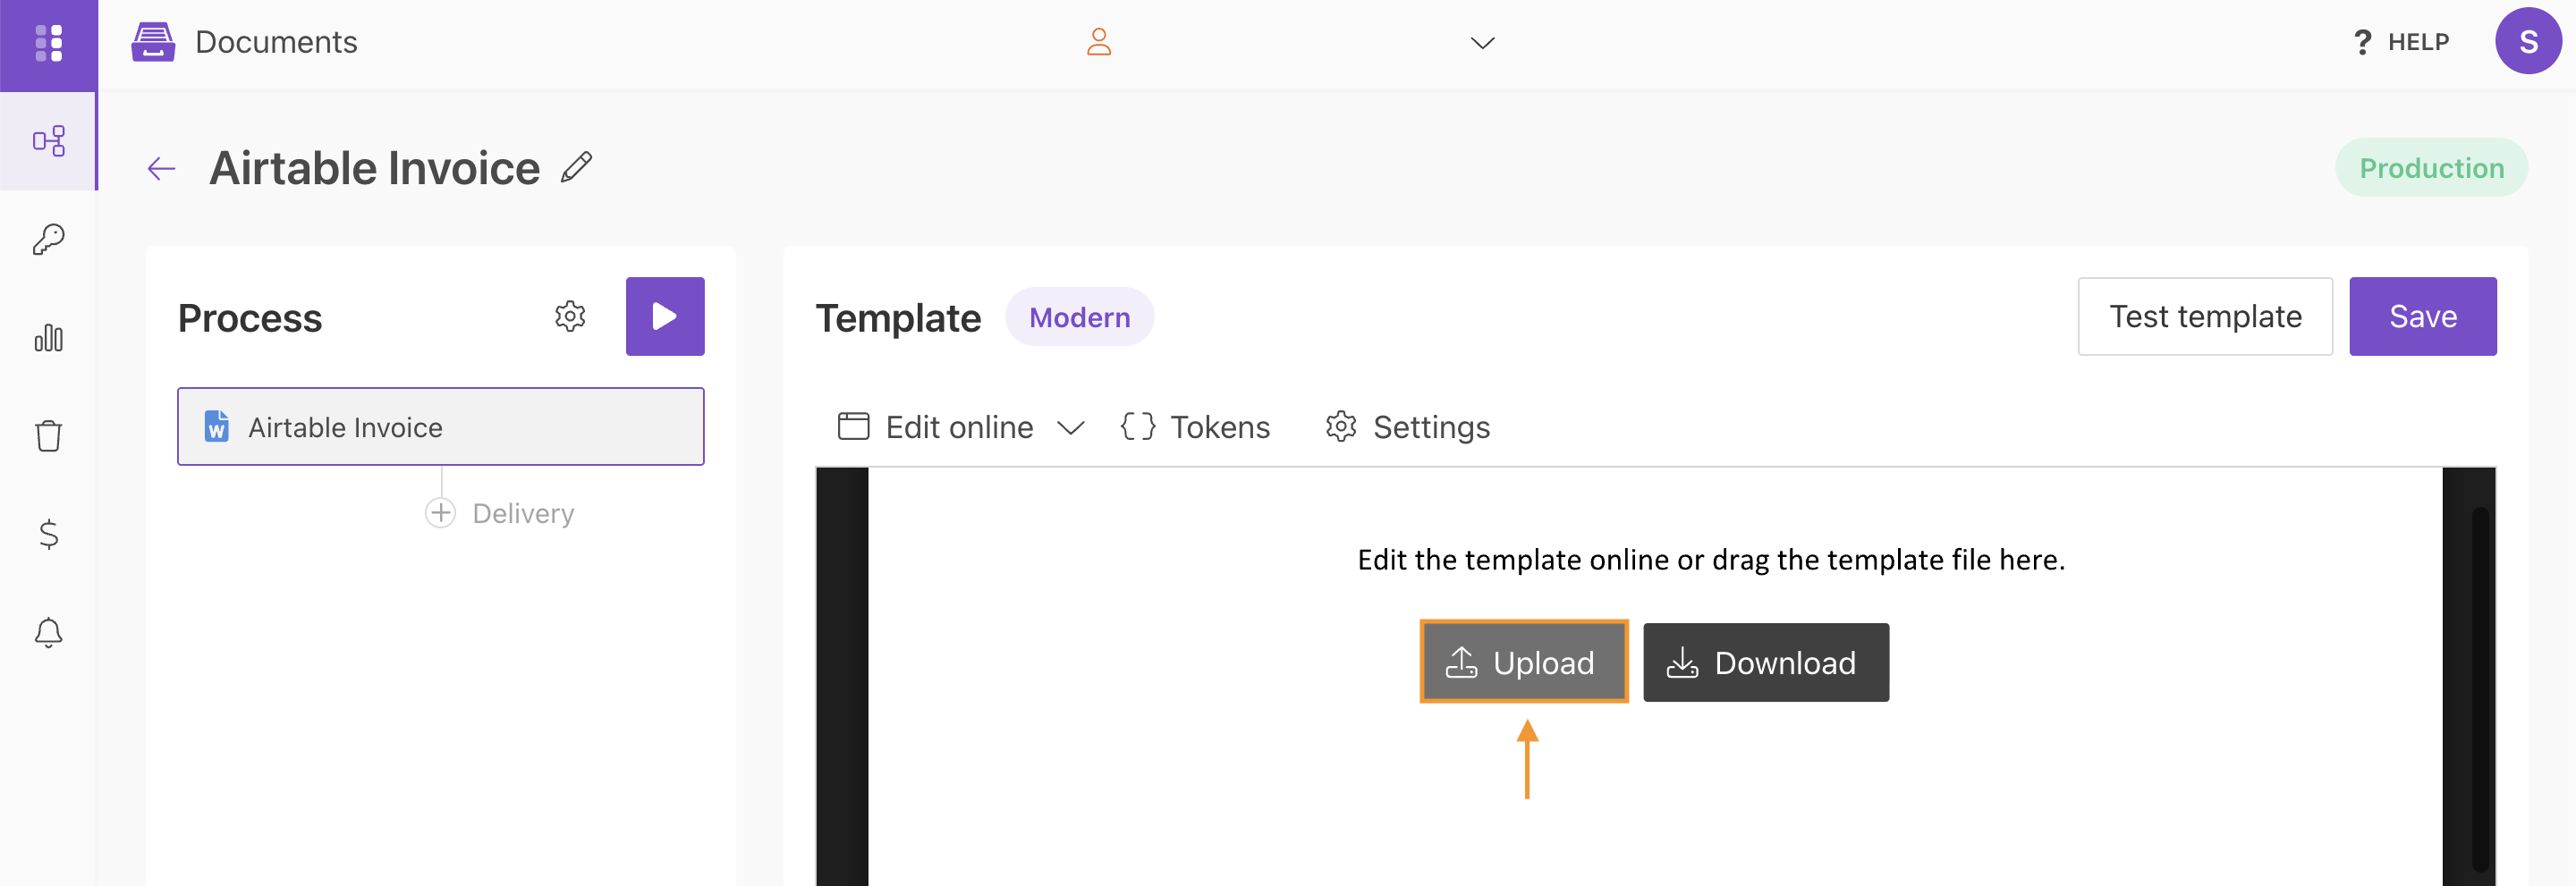
After creating the process, you can either edit the blank file or upload your own template. In this example, we’ll upload an invoice template and add Airtable tokens to it.
You can download and test this template.
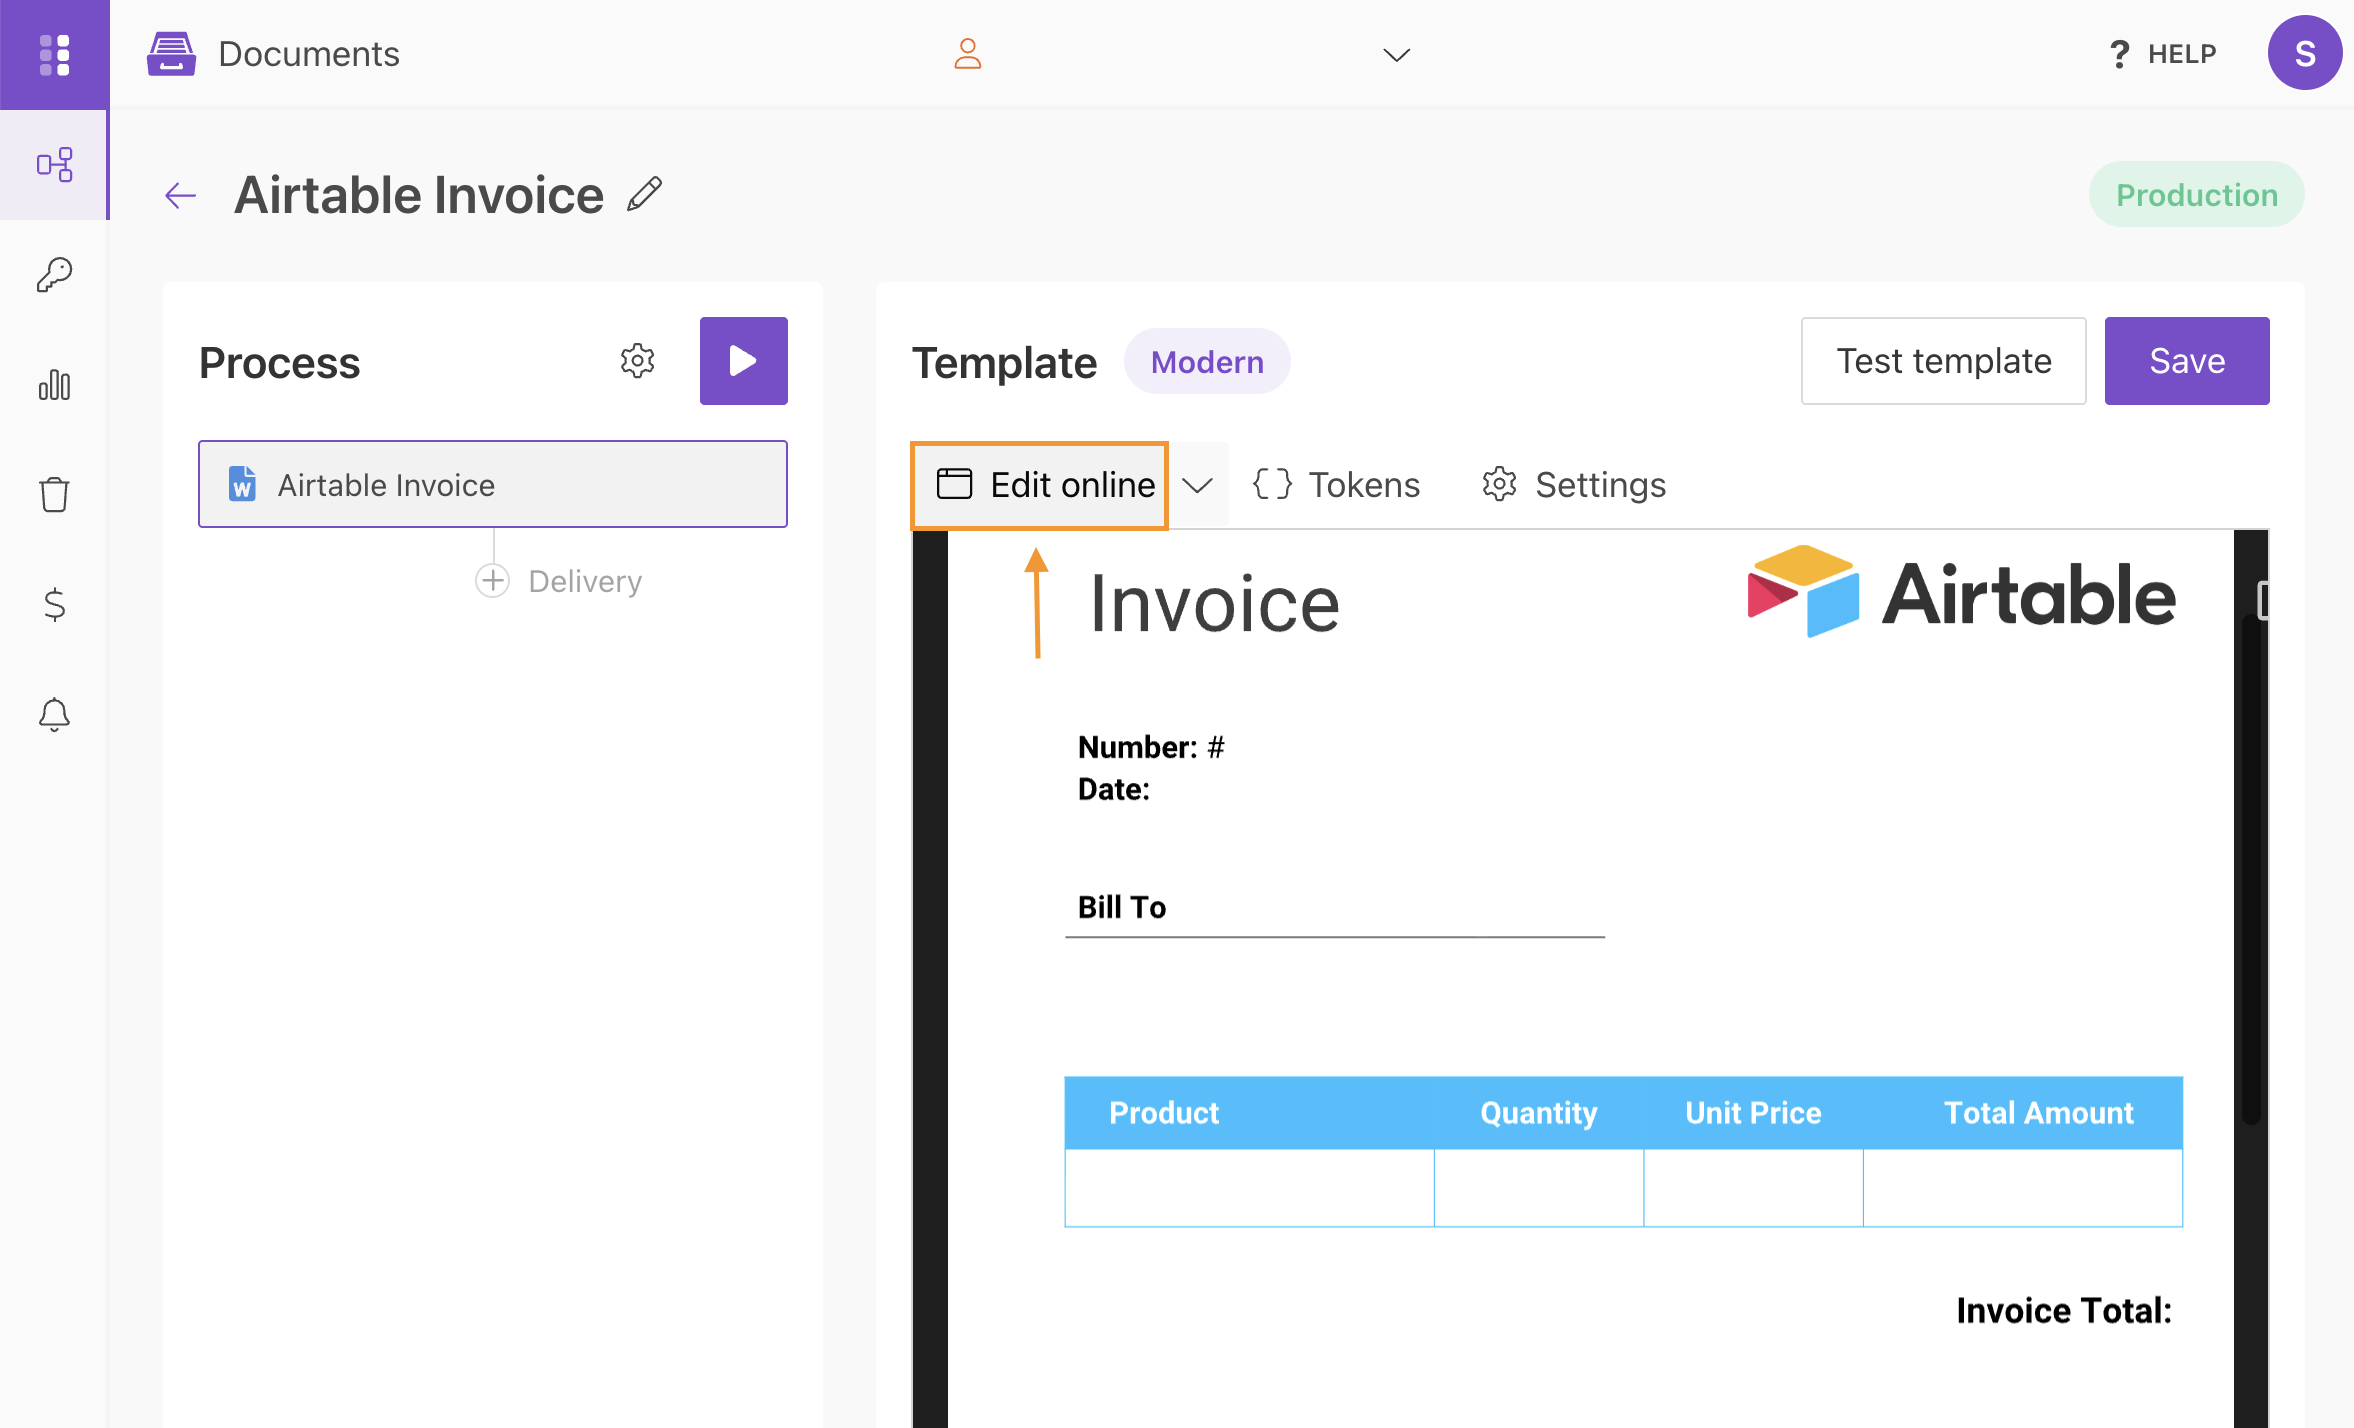
After uploading the template, click Edit online to add Airtable tokens.
Add Airtable tokens to template
Go back to Airtable and open the Plumsail Documents extension. Click Settings, then select Show template tokens.
You’ll see tokens generated from the fields in your Airtable base. Start with Order no. Click the field to copy its token.
Go back to your invoice template and paste the token. Then add the tokens for Client Name and Billing Address under the Bill To section.
You can also use the included {{@date}} token. It inserts the current date when the invoice is generated and is formatted for U.S. dates.

Add the remaining tokens the same way, such as Product, Quantity, and Unit Price.
You can also use value functions to format values, for example, to add a currency symbol.
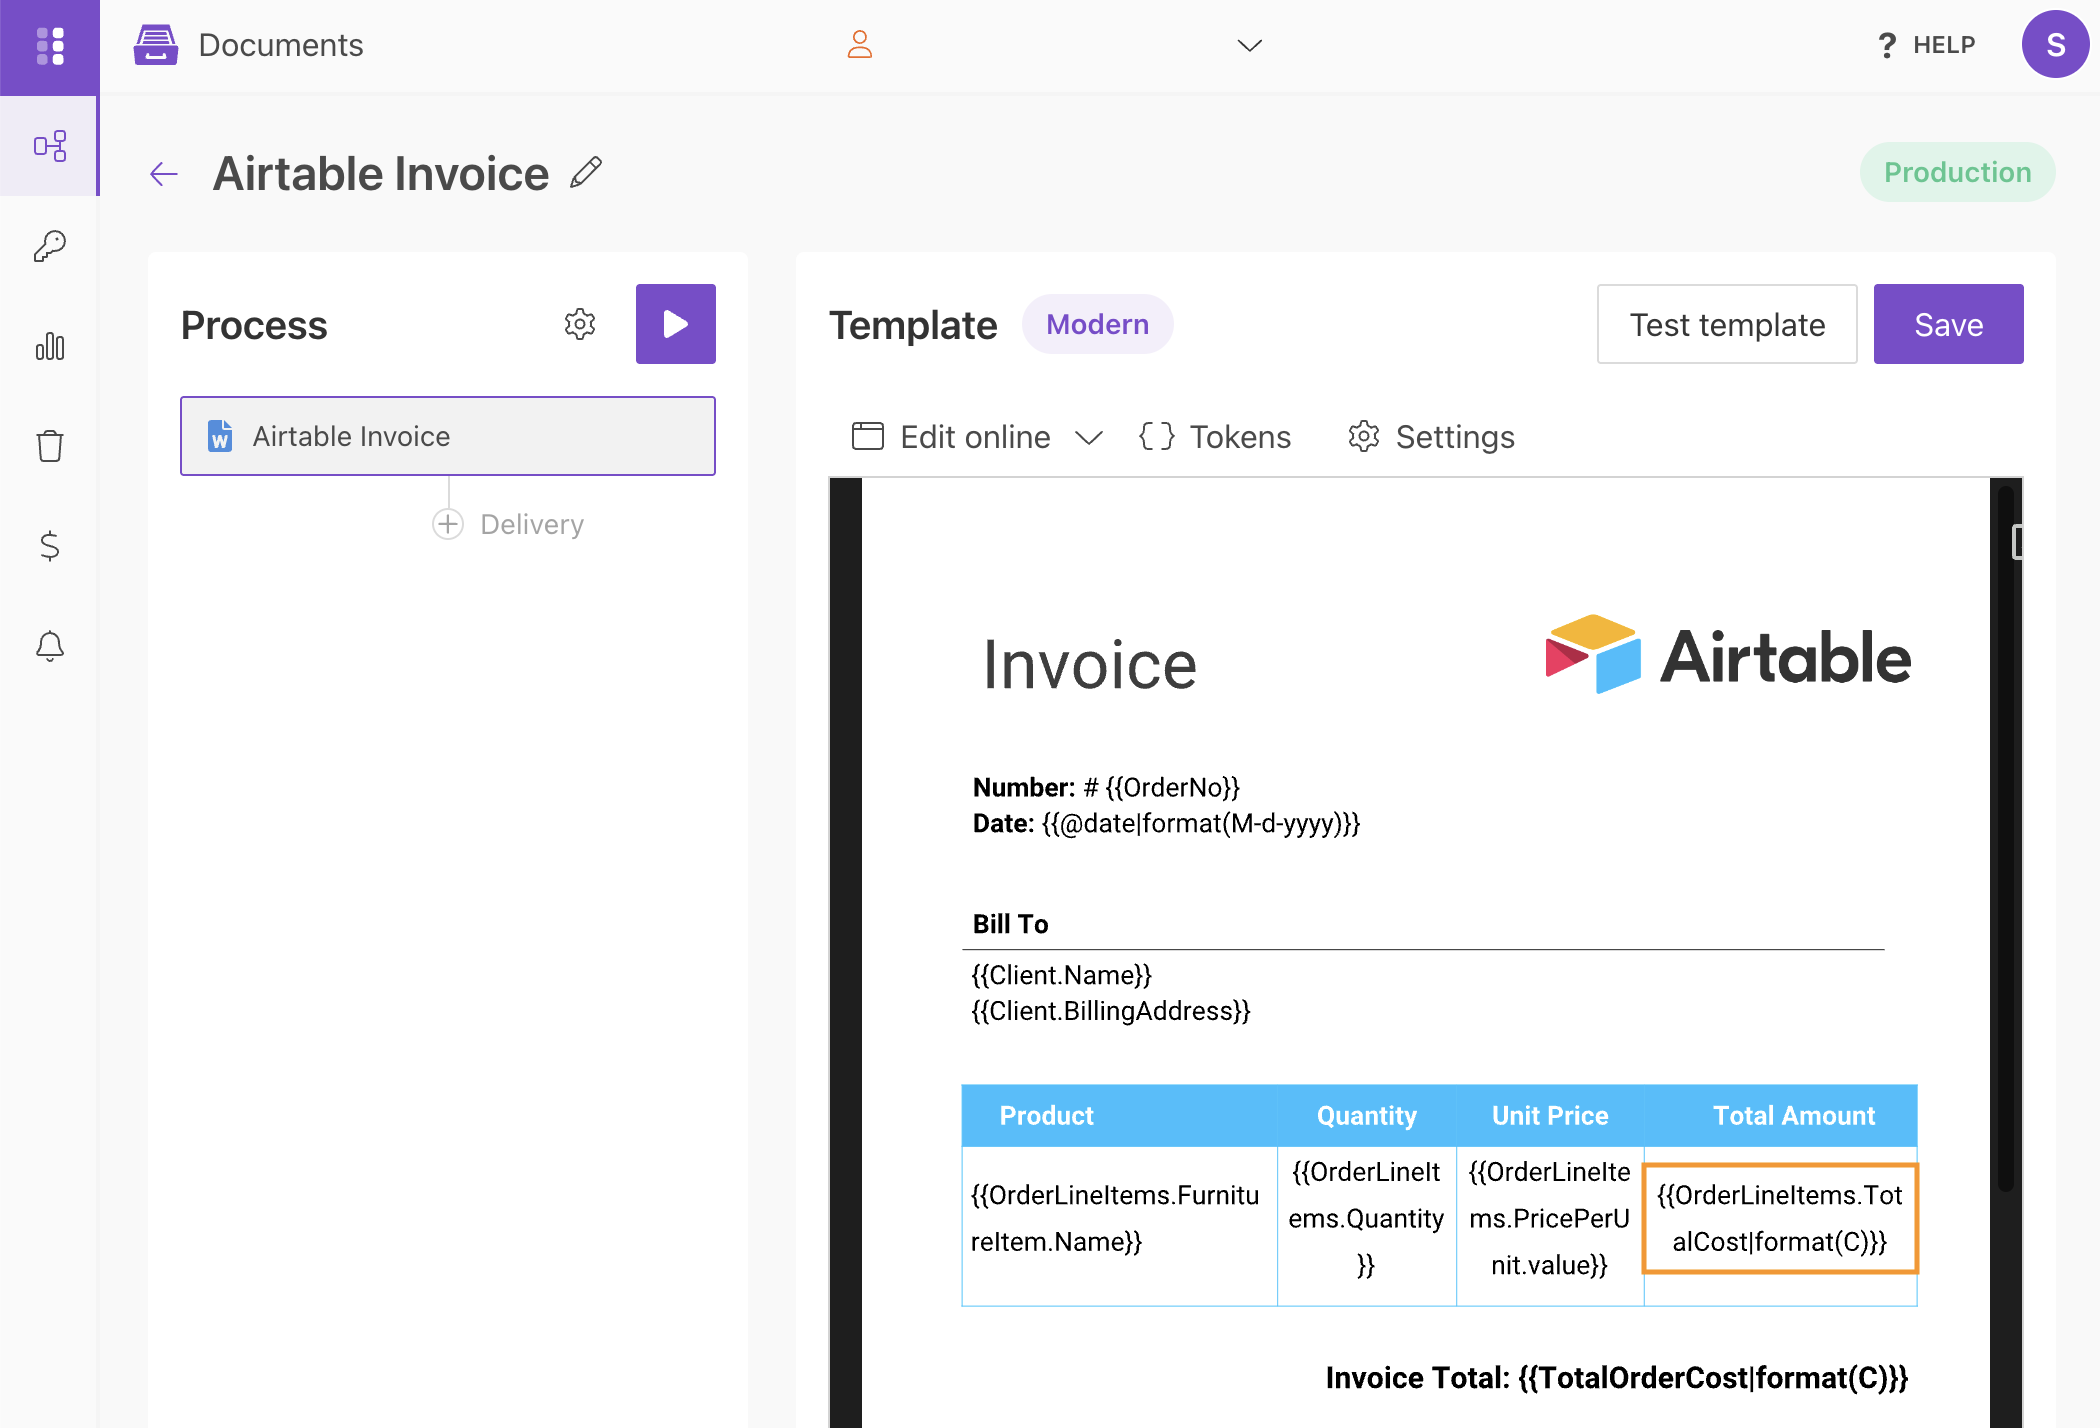
You can use any token available in your Airtable base to build your own template.
Watch the video below to see how to copy Airtable tokens and add them to the template.
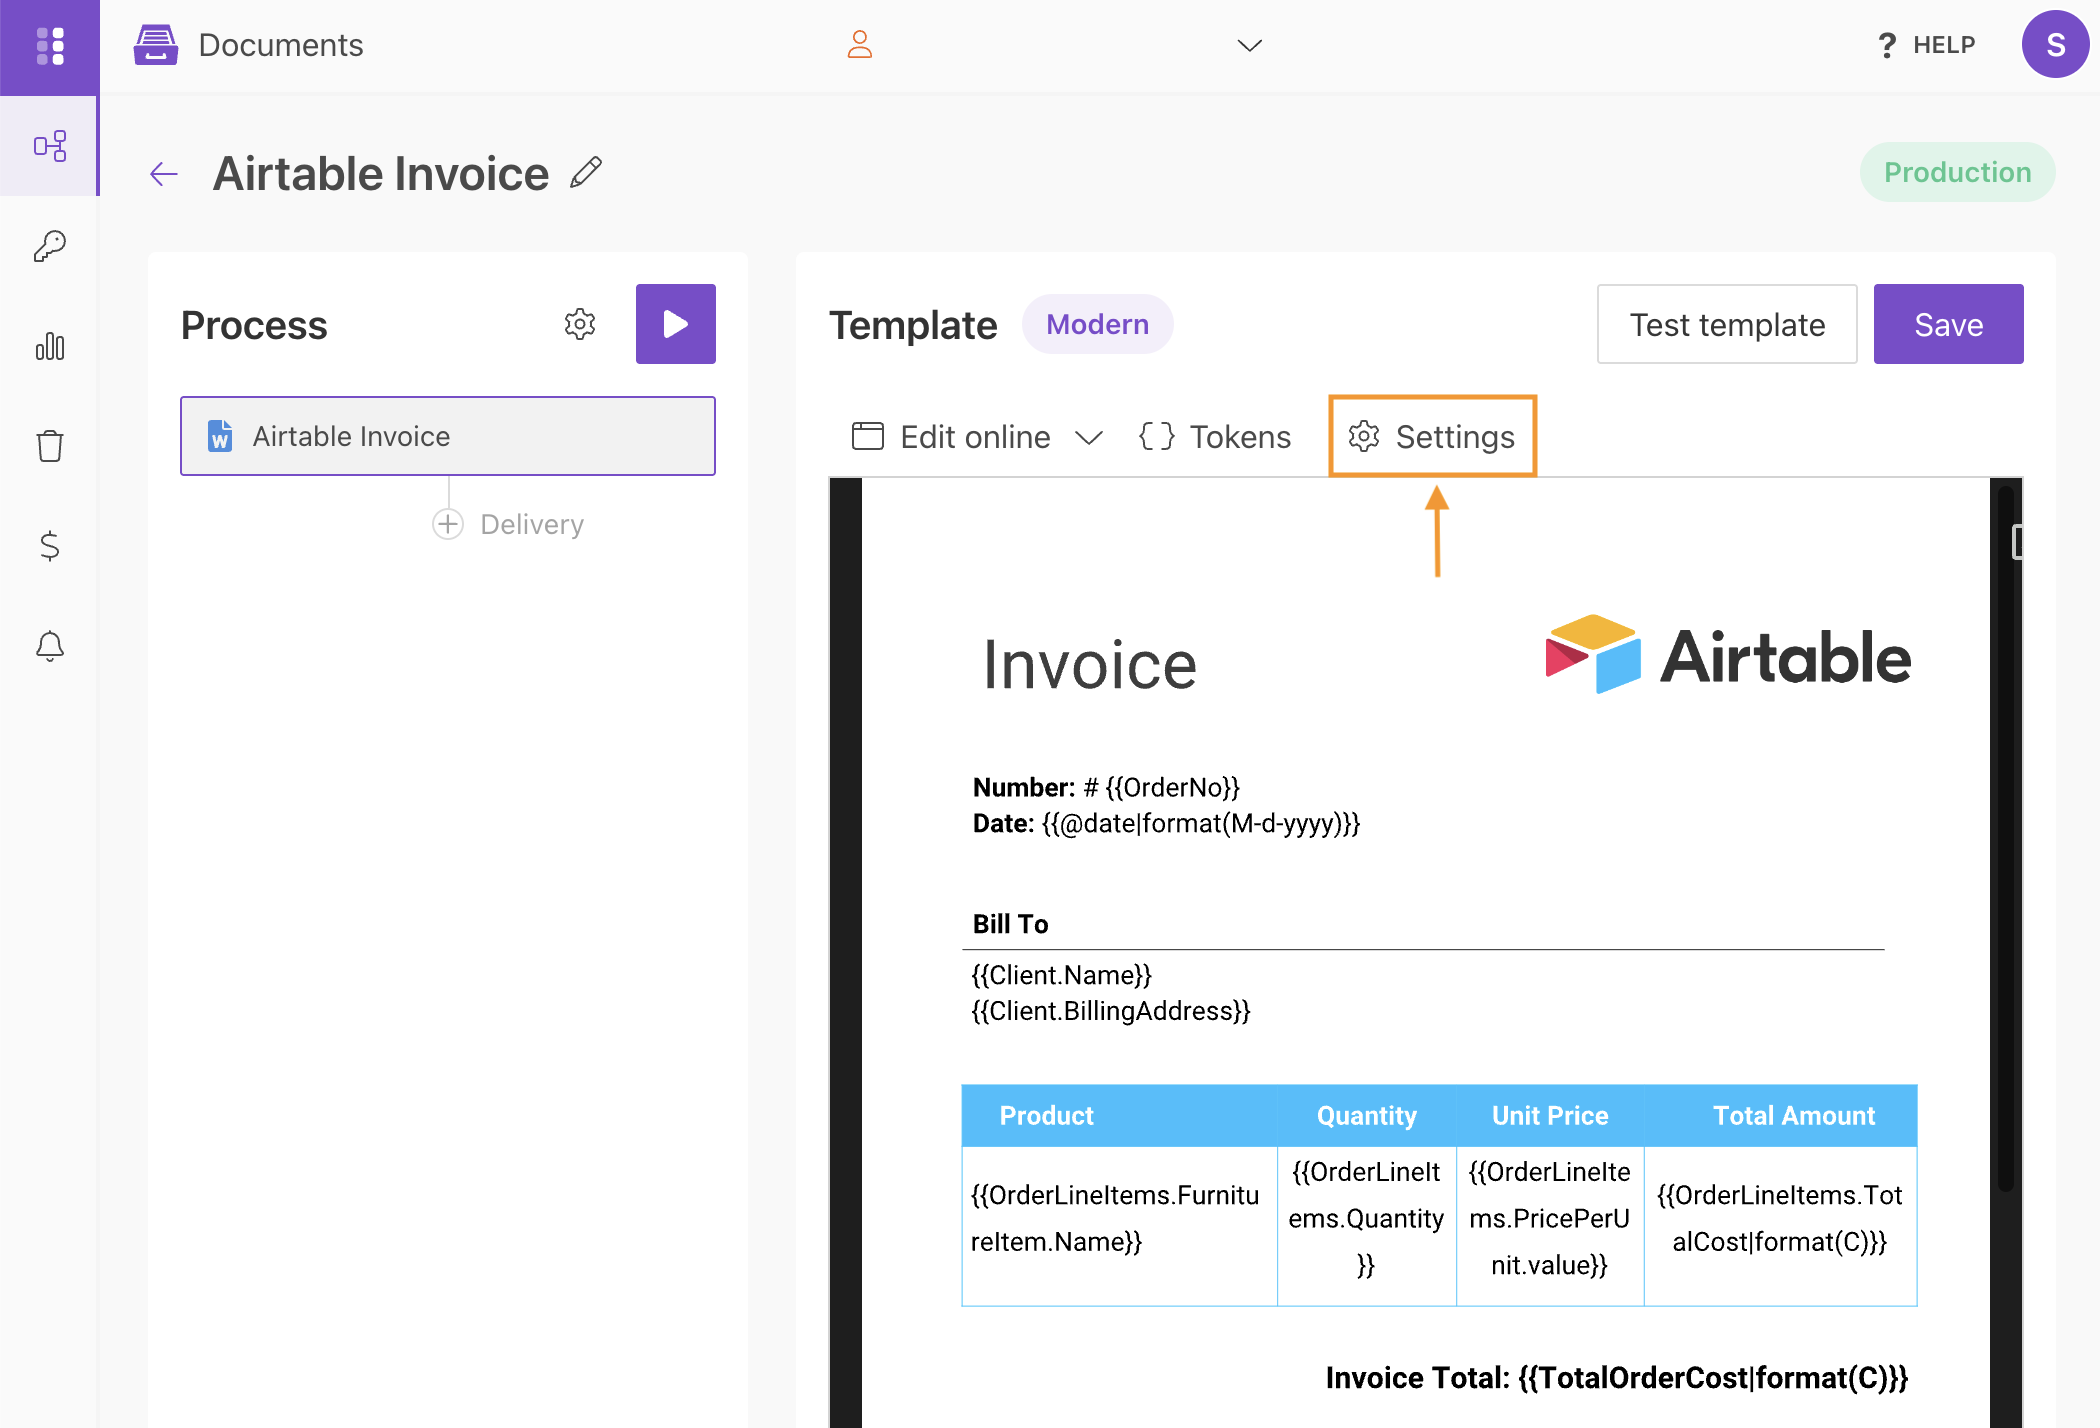
Click Save and open the Settings tab.
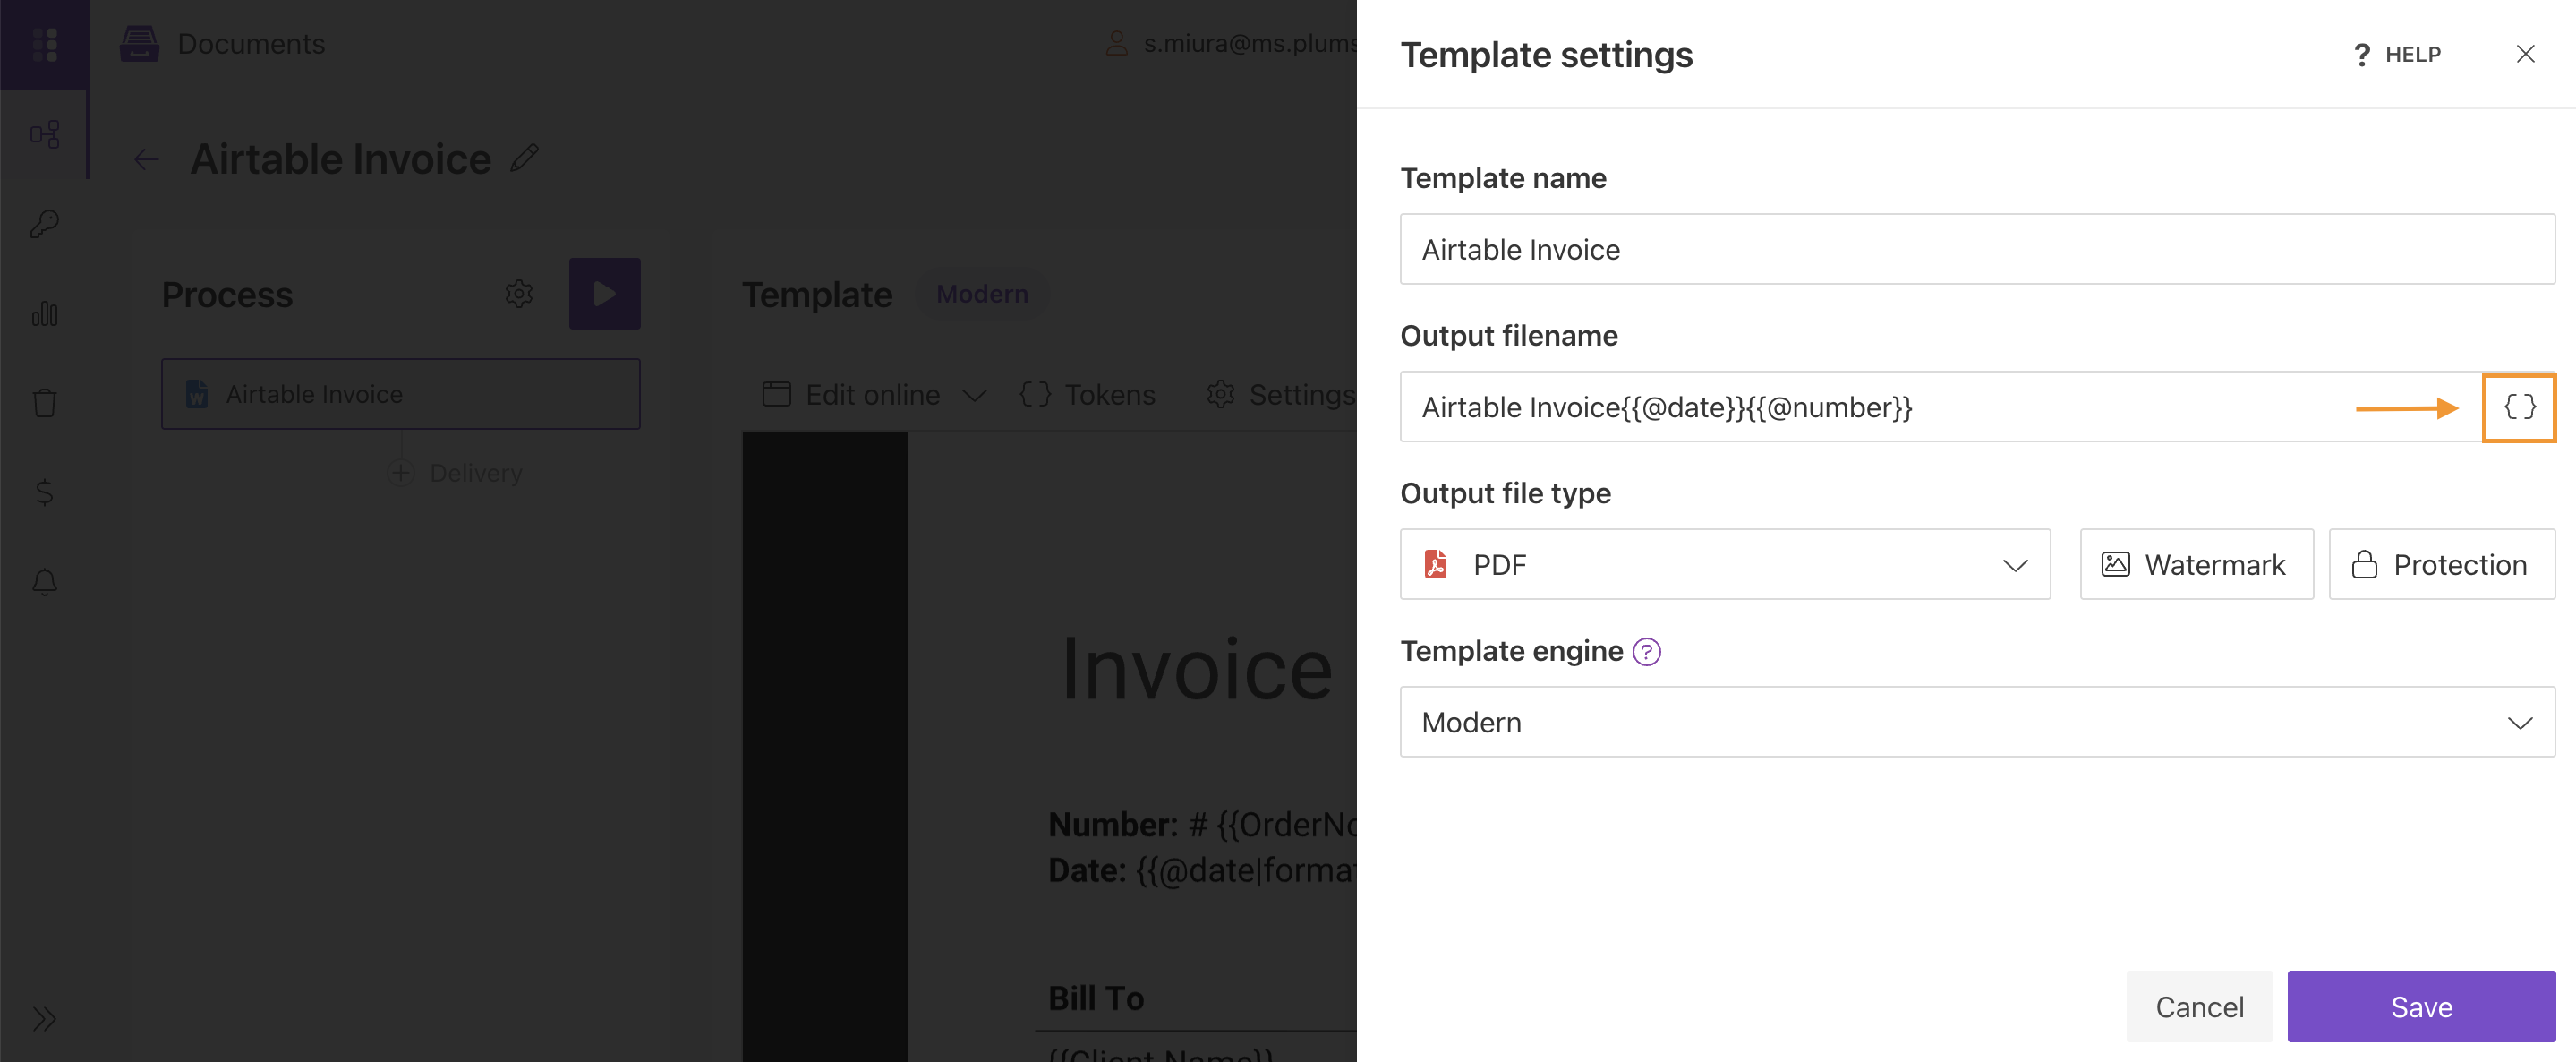
In Template settings, you can set the Output file name using tokens from the template and choose the Output type.
For details, see the user guide.
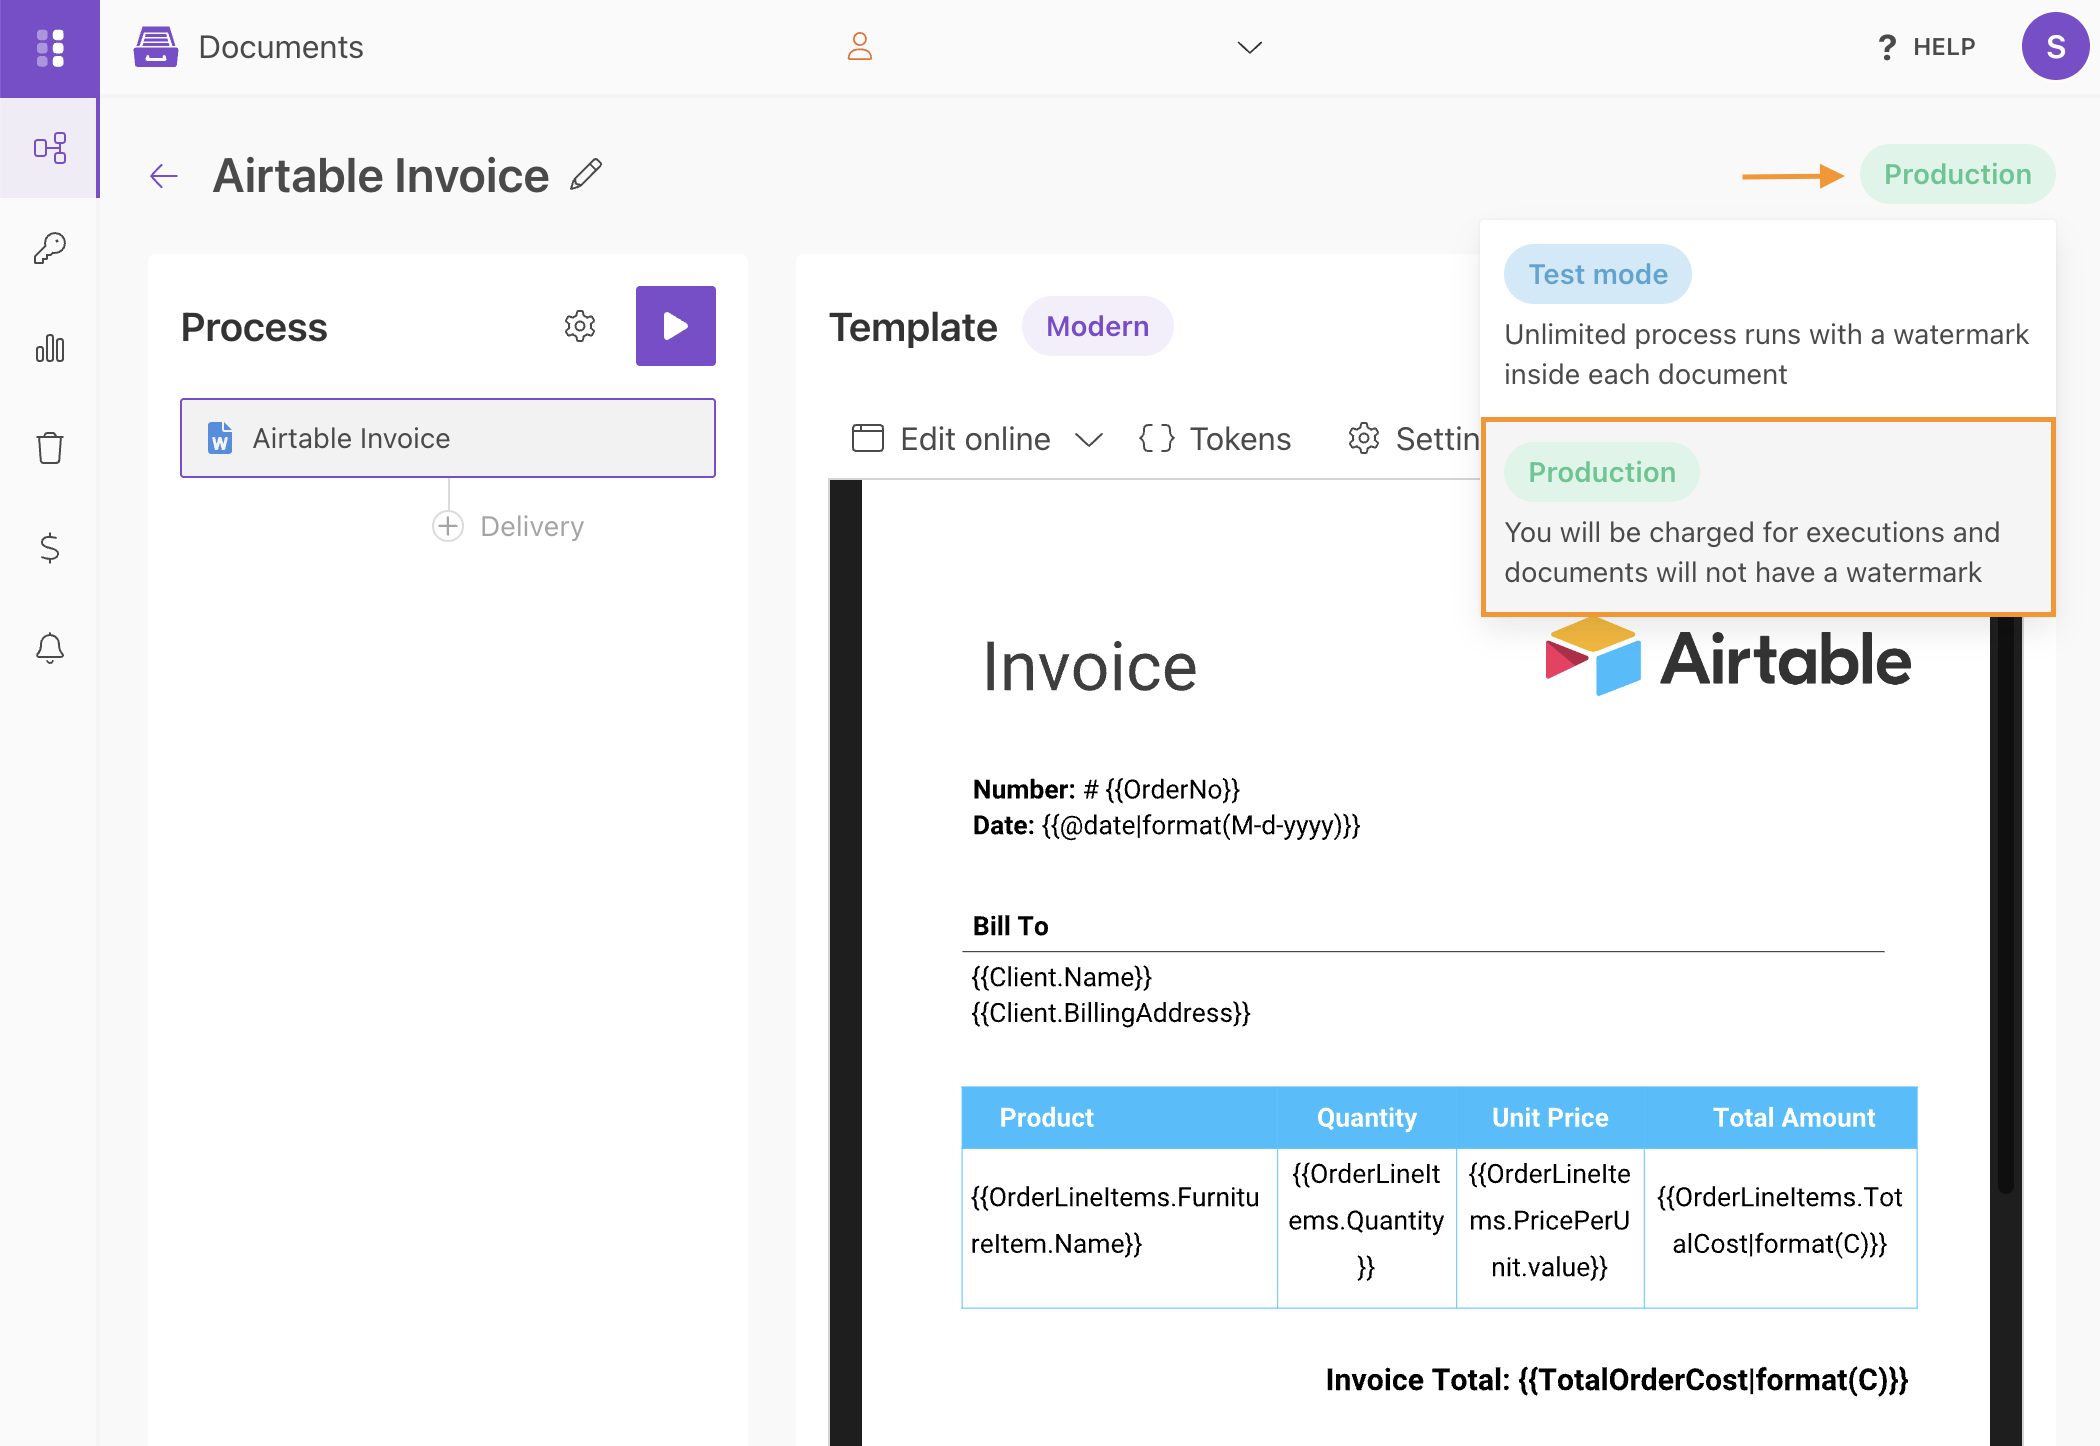
When the process is ready, switch it from Test mode to Production.
You can also configure delivery to send the generated document automatically, for example by email or for signature.