Test template with your data
You can test the document template to see an example of the resulting file from the Editor and Settings substeps of the Configure template step.
Testing from the editor
The first option – testing from the Editor substep – will help to see how your modifications to the template affect the result.
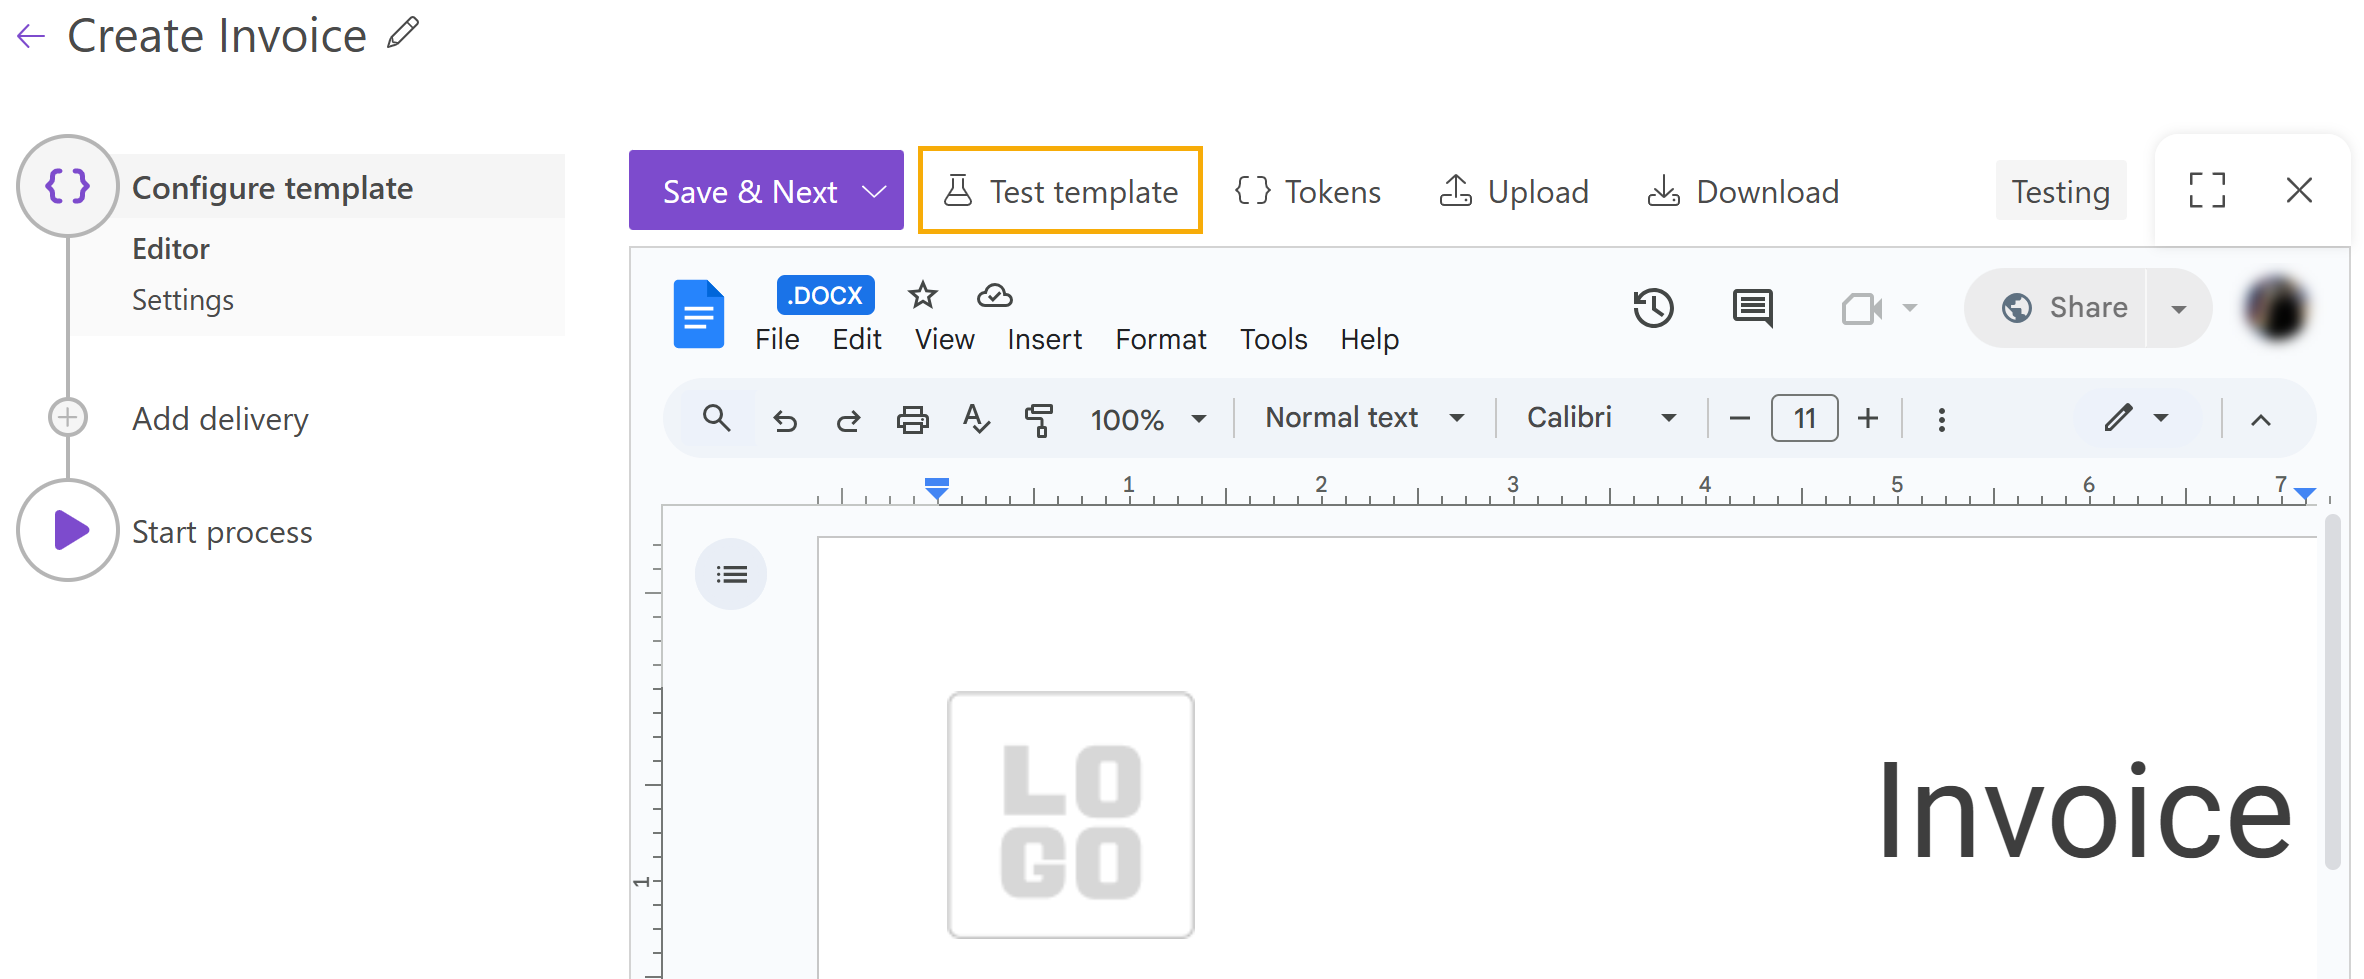
Testing from the settings
The second option – testing from the Settings substep – will show you how the finalized document looks after you’ve customized all the settings.
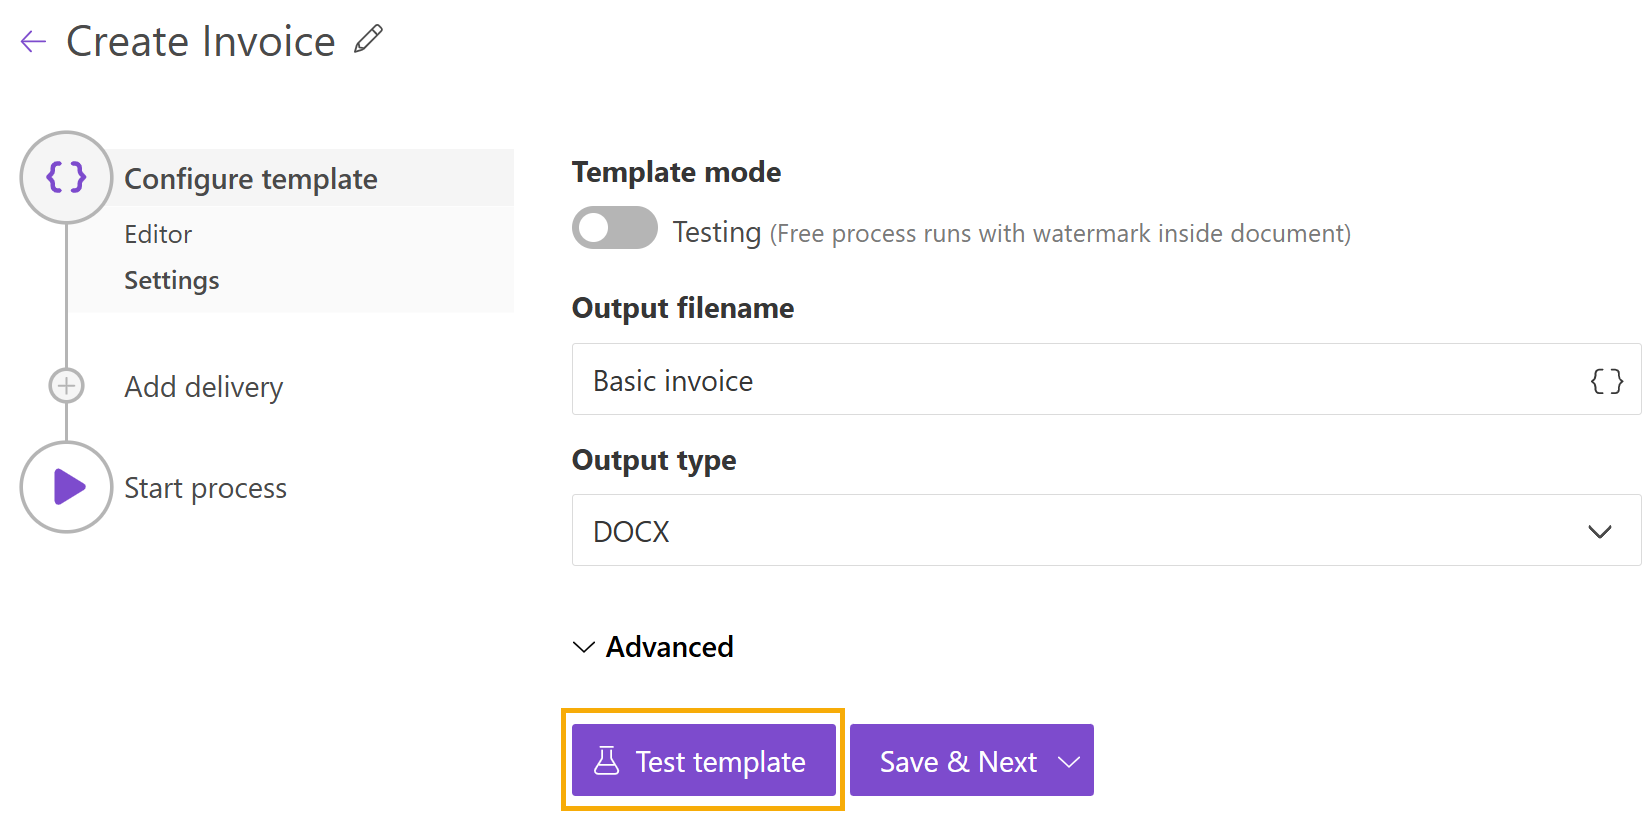
What to do after you clicked on the Test template?
After that, you will see a panel with dropdown. There are three options for testing the template - Web forms, Auto-generated form, and JSON.
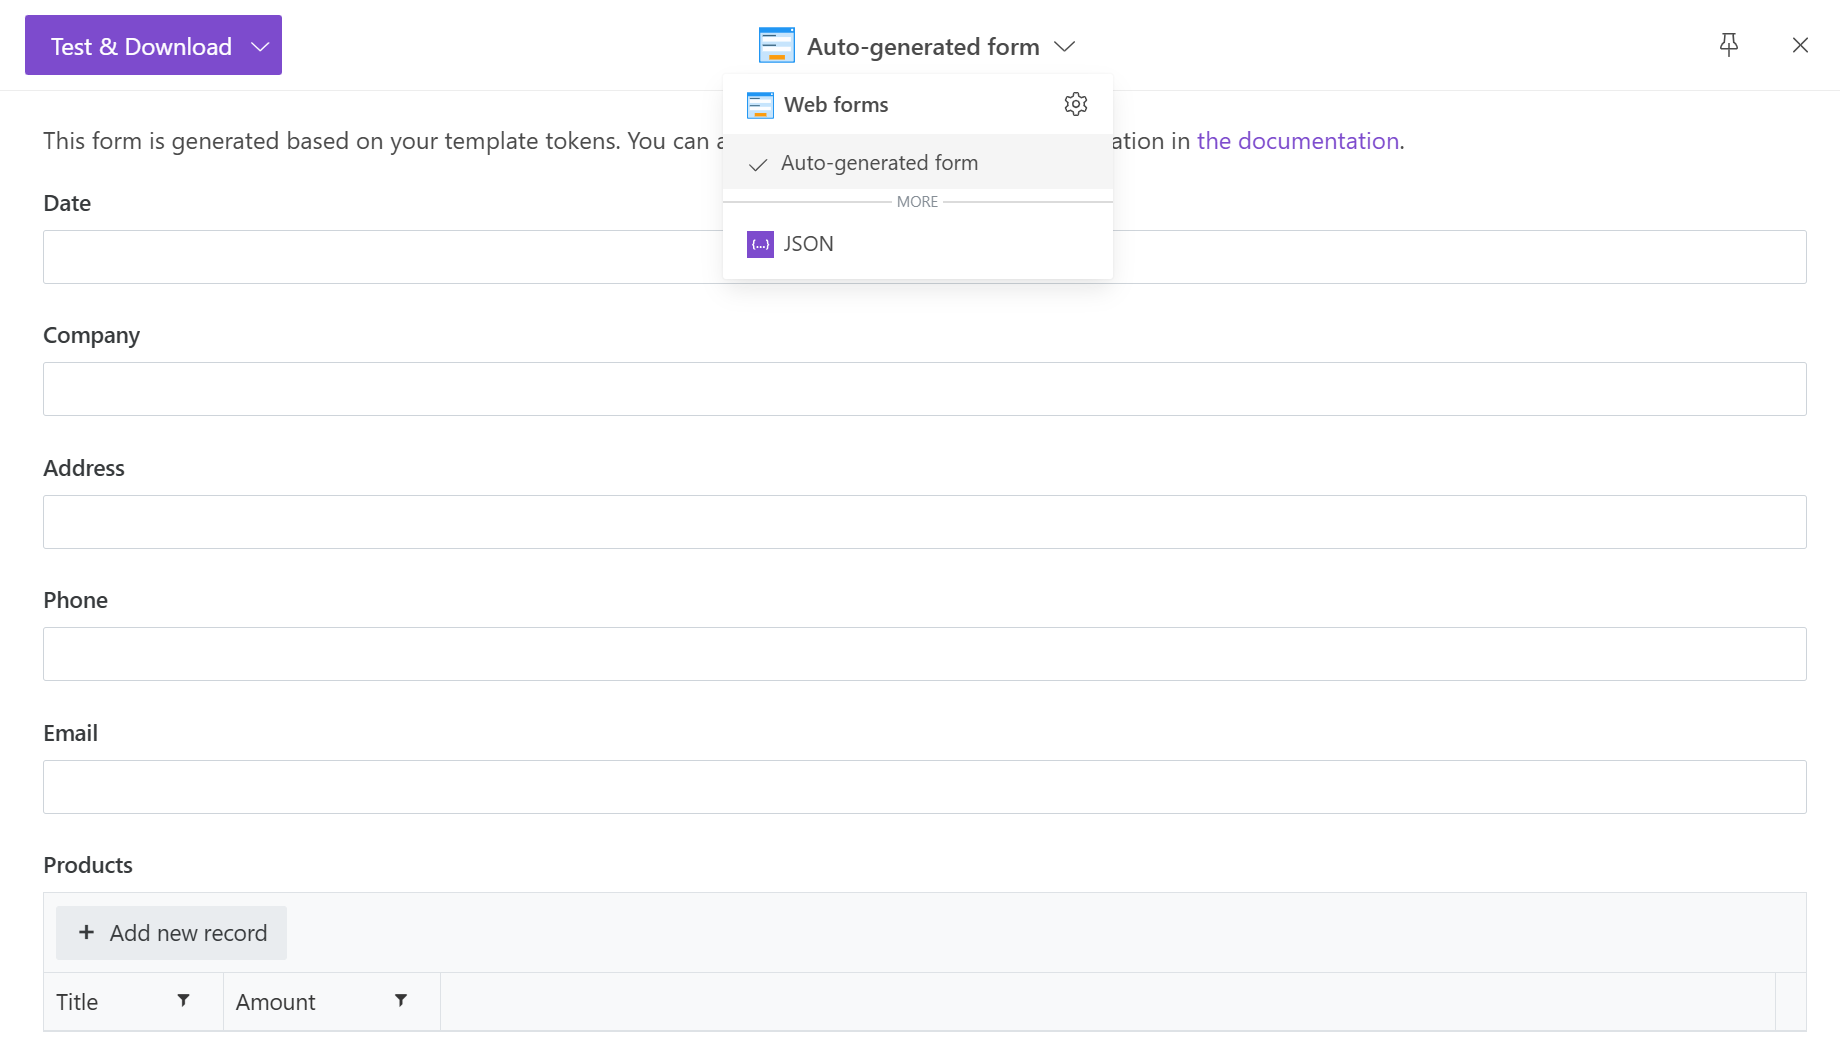
Web forms
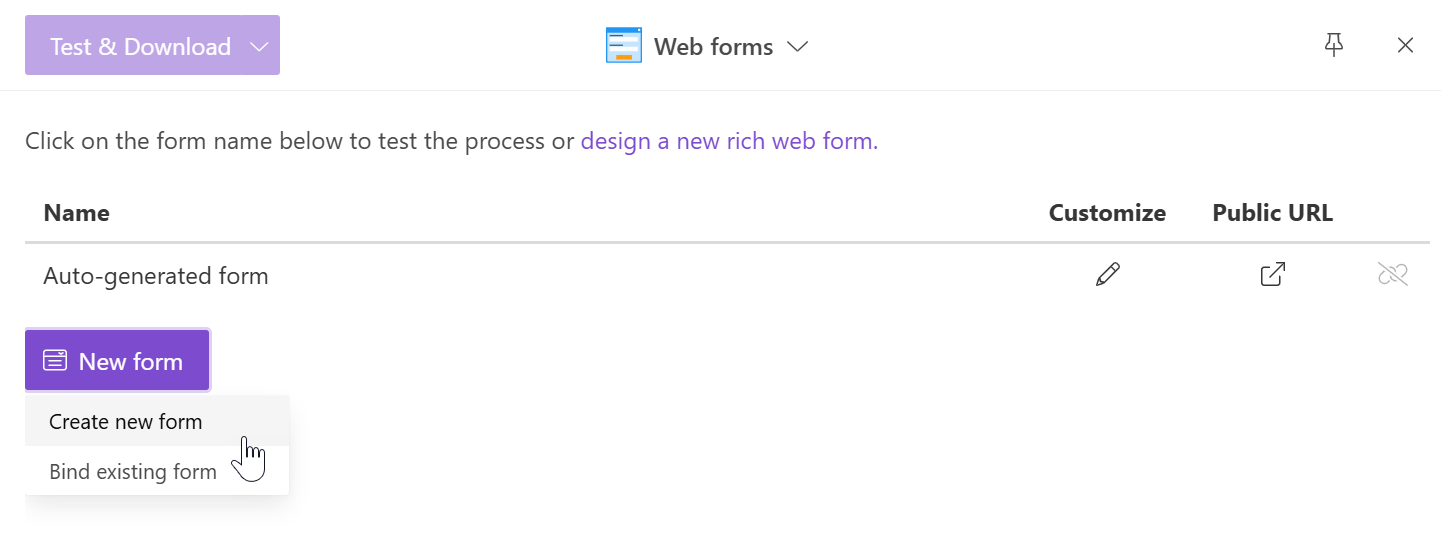
If you want to design your own form for the testing select the gear button in the dropdown menu.
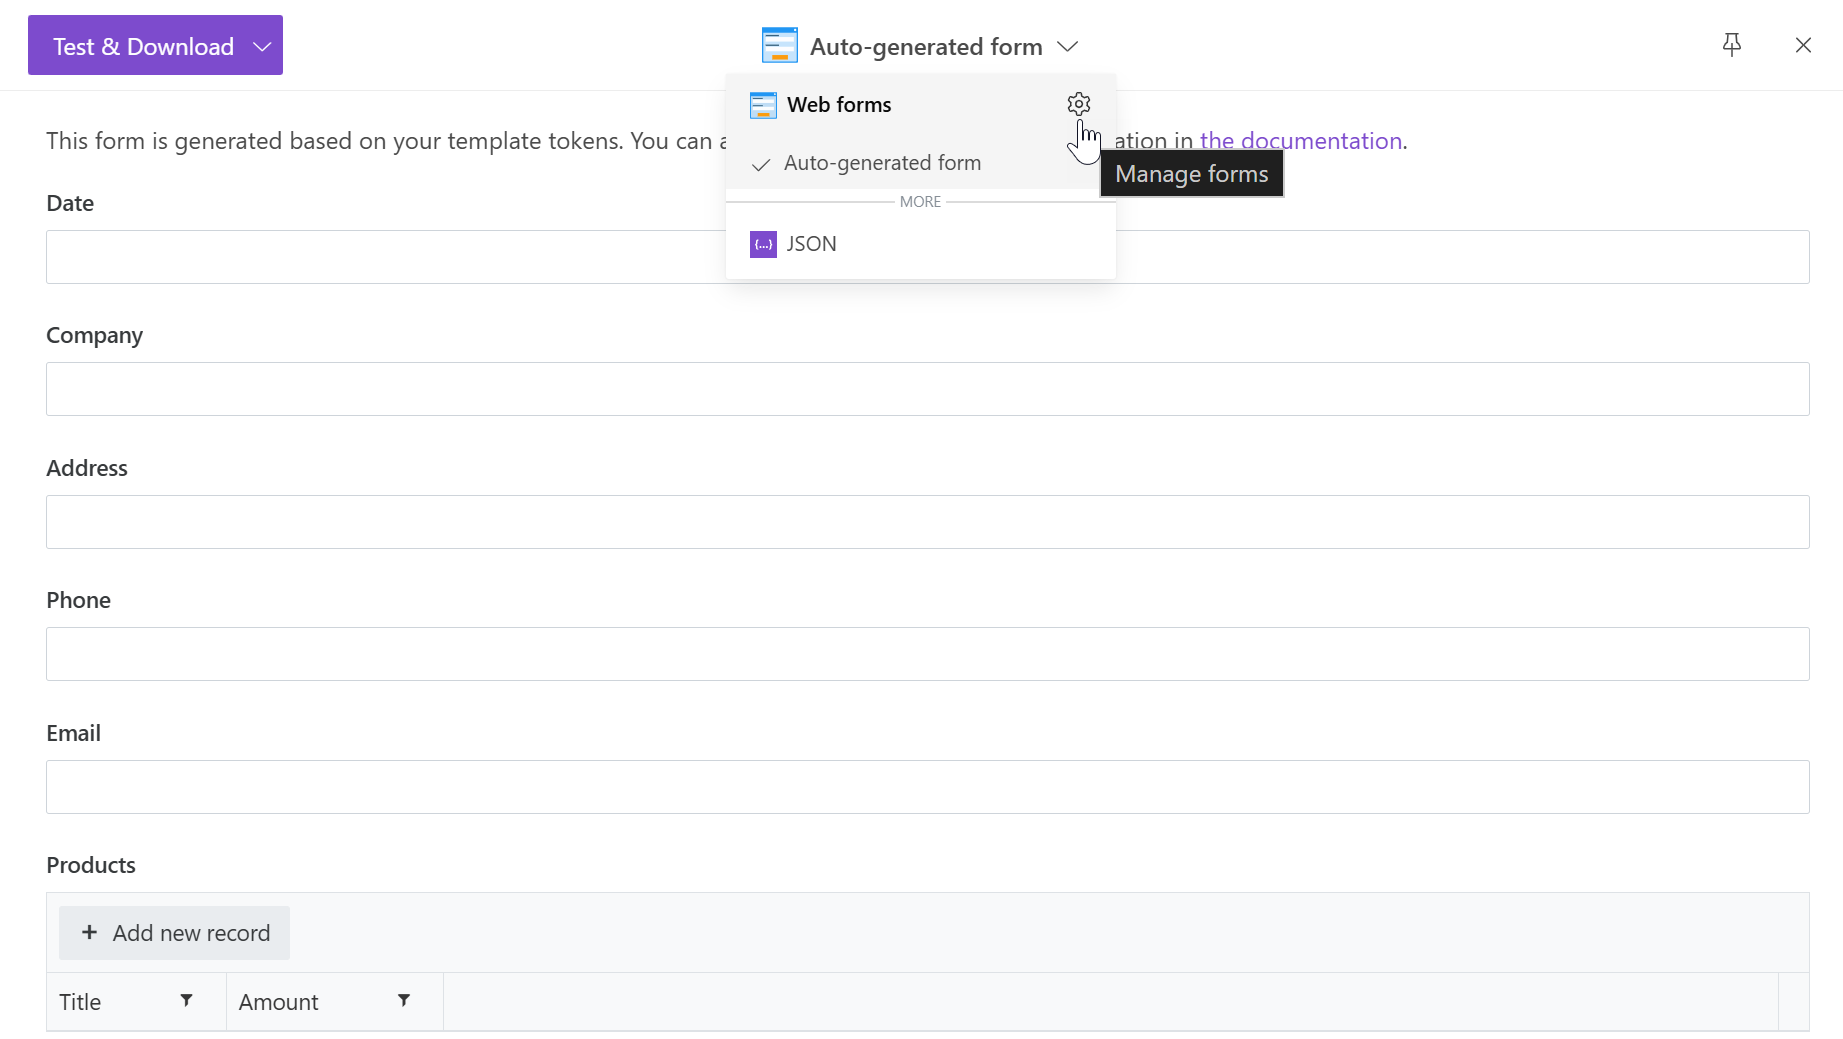
It opens a page where you can bind an existing form or create a new one clicking on the Create new form button with Plumsail Forms application.
Note
Please find additional information on creating custom Plumsail forms in the article.
Auto-generated form
The process automatically creates a testing form based on tokens from the template. You just complete it and press Test & Download button to download the result or Test & Preview to open the result in a new browser tab.

It’s possible to adjust the testing form by changing token types.
Important
Nesting tokens referring to the single object, not the collection of items, won’t work in the testing form. Thus, if you have some nesting tokens like {{company.name}}, {{company.address}}, get rid of a dot operator and change them to simple tokens like {{companyName}} and {{companyAddress}}. Alternatively, you can keep them and submit JSON for testing the template.
JSON
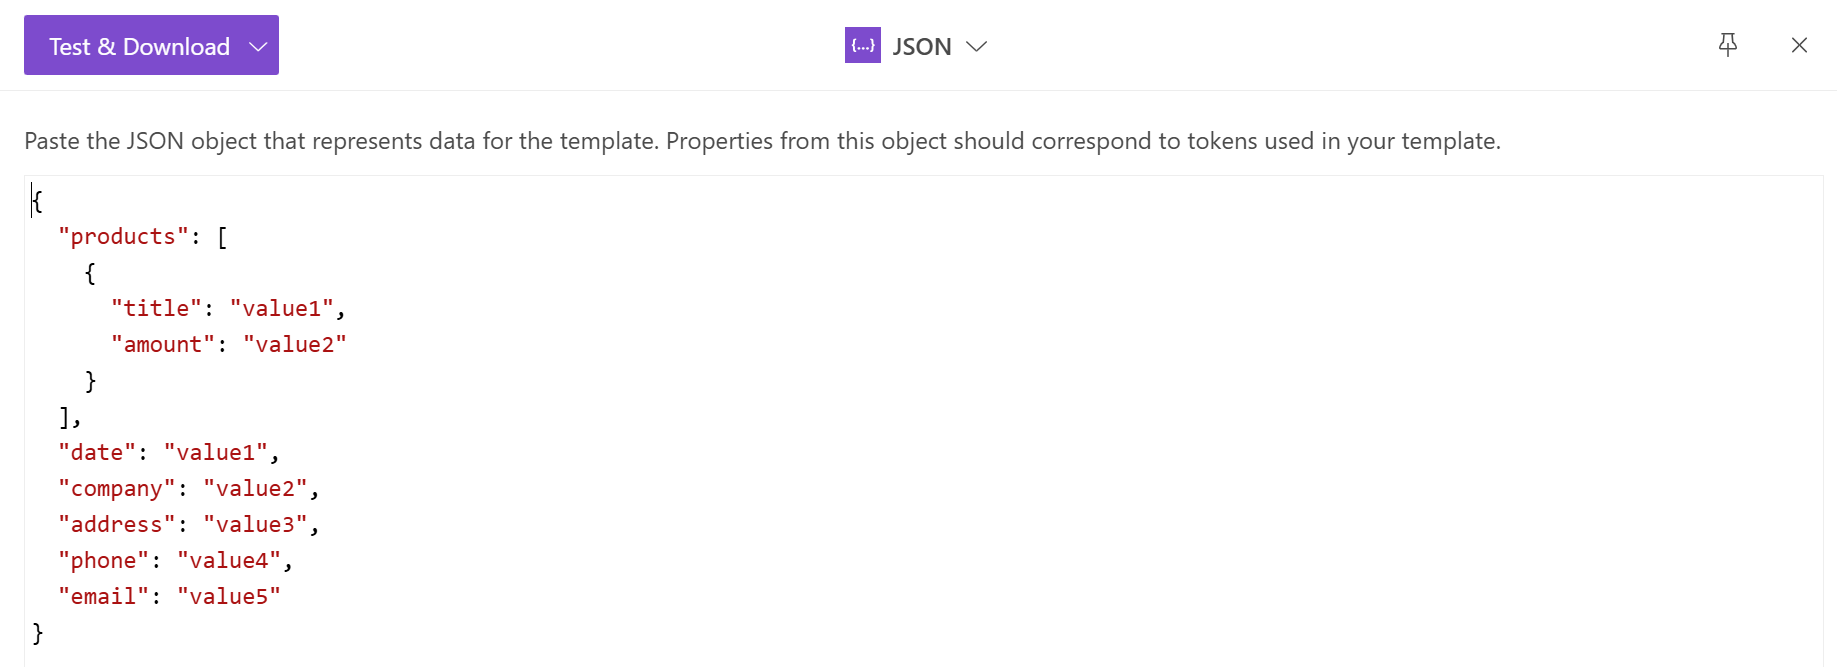
Insert a JSON object representing the data for the document template and click on the Test & Download button. This type of testing may be useful if your document template is complex or you already have JSON output from third systems.
Note
Once you tested the template you can configure how to deliver the result document (email, OneDrive, etc). Just click the Save & Next button in the Configure template step.
Troubleshoot template errors
Note
Only available for the Modern Engine.
Learn more about the difference between the Modern and Classic syntax.
Using testing mode, it’s possible to have a better understanding of which errors are present in your template and the reason behind them. This will help you generate files smoothly and take your processes to the next level.
So once your template is ready, select the configuration wizard’s Testing mode and DOCX as output.

Note
For production mode, any token with errors will be omitted and replaced with empty values to generate the document.
Then click on Test template, complete your data and choose Test & Download.

The resulting file will contain user-friendly error messages, designed to guide you in troubleshooting template issues, through different parts:
Error identification: This section tells you which specific process failed.
Problem description: A brief summary of the error.
Details: Shows the path within your JSON data (or any other input) that’s related to the incident.
For example:
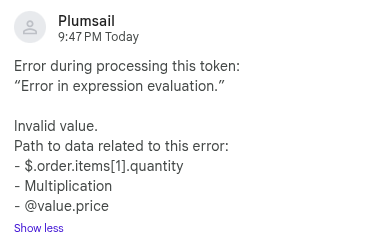
These components work together to help you debug your templates effectively.
Common cases
Having clear and structured input is essential for our engine to work properly, and make the most of its features. That means having a complete and consistent data set from the desired source, along with a template designed accordingly.
Any inconsistency will likely result in errors during the evaluation and processing of the output documents.
Let’s start with an example JSON input:
{
  "order": {
    "status": 1,
    "items": [
      {
        "name": "Keyboard",
        "quantity": 12,
        "price": 80,
        "paid": "false"
      },
      {
        "name": "Printer",
        "quantity": "10",
        "price": 250,
        "paid": true
      }
    ]
  }
}
As you can see, for explanation purposes, the data is not consistent. Based on it, we can start unfolding some common errors and how to work through them.
Missing token
Template |
Error message |
Comments |
|---|---|---|
|
Error during processing this token:
"Tag replacement error"
Variable company not found
|
Our template is referencing a |
Mismatching field types
Our engine relies on specific value types for functions and operations. If these types don’t match, the function won’t execute properly.
Math operations
Template |
Error message |
Comments |
|---|---|---|
|
Error during processing this token:
"Error in expression evaluation."

Invalid value.
Path to data related to this error:
- @value.quantity
- Multiplication
- @value.price
|
Multiplication fails between a string value ( |
Calculated properties
Template |
Error message |
Comments |
|---|---|---|
|
Error during processing this token:
"Error in expression evaluation."

Unsupported operation: ==
|
Comparison between string values ( |