Zoho Mail delivery
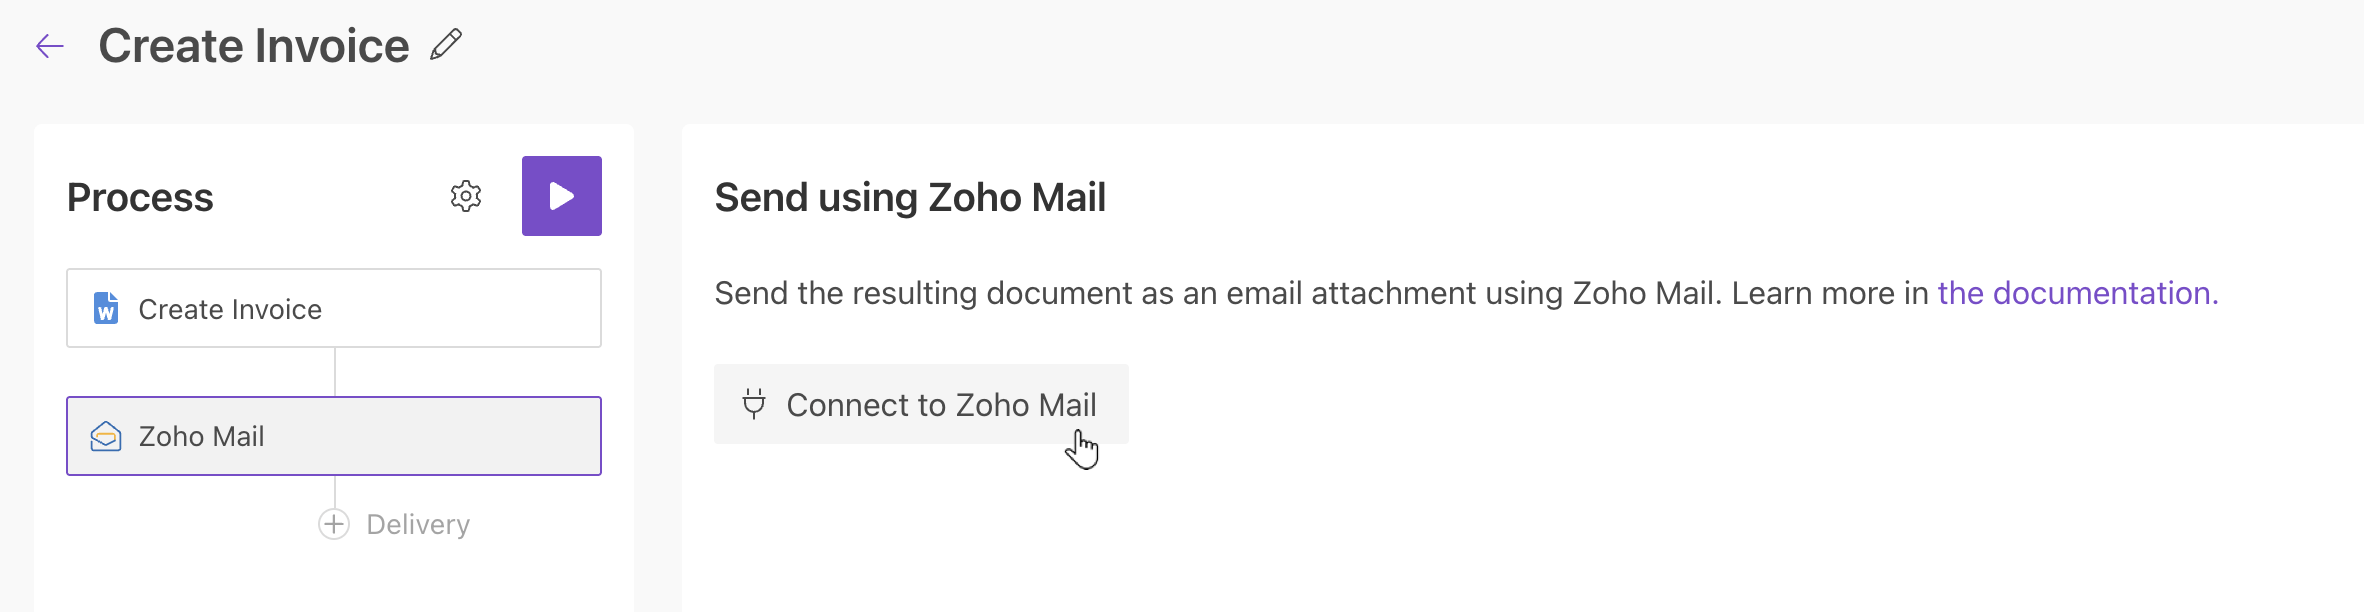
The Zoho Mail delivery sends documents generated by your process as email attachments. Before configuring the delivery, connect your Zoho Mail account in Plumsail account.
Main settings
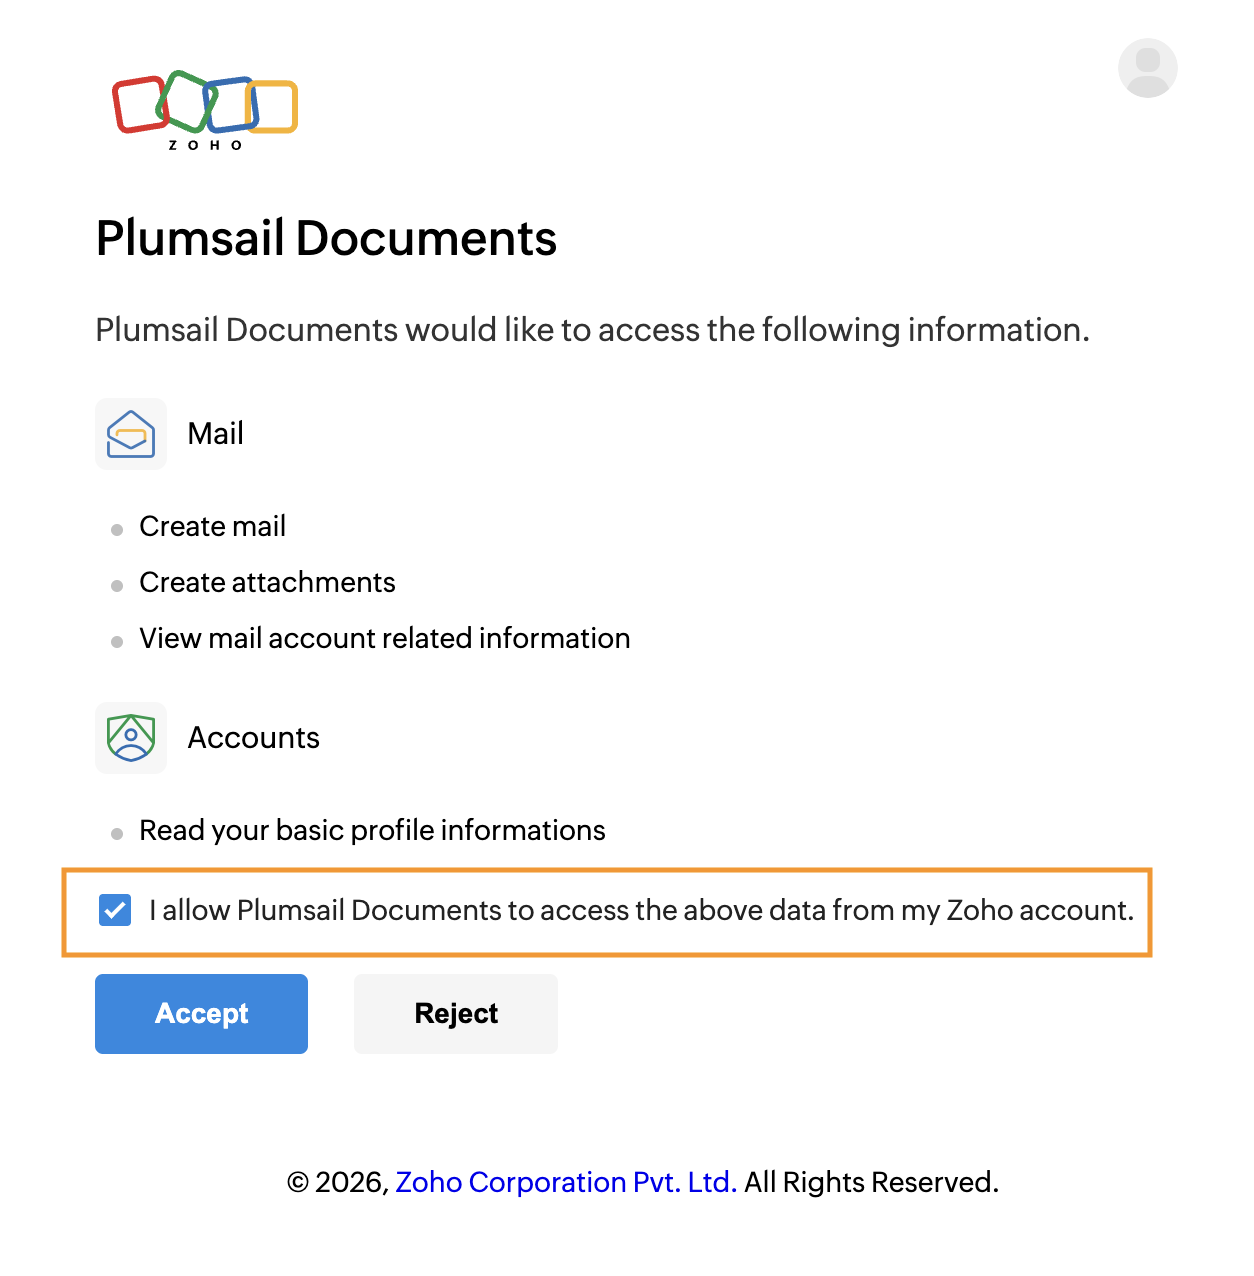
After signing in to your Zoho Mail account, allow Plumsail Documents to access your Zoho Mail data.
Once connected, configure the Zoho Mail delivery settings.
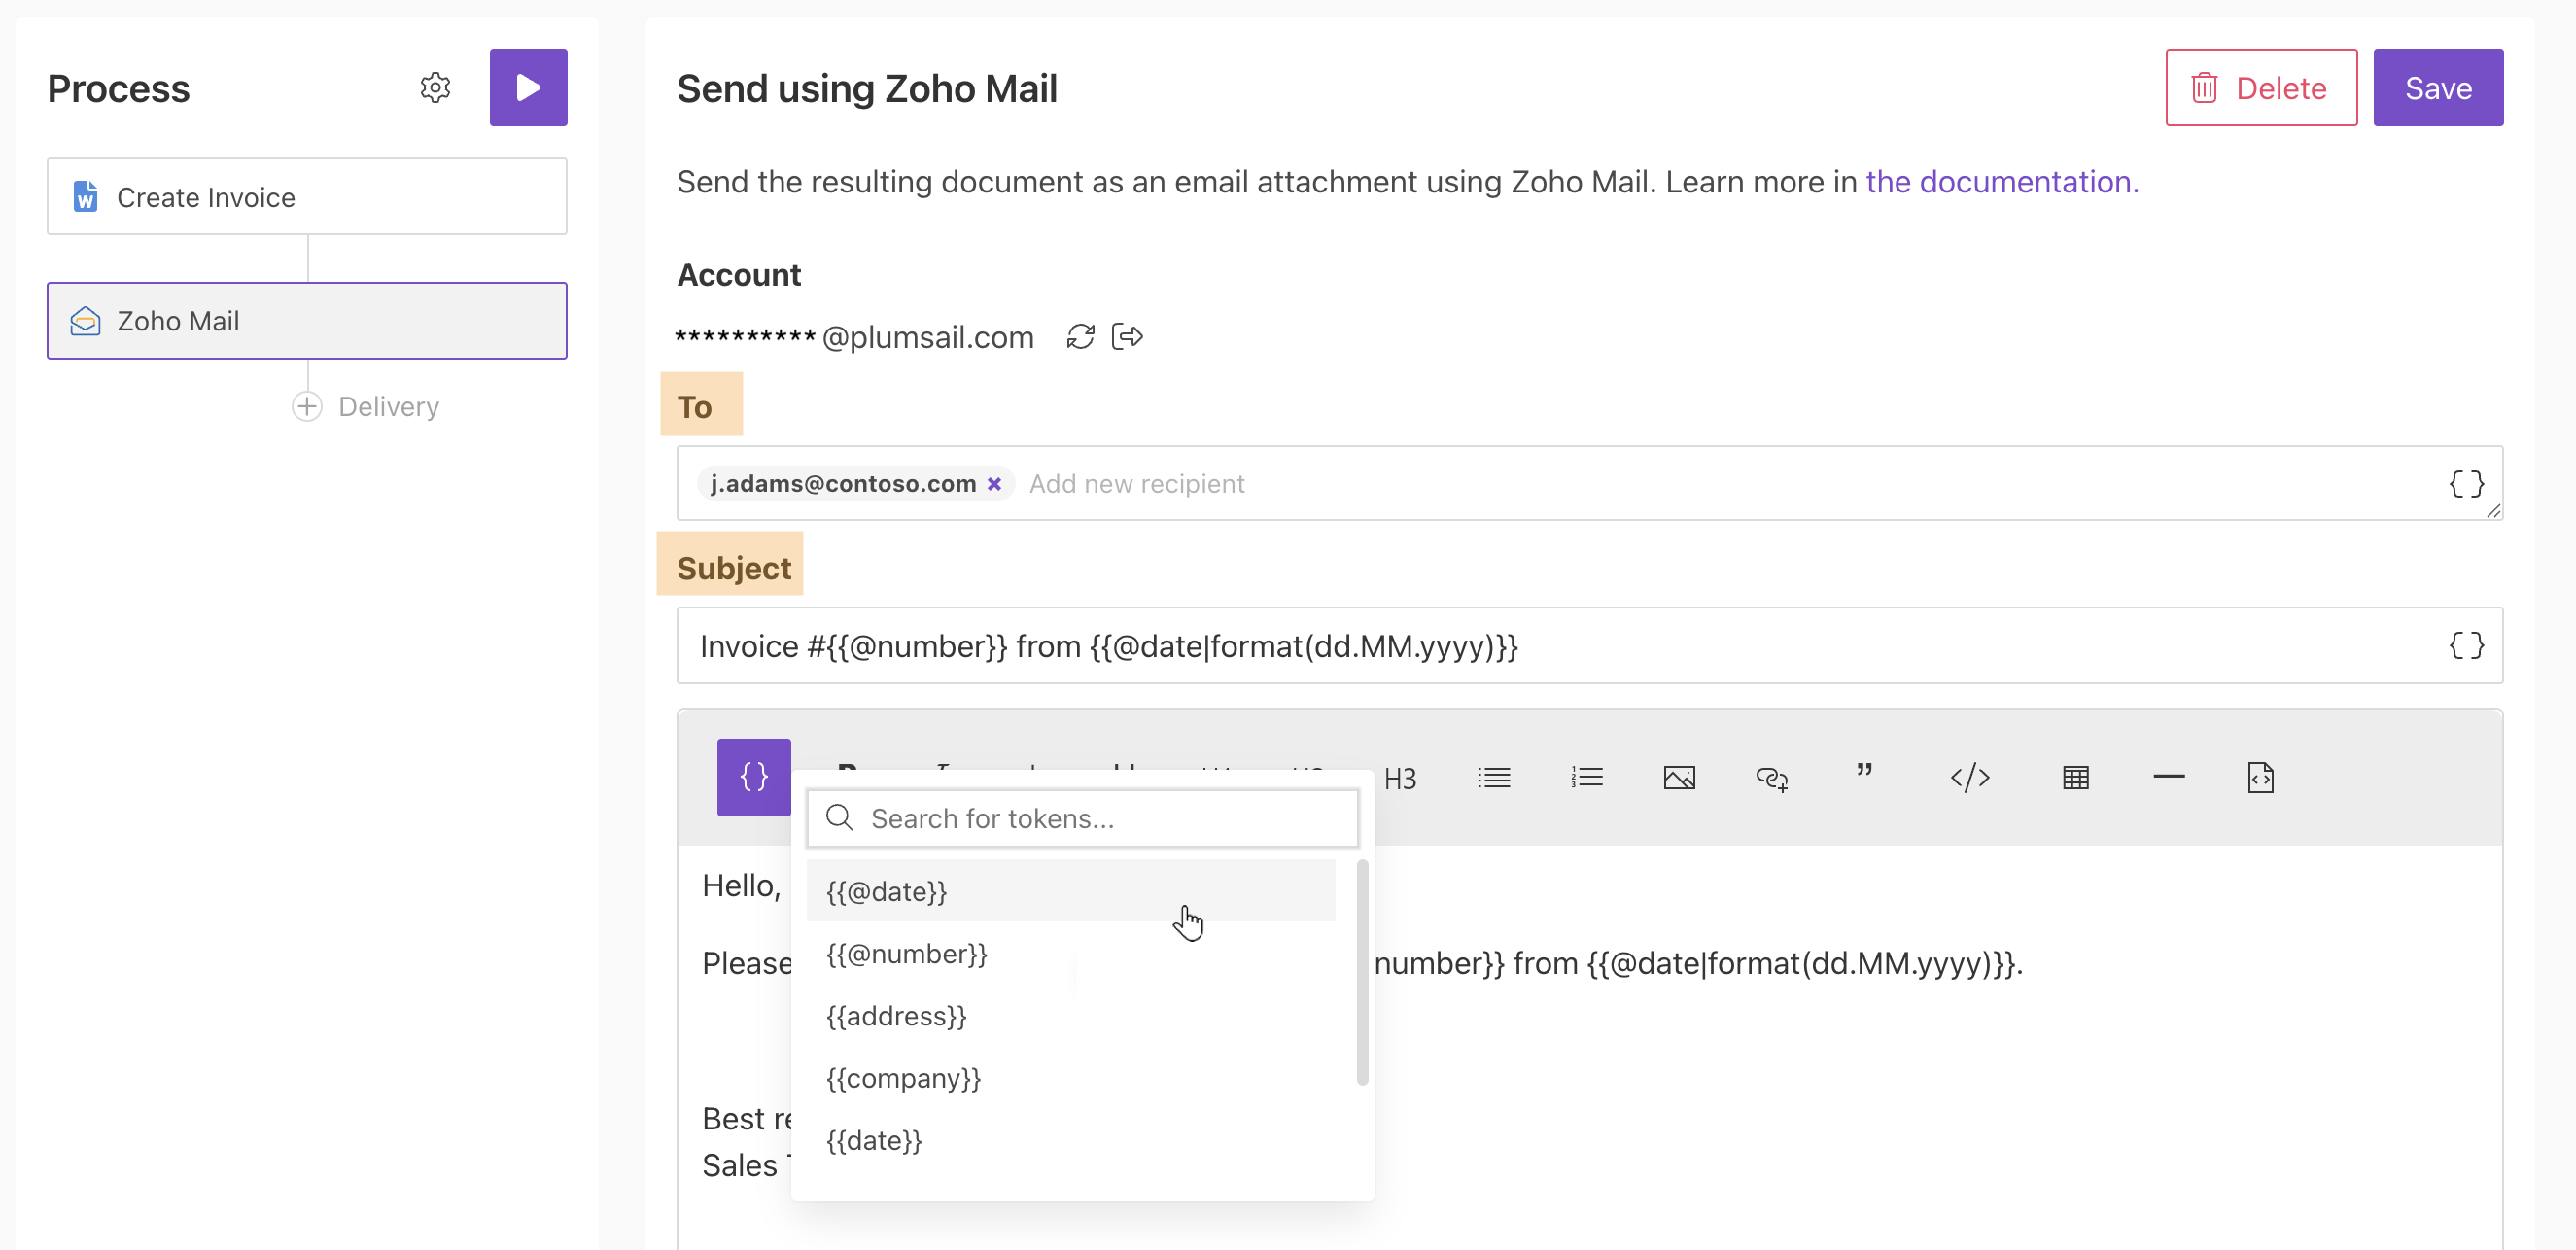
Add recipients to the To field. See how to specify recipients dynamically based on your data.
Specify the Subject and Body. See how to use tokens in these fields.
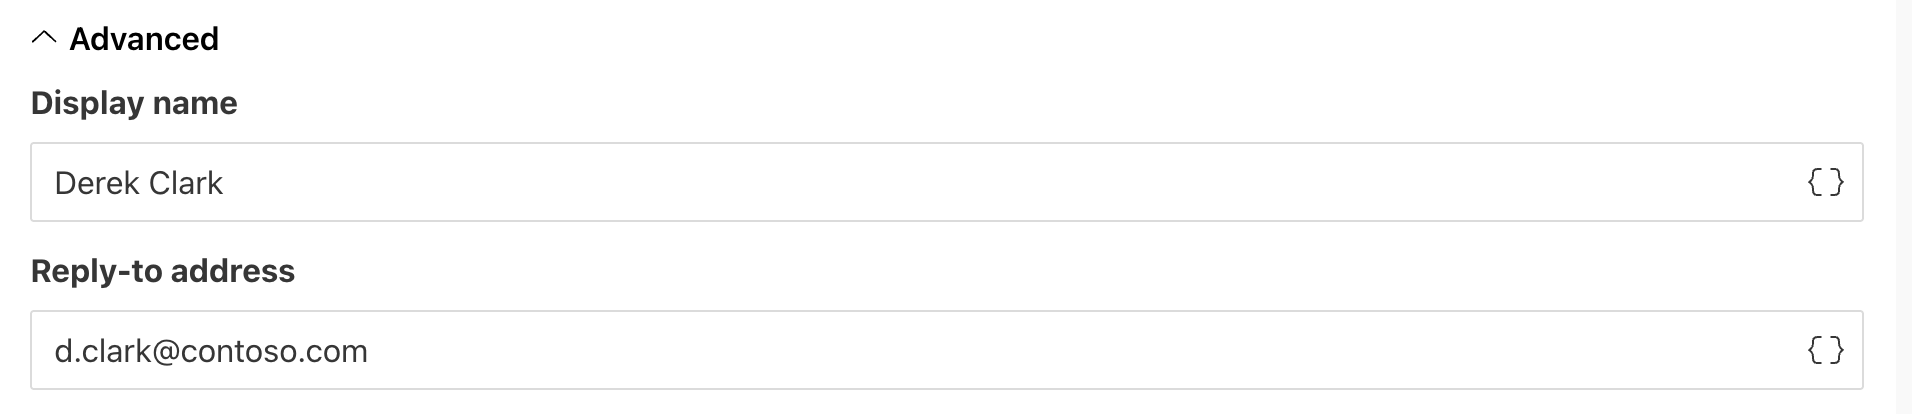
Advanced settings
Expand the Advanced section to configure:
Display name. The name displayed to recipients. By default, it matches your Zoho Mail account name, but you can change it.
Reply-to. By default, this is your connected Zoho Mail address. You can replace it with another email address.
Use tokens to specify recipients
You can specify recipient email addresses manually or use tokens. The data passed to the process determines who receives the document.

The email token can contain a single address or a list of addresses separated by commas:
{
  "email": "john.smith@contoso.com, adam.allman@contoso.com"
}
Use tokens in email subject and body
You can insert values from your data using tokens.
Click { } to open the list of available tokens.
For example, if your data contains a property called address, insert it using the token {{address}}.
Tokens work the same way as in document templates and also support value functions.
You can also use predefined tokens:
{{@date}}- the current date and time{{@number}}- the current document number.
Use rich text in email body (Modern engine)
If you use the Modern engine in your template, you can create more advanced email content using tokens.
For example, you can build tables or lists in the email body using data from tokens to create more personalized messages. This allows you to iterate over collections and display data in a structured way.
See the Build dynamic email content article for details and examples.
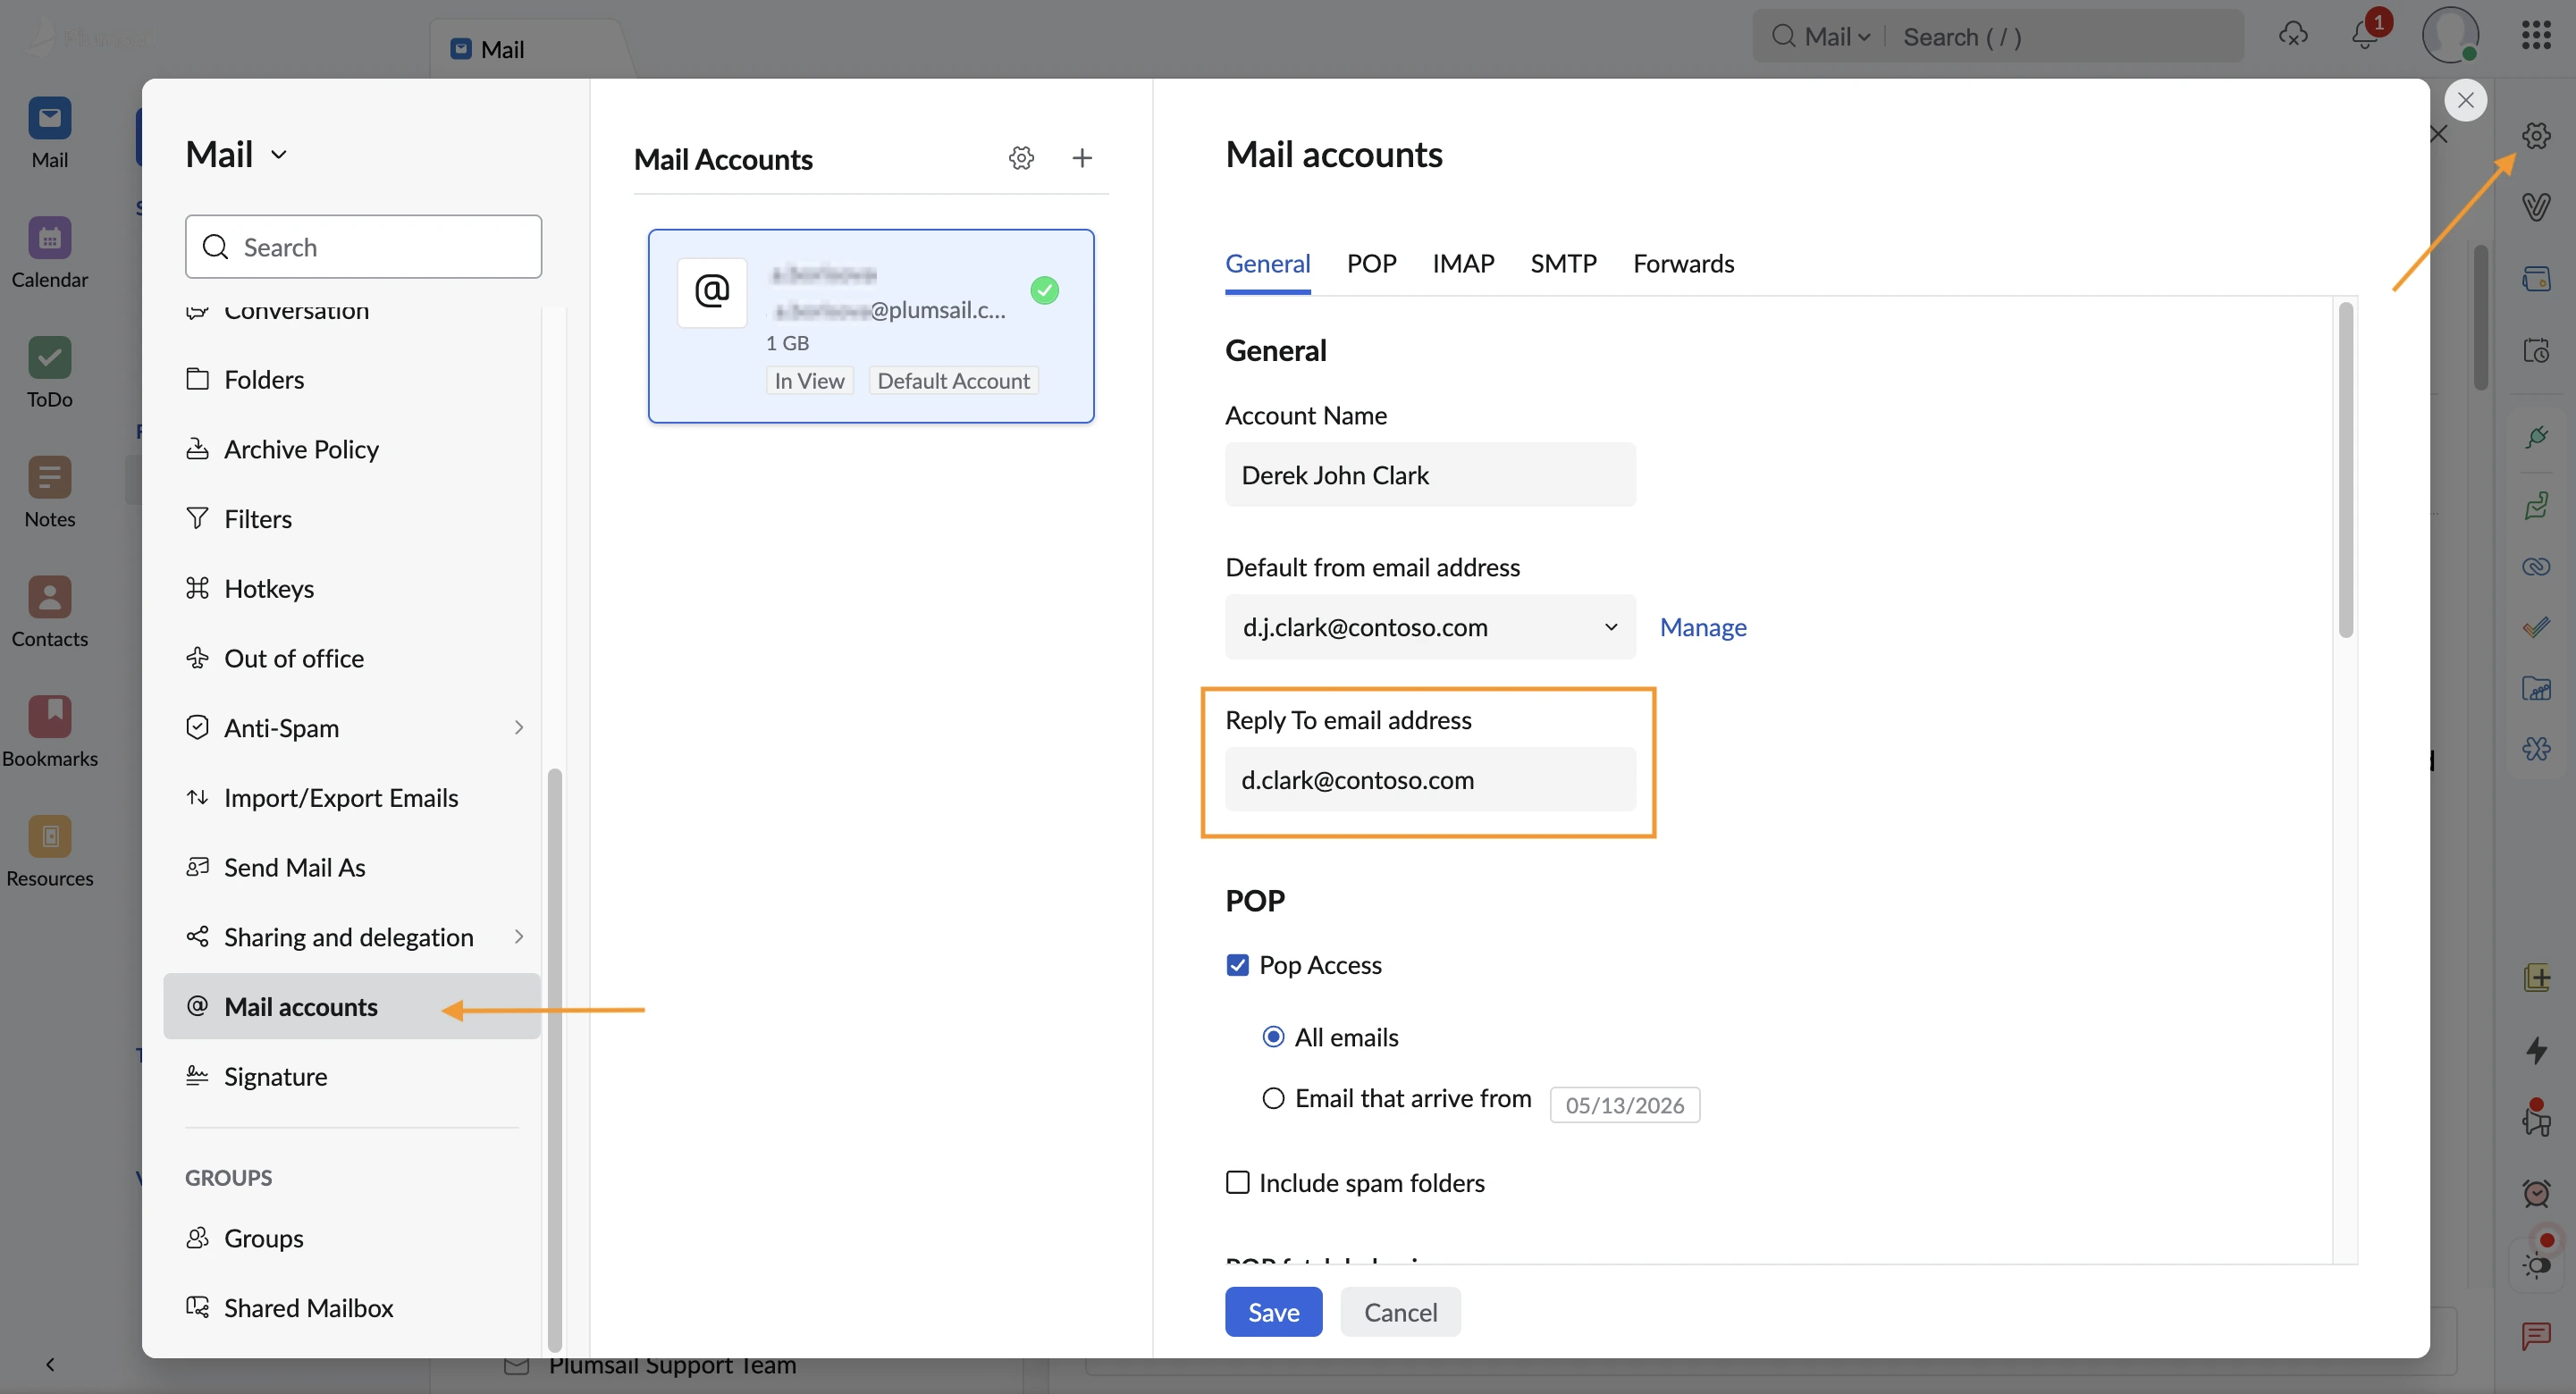
How to set Reply to account for Zoho Mail
When you set a custom Reply To email, Zoho Mail may return an error if this address is not configured in your Zoho Mail account. To resolve this:
Open the Zoho Mail interface and go to Settings.
Open Mail accounts.
Enter the Reply to email address, and Zoho Mail sends a verification email to the specified address.
Save the settings.
Note