Outlook delivery
The Outlook delivery sends documents generated by your process as email attachments through your Microsoft Outlook account. You can watch the video below or follow the step-by-step guide.
Create connection
First, connect your Outlook account in your Plumsail account .
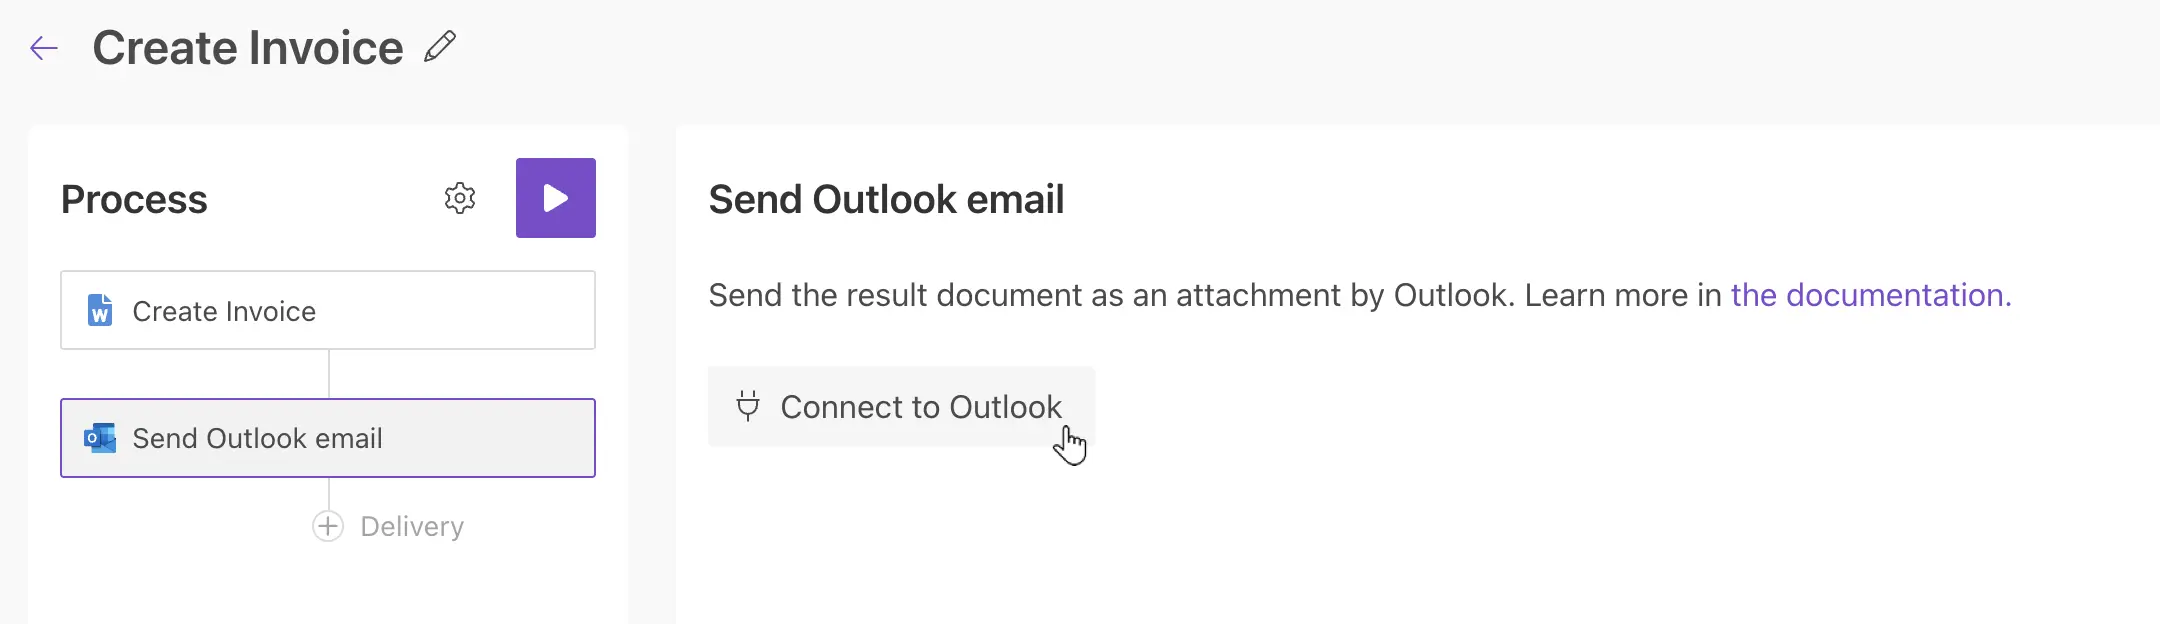
Click Connect to Outlook during the Delivery step of the process.
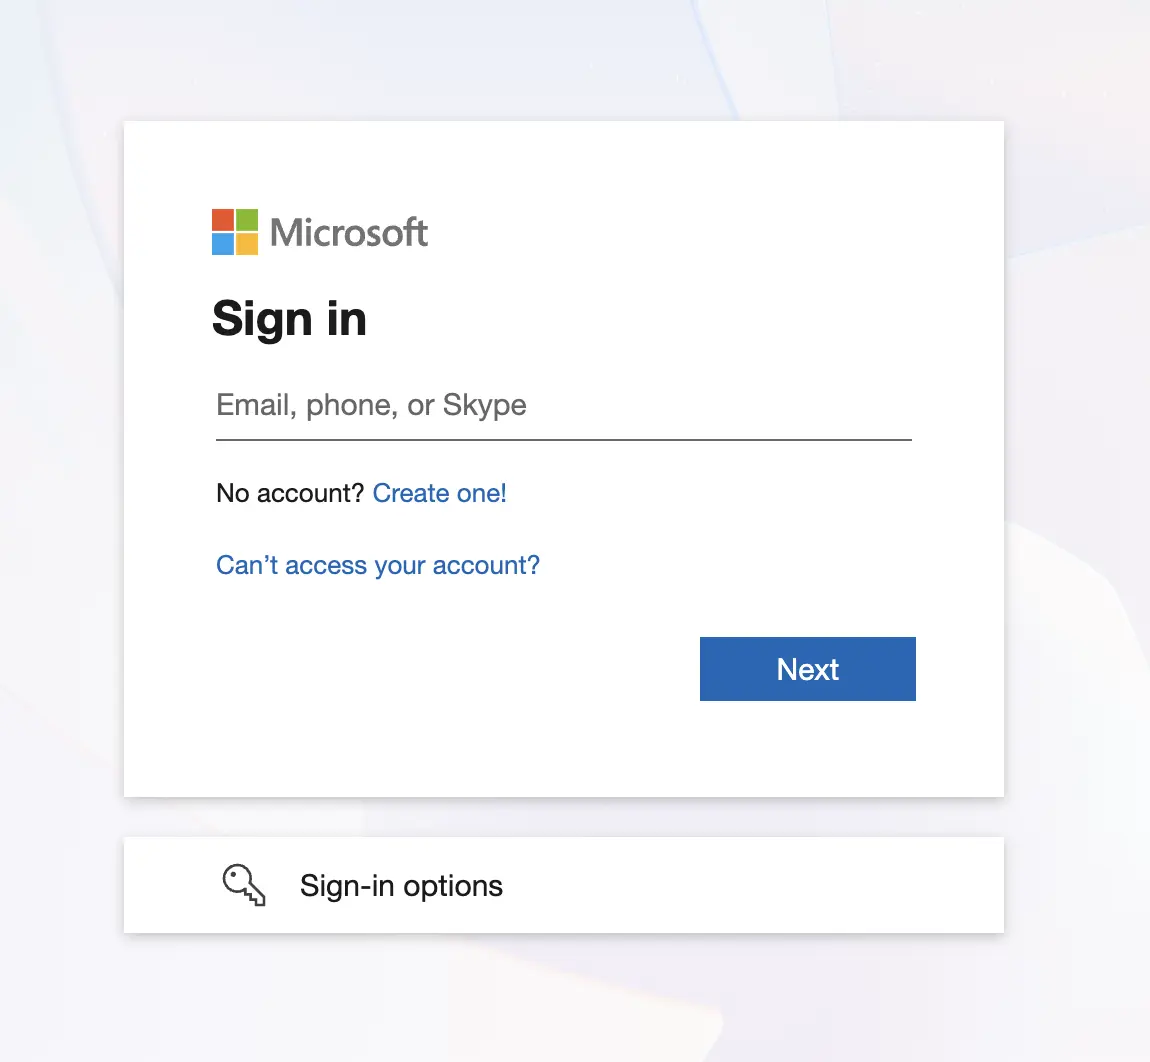
In the opened window, sign in to your Microsoft account and grant permissions to Plumsail account to send emails on your behalf.
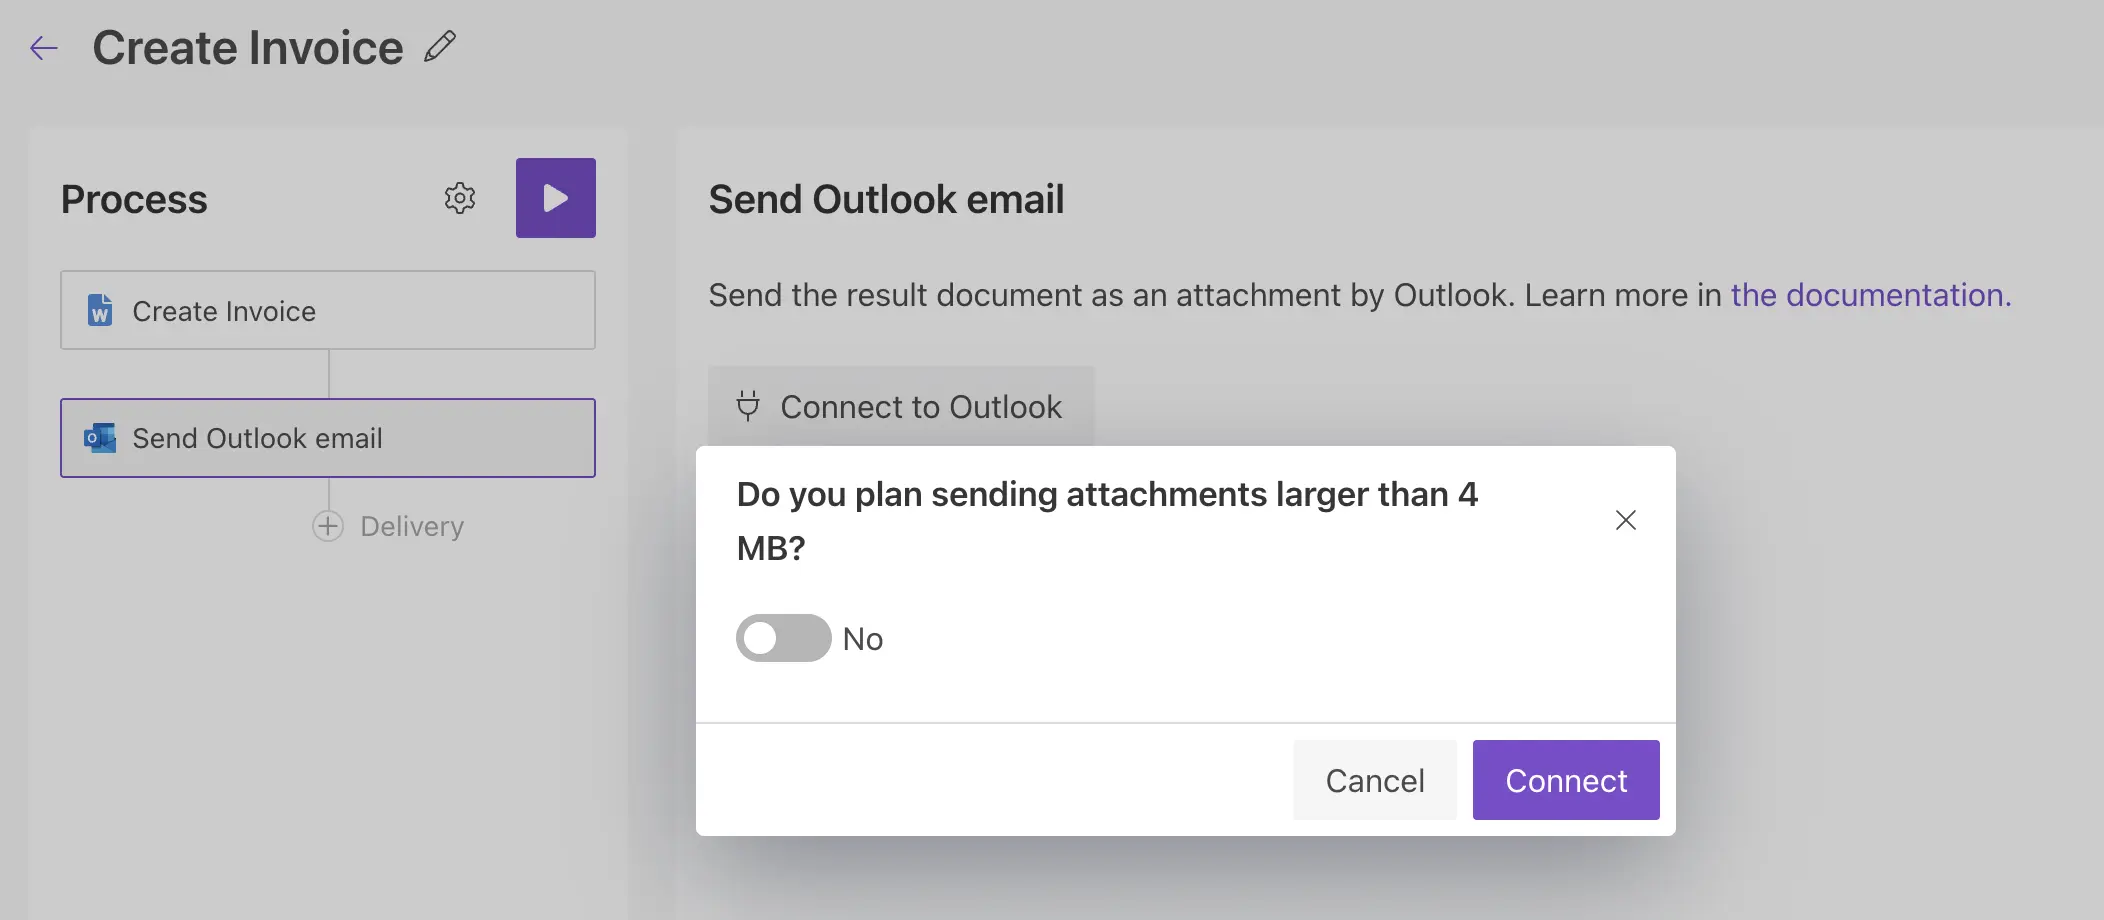
After granting permissions, you’ll see a dialog asking whether you plan to send attachments larger than 4 MB.
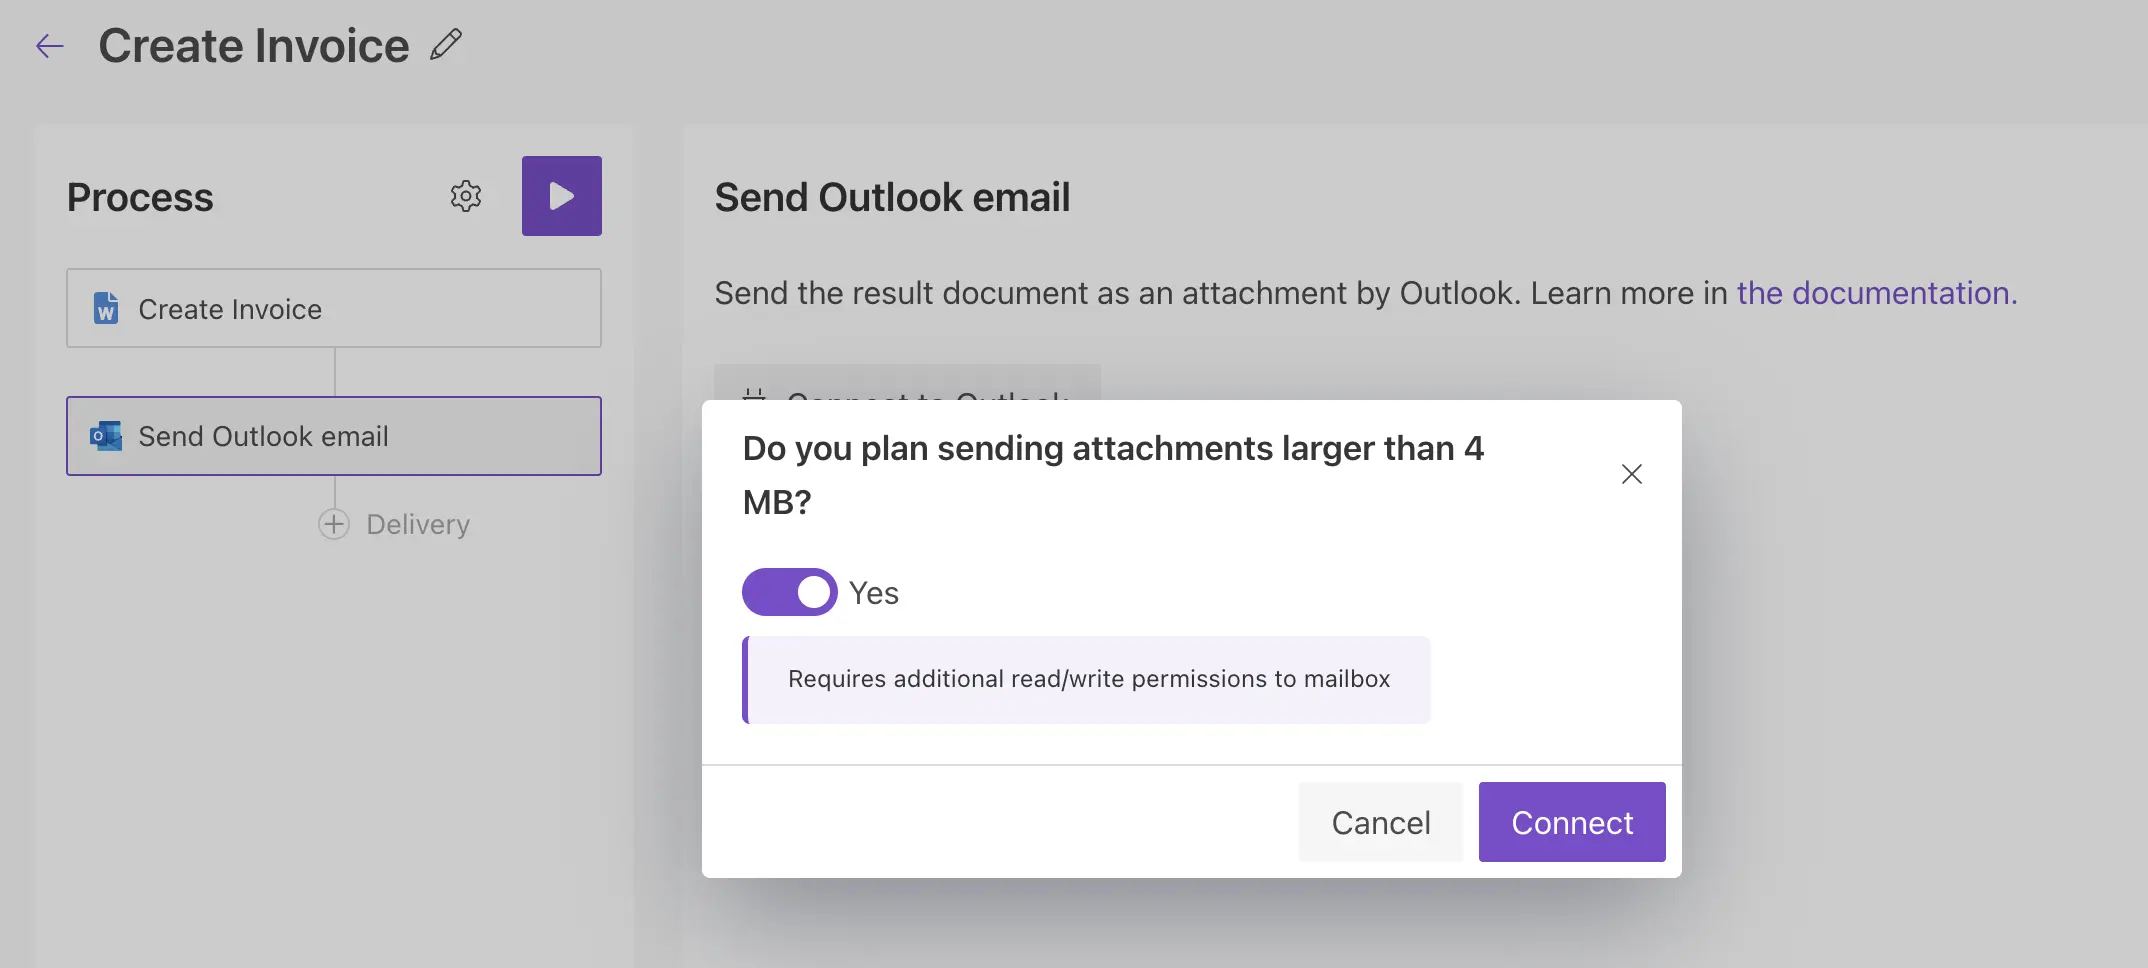
If yes, the connection requires additional read/write permissions for the Outlook mailbox.
Large attachments are first uploaded to the mailbox and then sent with the email. This requires write permissions to upload attachments and read permissions to compose emails with them.
Note
You can connect both personal Outlook accounts and Outlook business accounts. Depending on your Microsoft 365 tenant policies, admin approval may be required to grant access to the Plumsail app.
Main settings
Once connected, configure the Outlook delivery settings.
Add recipients to the To field. You can also specify Cc and Bcc as needed. See how to specify recipients dynamically based on your data.
Specify the Subject and Body. See how to use tokens inside these fields.
Advanced settings
Expand the Advanced section to configure:
Reply-to. By default, this is your connected Outlook address. You can replace it with another email address.

Use tokens to specify recipients
You can specify recipient email addresses manually or use tokens. The data passed to the process determines who receives the document.

The email token can contain a single address or a list of addresses separated by commas:
{
  "email": "john.smith@contoso.com, adam.allman@contoso.com"
}
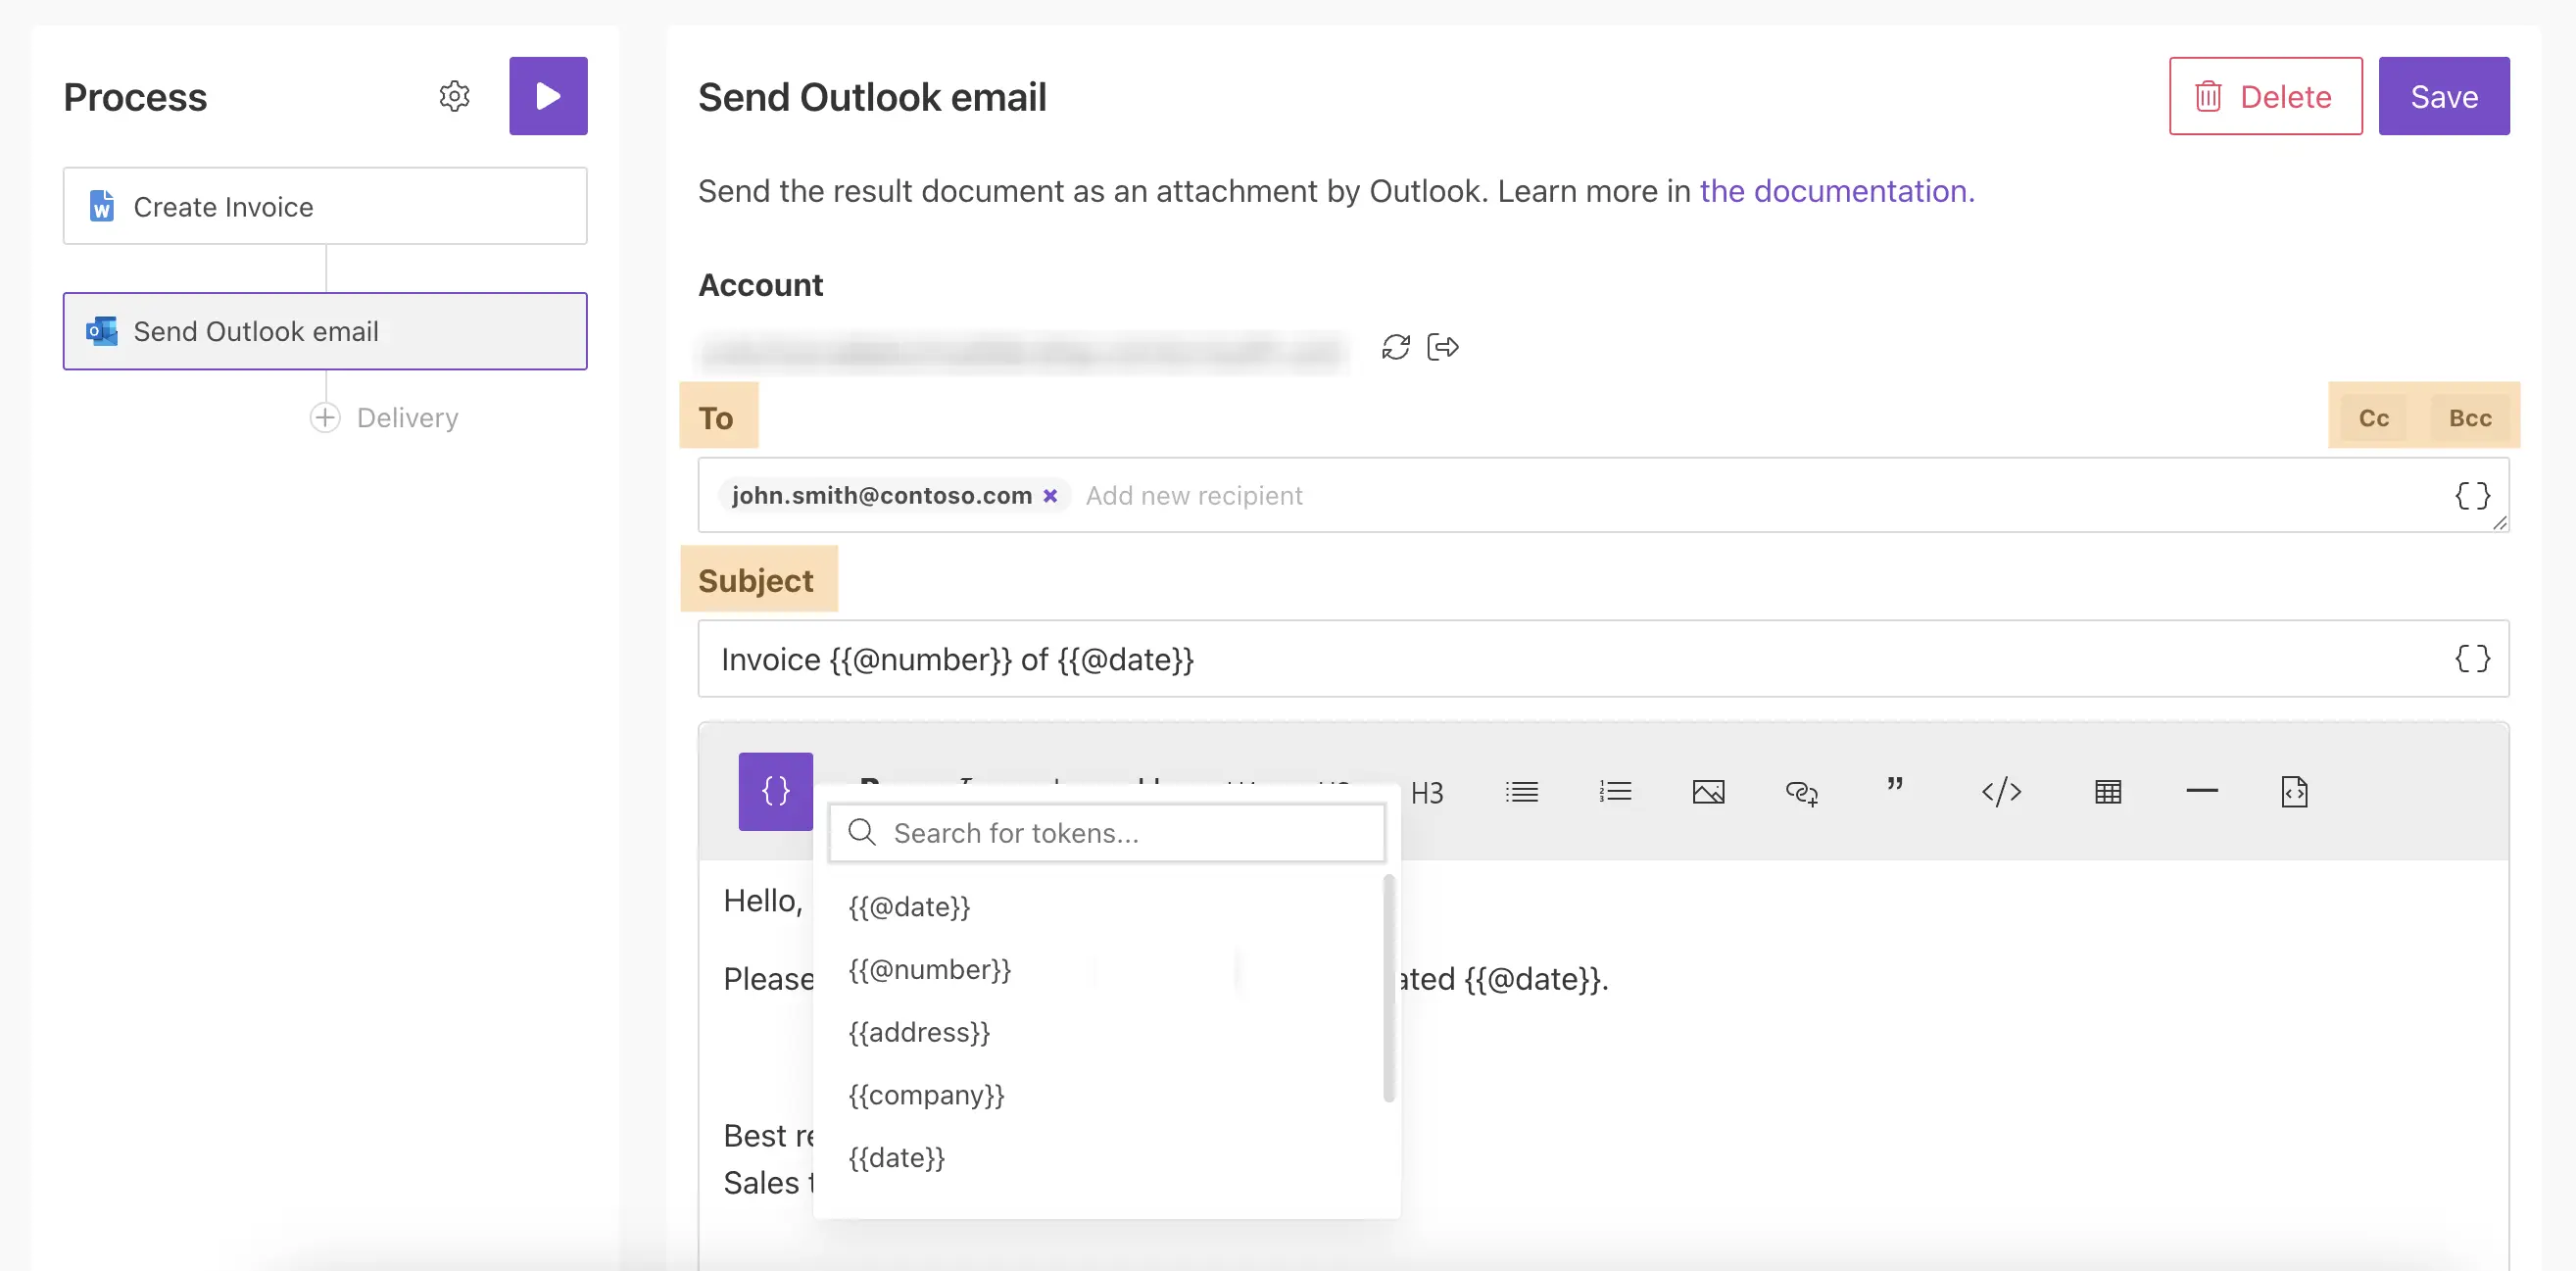
Use tokens in email subject and body
You can insert values from your data using tokens.
Click { } to open the list of available tokens.
For example, if your data contains a property called address, insert it using the token {{address}}.
Tokens work the same way as in document templates and also support value functions.
You can also use predefined tokens:
{{@date}}- the current date and time{{@number}}- the current document number.
Use rich text in email body (Modern engine)
If you use the Modern engine in your template, you can create more advanced email content using tokens.
For example, you can build tables or lists in the email body using data from tokens to create more personalized messages. This allows you to iterate over collections and display data in a structured way.
See the Build dynamic email content article for details and examples.
Note