Designing web forms with Plumsail Forms
Important
If you have any issues, please, contact our support team or write us an email to support@plumsail.com
Register a Plumsail Account
Plumsail Forms product uses our service called Plumsail Account. Using Plumsail Account you can manage your license, and it also stores all your Public Web Forms. All Public Web Forms created by you are tied to your Plumsail Account.
You can register by filling out Plumsail Account registration form.
Tip
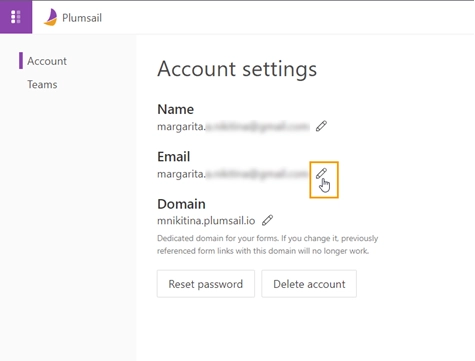
You can change your account email at any time in the account settings. Click the edit icon next to the email and follow the wizard steps to associate the account with another email:
Sign in to an existing account
You can log in by going to the Plumsail Account login page and entering your login and password. Make sure you’ve registered first.
Launch web designer
Go to Plumsail Account, and navigate to Forms page. Click Create form:

Design a form
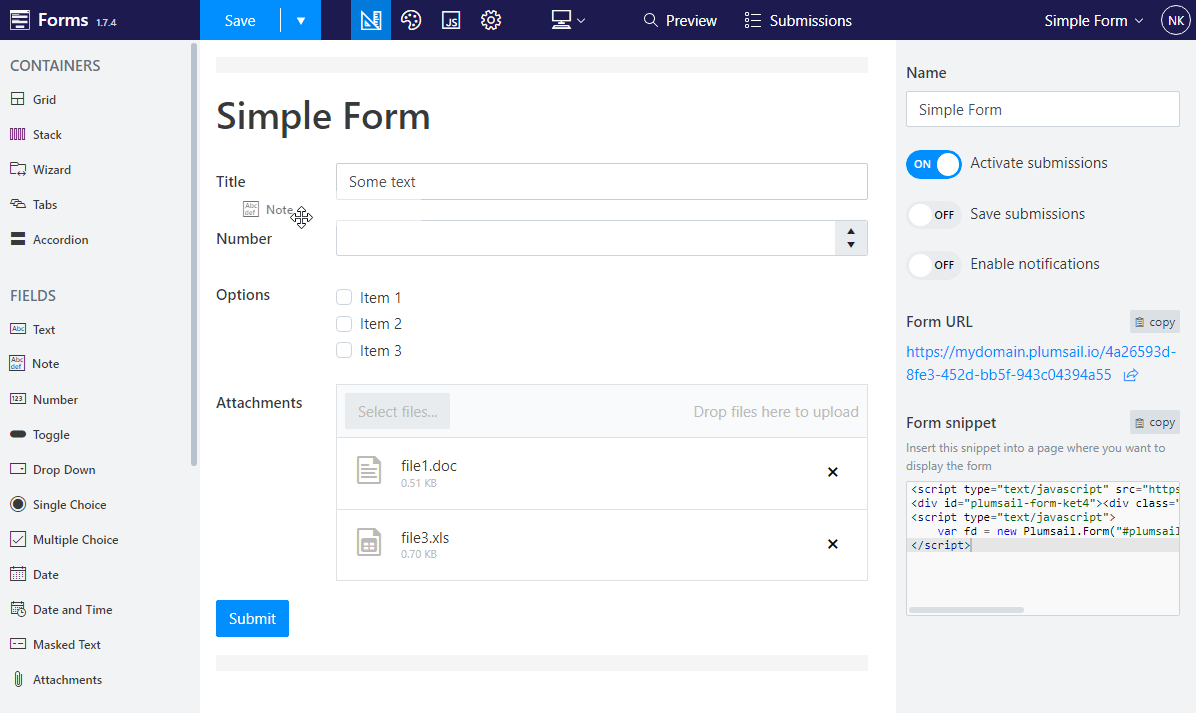
When you open the designer, you can start designing the form. Drag and drop Fields, Controls and Containers onto the form:
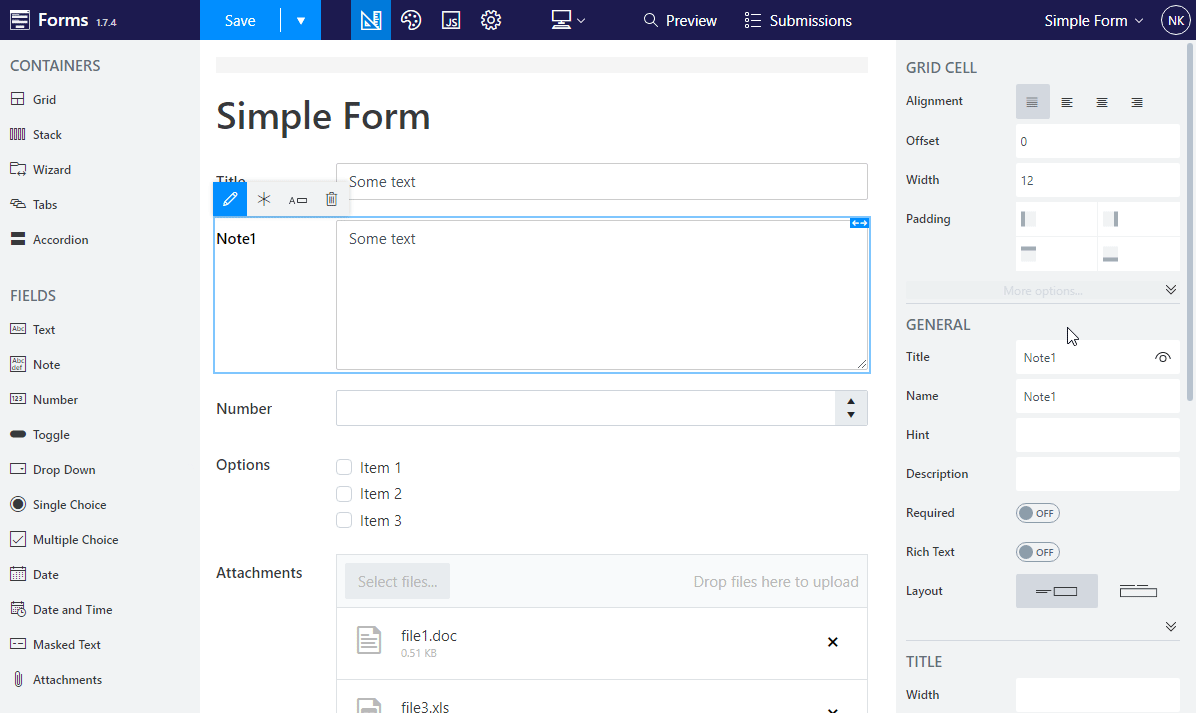
Then you can adjust individual settings for each field, control or container by selecting it and modifying its configuration:
In web designer, multiple fields/controls can be selected at once to adjust their shared properties:
Designer section of our documentation provides more details about each Field, Control and Container, and their properties that you can modify. Finally, there is also a section on Toolbar actions that explains how you can work with mobile layouts, apply custom JavaScript and CSS to the form.

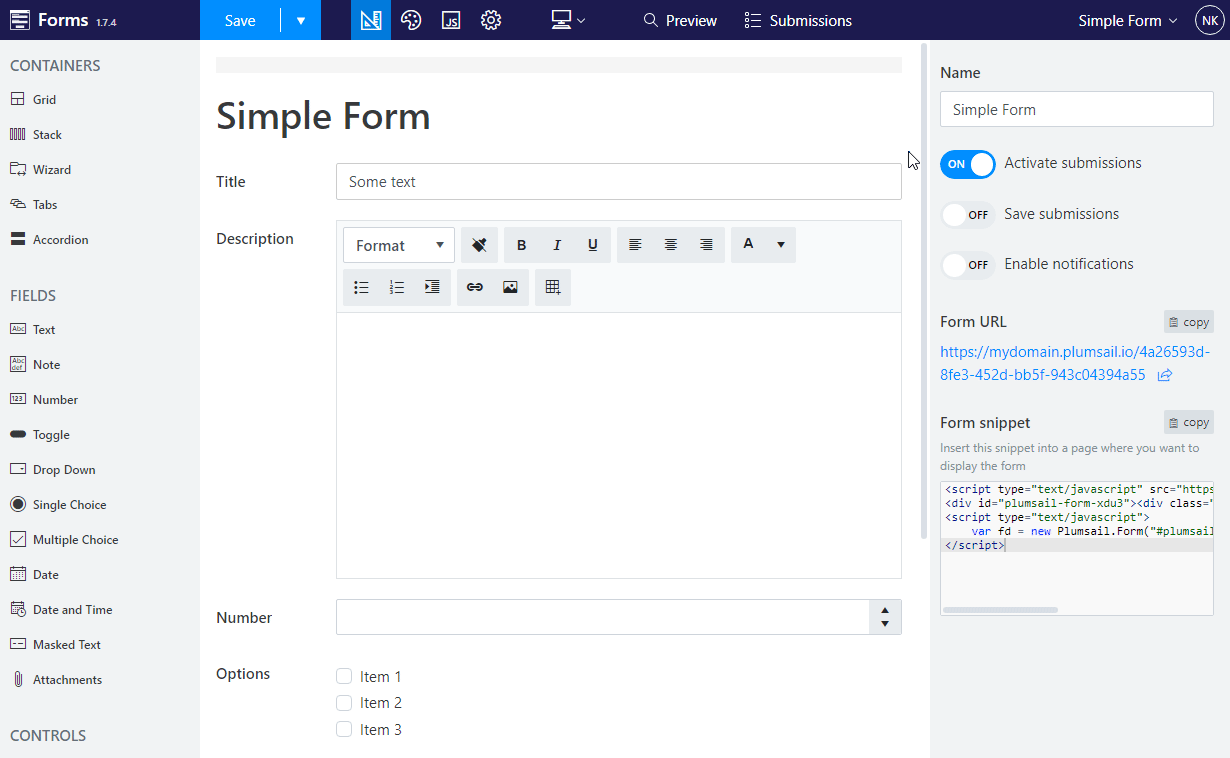
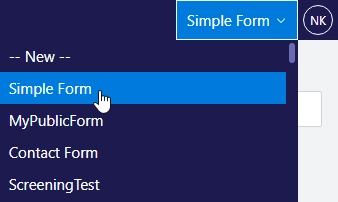
Once you’ve designed the form, click Save. You’ll be able to give a name to your form and it will be saved to your Plumsail Account. You will always be able to open, edit or delete your saved forms in the upper right corner of the designer:
When you are satisfied with how your form looks on all the layouts and screen sizes (you can just resize browser’s window to see how the form scales), you can finally share the form.
To find out how to share saved forms, please, go to our Sharing forms article.
Use AI chat to create and customize forms for you
Use built-in AI chat to:
Create custom forms based on your prompts.
Customize existing forms, adjust and modify existing templates to match your needs.
Adjust CSS and JavaScript code on the form to create unique solutions for your organization.
Currently available with:
Van plan: 3000 credits
Truck plan: 5000 credits
Invite team members to the account
Plumsail account supports inviting other users as team members to share the available services. The team members can use any product as if it were their accounts though they will not manage the subscription and account settings.
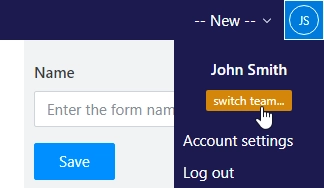
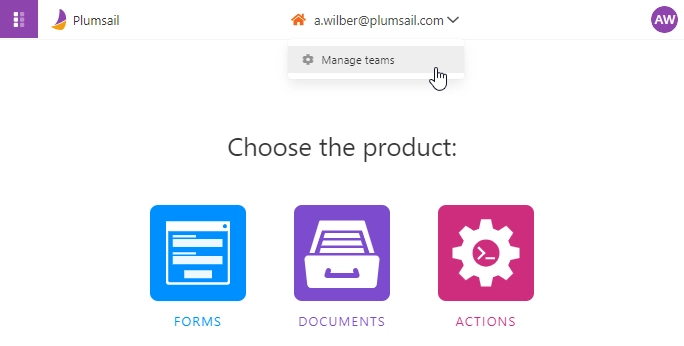
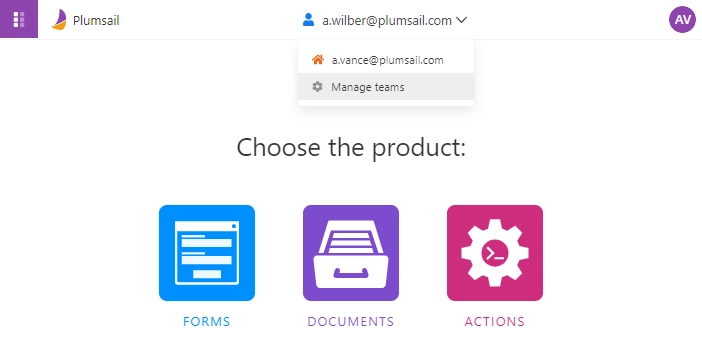
Manage teams
The current team is displayed in the top middle of your account. Click it to see a drop-down menu and switch between the available ones or manage them. By default, you have only your team marked with a home icon.
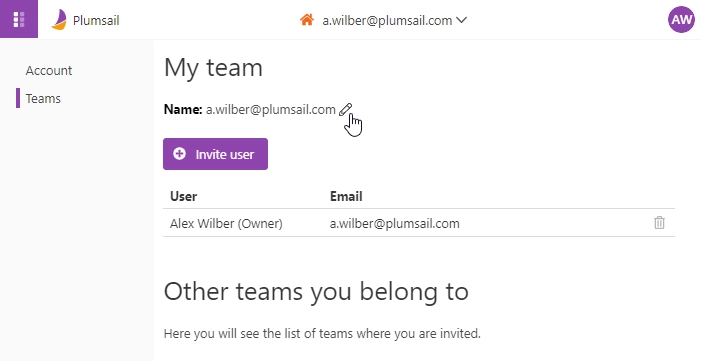
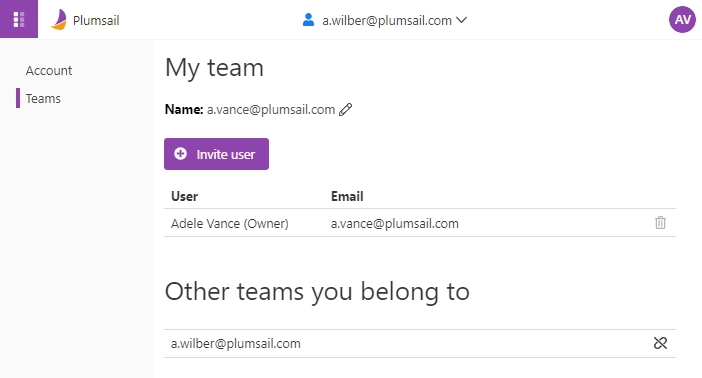
In the My team section, you can rename it and manage its members. By default, the name is the same as the account address. If you accepted invitations to other teams, you would see their list in the section Other teams you belong to. Manage your membership there.
Manage members
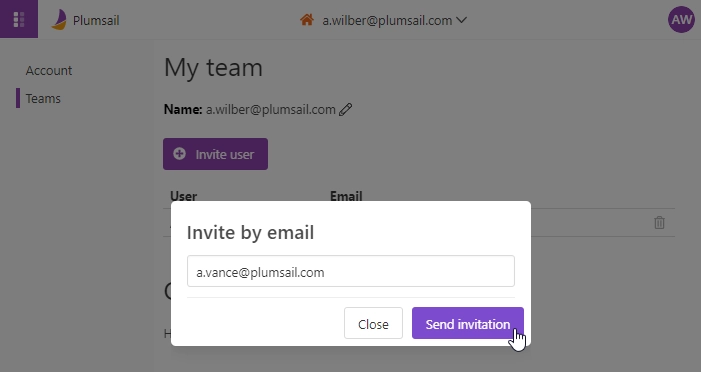
In the My team section, click the Invite user button and enter the e-mail of the person you would like to invite to your team.
Note
You can use any e-mail address to contact the person: it is used only for sending a secret link. The addressee will decide whether to use an existing Plumsail accounts or create a new one.
The invited person will appear in the list of your team members. Unless the membership is not confirmed, the accordant record will remain gray. You can resend the invitation link in this case.
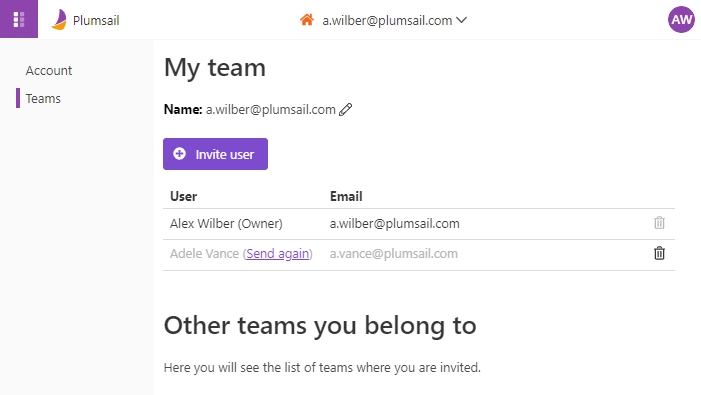
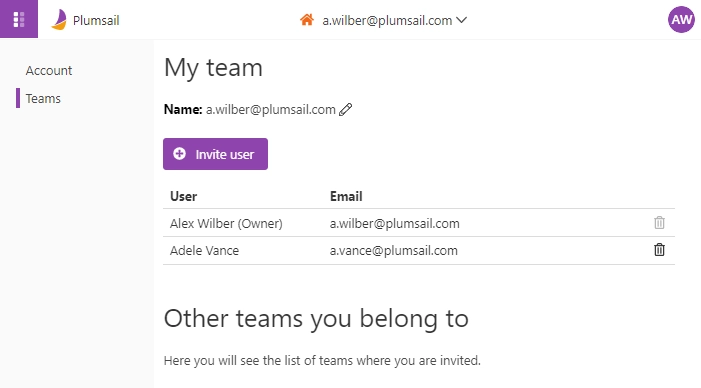
Once the invitation is accepted, the record will be displayed black. To delete a user, click the recycle bin button. It does not matter whether the invitation was accepted or not.
Join or leave team
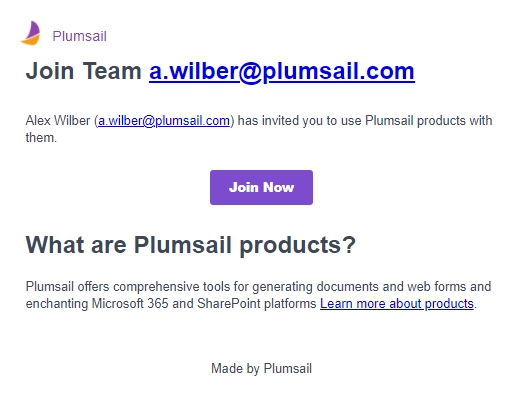
If you received an invitation to join the team, click Join Now to accept it.
You will be redirected to the Plumsail sign-in page. There you can either log in with an existing Plumsail account or create a new one. After the authorization, you will see the team you belong to at the top. Teams of others’ are marked with a blue person icon. Click it to see a drop-down menu where you can select or manage them. Switching the team changes the context to the accordant account and provides access to all its services.
In the section Other teams you belong to, you will see a list of them. To leave any, click the crossed link button in its row.
Select team for editing forms
You can switch to different teams available to you and work with this team’s forms in the web editor, by clicking on the user icon: