How to start a flow after submitting a SharePoint form and wait for the result
With Plumsail Forms, you can design a form that provides real-time feedback on the status of a Power Automate flow.
This article explains how to configure a SharePoint form to start a Power Automate flow and display a dynamic loading screen until the process is complete.
List and Flow configuration
Create a SharePoint List and add two Yes/No columns, StartFlow and FlowFinished:
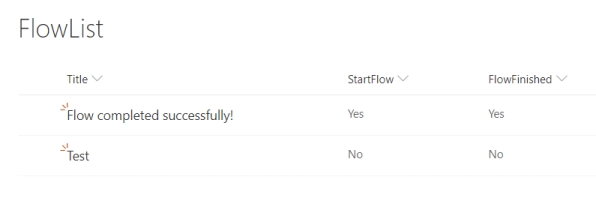
Make sure both columns are set to No by default. These fields will be used in the Power Automate flow.
Open Microsoft Power Automate and create an automated cloud flow. Pick the When an item is created or modified trigger action from SharePoint:
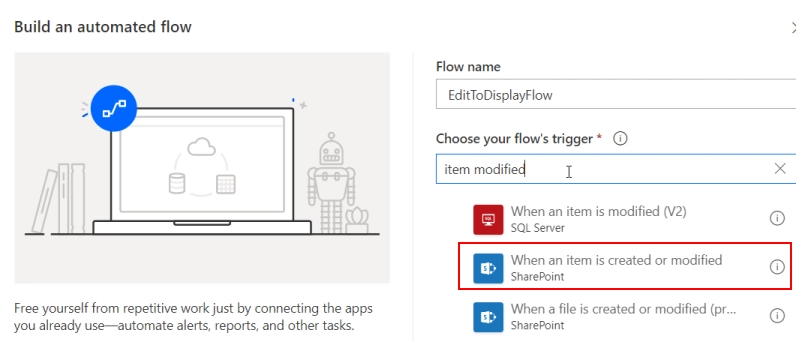
Make sure you used the correct trigger. When a file is created or modified or When an item or file is modified will not produce the same results.
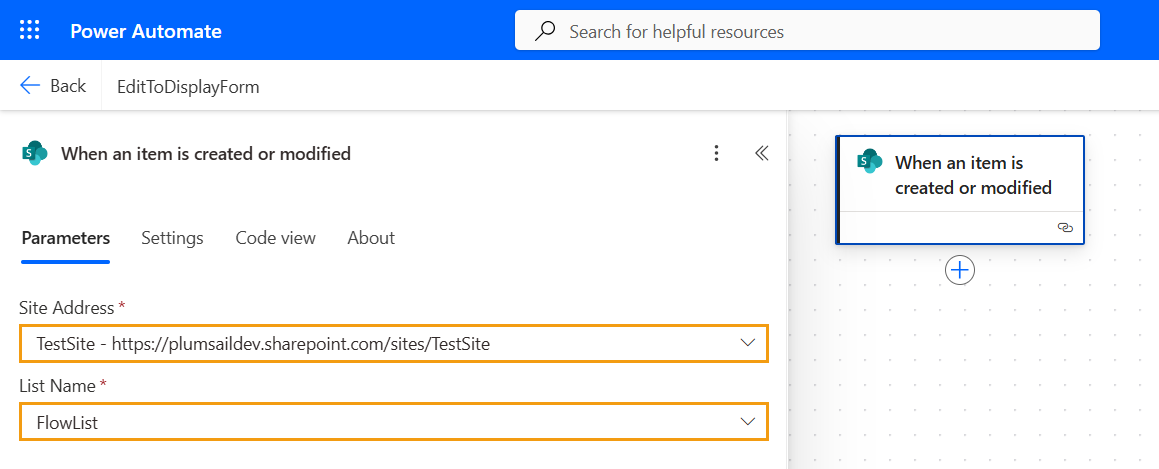
In the trigger action settings, fill in the site name and list name of the list you’ve created in step 1.
Add a condition to check the value of StartFlow. It should be equal to true as an expression:
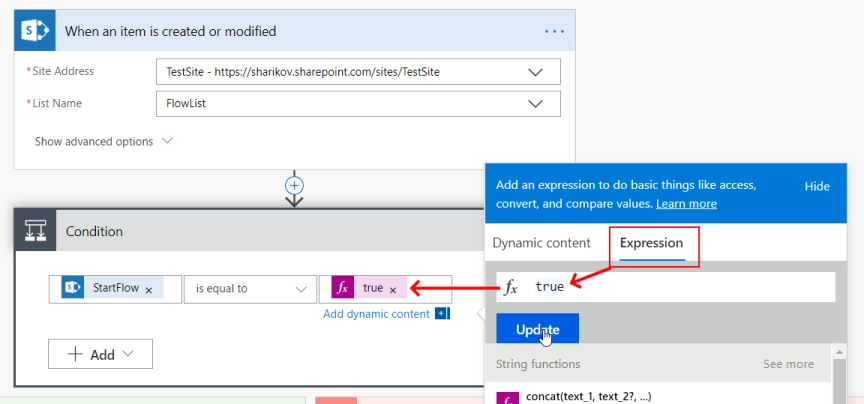
You only need to add something to the Yes branch of the condition; the No branch can remain empty—there is nothing to execute.
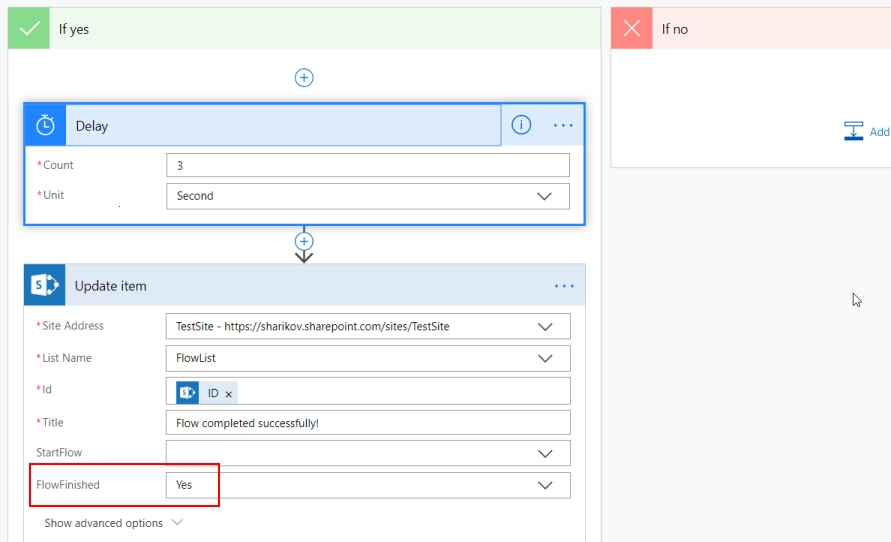
This is the place where you can add the actual actions required by your workflow, e.g., requesting approval for the item, notifying certain team members, or updating items in a different SharePoint list. This example uses a time delay for simplicity’s sake. Feel free to skip this action.
Add an Update item action to the flow. Fill in the same Site Address and List Name as you did before, and use the ID from the flow trigger. Finally, set FlowFinished to Yes to indicate that the flow is finished. You can also update the item’s Title to make it more obvious:
Building forms
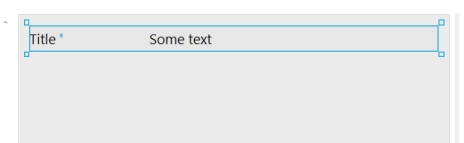
Create New and Display forms for the SharePoint list; you can drag-and-drop the necessary fields to create the form layout:
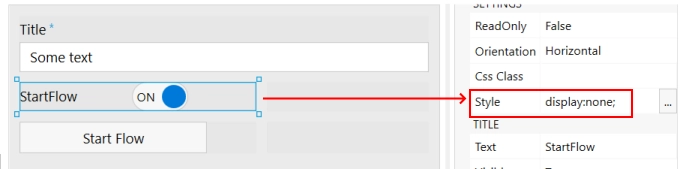
Open the Edit form of the list. Add Title and StartFlow fields, then adjust the Style property of StartFlow to make it invisible:
display:none;
Since the field is hidden, users won’t be able to modify it manually.
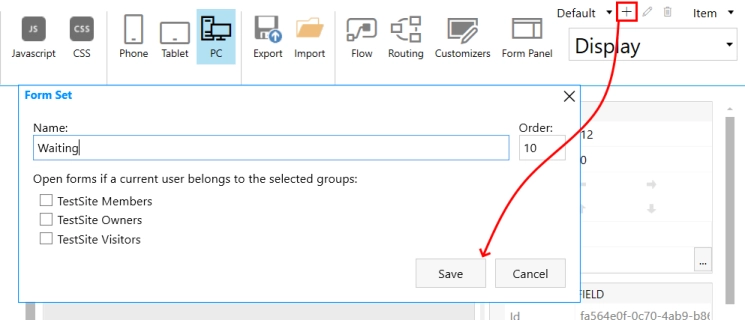
Next, you need to create a new Form Set that will display while waiting for the flow to execute. No need to select any groups or priority, just give it a name:
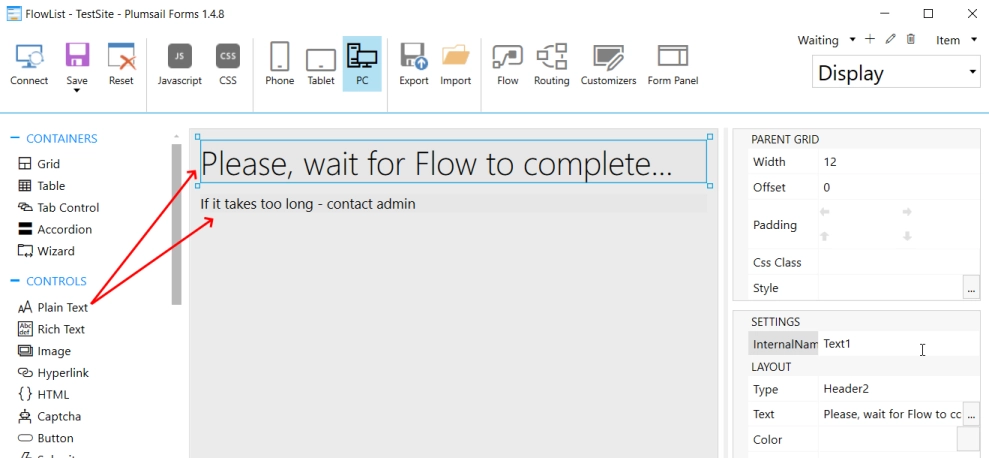
In the Waiting Form Set, modify the Display Form only.

Add Title and Plain Text controls:
The code in the JavaScript tab is crucial for this form. It will use Interval timer to execute requests to the list and check FlowFinished of the current item.
Once FlowFinished is set to Yes, the user will be redirected to Display Form. The code will also play a small “animation” while waiting: each time a request is sent, the number of dots will change. This is an optional quality-of-life feature that indicates to the user that the form is not frozen.
Here’s the code:
fd.spRendered(() => {
    fd.toolbar.hidden = true;
    // use interval timer to send requests checking flow completion
    let timer = setInterval(checkFlowStatus, 1000);

    function checkFlowStatus() {
        // optional animation call
        playAnimation();
        // use list title and column's internal name here
        pnp.sp.web.lists.getByTitle('FlowList').items.select('FlowFinished').getById(fd.itemId).get().then(item => {
            if (item.FlowFinished) {
                clearInterval(timer);
                // use url of your own site/list
                window.location.href =
                    'https://domain.sharepoint.com/sites/sitename/SitePages/PlumsailForms/FlowList/Item/DisplayForm.aspx?item=' + fd.itemId;
            }
        });
    }

    // optional animation function
    function playAnimation() {
        let dotsCount = (fd.control('Text1').text.match(/\./g) || []).length;
        if (dotsCount < 3) {
            fd.control('Text1').text = fd.control('Text1').text + '.';
        } else {
            fd.control('Text1').text = fd.control('Text1').text.replace(/\./g, '');
        }
    }
});
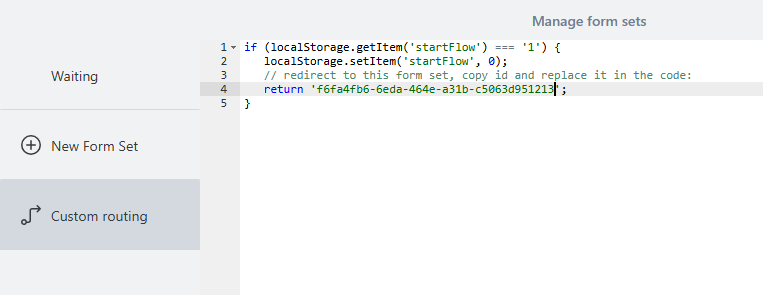
You also need to configure the routing code in the Custom routing section of the Manage form sets menu. This example uses the browser’s localStorage to keep track of whether the flow has started or not. Use this code to redirect the user to the correct form set:
if (localStorage.getItem('startFlow') === '1') {
   localStorage.setItem('startFlow', 0);
   // redirect to this form set, copy id and replace it in the code:
   return '{ID of your form set}';
}
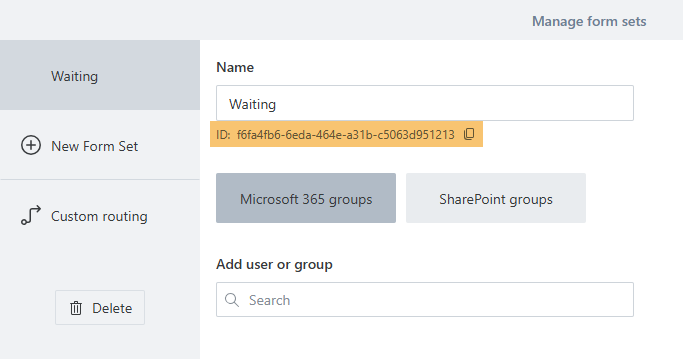
Replace {ID of your form set} in the code above with the actual ID of the form set. You can find the ID in the form set settings and use the copy button to copy it:
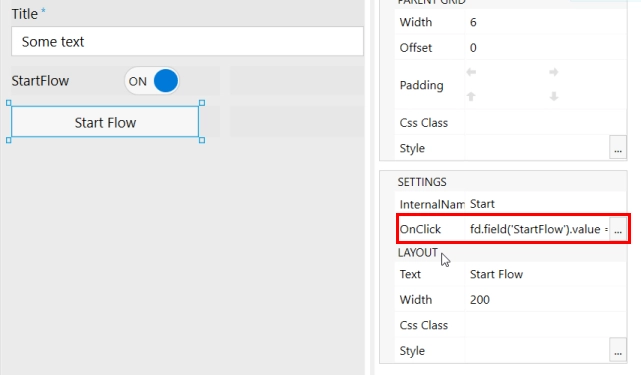
Finally, return to the default Form Set’s Edit Form and add a button. Paste the following code into its Click property:
 fd.field('StartFlow').value = true;

fd.spSaved(result => {
   // set localStorage variable for routing check
   localStorage.setItem('startFlow', '1');

   // redirect to display form
   let listId = fd.spFormCtx.ListAttributes.Id;
   let itemId = result.Id;

   // simply replace this url with yours:
   // pageType=4 means display form
   result.RedirectUrl =
      'https://domain.sharepoint.com/sites/sitename/_layouts/15/listform.aspx?PageType=4&ListId='
      + listId + '&ID=' + itemId;
});


return fd.save();
This is it!
Now you can open the Edit Form in your browser and try starting the Flow.